Bananimal
-
Posts
372 -
Joined
-
Last visited
Content Type
Profiles
Forums
Events
Everything posted by Bananimal
-
Would be awesome if you made them available as packs. I'm having to redo all of my hornet skins. These look great and would be a perfect fit. In my Case, my VMFA-451 skins use a chocolate chip cover on their helmets as well as the forest green camo.
-
Thanks for the heads up and the skin.
-
Hi Ryan, I was gathering photos to take a crack at this bird as well. My goal is to make it as realistic as possible. Would you happen to have any clear photos of the badges and the names list that adorn this magnificent scheme? I have a picture of 98% of the names, but there are two gentlemen talking in front of it in the photo and their hats block out some of the names. The second I saw this bird I knew I was going to paint it.
-
I've noted that the Blue Angels skin is missing the formation light panels. I see nowhere in the description.lua a reference to a texture file. There's got to be a way.
-
I'm looking for a little help with formation light panels. I'm skinning a demonstration team and want to apply an alpha mask to the green color on the F18C_Bano.dds texture. My thought was if I make that part of the texture transparent, then it will not show up on the skin. Much like the BORT numbers. I added an alpha channel to the file and saved it to the livery folder. No go. I then renamed the BANO file in the livery folder as well as the FA-18.zip texture file to see if the textures would fail to load and still the formation light panel textures show on the aircraft. Are these textures being pulled from somewhere else, perhaps? I have the following in the description.lua for the skin with a modded alpha on the F18C_BANO.dds file in the livery folder: --HeadLights and Self Illuminated Textures --{"f18C_headlight_R", 0, "f18c_bano", false}; --{"F18C_headlight_L", 0, "f18c_bano", false}; --{"F18C_headlight", 0, "f18c_bano", false}; --{"f18C_headlight_KIL", 0, "f18c_bano", false}; --{"f18C_headlight_band", 0, "f18c_bano", false}; --{"f18C_headlight_band", 8, "f18c_bano", false}; --{"f18C_headlight_band_f", 0, "f18c_bano", false}; --{"f18C_headlight_band_f", 8, "f18c_bano", false}; --{"f18C_headlight_band_banno", 0, "f18c_bano", false}; --{"F18C_omni_banno_192", 0, "f18c_bano", false}; --{"F18C_rulezh", 0, "f18c_bano", false}; --{"F18C_aoa", 0, "f18c_bano", false};
-
Does anyone know where to find the Texture of the formation lights for the F/A-18C? I'd like to set the texture as a alpha so that i can make them disappear on demonstration team skins.
-
Awesome!
-
Looking good! Dealing with dark blue colors in DCS is quite the challenge. You paint it and view it in Model viewer and it looks correct. Then you get it into the sim and it looks black.
-
OK, the new file has been uploaded. If you downloaded before today, download Pack 2 again if you want the corrections.
-
Ams999, you are correct. That video is a great resource. I wish I would have had it when doing this one. Early on in the thread, there was some discussion about the color blue I was using. Seeing this video gave me what I needed to get it 100% right on color. I've darkened the striping blue and the stencils/decals as well. The decals are a tad darker than the painted striping as you can see in the video. Both are fixed now and the plane looks much better. I also fixed the roundels and added the red and moved the sun visor away from the canopy frame. I'm not sure how I let the blue/gold striping bleed onto the canopy frame, but I missed it on this one. Thanks for pointing it out. I'll be uploading a new zip file shortly. I'll let you all know when it's up and you can download the pack again.
-
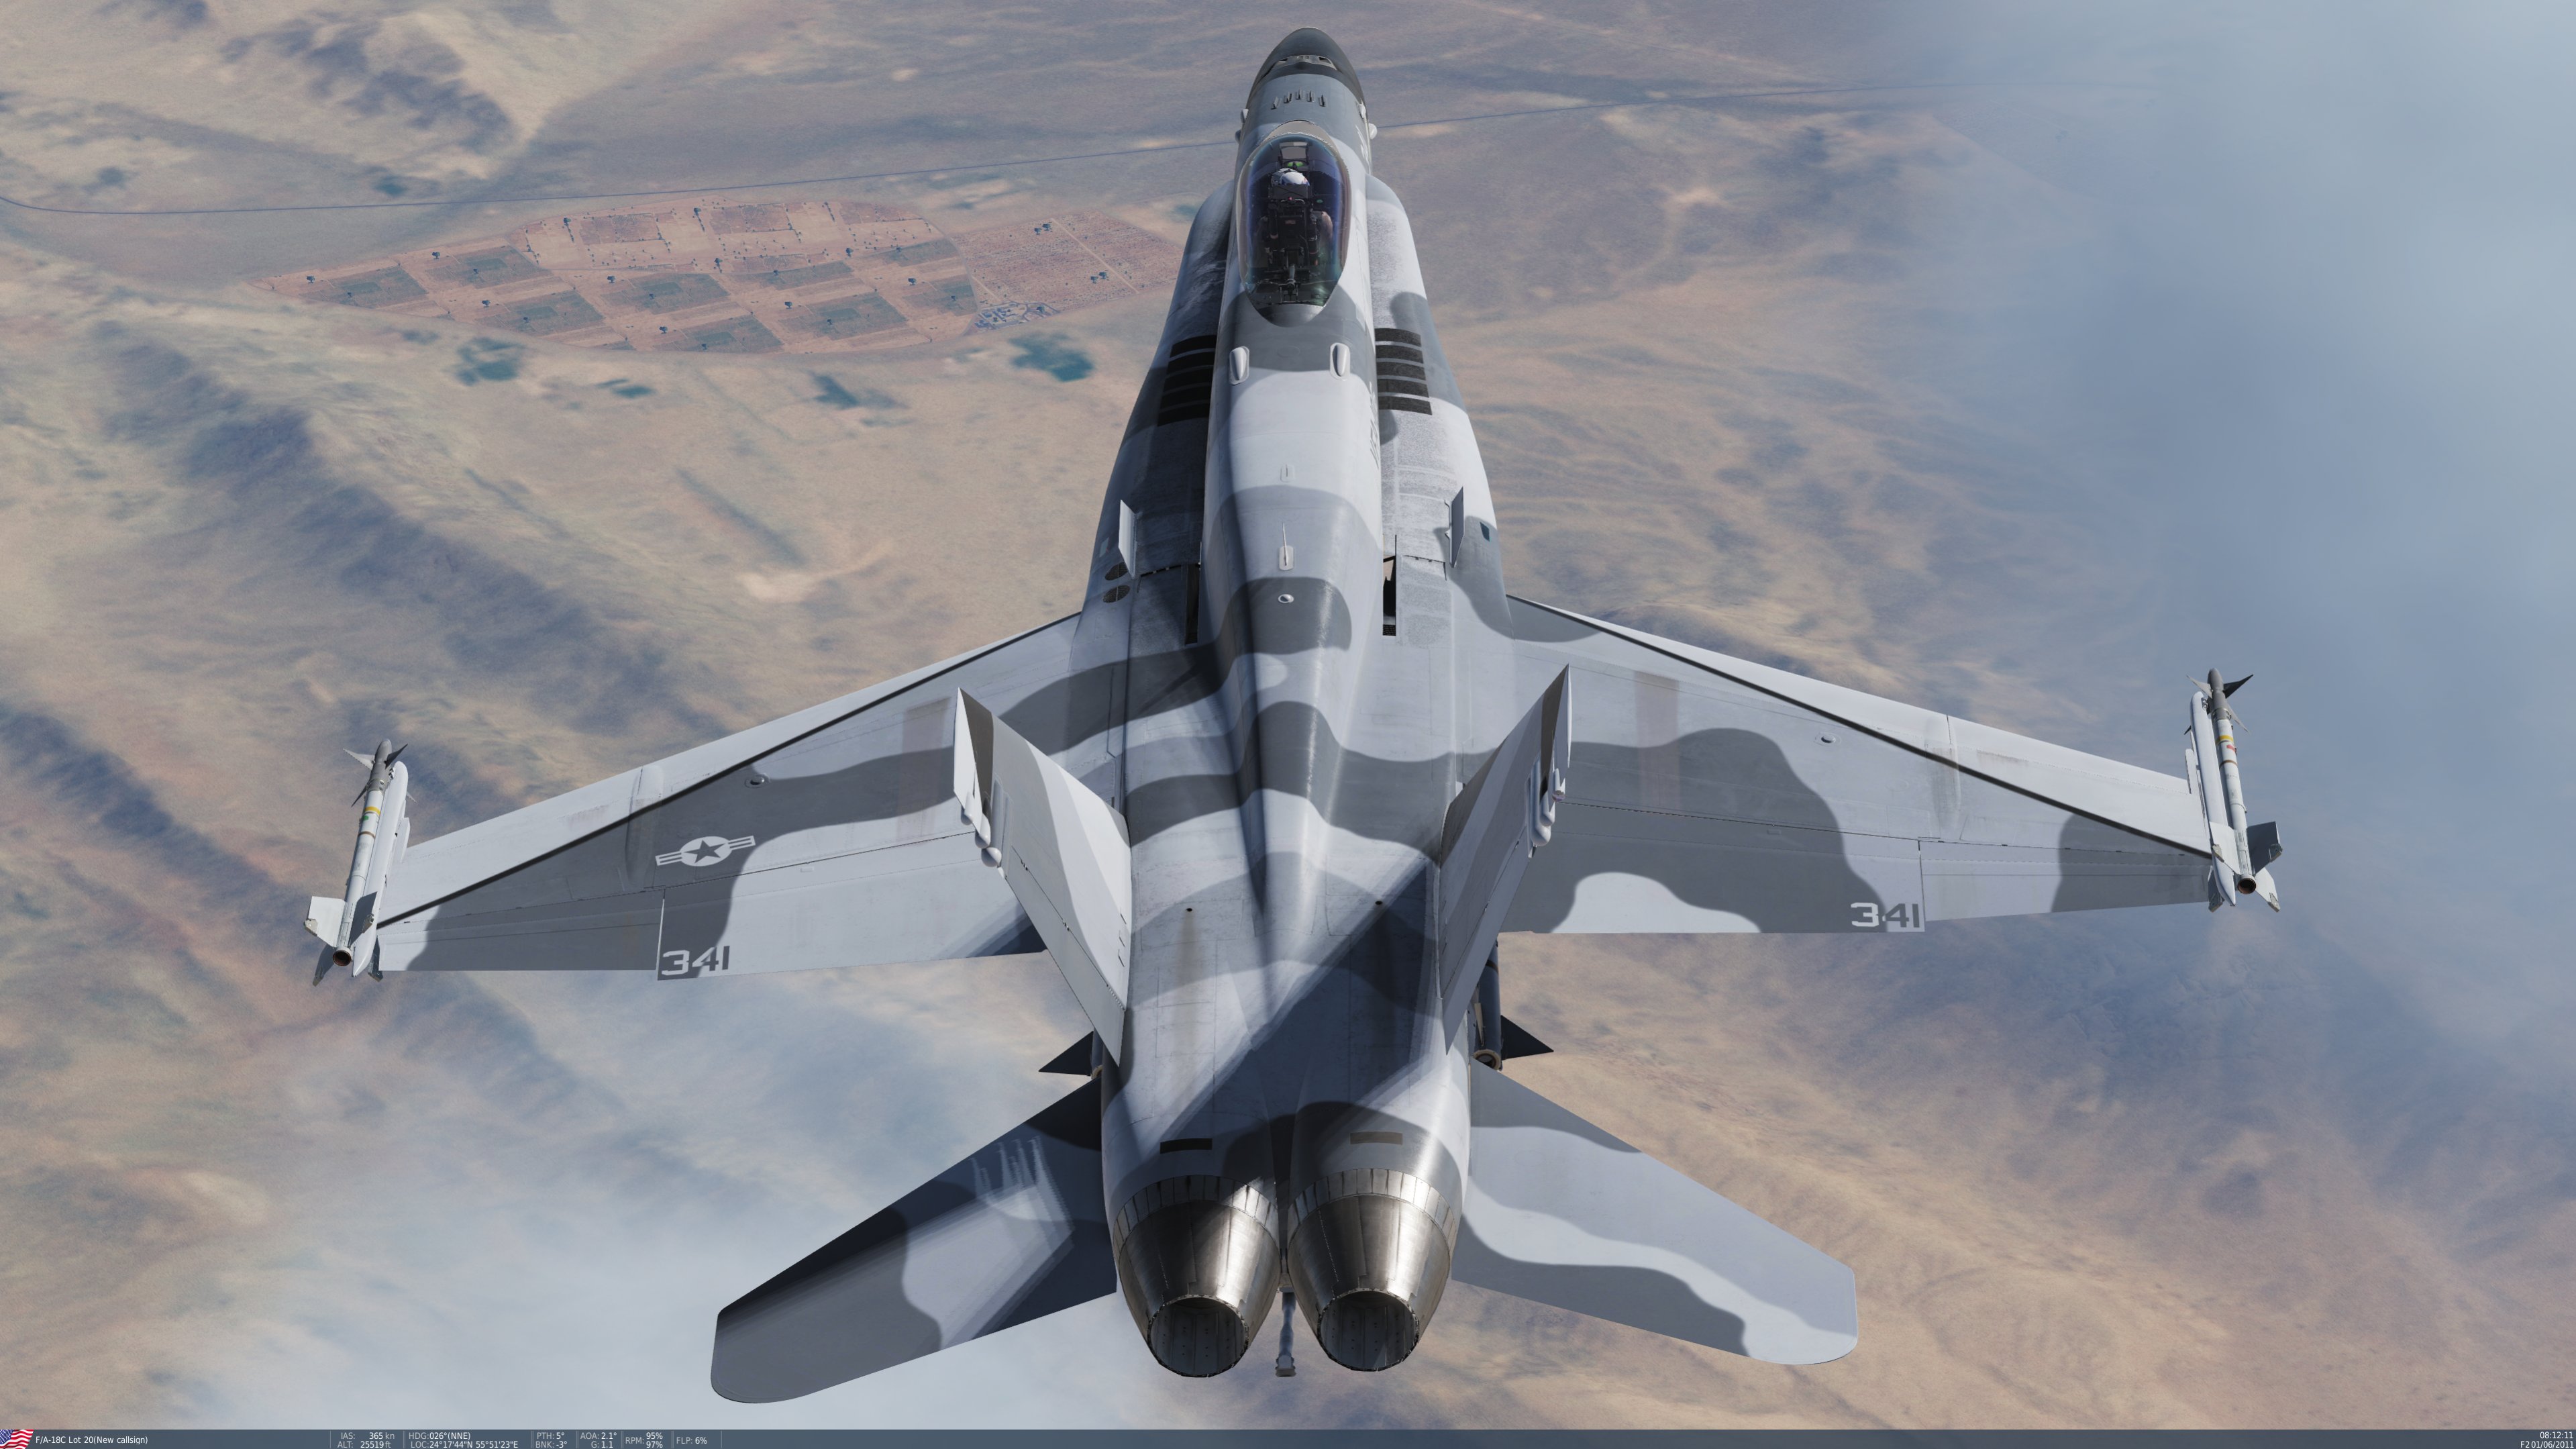
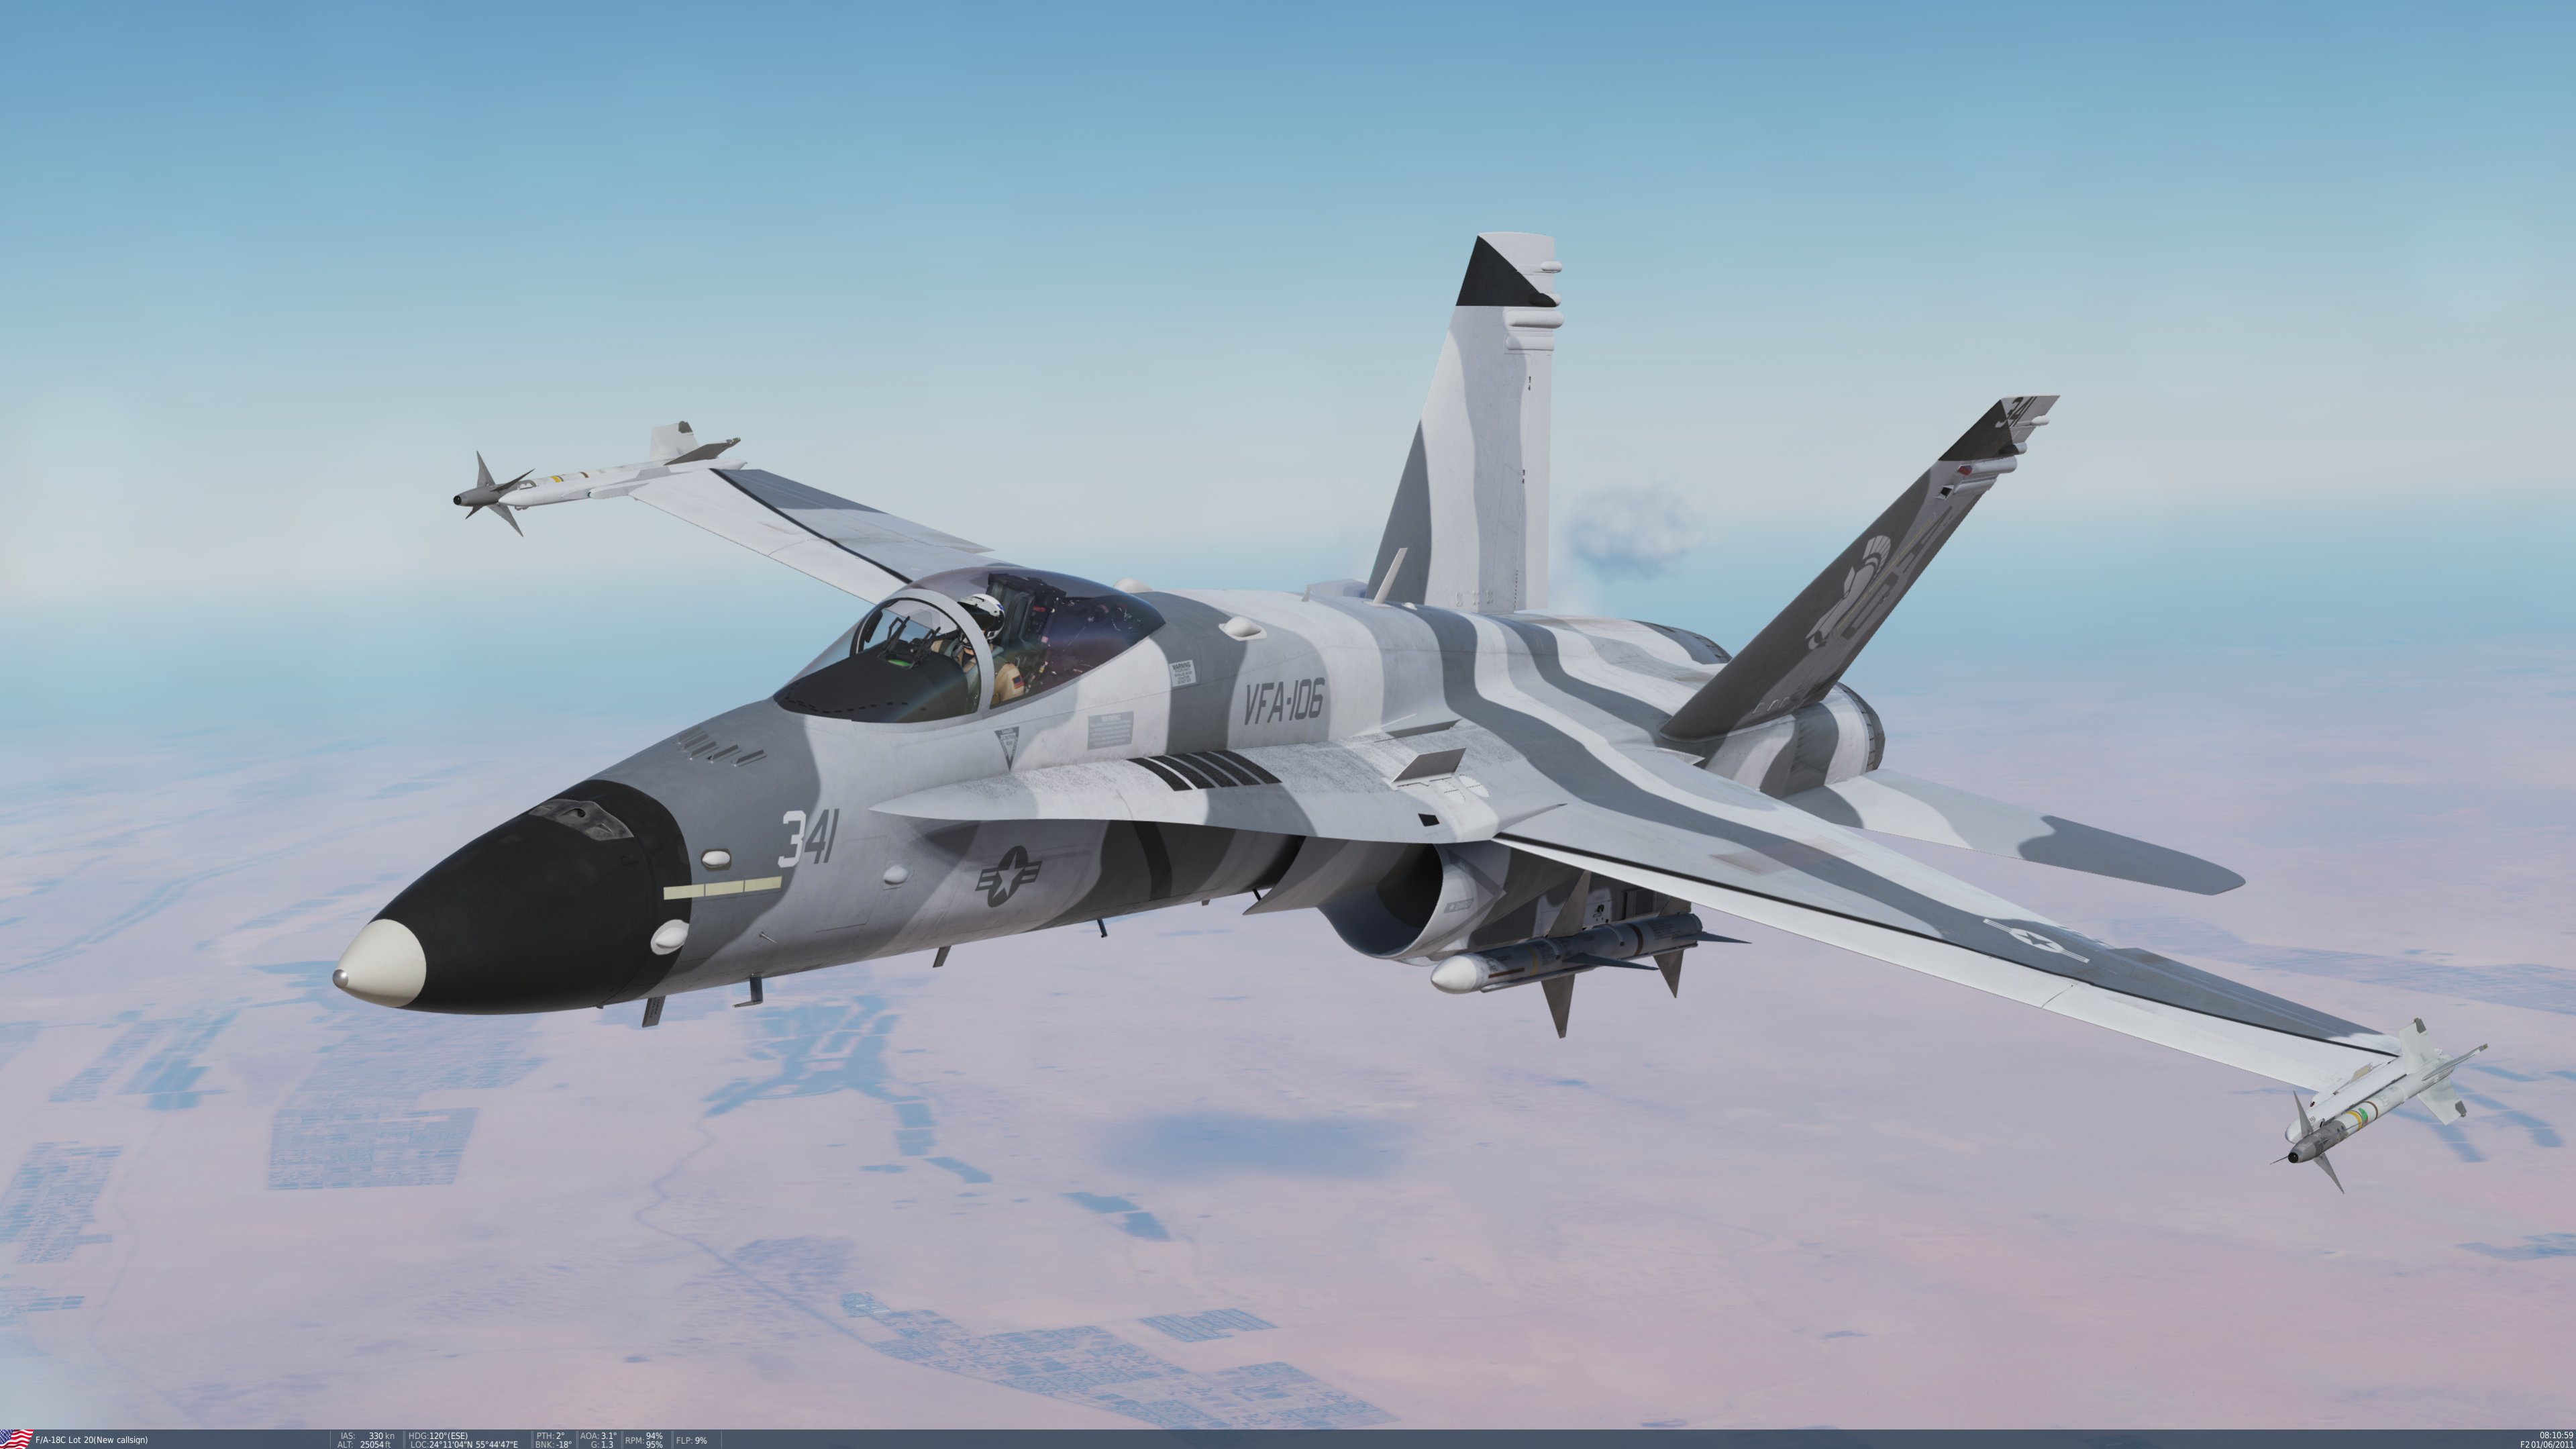
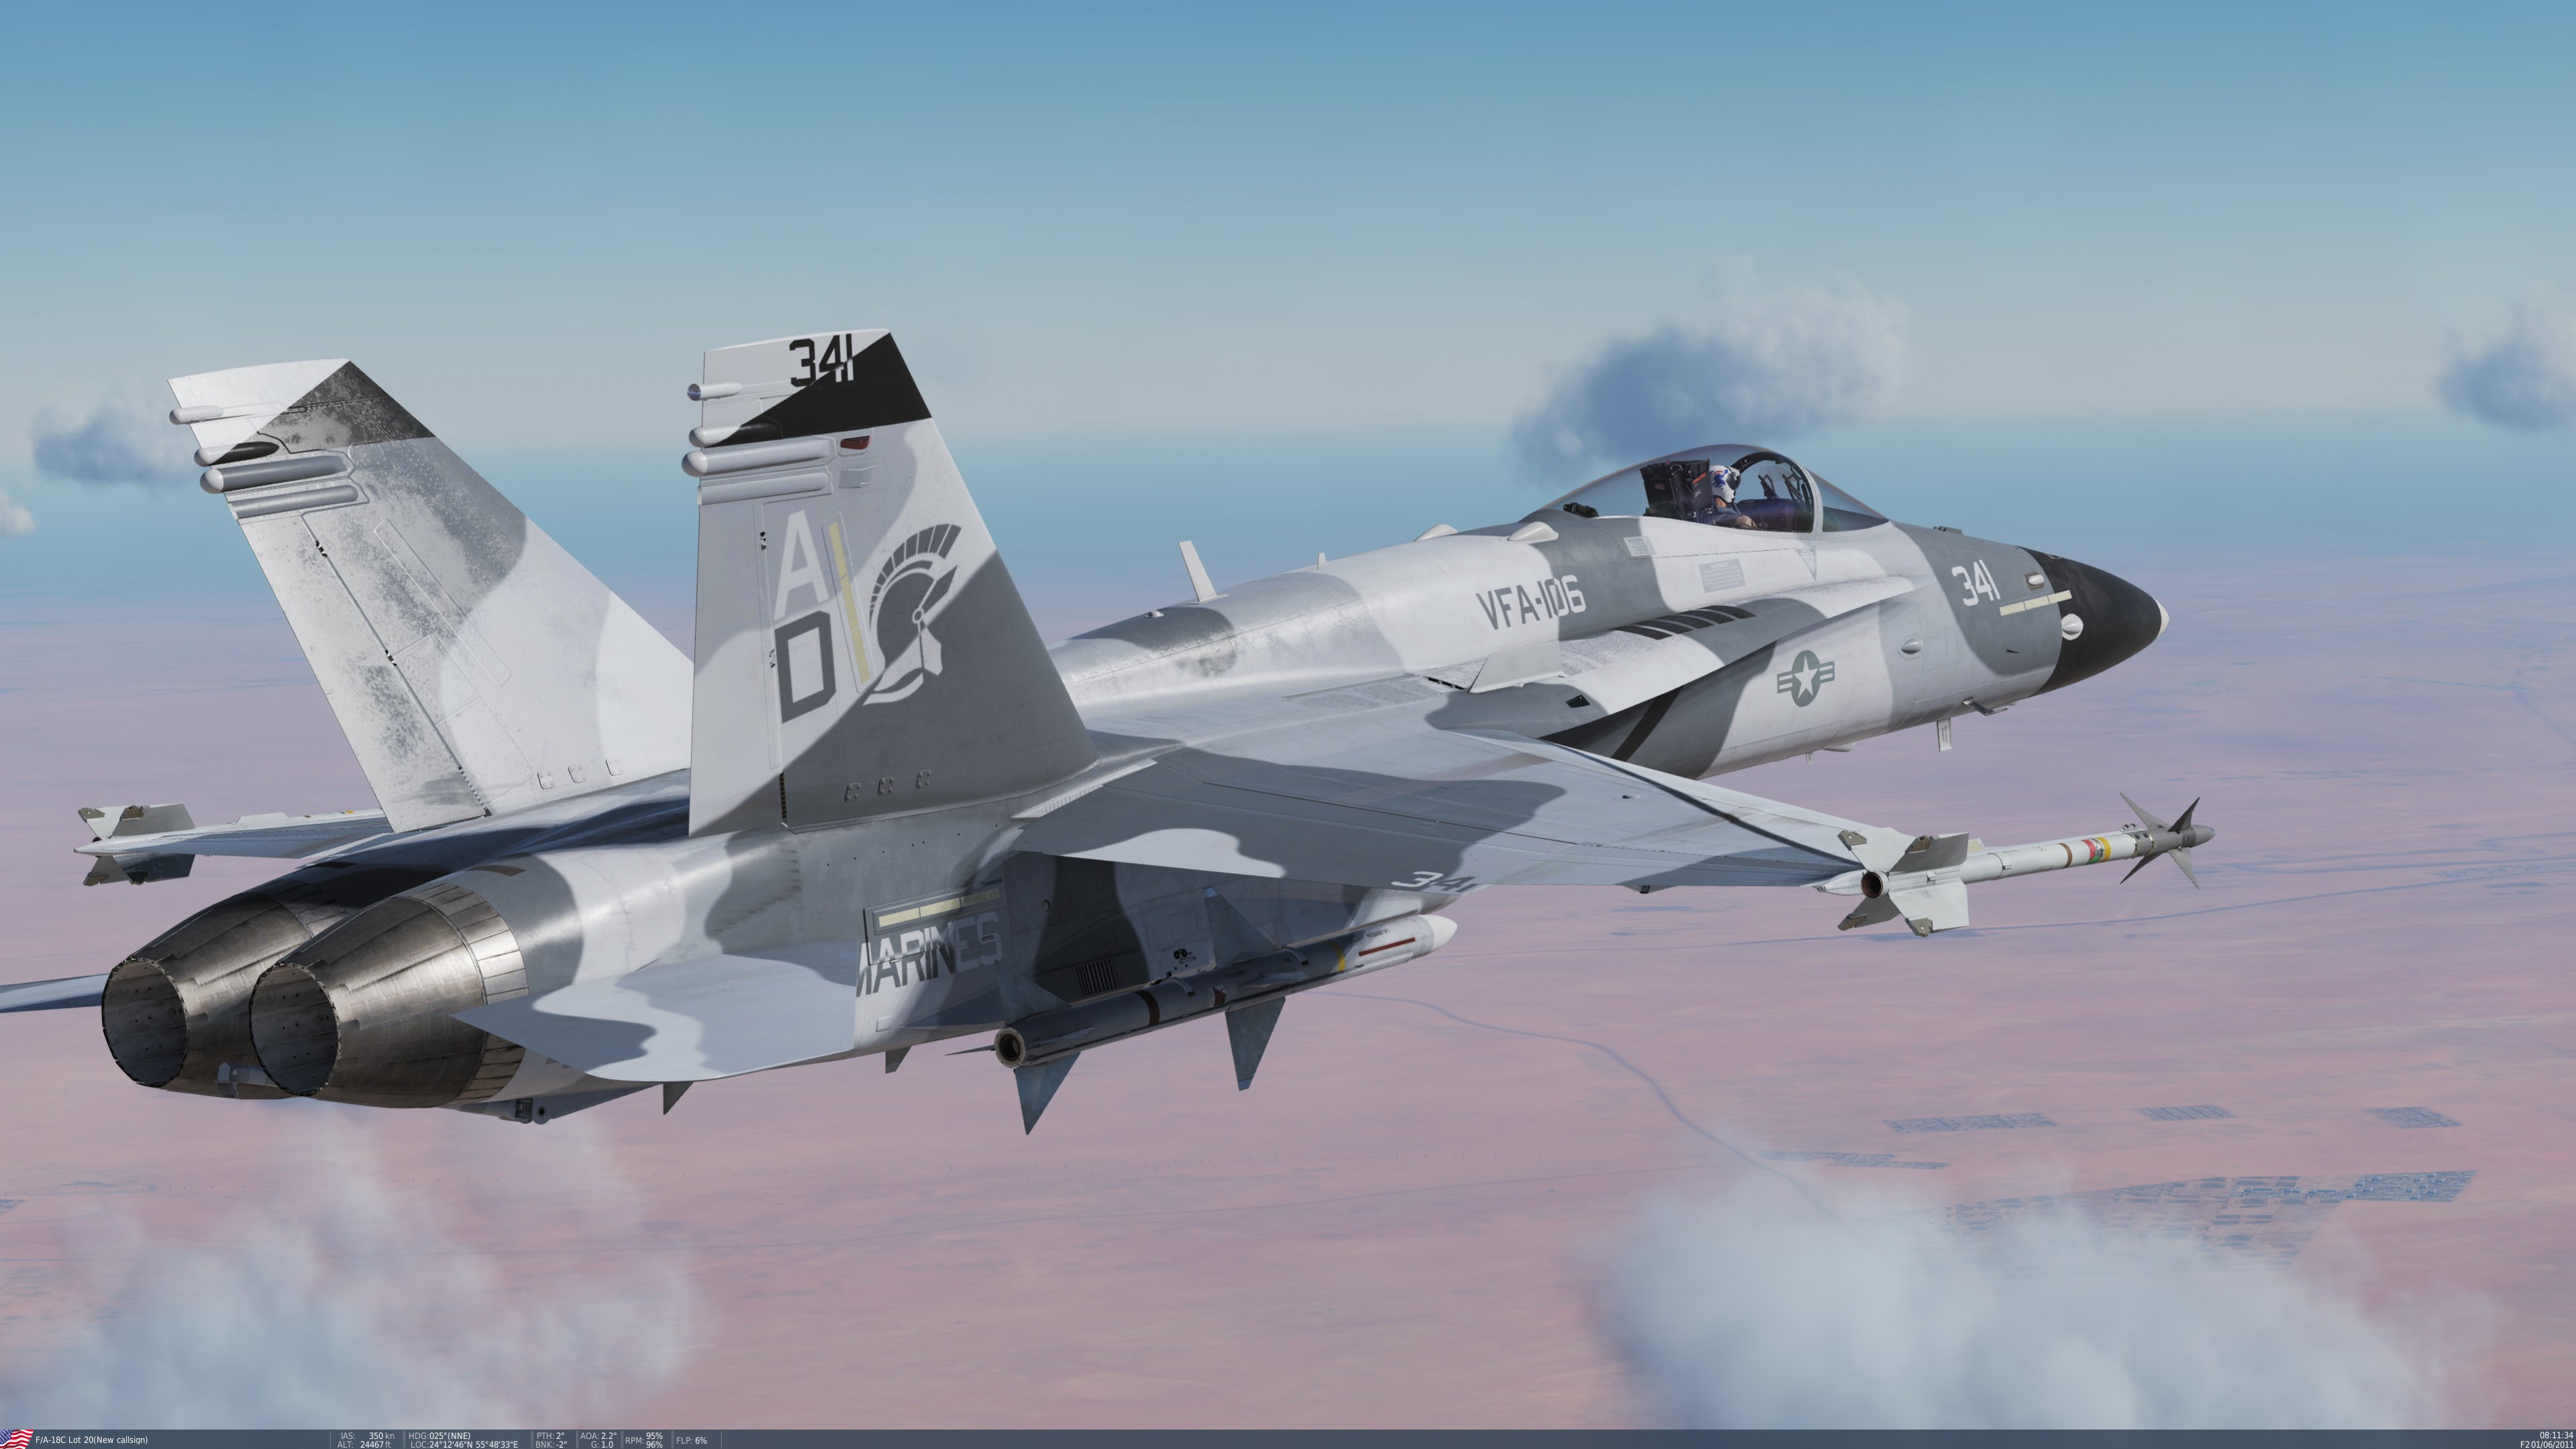
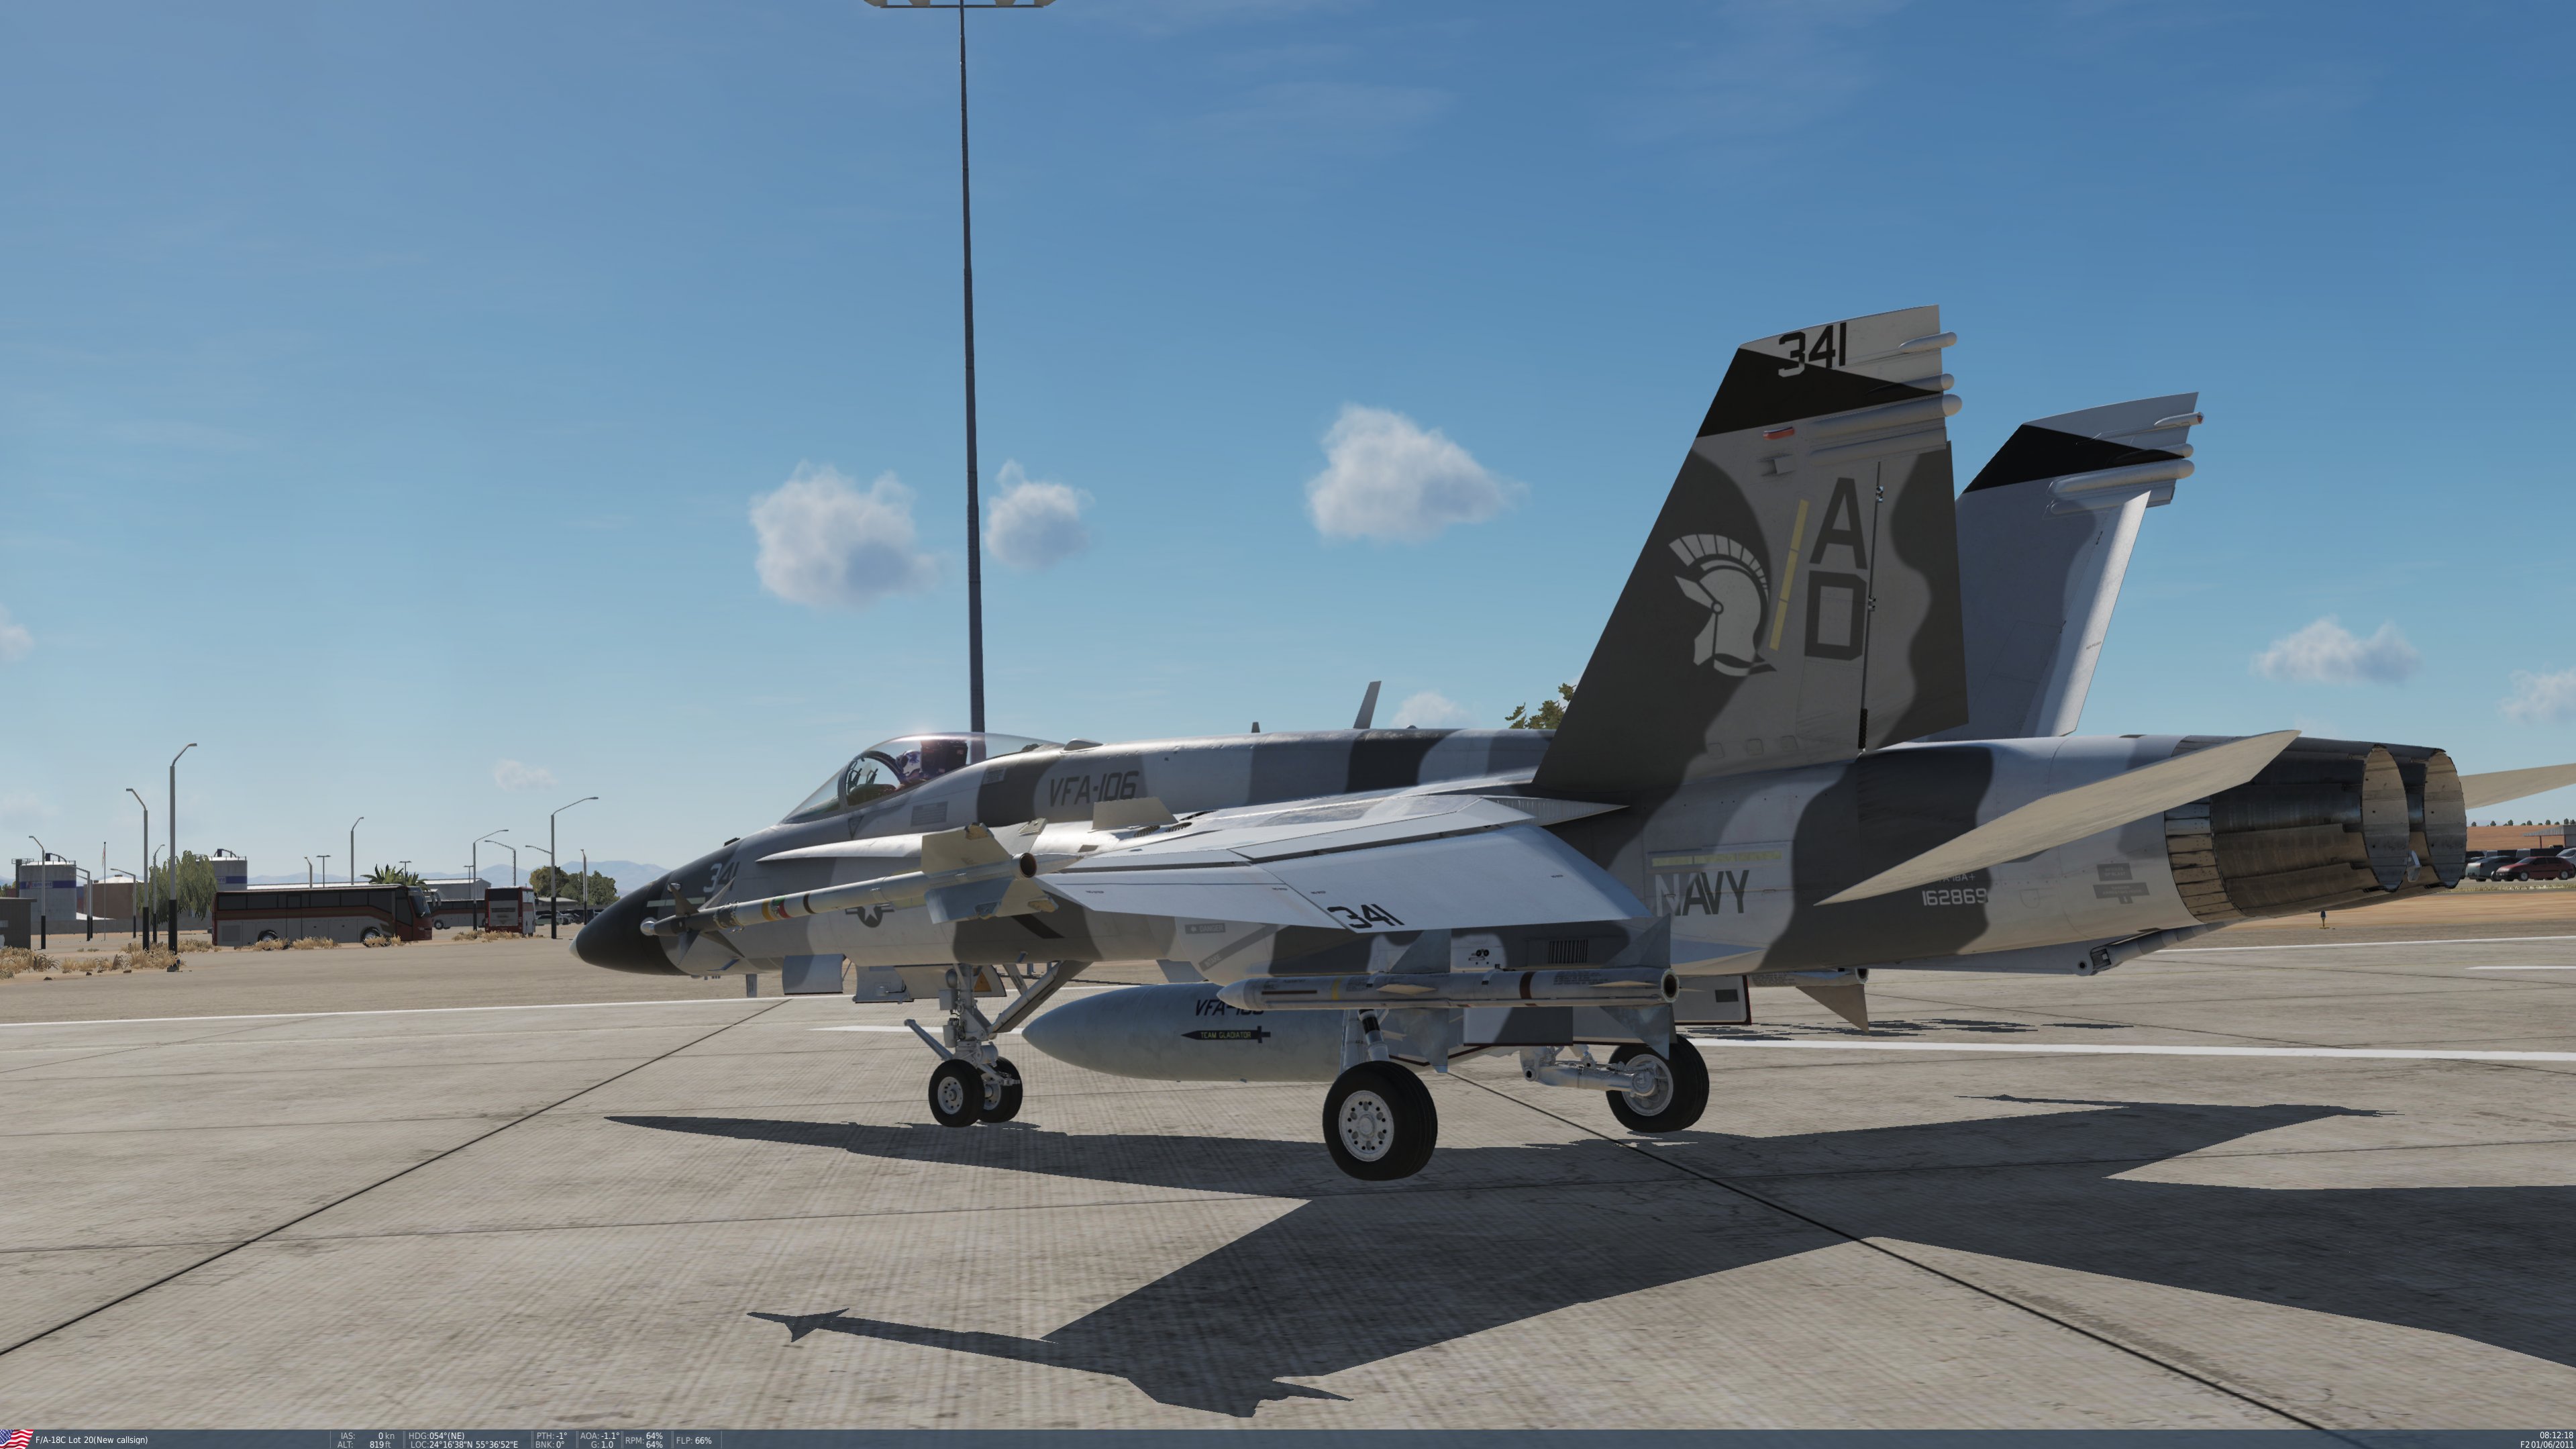
That camo bird took 100+ hours. I always see a camo bird and go, "Ooooh, I can do that." I get all excited and about halfway in I'm cursing at Photoshop, which eventually leads to my asking why do I punish myself so completely doing camo? I won't be doing any others camo schemes for a while. I can tell you that much. Until I see another cool one.......LOL! Uhhhh! VMFA-134? No....No......Noooooooooo!
-
Ok fellas. The packs are done and uploaded. You can look for them tomorrow once the uploads are approved. You can also use the link in my signature to get to them. Hope you guys like them.
-
I'm about 98% done with the camo bird. Then it's a few touch ups here and there, and the seat covers, Buno Numbers on the panels and the pack should be ready. Three four more day maybe? I will be working diligently this weekend on the final touches. Soon folks, soon. :-)
-
Painting has been put on hold due to tropical storm Barry closing in on us. So, a release this week is highly unlikely at this point. I'm still shooting for a release as soon as I possibly can. Hopefully late next week.
-
It's amazing how easy he makes it look.
-
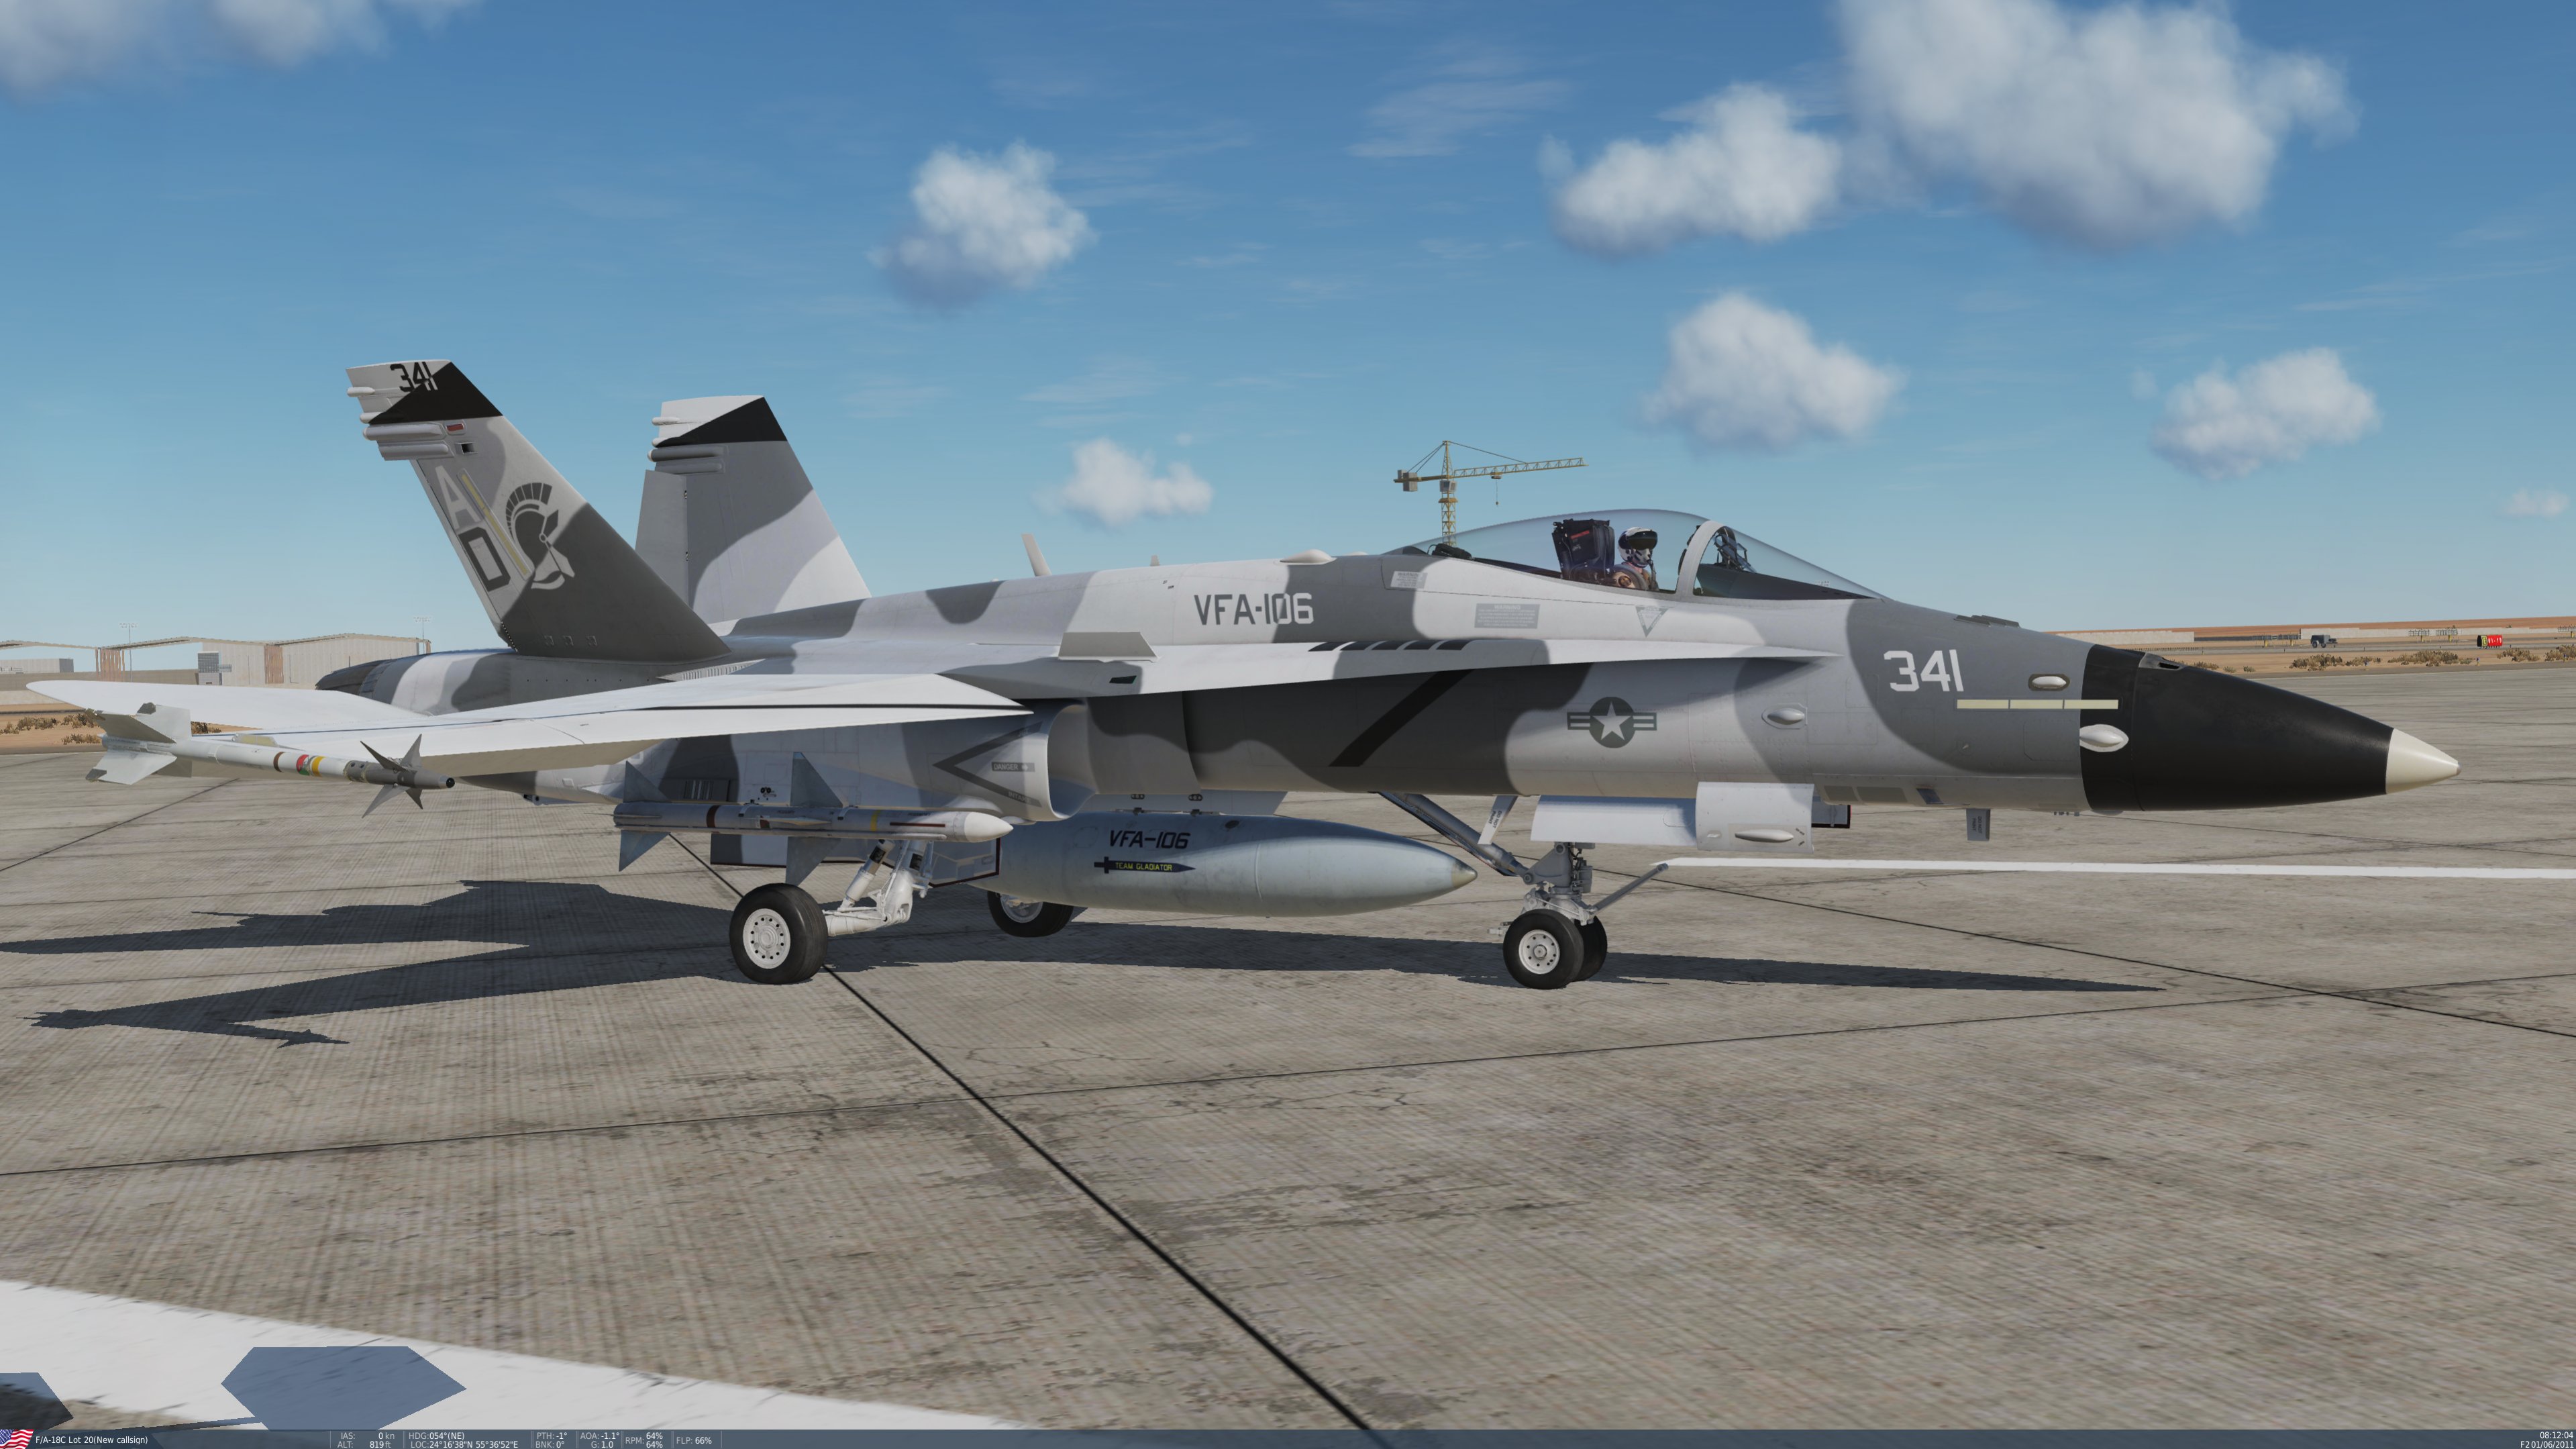
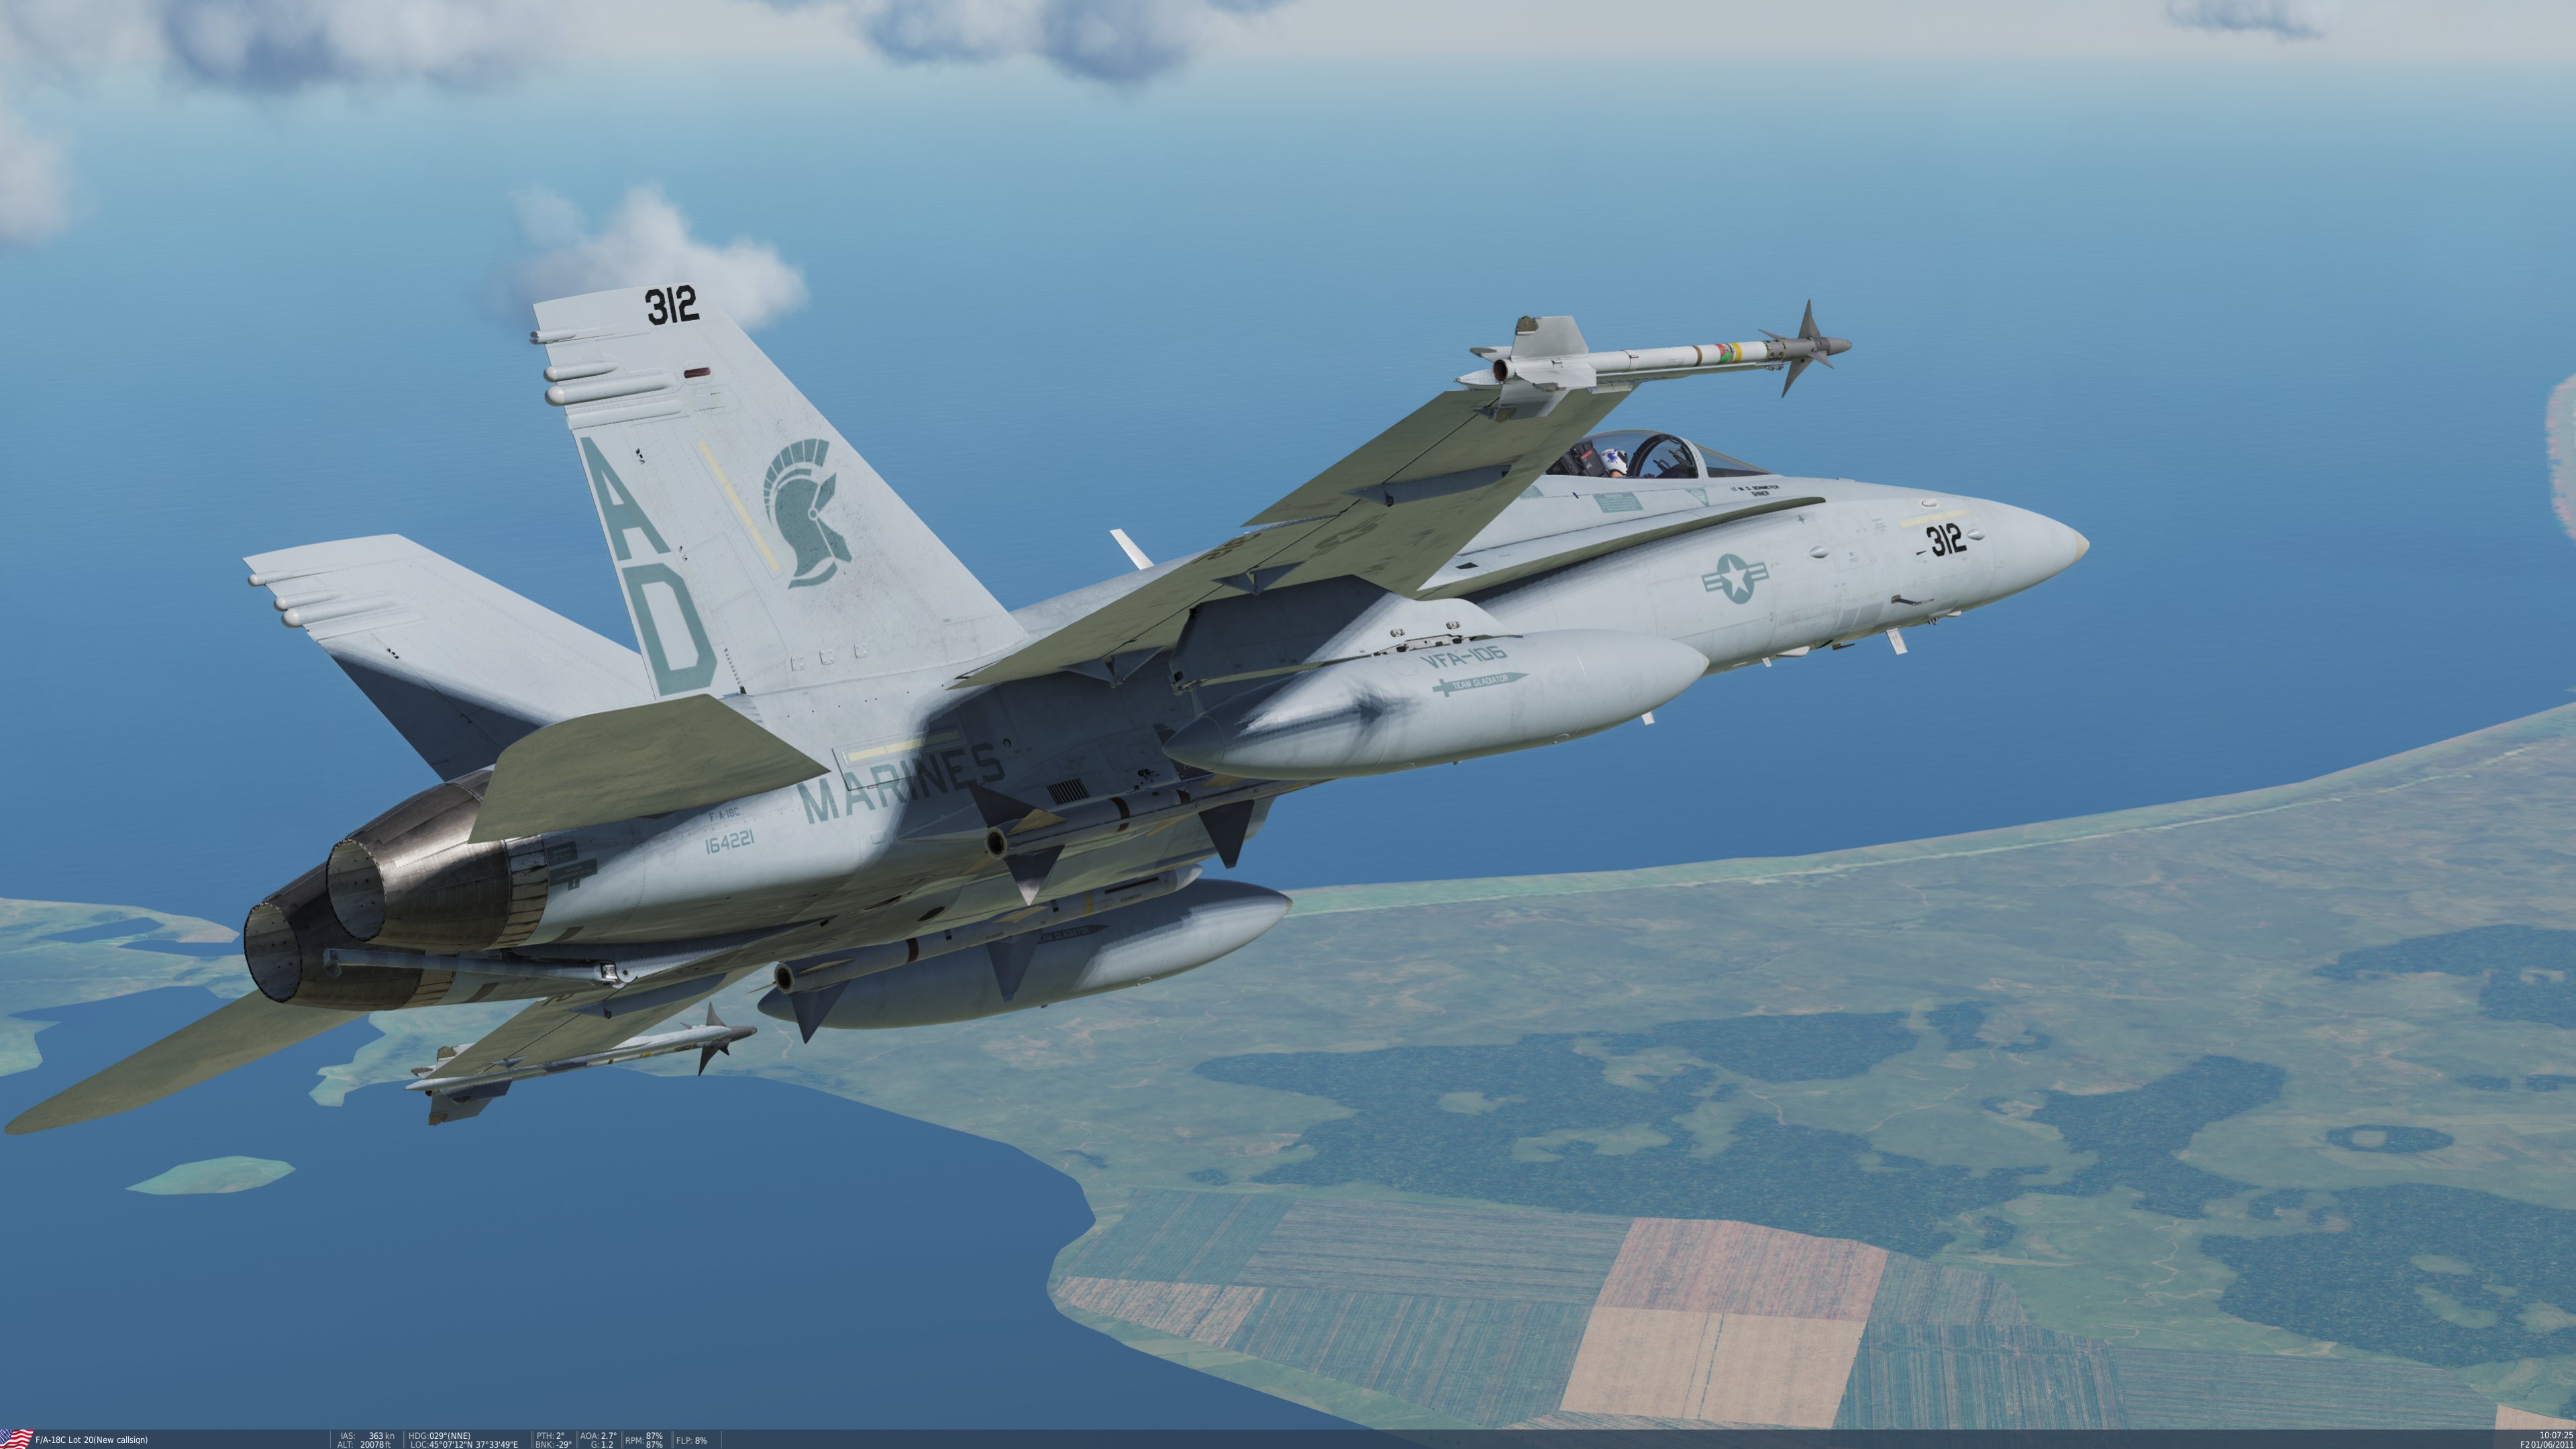
The patterns are similar for sure. This one was a three color scheme. Oddly enough. The underside of the wings are two-tone which has me wondering how much medium gray is really on the underbelly. The pics I have show it wrapping underneath. But, I have no pics of the underbelly, so I improvised. Wondering if it is going to look weird with three-tone on the belly and two-tone under the wings. You see all kinds of weird stuff when you paint these things.
-
In case you guys weren't aware.
-
In case you guys weren't aware.
-
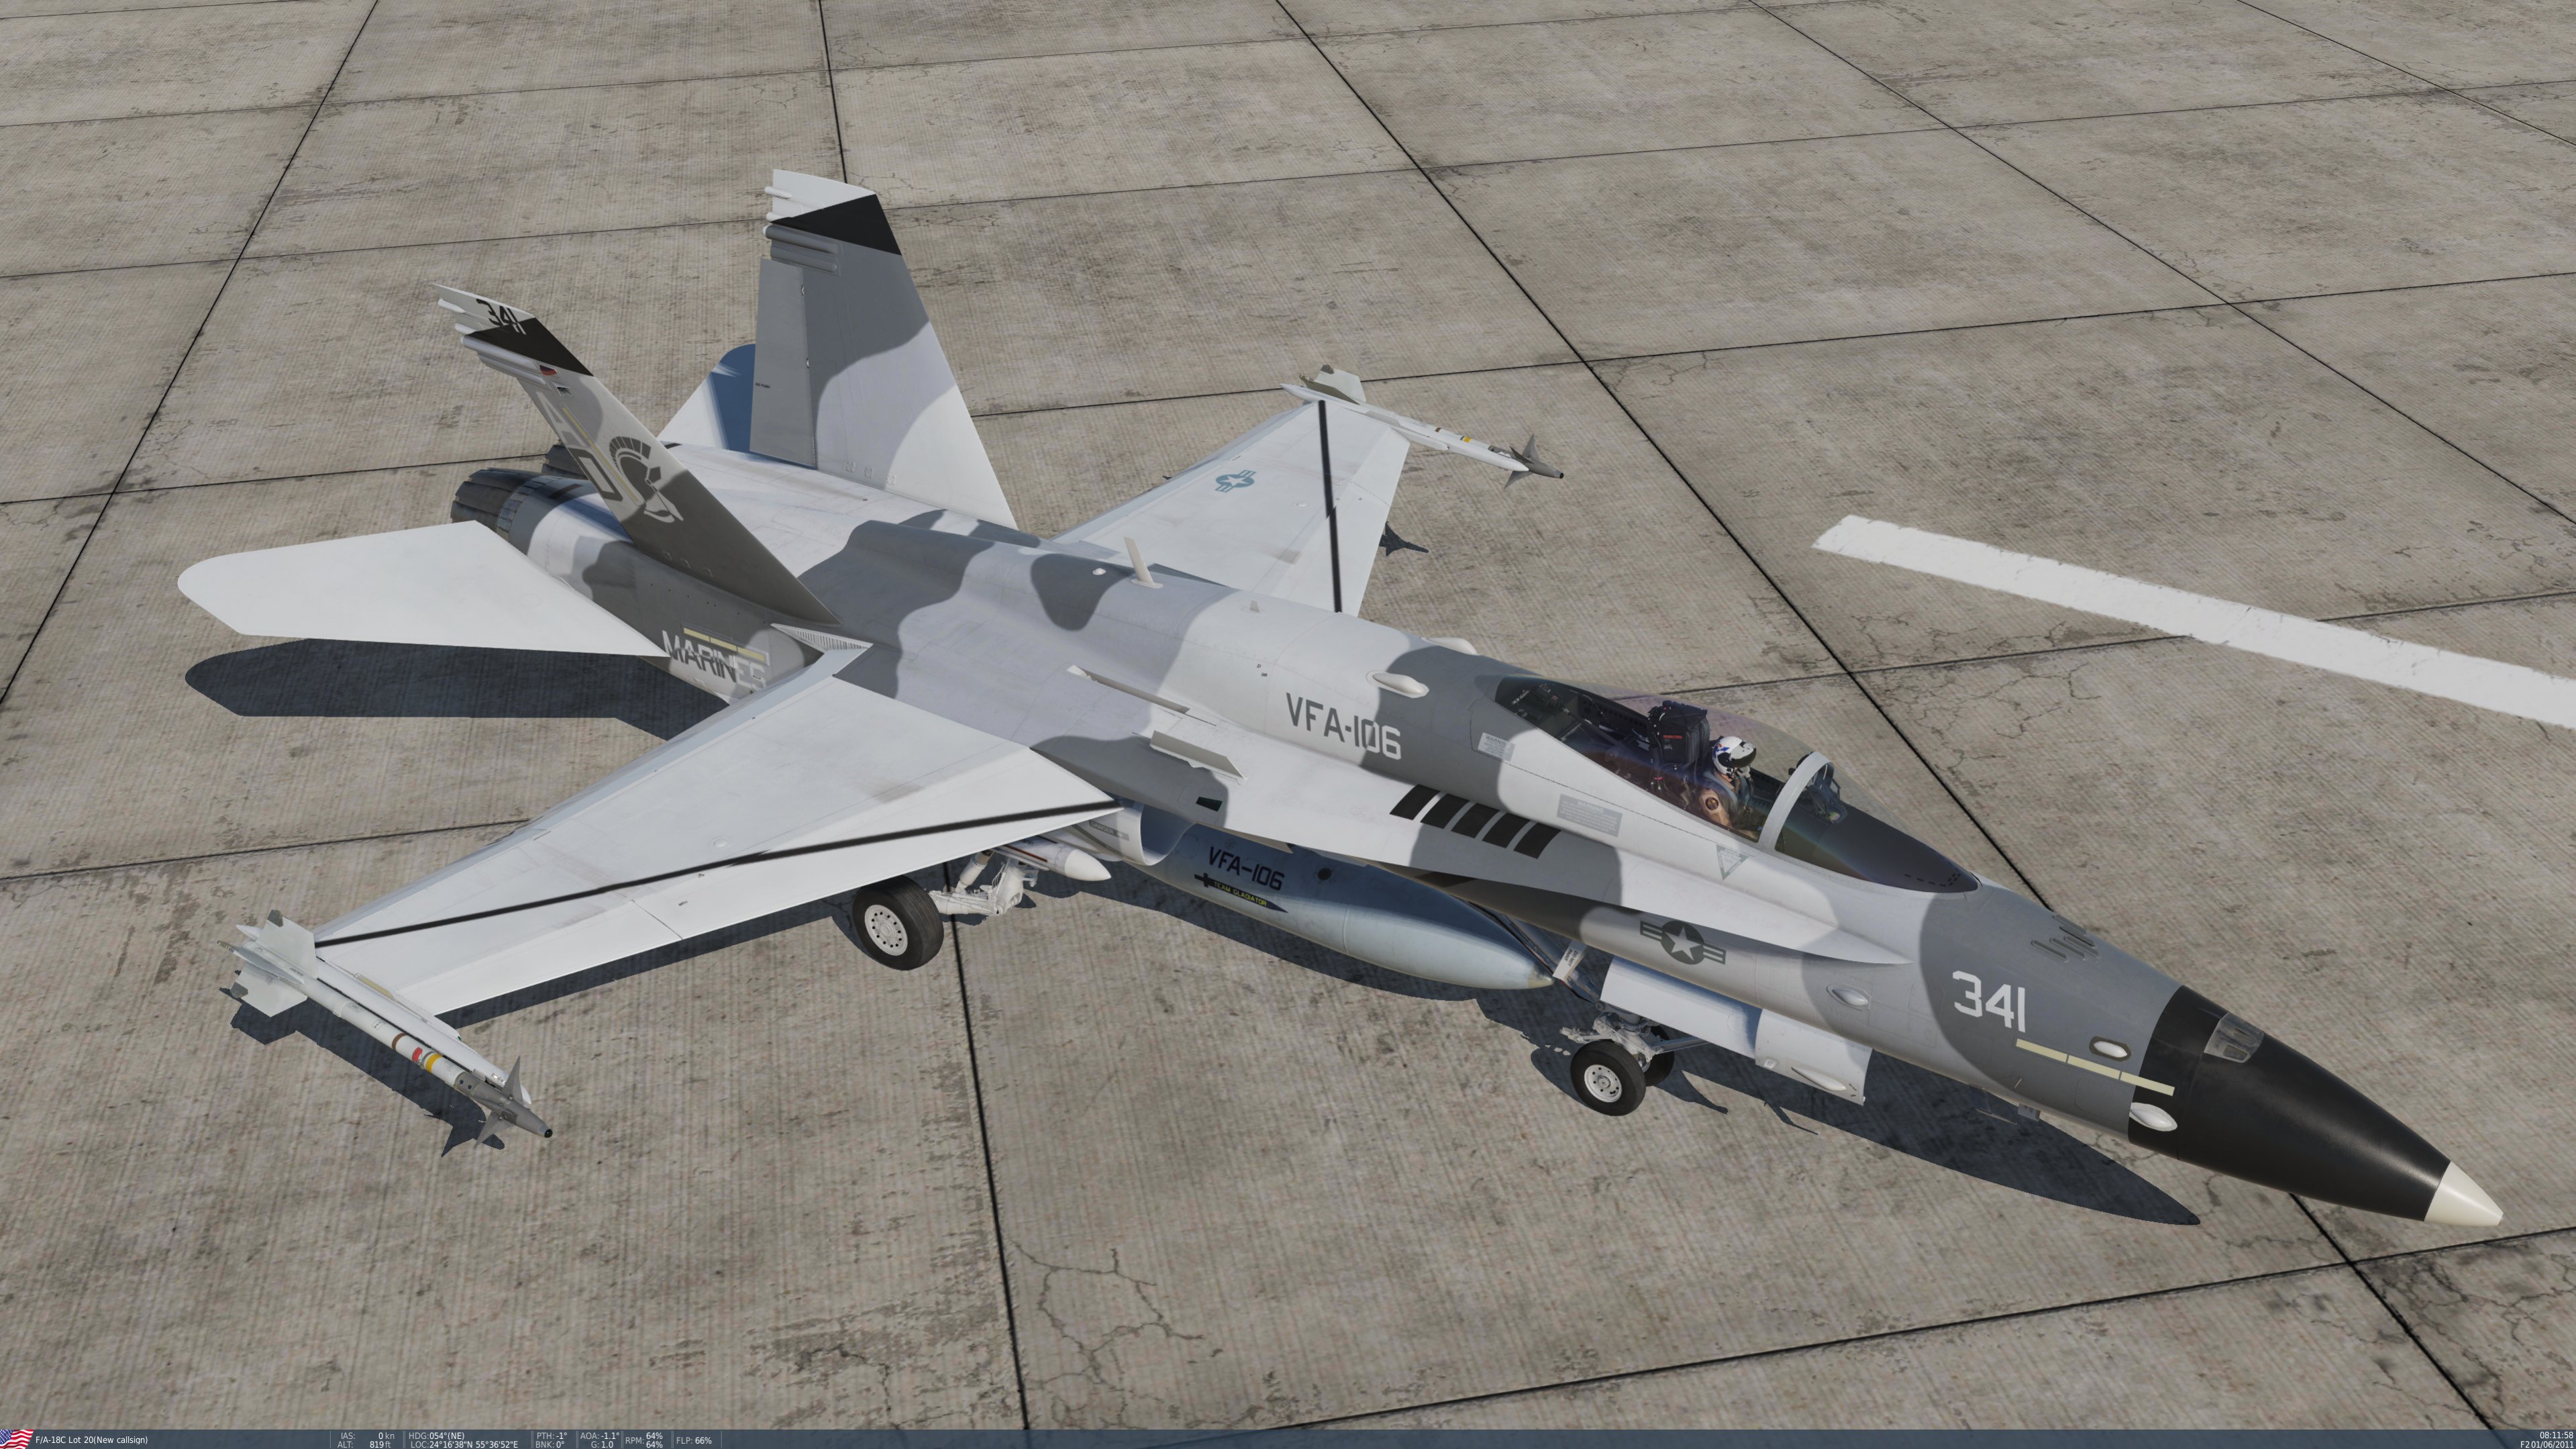
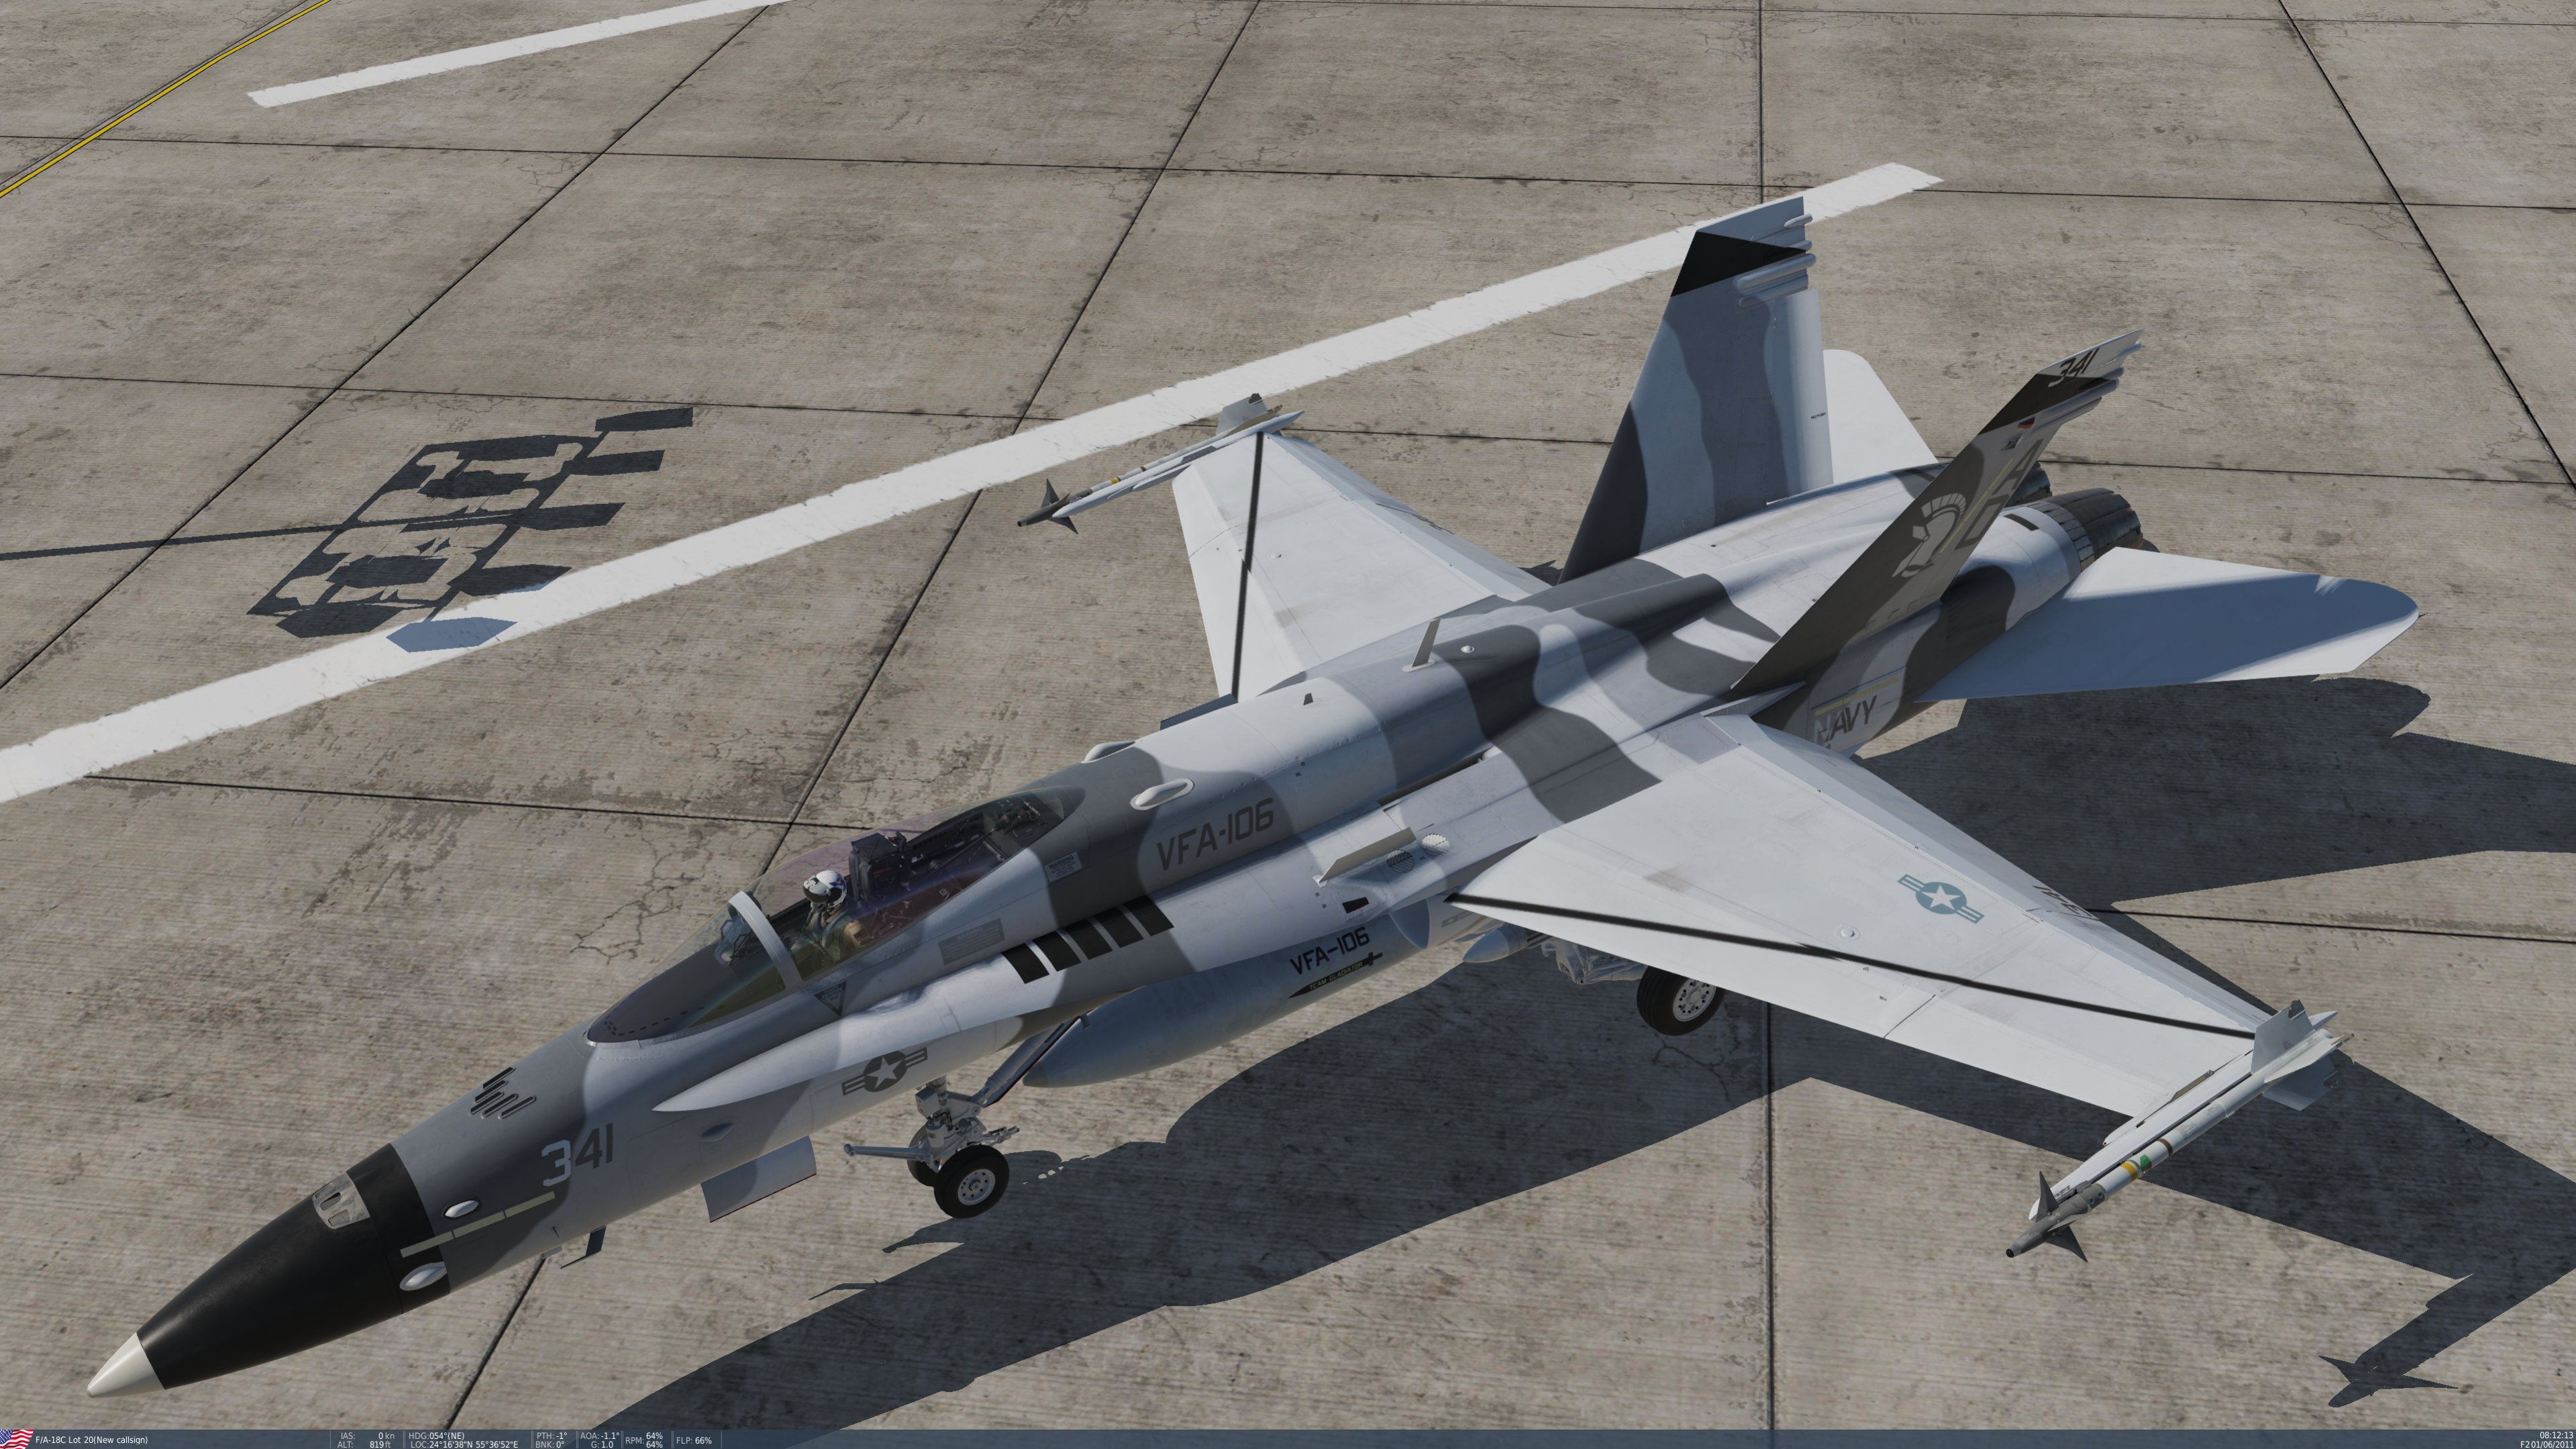
Finished the aft end and the wing tops today. Another 16 hours. All that's left is the wing bottoms and extra parts and she's done. Should be releasing the entire pack sometime this week. :thumbup:

-
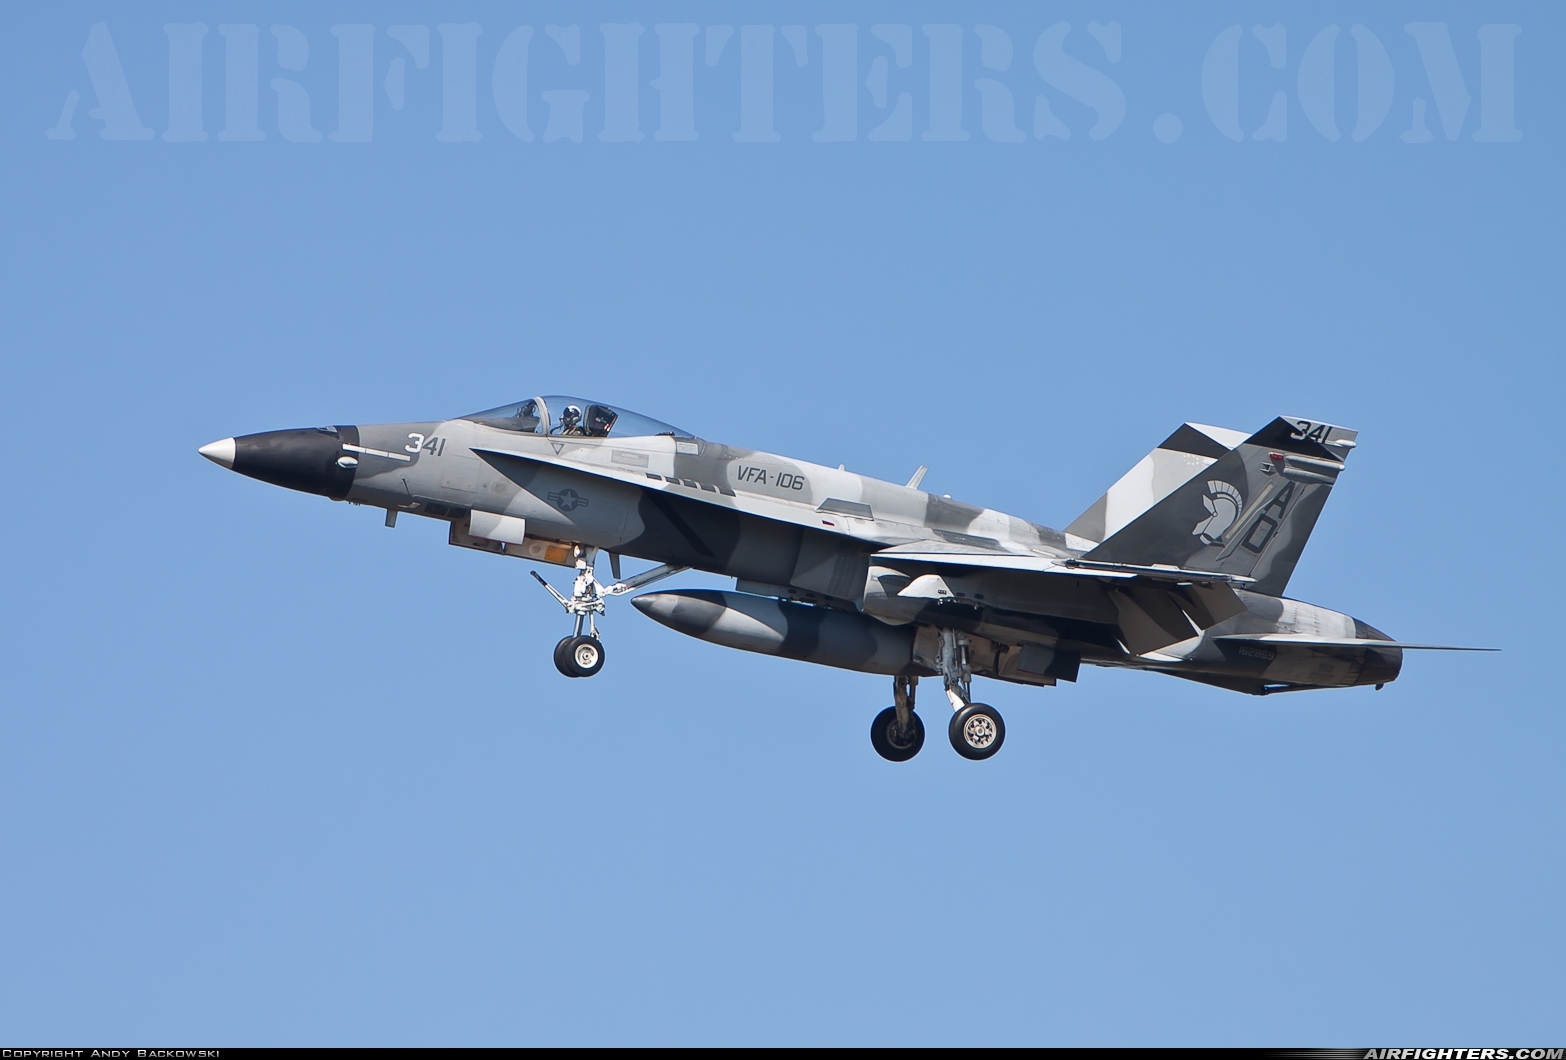
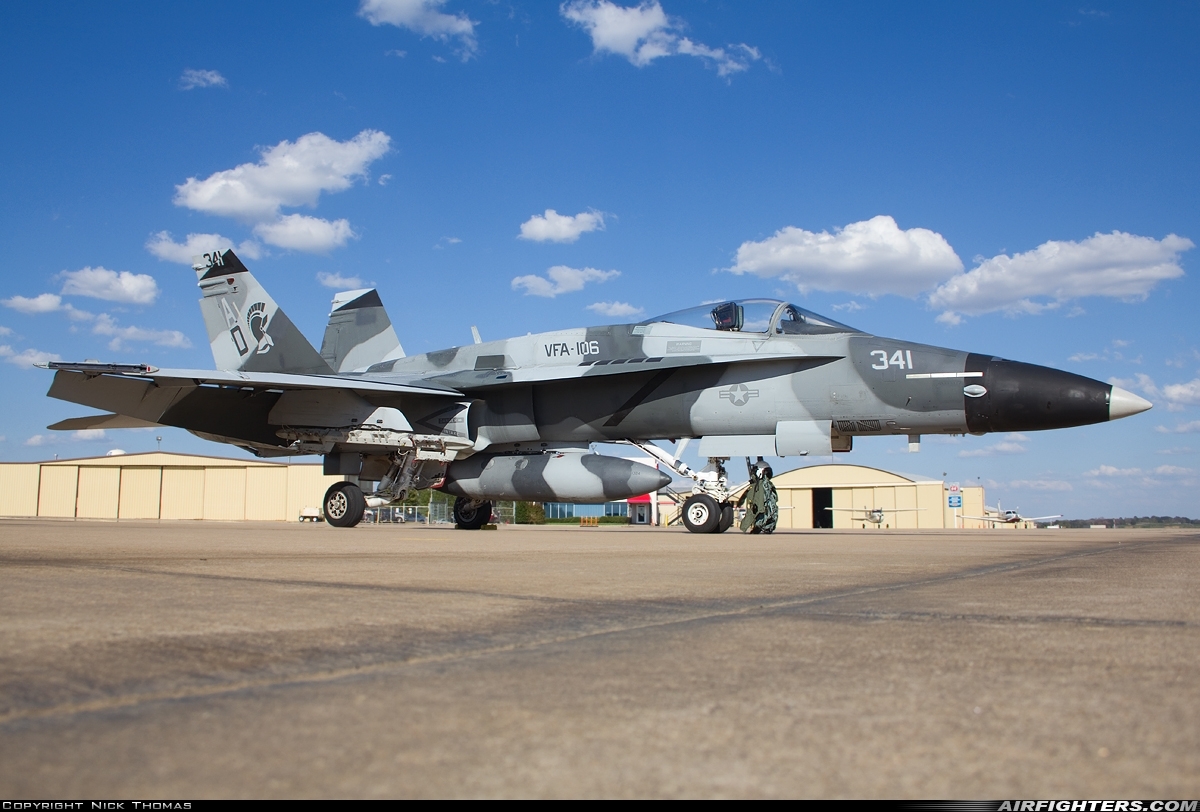
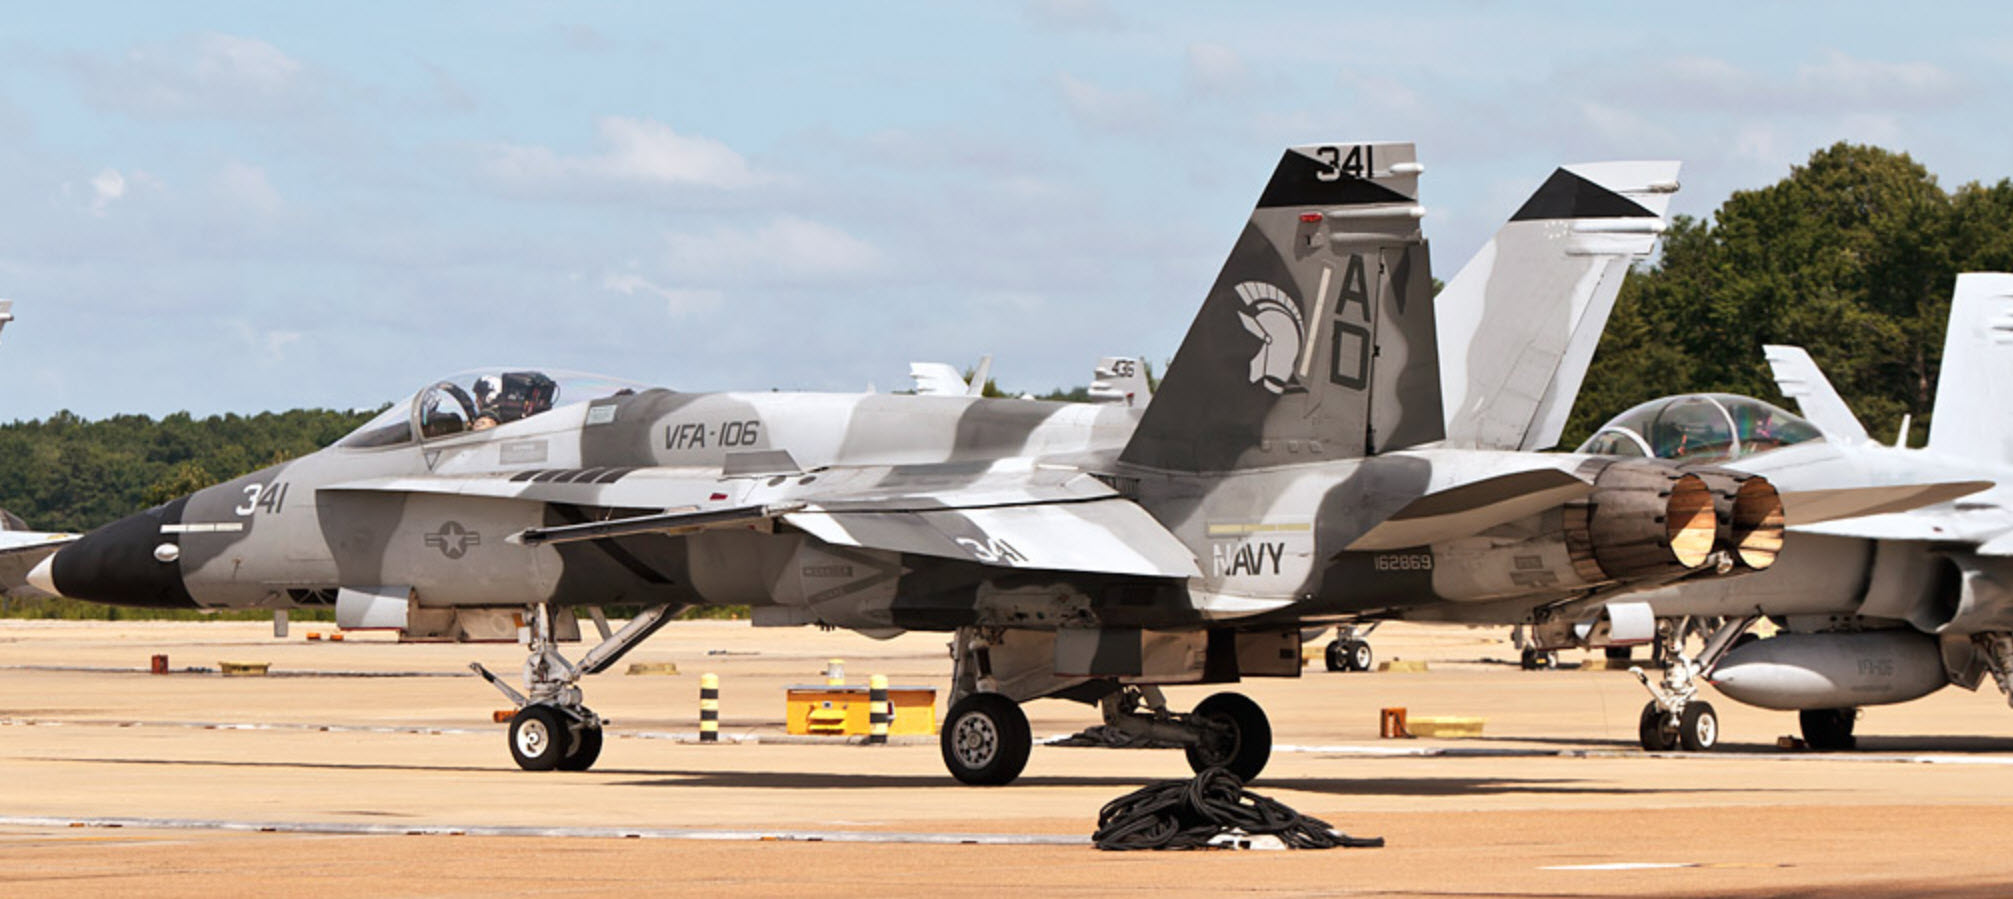
Here's a few shots of the real bird for reference. I'm doing my best to get the patters as accurate as possible. For some reason, this one is a lot tougher than the others I have done.
-
Saints alive, fellas! I spent from 7:00 AM - 10:00 PM today hammering on this last skin. All I got done today was the aft belly, the vertical stabs and I am starting to piece the top of the aircraft together. I still have the wing tops and bottoms and the horizontal stabs to do. Then, hinges and other parts that receive camo/colors. I used a smaller (25) soft edge brush on this one. What I found is, it takes more time to line up the camo and curves in the camo. A bigger brush tends to smooth things out a bit better, where the smaller brush picks up all small hand movements and requires lots of extra touch ups. The other thing I'm finding with this skin is that when i paint what I see in the pictures, it doesn't necessarily look right on the aircraft in Model Viewer. Lots of back and forth on this one, but it is coming along. I think I have about 65-70 hours into this one so far. Here's a sneak peak!
-
Anyone know how to get the panning back when pressing the mouse wheel? MV1 allowed you to move the aircraft around. Especially useful when doing camo skins. I don't like the static, top, side, bottom buttons. They are useless for this purpose.
-
Really looking forward to this. Thanks so much for the effort.
-
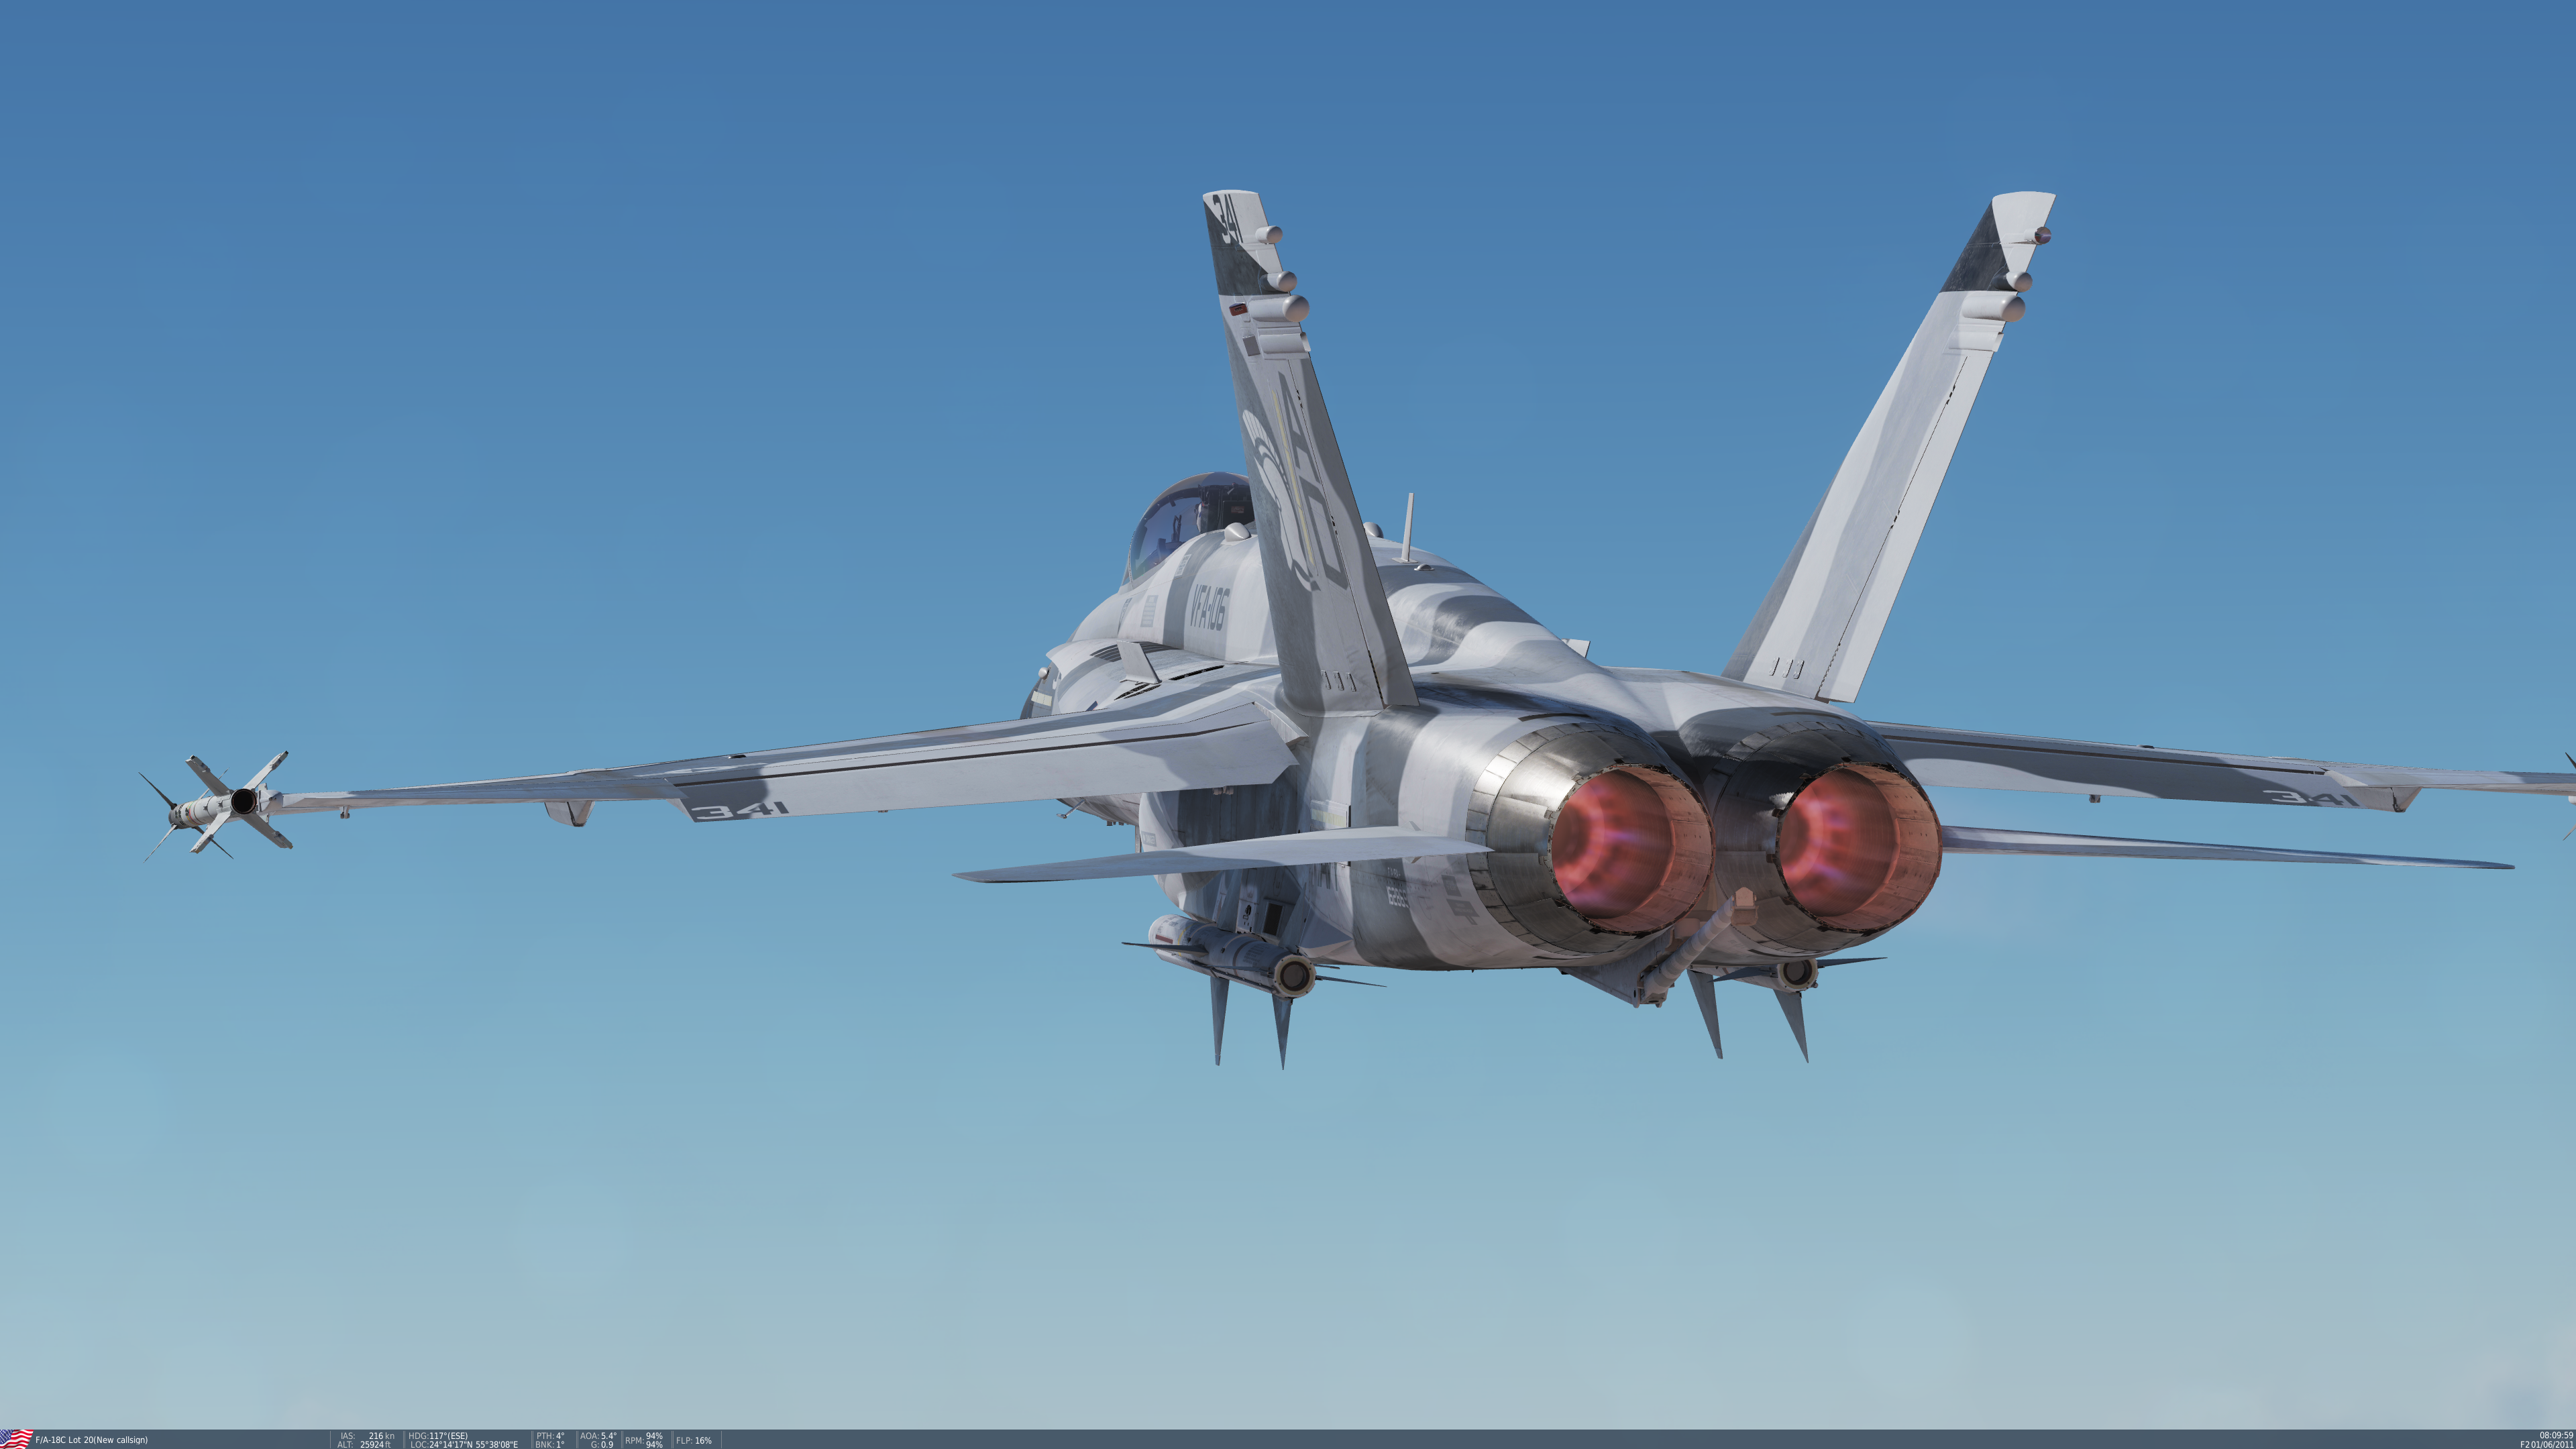
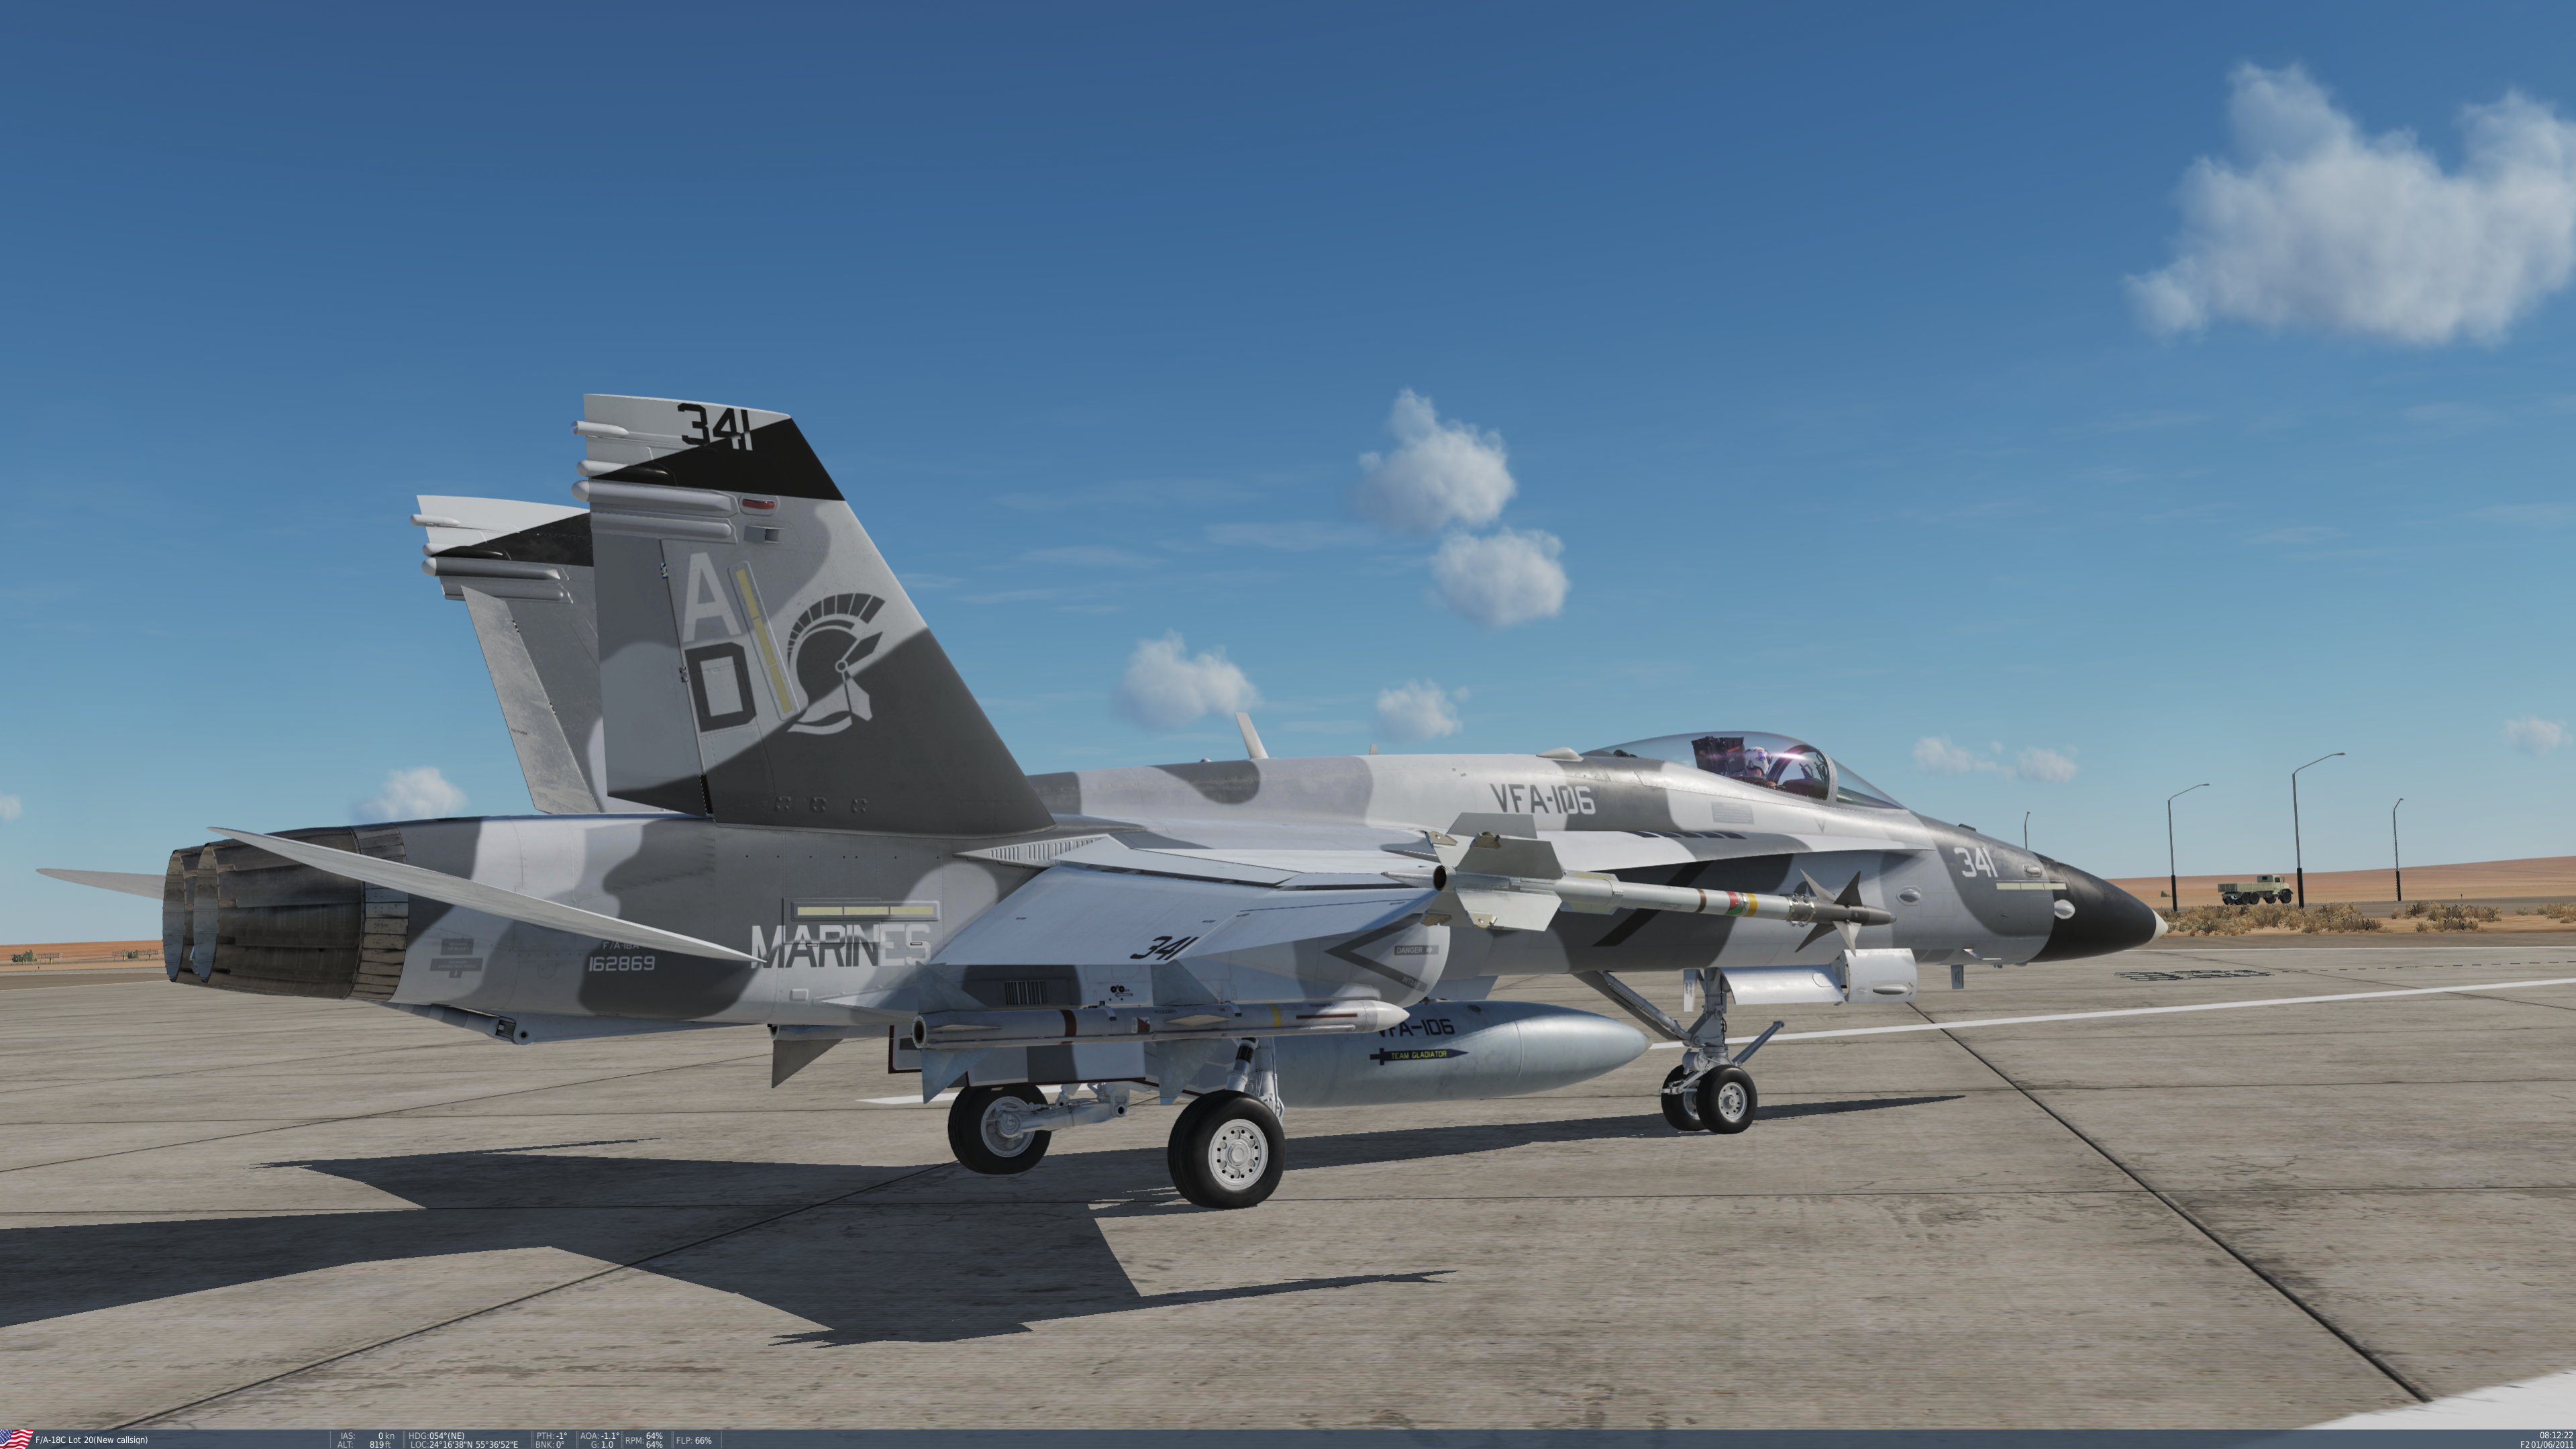
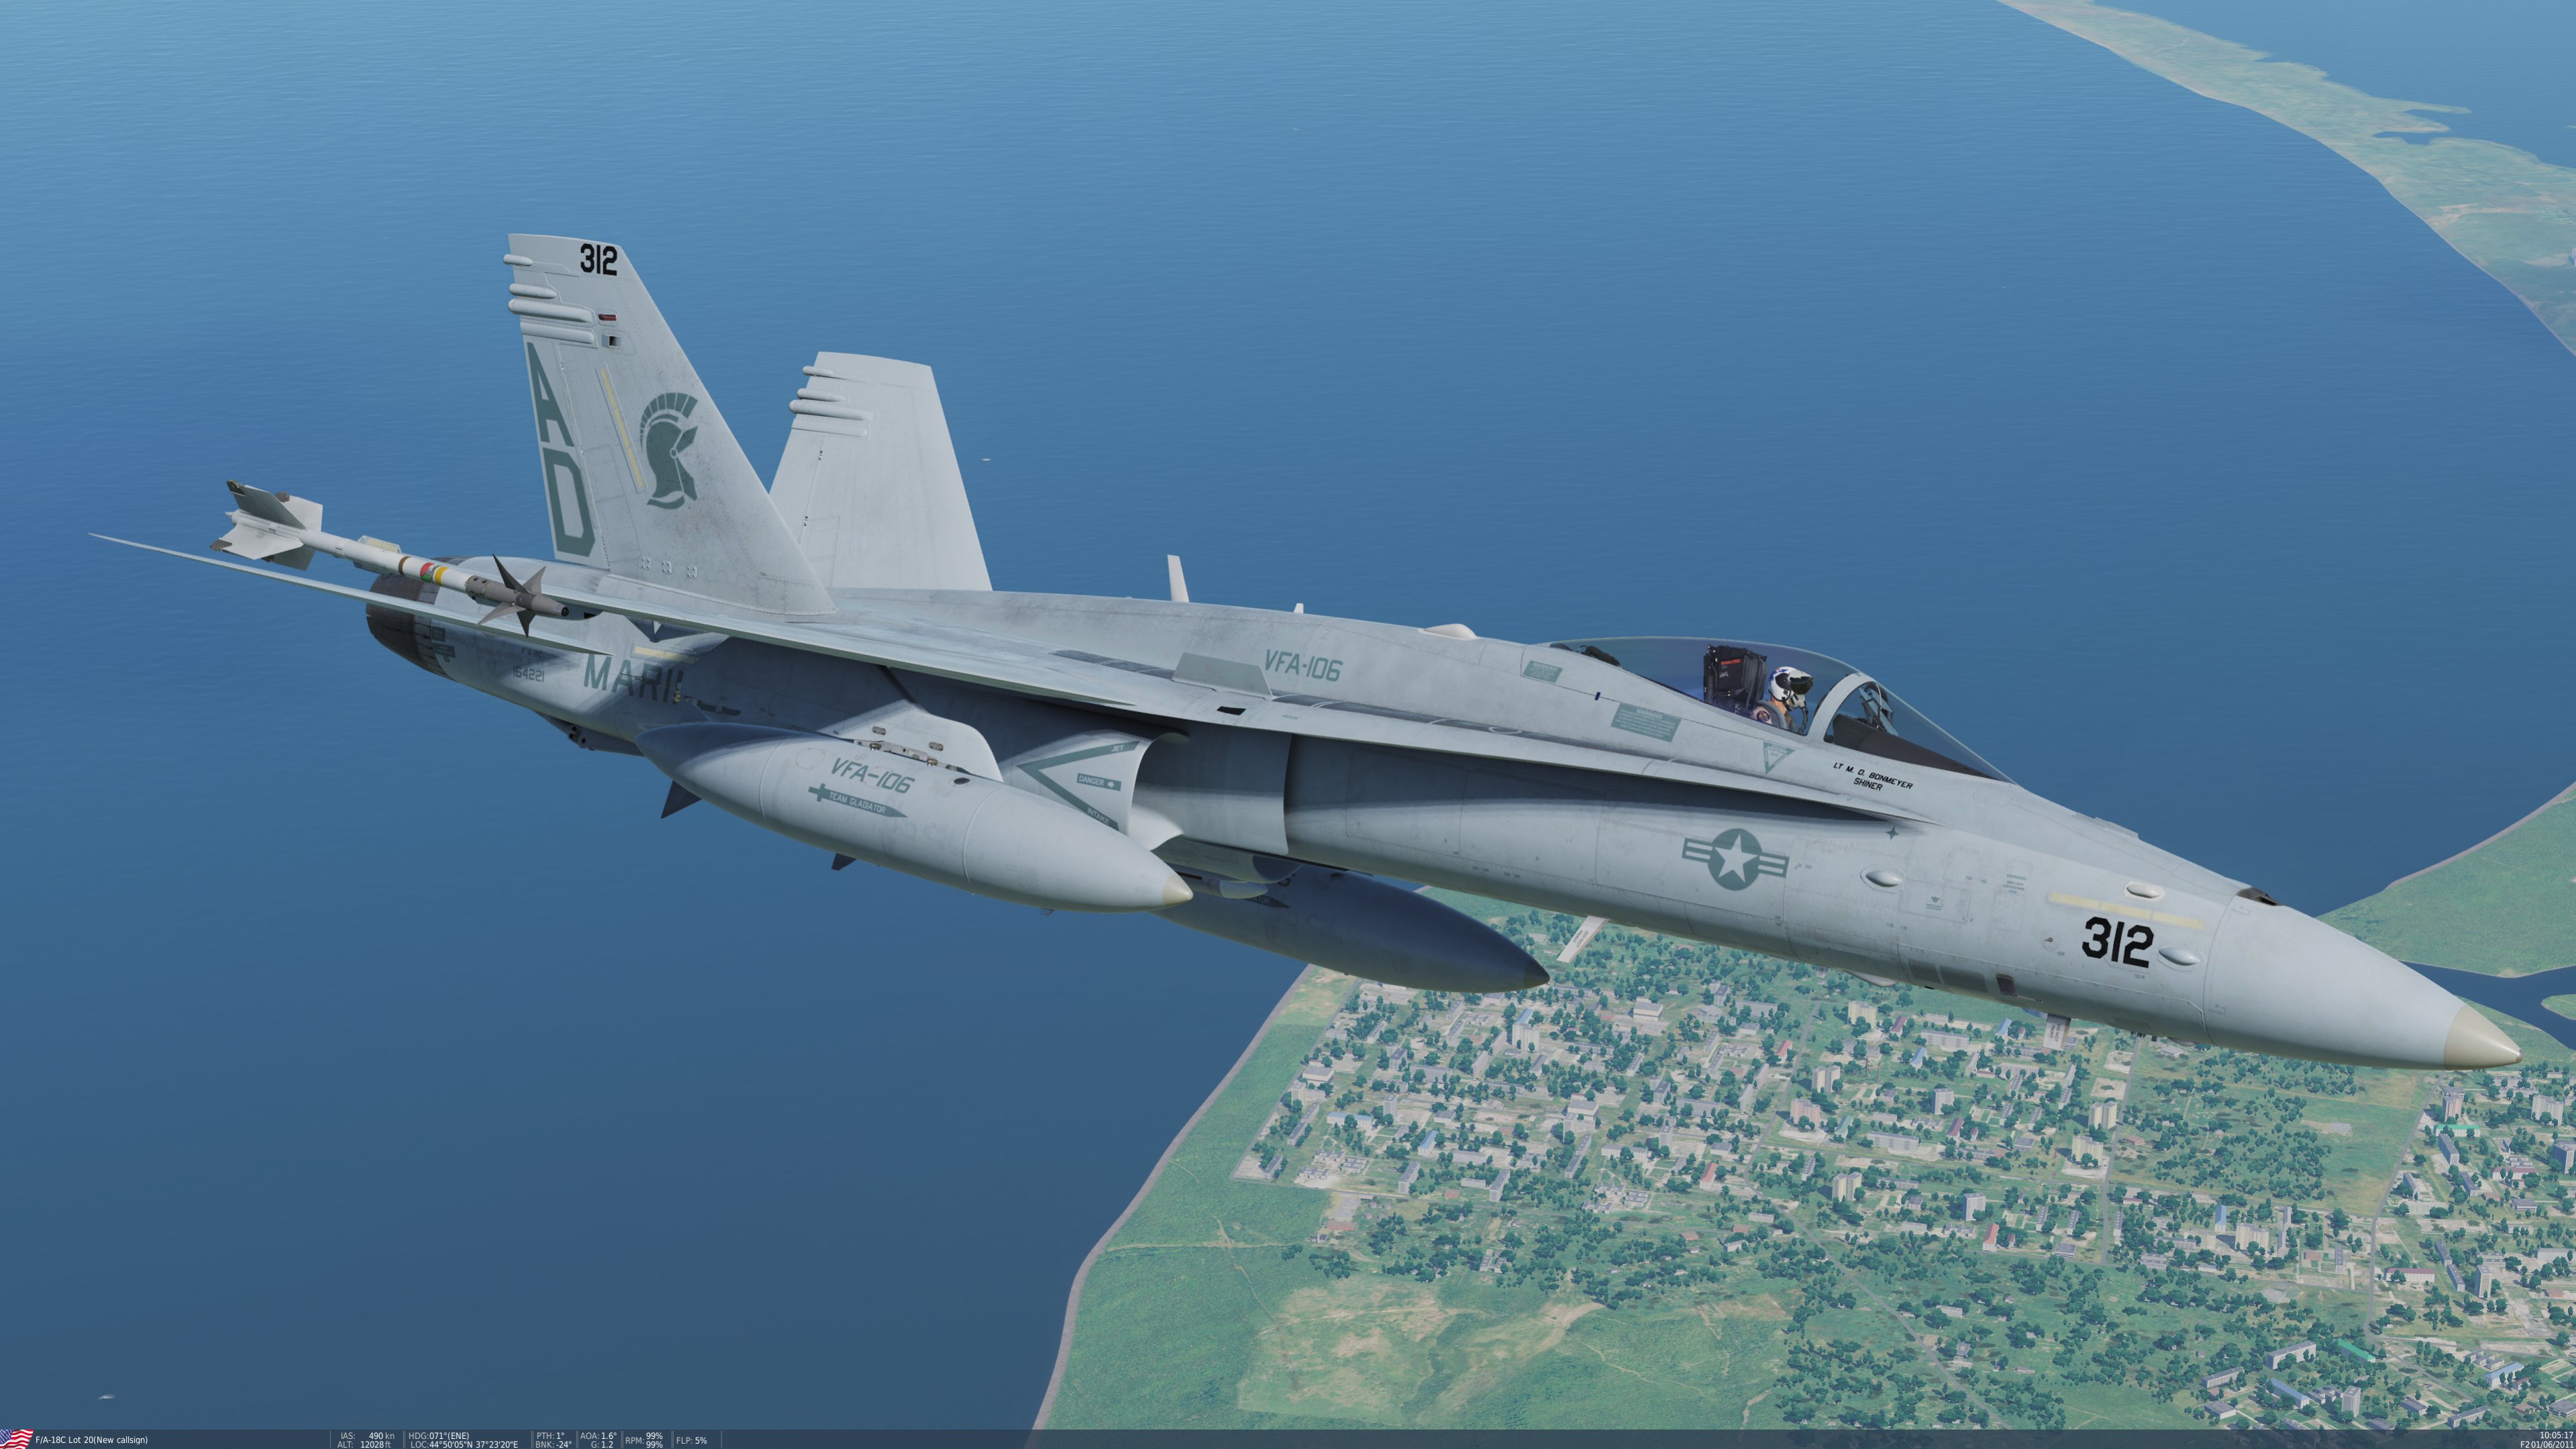
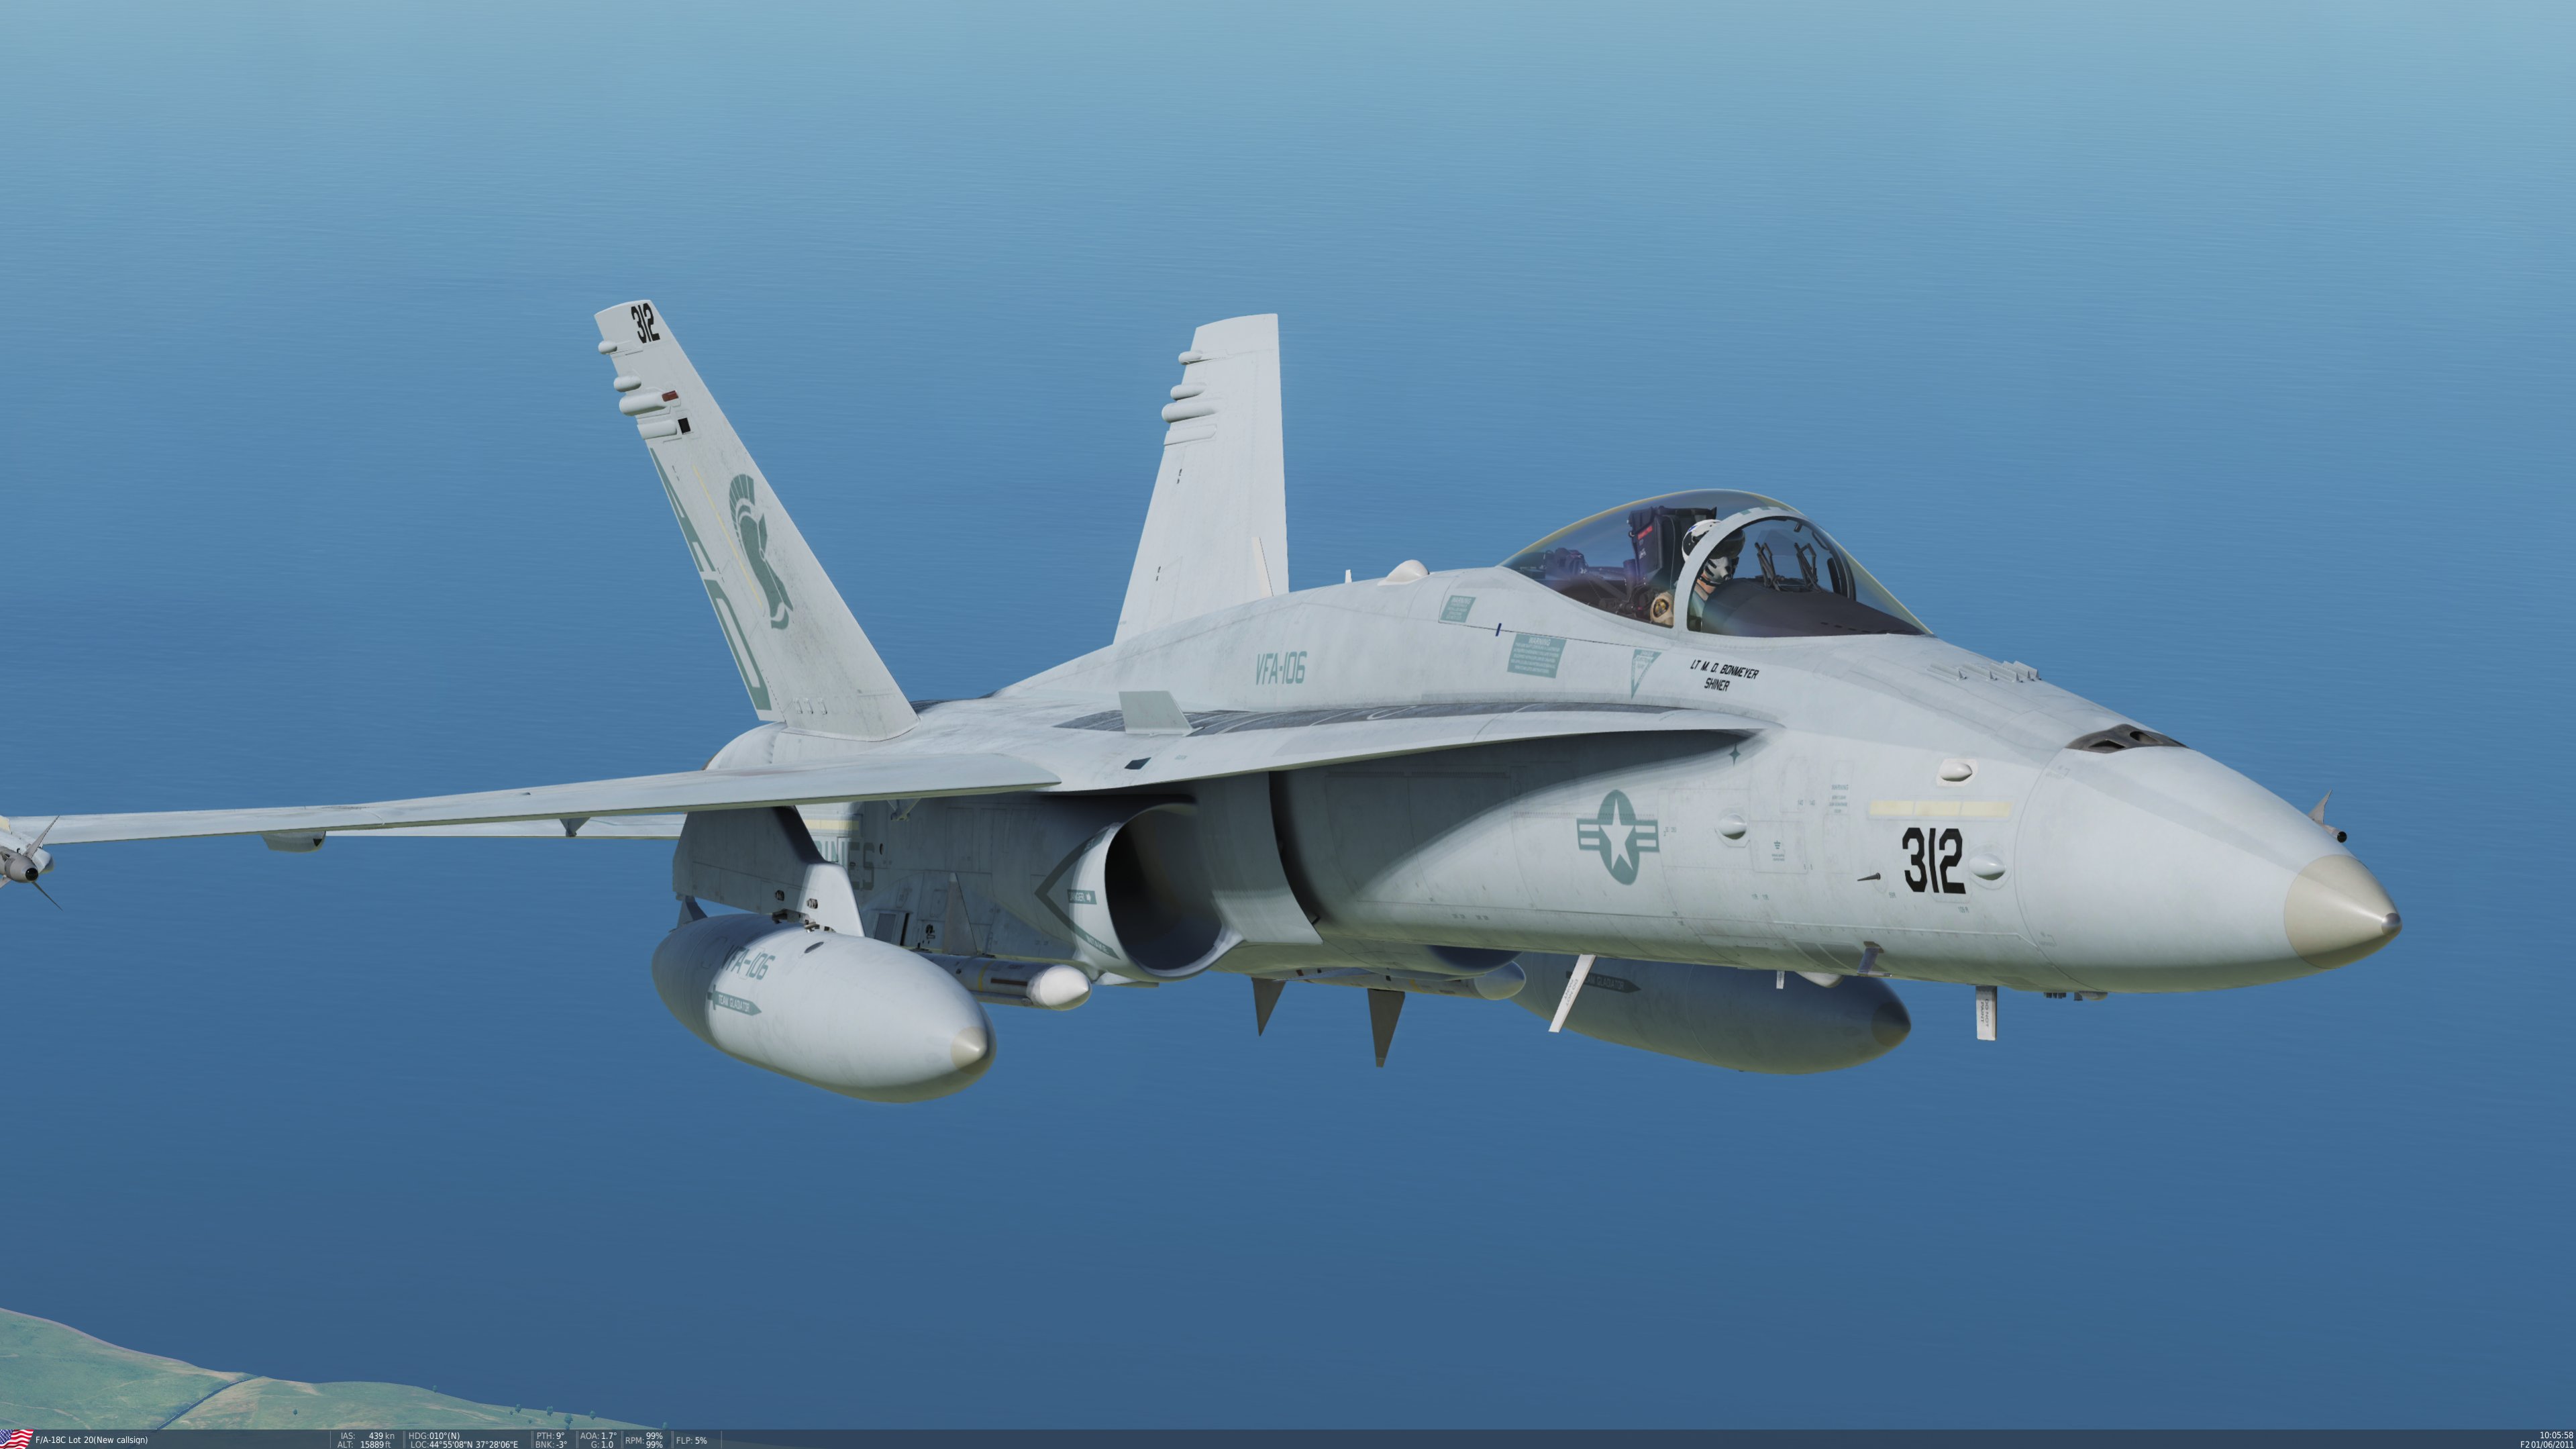
Just a quick update. I've finished all of the line birds. Twelve of them. I did make some color adjustments on the line bird decals. They seemed too dark with not enough blue in them. Fixed that. I'm currently working on the camo bird. It's going to take a few days. The Mig-29 scheme is probably the most difficult scheme to do other than a digital camo. It's coming along very nicely though. Patience yields perfection. I'll post some pics later.
-
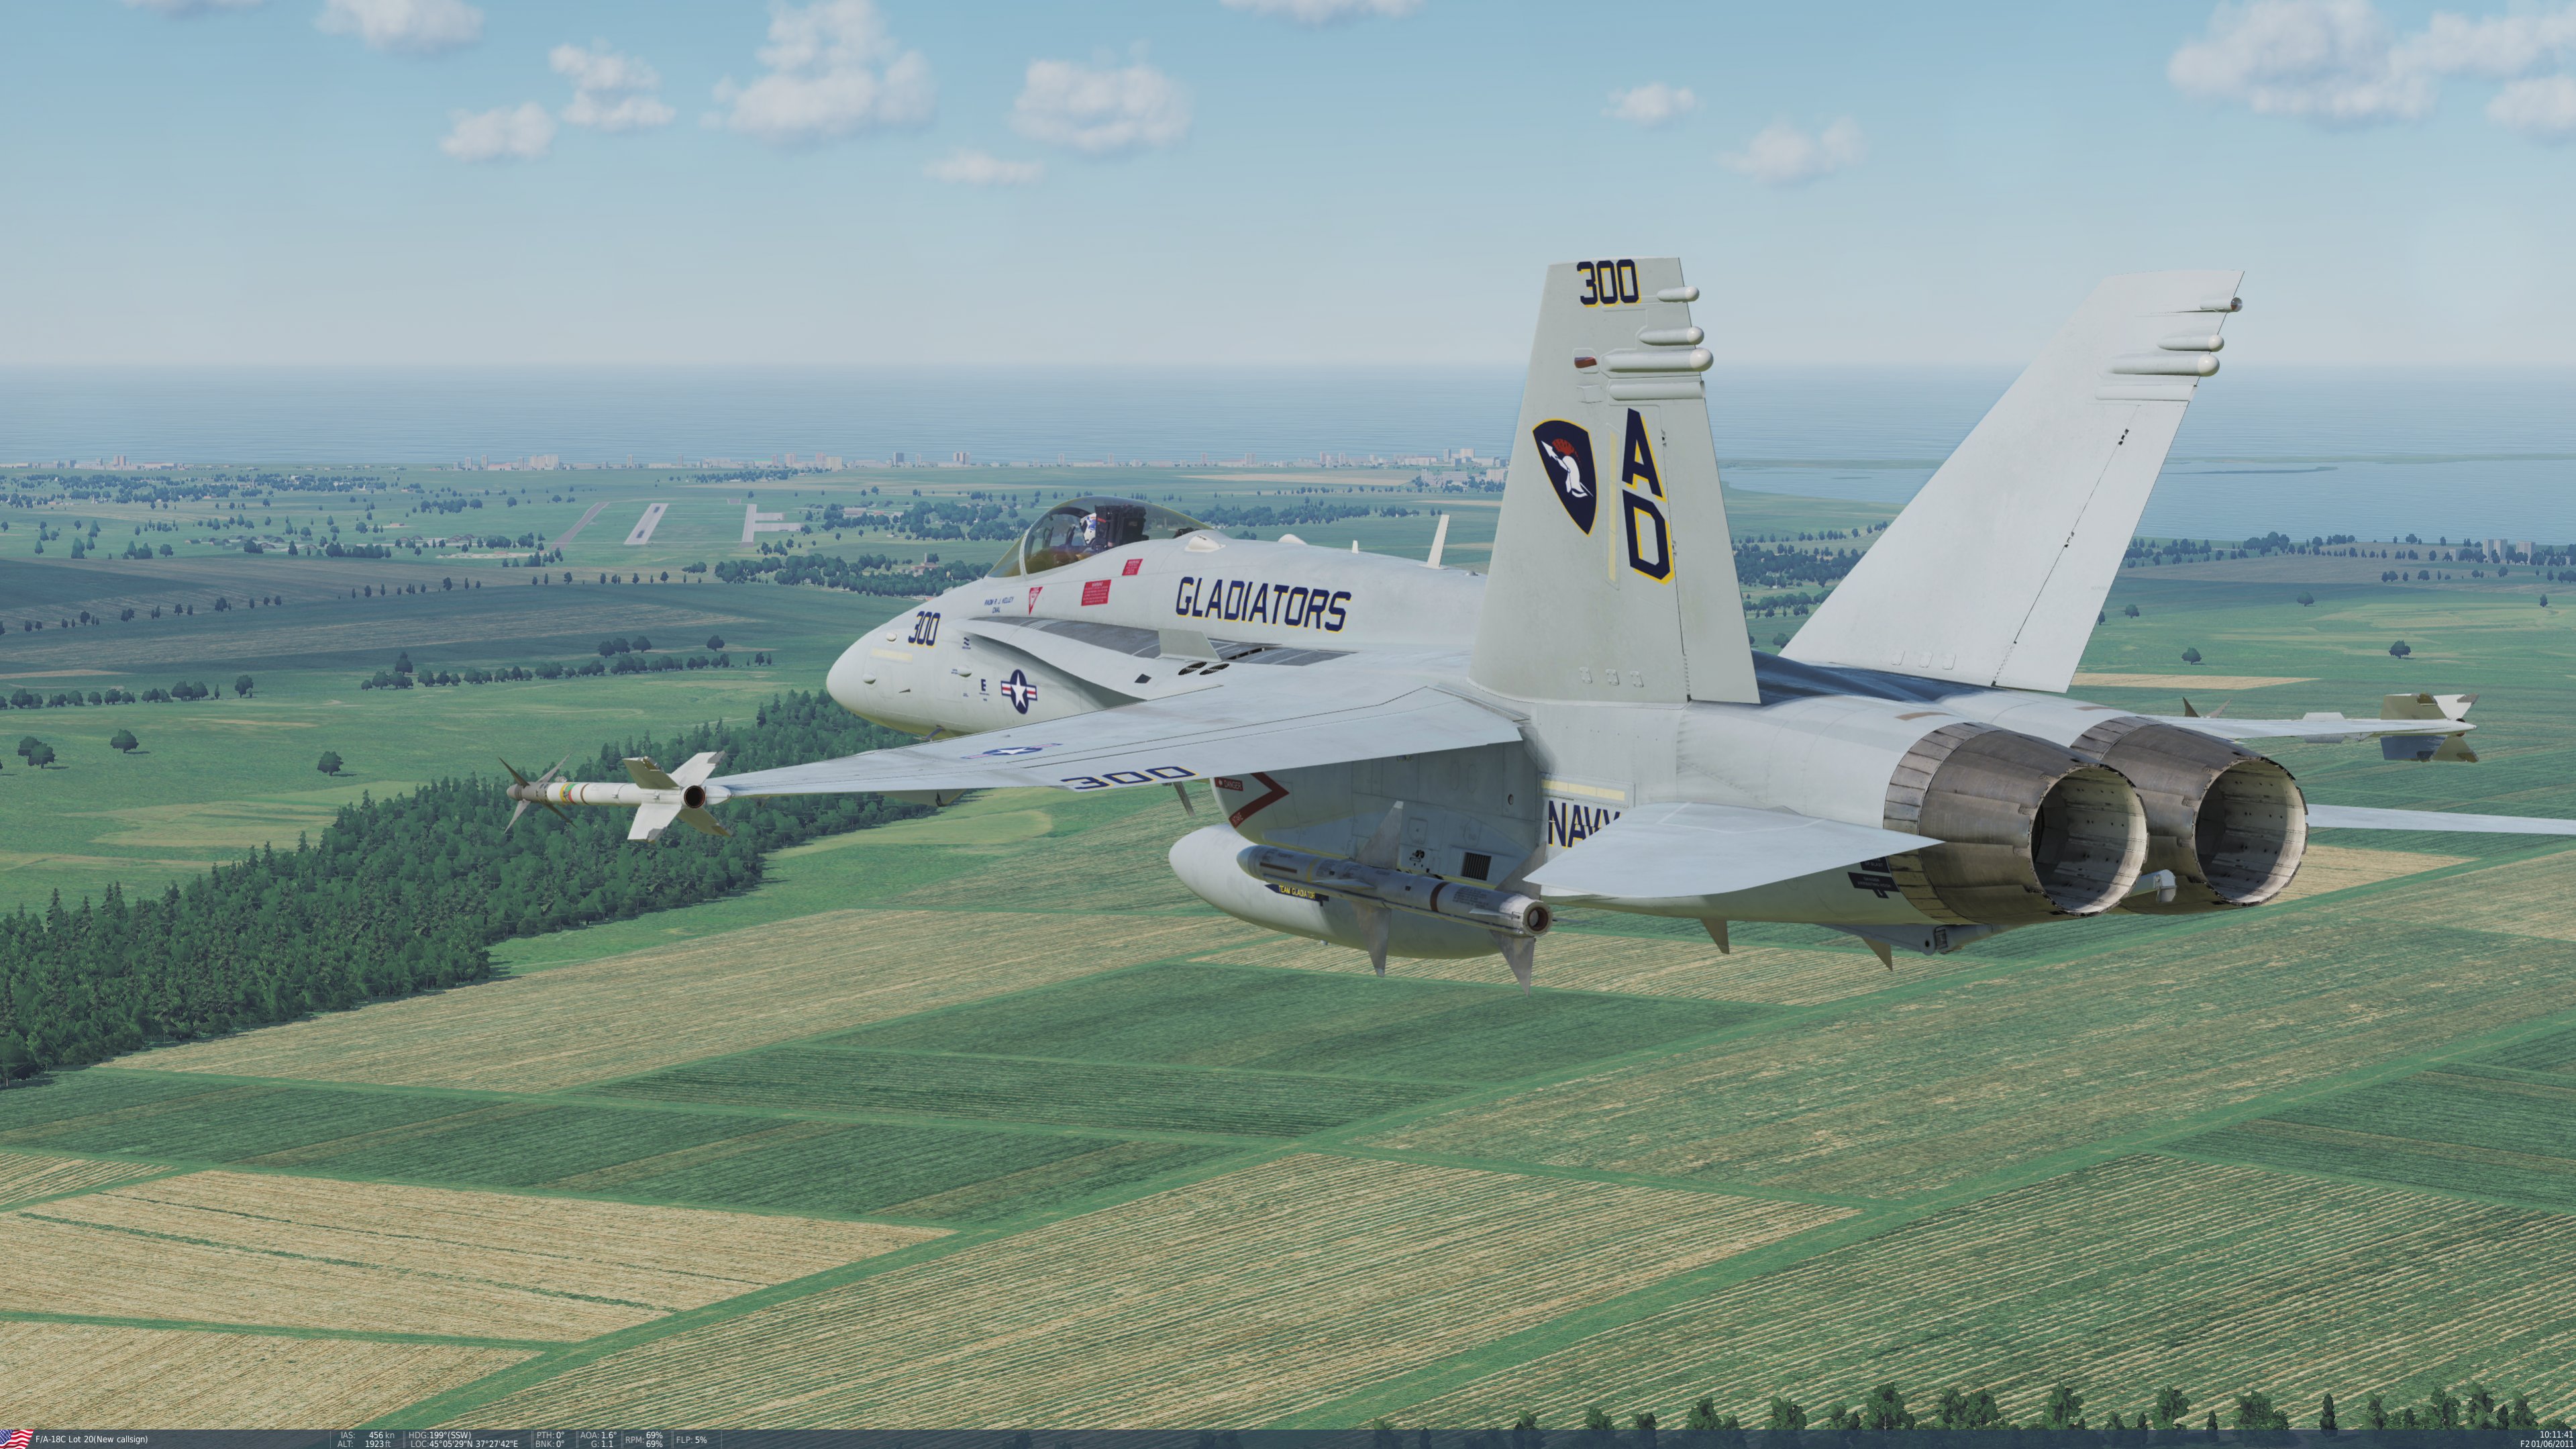
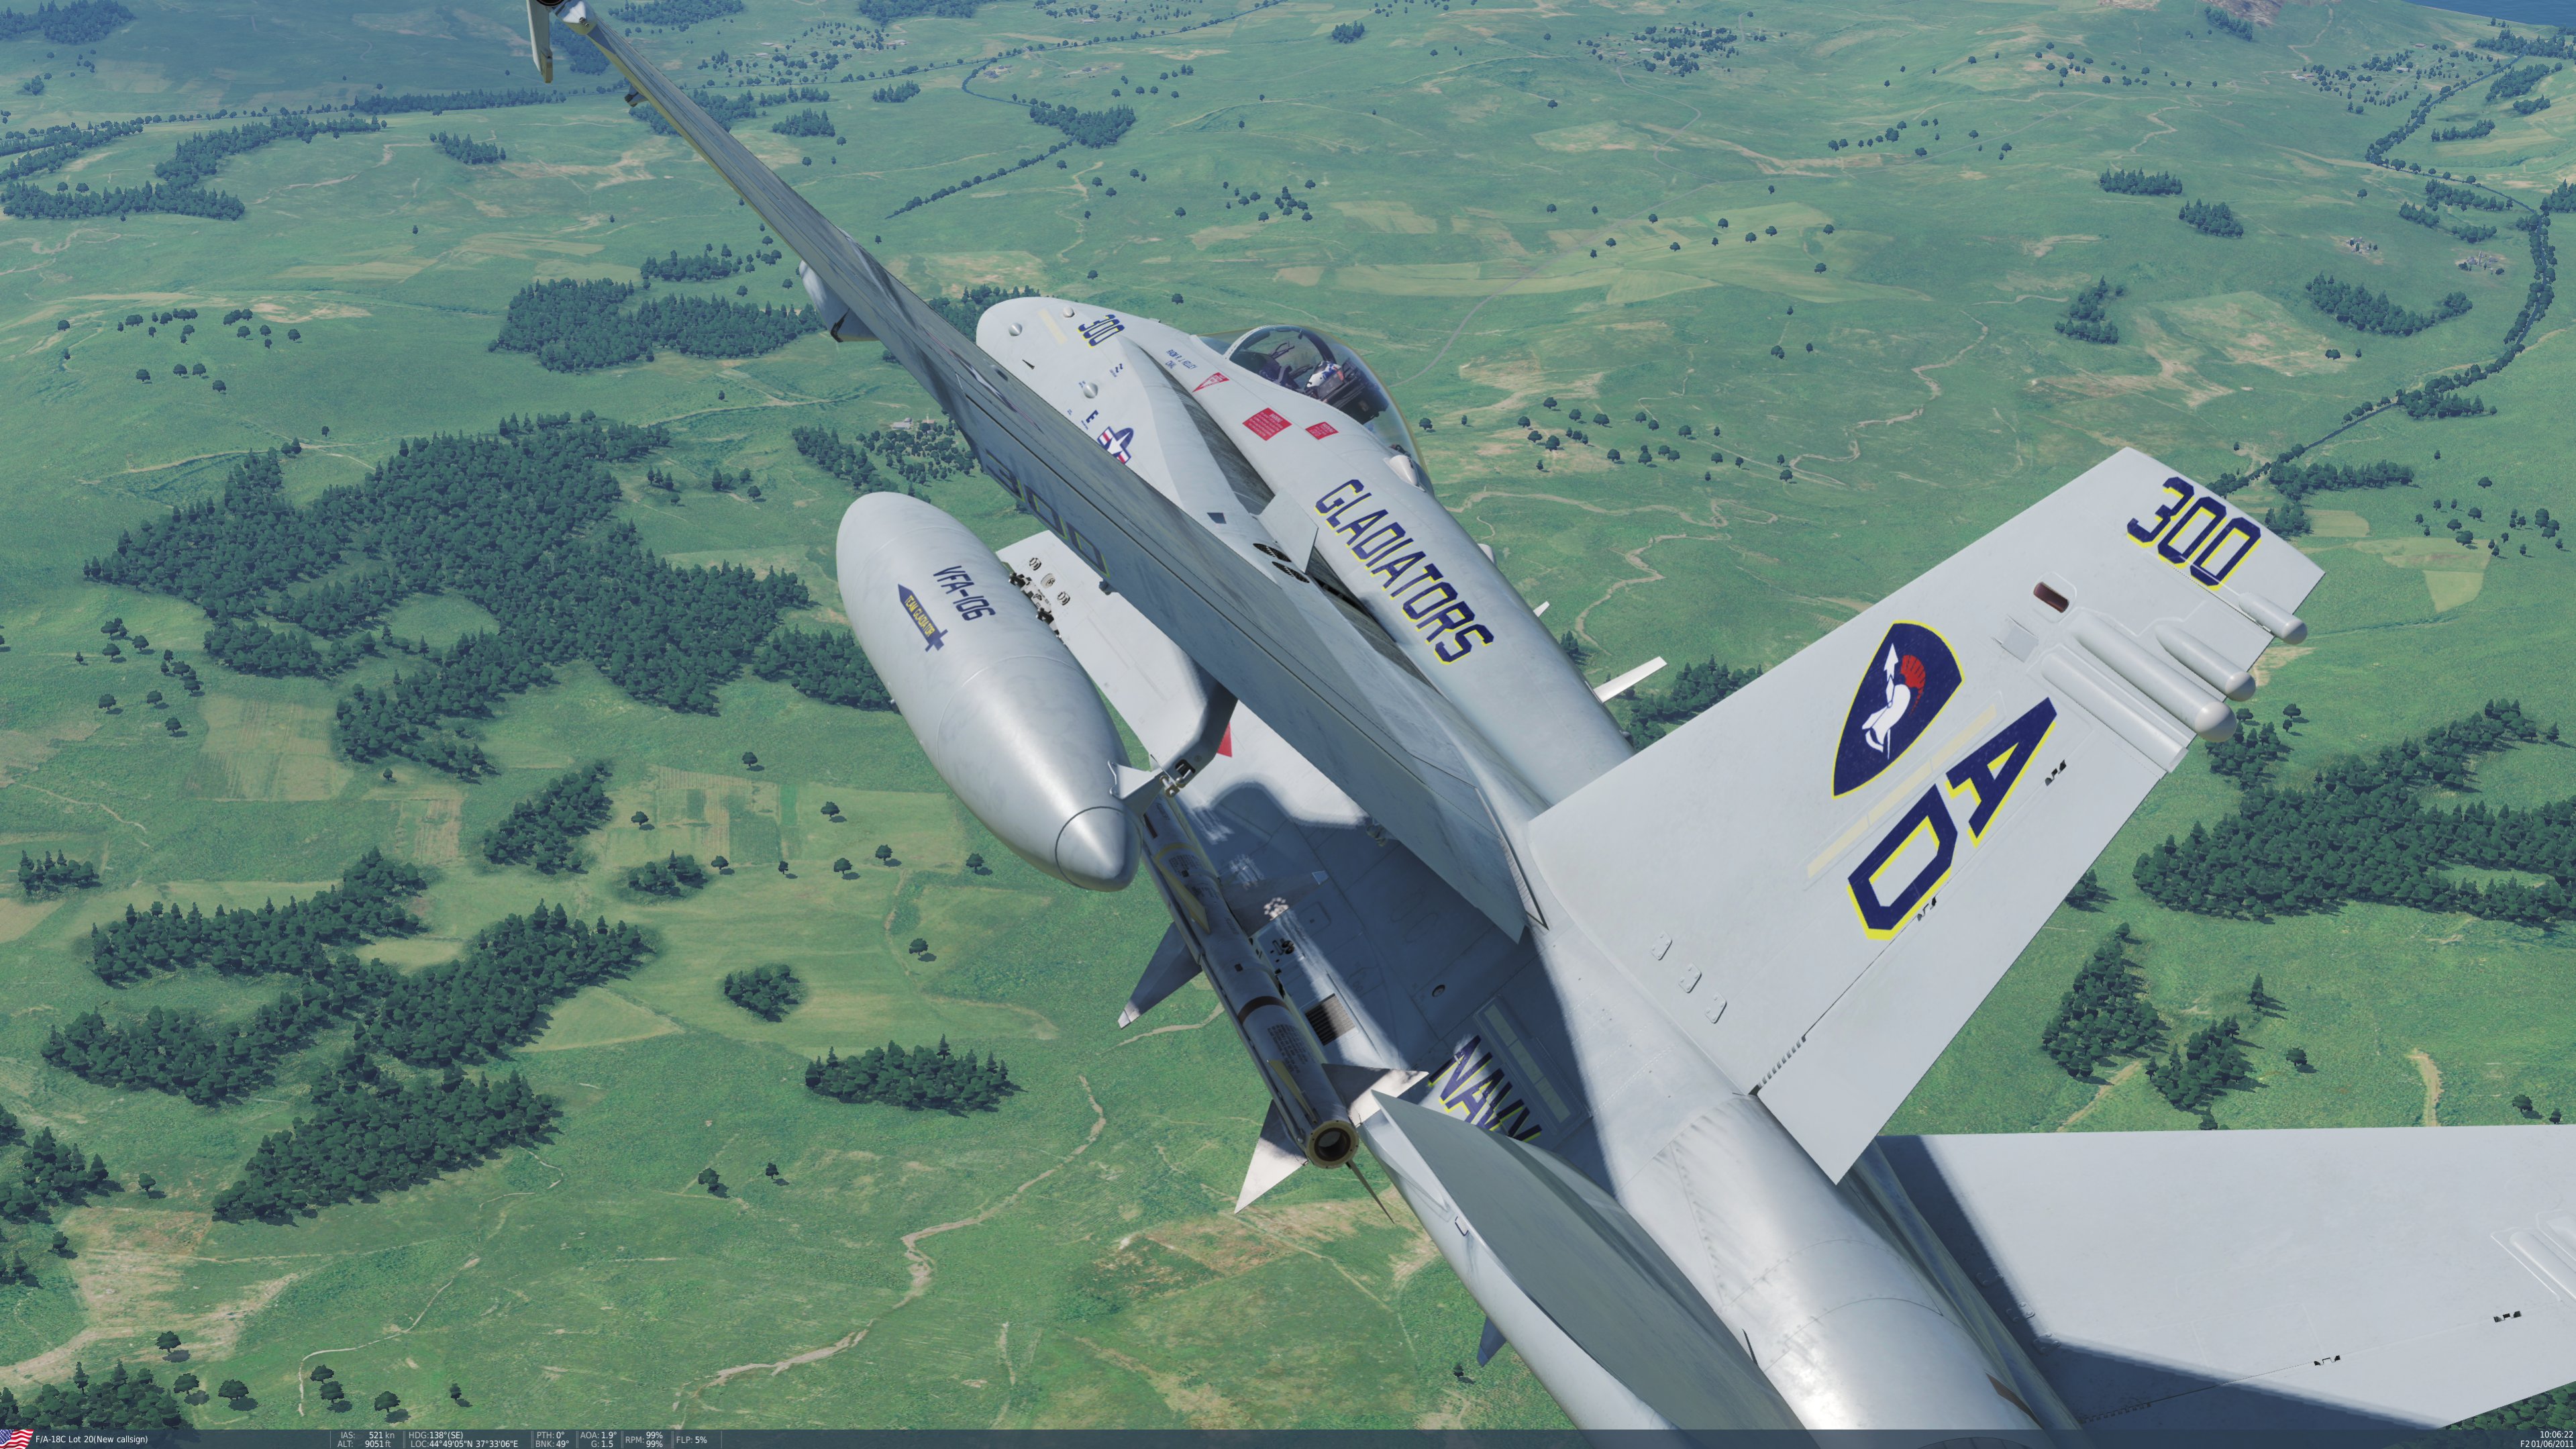
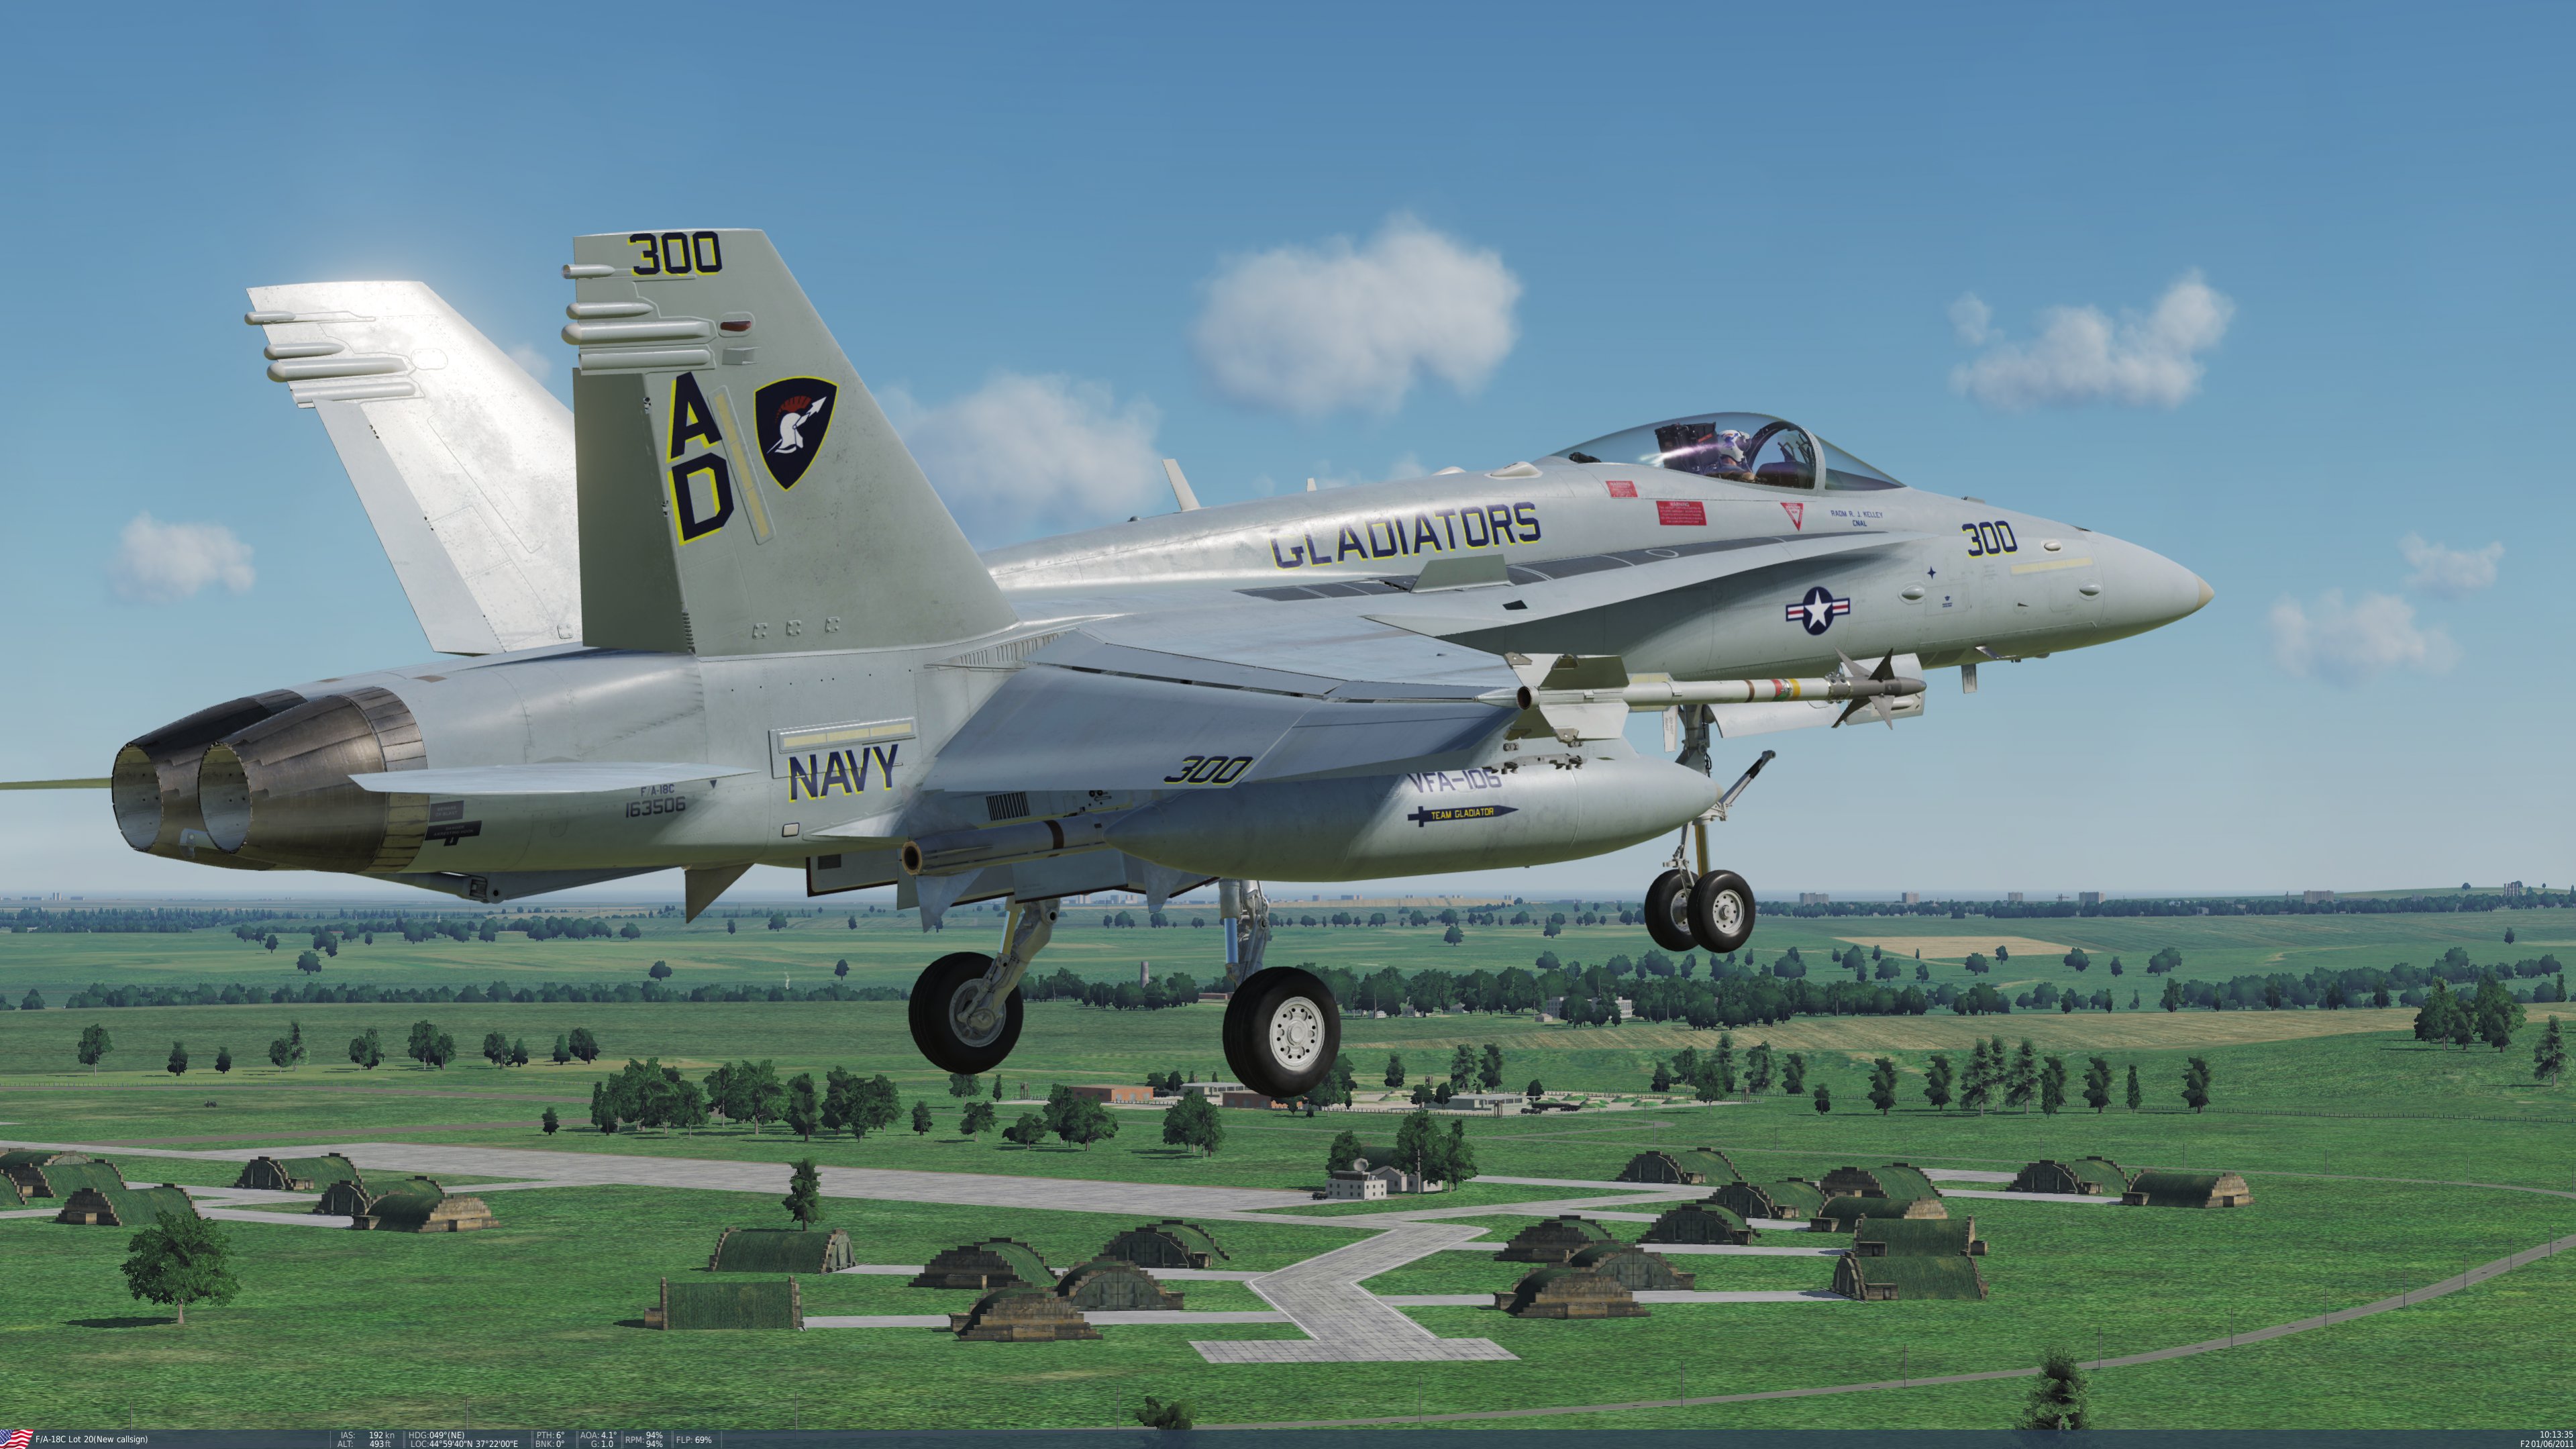
Hi folks, Sorry for the lack of posts. Personal things have stolen my time yet again. I have manged to make some progress though. Finished the 2016 CAG bird and the first 2004 line bird. I will say that sometimes, stepping away has its advantages. You see things that you didn't see before and can address them. I've been taking my time on these two because these two are going to be the templates for all the others that I will be paining. I've learned to not make mistakes and then duplicate them, because instead of fixing one problem, I now have twenty to fix if I duplicate the mistakes without catching them first. So, as I approach the "template makers" as I'll refer to them, I'm taking my time to get them right. One thing I need to address on the line bird is the height of the VFA-106 font. It must match the height of the font on the tank. Close, but not there yet. Once that is done, I will be duplicating off of these two to bring the rest of the aircraft into the pack. That should go relatively quick. Relatively quick being the operative there. Still haven't started the camo bird. That will be last. Note the color of the tail emblem on the 300 bird. In most pictures it looks black most of the time as in real life, but it is actually blue. You can see it depending on the angle. I tried to capture that as best I can. I think I did good. Dark blues are really funny in the DCS lighting engine. But if you look at real pics, you see these dark blues behave the same. The rear shot of the 300 aircraft cocked to one side should show you what I'm speaking to. And yes, the decals are 100% created from scratch.