Don_Walker
-
Posts
24 -
Joined
-
Last visited
Content Type
Profiles
Forums
Events
Everything posted by Don_Walker
-
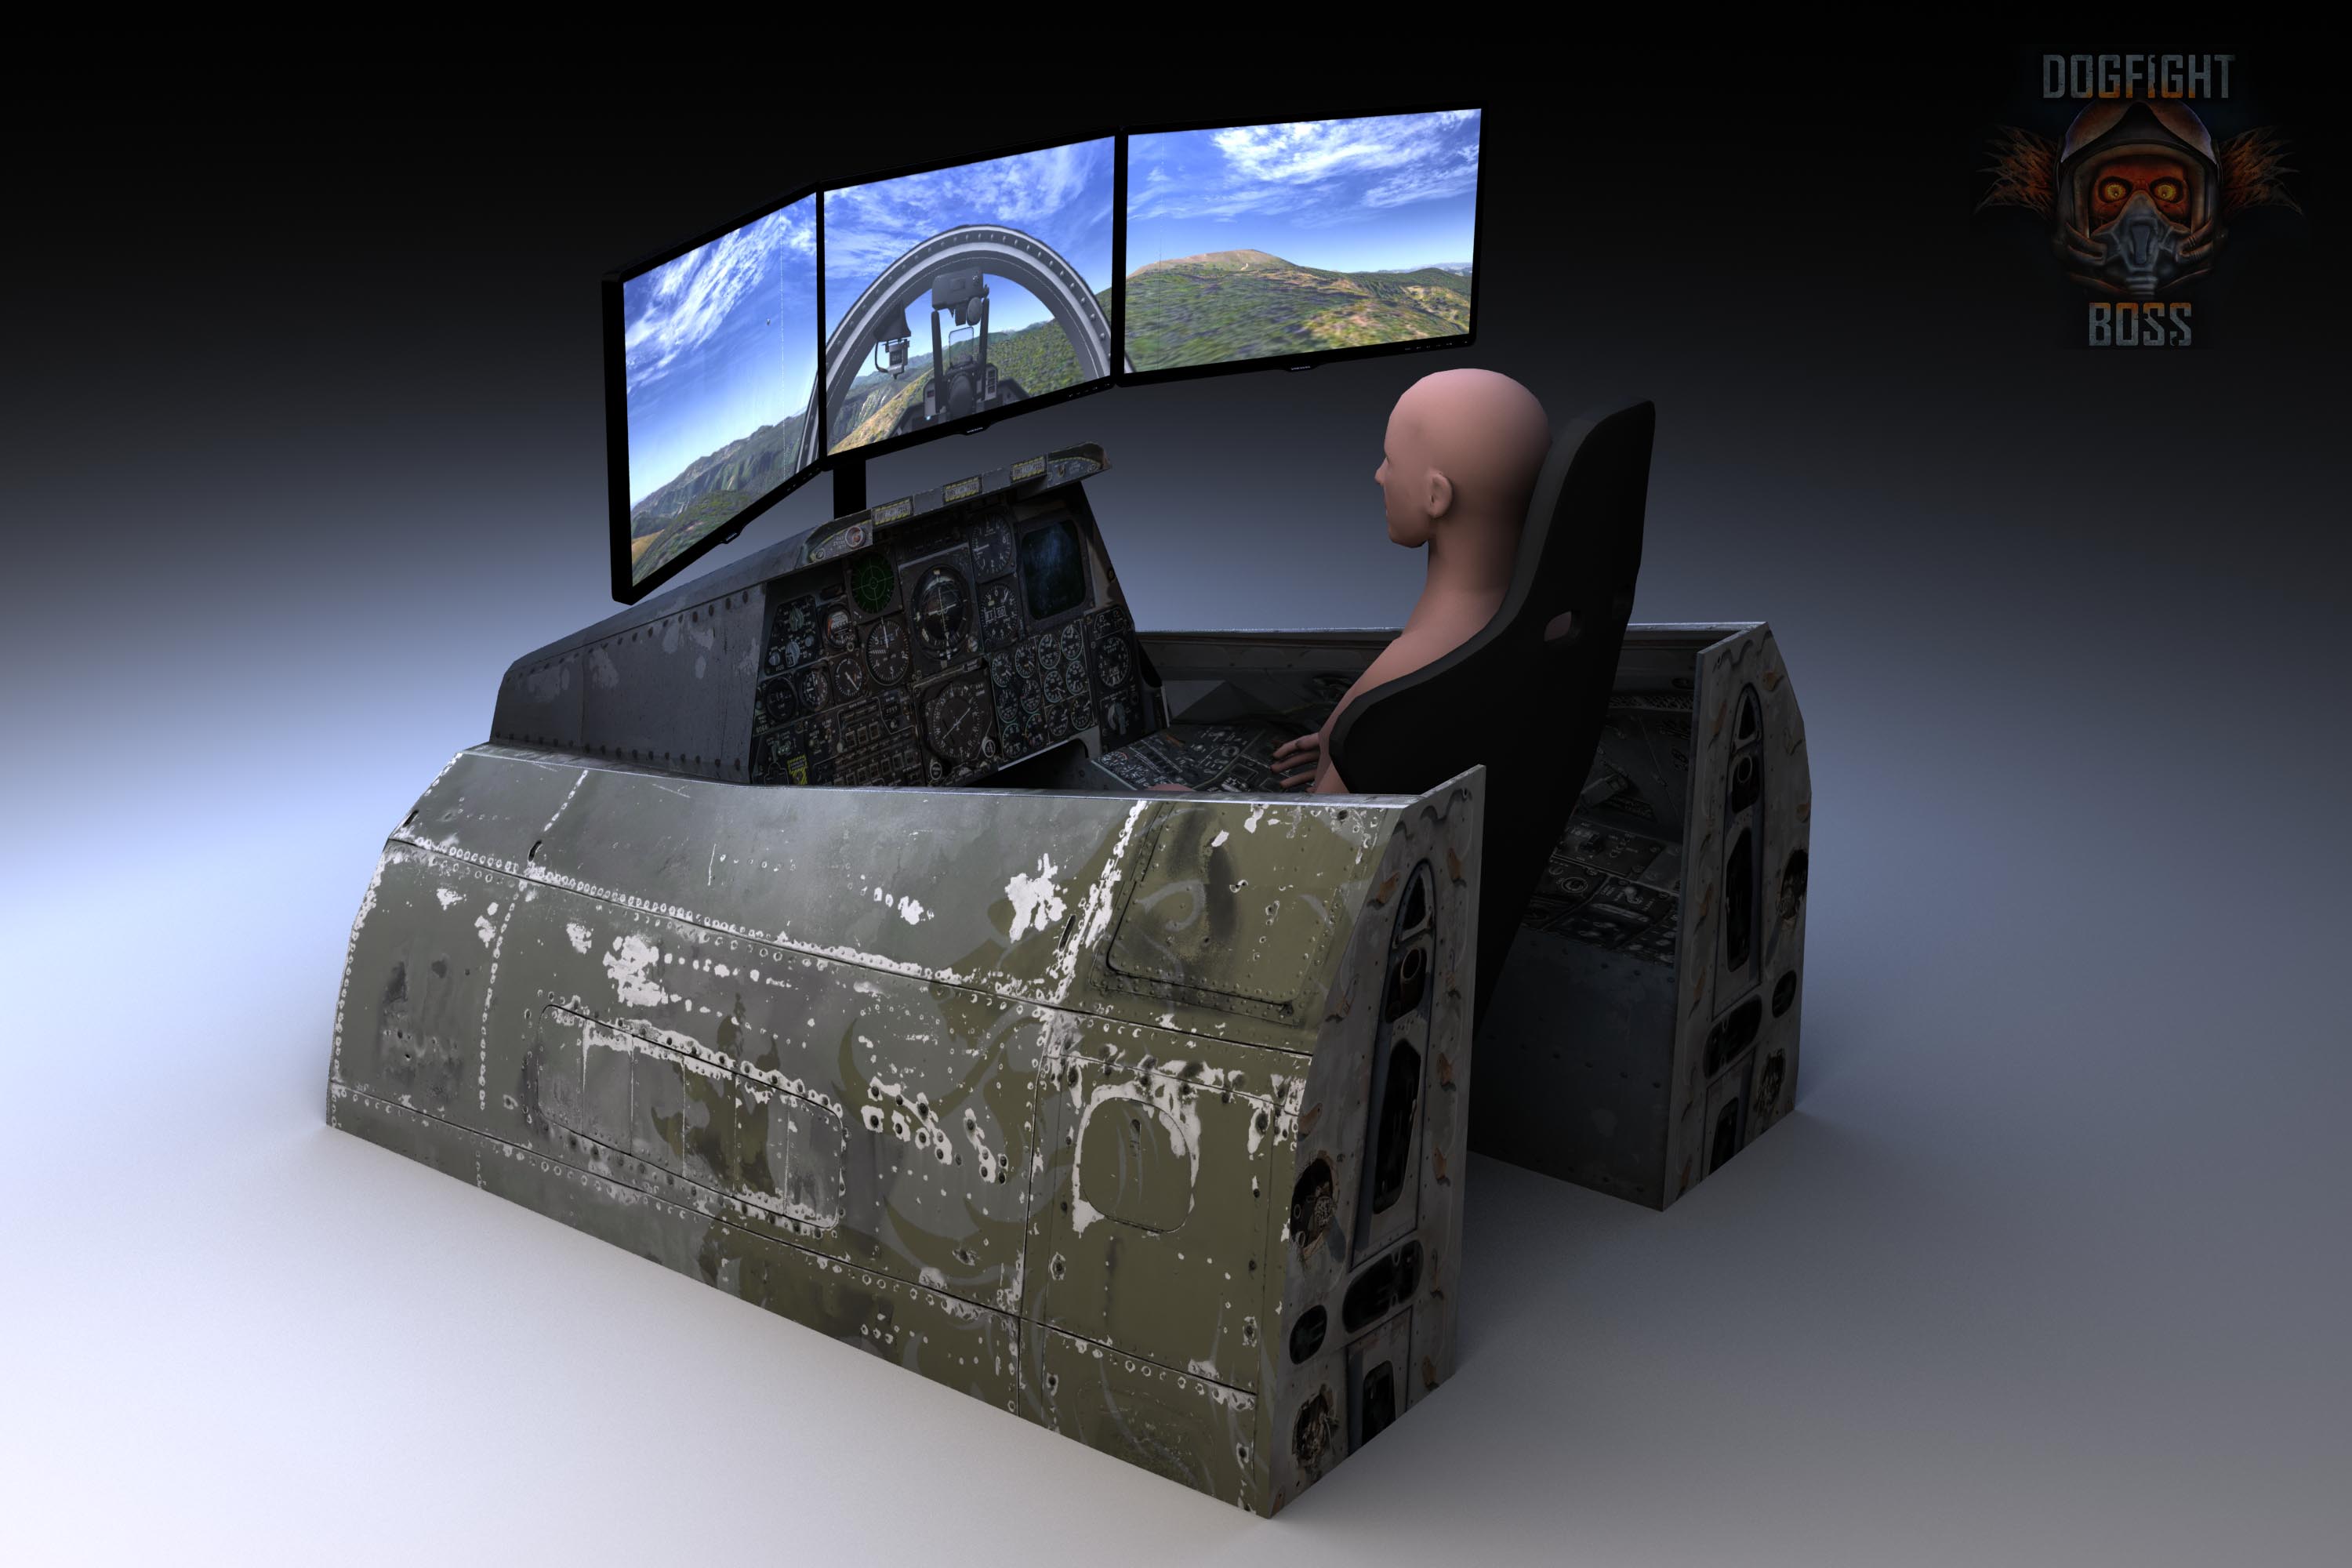
Dogfight Boss f-18 Hi All, here is my recent set up from dogfightboss.com

-
I am sorry but You misunderstood the purpose of the ''plans'' , our digital downloads wasn't plans, it was always a kit which should be cutted from the materials what we recommend. If we want to publish plans, we would do it in different way. Right now its a kit what suppose to be cutted from cardboard and coreflute board. There are tested tolerances for these materials and it works. Anyway, we stopped to offer digital downloads and from now we have only physical products.
-
Thank you!
-
Thank you!
-
Yeah, we changed lot of things to be as realistic as could be, due many requests from customers.
-
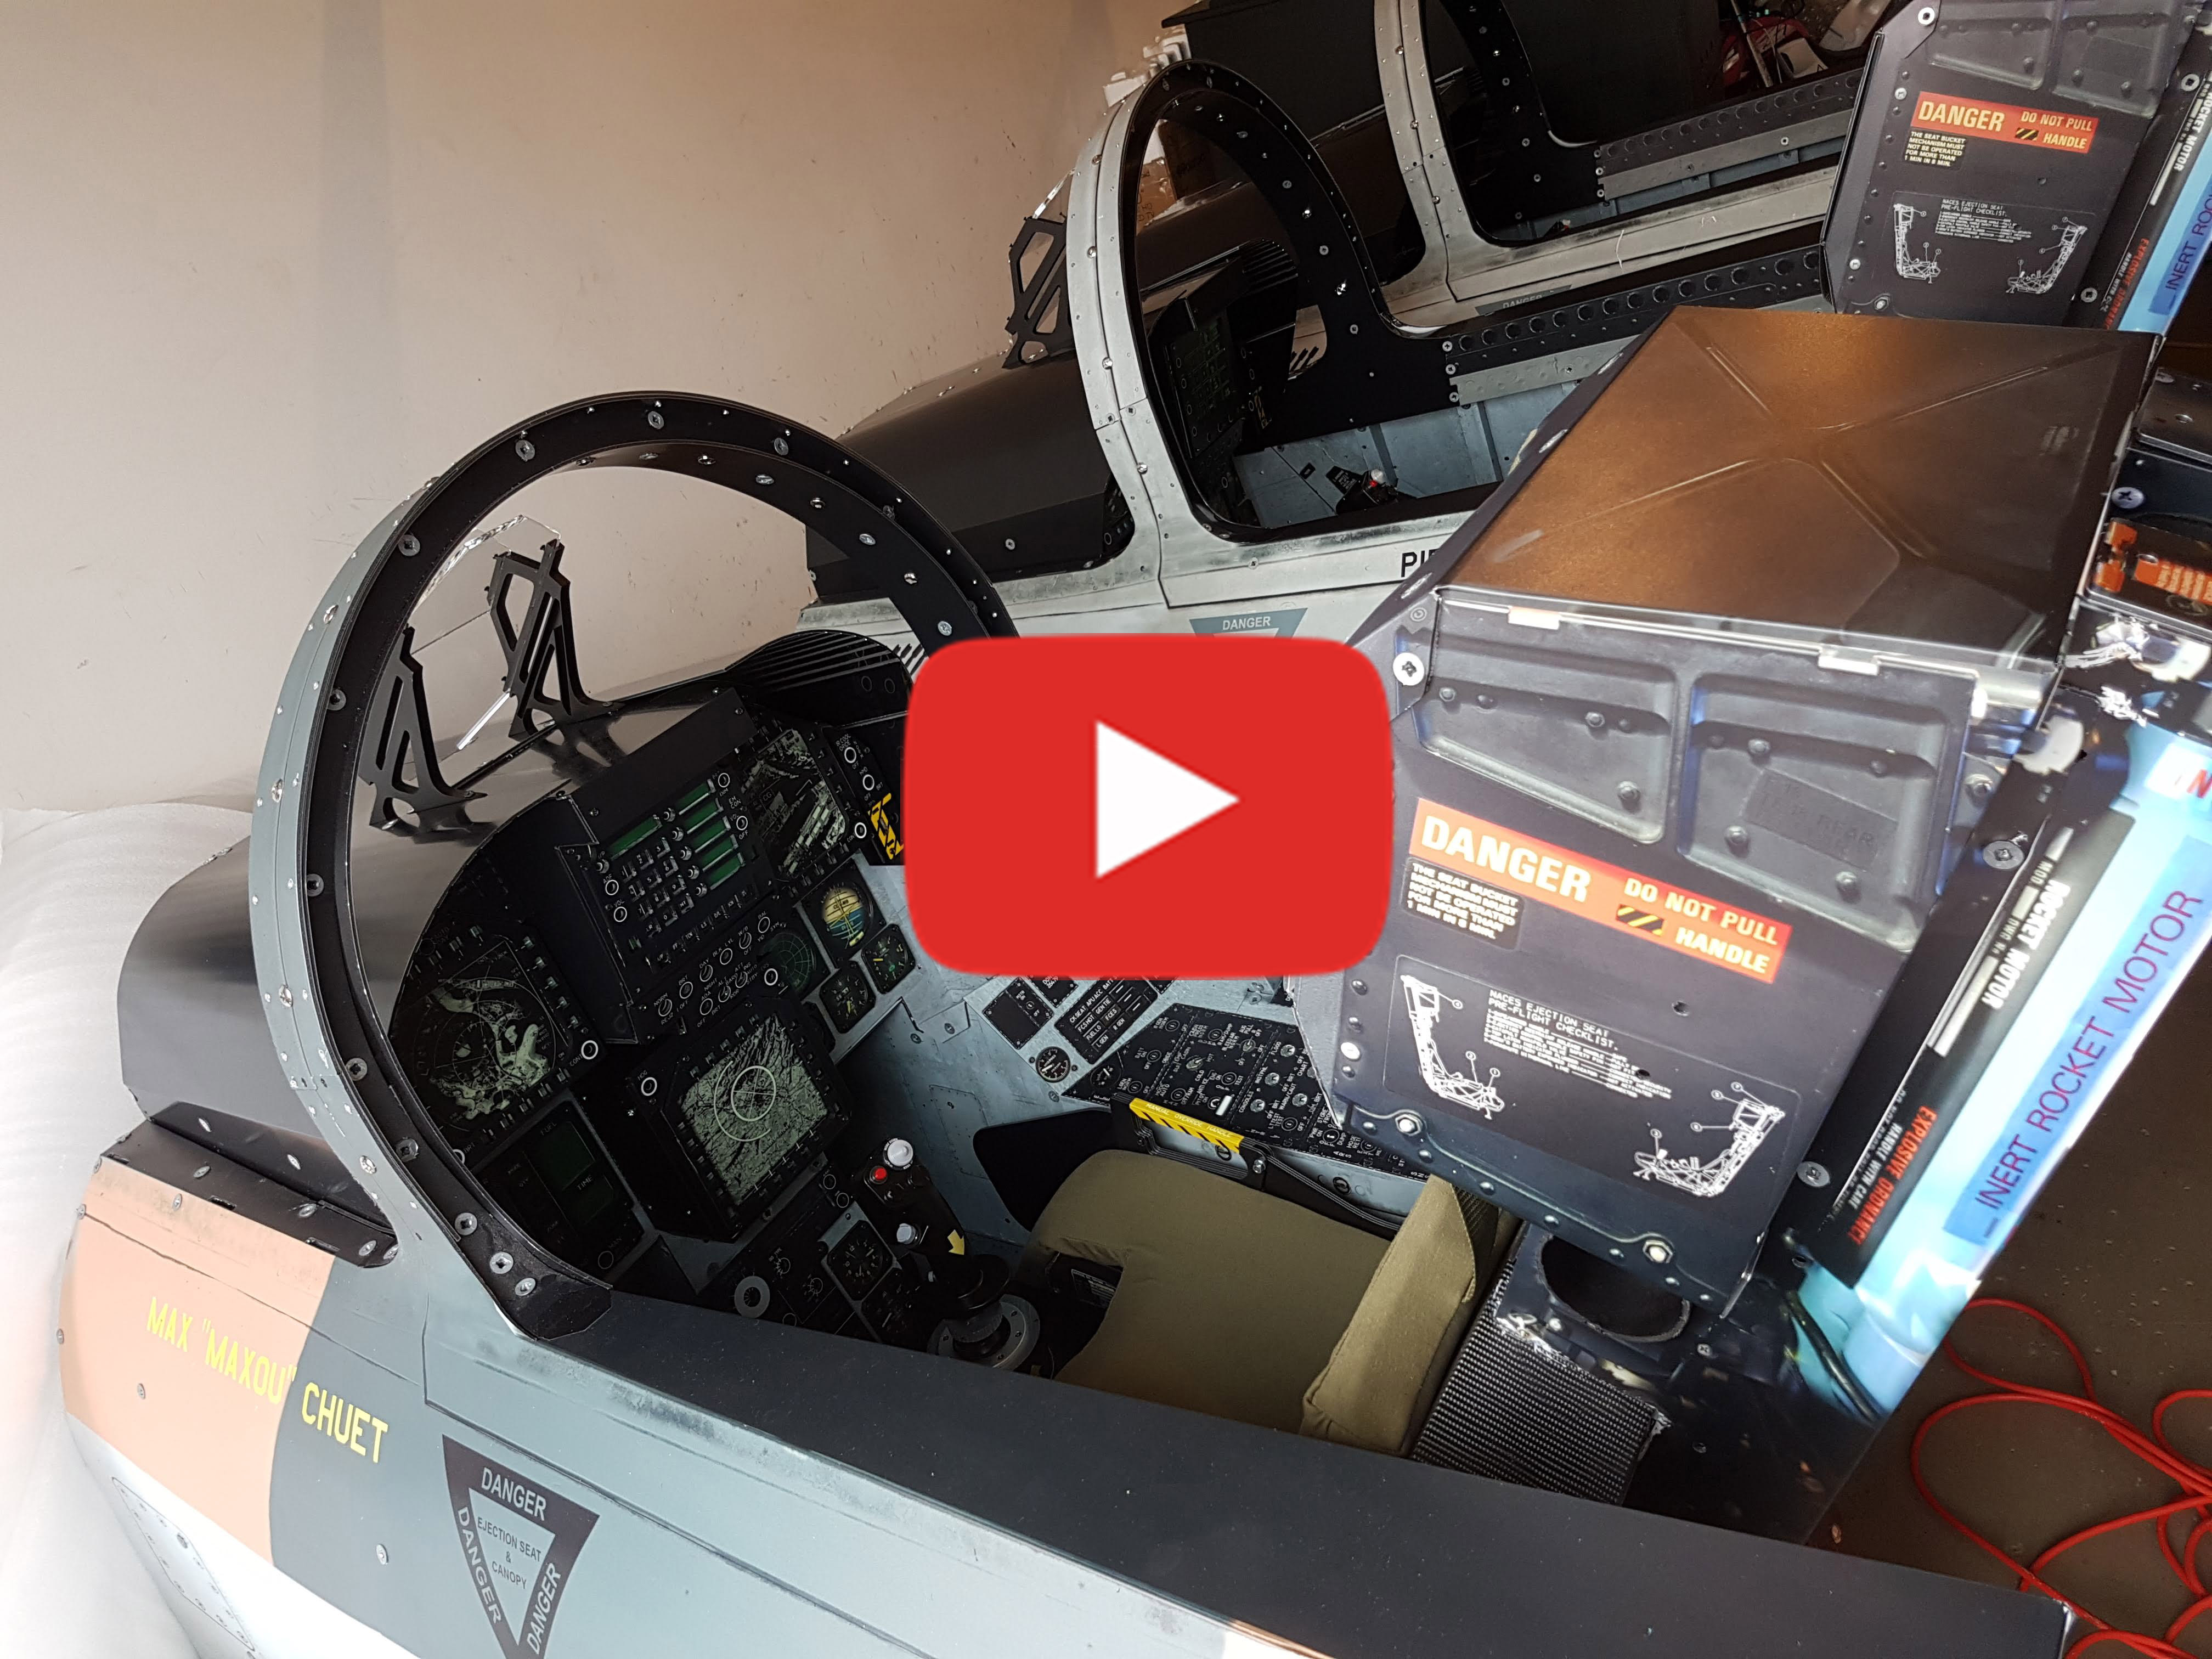
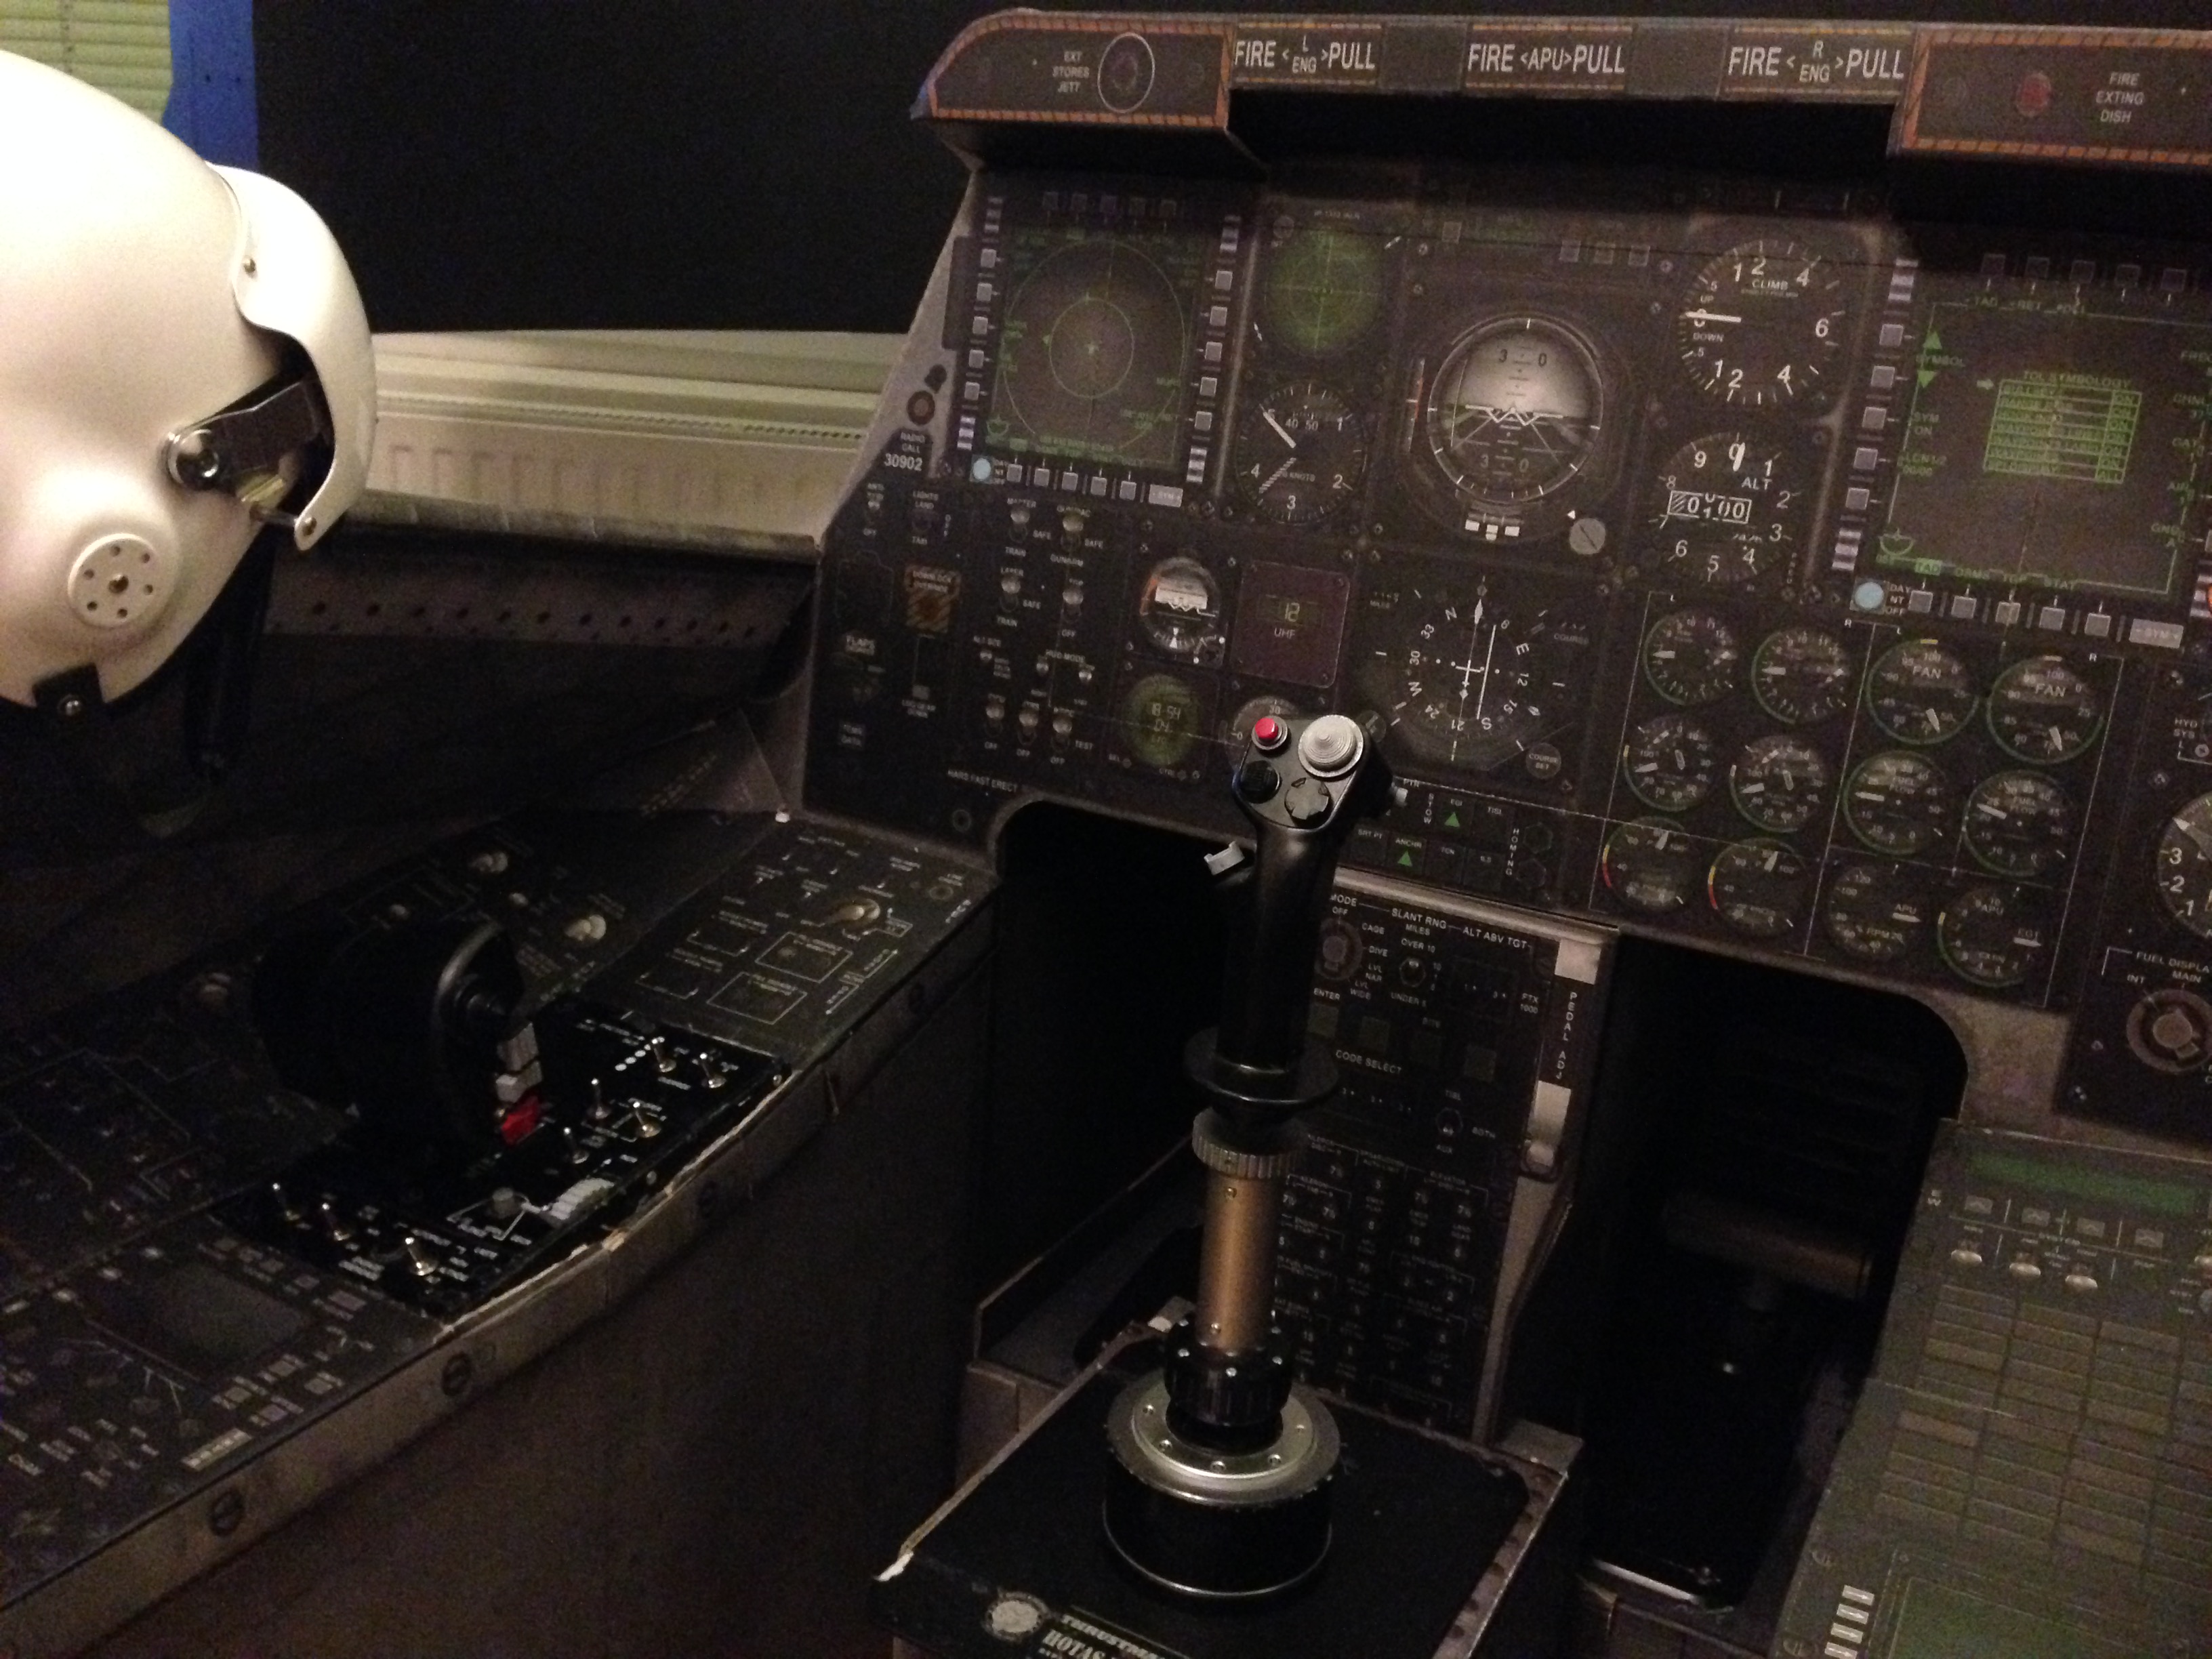
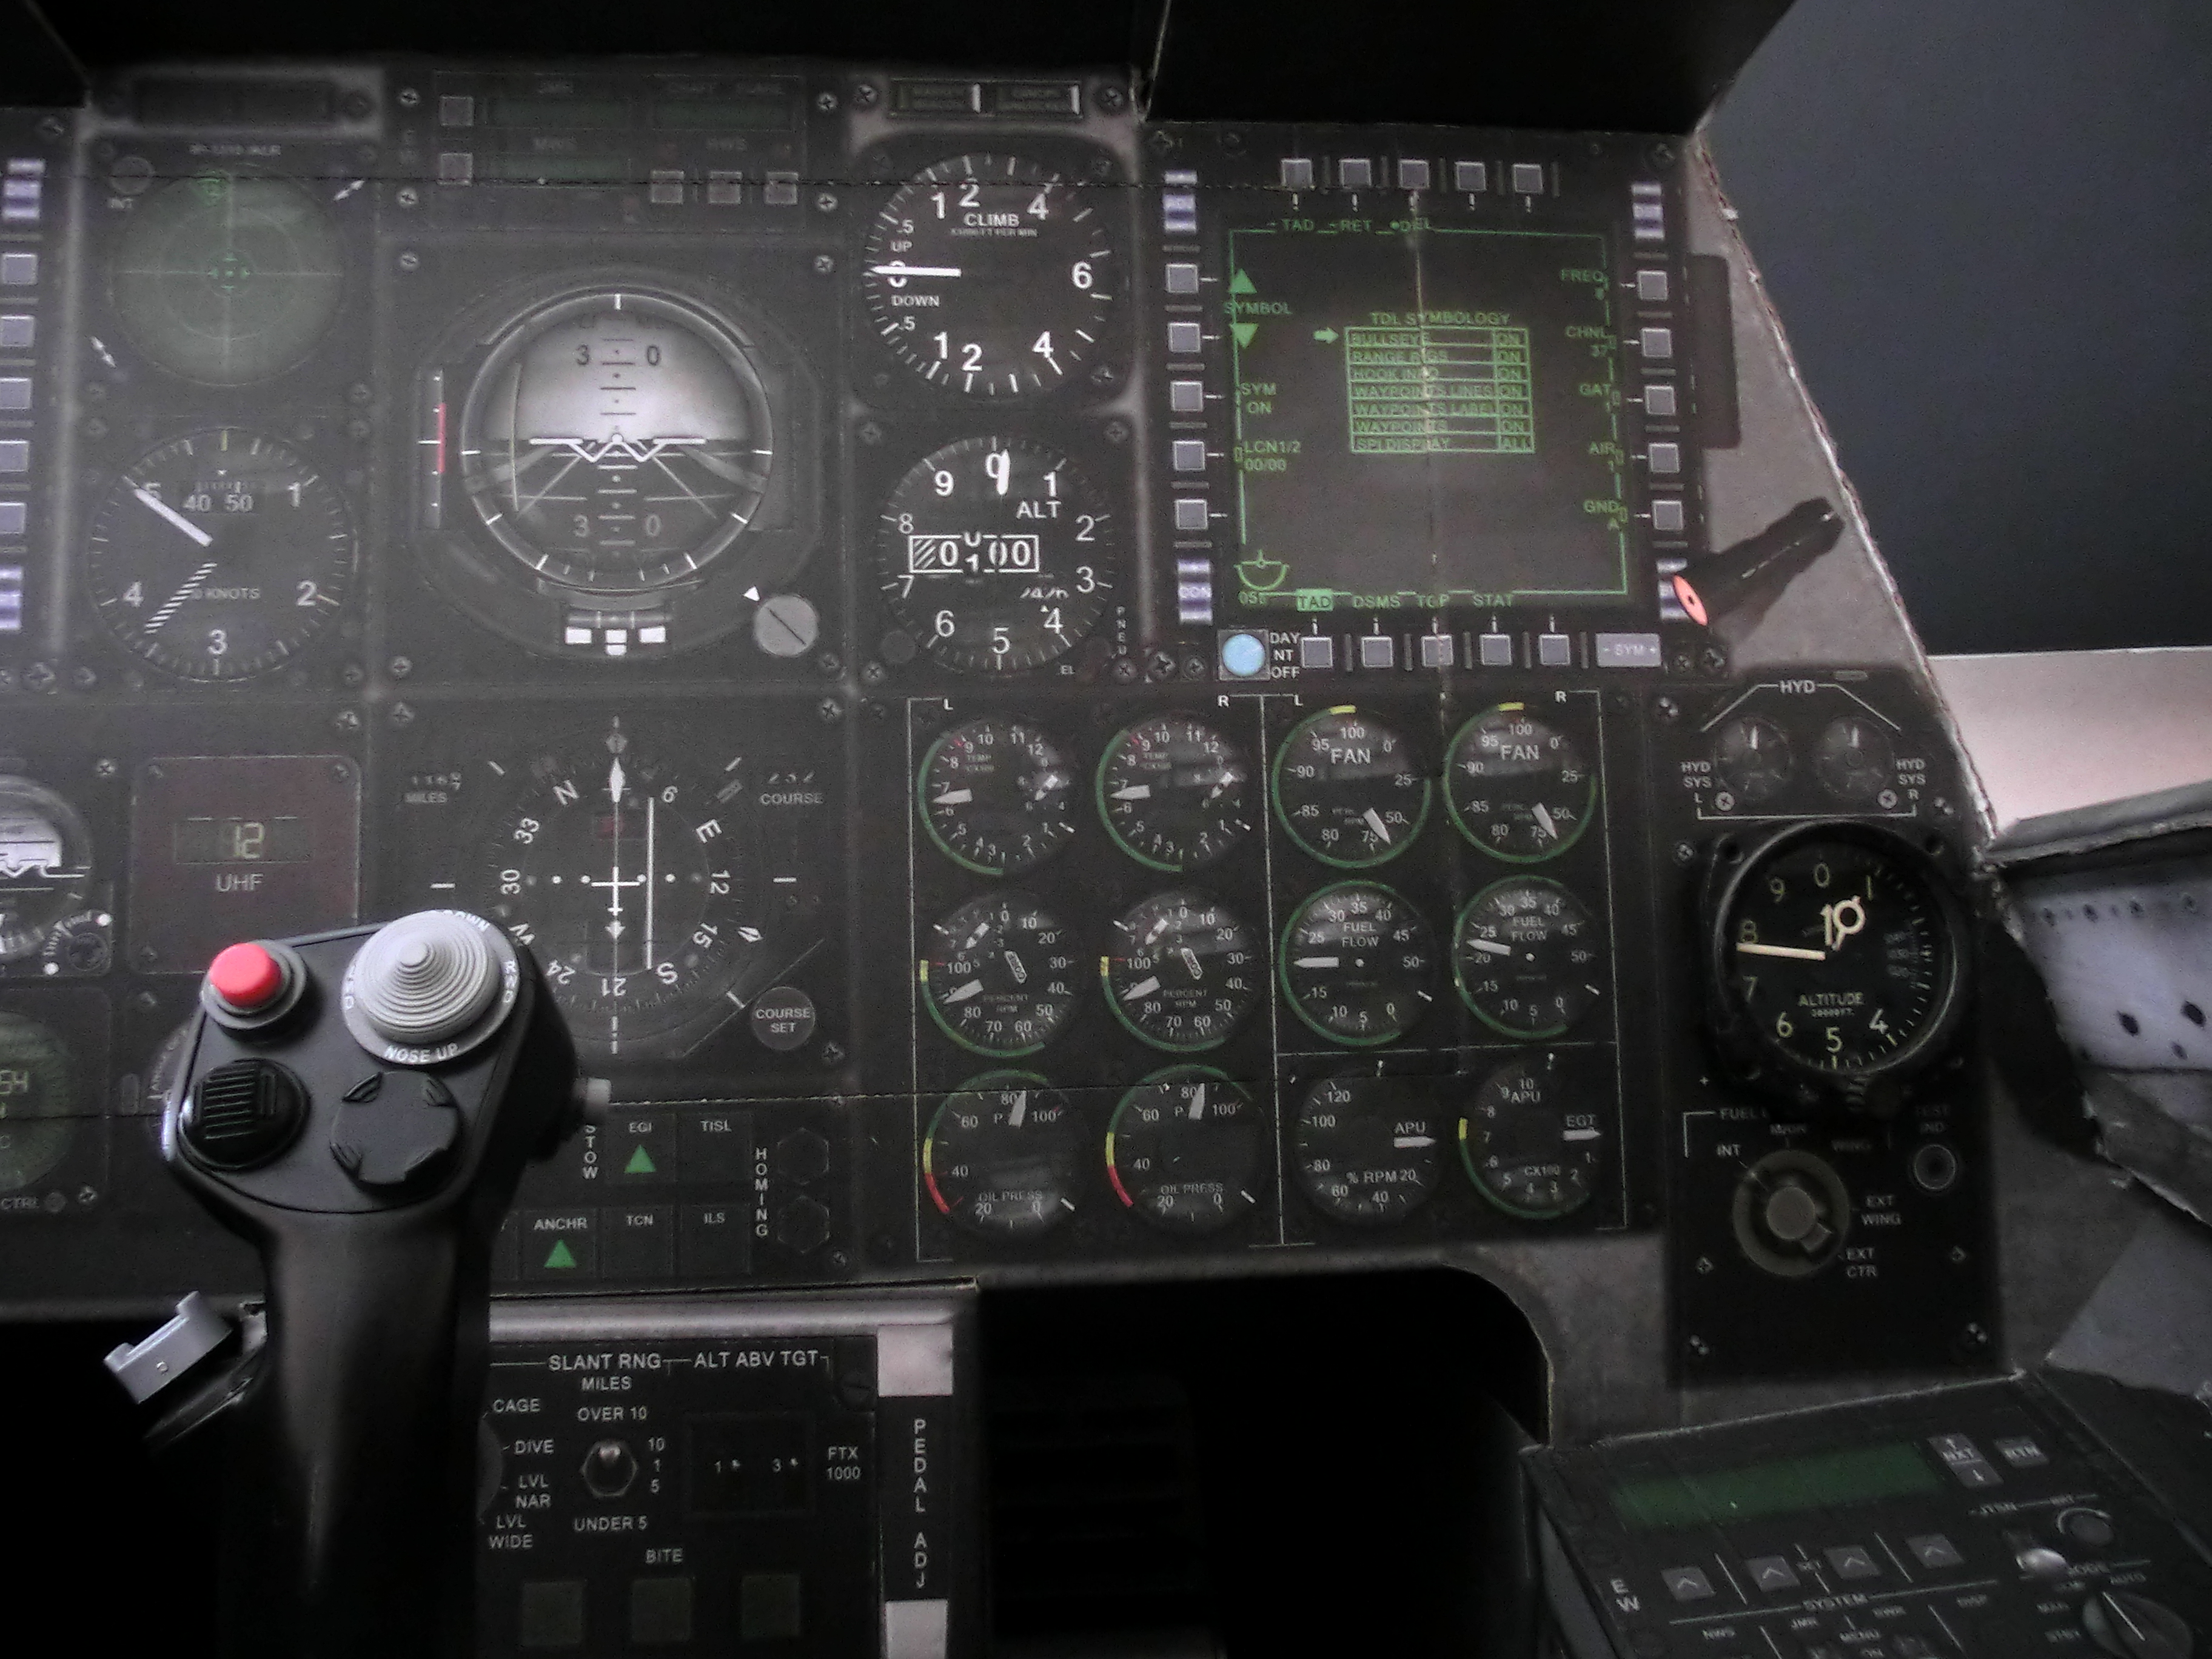
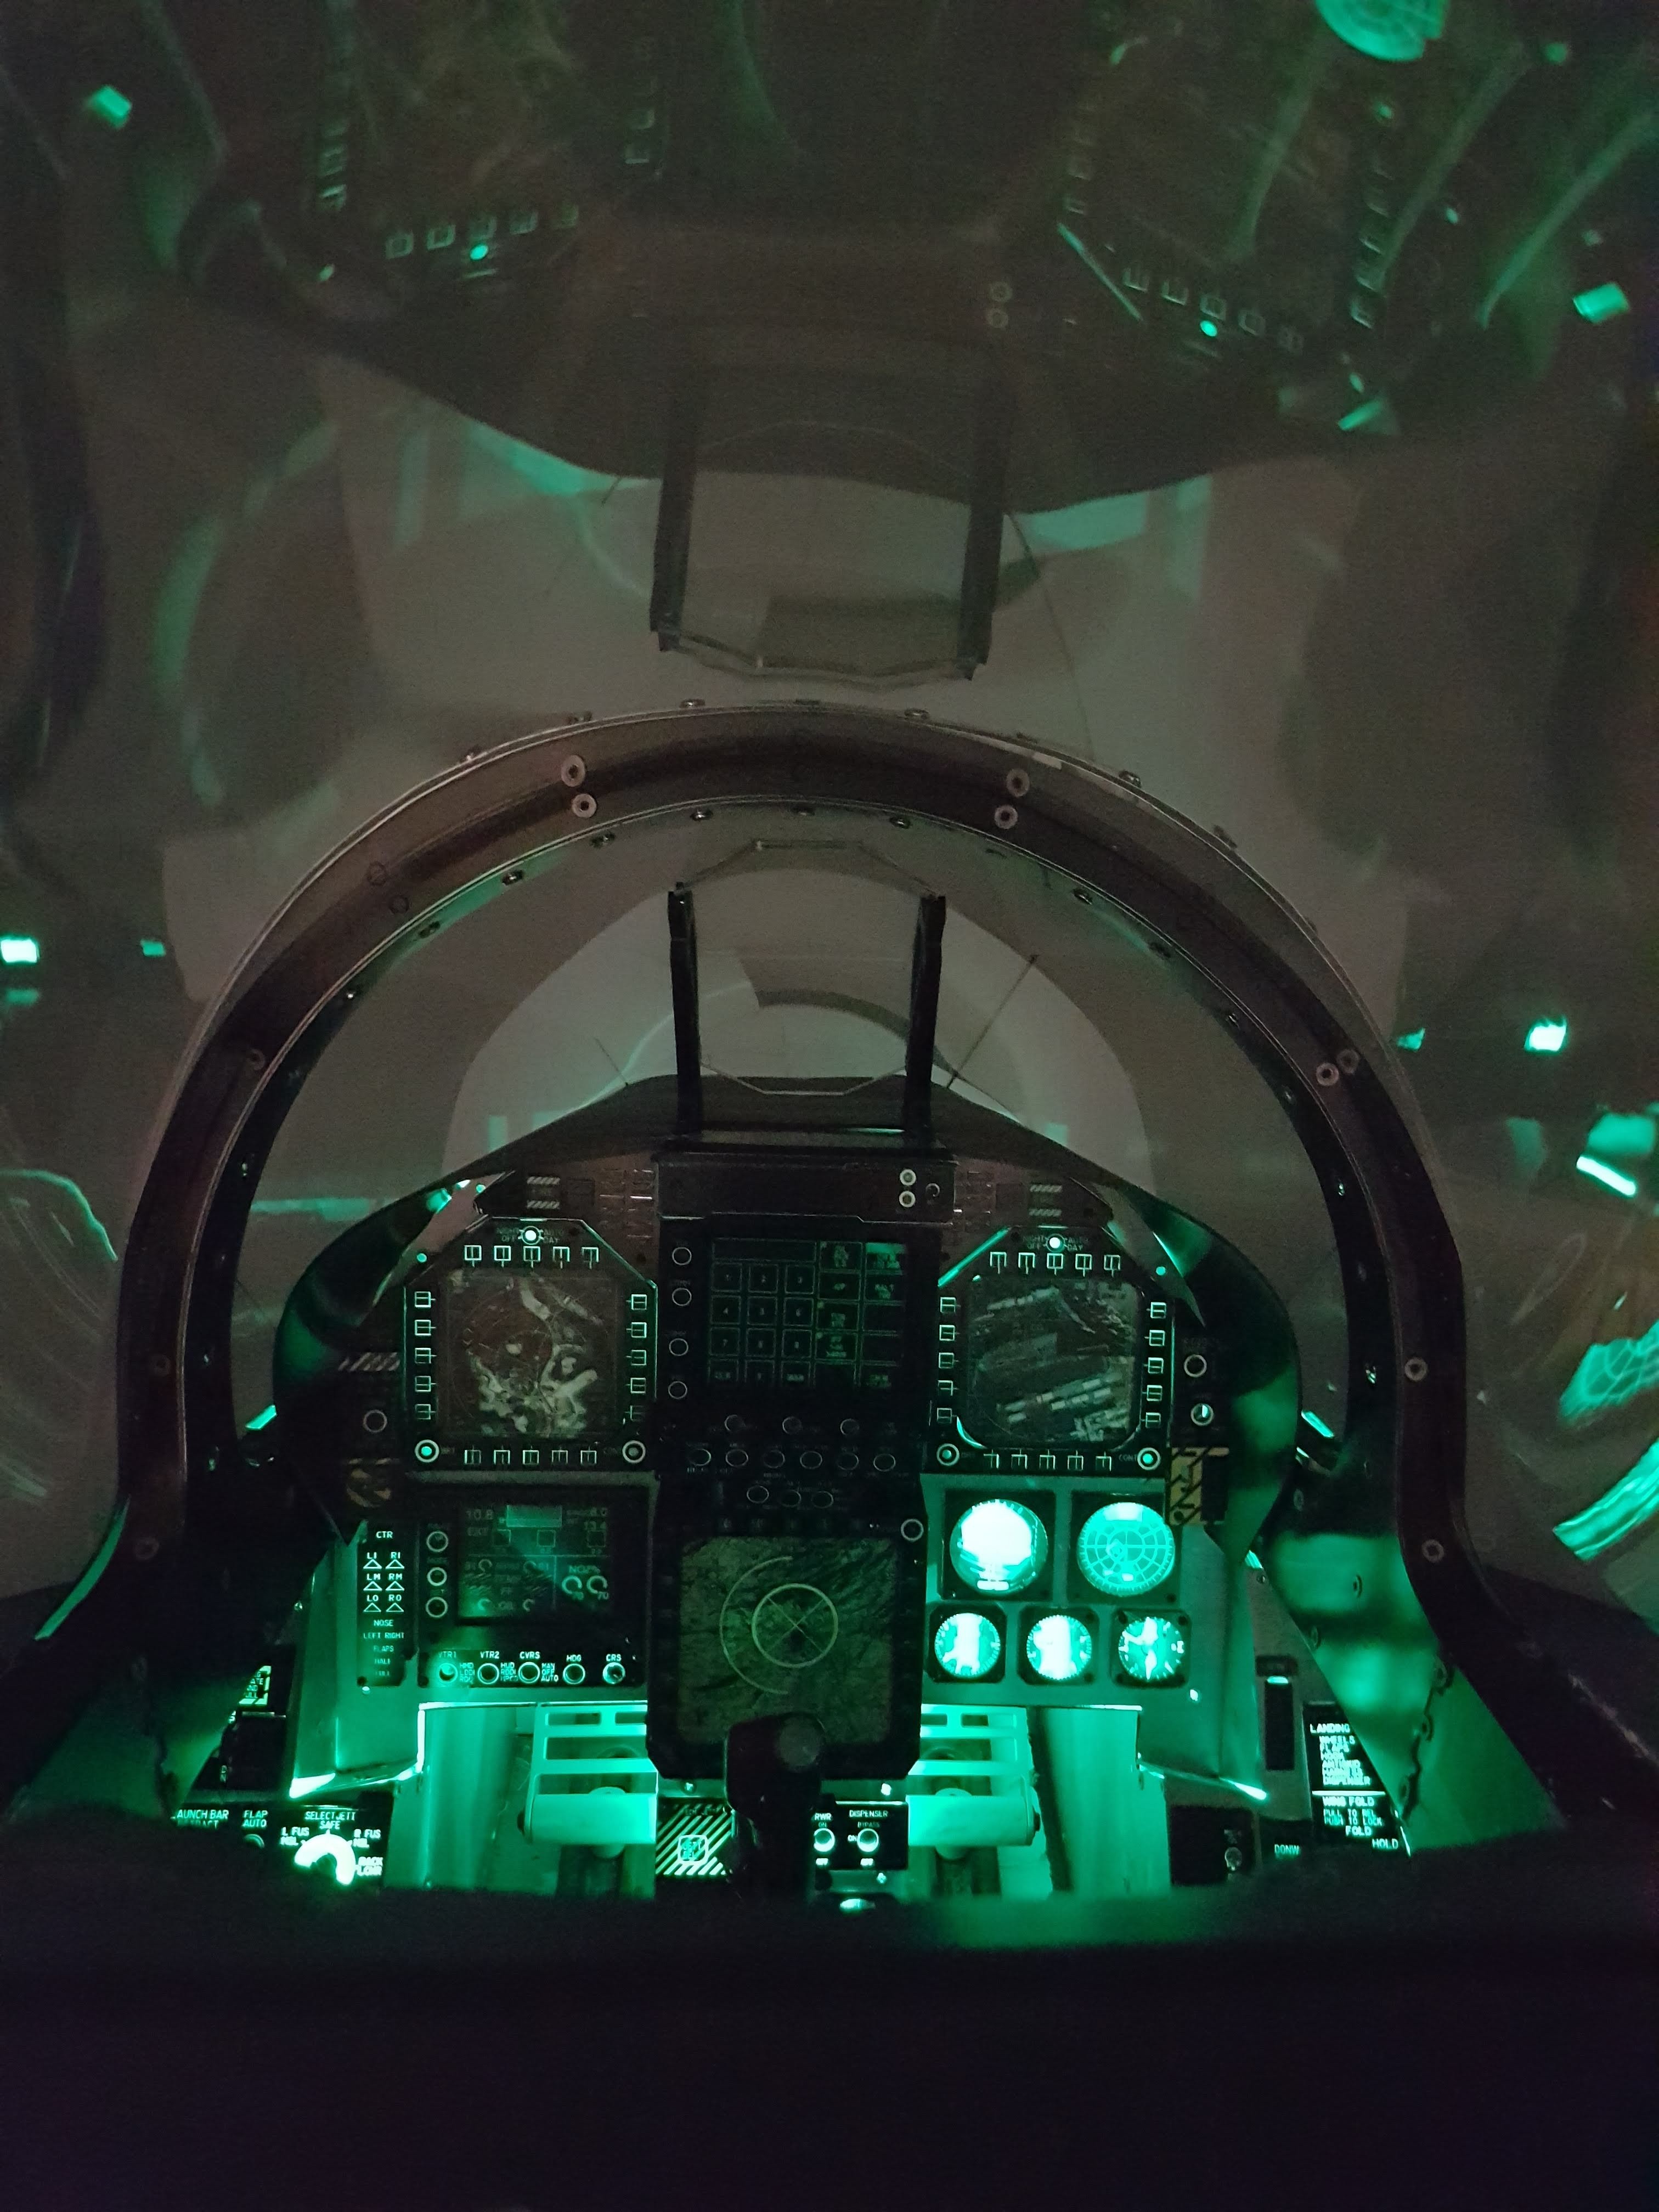
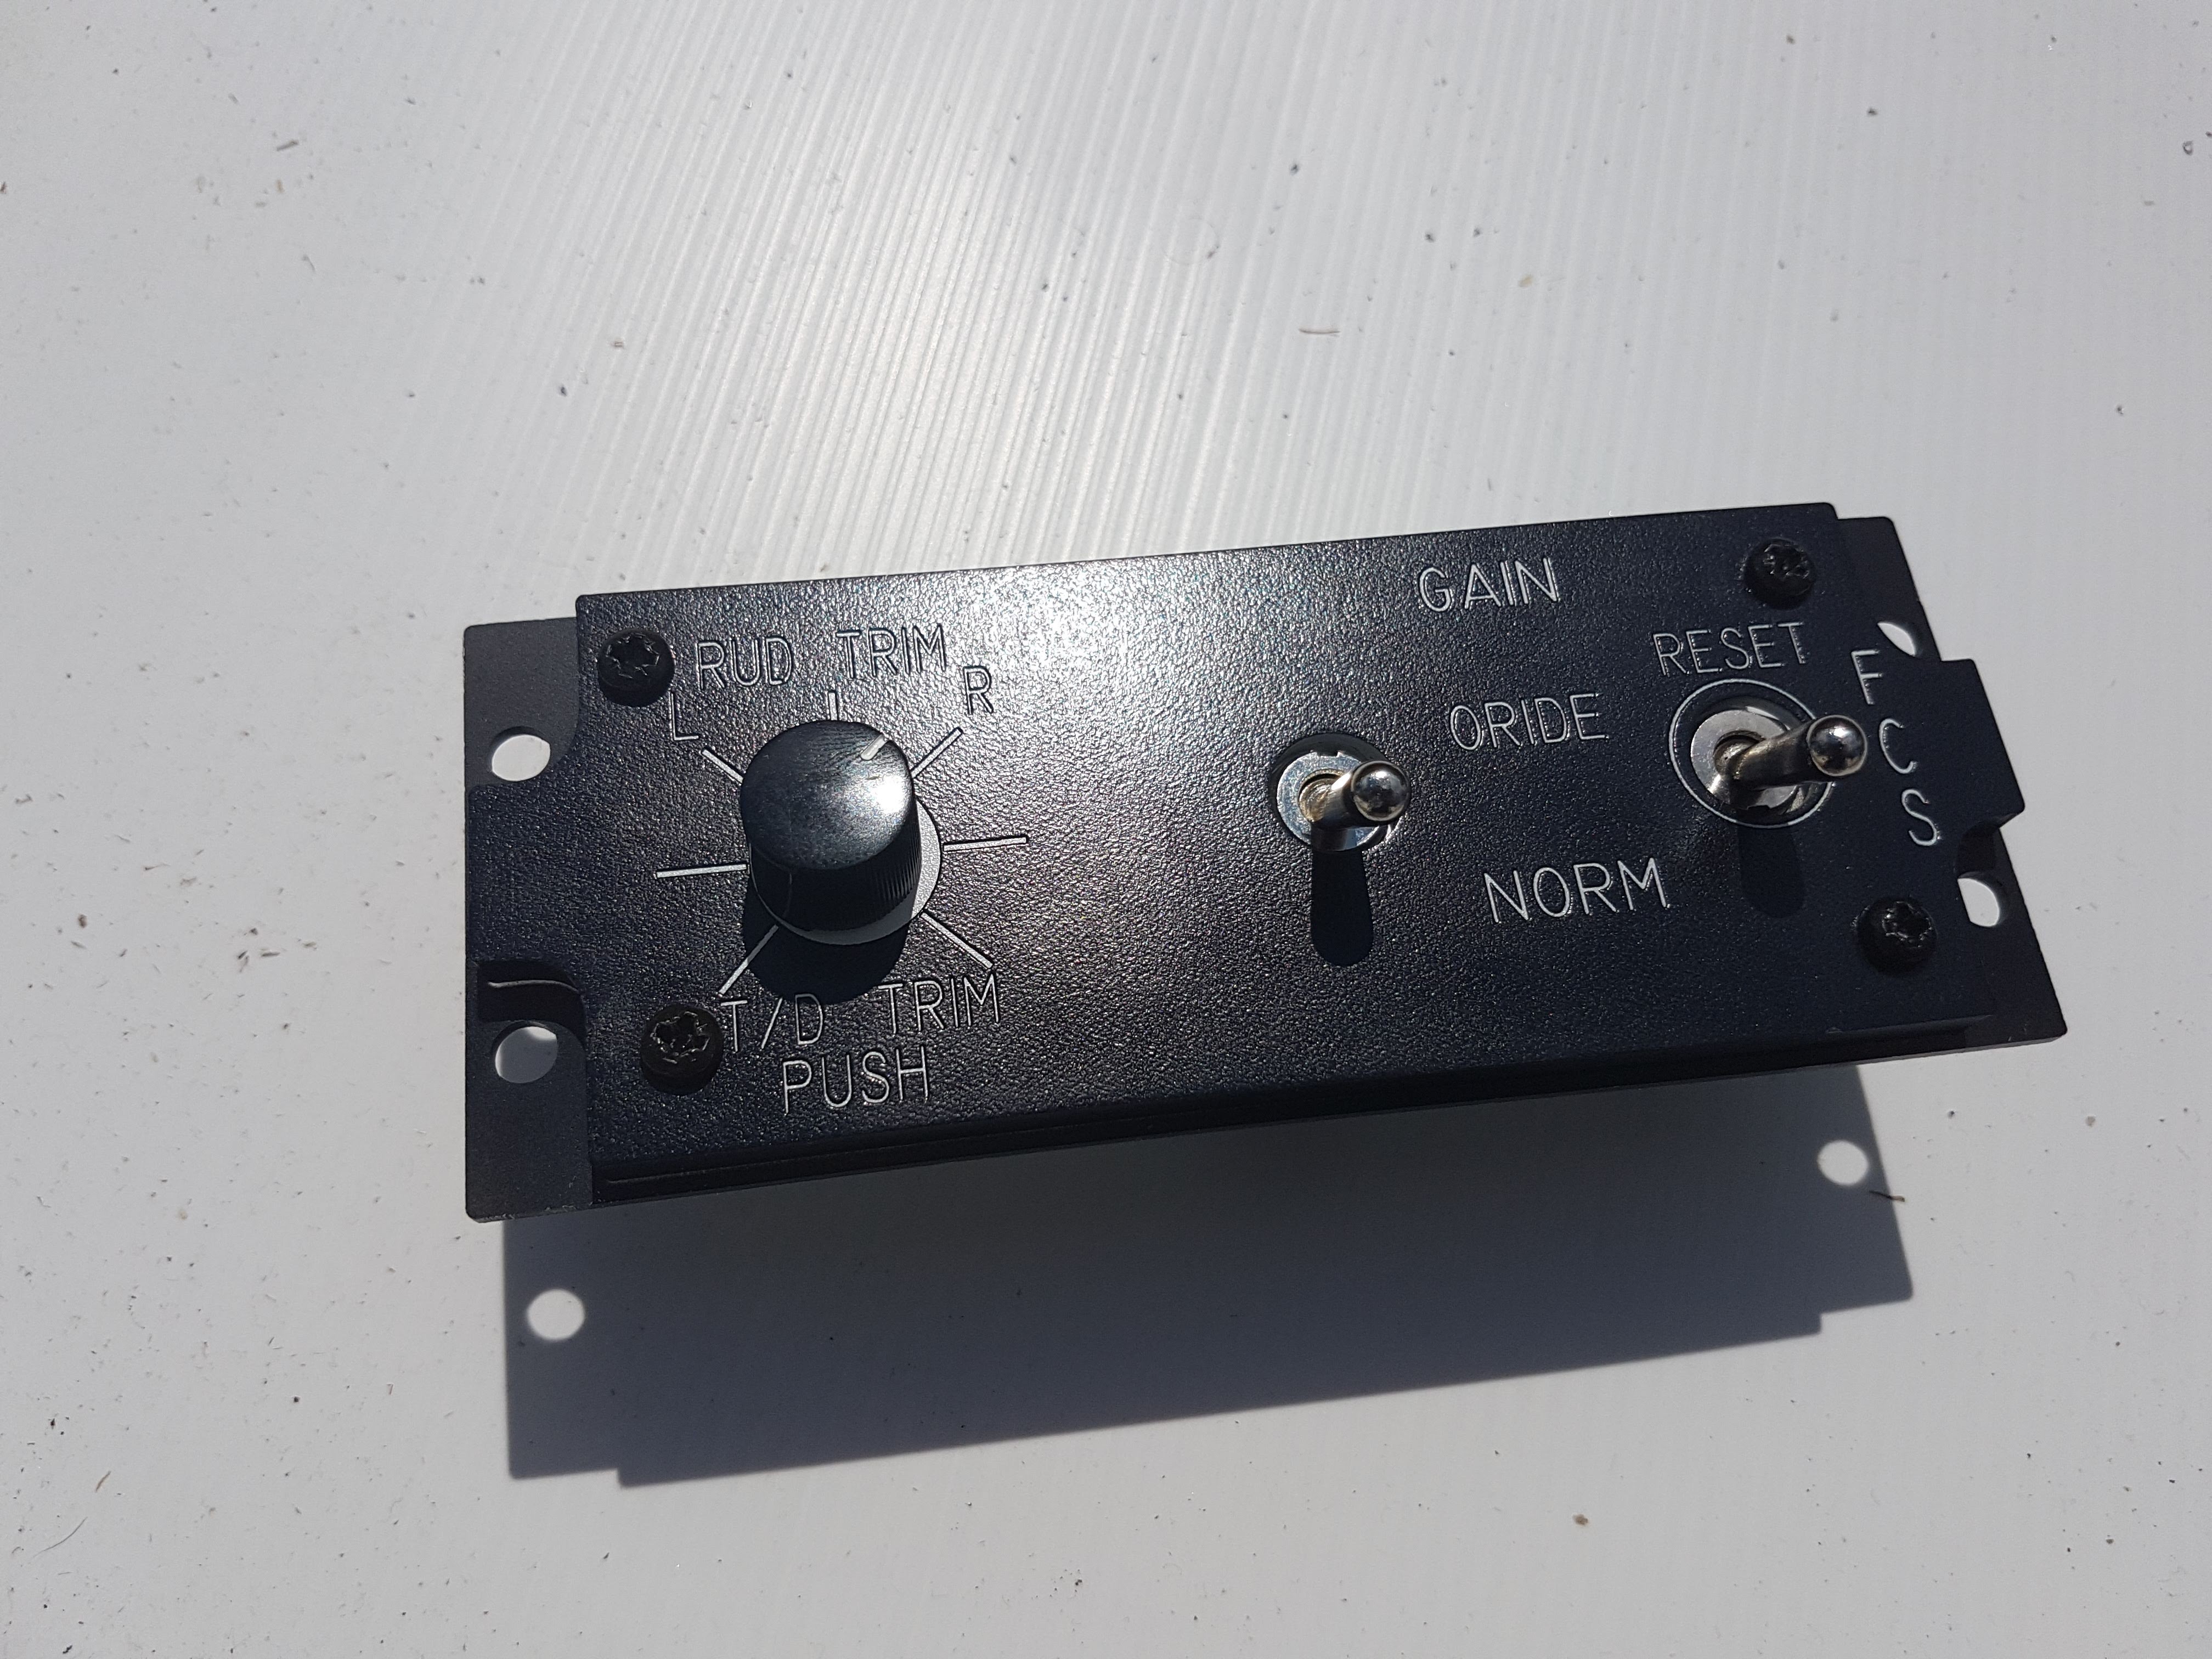
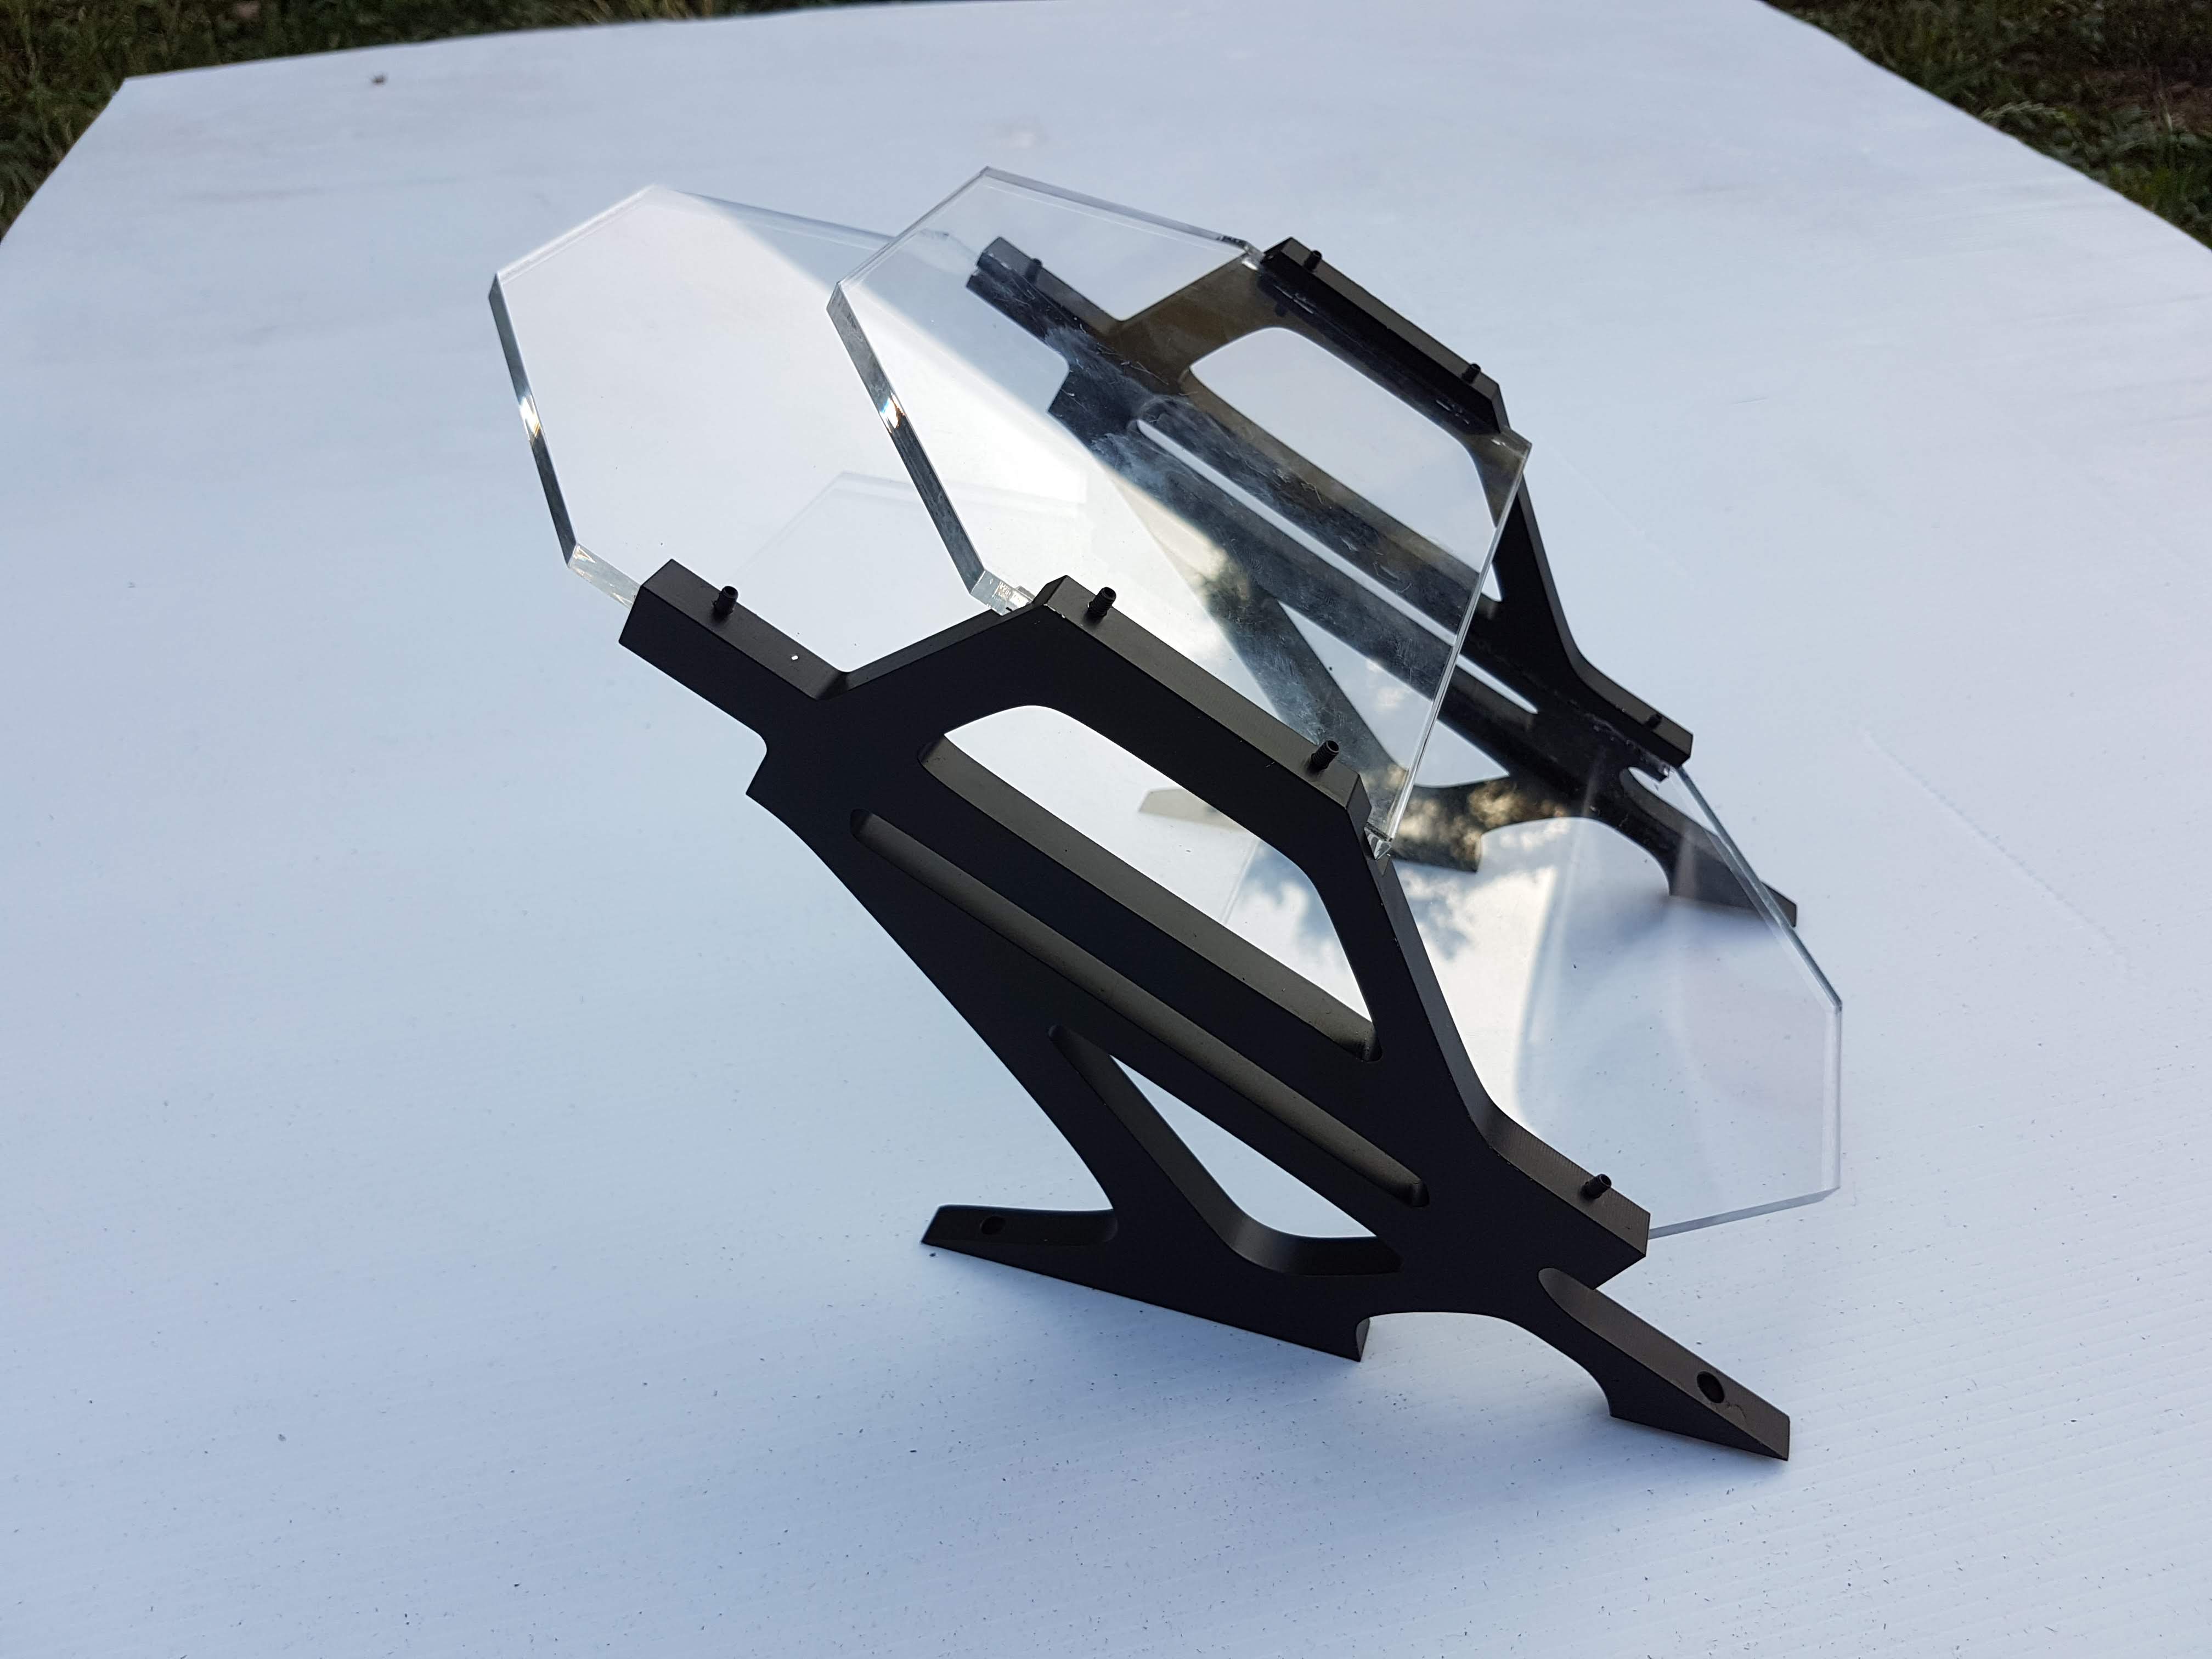
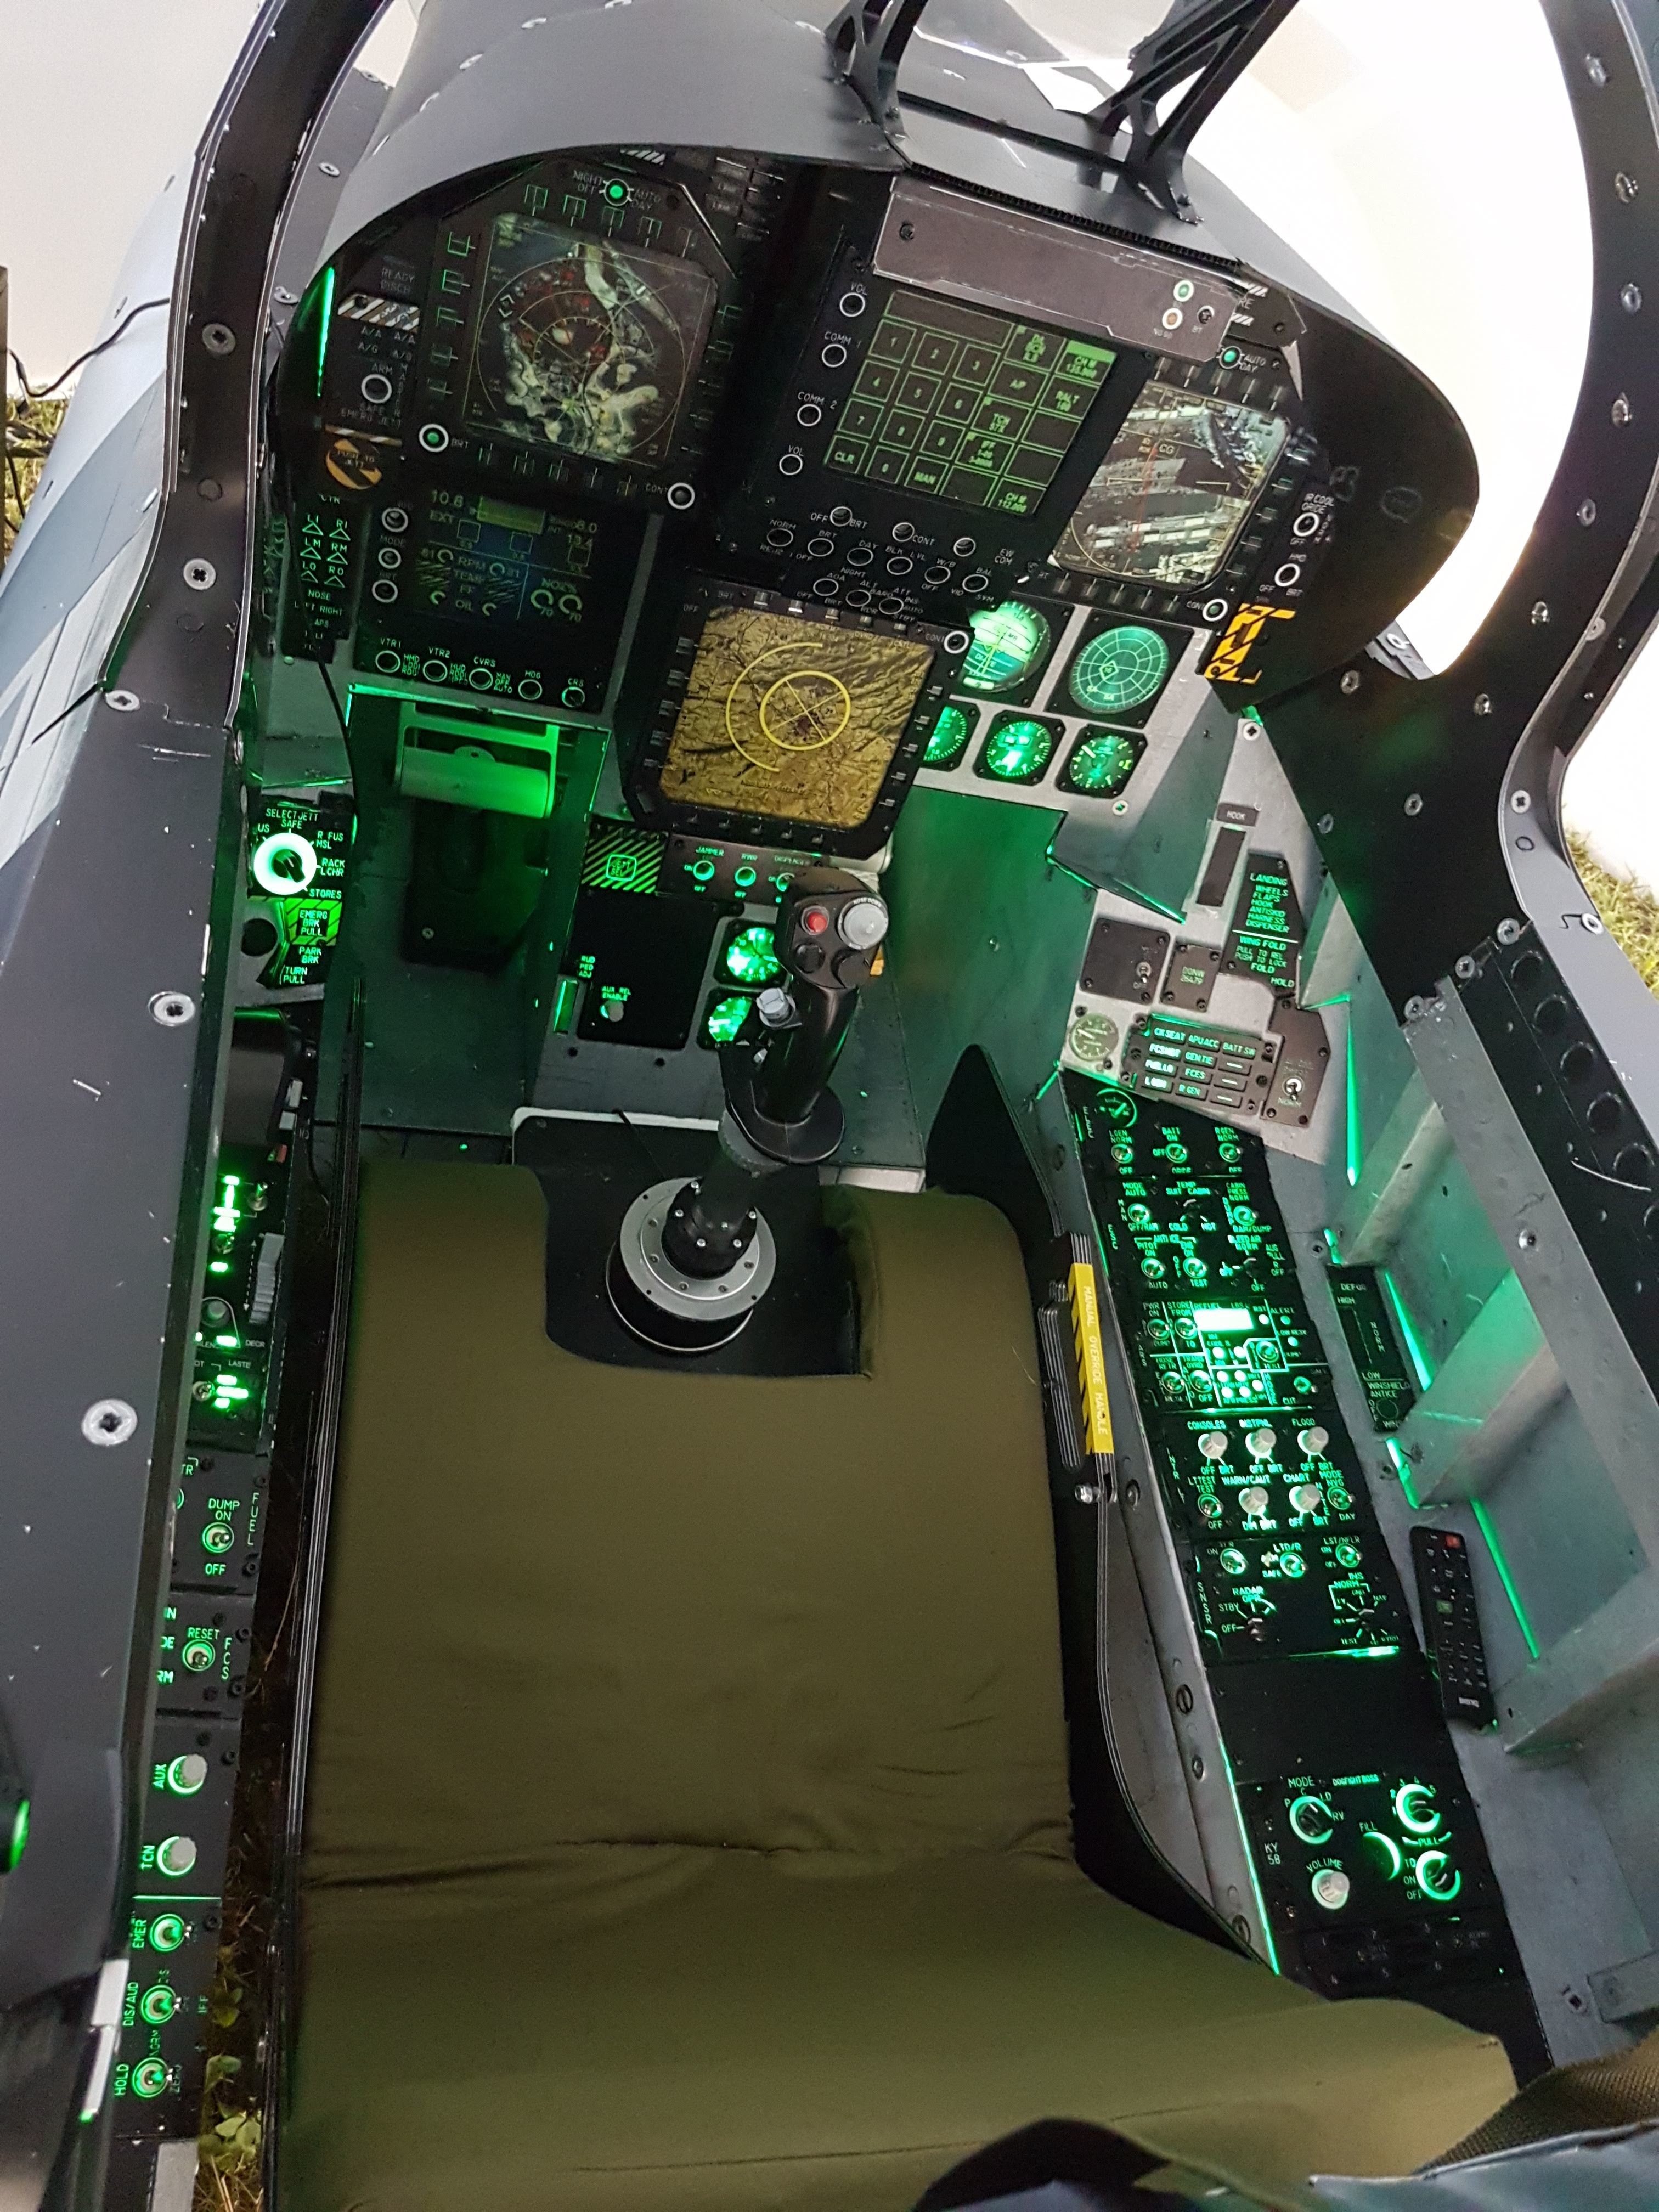
Hello everyone, We just finished new cockpit in Dogfight Boss. At the start of new year we decided to change materials and right now we finished first cockpit from Alubond, which is aluminium sandwich. We also did all backlit instrument panels, canopy frame and now testing the canopy. MK-14 seat is also from alubond and undestructible. If you like my project, please subscribe on Facebook or you can buy our products on dogfightboss.com I'll be happy for the feedback from you, thanks!
-
Its $65, i agree that $99 was maybe too much.
-
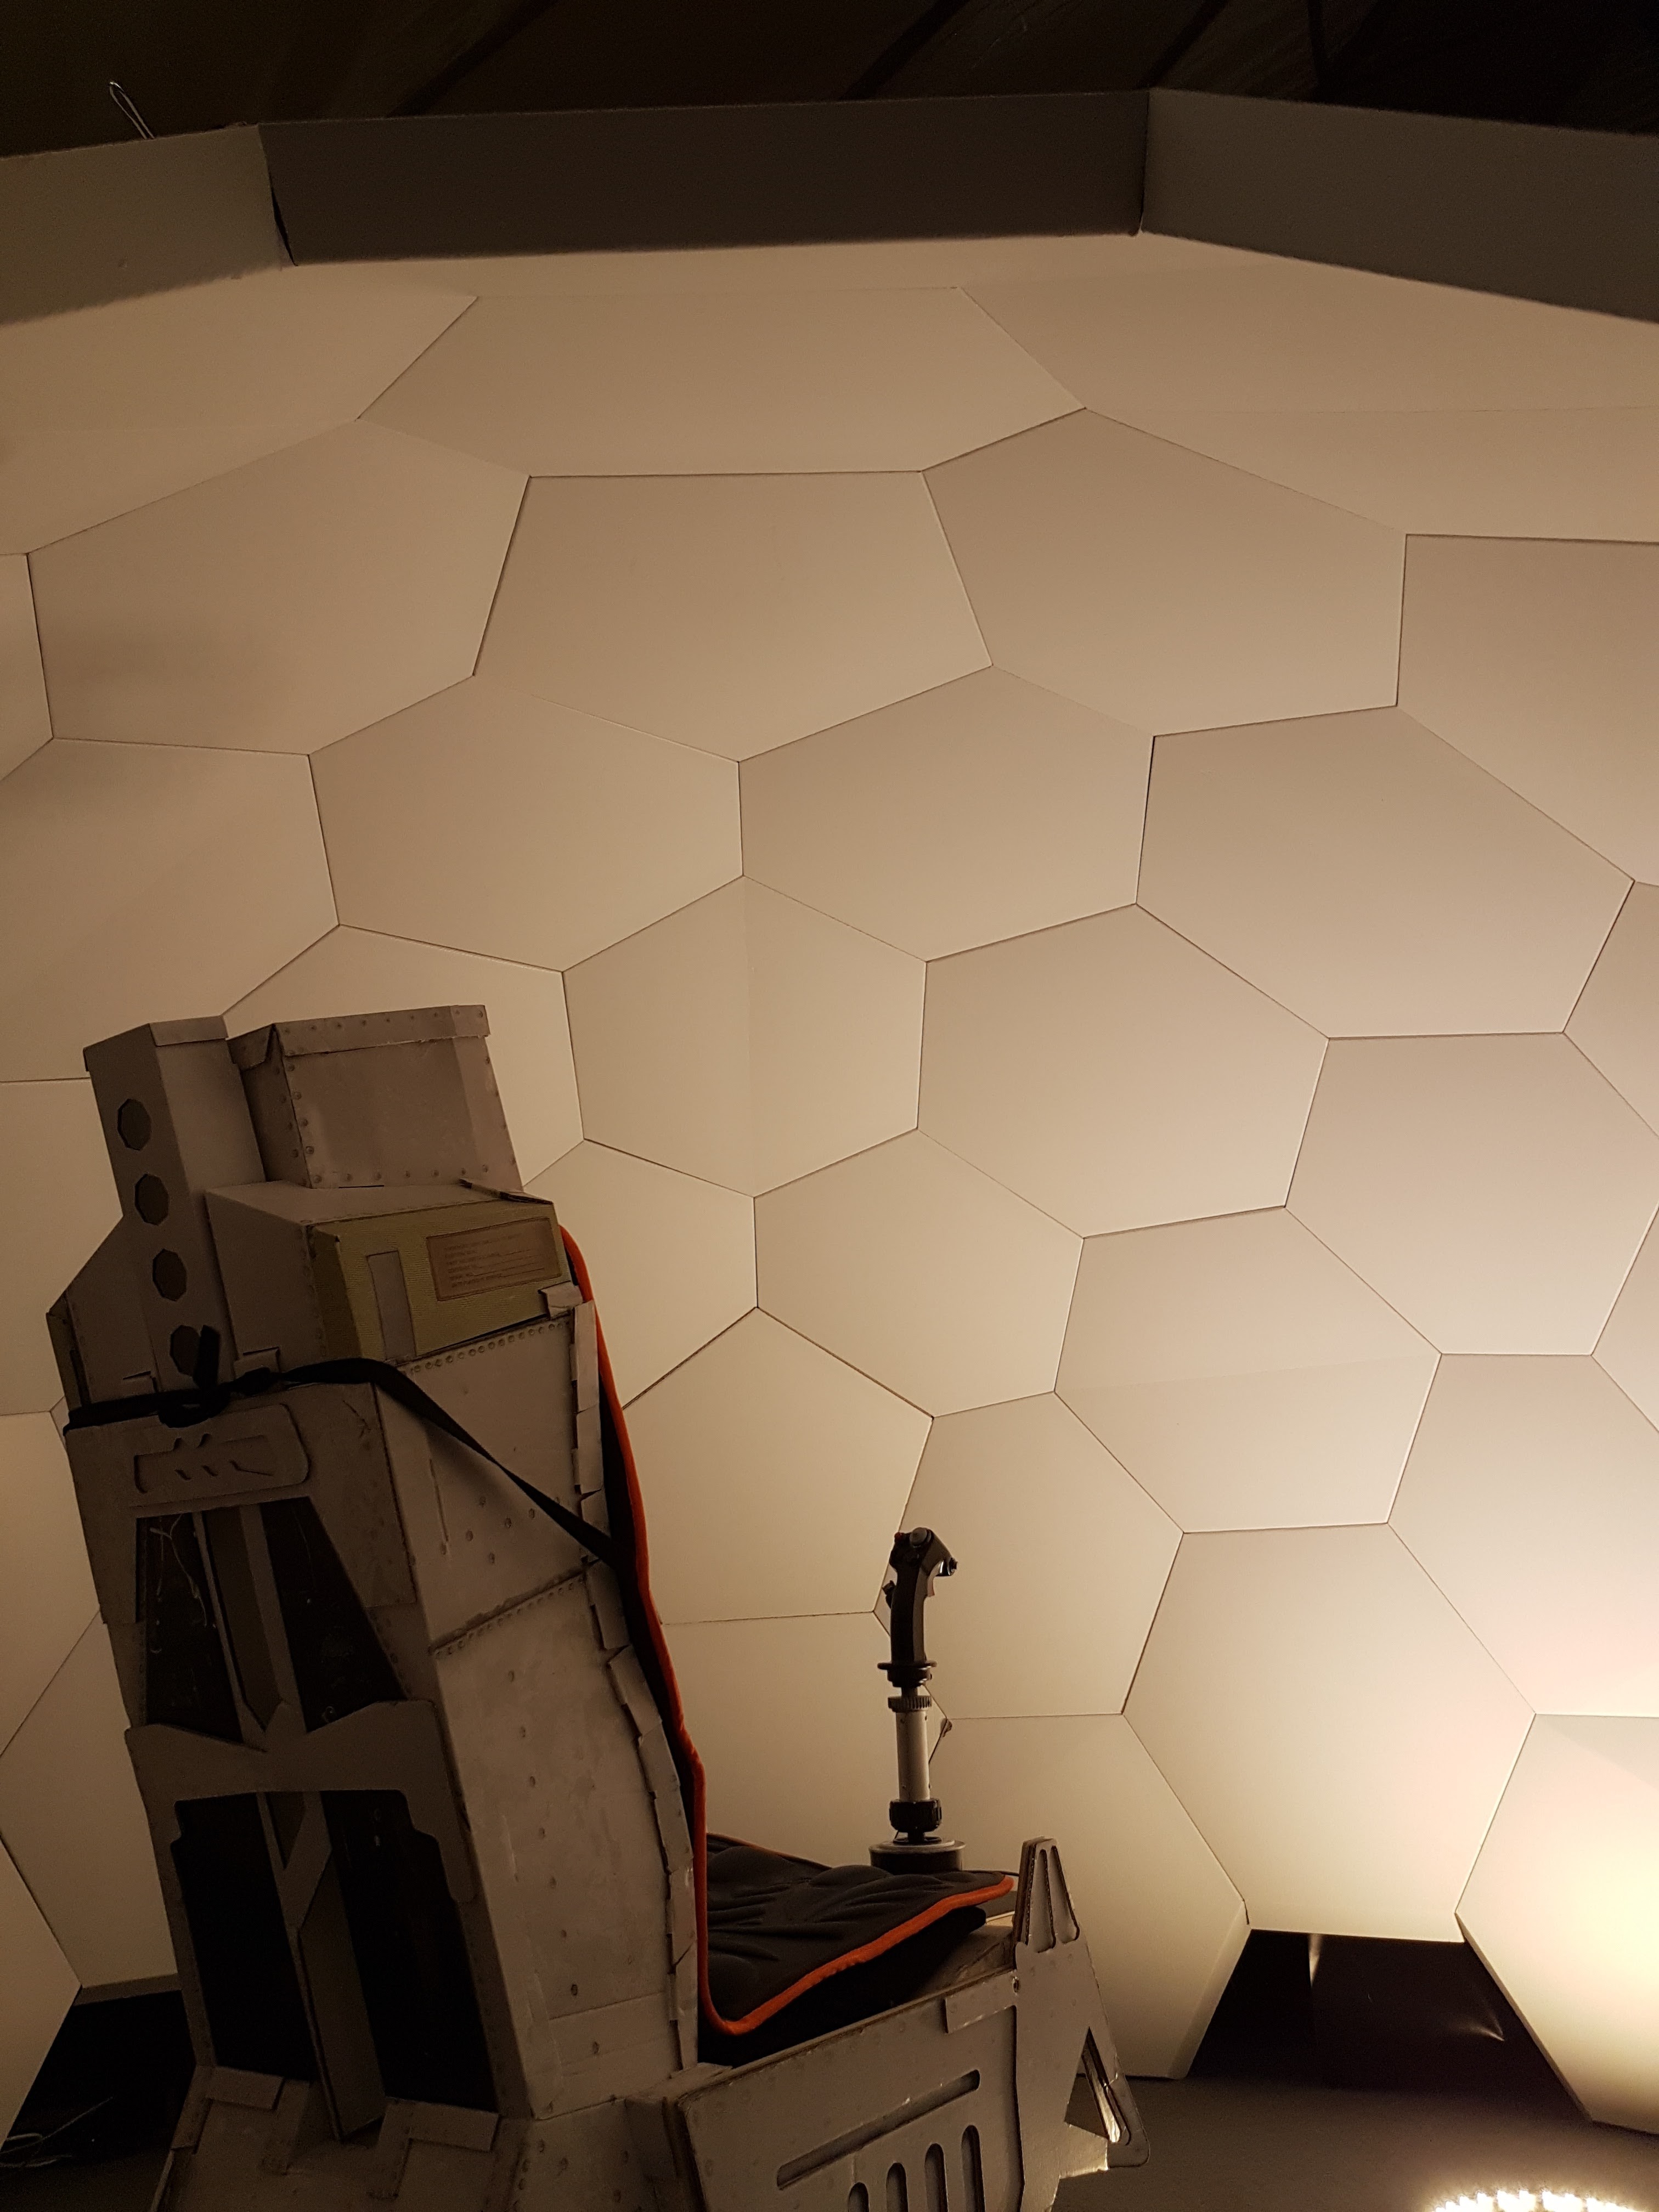
Hi everybody, i recently finished a kit for F/A-18E,C cockpit kit from Dogfightboss.com, but now i would like to show you my last project called Hexadome Cave. Basic version is created from 4 mm thick corrugated cardborard, connected with binder clips and edges blinded by white vynil adhesive stripes. Hexadome is assebled in 5 hours, you can install as many projectors as you want and you can install them from outside making holes for lenses. This solution will keep your dome quiet and there is not any heat emitted by projectors. With short throw projectors you get longer distance and picture cover bigger area. Right now i have two projectors in the video covering 270 degrees. Kit and PDF files for purchase are available on my dogfightboss.com . Most recent updates on FB Direct youtube doesn't work, so here is link Thanks for checking my project!
-
Lobinjaevel Thank you!
-
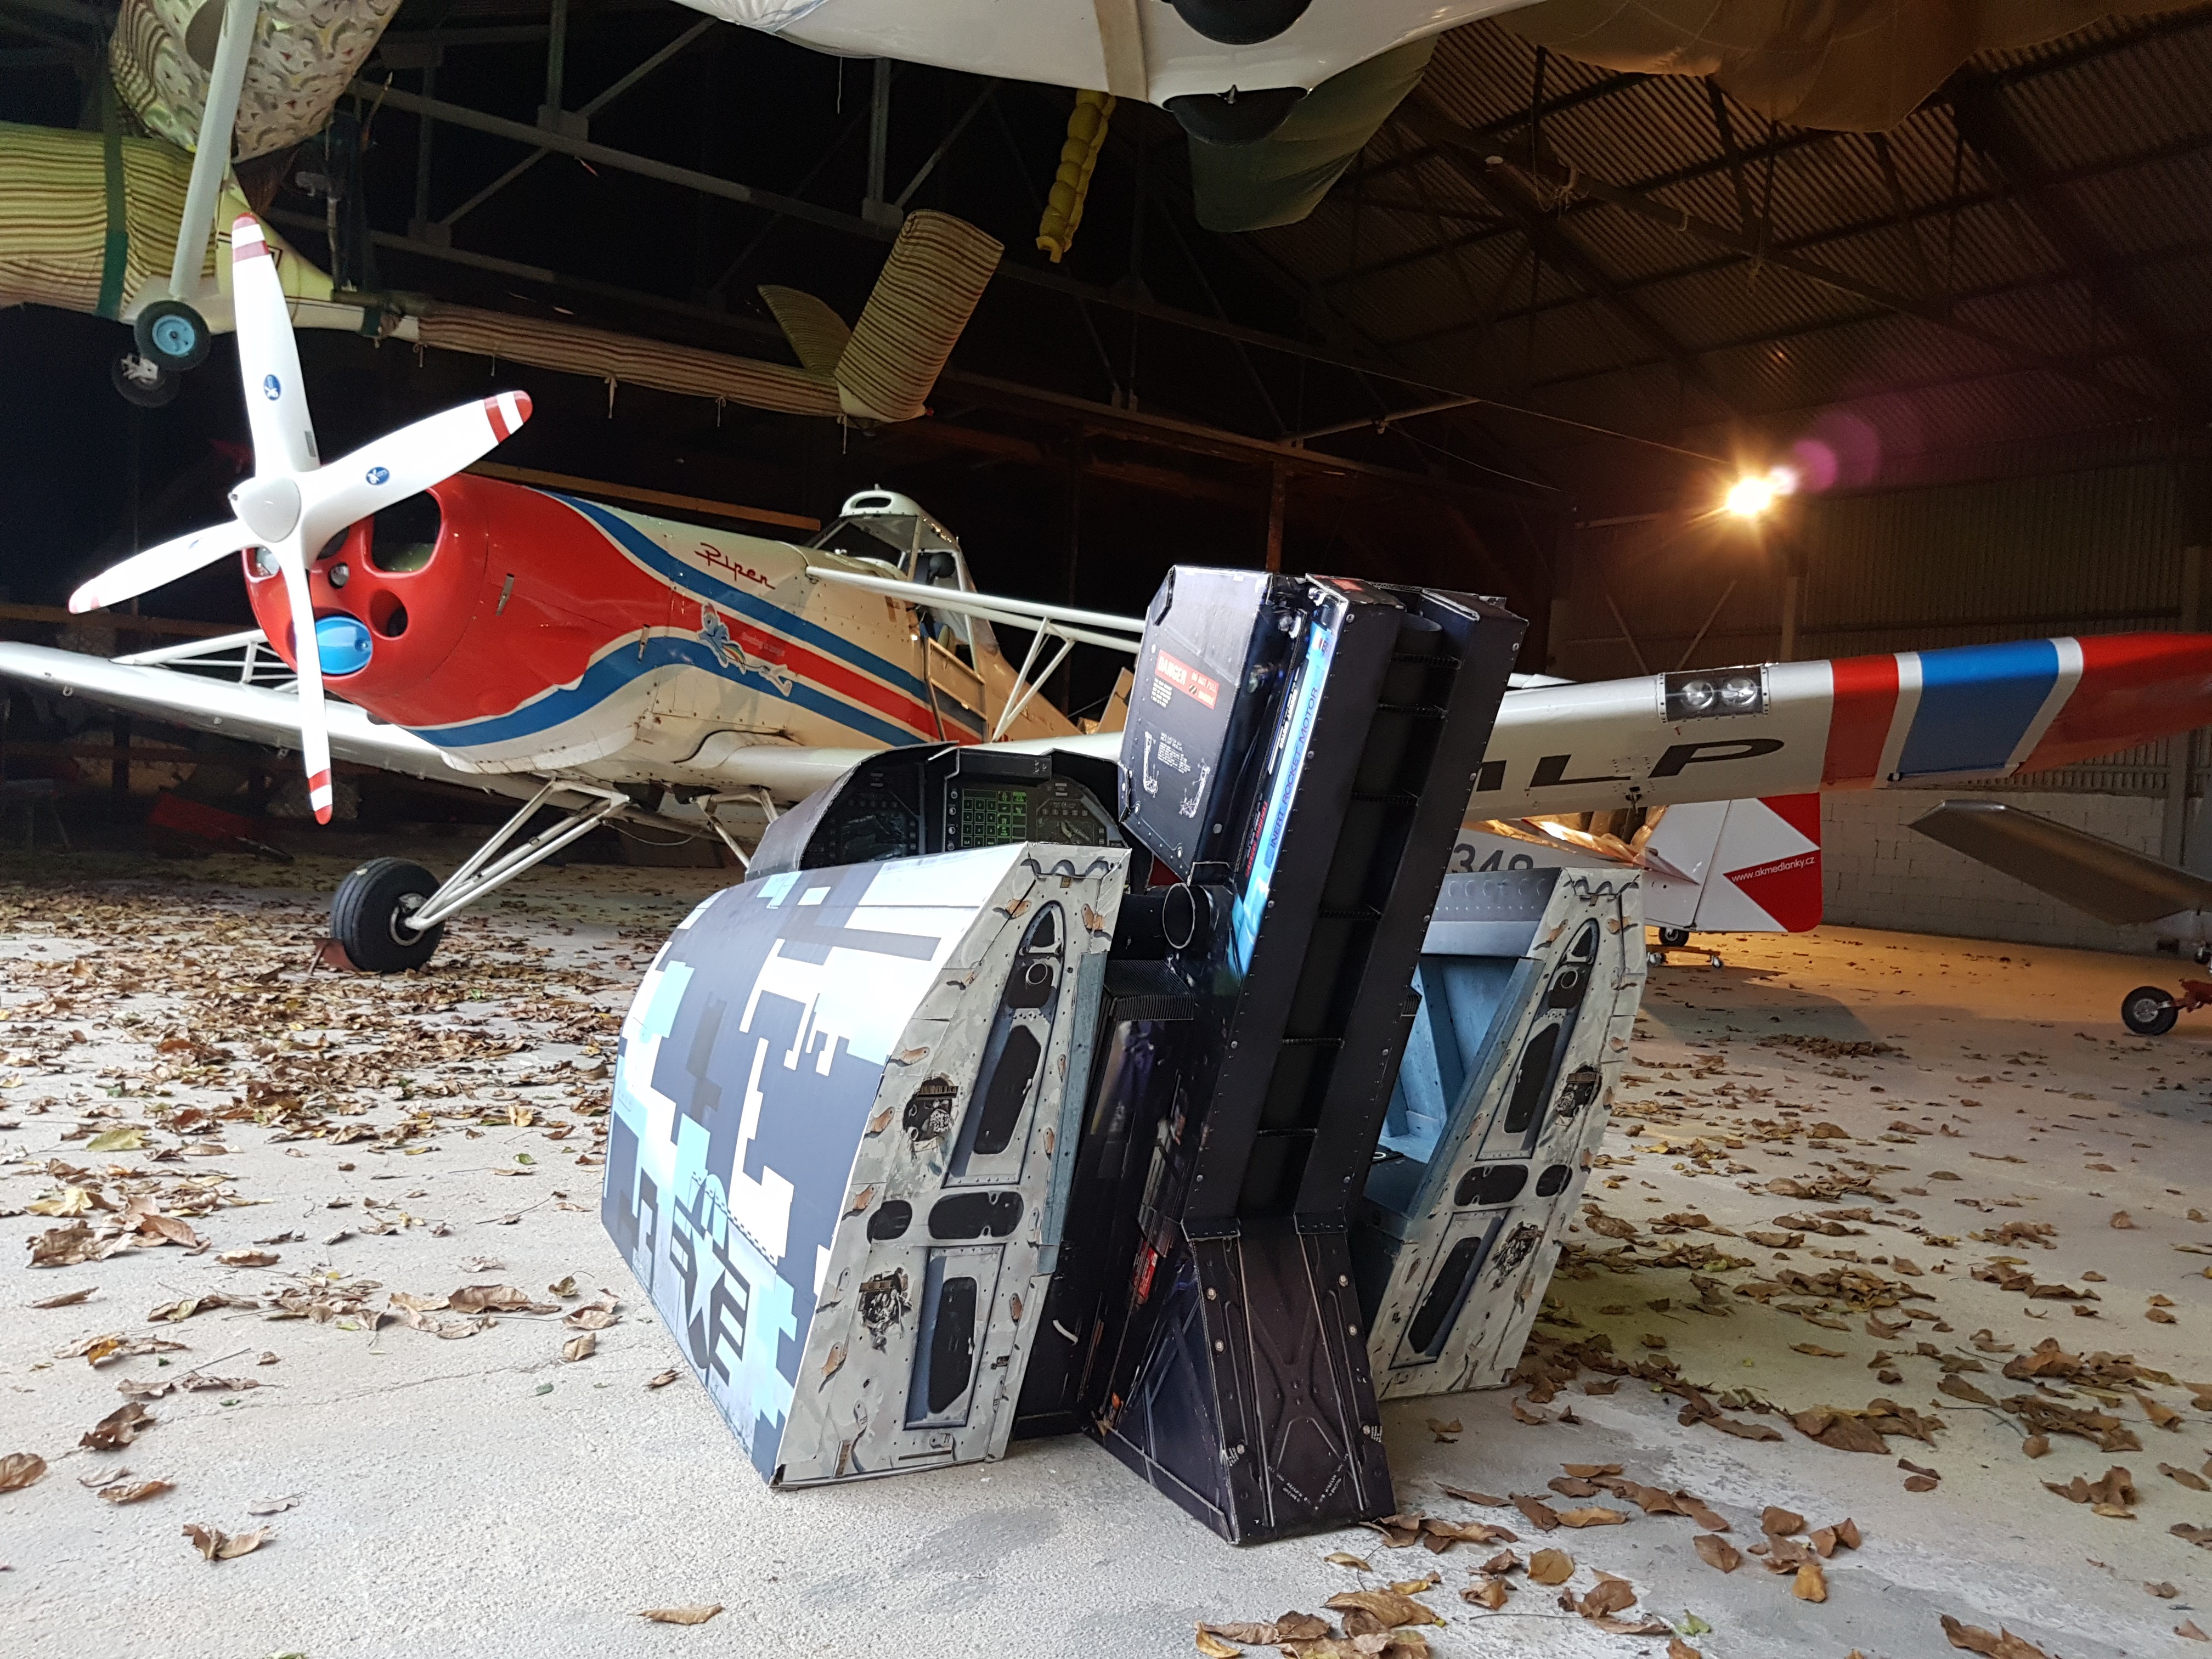
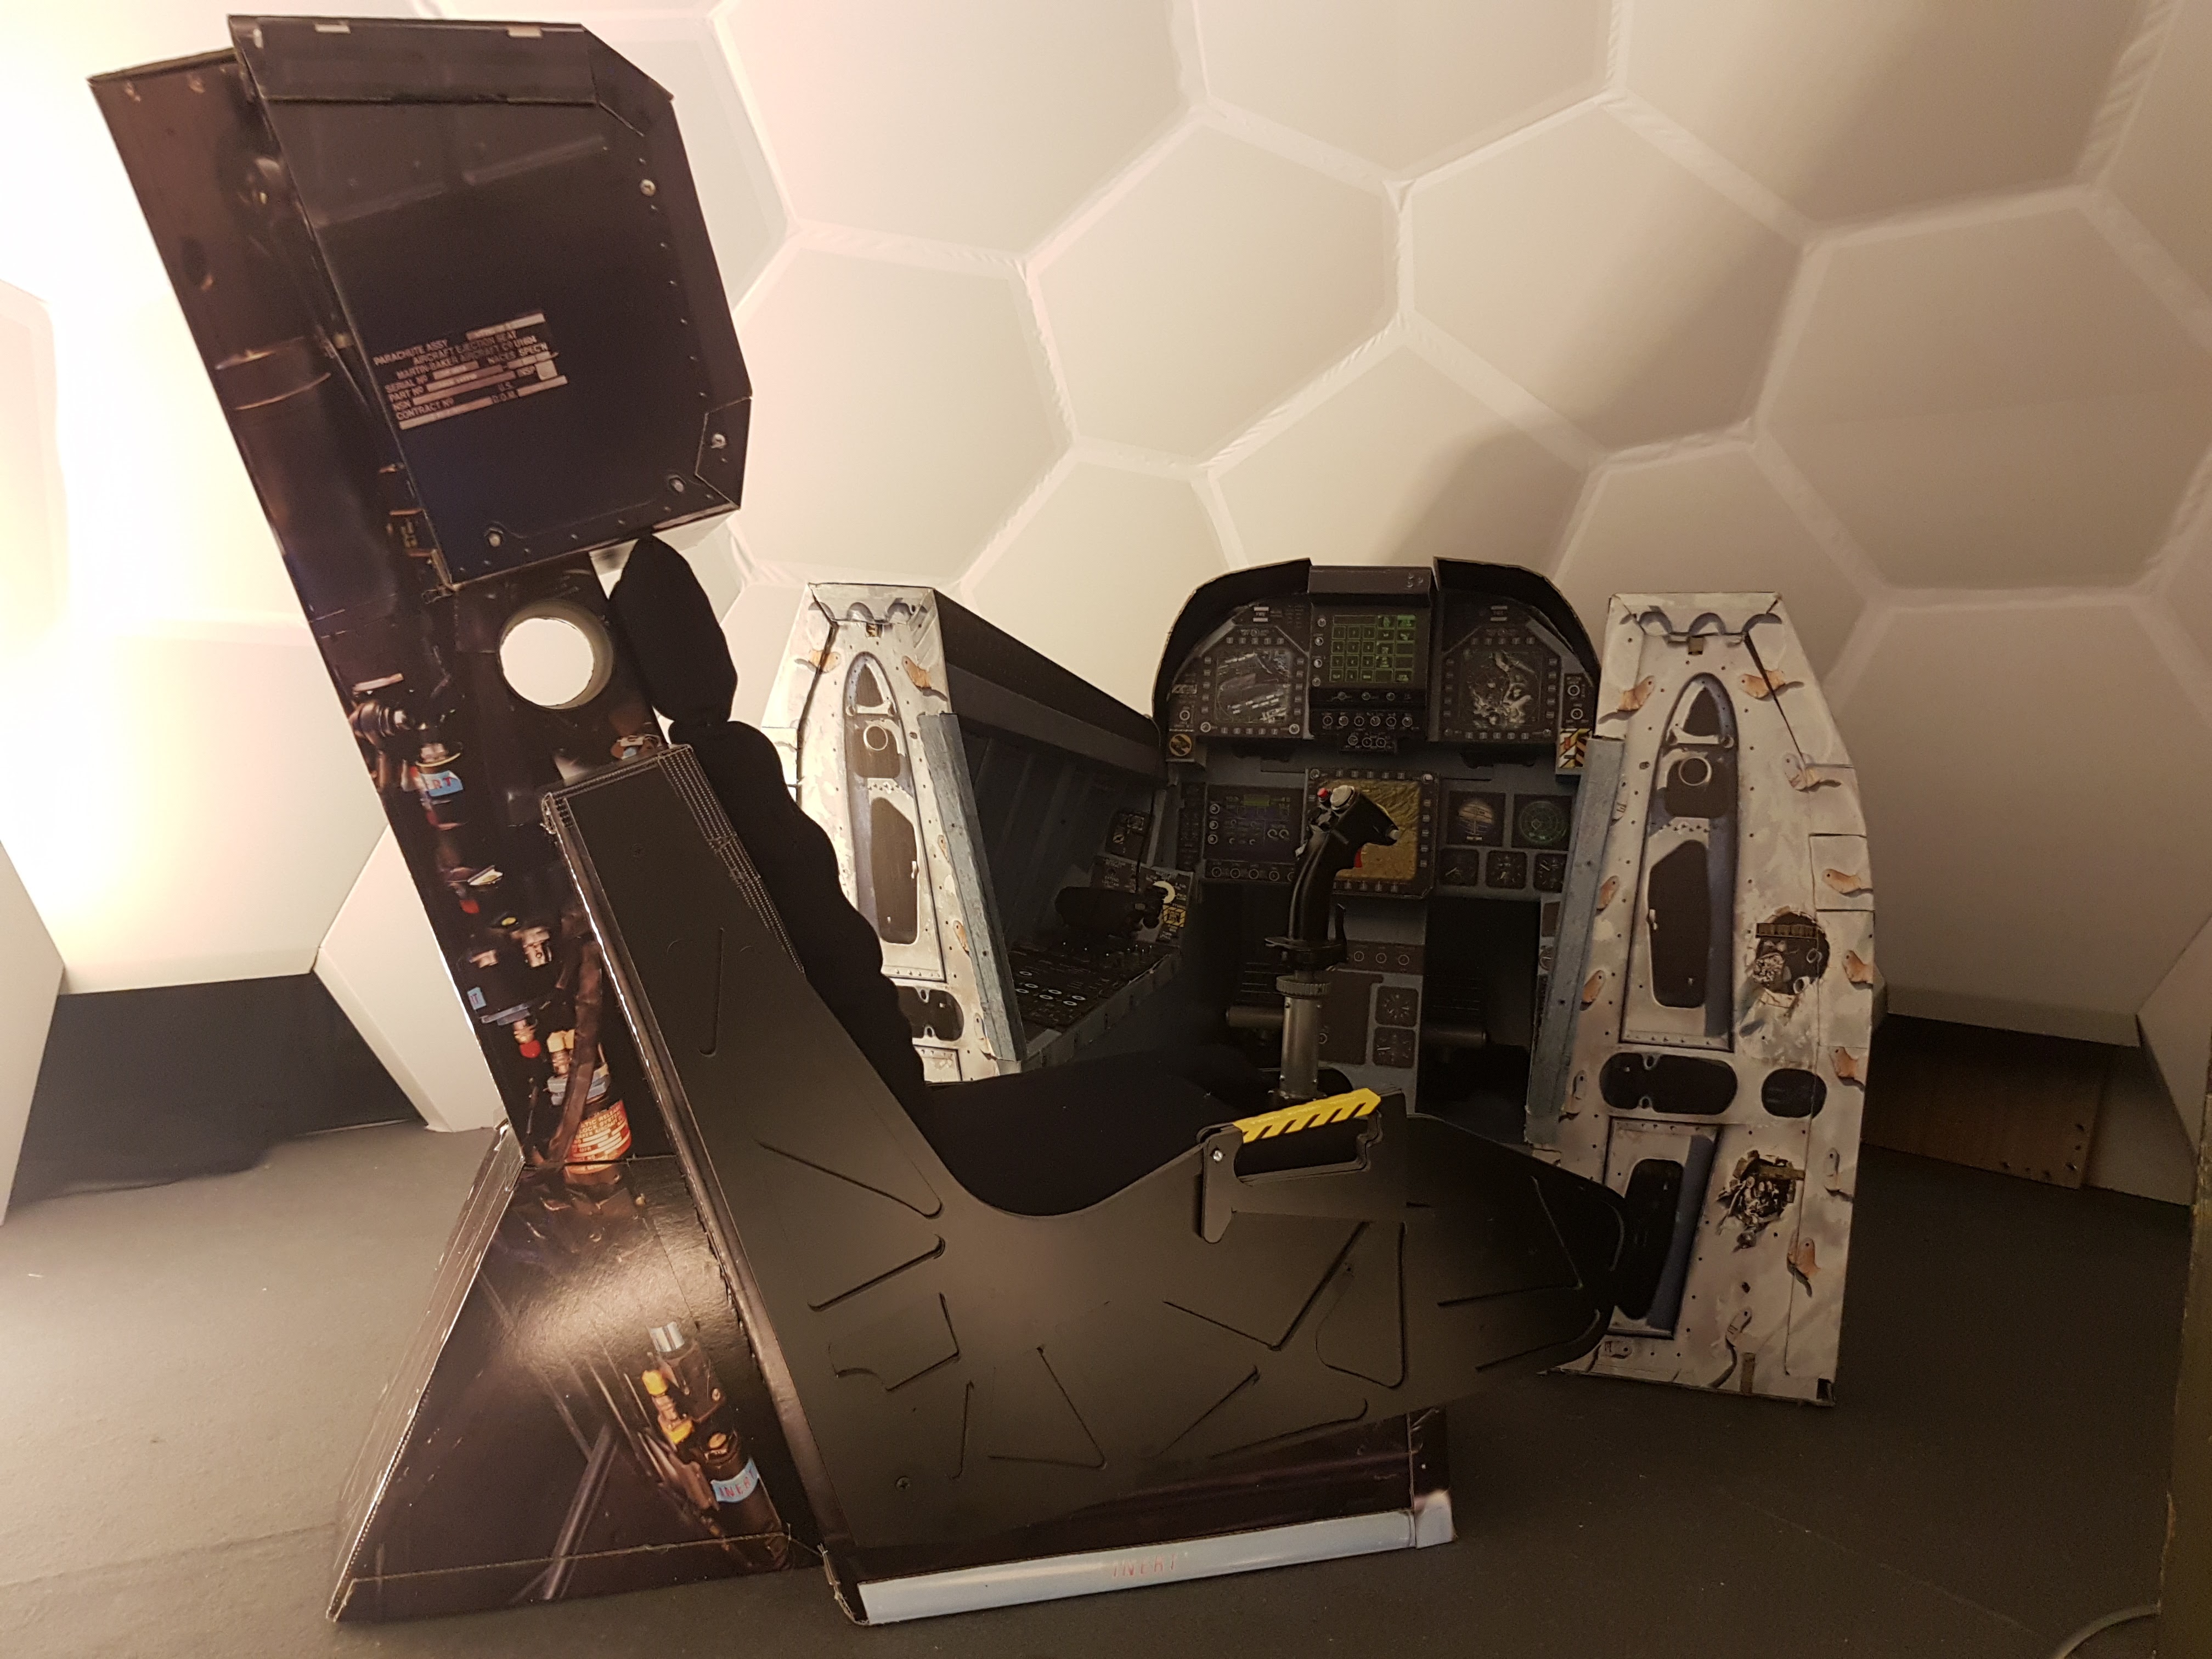
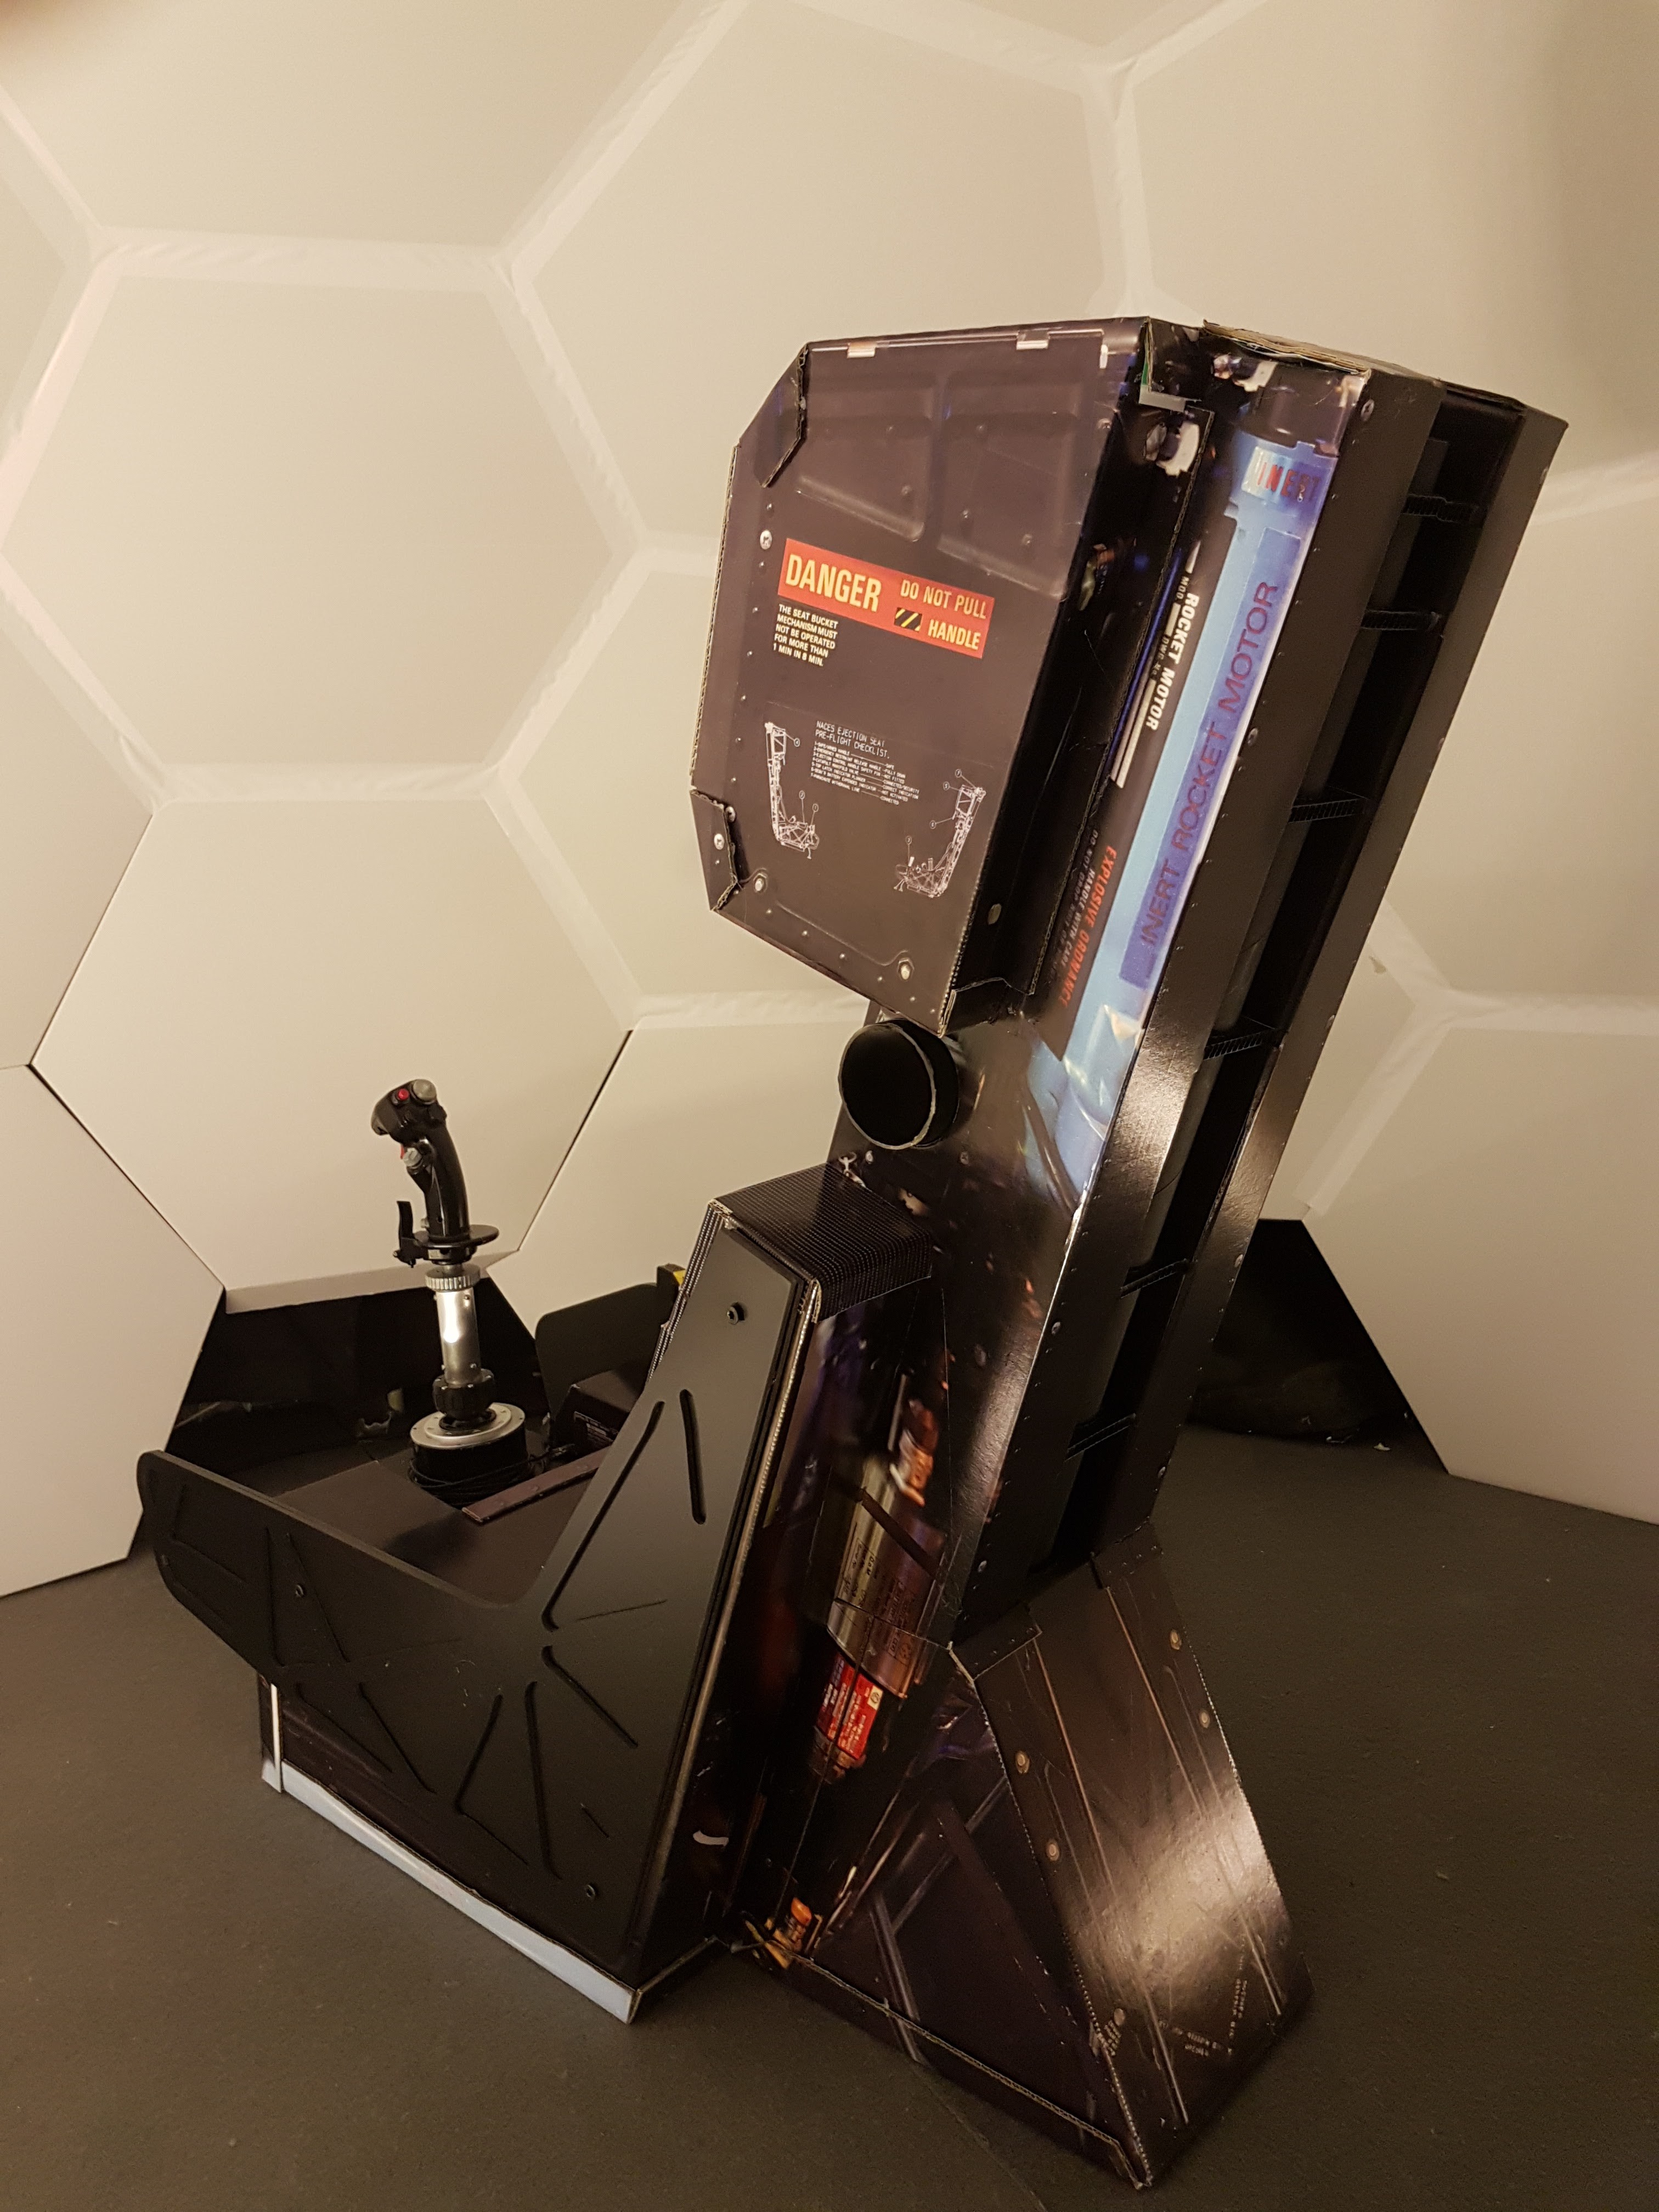
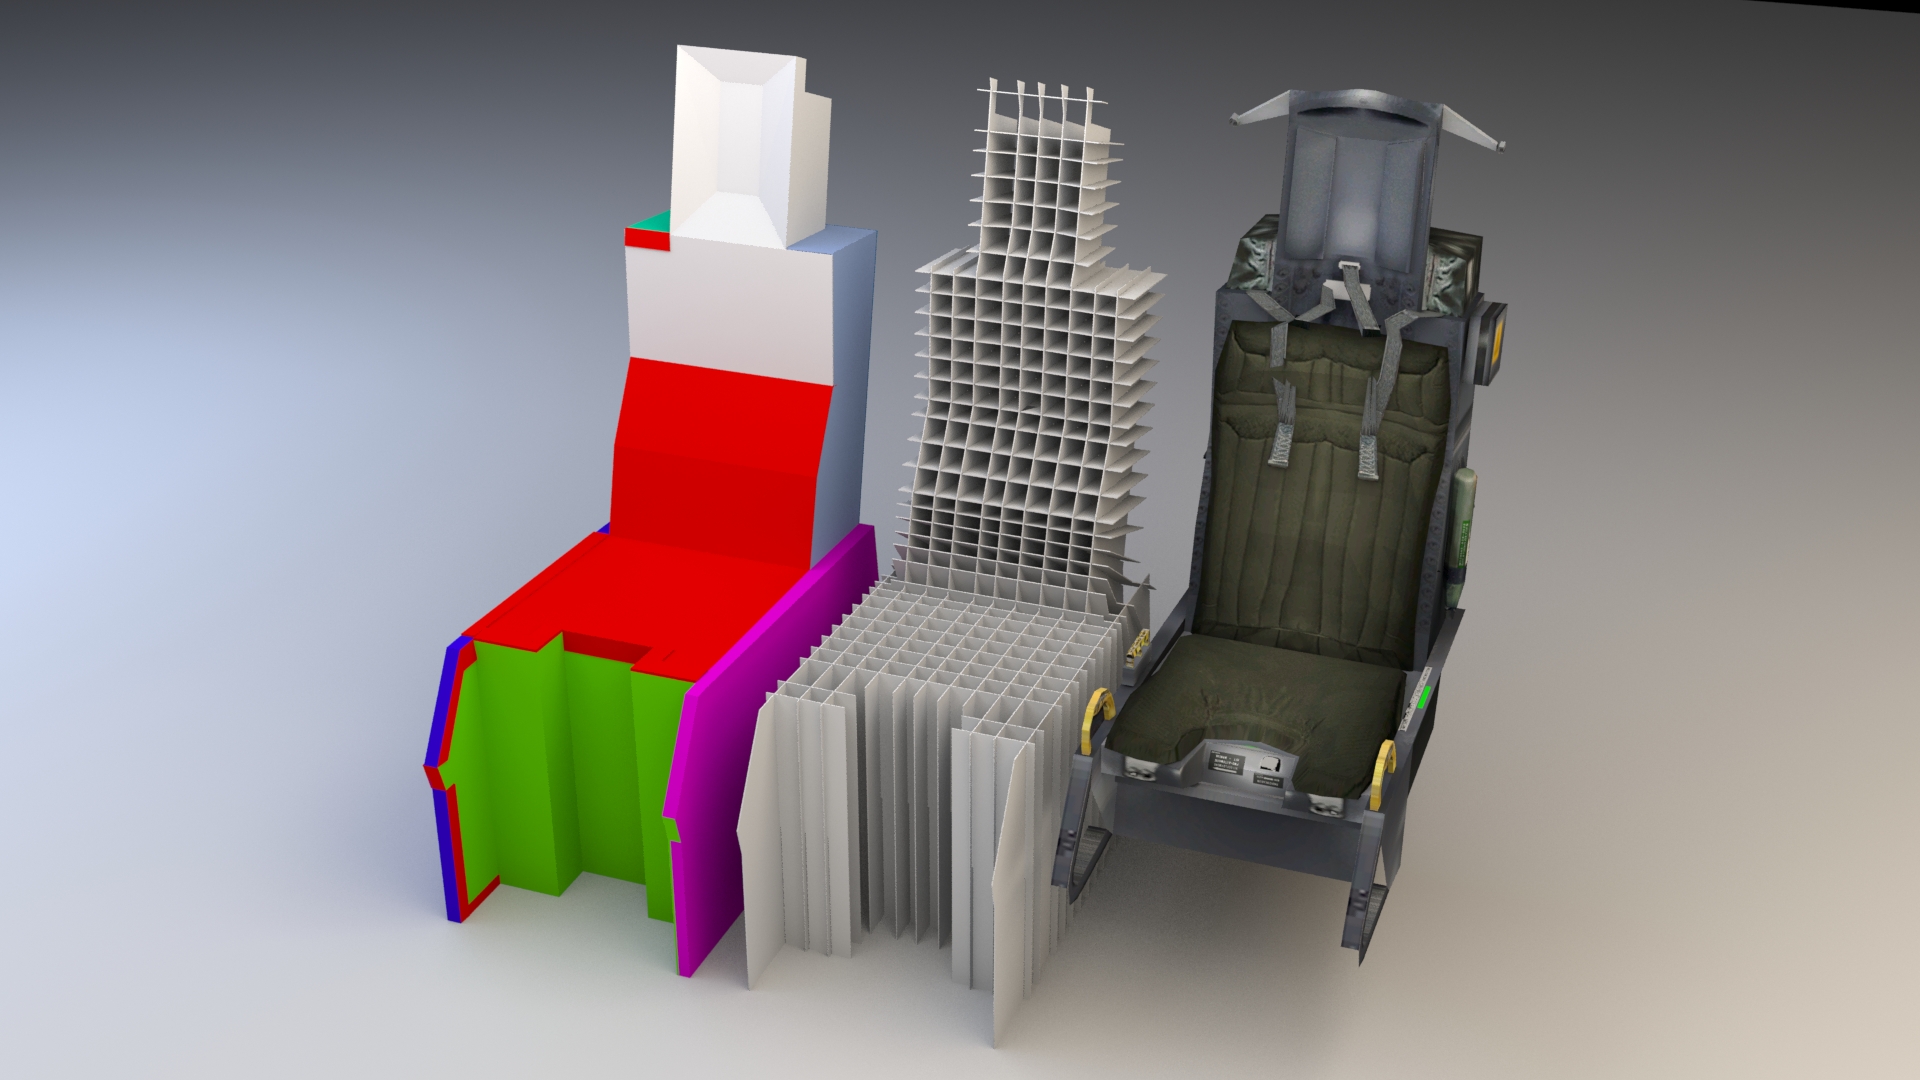
Hi there, i just finished MK14 seat kit and would like to show it here, it was lot of work and i am happy that is finished. This seat could be added to the cockpit, or as stand alone. I am also planning to make separate stand for the throttle. Here is fb page If you're interested about detailed tutorial , And from today is also available for purchase as PDF's or physical product here Thanks for checking!
- 1 reply
-
- 1
-

-
capthaltli: To get in the cockpit you need to push the seat back and go in from behind. It is lightweight so its not a problem, climbing in over the side will not ends well :). But i am replacing cardboard by the cornflute board, so we will see how strong this will be.
-
Thanks Stang!
-
Thank you! Today i calculated shipping to Australia, which is probably furthest place on the globe from me and it was $400. Box is 120x95x20 cm size.
-
hansangb Thank you, yes its good for Vr and also for dome projection. Right now finishing the MK 14 seat from cornflute plastic board.
-
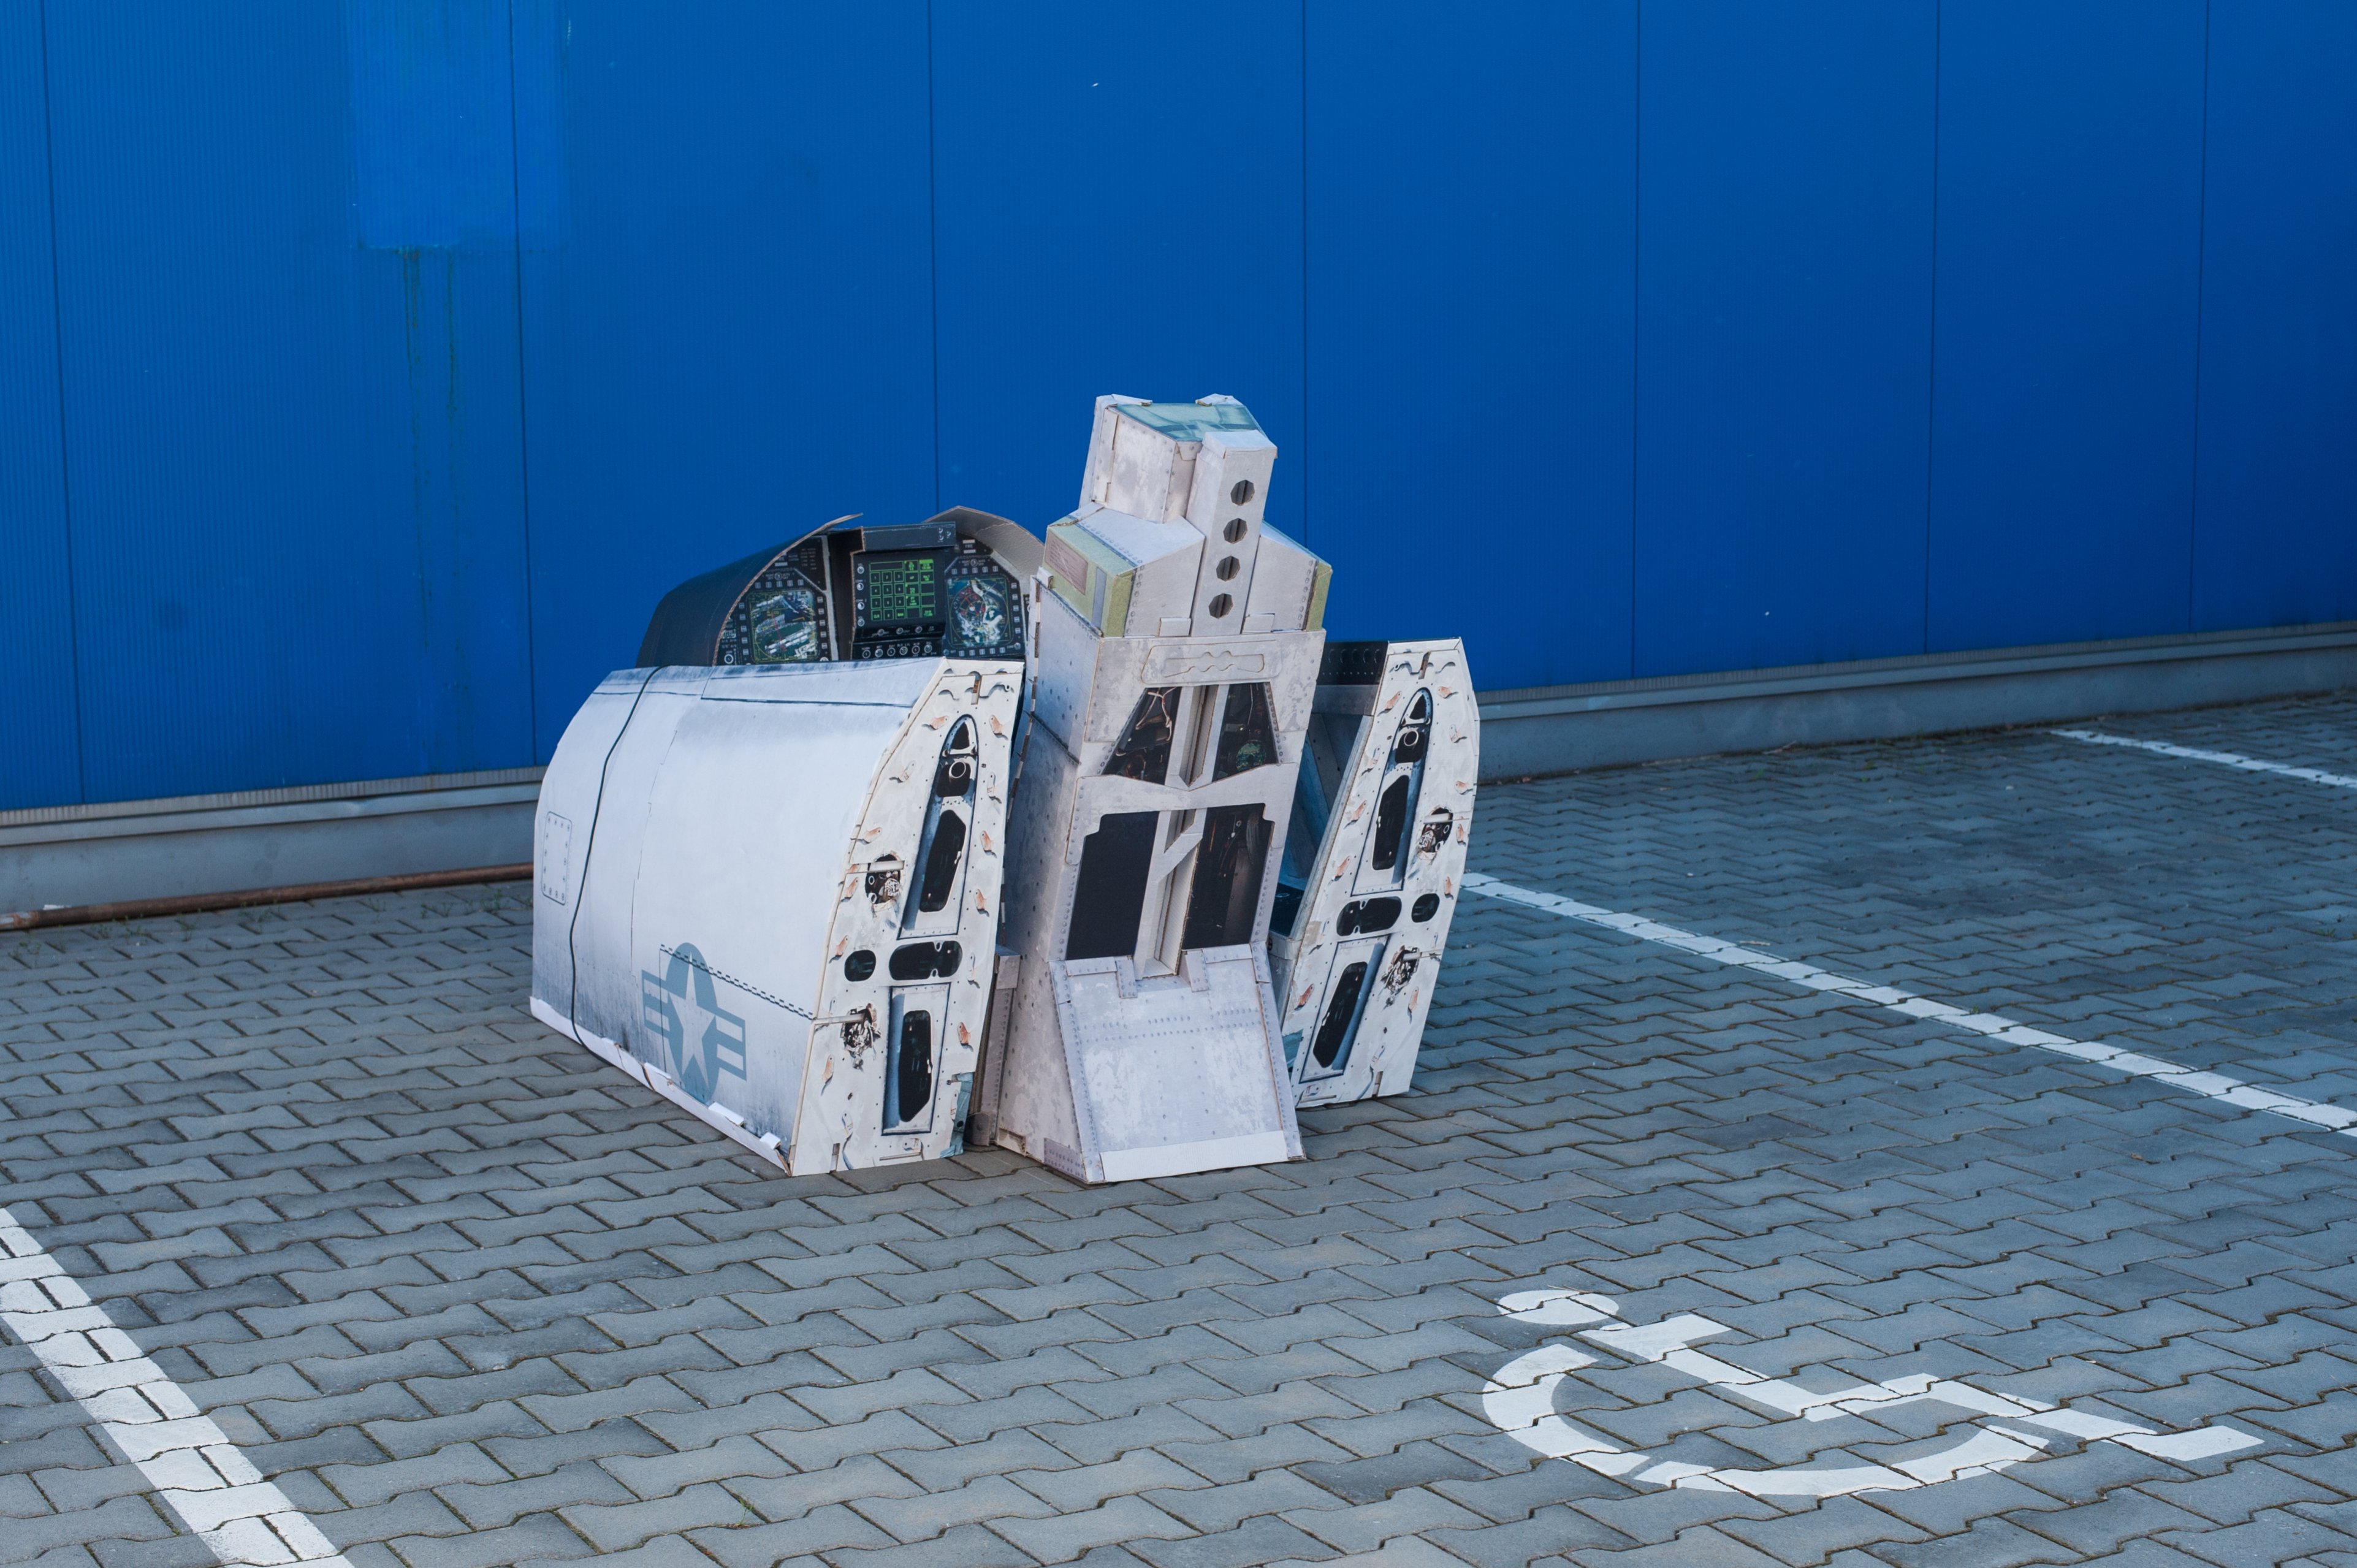
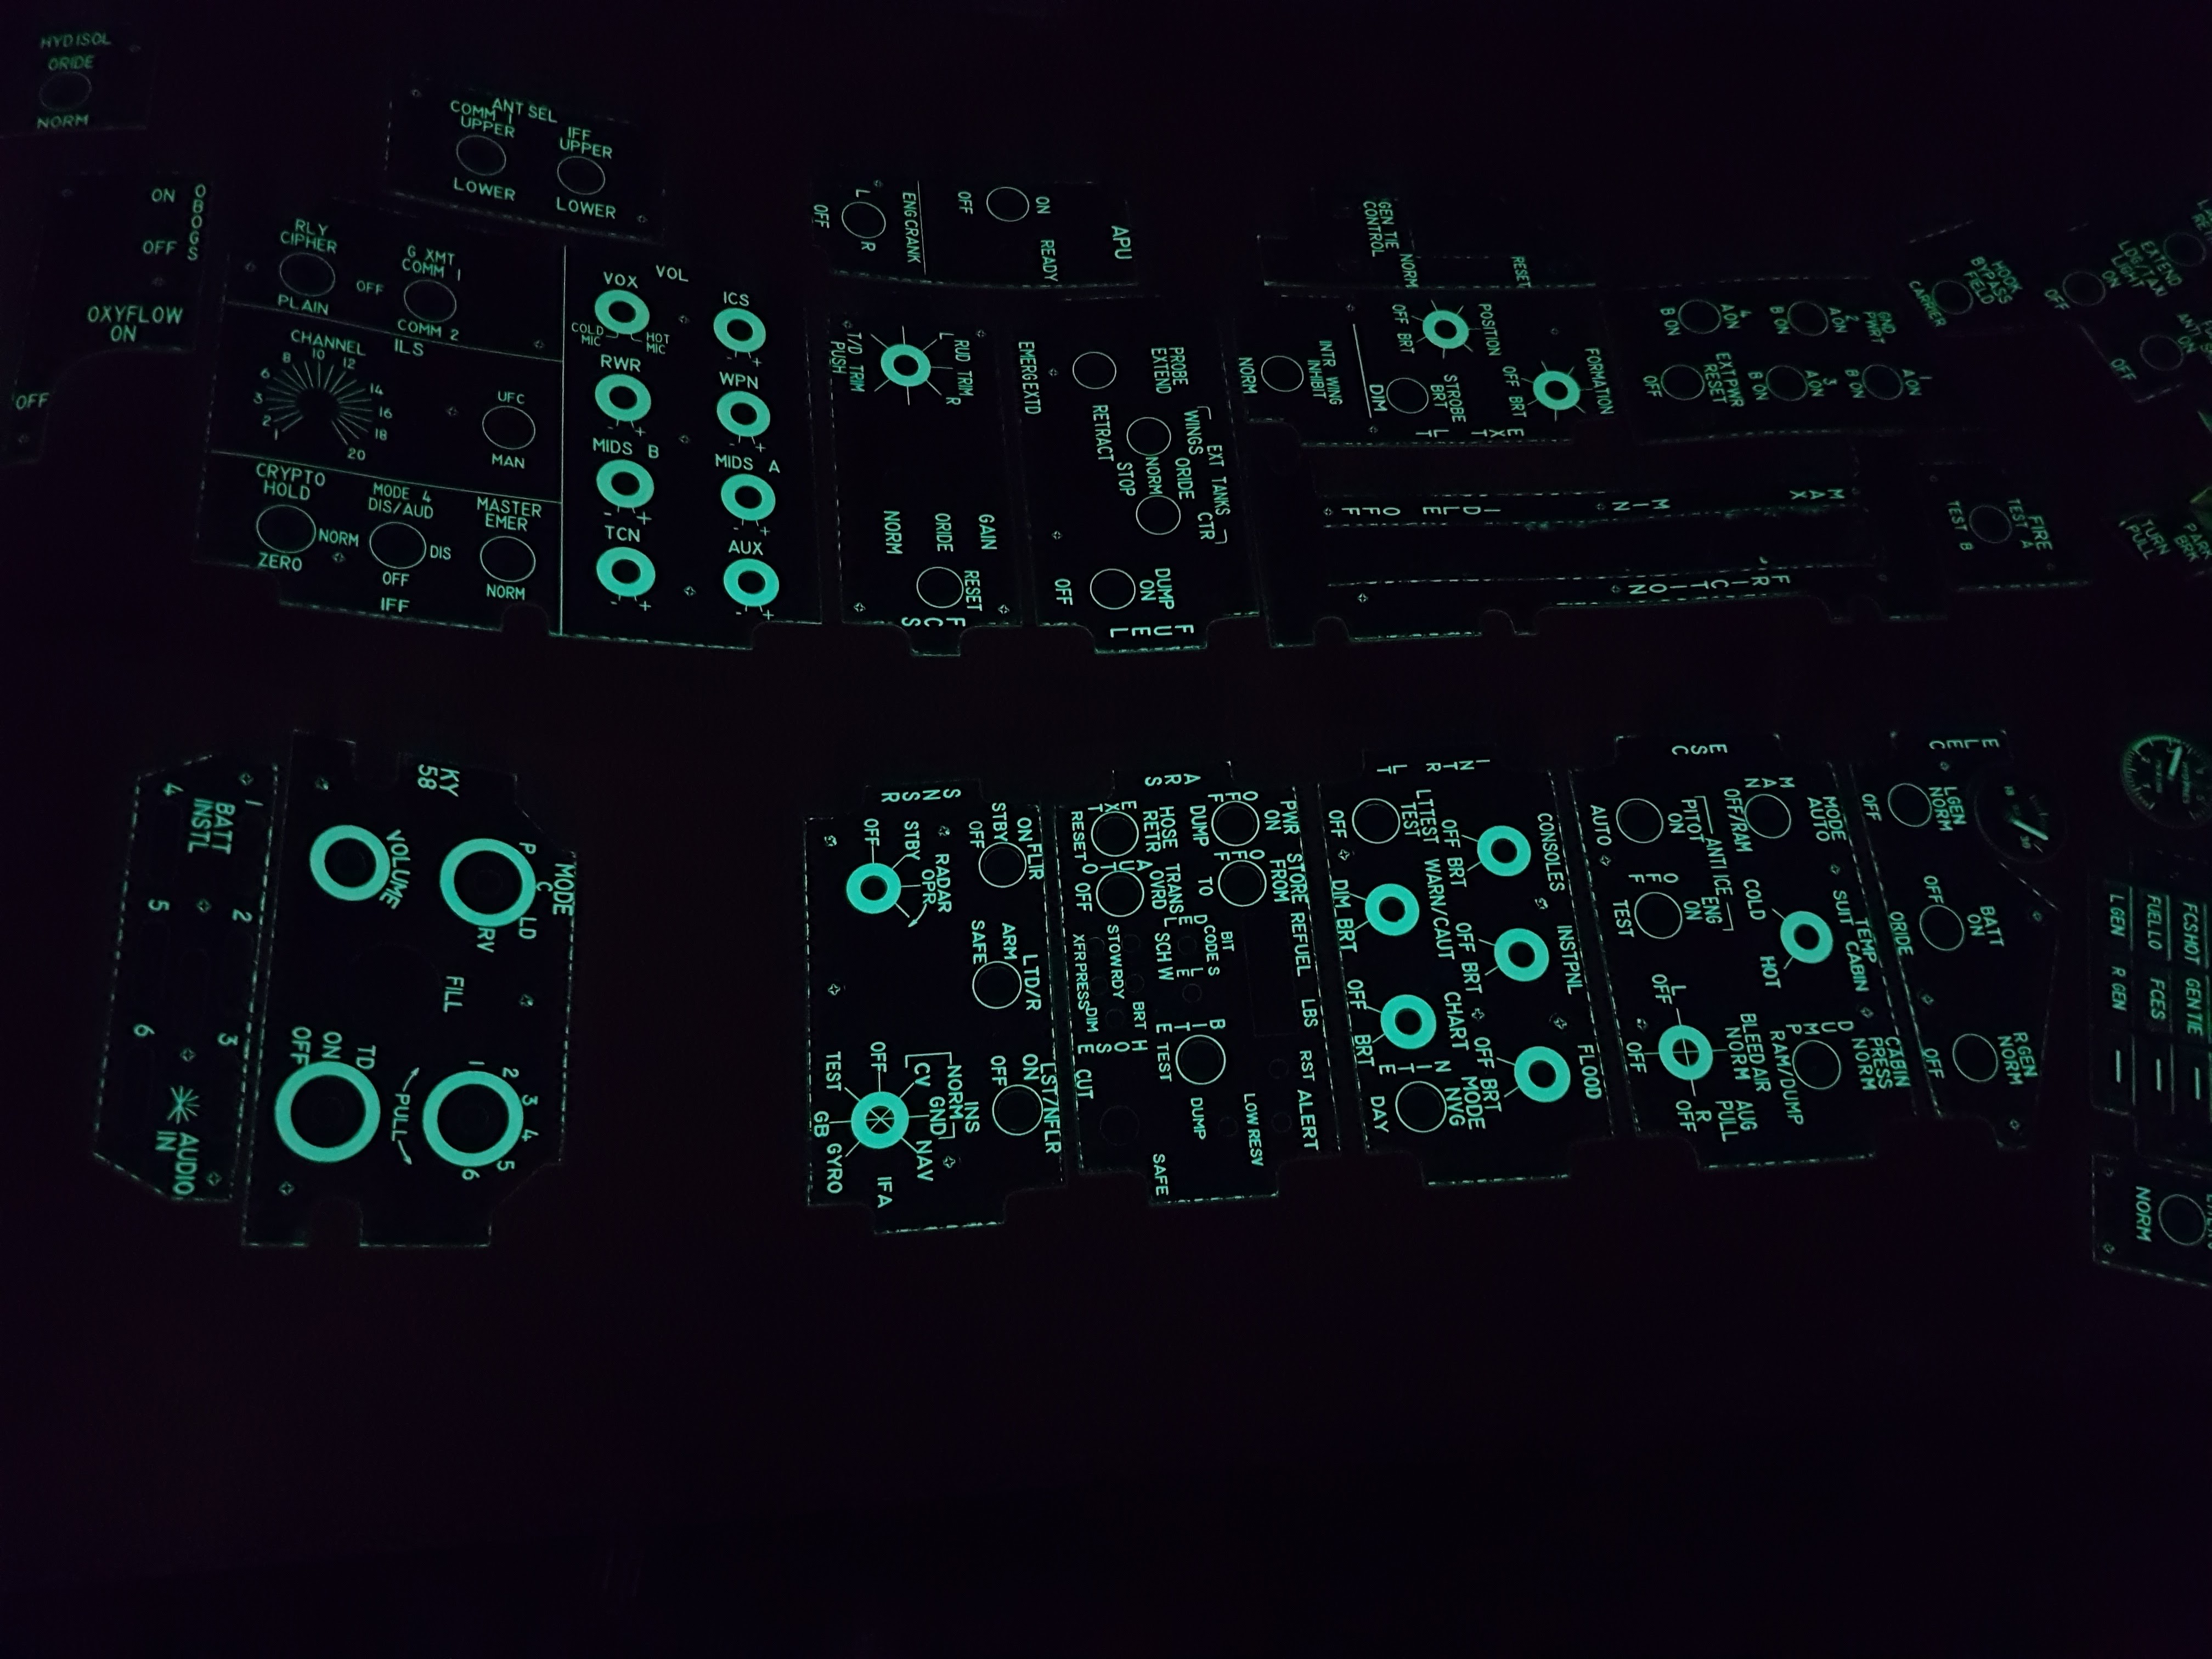
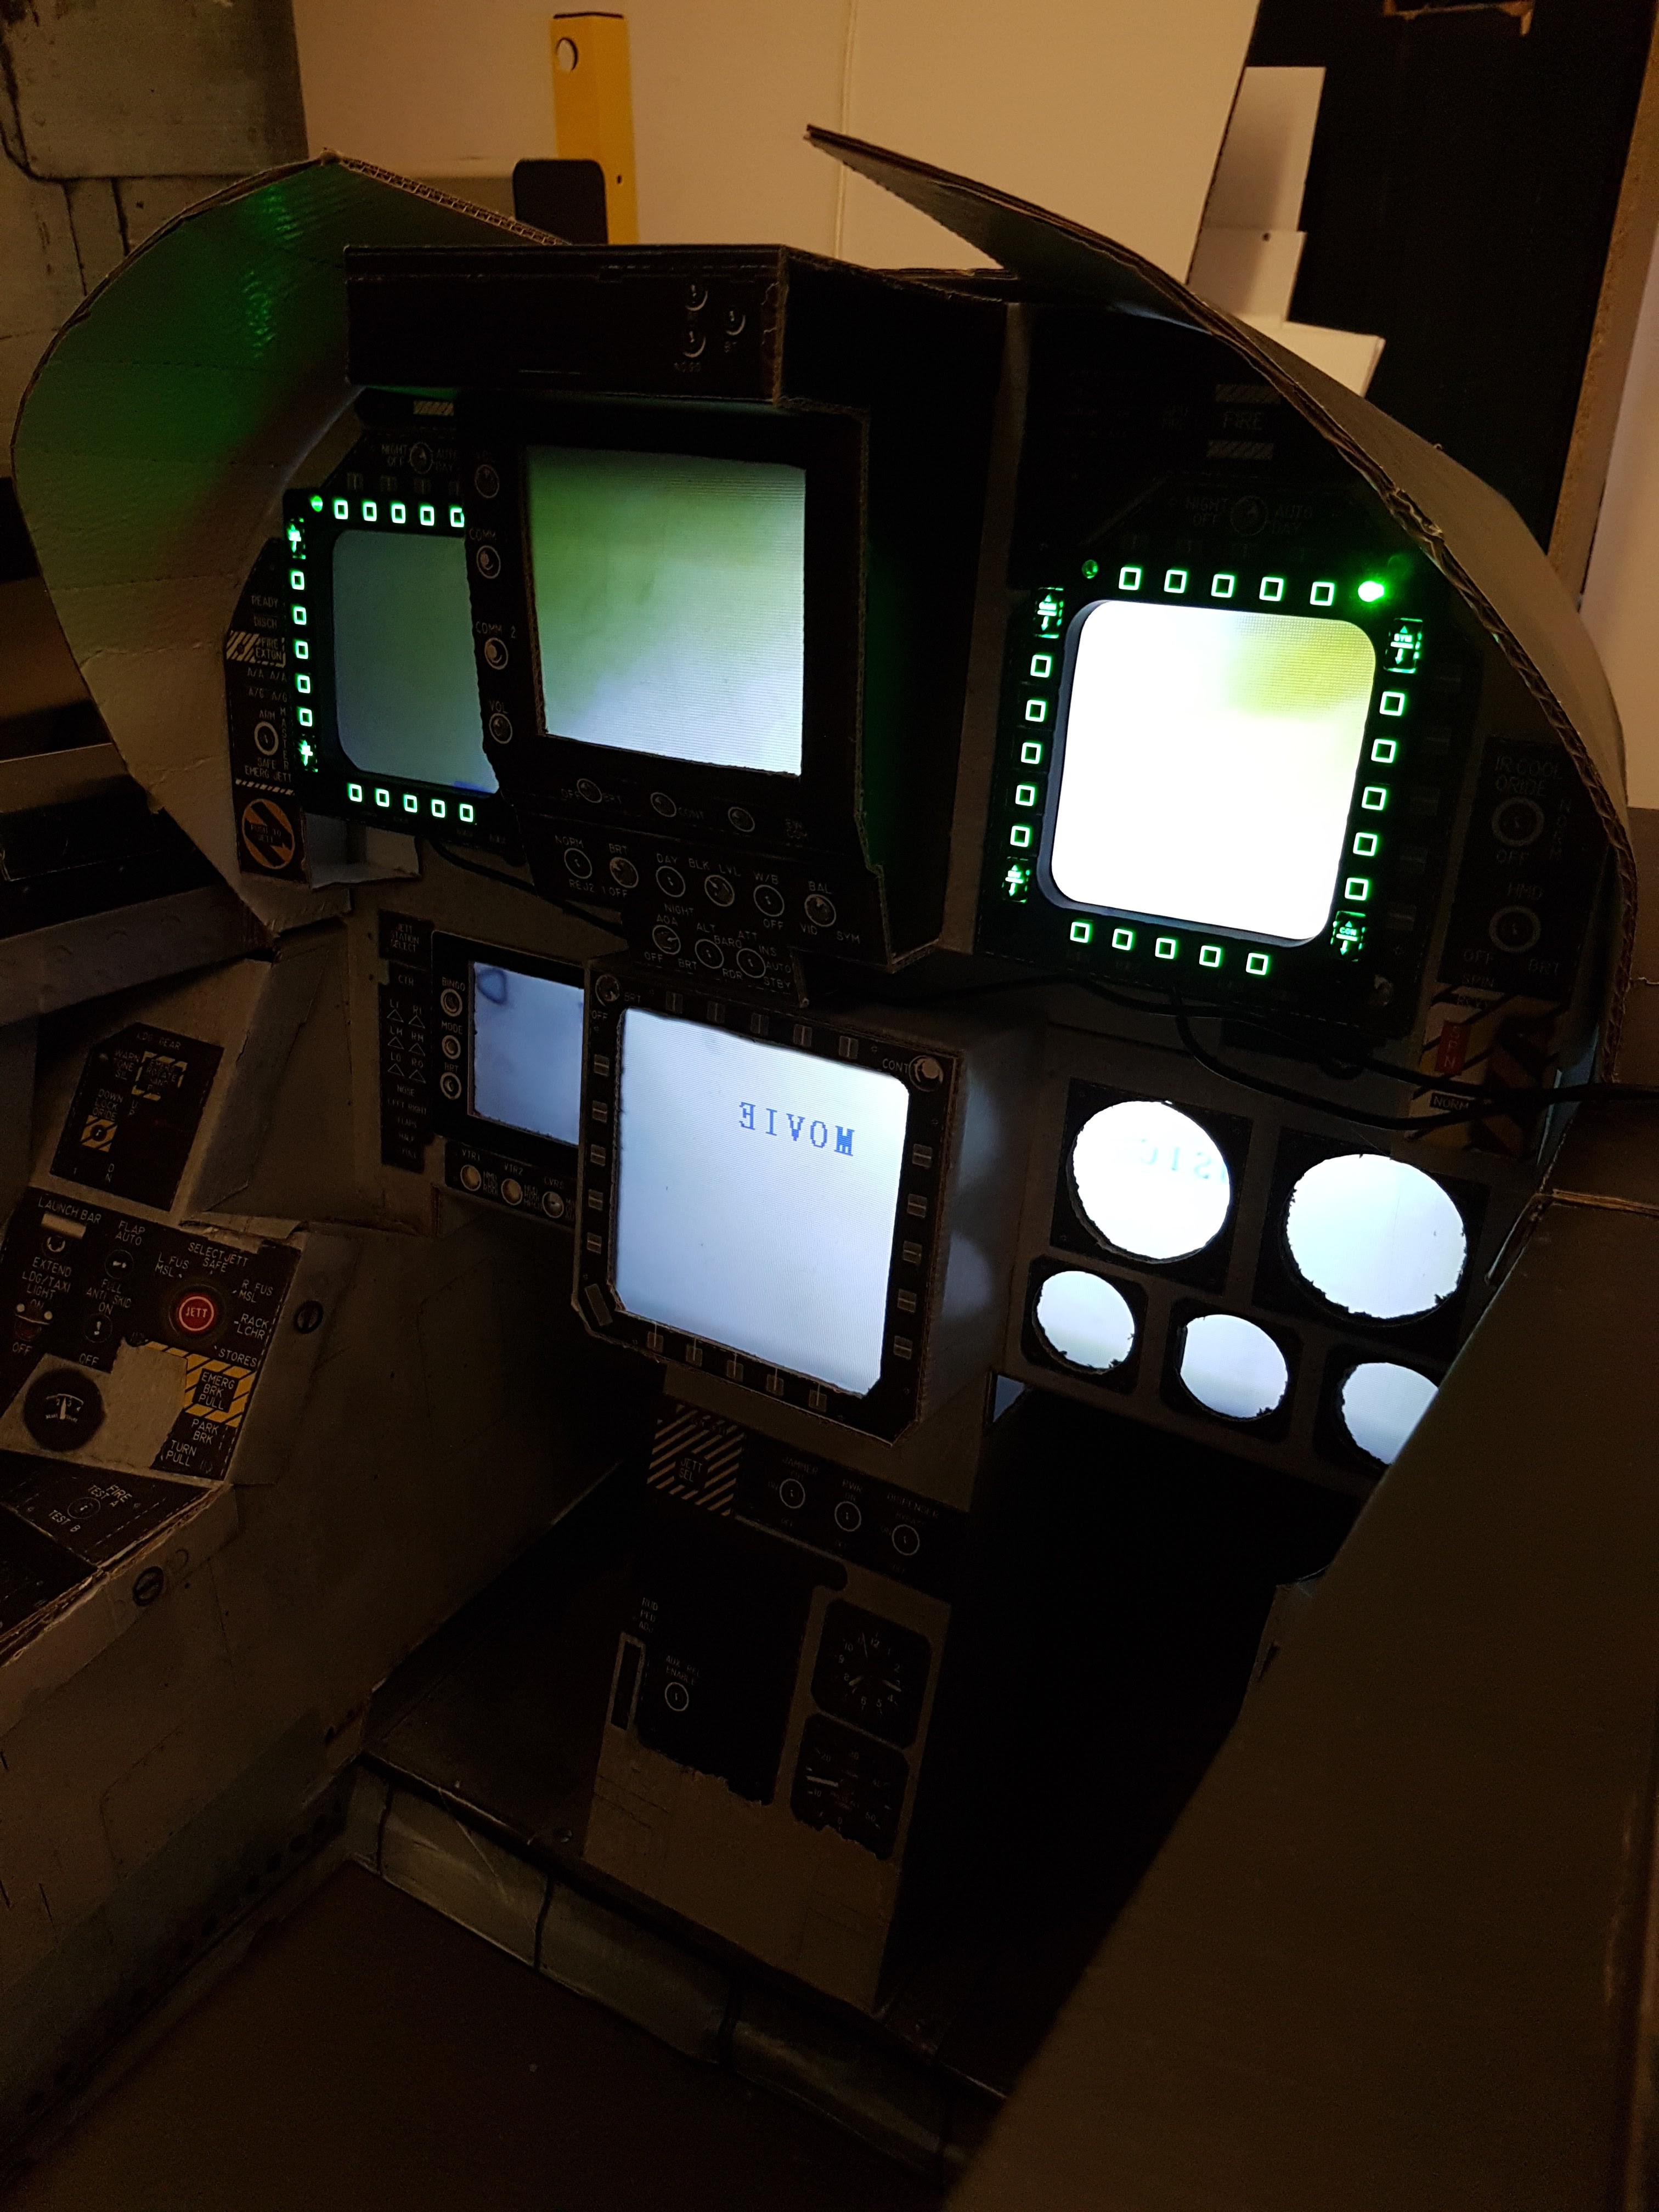
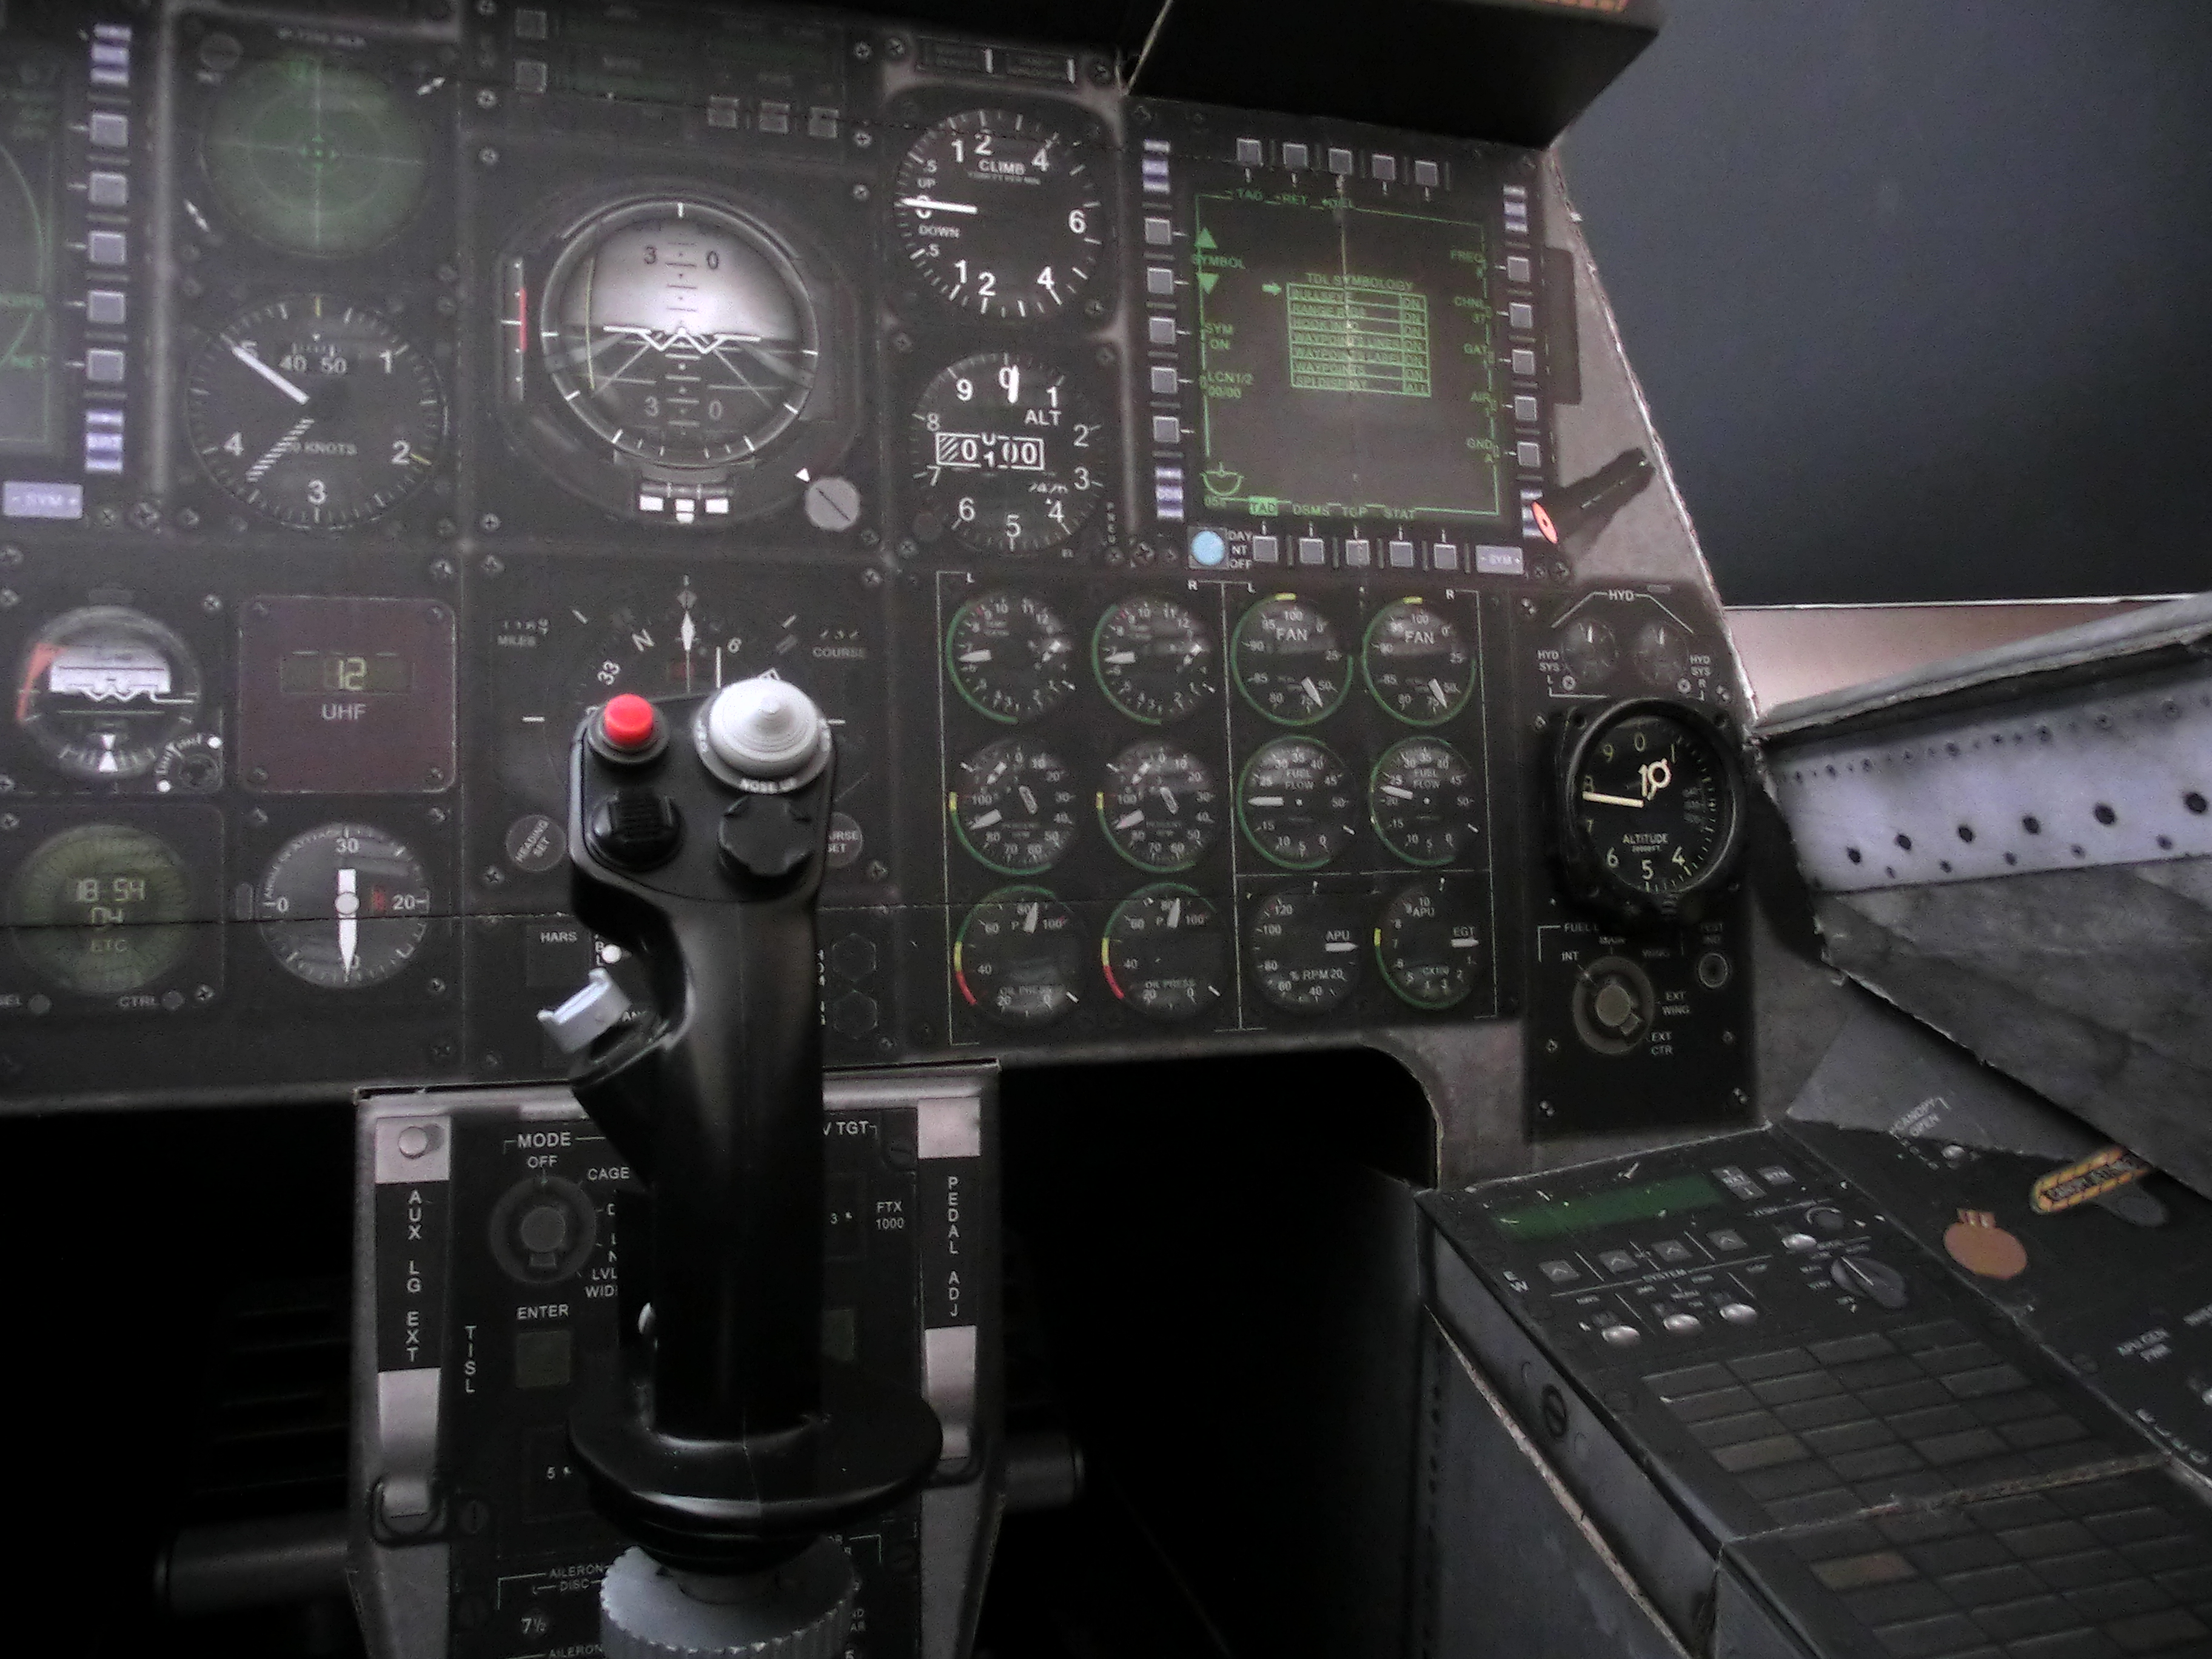
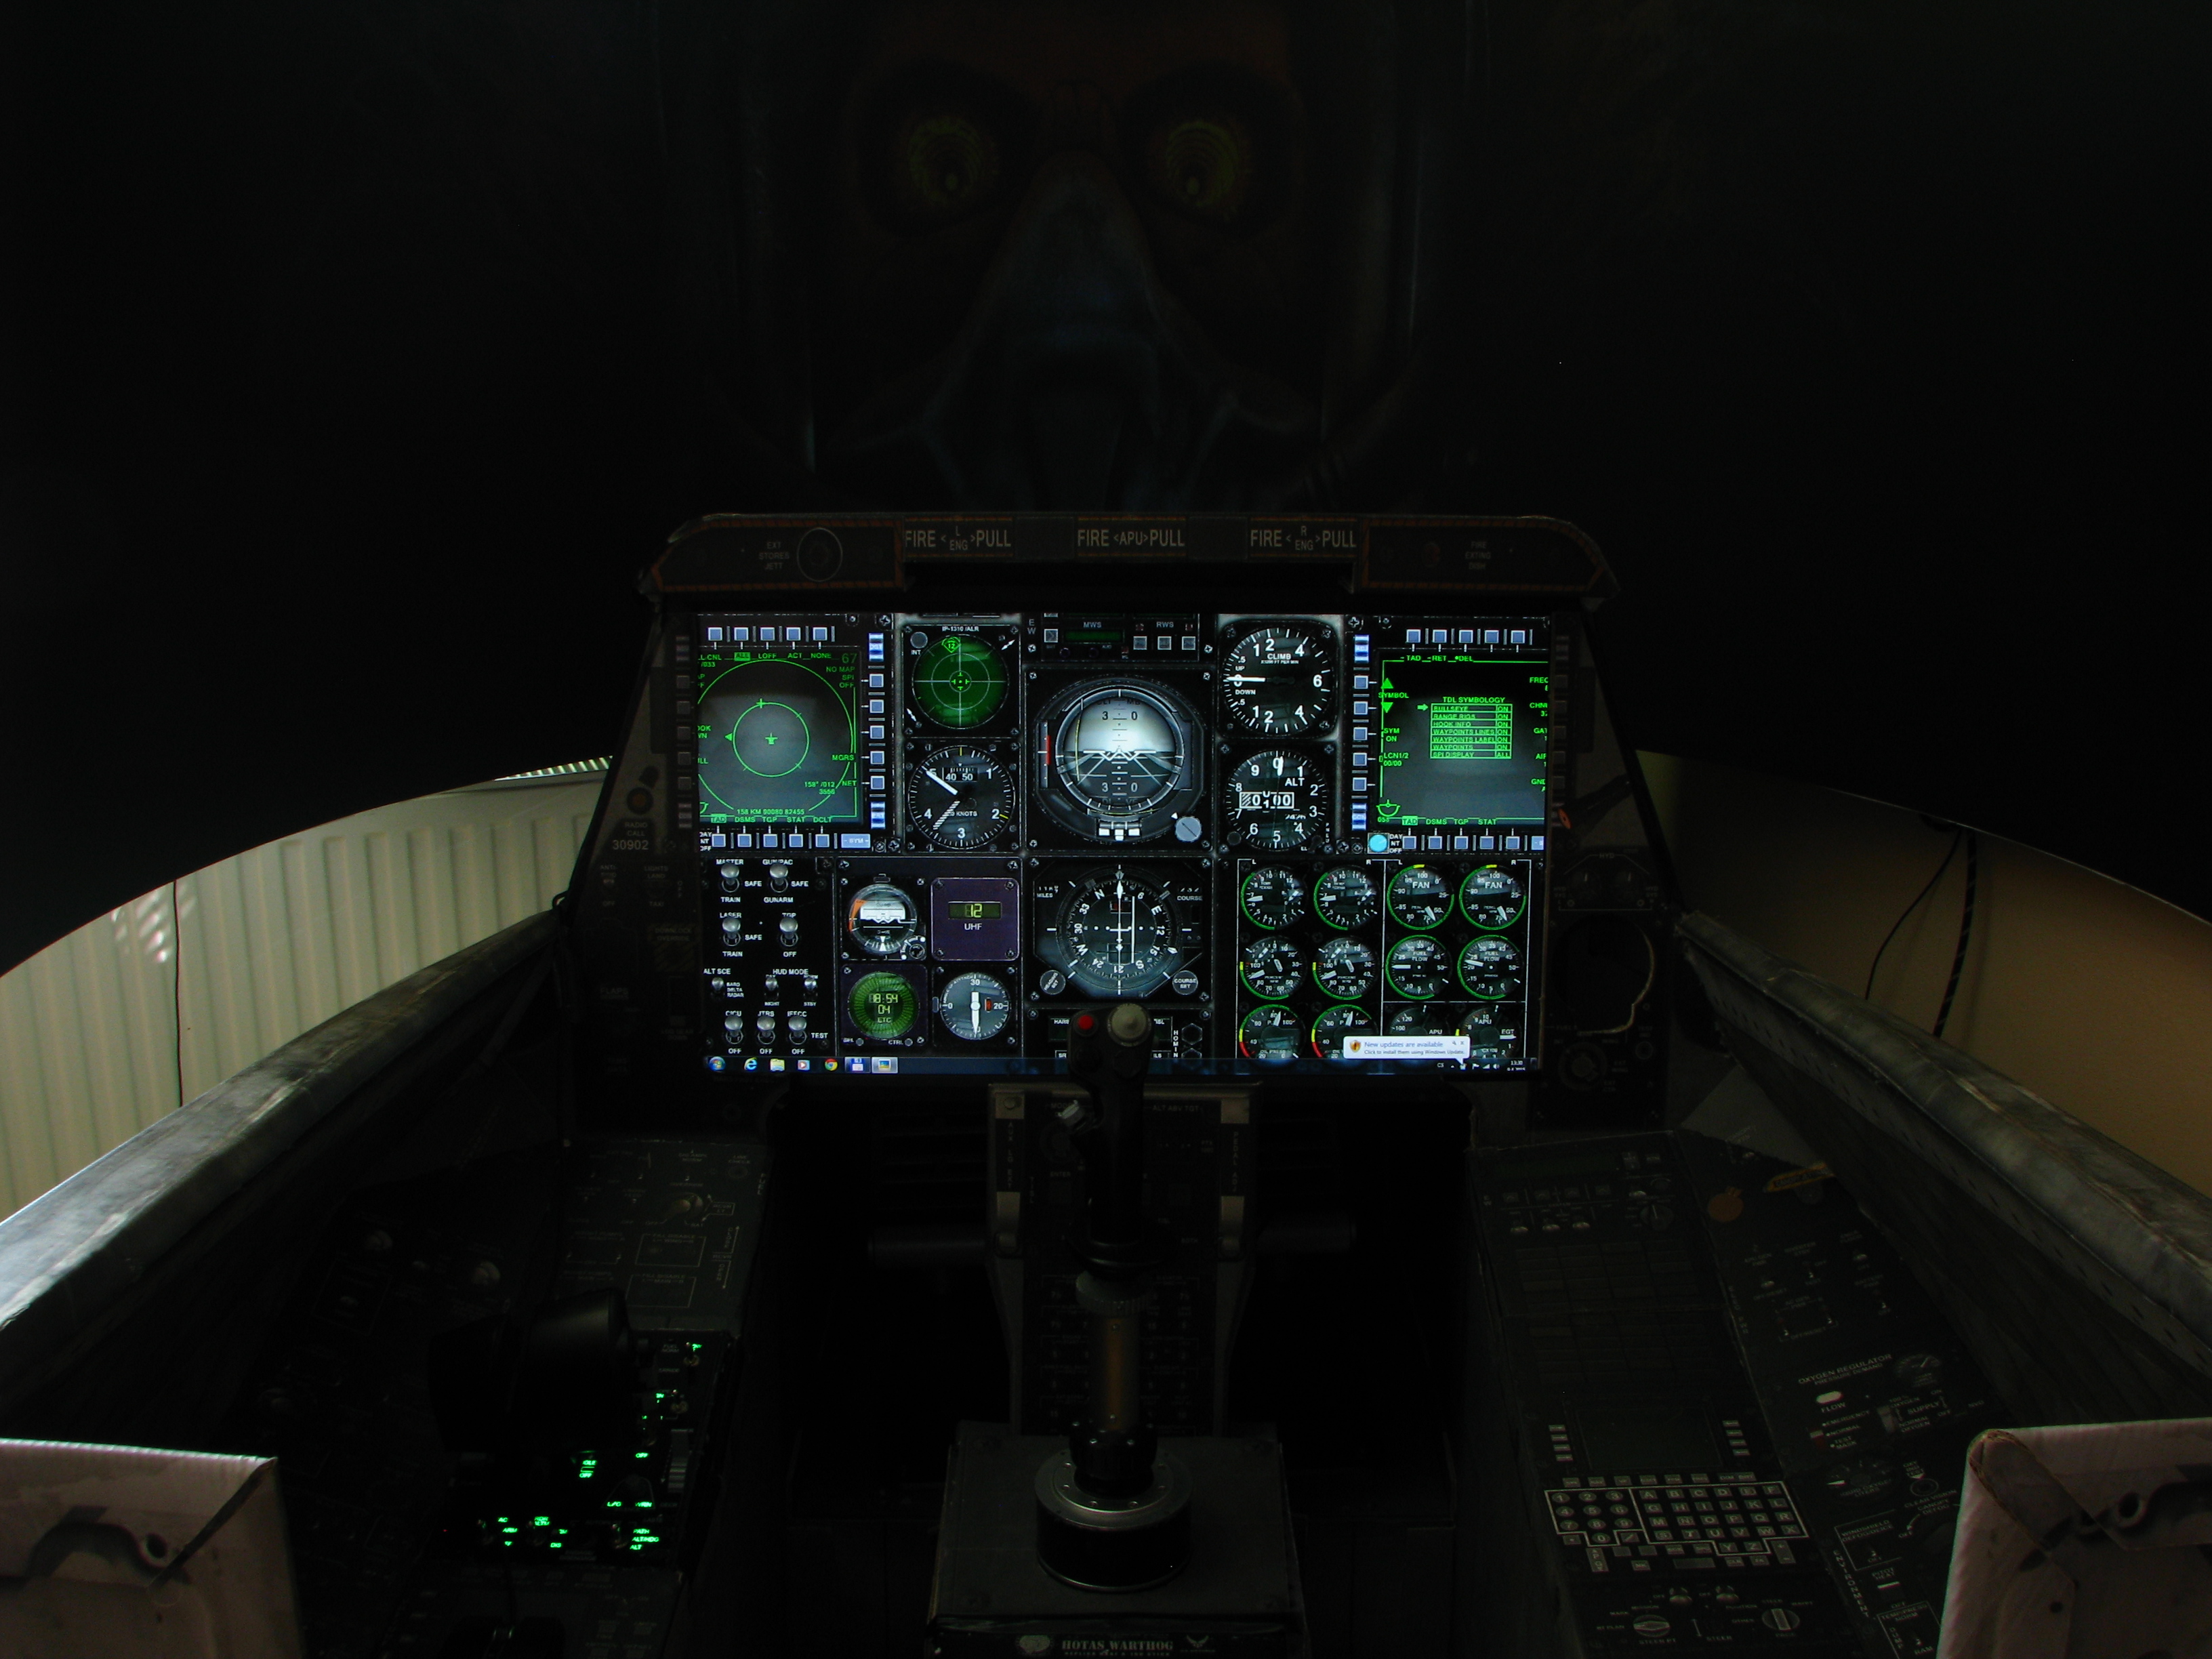
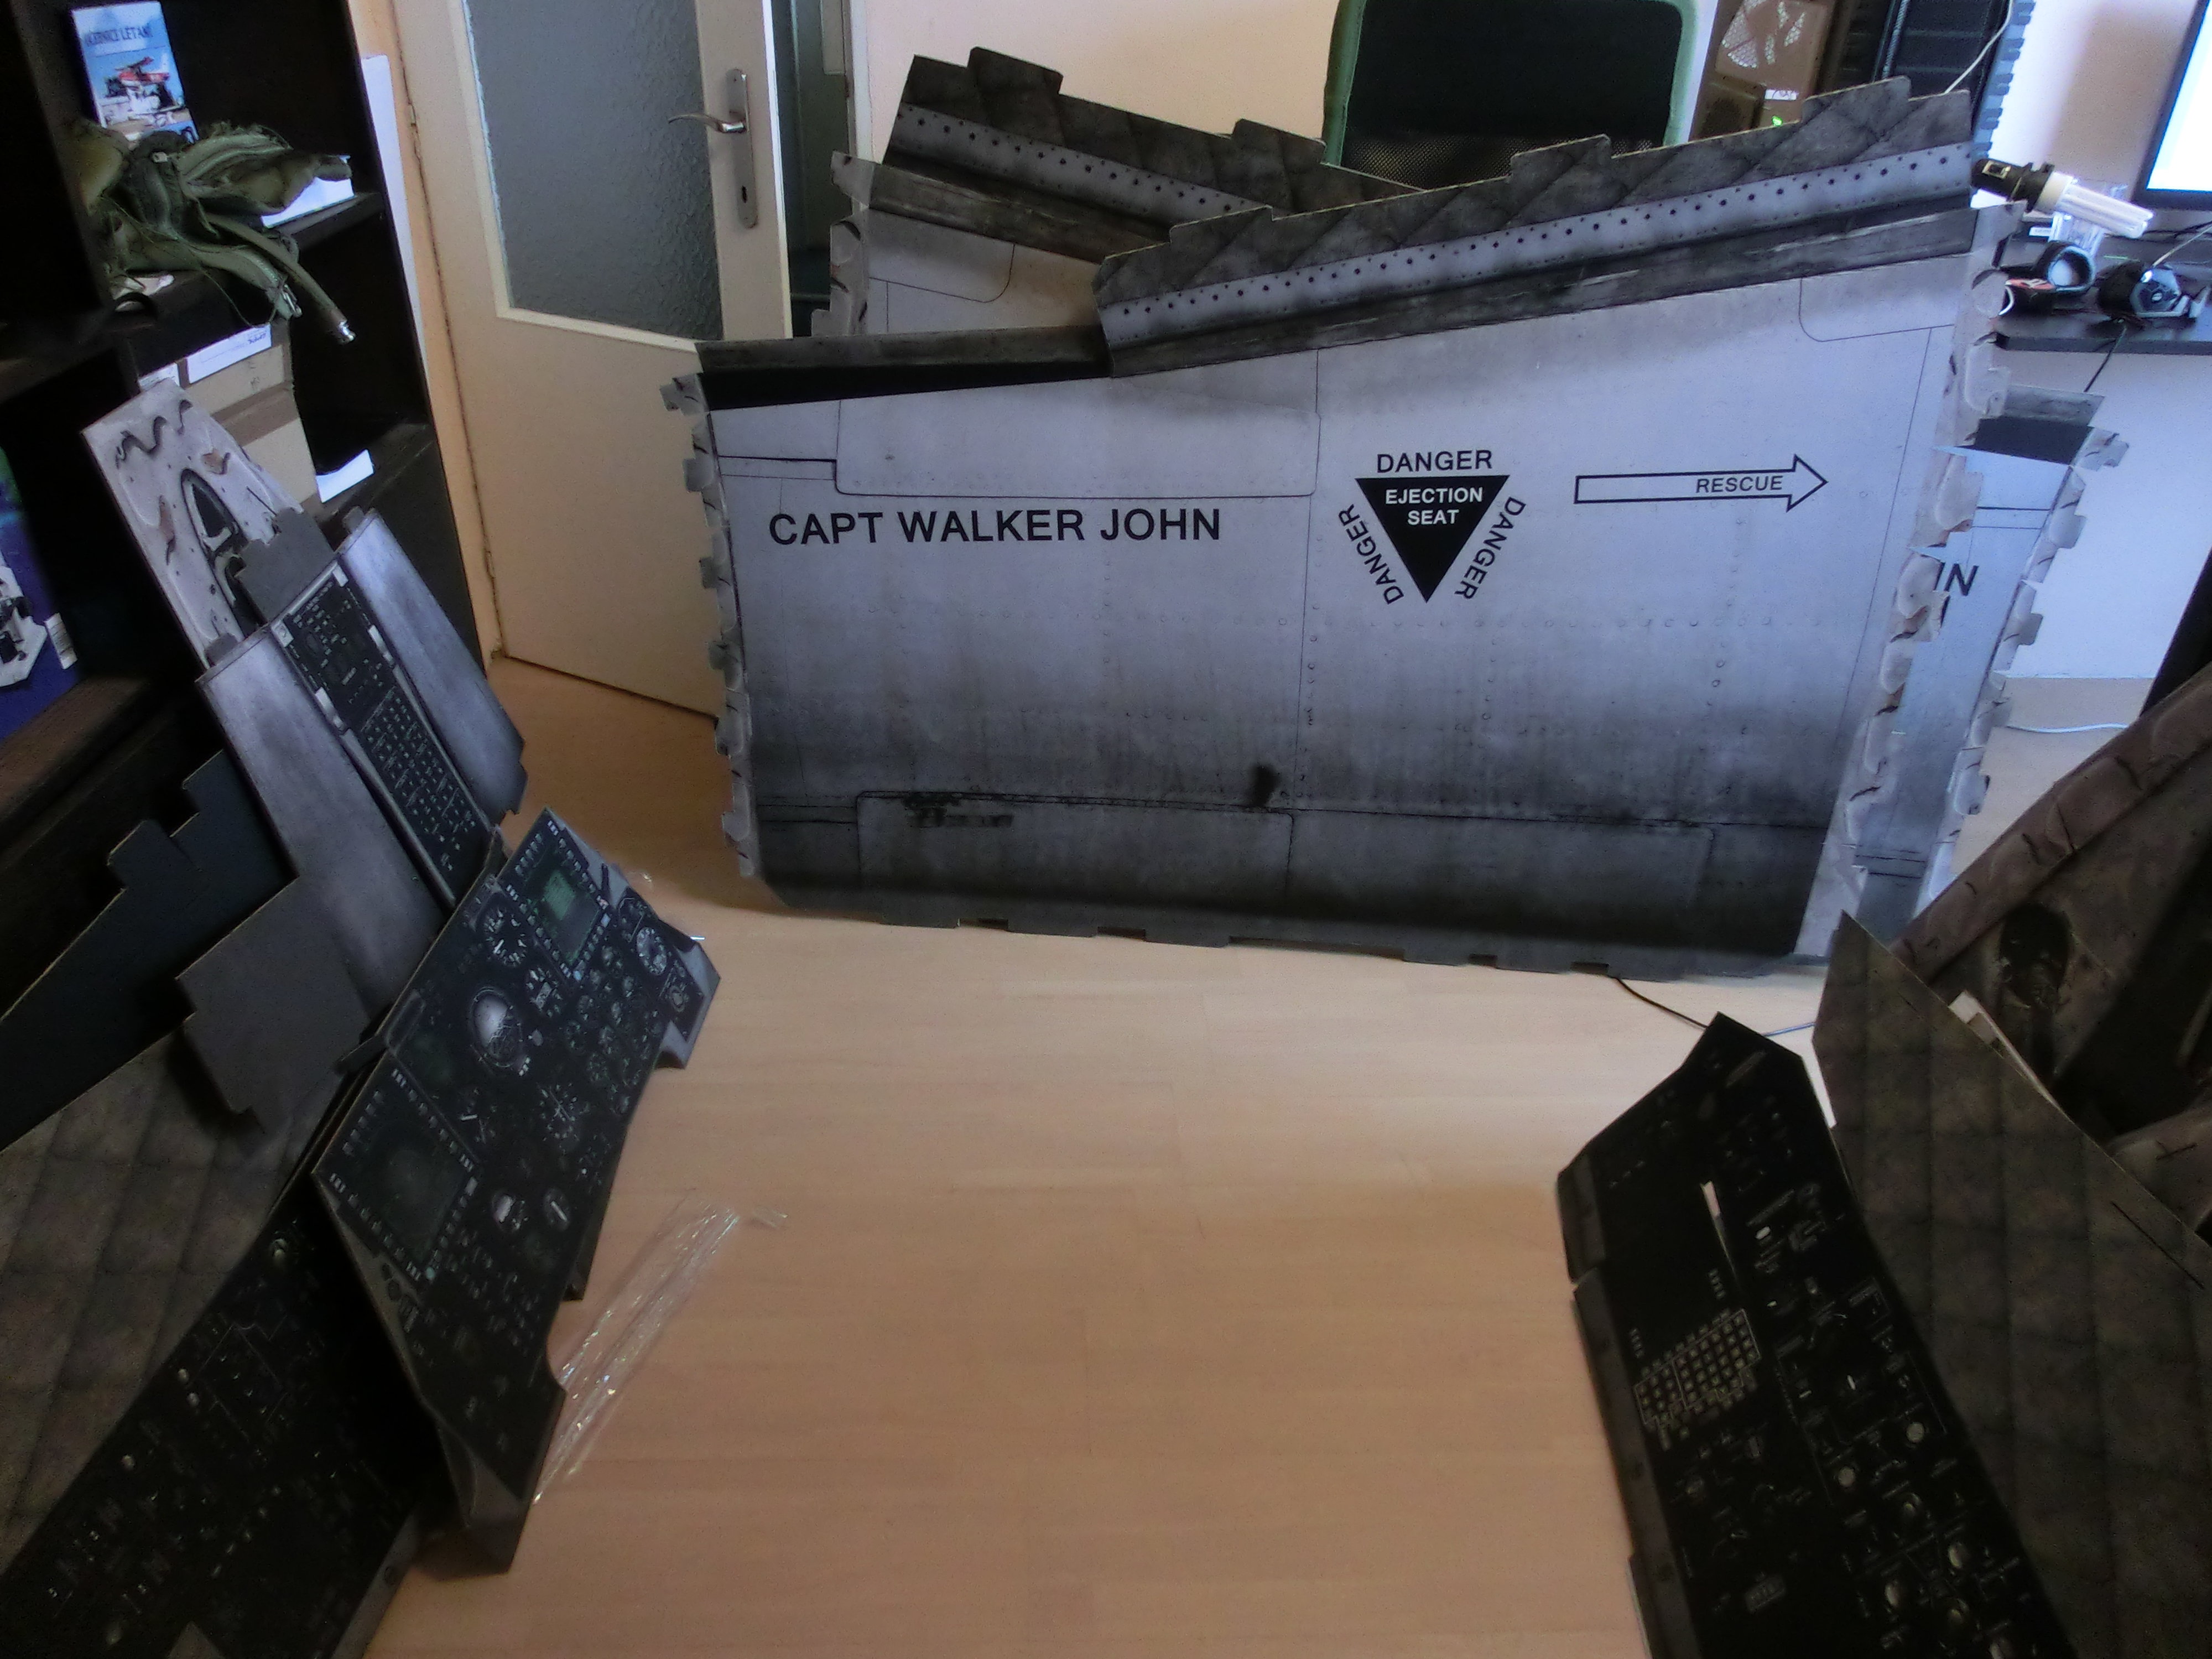
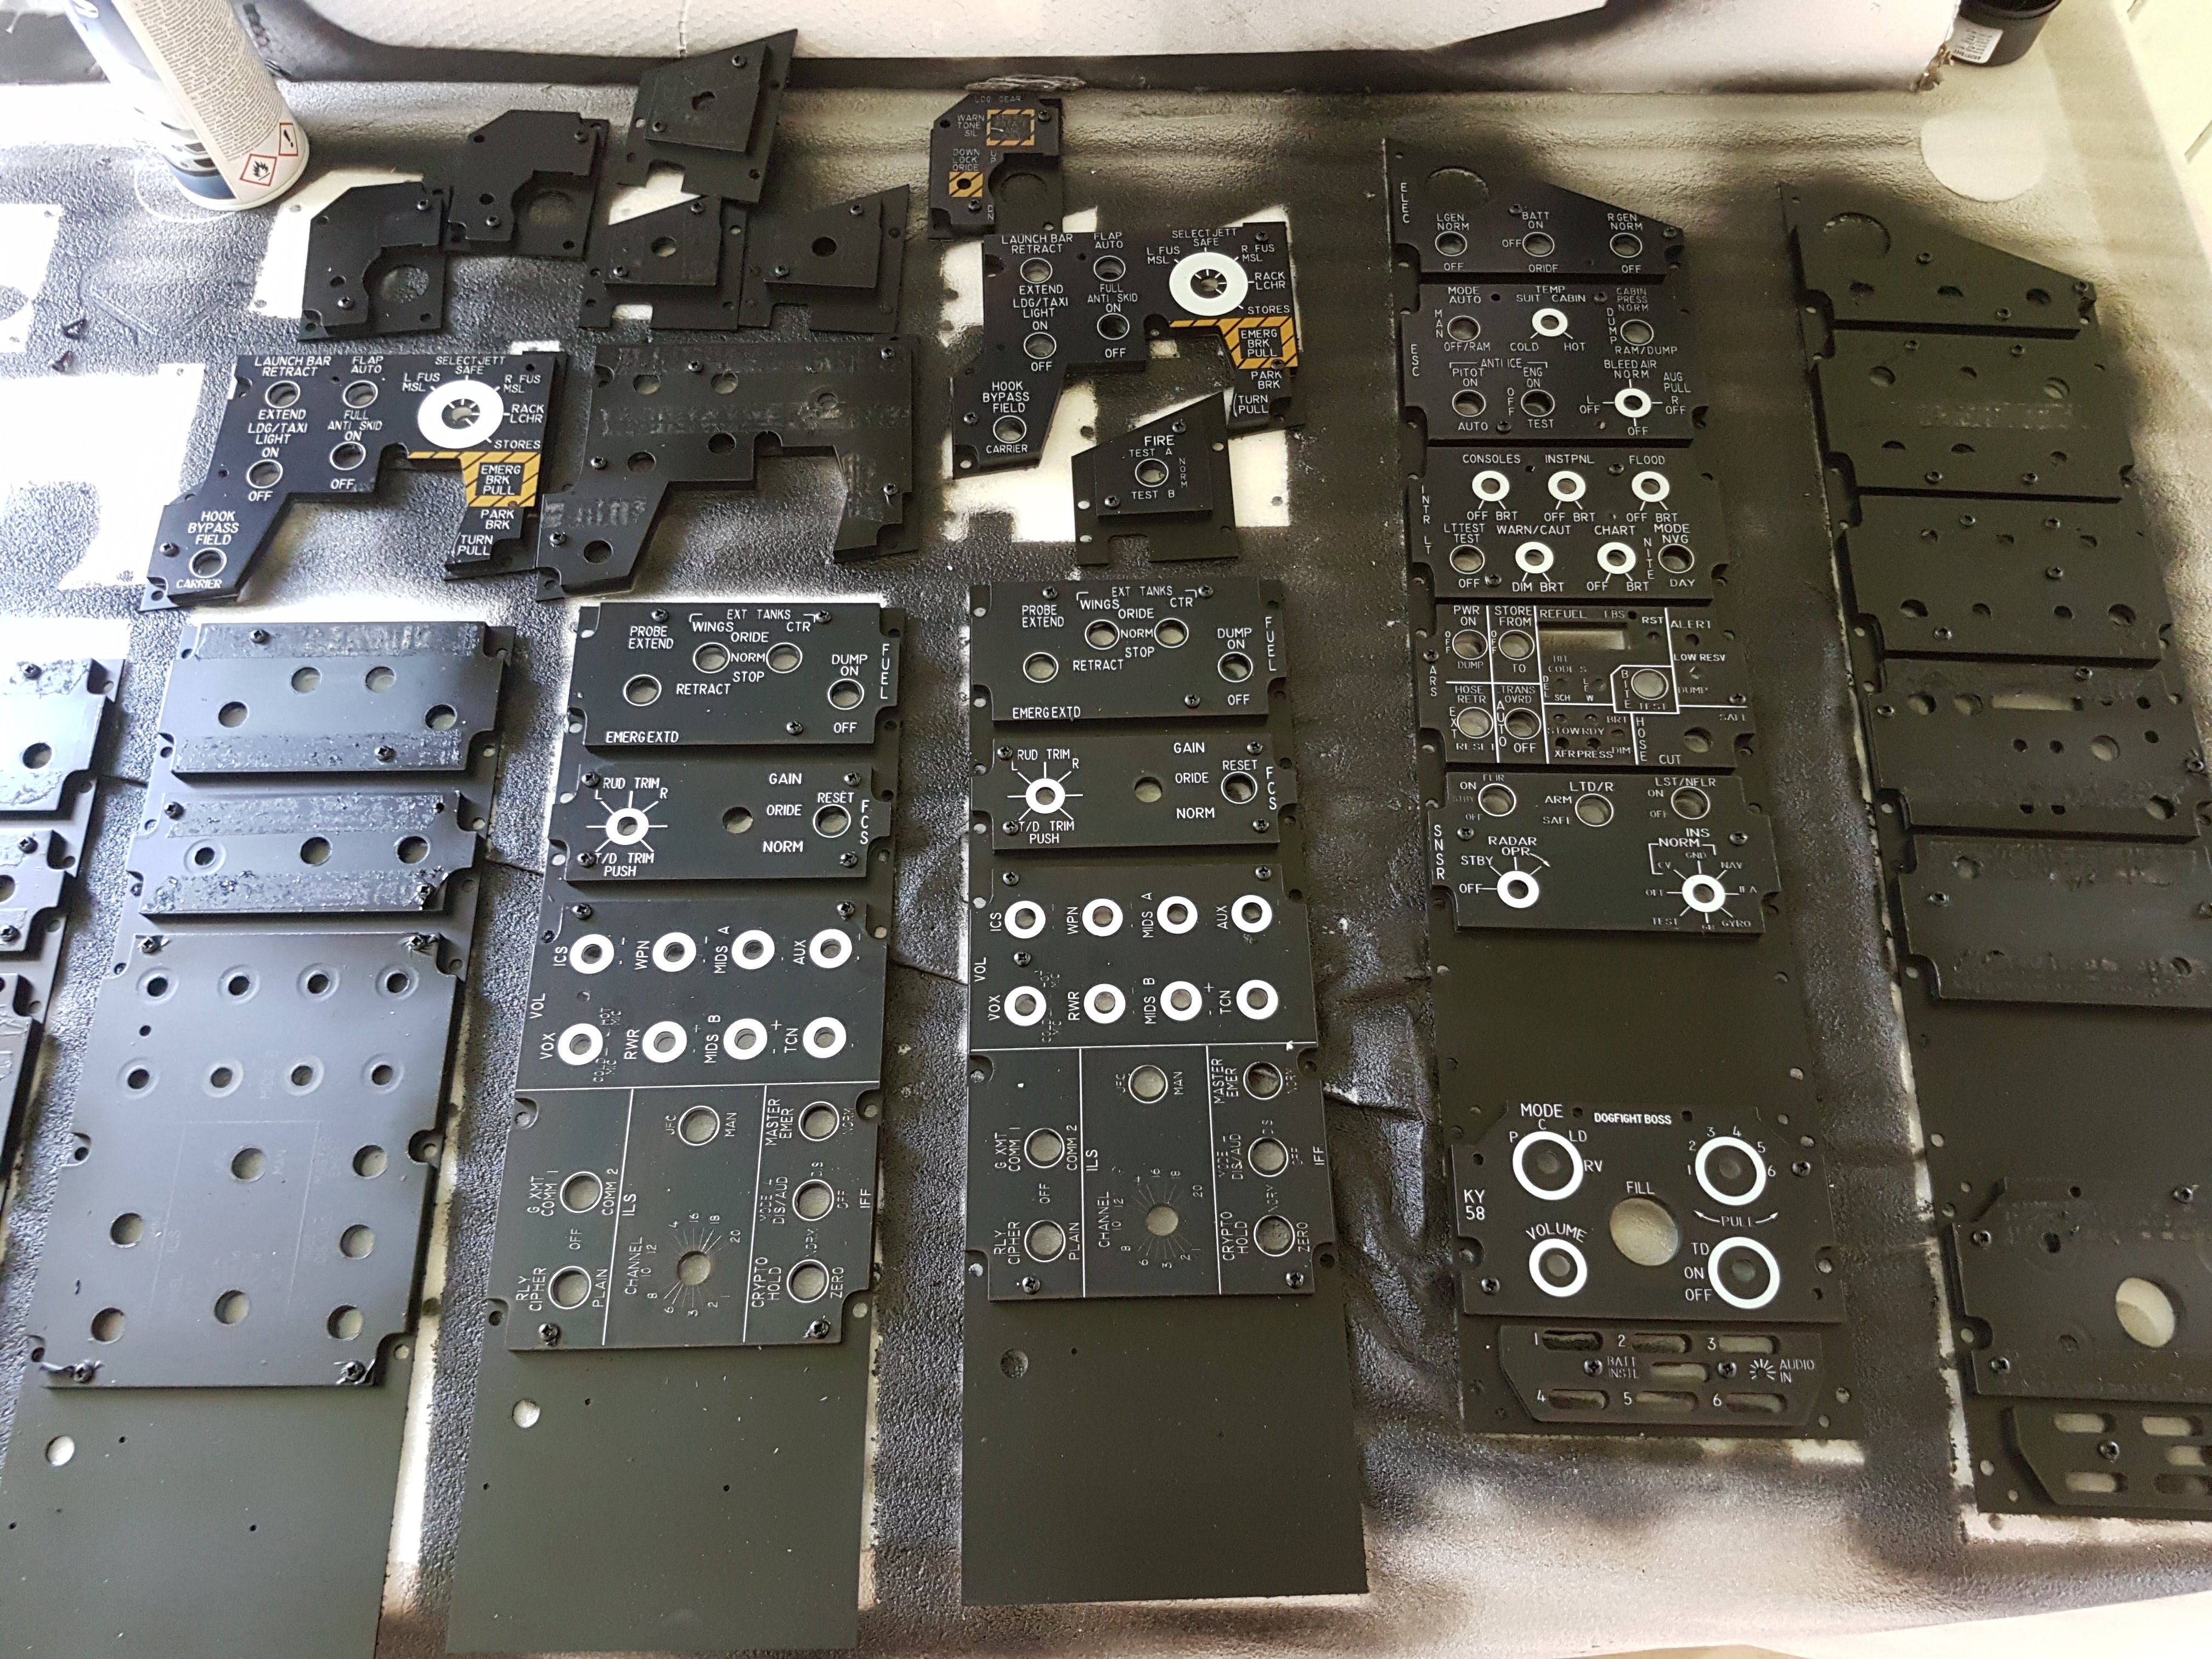
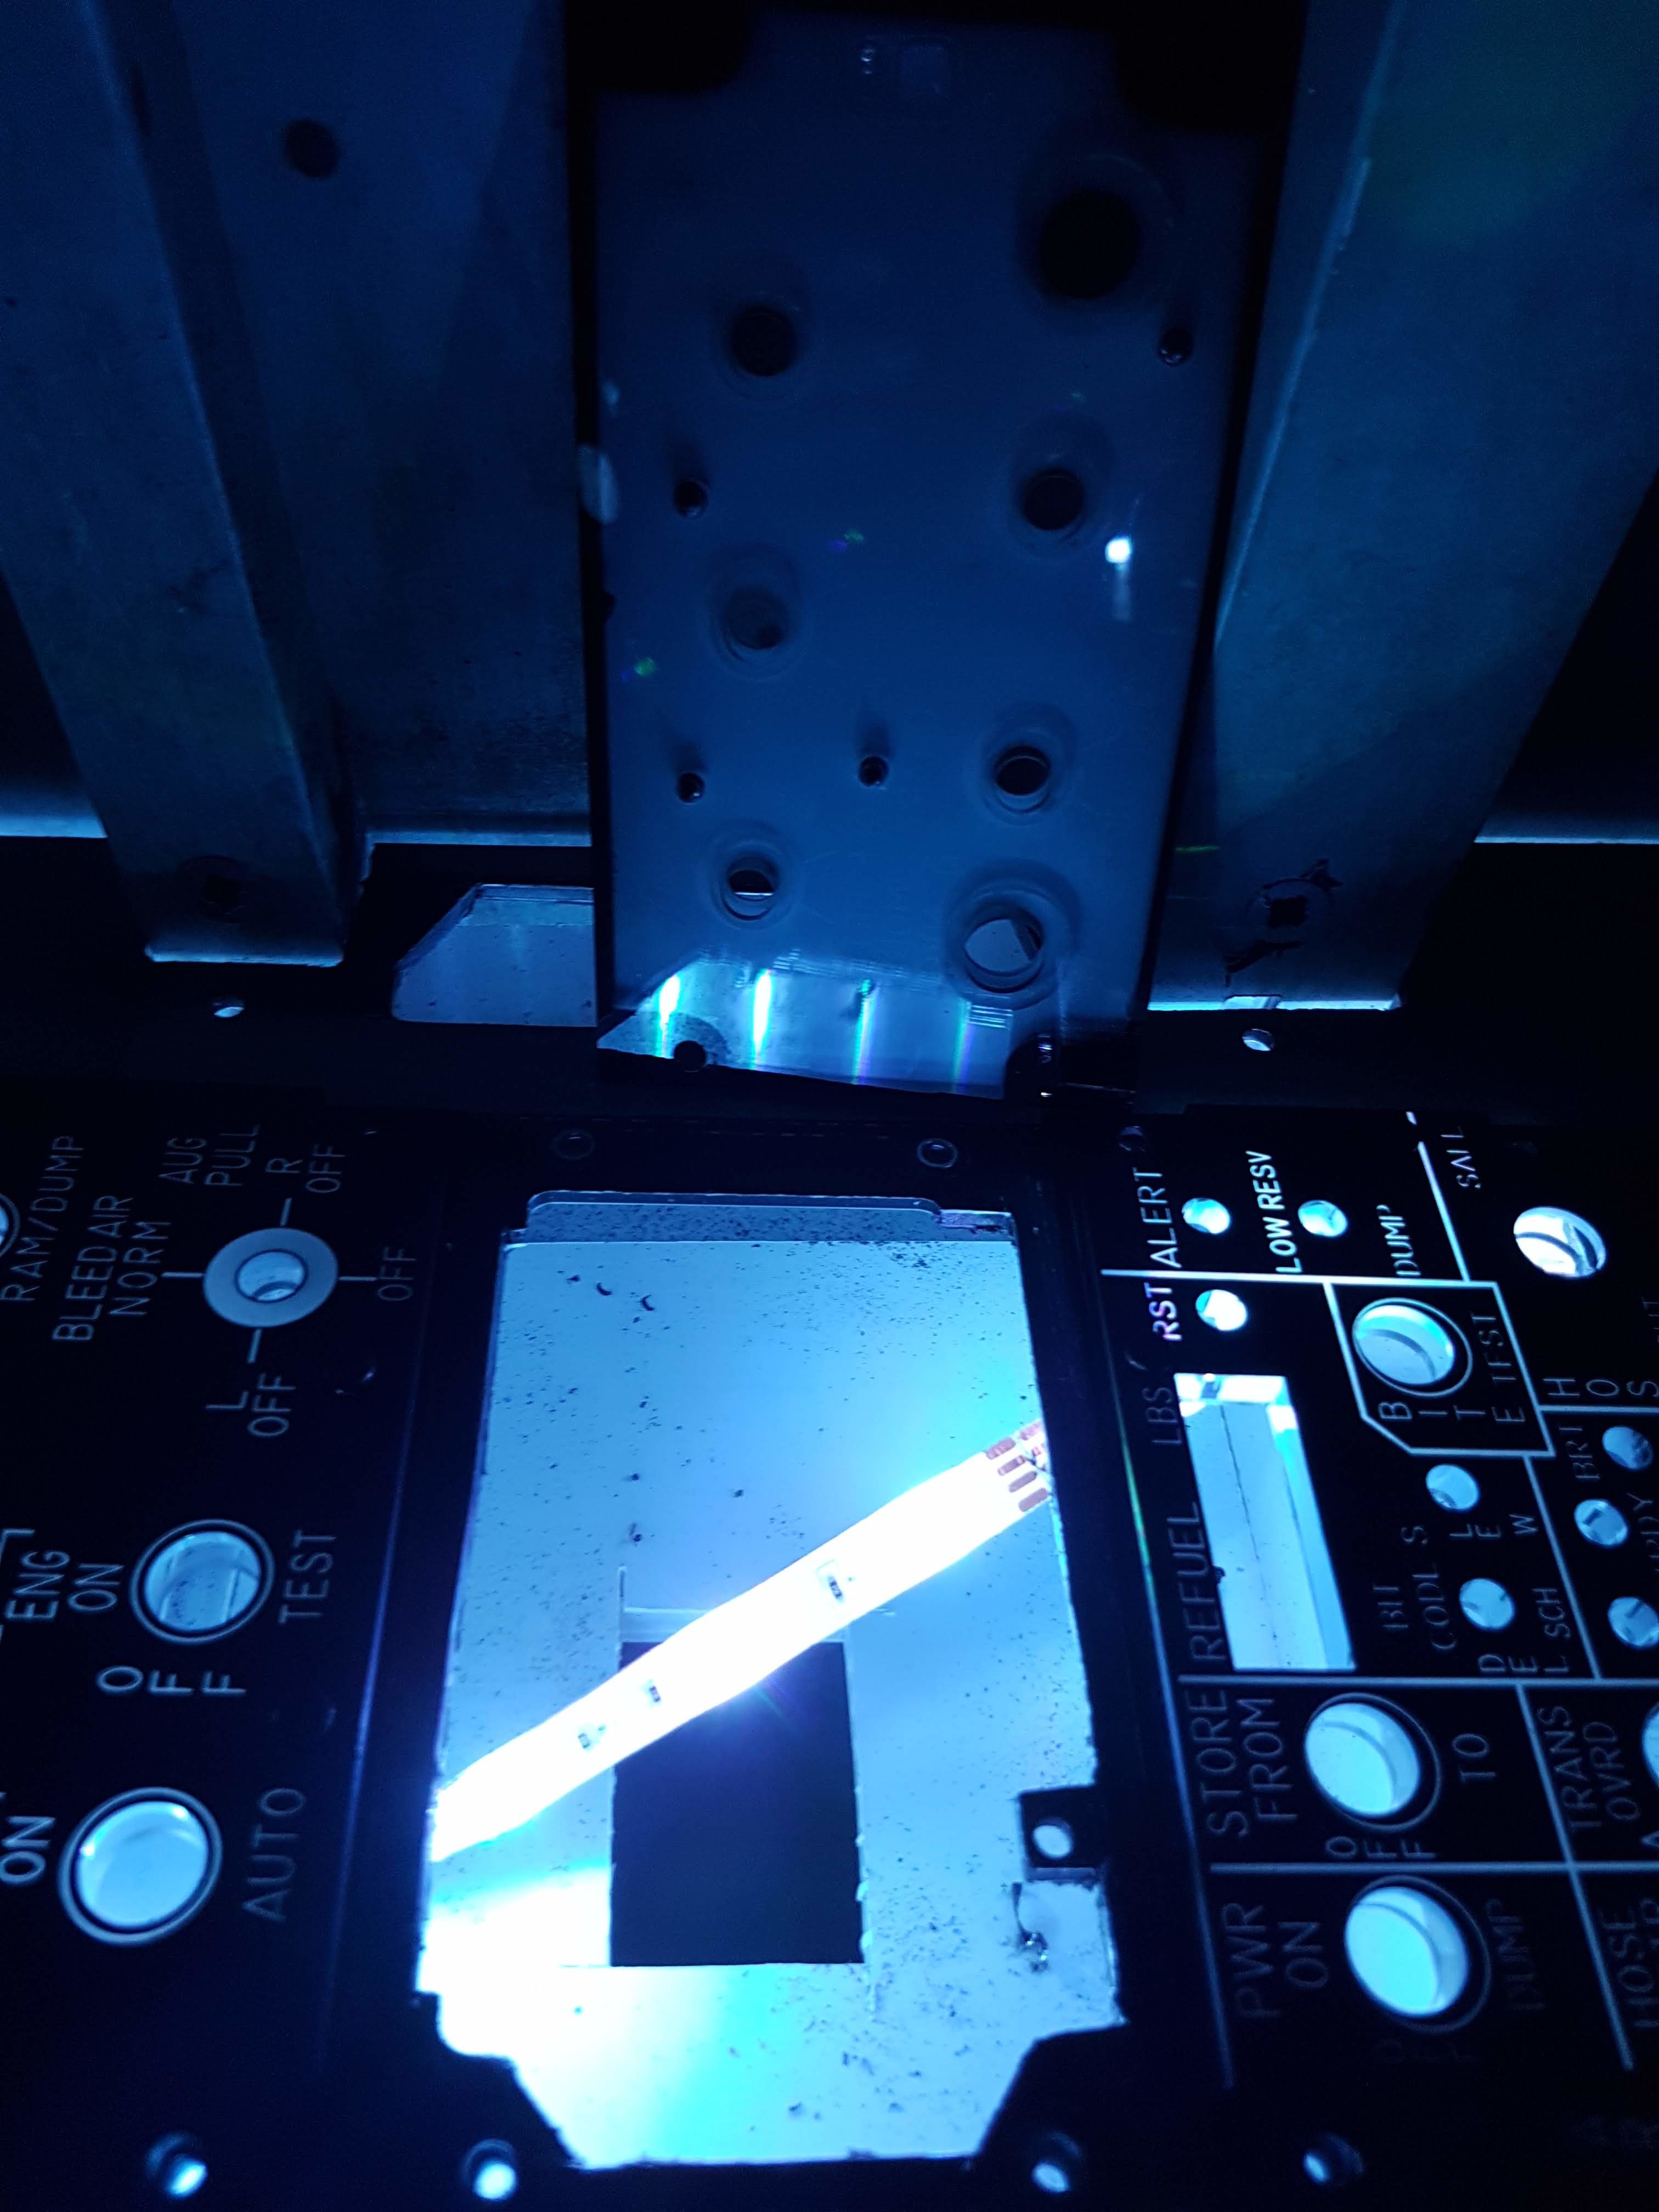
Hello everyone, I would like to show my new cockpit kit from cardboard. Its F/A-18E Super Hornet and idea is to be a starter cockpit for anyone who cannot spend thousands for real one, or it could be basic pit for adding switches, gauges, etc. Its very lightweight but durable enough, we already tested it on very crowdy event last month and cockpit passed this test without a scratch. Skeleton of the cockpit could be done from any material of 10 mm thickness. Right now i am cutting skeleton from cornflute board. Here in my website Here are some photos from development All the panels, switches and gauges are printed as the texture, but on correct places and everything is in 1:1 scale. Whole cockpit could be built in 5 hours, using just hot glue gun and knife. You can also replace the MIP with the 27'' monitor and use it for external gauges. In PDF version, is included whole kit and also with the plates contains all texts in different layers and gauges bezels, ready for cut on cnc. In physical cockpit, is basic version with one extra MIP with precutted holes and PDF's with plates ready for cnc cutting. Cockpit is suitable for Thrustmaster warthog gear, you will just cut hole for throttle and then glue it inside. I am still working on the seat, right now offering the ACESII as the fast solution. Newest addons: Tested the idea with using cheap projector for gauges, please check the photos. Today we succesfully printed instrument panels over glow vynil sheet and result is great, i am very happy with that. Recently I had an idea to make dome kit which could be easily mantled and dismantled. Right now testing first surface convex mirror inside for dome projection. I hope that you like my idea and i'll be happy for advices, comments etc... Mainly i need to solve 360 dome projection and Helios gauges for F-18 ;). In case you wish to see latest updates, please like my FB page Thank you!
-
Anton, it is a cockpit shell which is basically holder of all your hardware you want to use for flying in correct and ergonomic position, it's not something what need to handle 12 g's and it can be always improved by adding new gauges, switches etc. difference between wooden frame and this shell is weight, and durability, in weight cardboard wins and in durability always wins wood or aluminium. Yes You can't sit on it side canopy edge for example, but i doubt that you will try to sit on your finished wooden cockpit. If you have wooden or alluminium cockpit and you want to add new gauge, you spend few hours to drill a holes and mount it. I have it in 15 minutes and it stays still. Please check the picture, i added real gauge borrowed from my flying instructor. So i see the same functionality like in any other cokpit shells.
-
One of the goal of this project is to provide solution also for people who doesn't want to spent their spare time by cutting plywood to death, searching references and after three years can sit and play. Someone is DIY man, hobbyist, craftman and someone is just gamer, flying enthusiatic and want to enjoy some virtual flying without spending so much money or give too much time to preparation. People who spent thousands of dollars for perfect pit, or years in garage are hardcore enthusiatic and to offer them my solution doesn't make a sense. I am able to design and produce hyper realistic cockpits from wood, aluminium, steel, but there are very few buyers for this product. I would like to see people happy that they finally can get nice, functional cockpit for economic price and enjoy some flying. I understand that you like crafting and for you it is step backward indeed, and i don't trying to convince you to love my cockpits. But you should understand that there are people who have different priorities and for them this is step forward from chair and desk.
-
Thanks 7rooper :), i have plan to send it to shopping malls, flying museums as gifts for children, there are many opportunities. Need to visit also gaming centers. I also want to ask Thrustmaster if they would like to give PDF's with their Warthog gear. F-18 is in schedule, just need to find proper dimensions, but i think that this is not a problem. Just find time to do it :)
-
Well i have F-18 in plan, i am deciding between f-16 and f-18. Currently i am focused on advertising and listen Vox populi if this kind of cockpits can be popular, Zahry from simpit.co.nz is working ejection seats now, his first cutted seat looks great I have also plan for ejection seat, you can check the render, in cooperation with Zahry , coated by cardboard and ribs from MDF. On render is all cardboard , with MDF we can skip half of the ribs. Now i've got more detailed ACES II mesh so i have good source for textures.
-
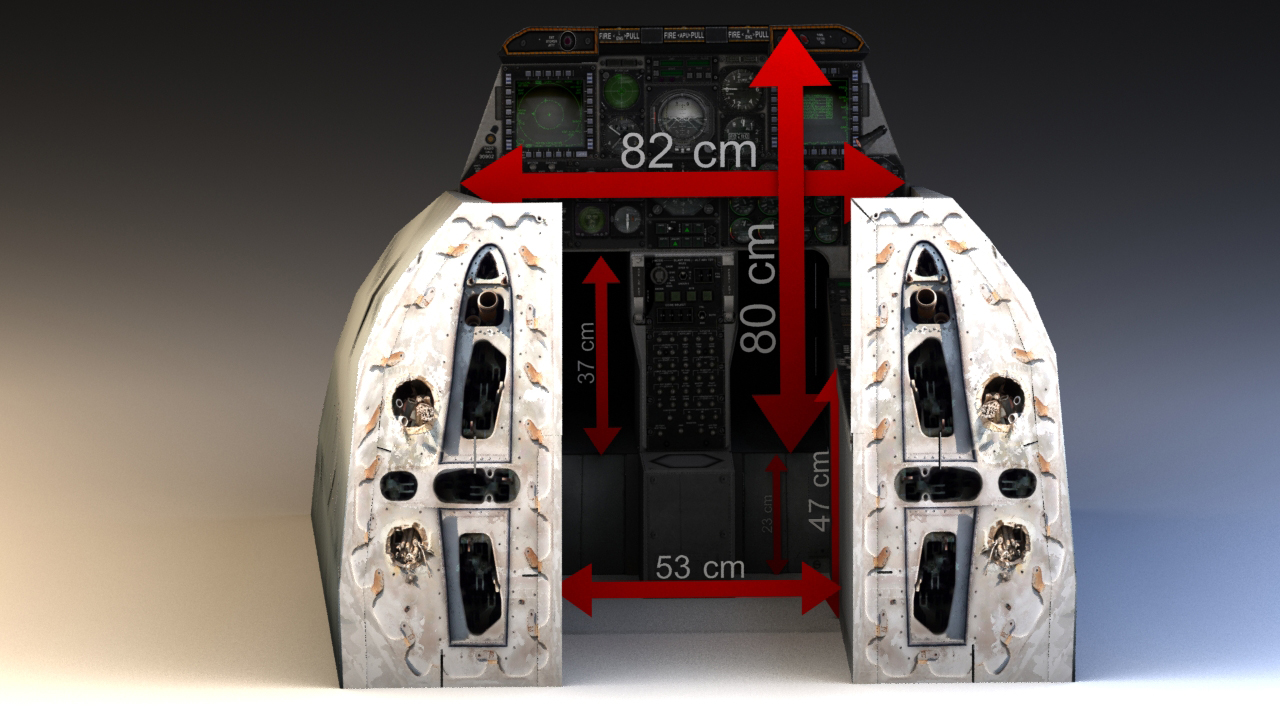
I have plan to make version for obutto, current version is probably too high: 47 cm side consoles from ground and space for seat is 52 cm wide.
-
Thanks a lot ! Great that you like it, i have the same problem with my wife and i can tell you that she started to be little more nervous since i build two cockpits at living room and then got curved screen from Tomas (Zahry) . But i raise berserker in her when she realised how much whole development and all my ''toys'' cost :pilotfly: Good thing on cardboard that is lightweight and you can stack cockpit on the nose and push to the corner, sure just in case its not attached to big screen, or you don't have three monitors on it
-
thank you :), i am planning f-16, f-18 and some WWII warbird, but now need to take a breath and see if current design will have any success , if not my wife gonna kill me and burn all my cardboard :)
-
Thanks a lot Robin, it's always great motivation for me to see that someone follows this project. If you have a thread, please send me link to your cockpit to see how is going your build. If you will need i can send you some textures for free to cover outside surface or anything you will need to finish with nice skin.
-
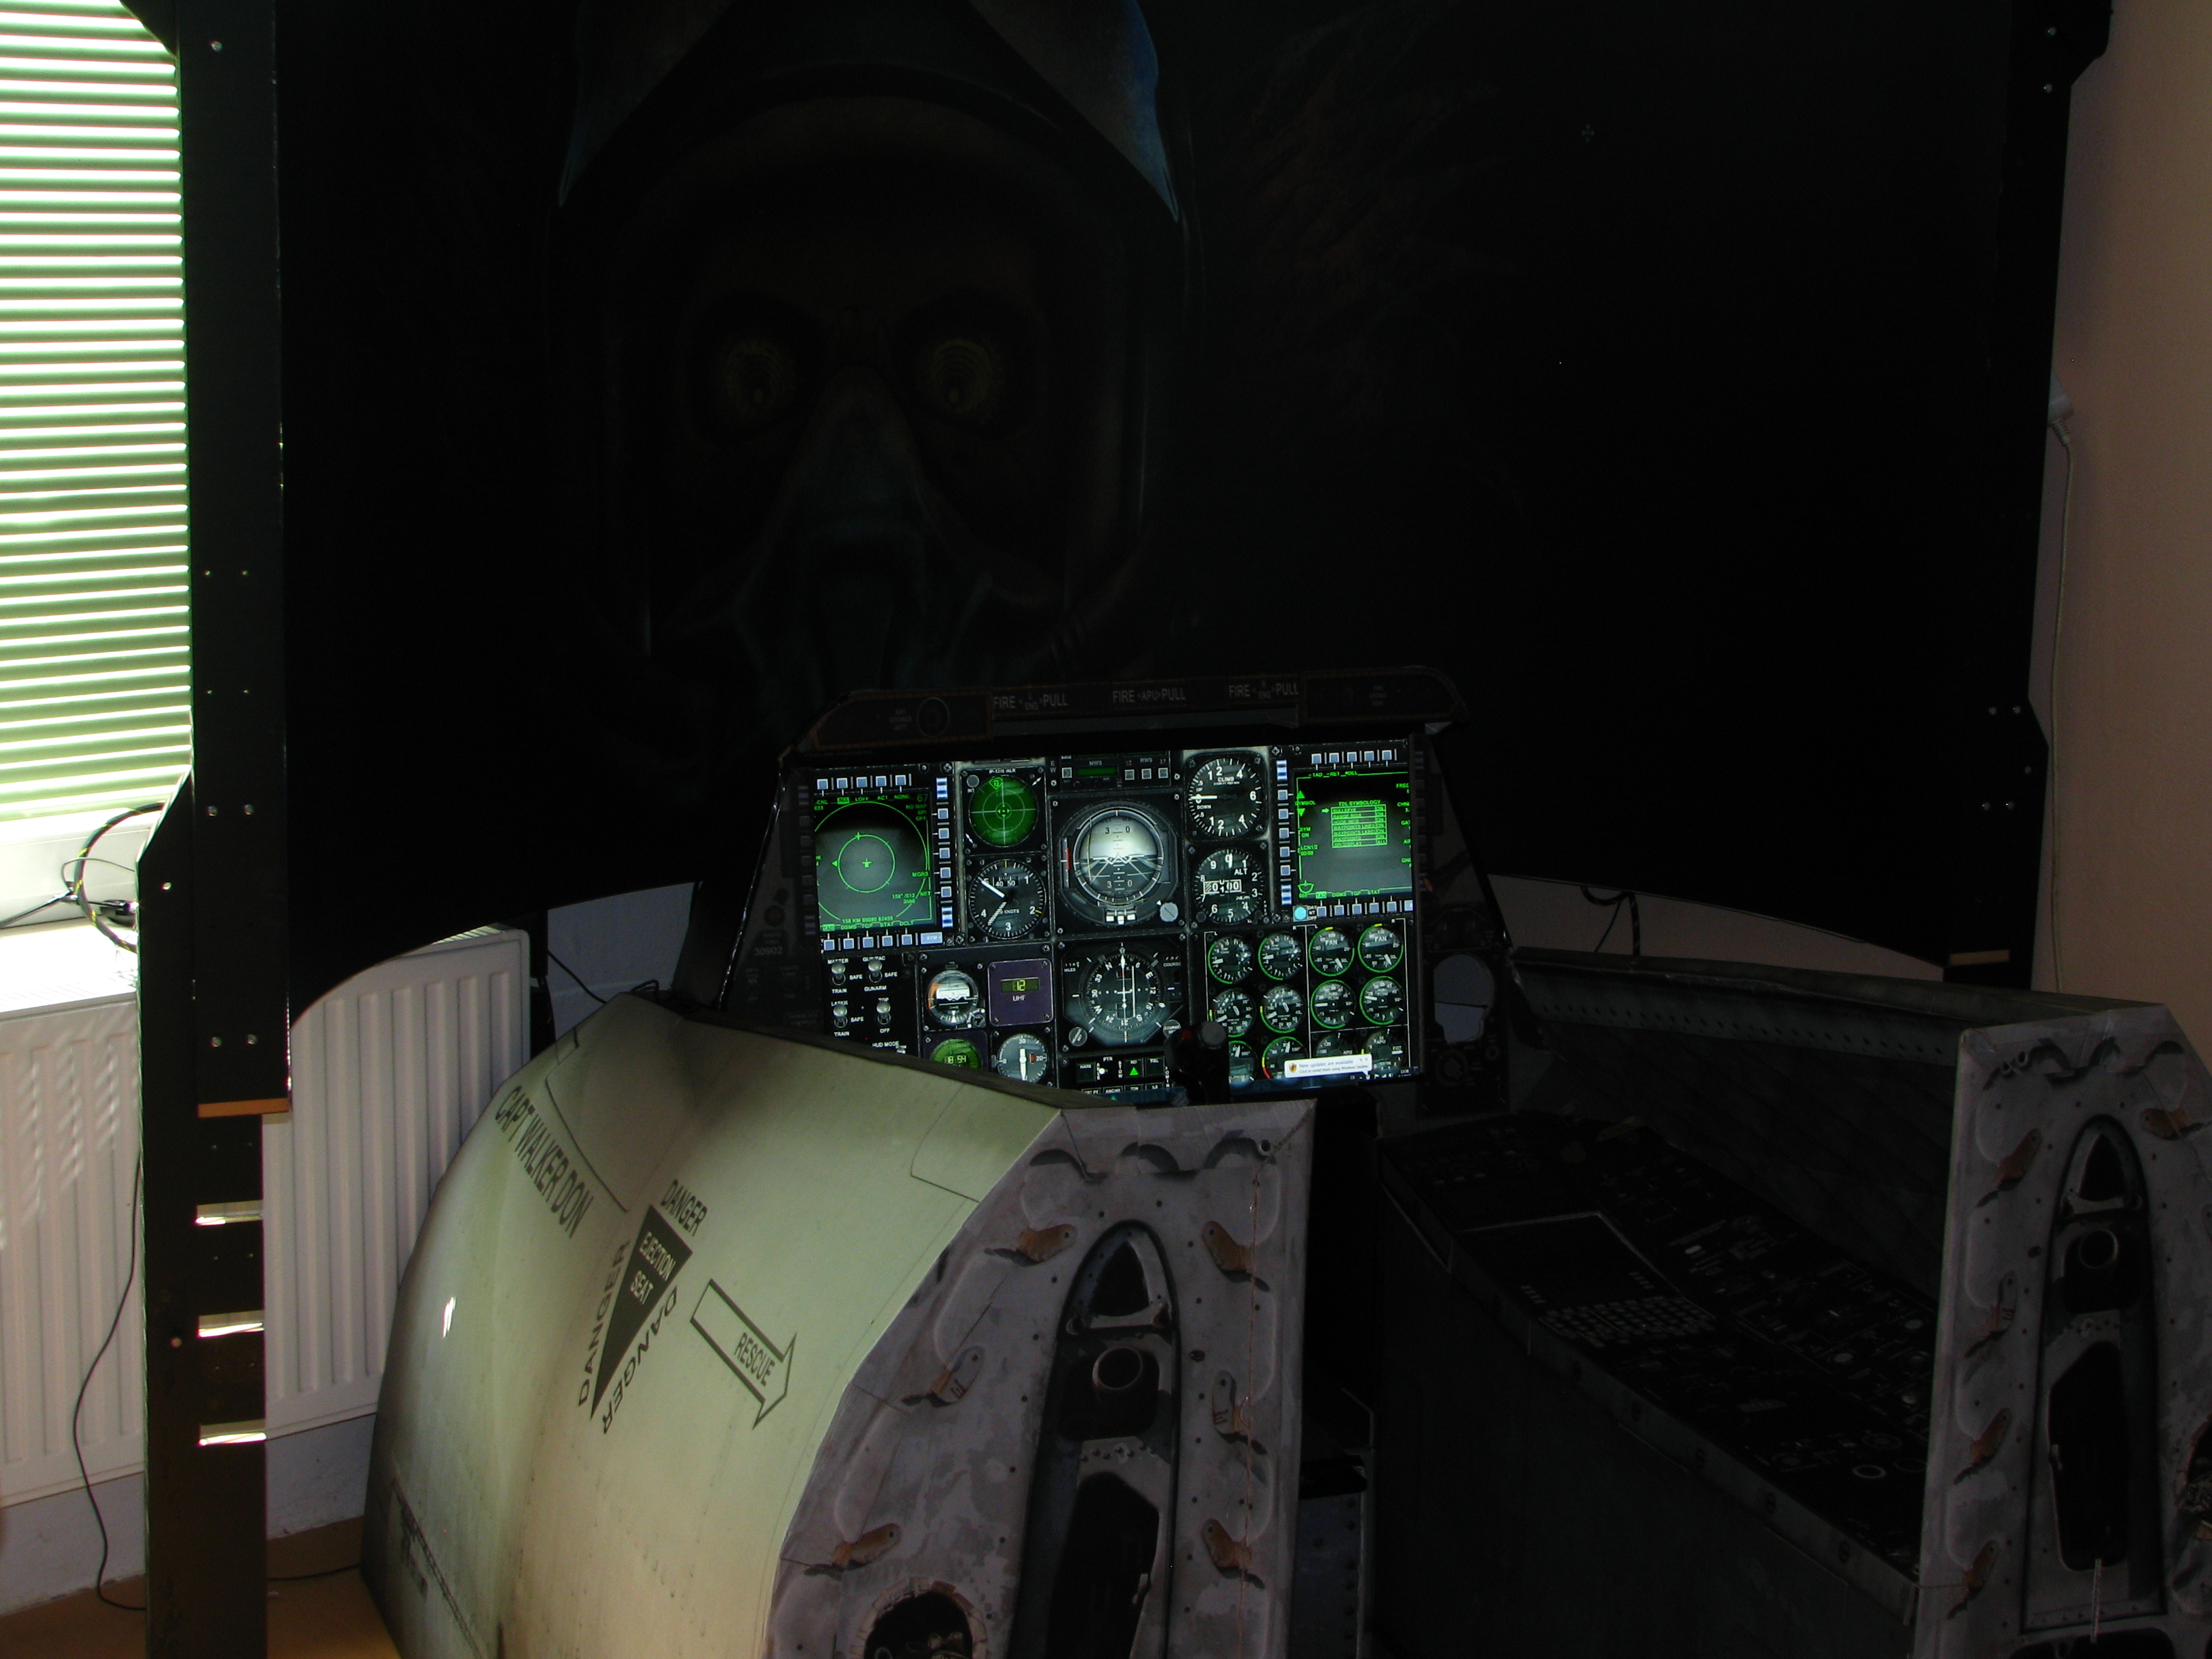
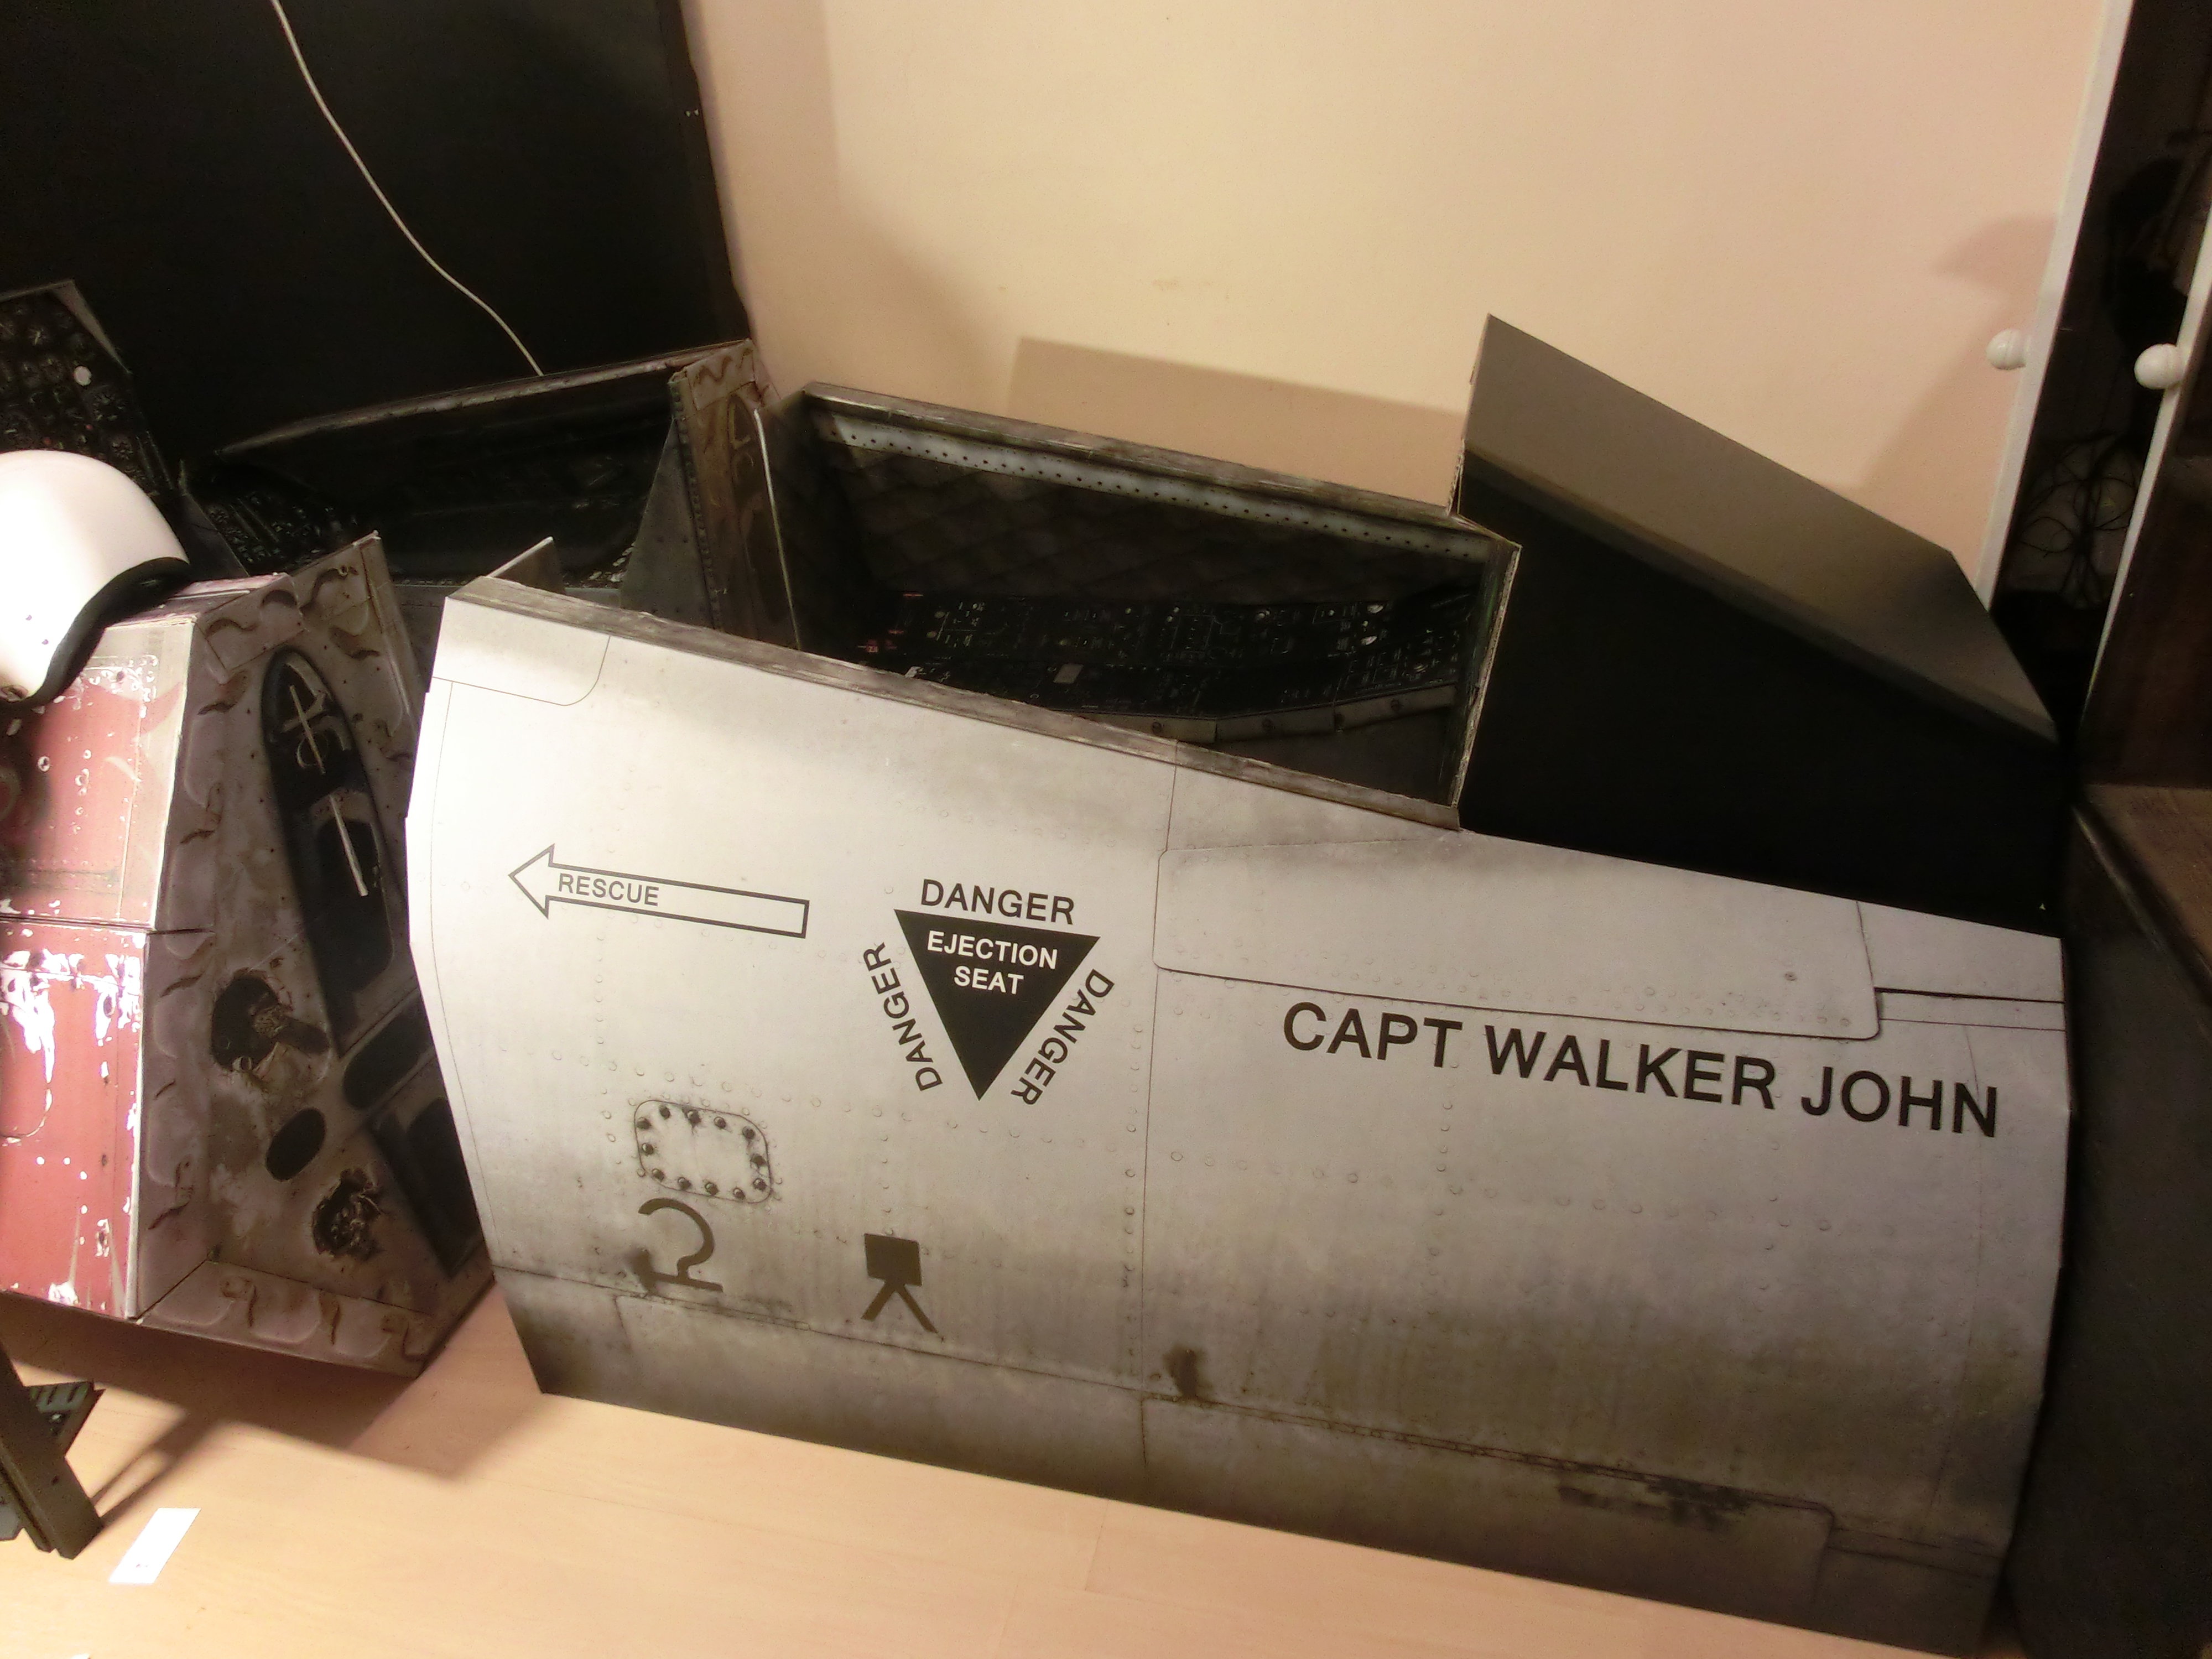
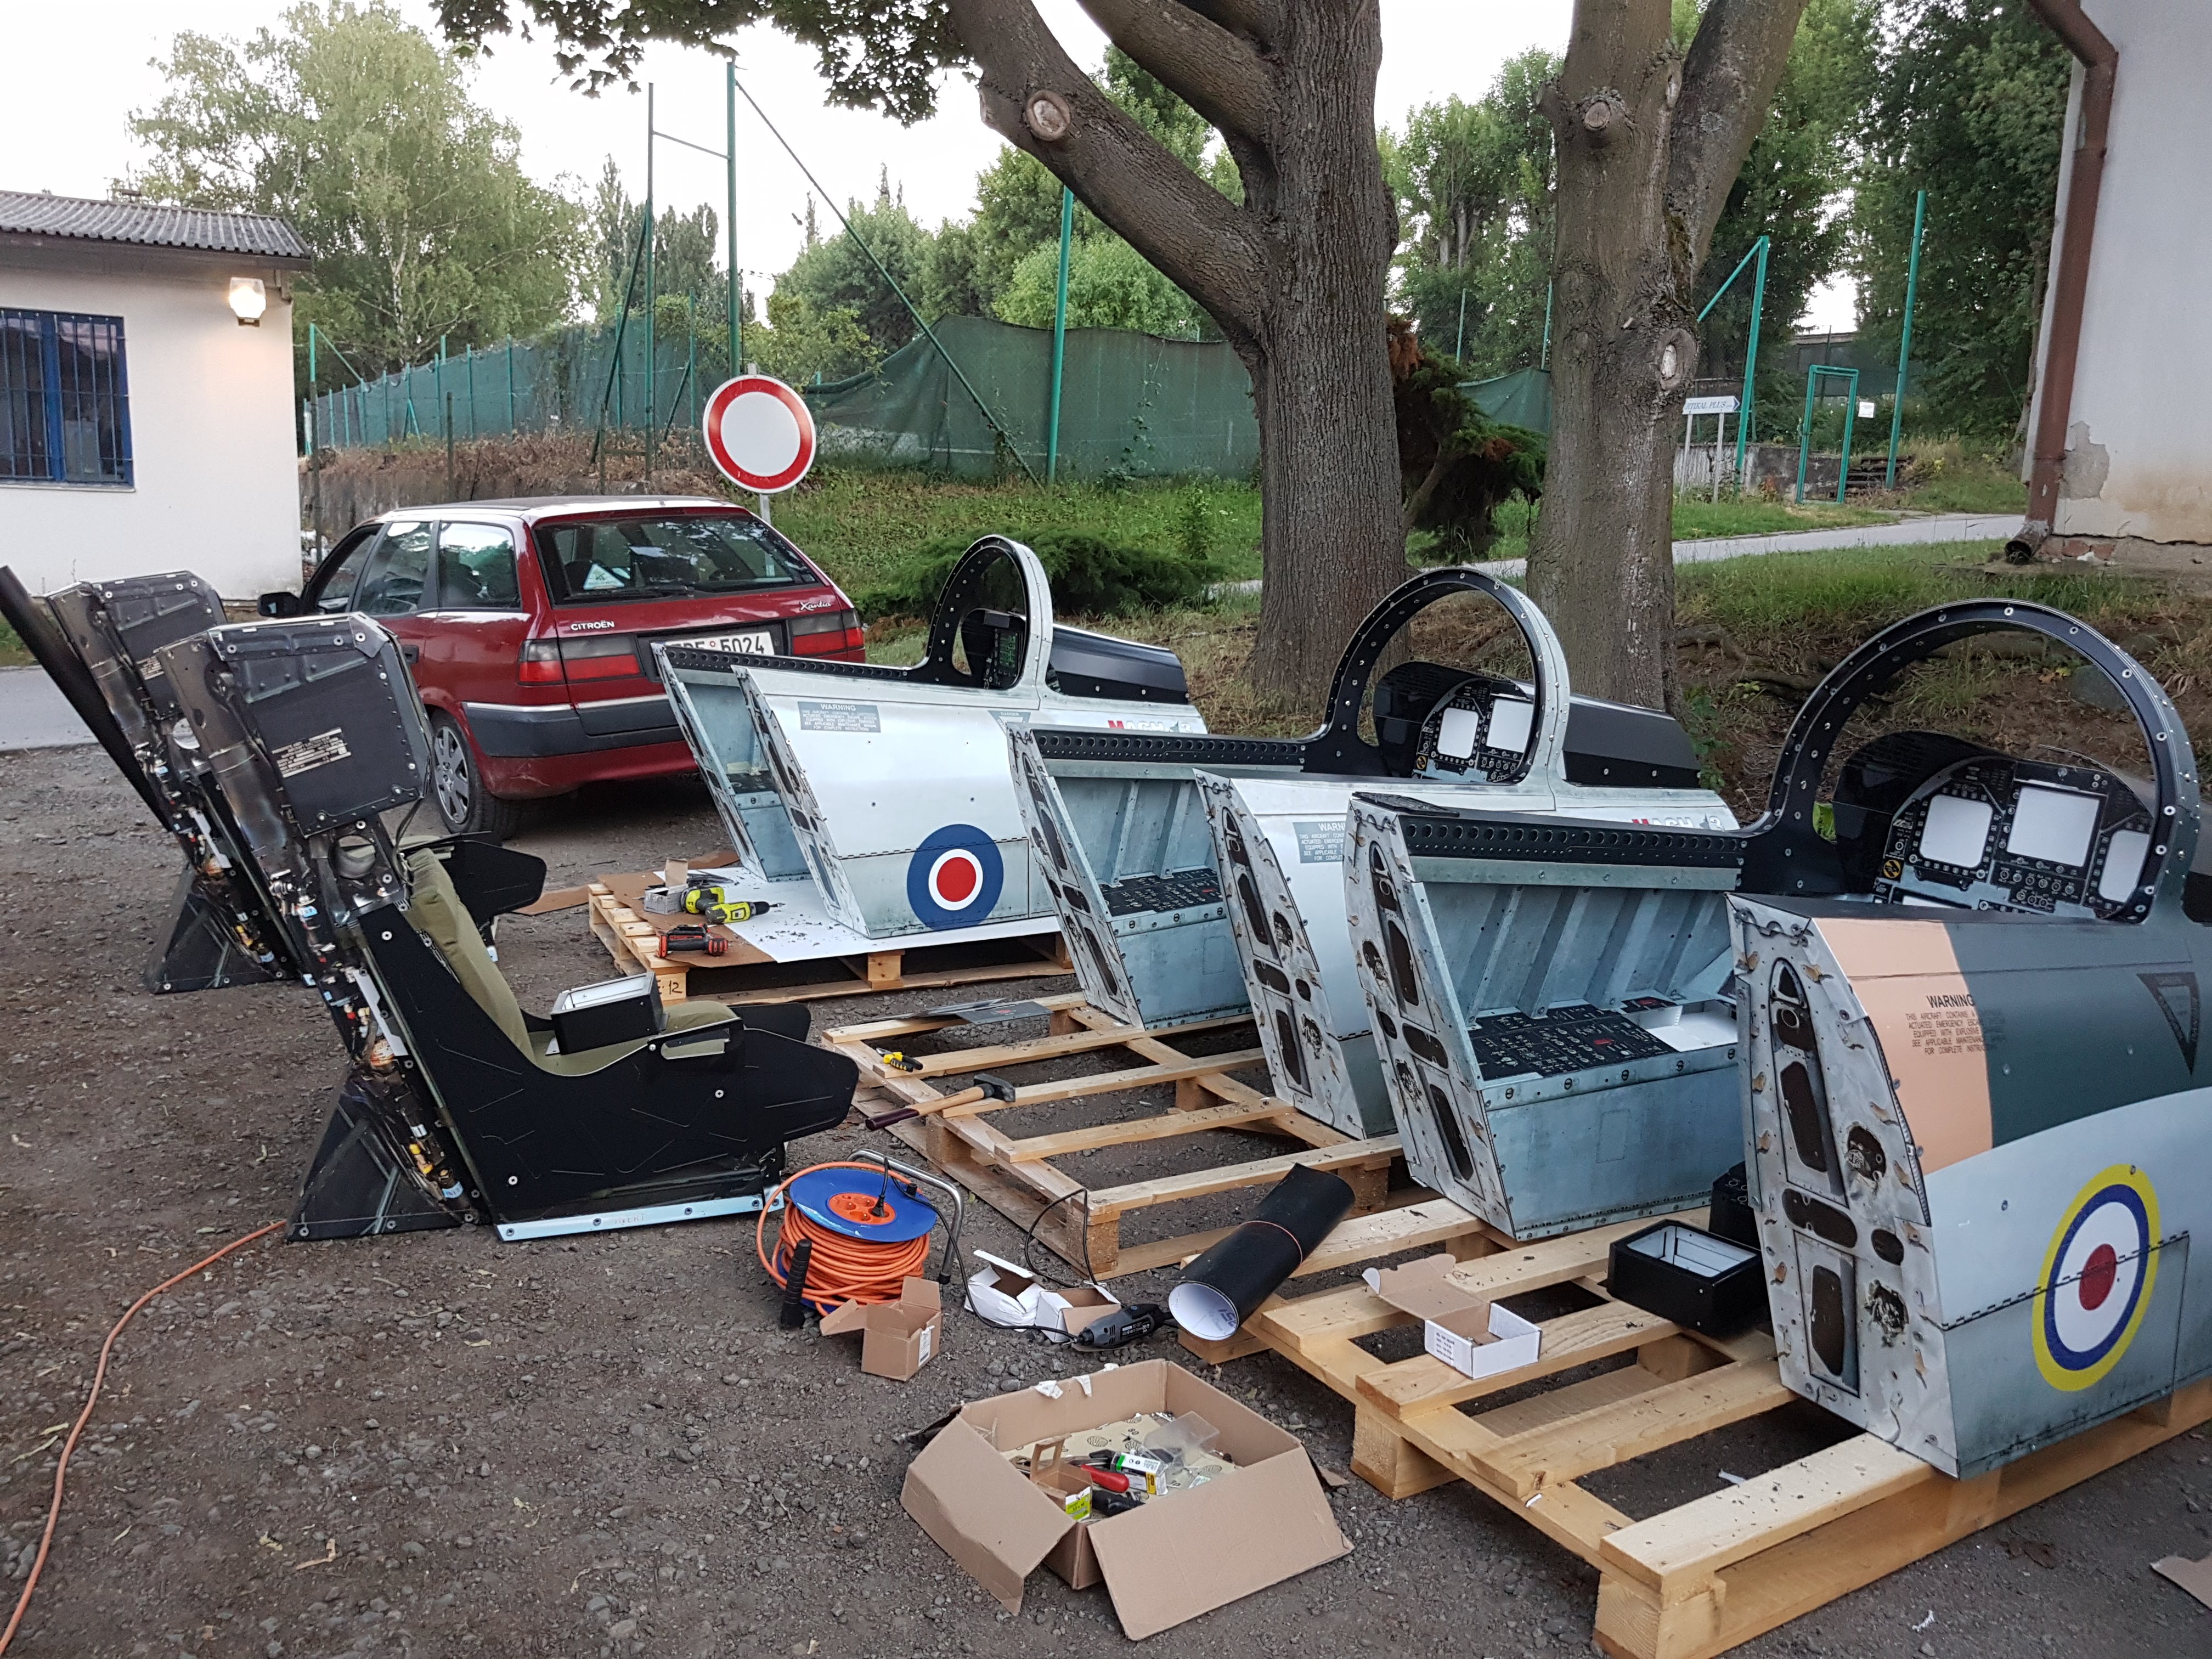
Hi DCS pilots, I want to share with you my project, for anyone who have no time or money to build one. I created 3d model sized as close as possible to real plane, then made extremely detailed textures ( each one is around 14 000 x 10 000 pixels) , did ribs, panels and surface parts with folds for easy assembly and dissasembly. Then I sent it to printing company what UV print and cutted it. Did i mentioned that it's from cardboard? Yes ,but no worries its strong enough to keep my 95 kilos and strong enough to keep steady all your gear. I proved it already few times. You can check my videos on youtube also with previous design . Assembling without hardware takes two hours, with hardware from 4-5 hours. You need just sharp knife and hot glue gun, then nothing can stop you :smilewink: It is ready for Thrustmaster Warthog gear, any rudder pedals you have and up to 28'' monitor for MIP. 28'' will cover almost whole middle panel. In case you would be interested, you can download instruction manual to check how easy is to build this cockpit I am selling also data in pdf ready for printing company to save money for shipping, or just textures for your own project, to cover your ribs or unused panels. or just as template. Please check my online shop For physical kits, contact directly me please, now i have discount $350 plus shipping. I cooperating with simpit.co.nz so you can have all products from both websites. That is why i have curved Black Pearl screen on photos. I'll be also happy for any comments and advices, i know it is not hyper realistic cockpit, but it is still better than chair and desk :smilewink: and you can fly in one day :thumbup: Thanks a lot for reading!


.jpg.966c14e6bc2ace9b2f72f95804e4c82f.jpg)


.jpg.4058c48f6afc68146b75414de6a00094.jpg)
.jpg.451c643c7e2708a4583a293fda2a4529.jpg)