saskcan
-
Posts
33 -
Joined
-
Last visited
-
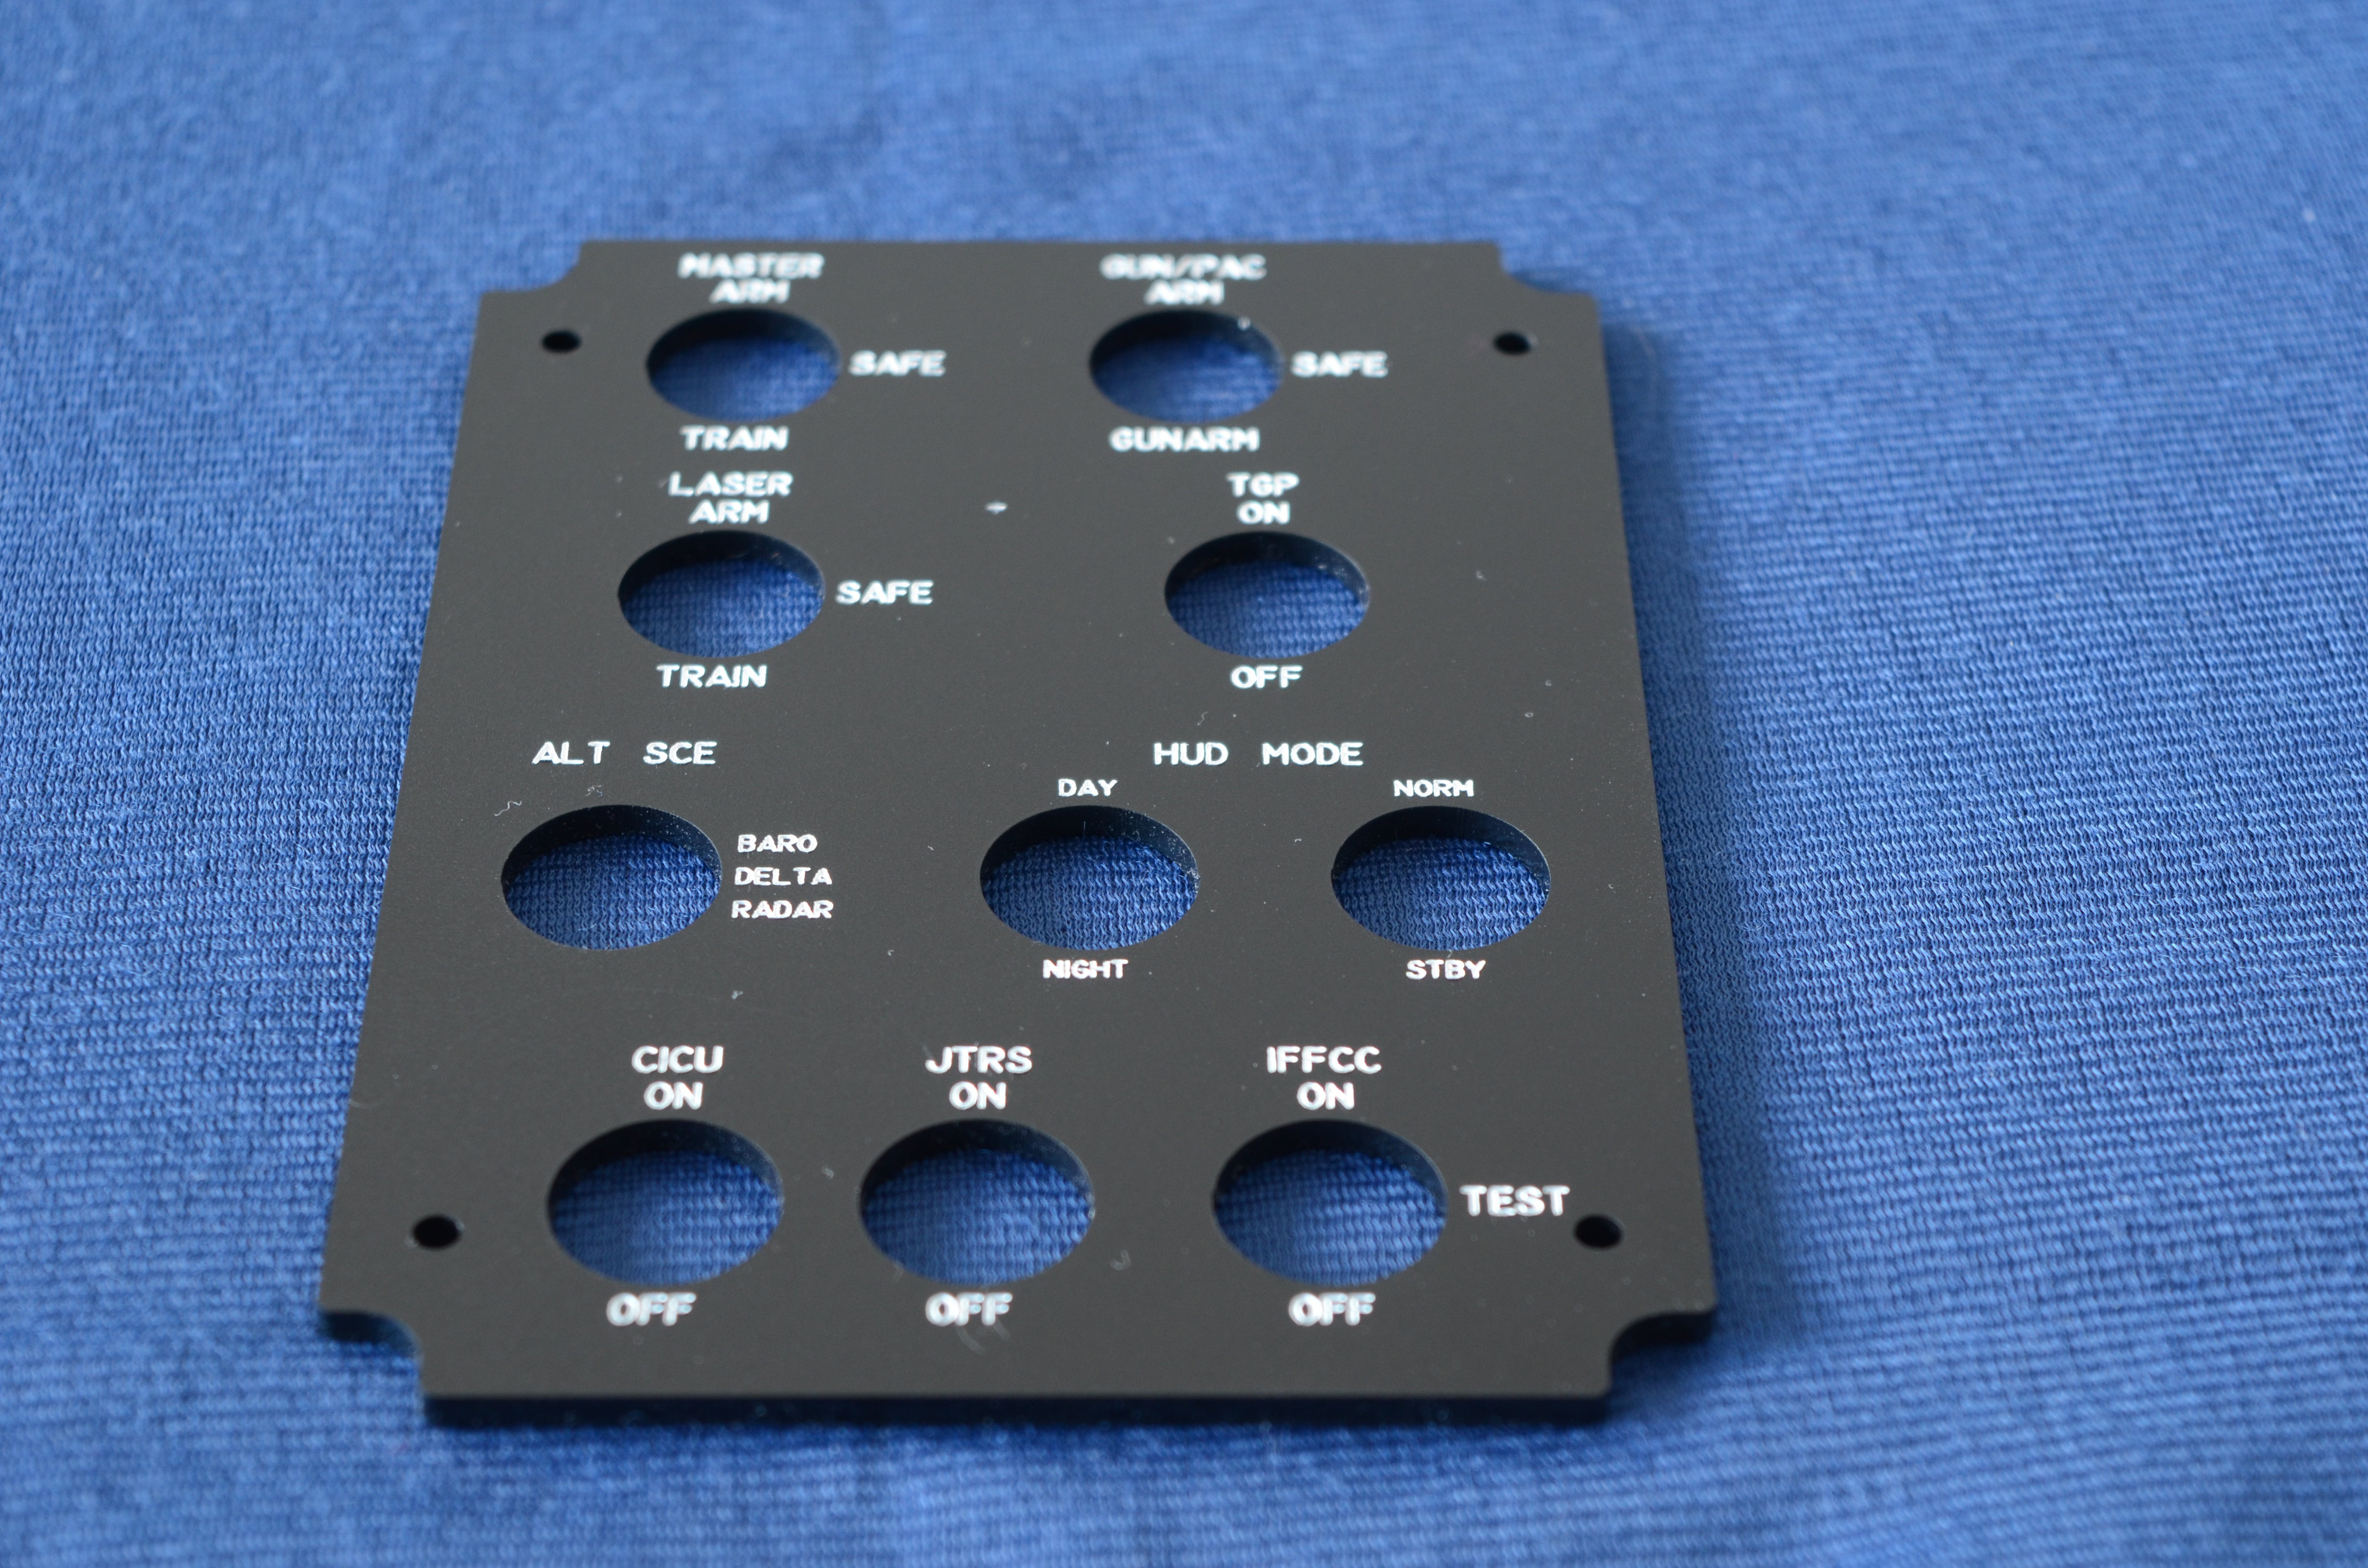
Project Updates - AHCP After being away from the forums for a while, I'm back with some updates on my project. I have been casually designing and building for the last several months and finally have something to show for it. Here are a few photos of my AHCP. Electronics are in the works and a few design elements didn't turn out as expected; the connector '+' has to be enlarged and the 3-pos toggle I selected did not fit for the laser switch so it's a 2-pos for now. Otherwise I'm very happy with the progress even though the panel will not be backlit. The lettering came out better than expected and the overall feel is more than acceptable. As you can see, the panel is just test-fit (no screws) onto the backplate.

-
Hi, nice panels so far! Do you mind sharing the switches you have in mind? I am looking for parts now and have already decided that the mil spec toggles are out of my budget range for the time being.
-
I once drilled through a quarter using scissors for a string to trick a washing machine at a laundromat.
-
Hey, I am new to the etching club so I don't know if it is a good deal or not. Here are the prices from the same supplier for the items in the pack: 3"x4" pcb $5.49 (2 in kit) 4oz. developer $17.95 32oz. etcher $24.95 I thought it would be a convenient way to get started but I will compare prices and if I can save 50% will absolutely look around. As for the LEDs, there are many cheaper options. I have no idea where to start in terms of light output. These are high output and I was hoping to be able to use them to test a few concepts and maybe pick the proper output level for some future designs. If you have a datasheet handy on some leds which you successfully used, information on light output would be highly appreciated. Thanks
-
Jameco Value Pro Prototyping Kit Here is a great looking starter kit for home circuit board etching. http://www.jameco.com/webapp/wcs/stores/servlet/Product_10001_10001_2113244_-1 Since I don't have space to start building a full pit yet, I want to try a few prototype panels this summer. I think it would be really cool to etch my own boards for the light panels. This way they should be clean and thin. I hope to integrate the LEDS into the panel and mount it on a backplate just like the real panels. This will be a challenge because I will probably be using cheapie switches with shorter bushings. Anyway it will be an interesting project to start with and hopefully educational/informative. I will keep you guys posted. Here is an LED I found which might work: http://www.digikey.com/product-detail/en/OVSA1GBC2R8/365-1556-1-ND/2203775
-
Hey, I am in research mode because my current apartment doesn't fit my envisioned simpit (maybe I have that reversed) anyway I have read here one person used 2000mcd leds for their backlights. They look quite good but they do place them 4cm from the panel. Either way at least it is a reference point for intensity.
-
Great start! I look forward to seeing your pit progress!
-
I know this thread is pretty old but maybe this will help someone else... It is the 5011 switch that Gadroc linked to but from a different supplier Cole Hersee Push Pull 5011
-
Nice video! I found it as a great introduction to Helios. I look forward to configuring my cockpit when I get all the pieces together!
-
Hi, Just finally now having time to get back into my pit design after the Christmas break. I was reading about fabricating PCBs at home using UV masking and etching. I downloaded a program for PCB design called DesignSpark PCB. I know ExpressPCB is also popular and I have actually used it briefly at work. I am sure the features within either are more than enough to do some simple circuits (for example for LED backlighting). Also, stumbled across MIL-C-81774A which has some dimensions regarding panel markings. I am not sure if it specifically applies to the A10-C but at least it is a good guideline. The specification can be found easily on everyspec.
-
Not really an update... just got back from holidays. Got a copy of Far Cry 3 for Christmas. Also maybe more interesting to those reading the forum is I also got a 3dConnexion Navigator 3D mouse. Anyone use one of these? I think it will be able to save quite a bit of time both in 3D models as well as anything like a Corel Draw document. Will hopefully be back with some sort of update on the parts sourcing or the design process soon! Happy 2013
-
Not yet... I am going to be traveling tomorrow through the new year so might not have a lot of time to look.
-
Alright you've convinced me! Will be looking into the engraveable acrylic instead of paint on acrylic. By the way, can you please share the light output of the LEDs you are using (millicandella) (or even better the model number). I see outputs ranging from 10 to 10,000+ and would like a ballpark to start sourcing components.
-
That is the best example I have seen yet but I am looking for switches in that price range with different styles of locking bar. For example on the SAS panel, the monitor test switch is locked in center but you can return to center from either other position without pulling the toggle. If I understand correctly, NKK switches with locking bar are locked on every position. For example S3AL is locked in all positions. I have found a catalog for C&K which shows different locking styles but I don't understand how to specify the styles in the part number which makes it hard to google search:( I can only seem to find the default style.
-
engraving material I am quite a ways away from building yet but have seen some good examples achieved with a white or clear acrylic. I am thinking I will use a 1/16" piece of white acrylic spray painted with mat black and engraved through the paint. This will sit on top of a 3/16" clear or frosted layer which will hold and diffuse light from green LEDs. Then the panel would be mounted in a 1/16" aluminum backplate to hold the switches and knobs. This would create a panel 1/4" thick as per MS but I know the LEDs will be a tight fit and still need to figure out the details. Anyway unless I am told otherwise, will probably be engraving through paint onto acrylic. As for router vs laser still not sure... if I end up buying my own hobby machine will probably be cnc router because I think it is more versatile. On the theme of engravable acrylics, I found a product line called ultra-grave that has a mat black/white acrylic. Is this the type of product you are referring to? The 1/16" product cites 0.003-0.005" (.08-.1mm)