MajSchrute
-
Posts
28 -
Joined
-
Last visited
2 Followers

-
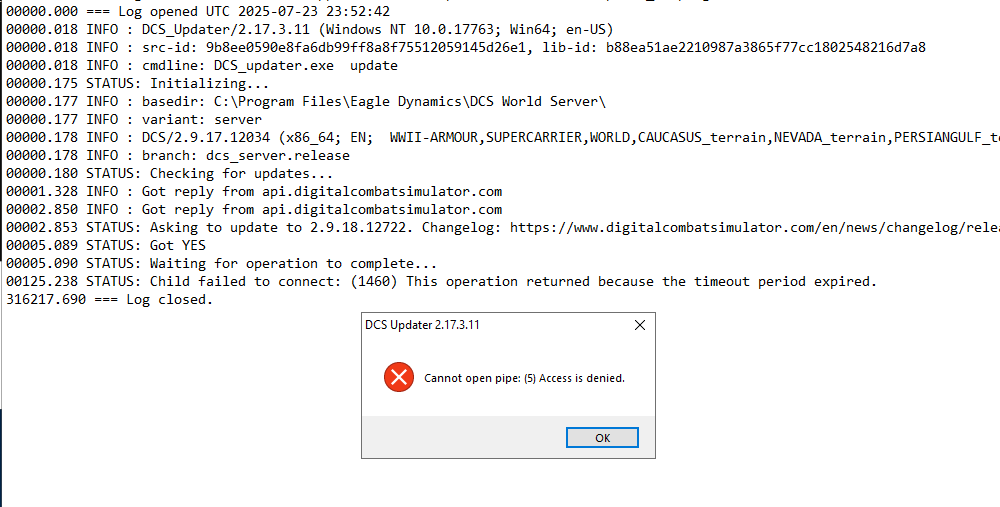
Non-authoritative answer: Name: api.digitalcombatsimulator.com Address: 185.195.197.20
-
Have restarted things many times. East coast. I don't run into this issue with the admin account on the server which is weird.
-
Manually setting dns to google or quad9 had no effect.
-
Host file hasn't changed and has no entries. Although, I did try adding api.digitalcombatsimulator.com to the host file which didn't change anything. nslookup is resolving the domain to 185.195.197.20 after failing the first time. It seems like my first time attempting to resolve most domains leads to a timeout, and is then successful on the second attempt. I disabled Windows Defender which didn't change anything. Oddly I can update just fine from the admin account but not from the user account. From the user account I run the updater as admin and it still fails. Just to rule out permissions I gave the user account full control of everything in the eagle dynamics folder as well.
-
I'm getting this error when attempting to update my dedicated server. The user account has full control permissions for the eagle dynamics folder.

-
if (Group.getByName('truck-1') and Group.getByName('truck-1'):getSize() == 0) or not Group.getByName('truck-1') then mist.respawnGroup('truck-1', true) end How can I add a 2 minute delay to the respawn of the group?
-
I built a full F-18 cockpit, build thread inside!
MajSchrute replied to MajSchrute's topic in Home Cockpits
I used the dogfight boss plans -
I built a full F-18 cockpit, build thread inside!
MajSchrute replied to MajSchrute's topic in Home Cockpits
Thank you! -
I built a full F-18 cockpit, build thread inside!
MajSchrute replied to MajSchrute's topic in Home Cockpits
I knew I wanted to take a picture like that early on. It is quite a few pieces! Honestly I'm happy with the warthog set! -
I built a full F-18 cockpit, build thread inside!
MajSchrute replied to MajSchrute's topic in Home Cockpits
Some numbers about the build: Started the project April 18, 2020 and finished on December 31, 2020. 258 days. Total over all cost was $656. This includes wood, tools, the tons of paper used to print shapes, multiple ink cartridges for the professional printer, and everything else! Without printer ink, paper, and all that stuff it was $531. Funny thing about this whole build...I fly in VR! -
I built a full F-18 cockpit, build thread inside!
MajSchrute replied to MajSchrute's topic in Home Cockpits
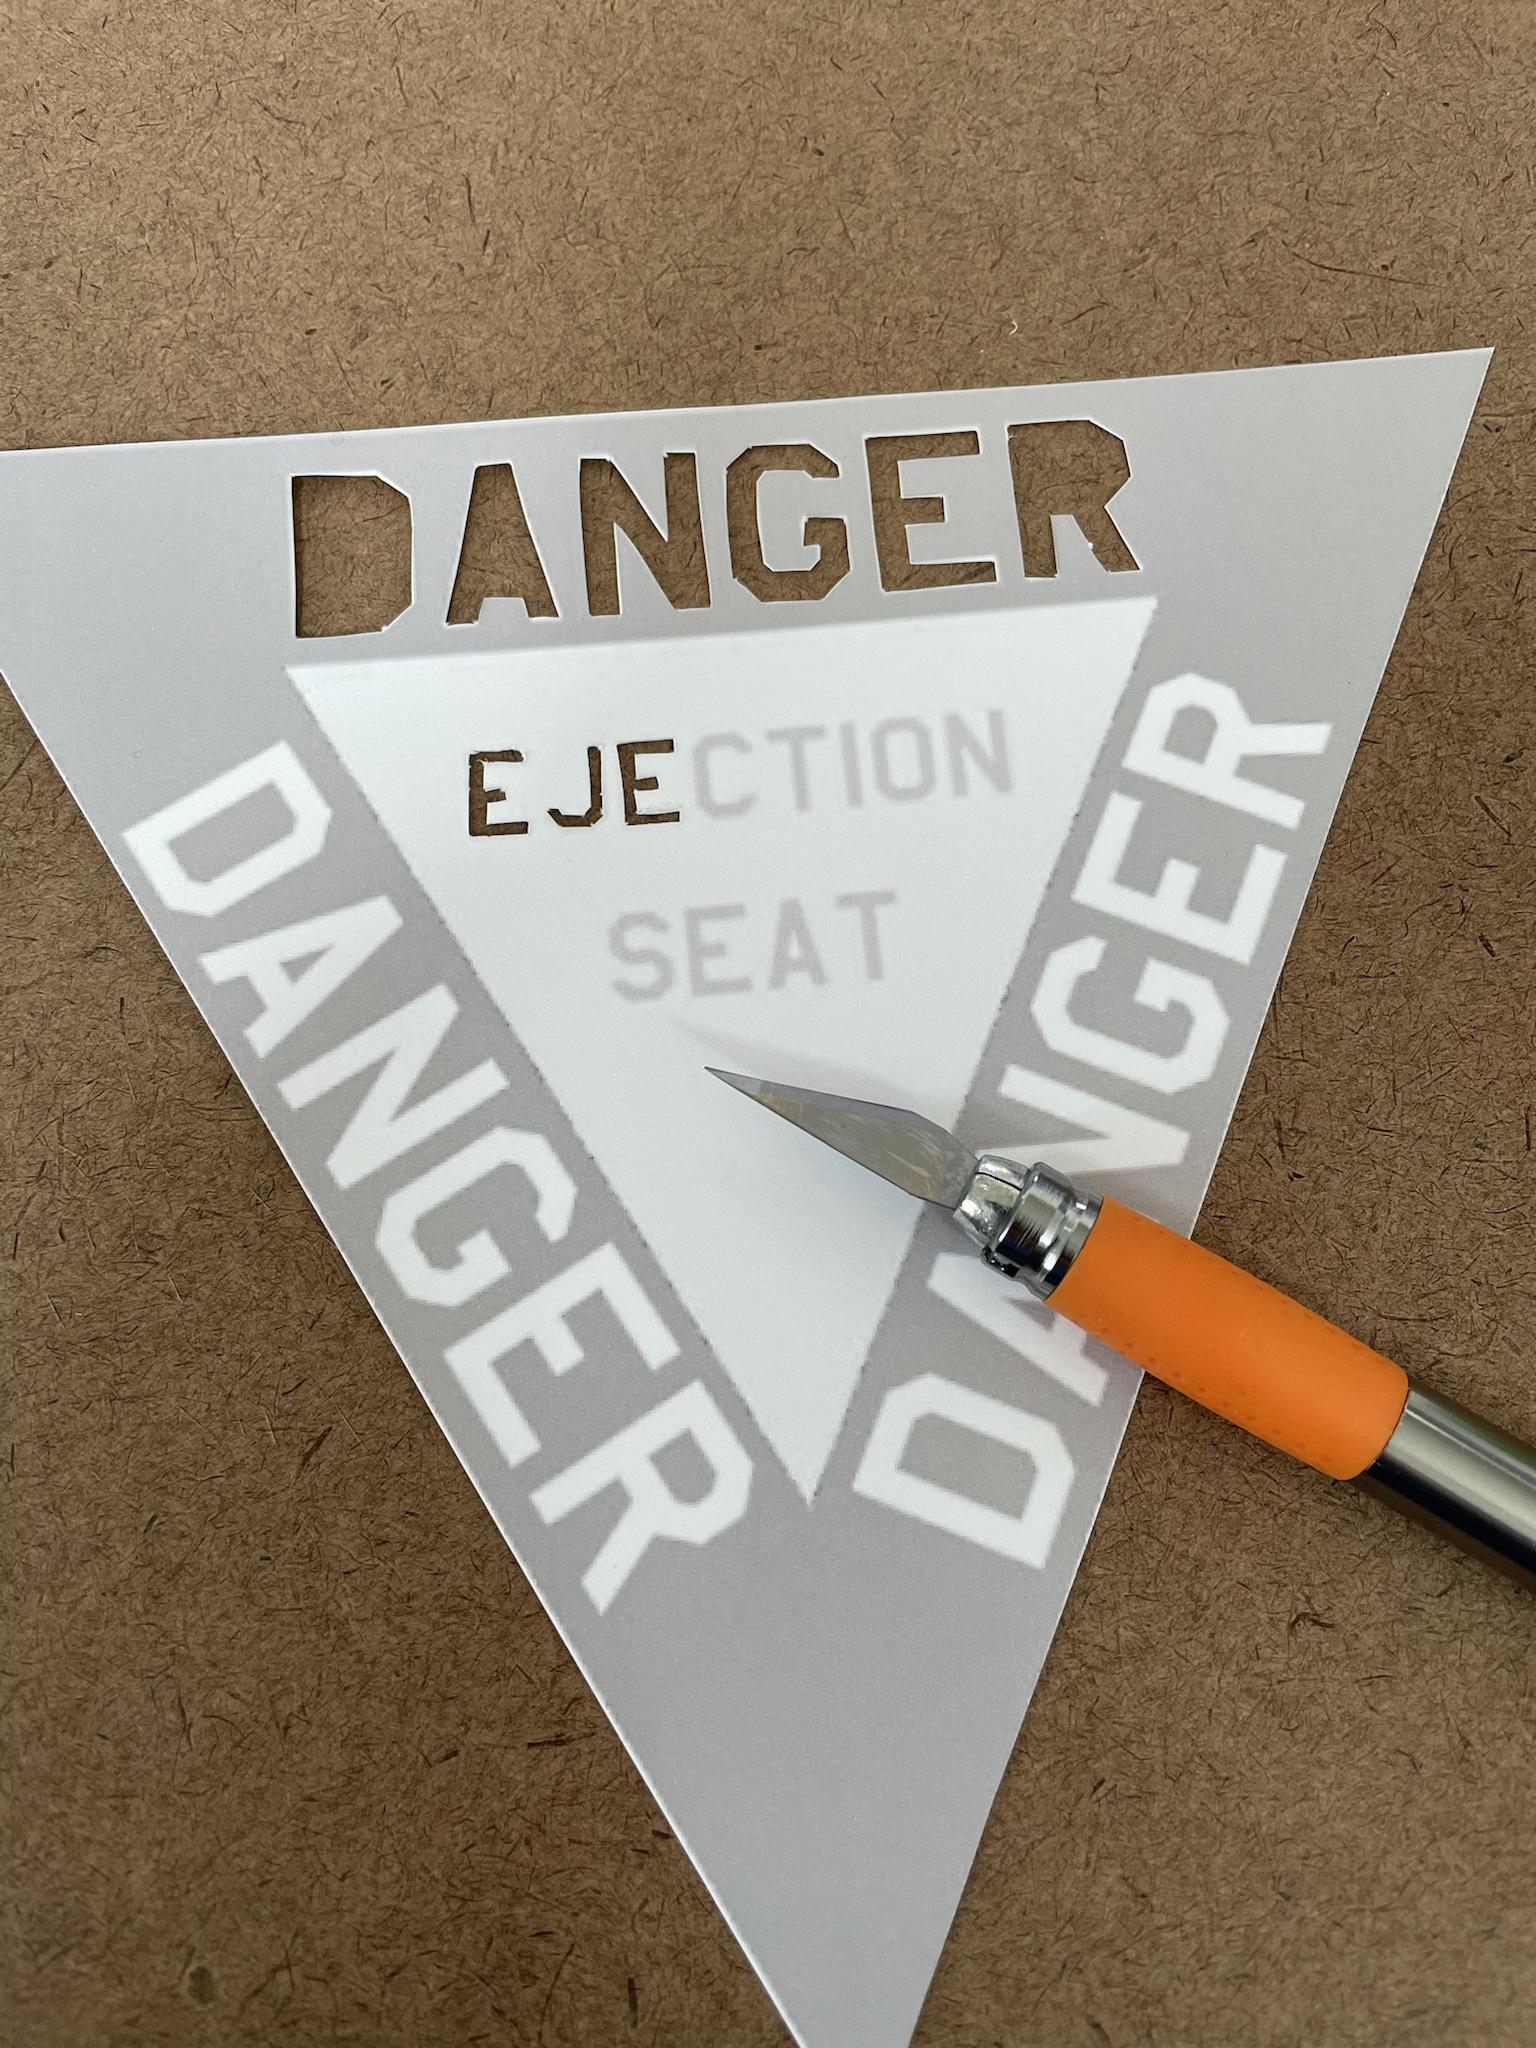
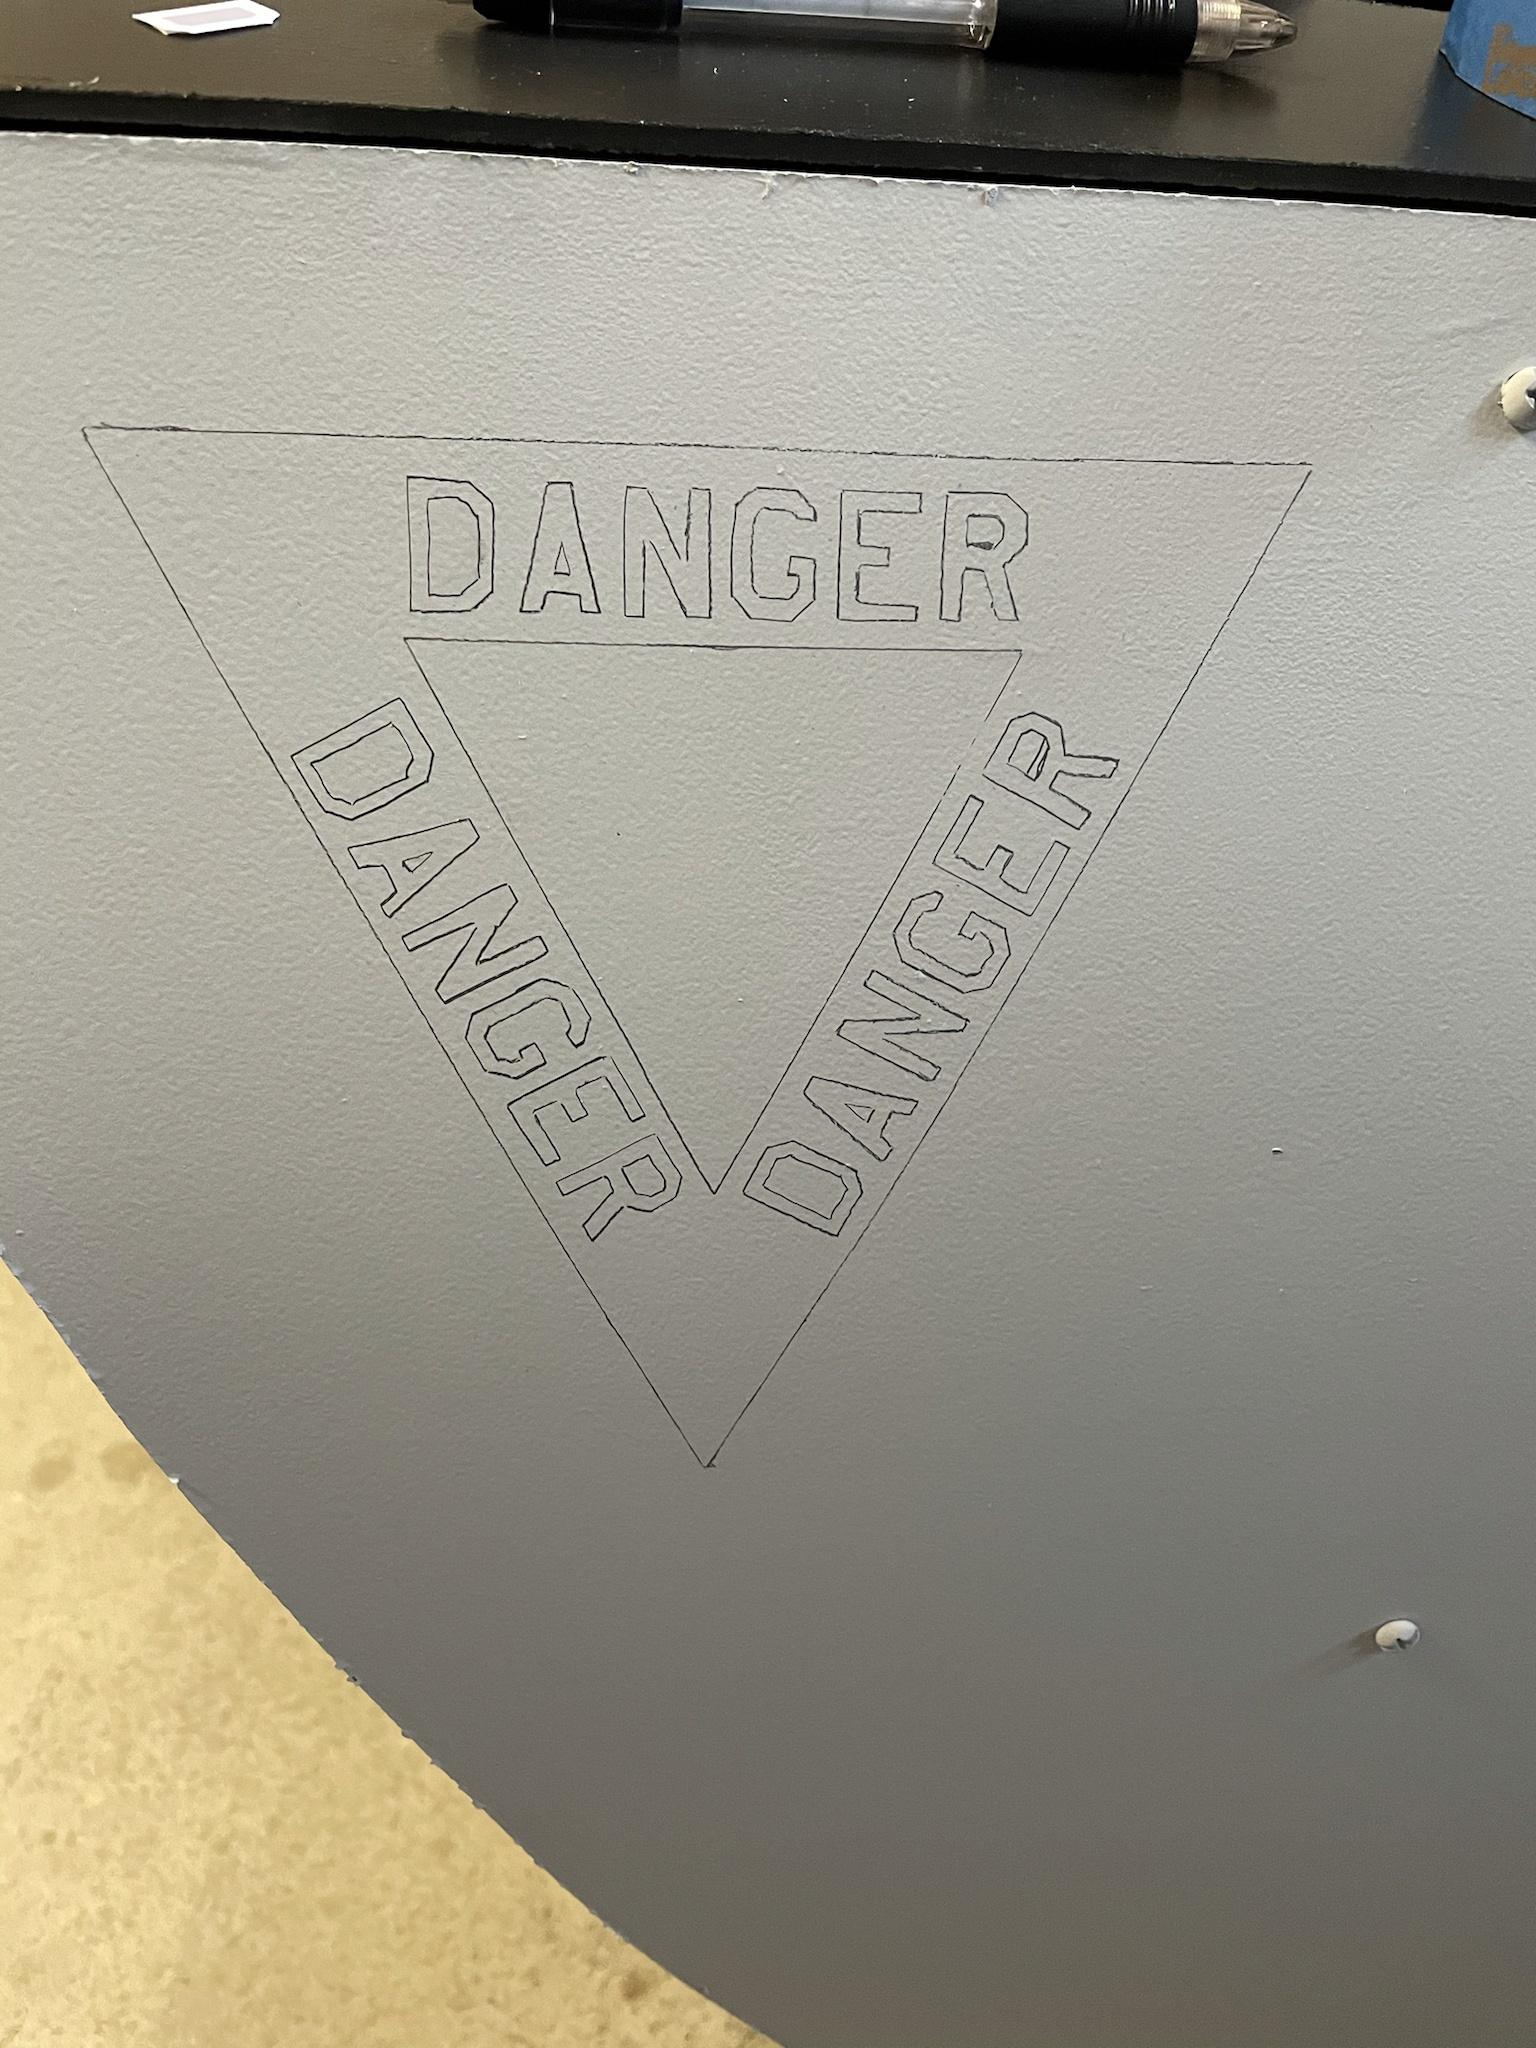
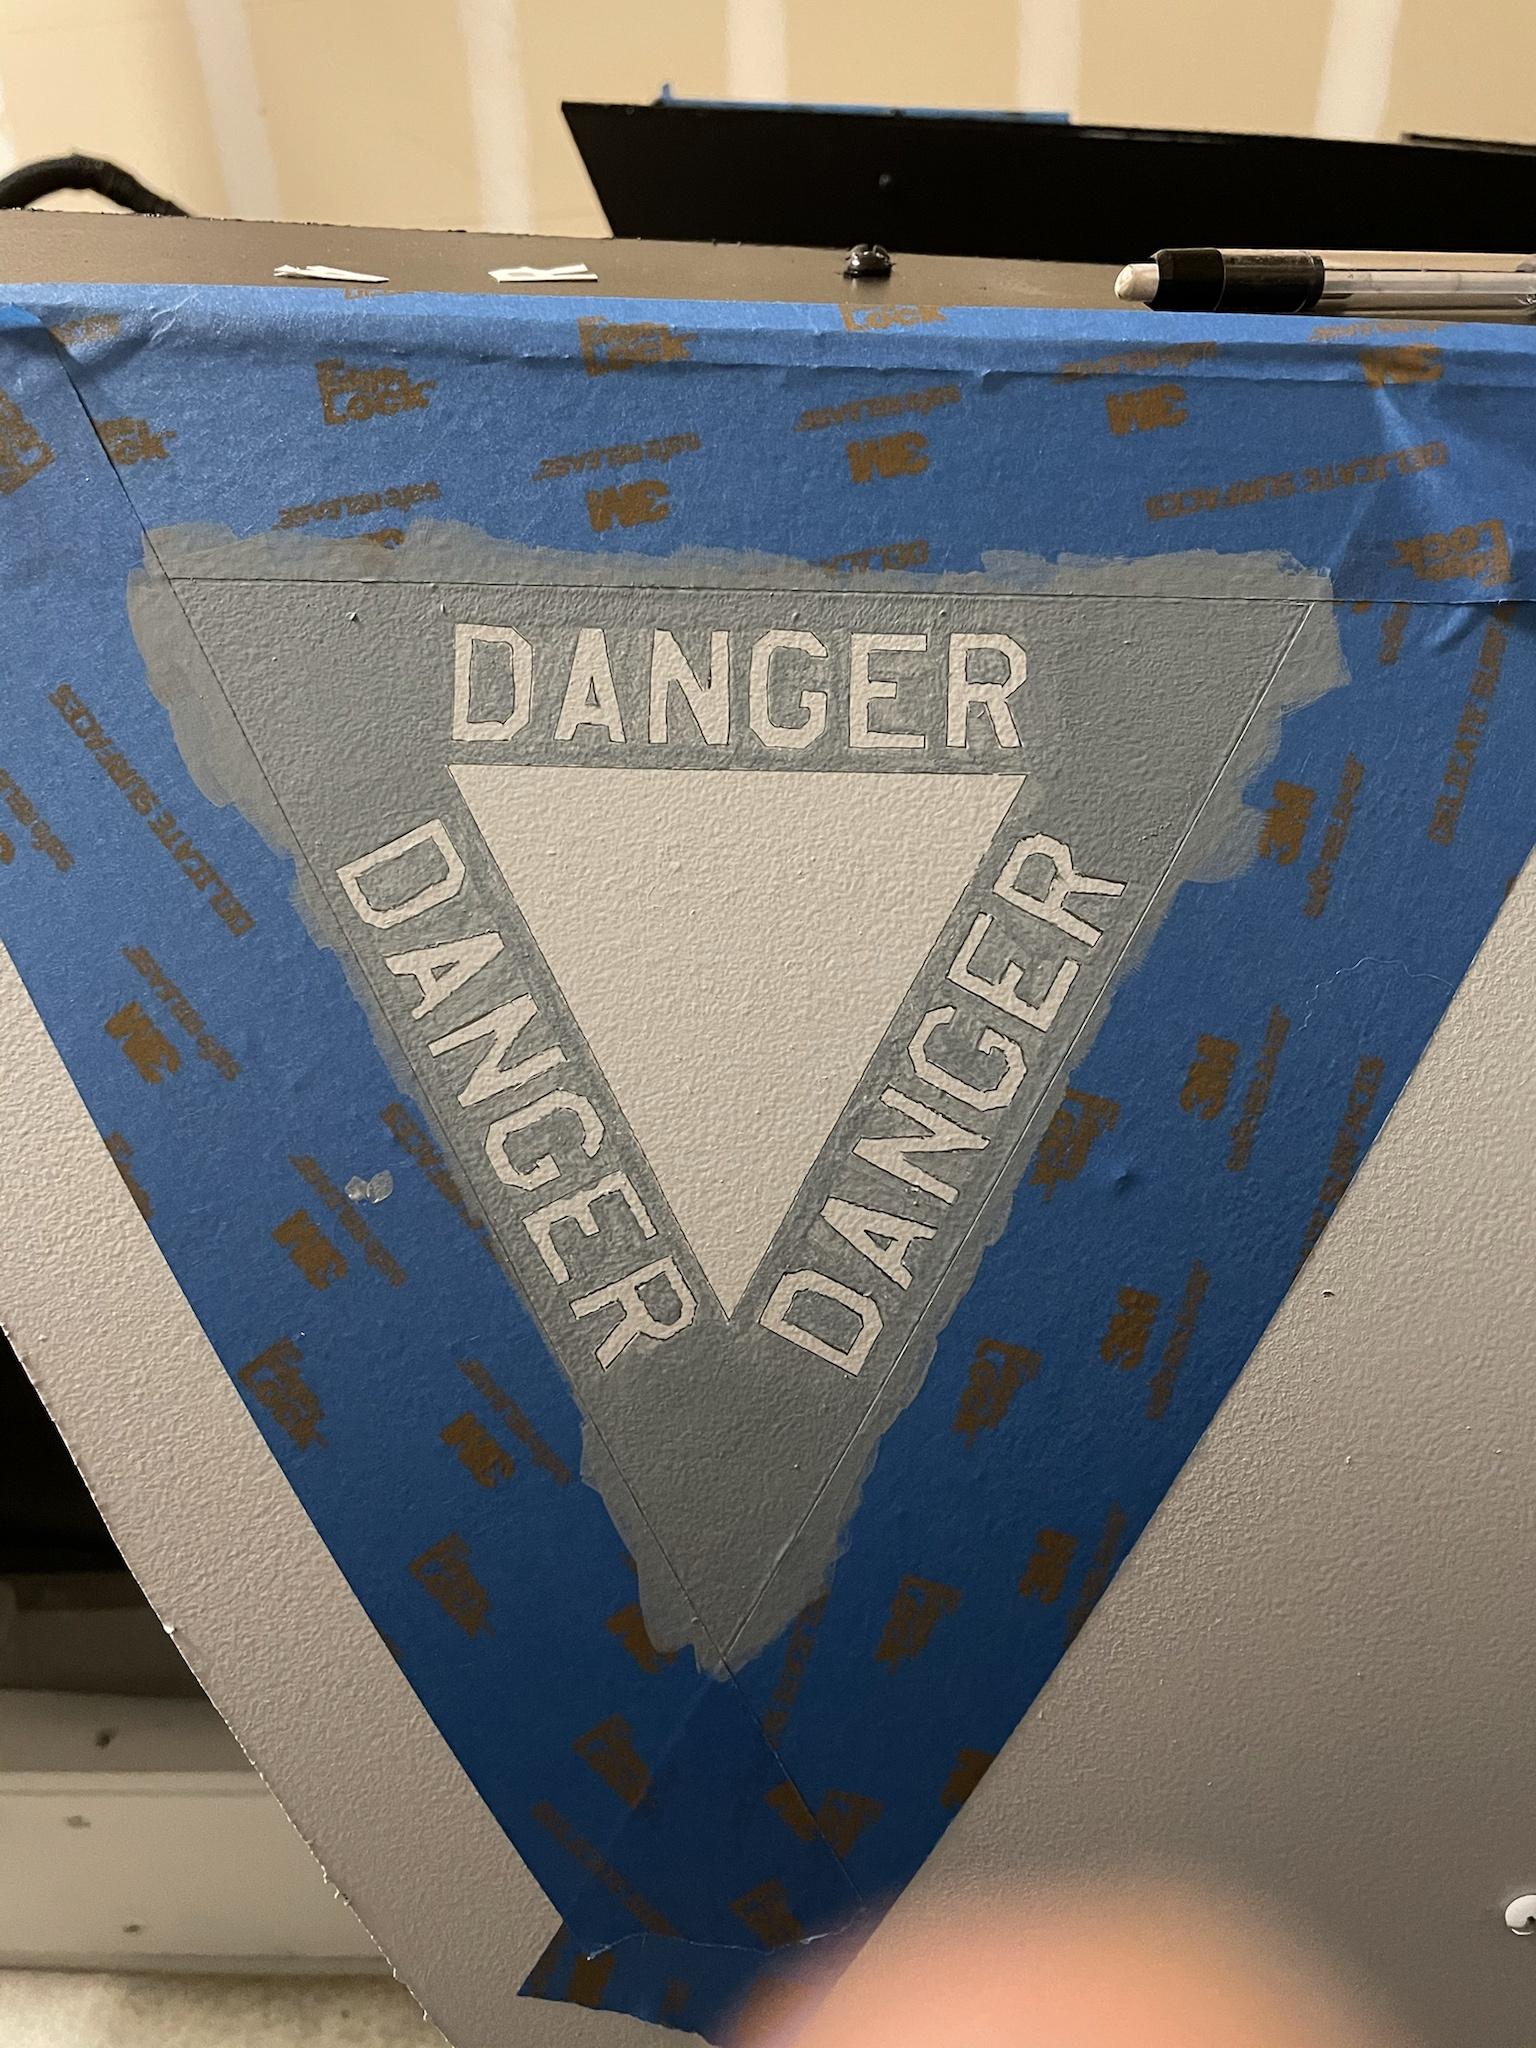
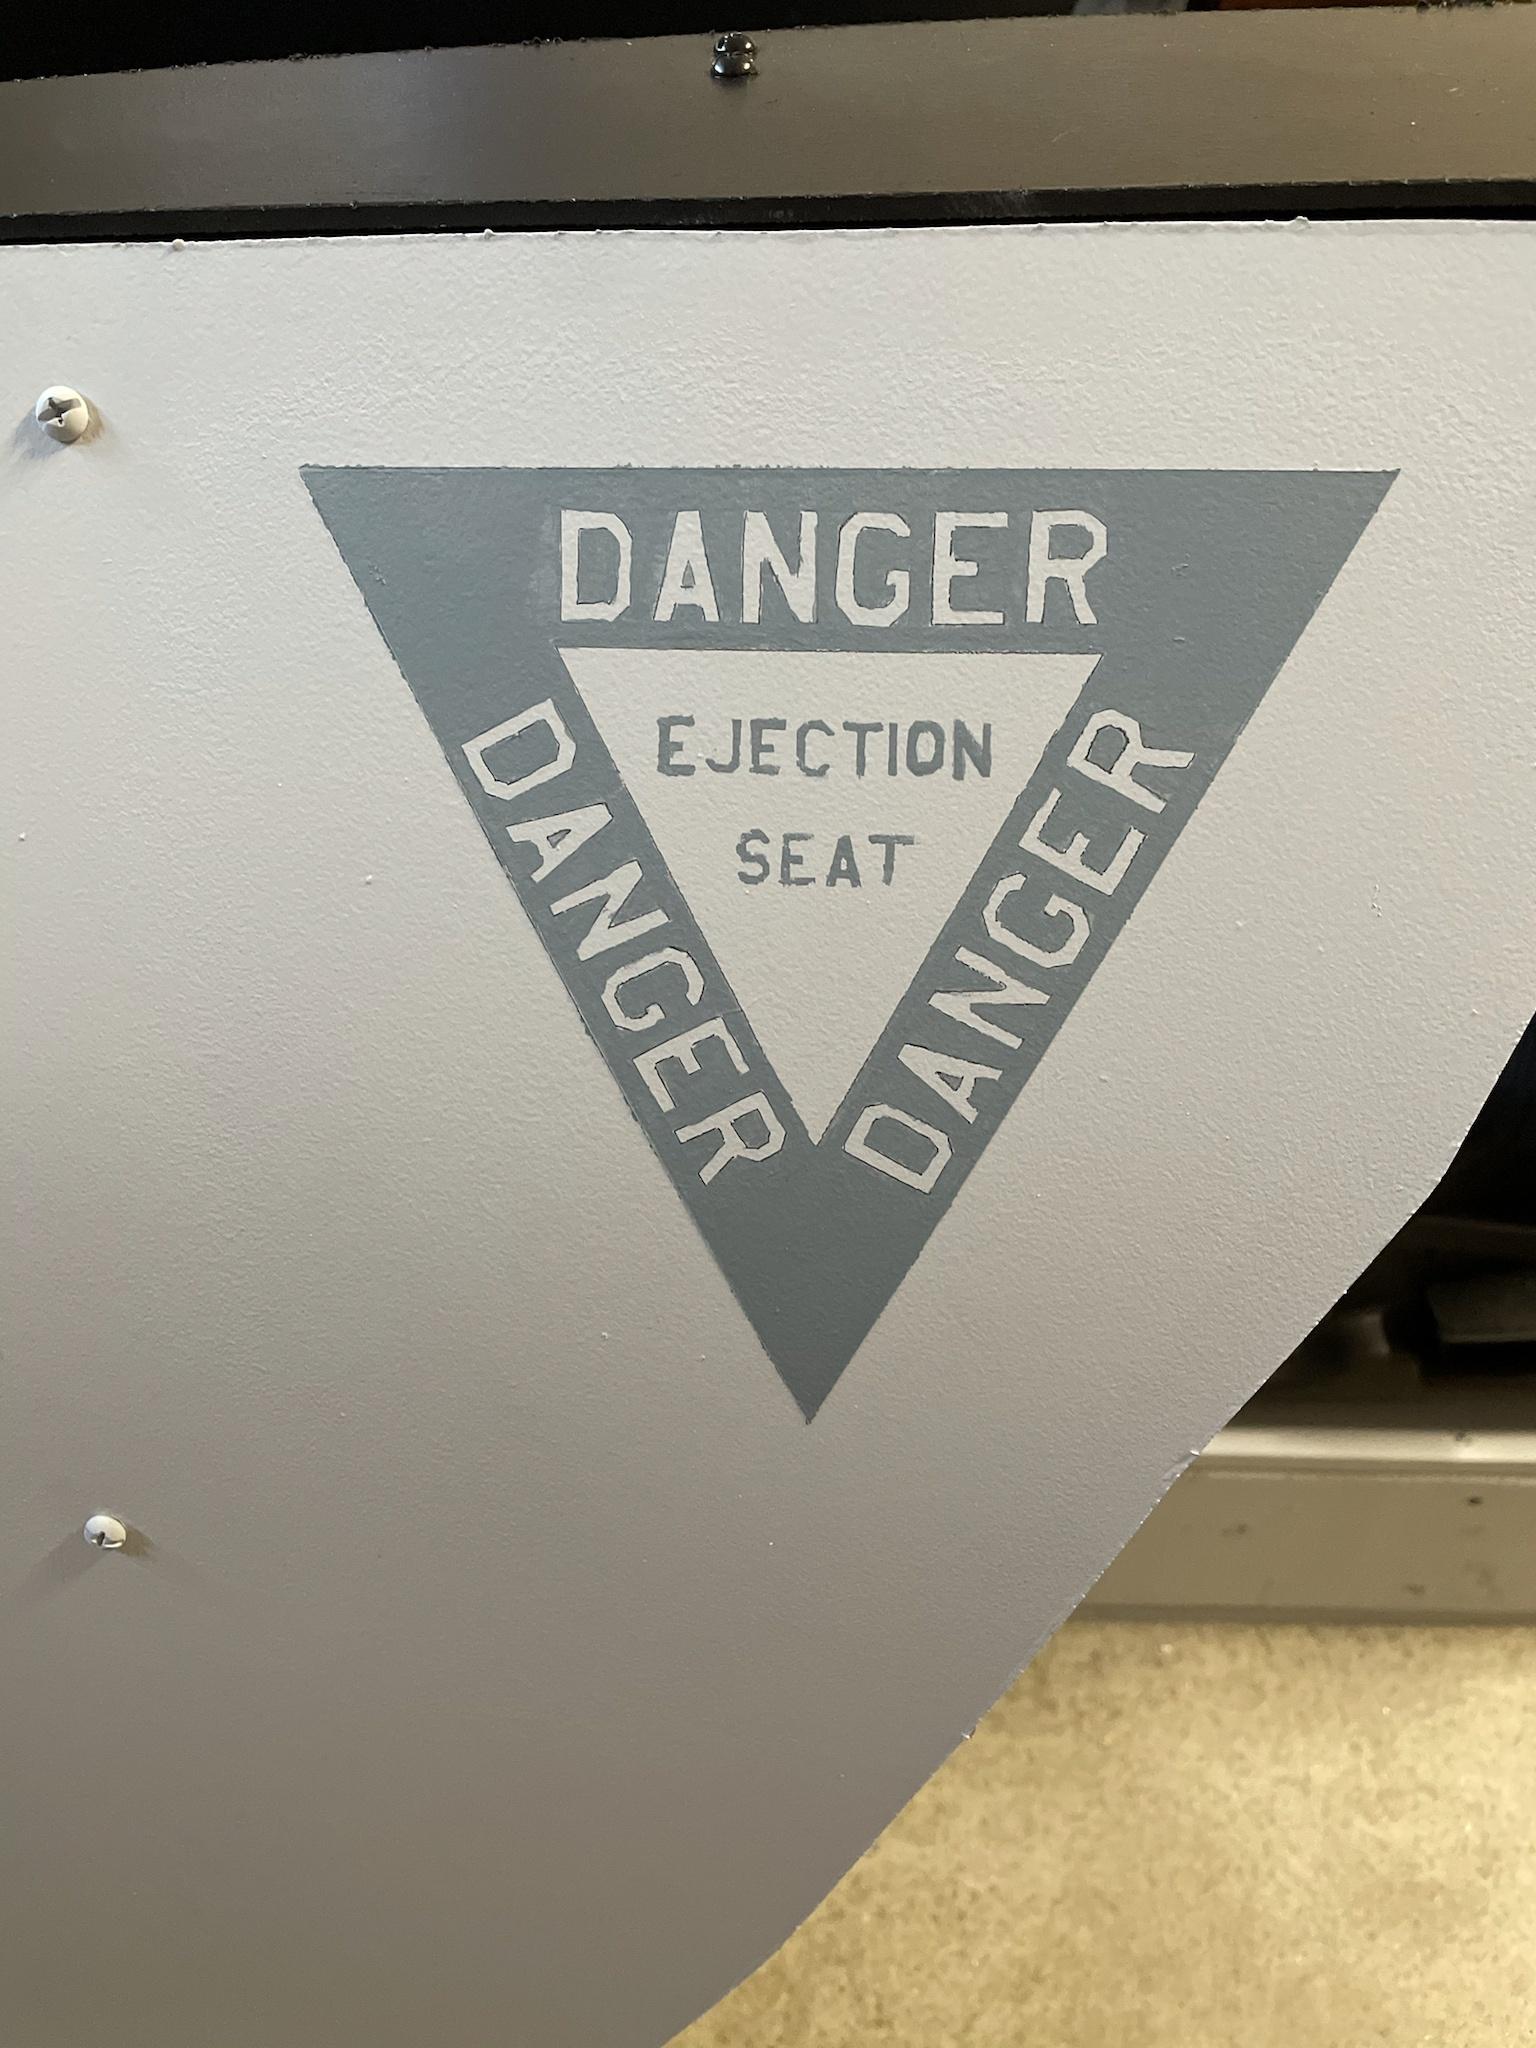
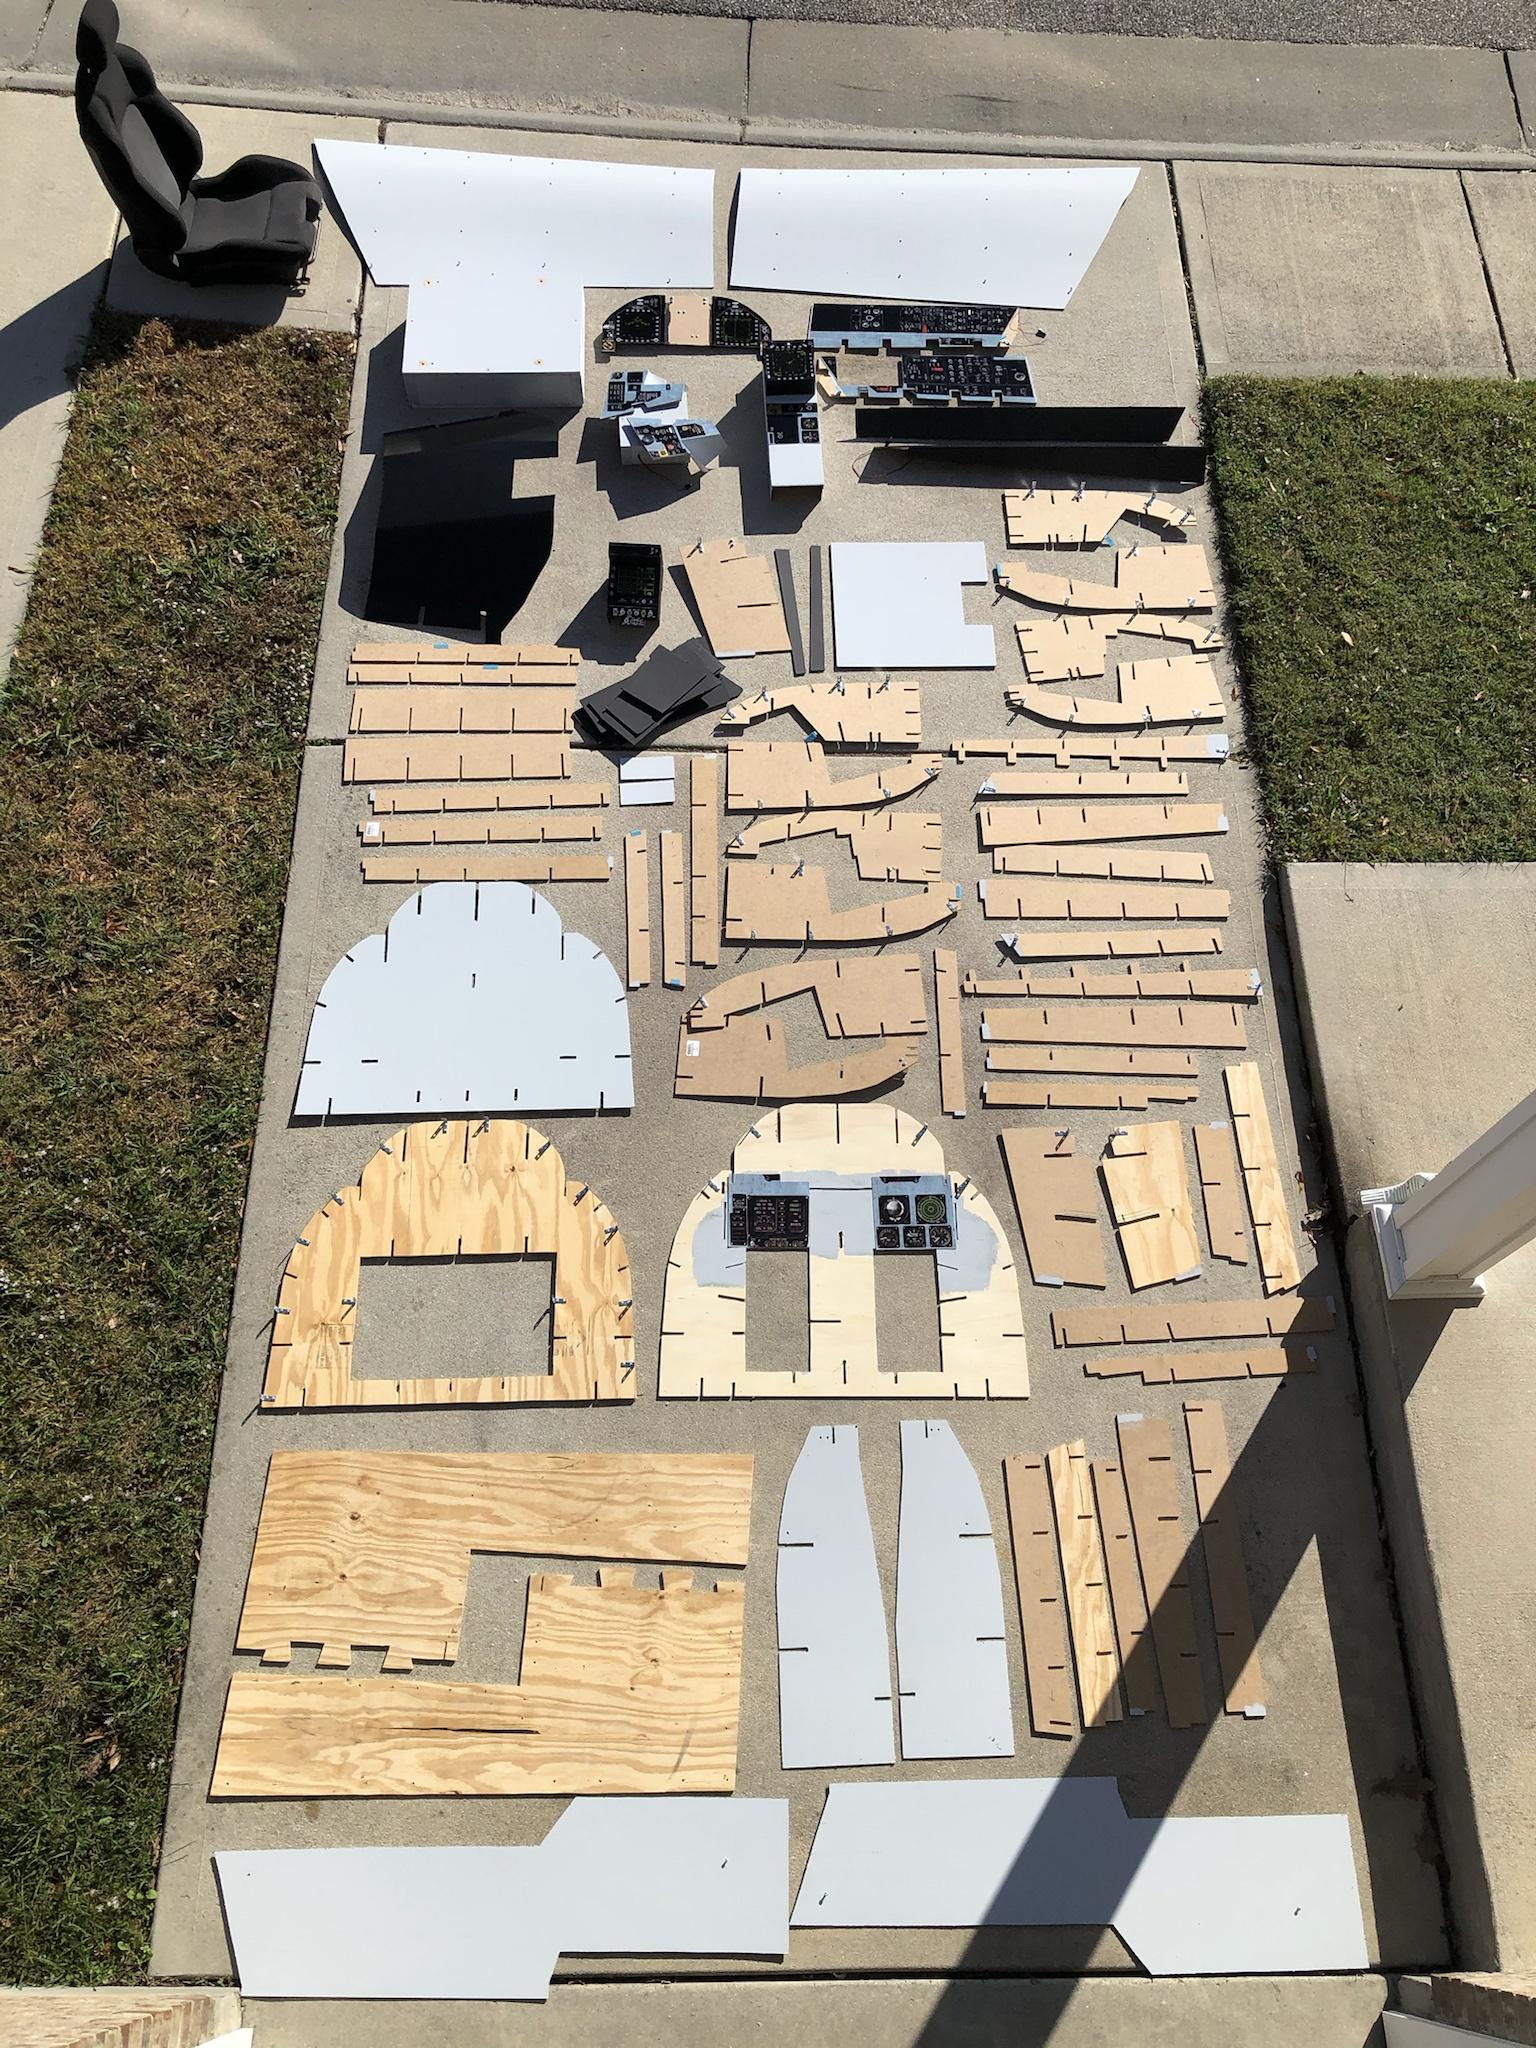
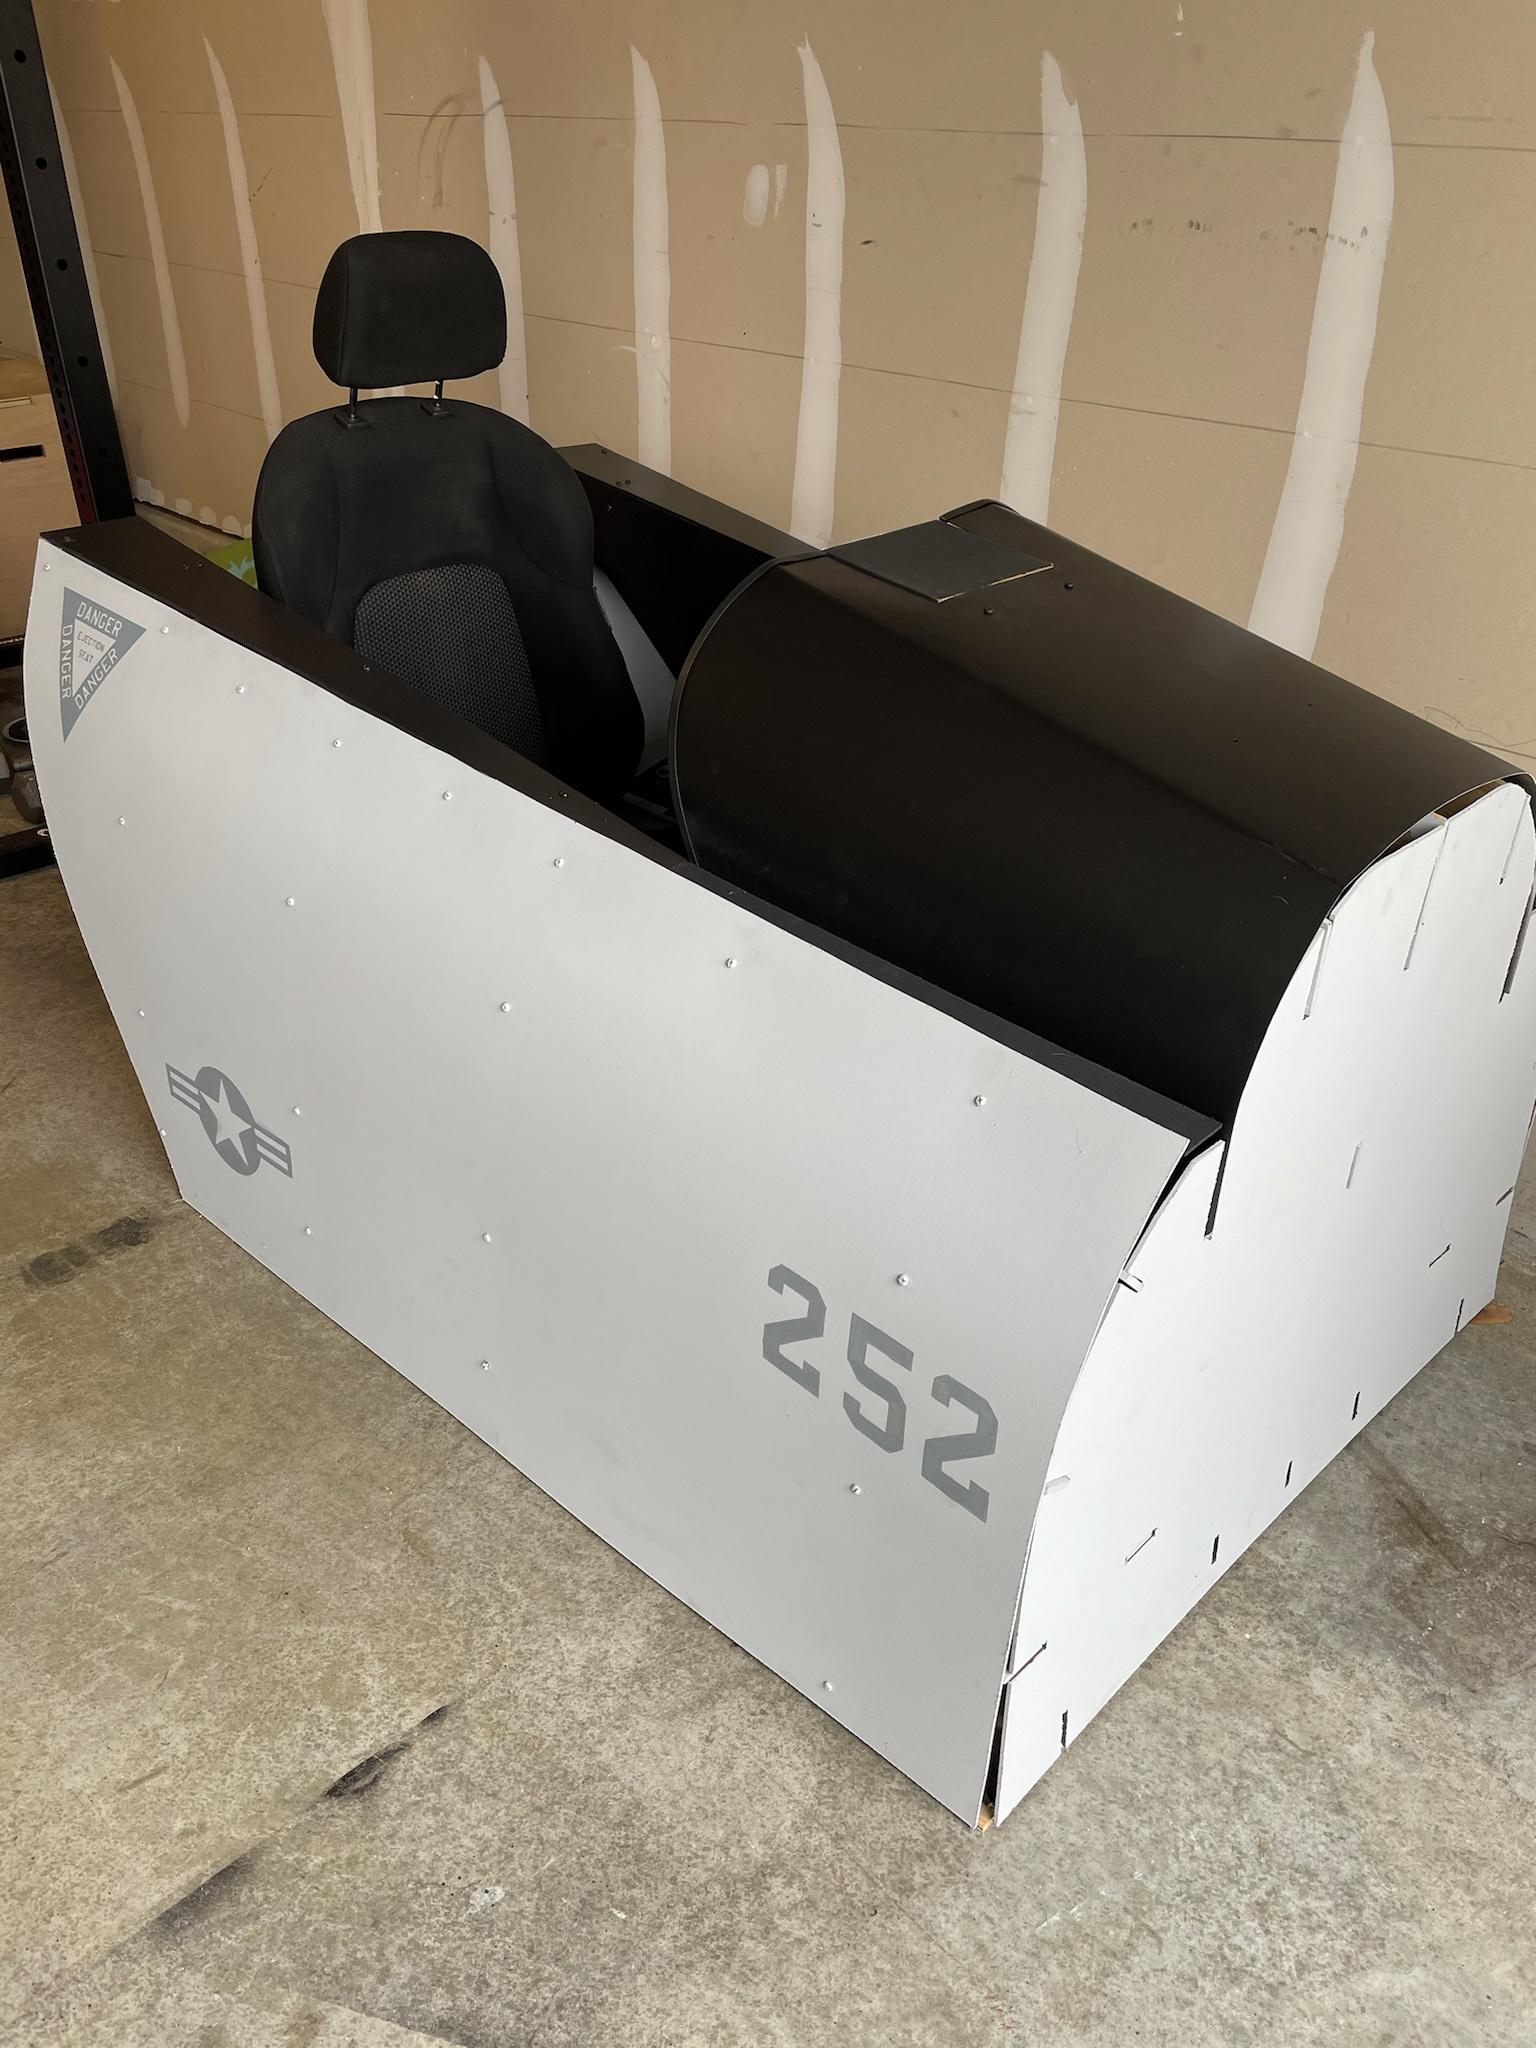
Added edge trim on the sunshade to match the real F-18: My wife painted the numbers and roundel on the sides: I wanted to add the ejection seat triangle warning as well, so I cut out the shape and had to tediously cut out each letter to make the stencil: Stenciled on the plane: In the process of painting: Done: Here is every single piece I used: And the final product!
-
I built a full F-18 cockpit, build thread inside!
MajSchrute replied to MajSchrute's topic in Home Cockpits
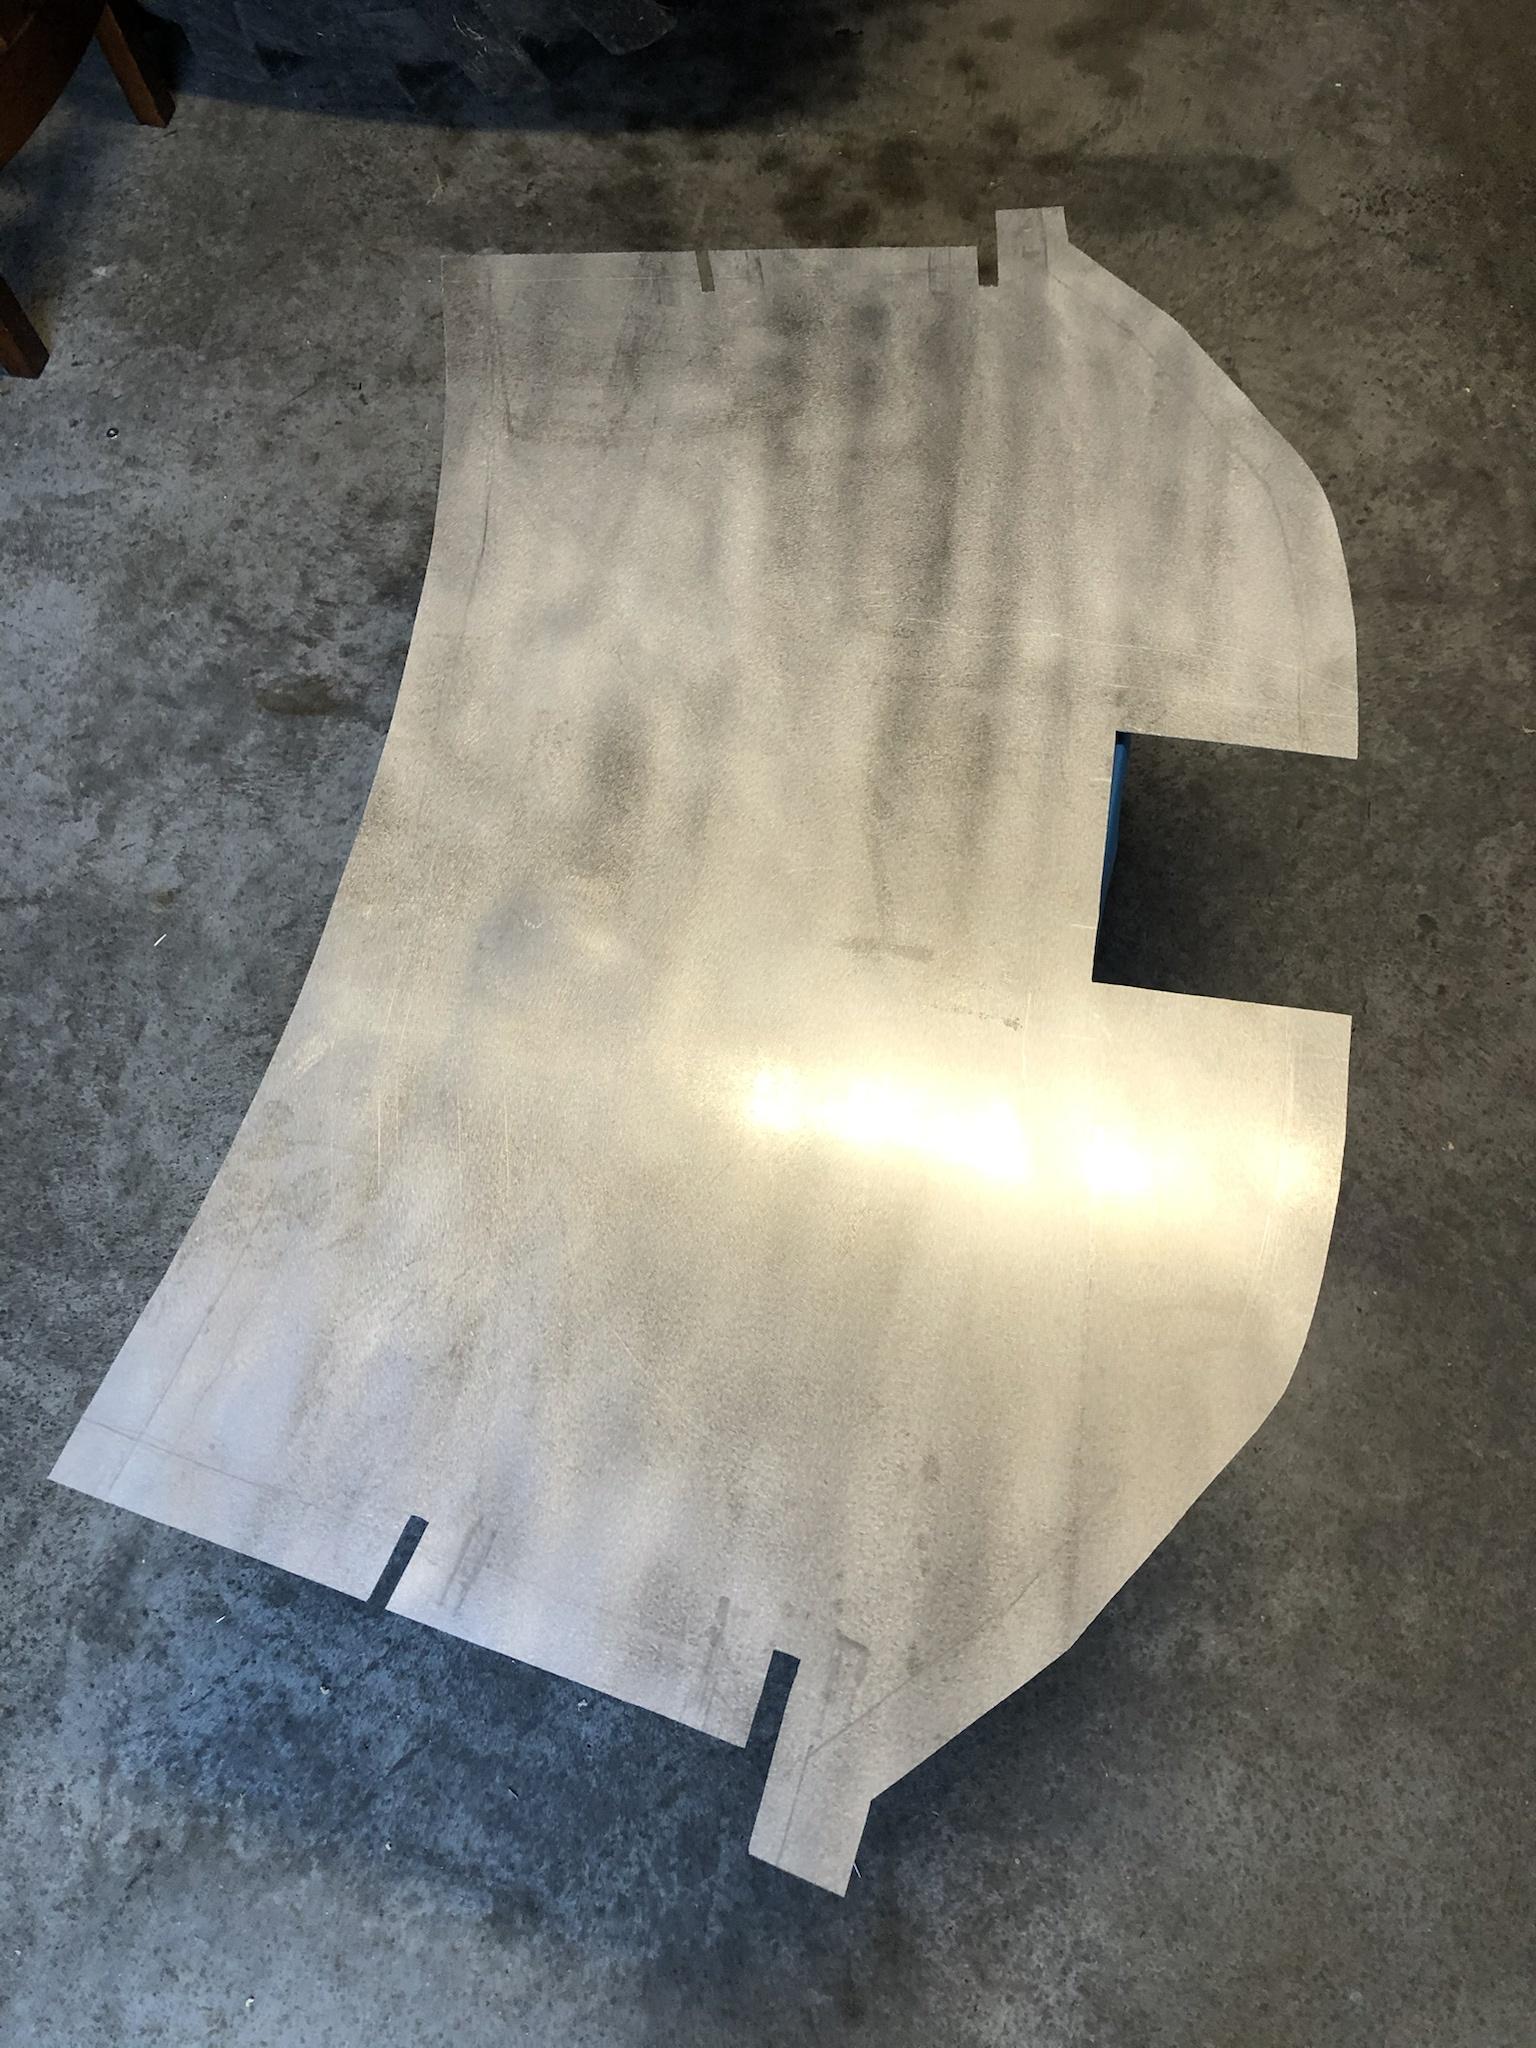
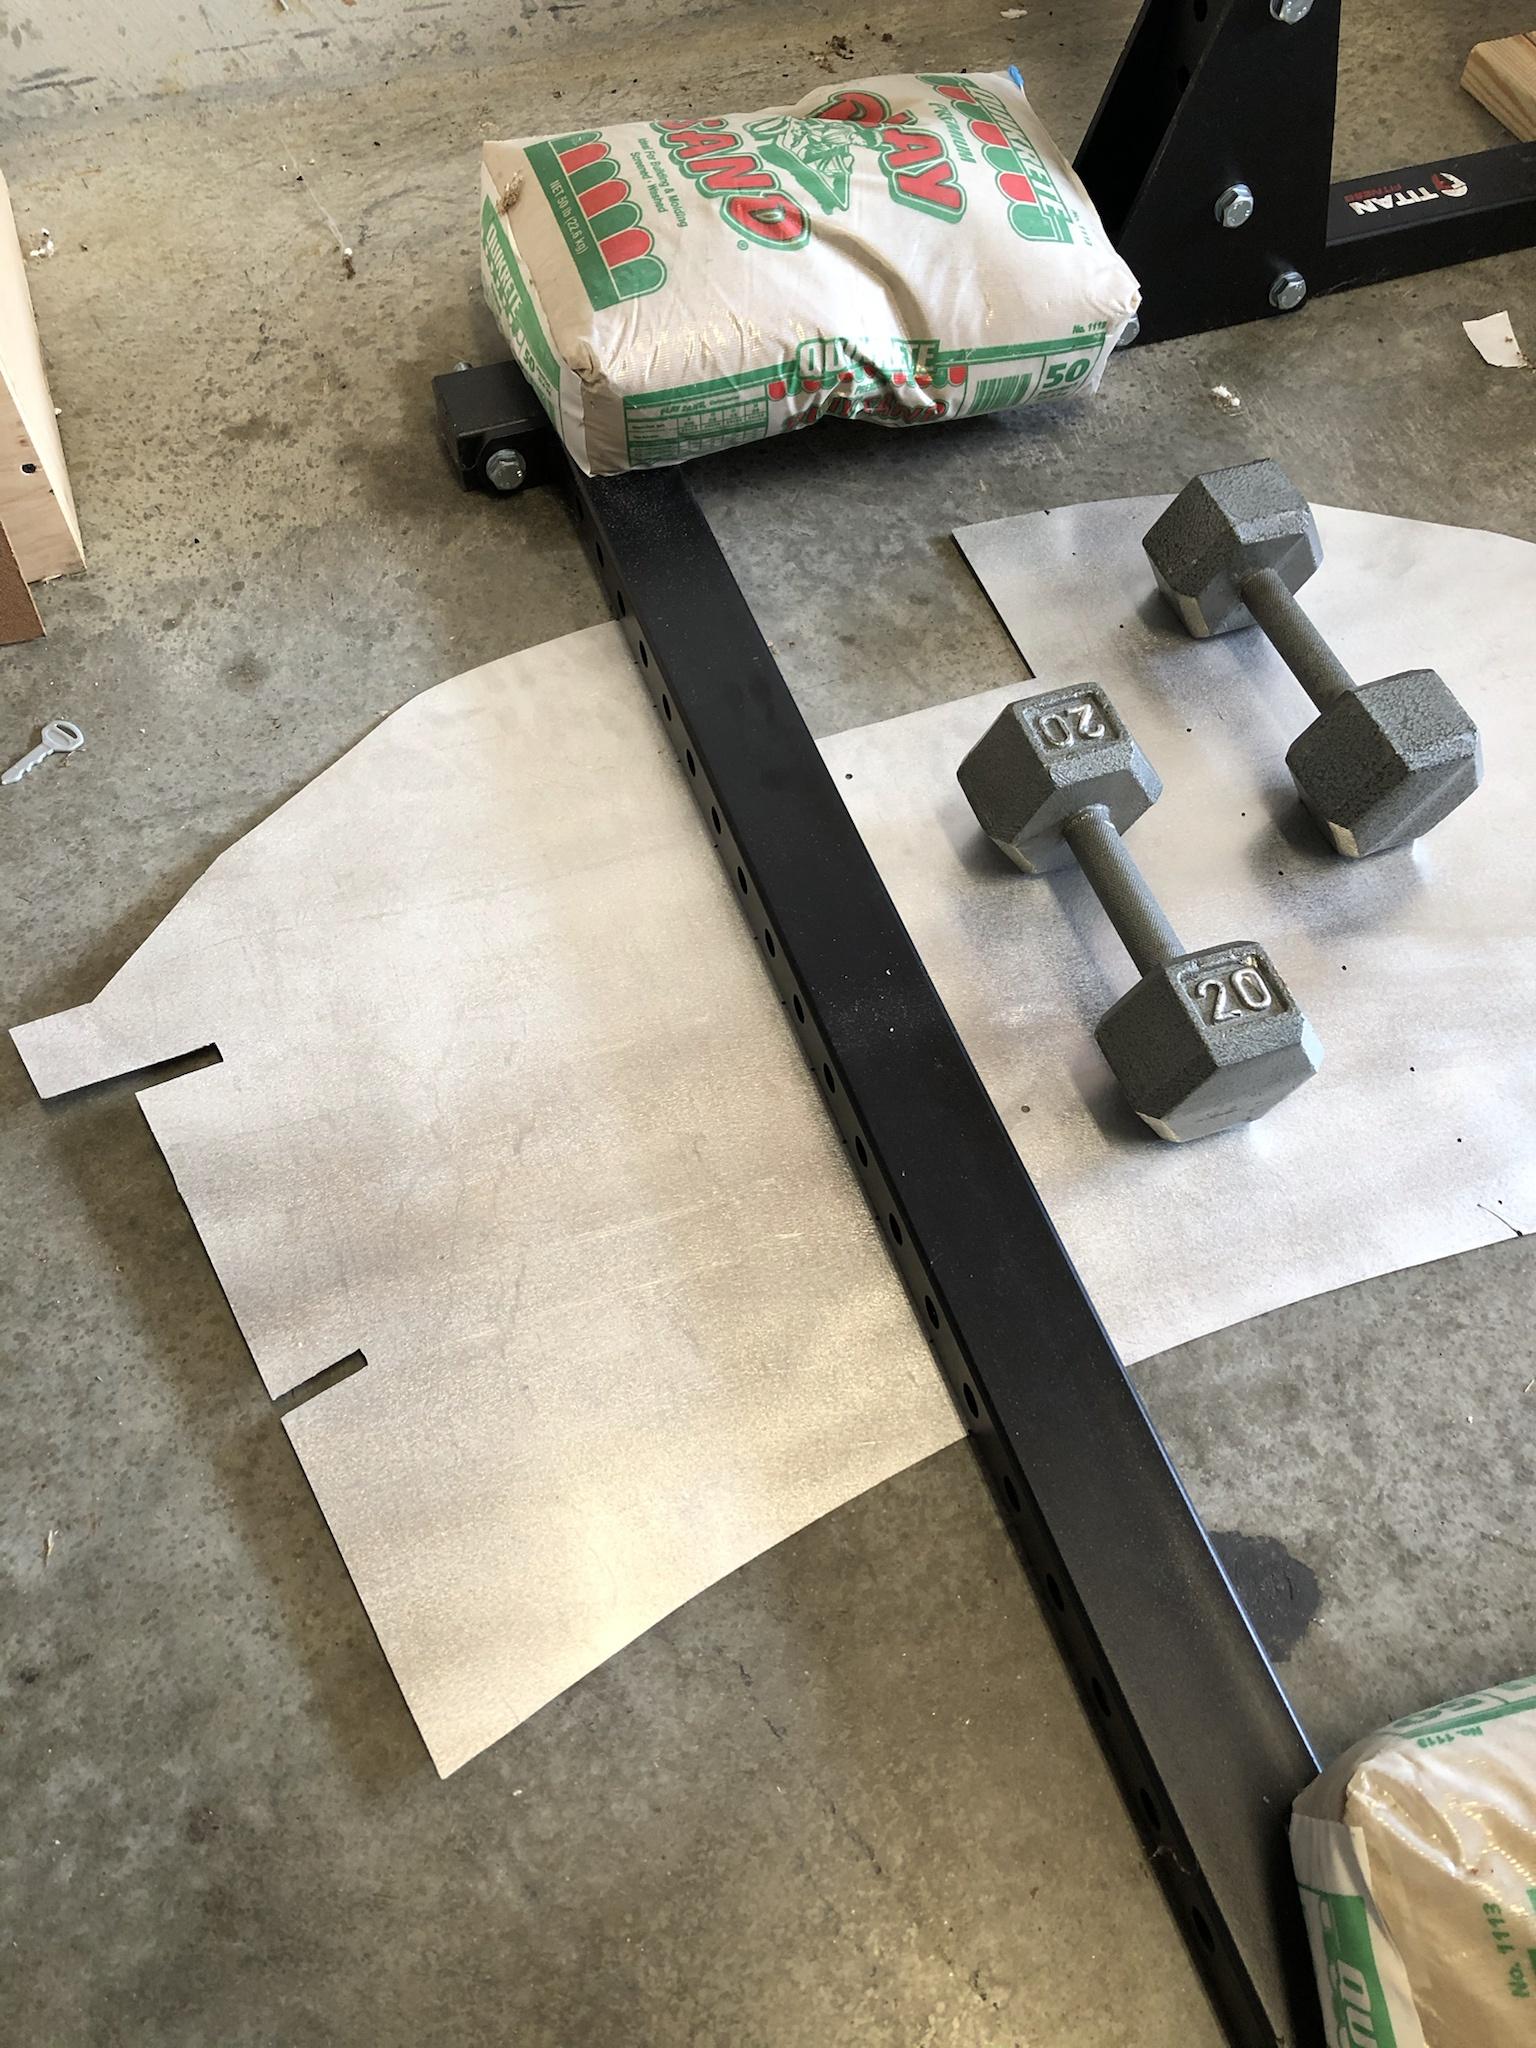
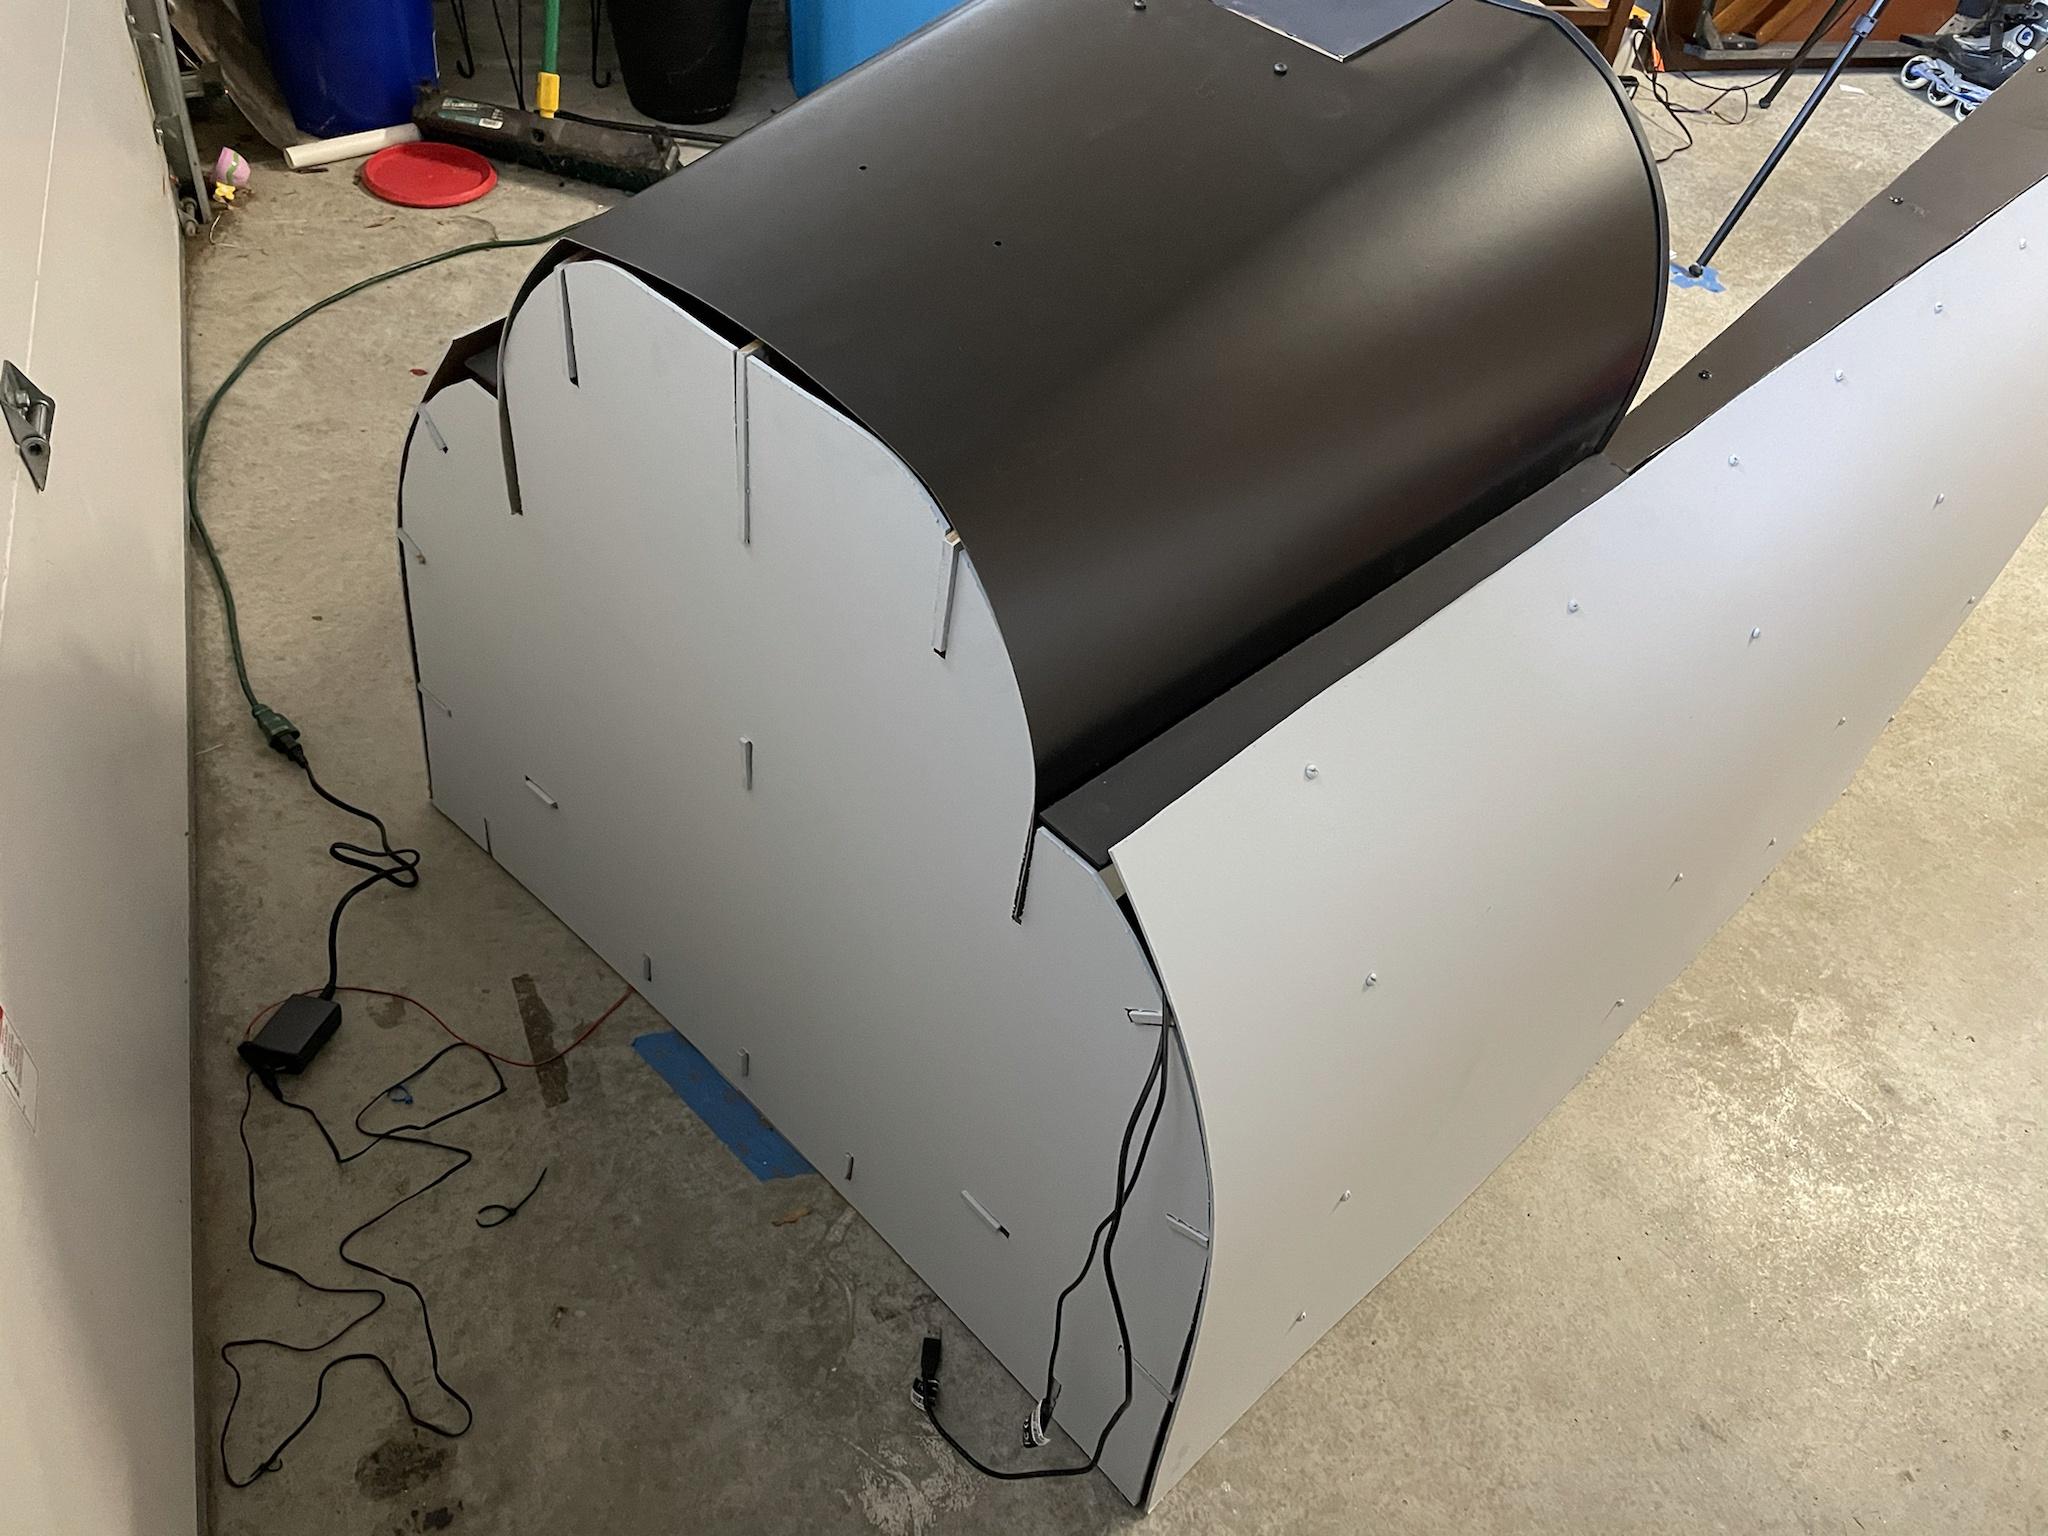
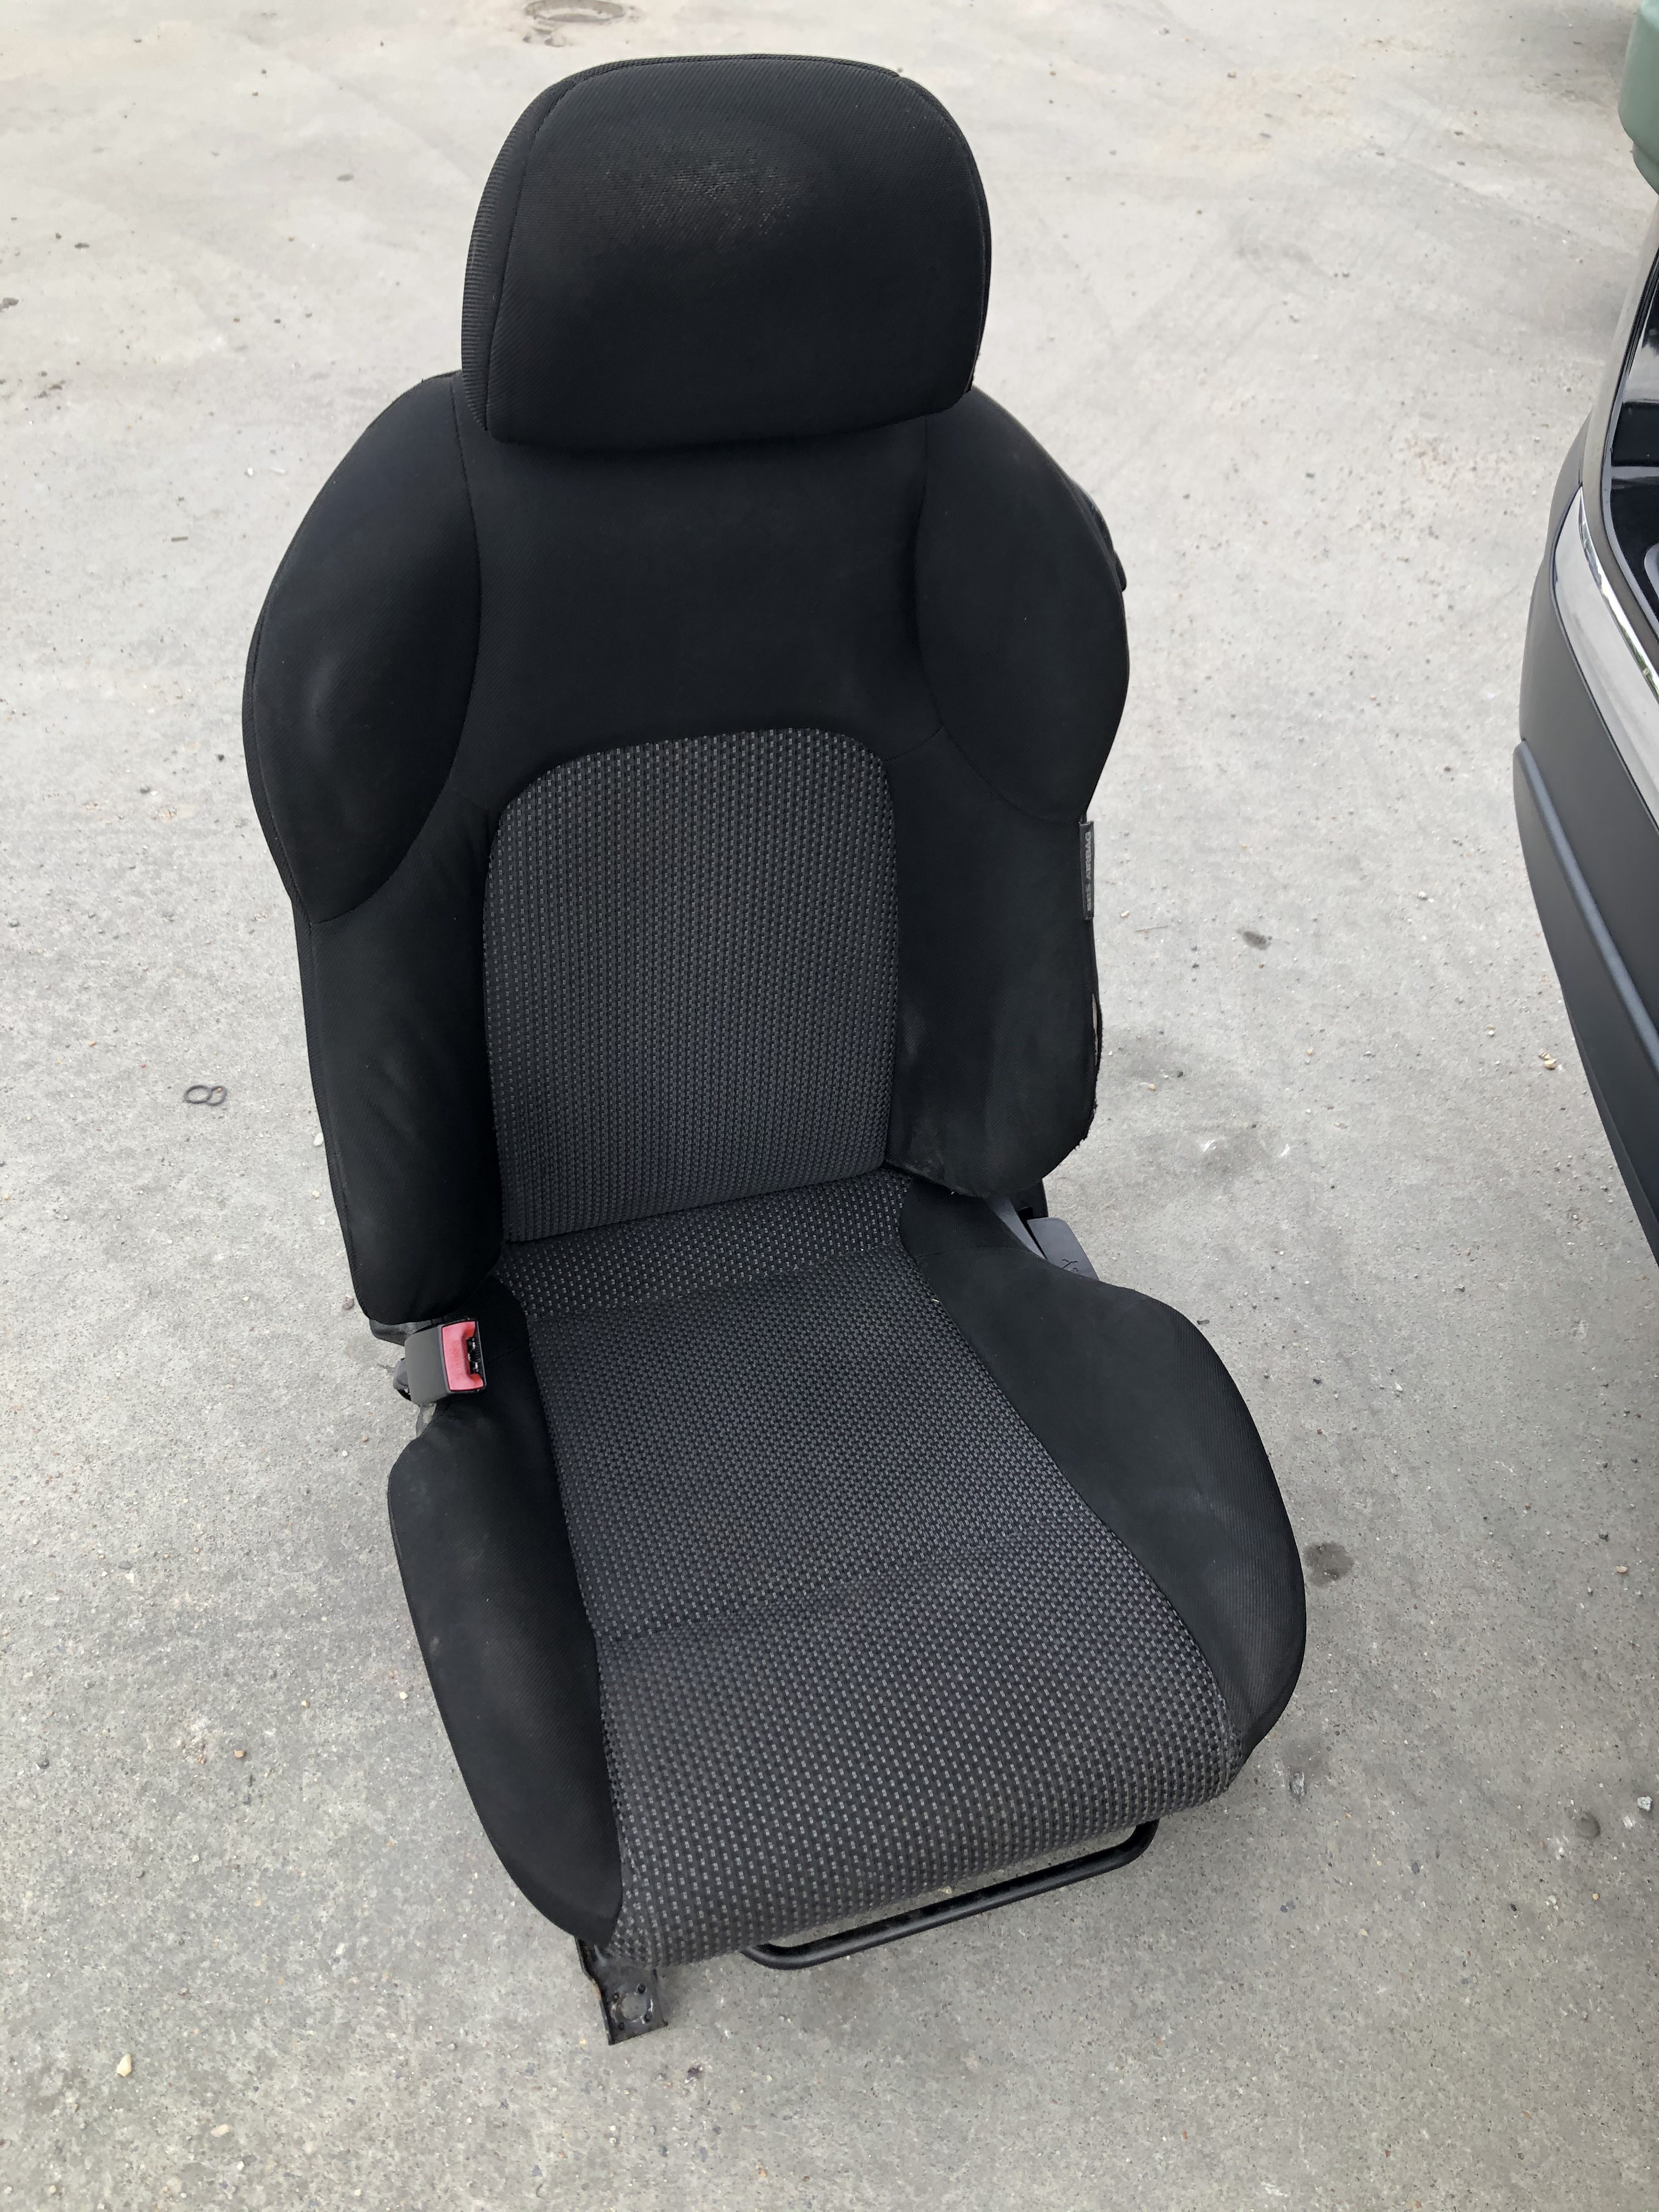
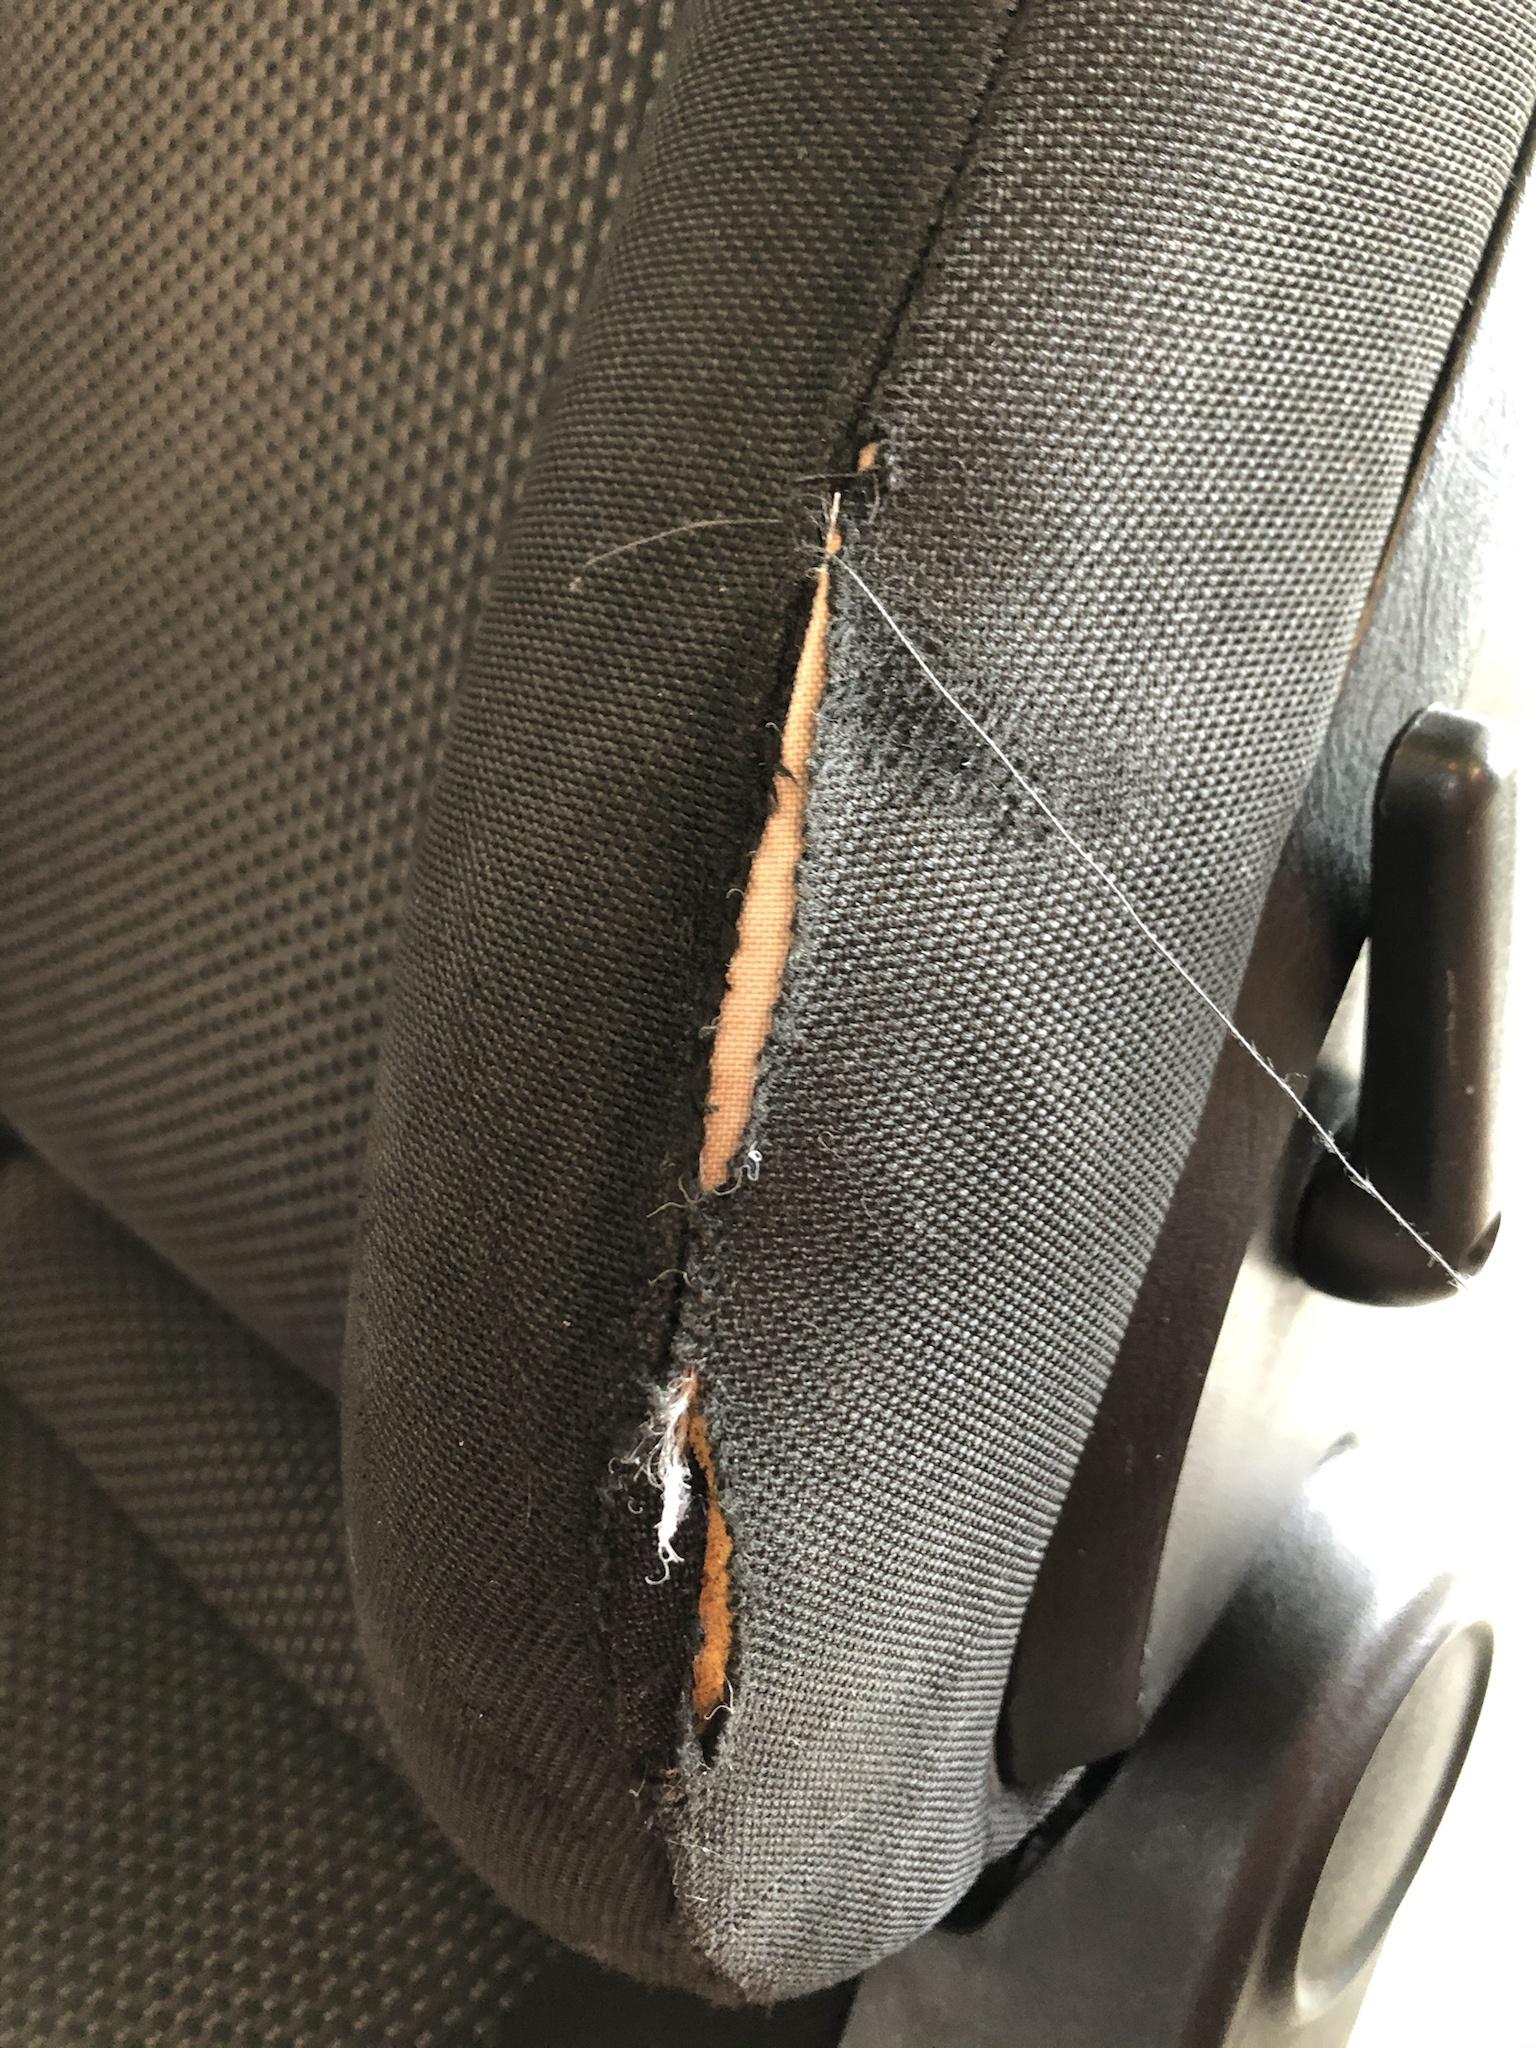
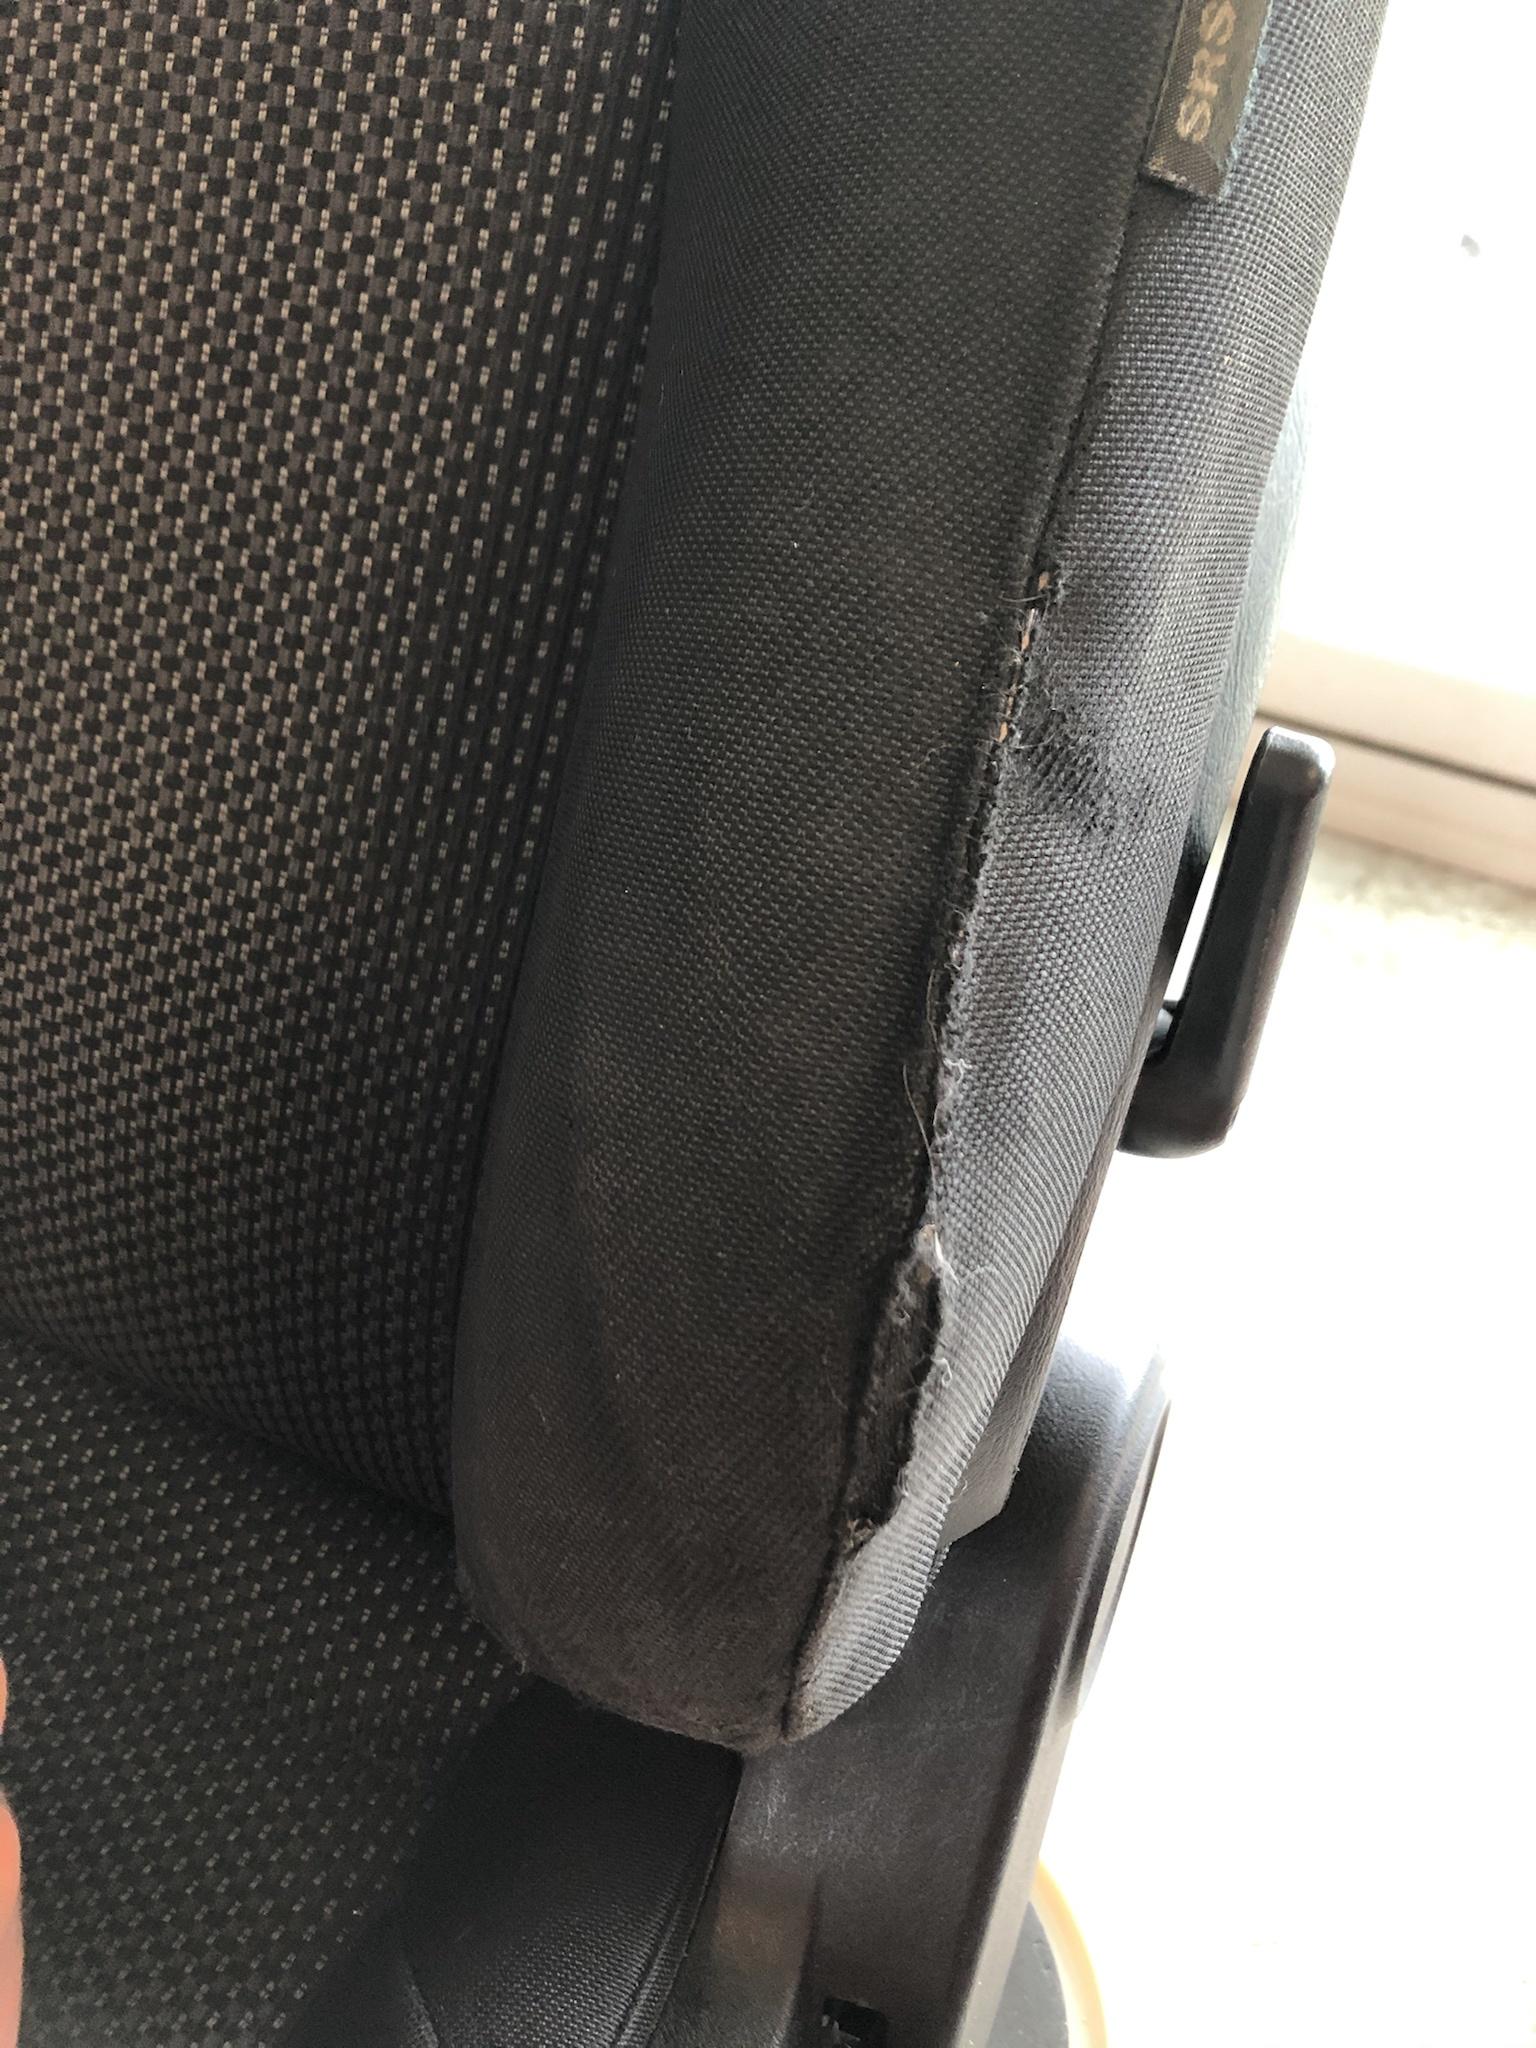
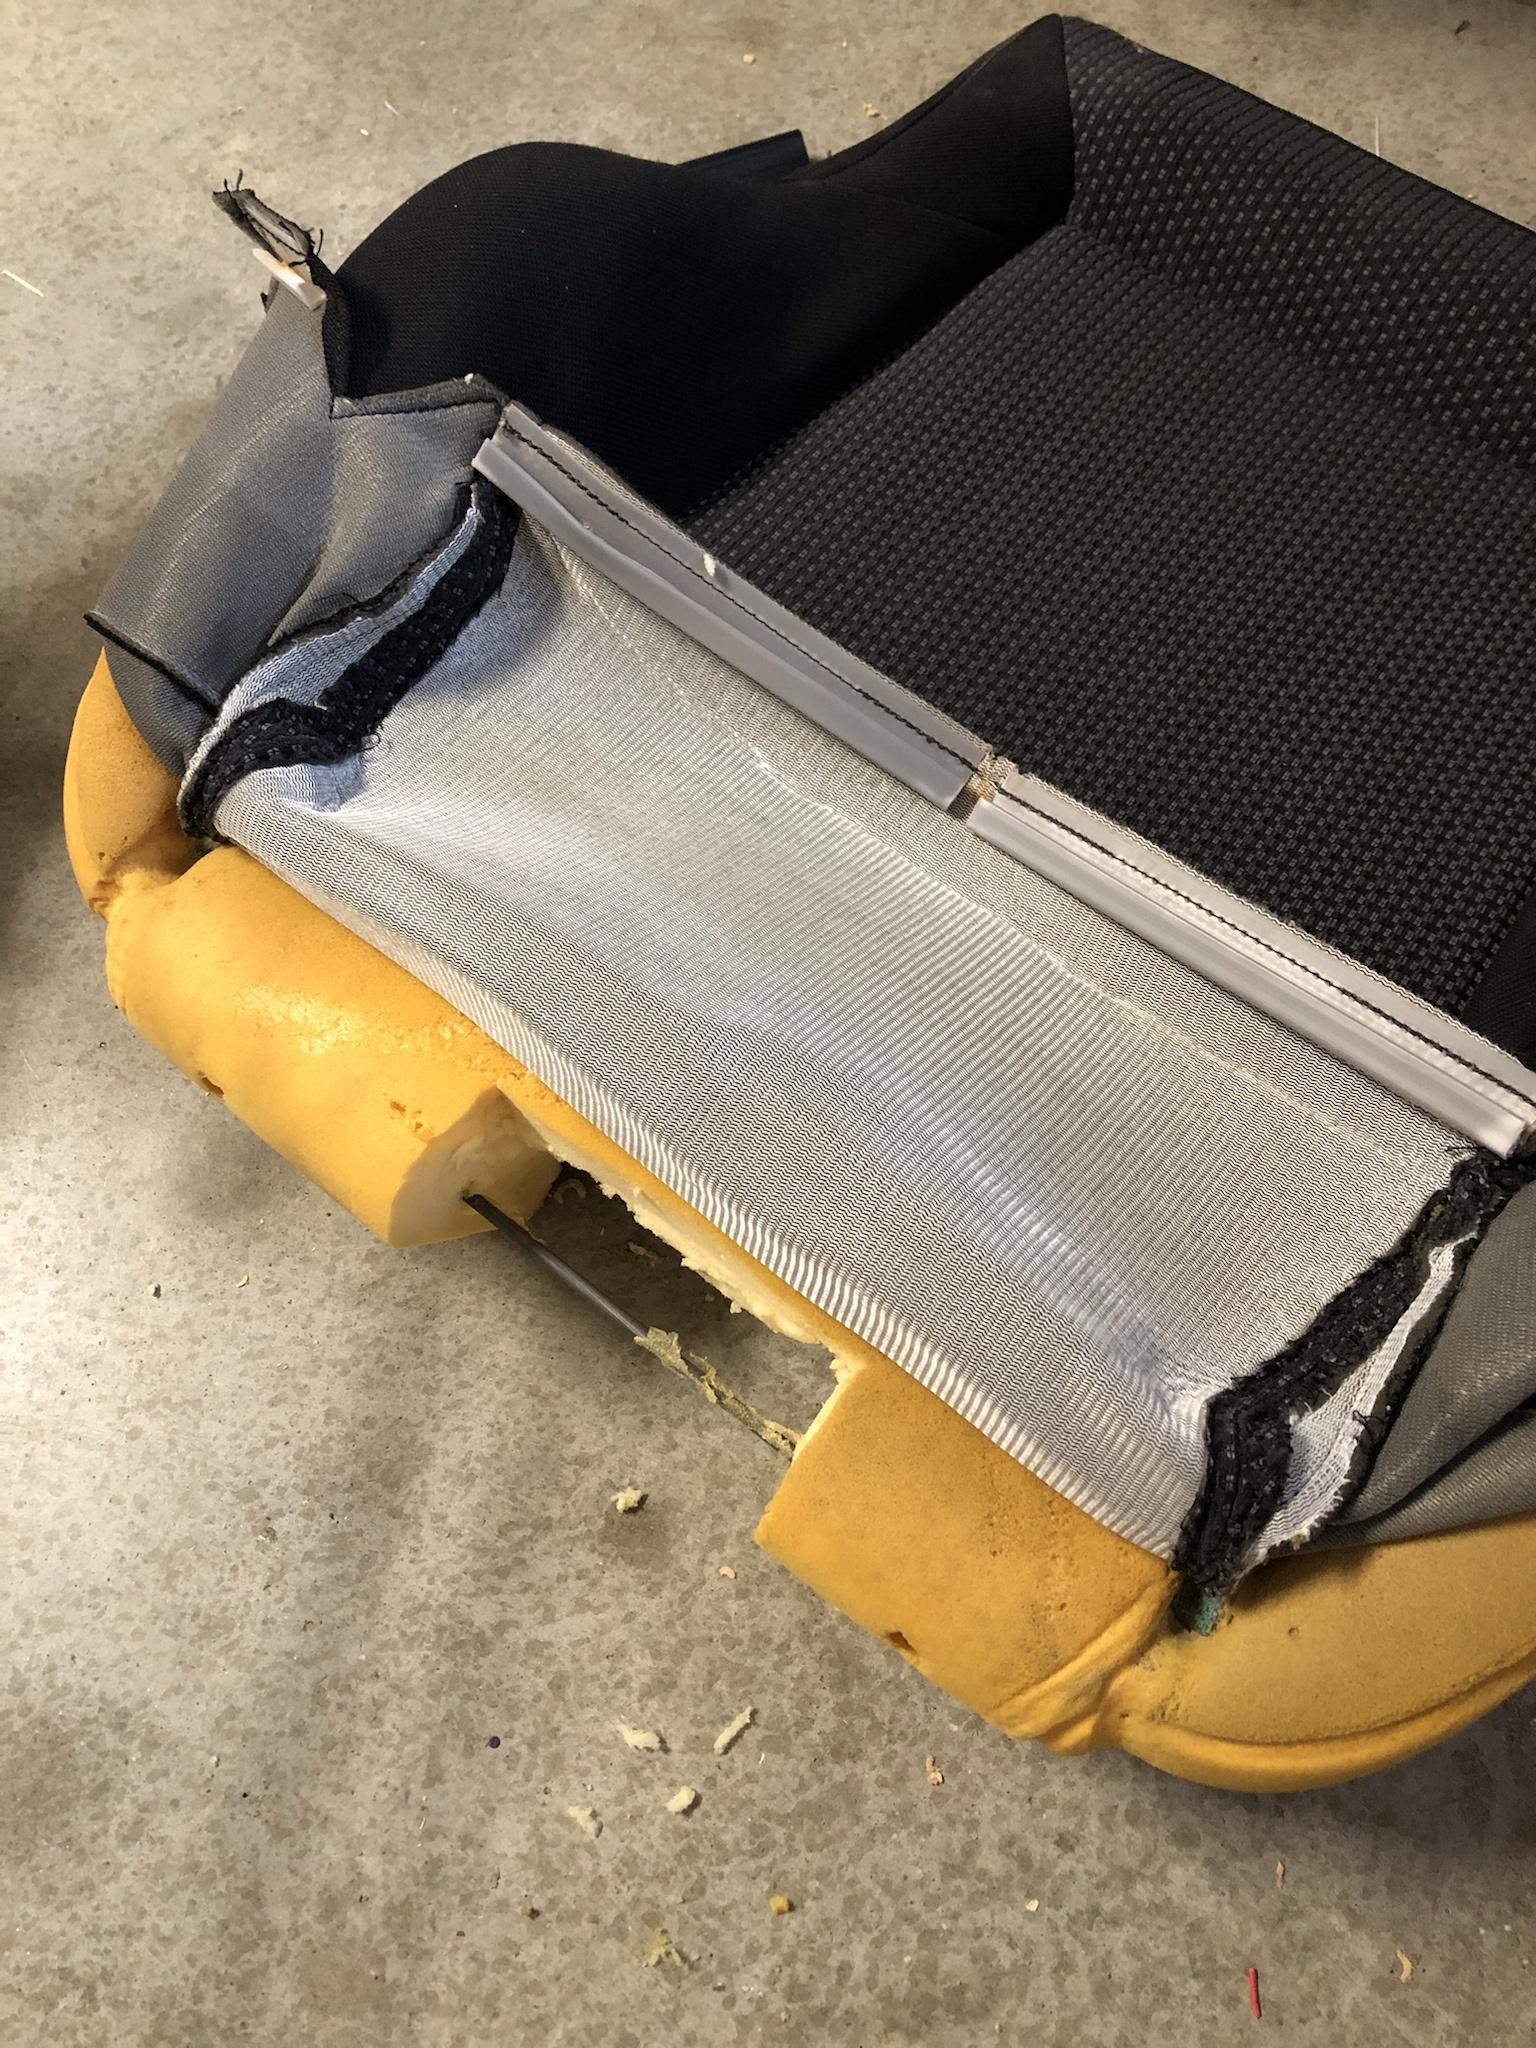
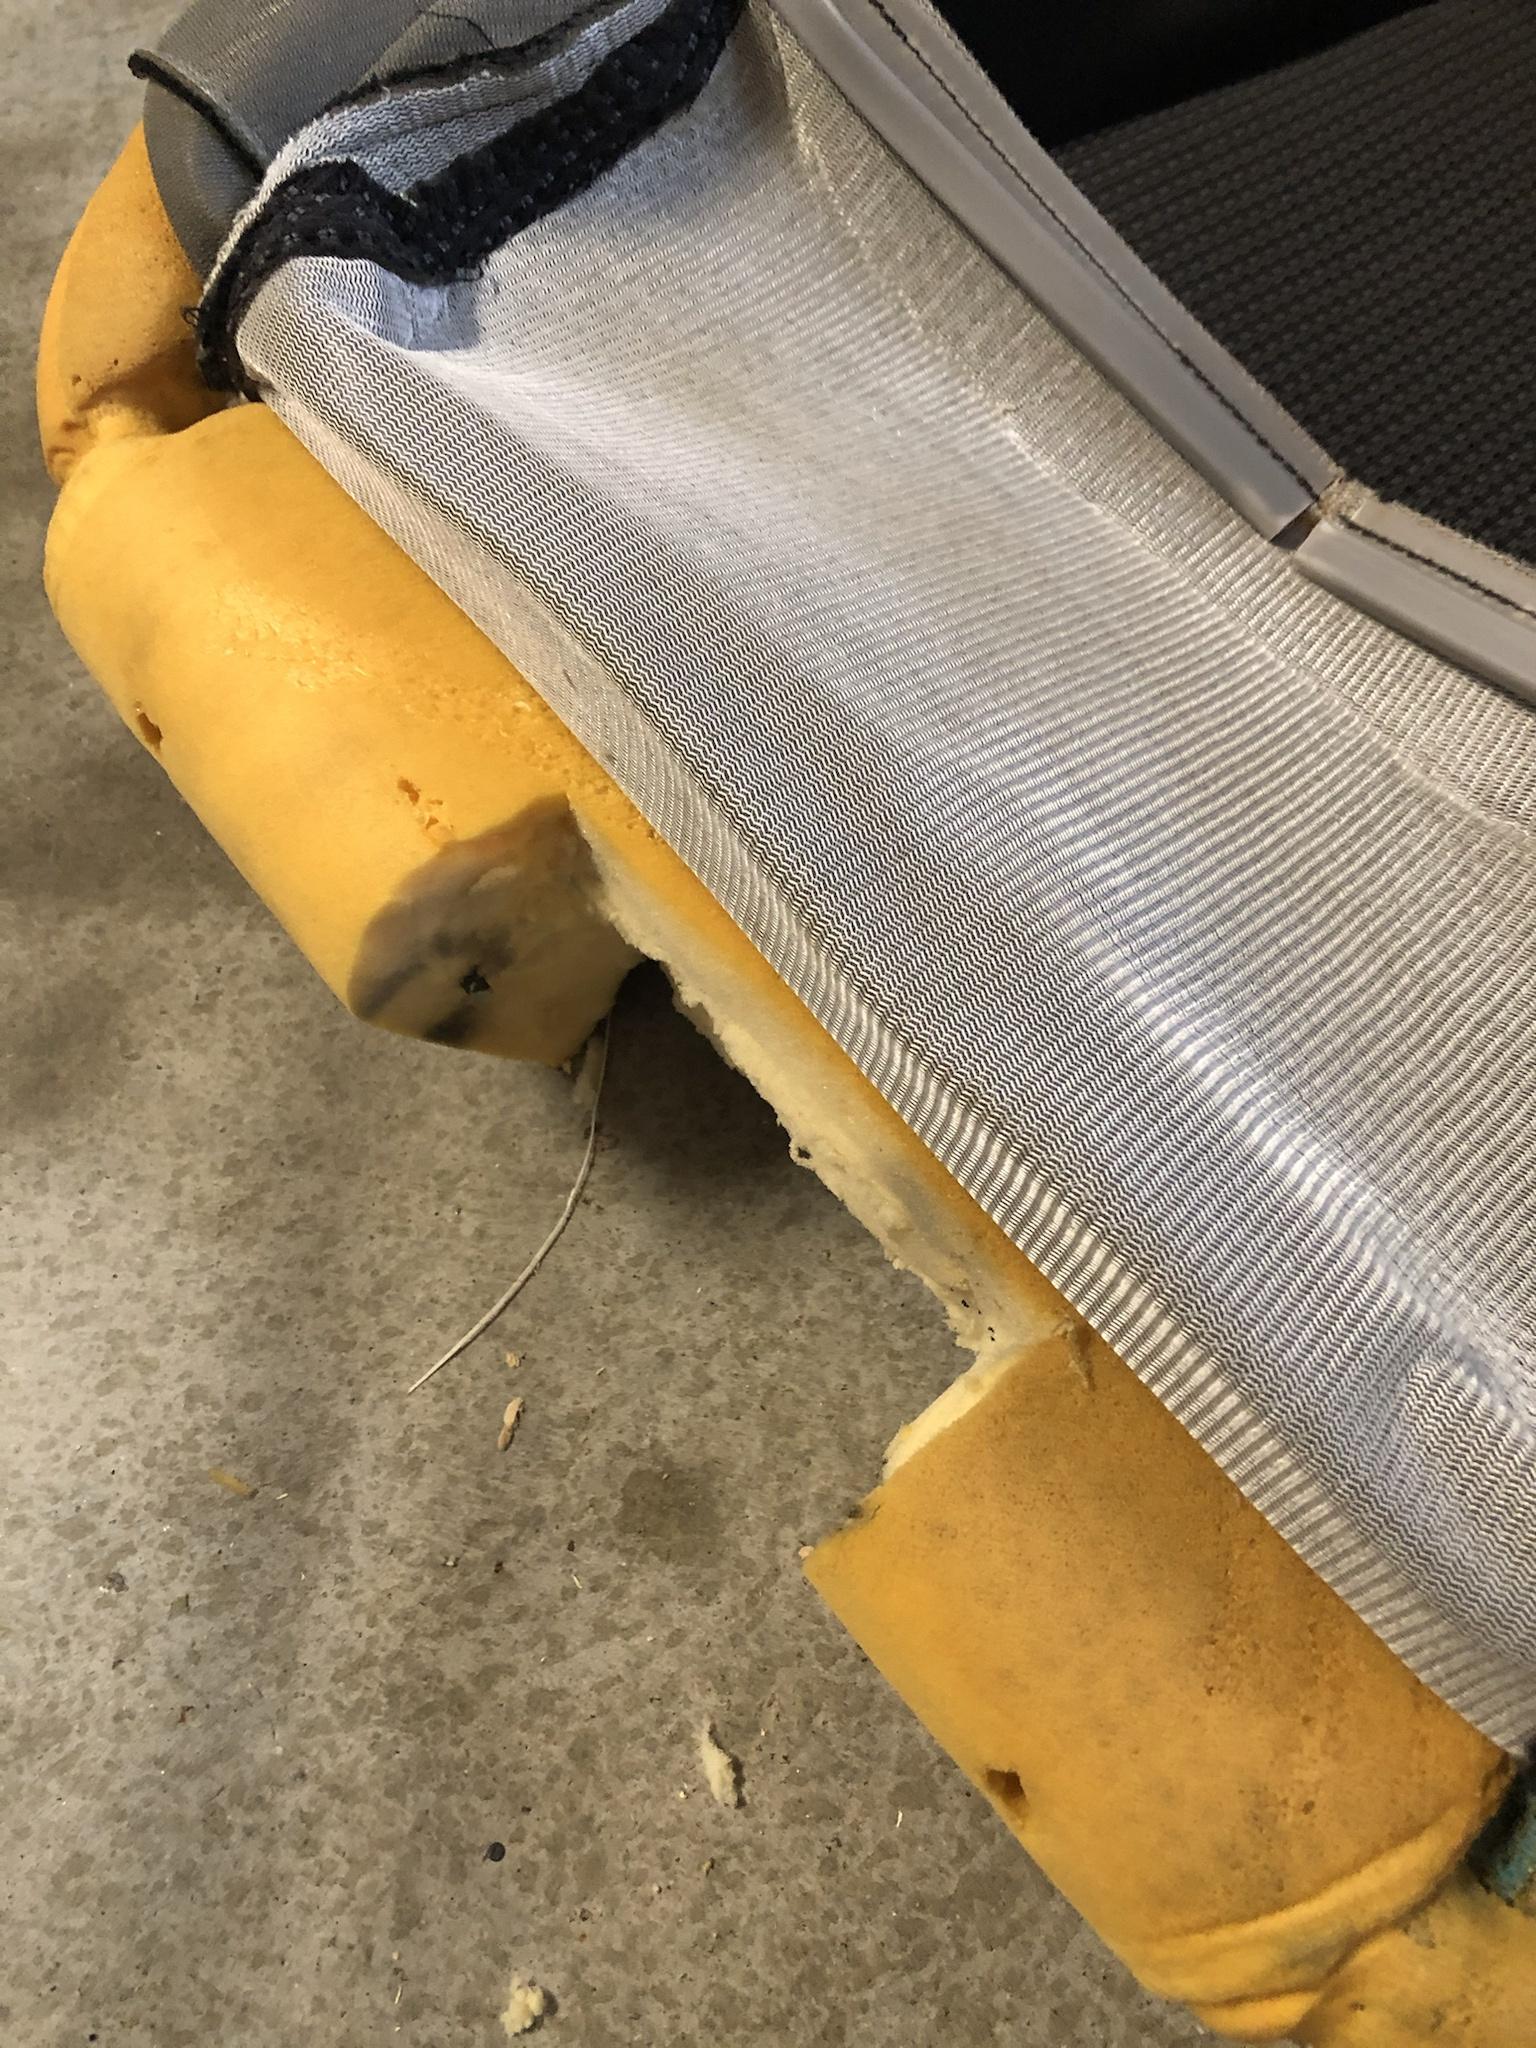
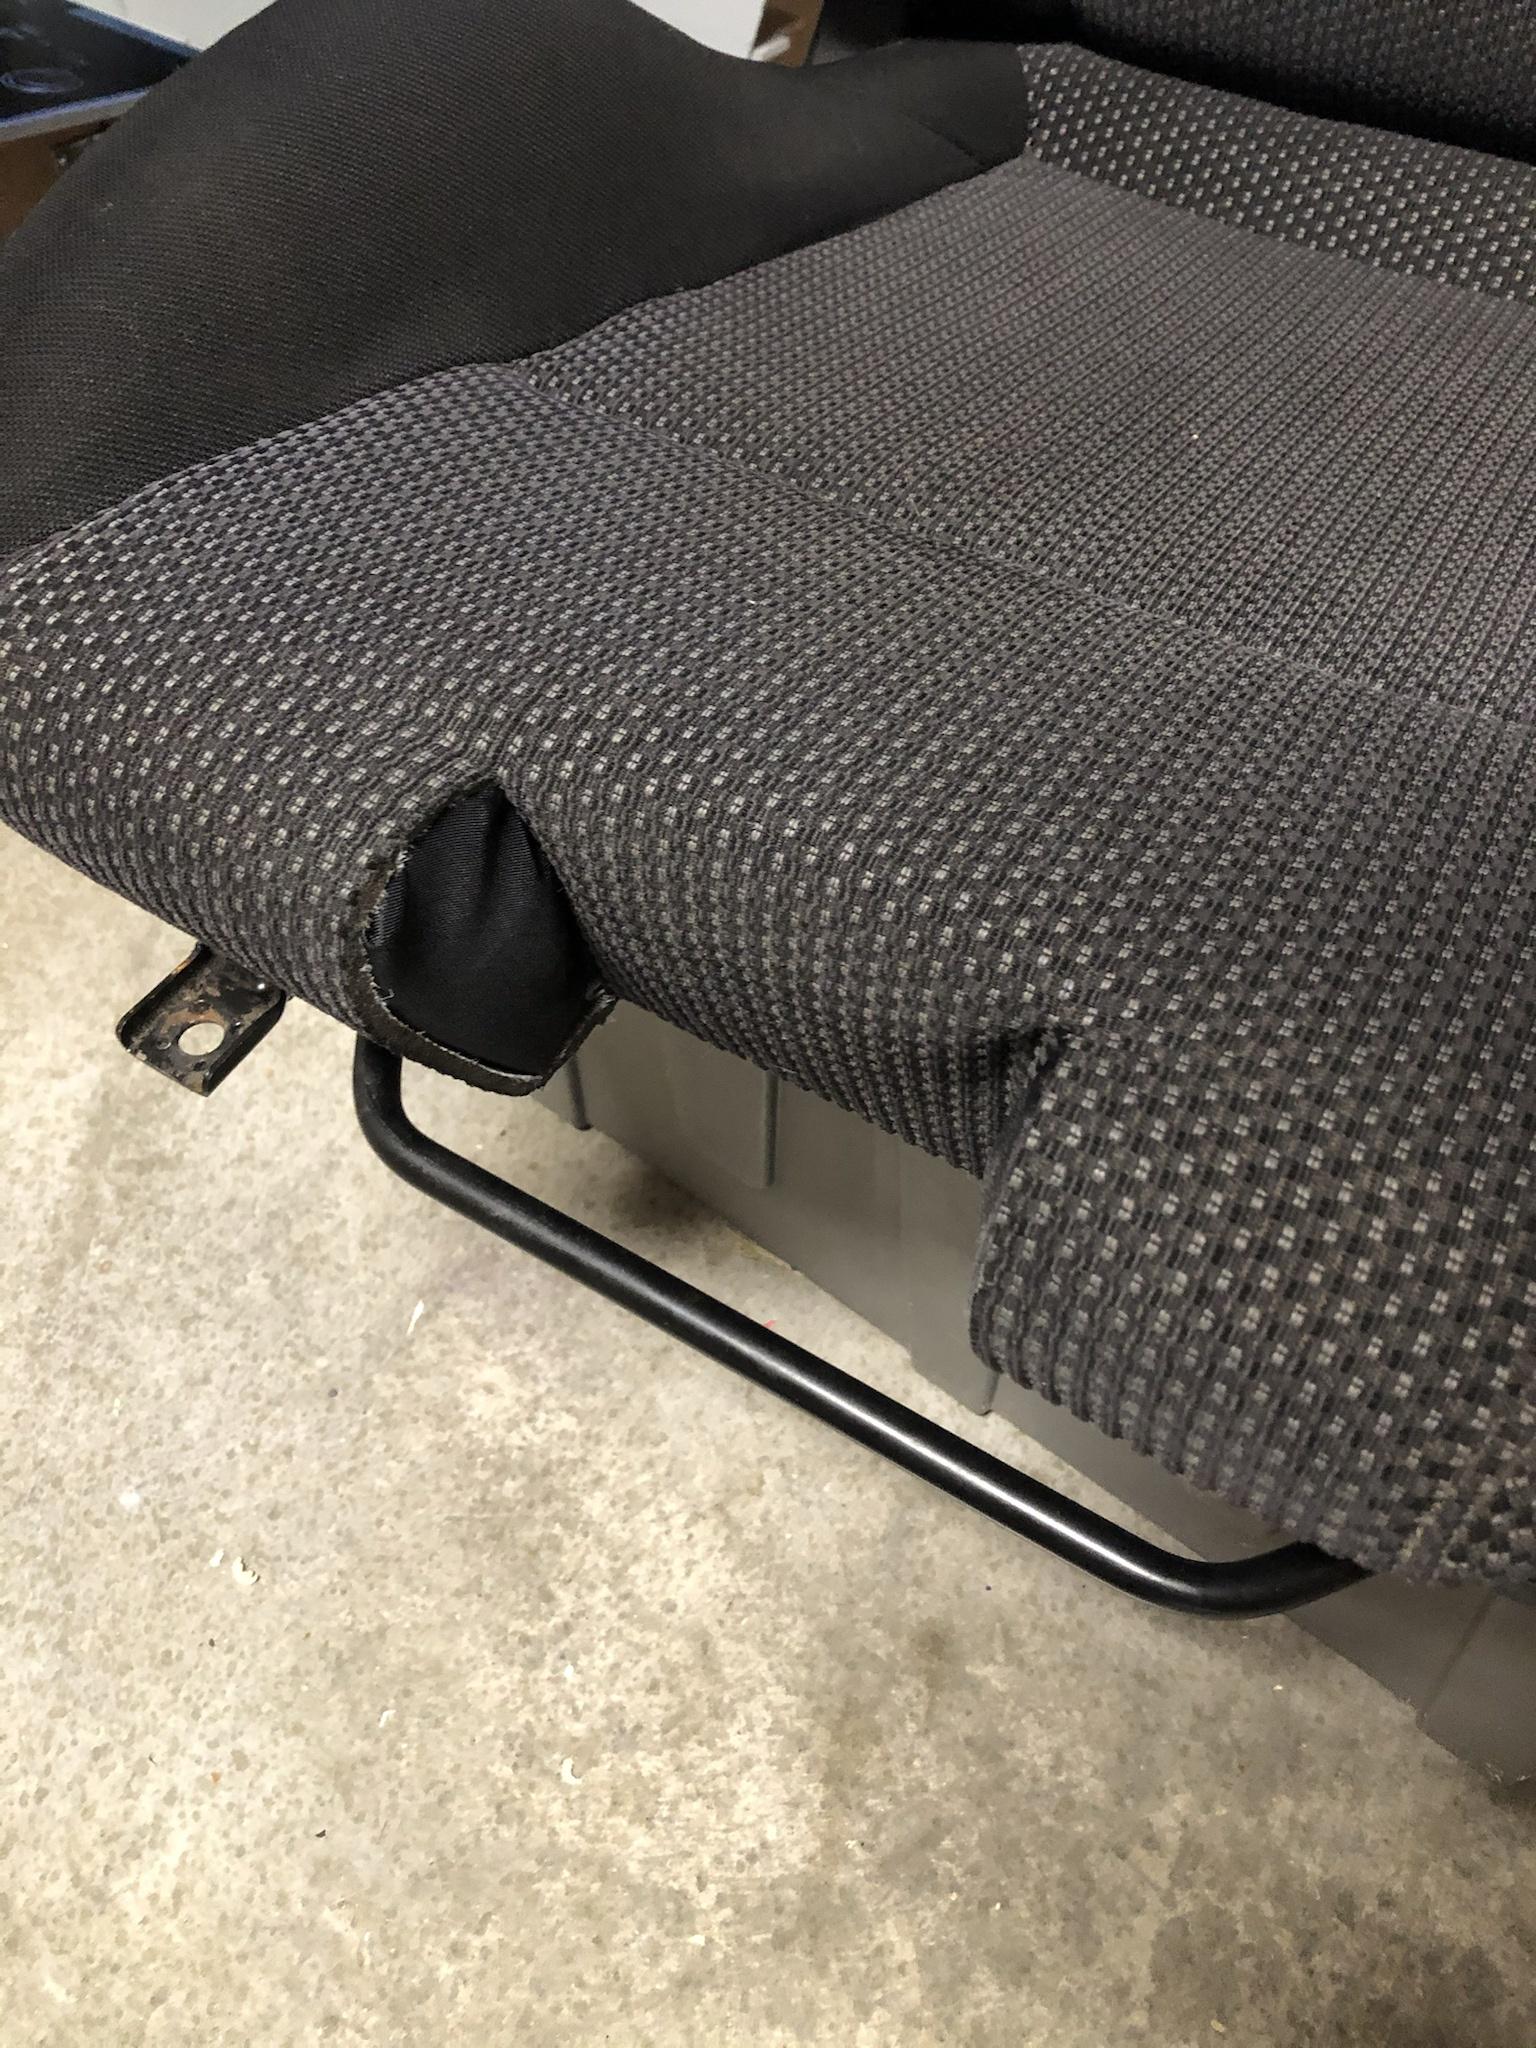
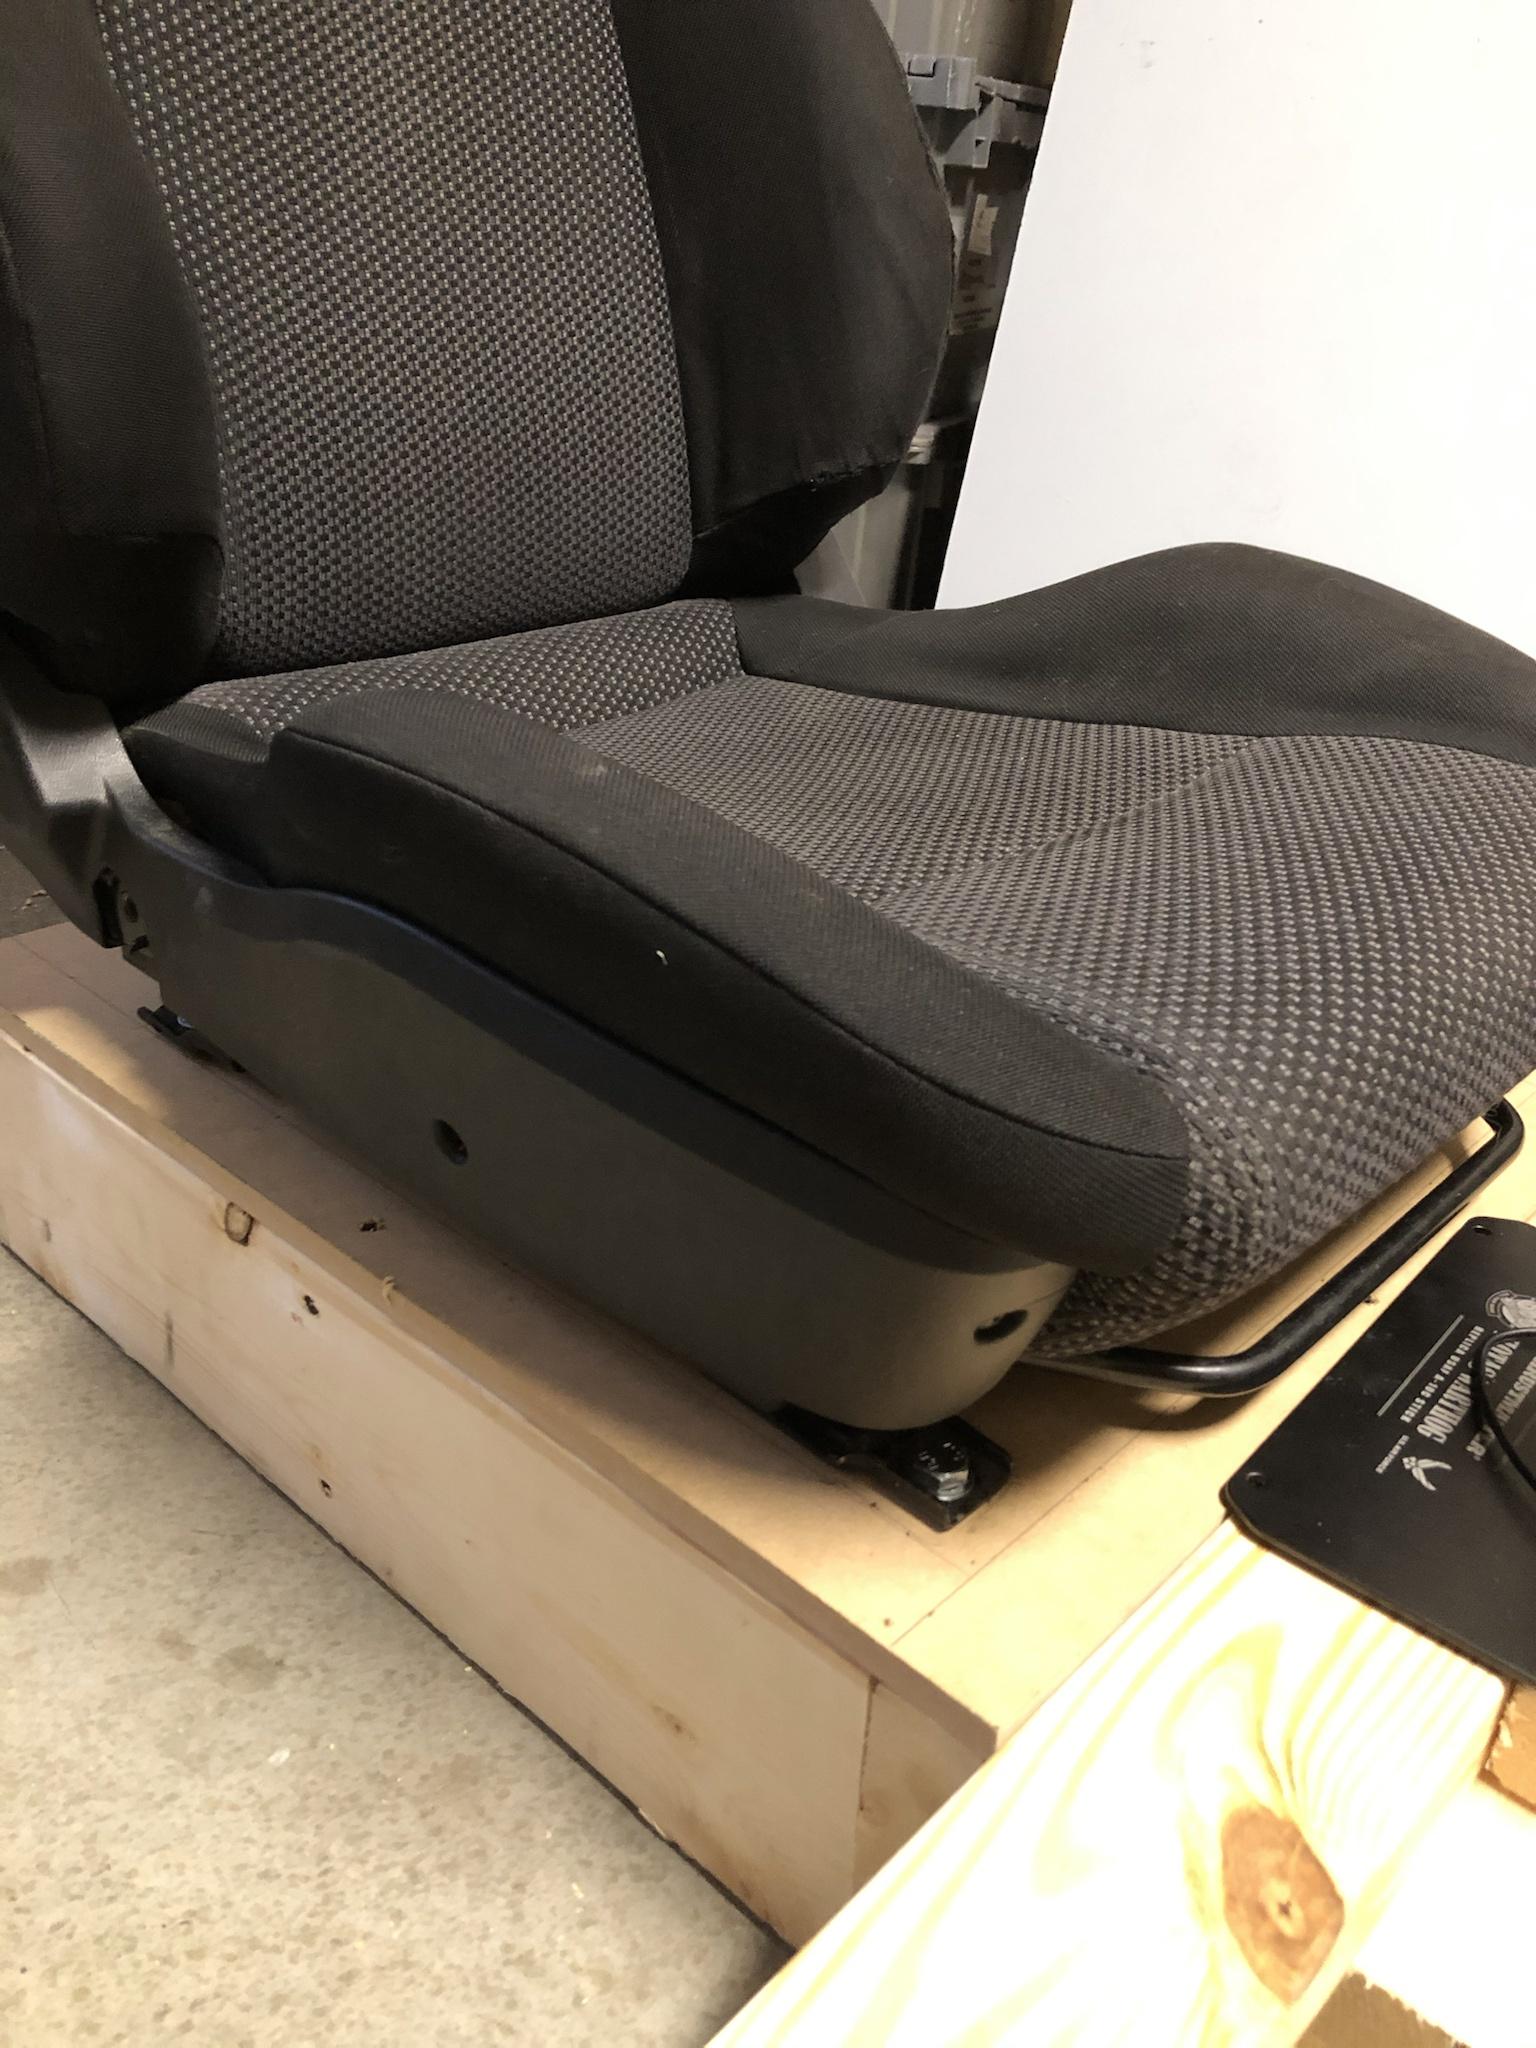
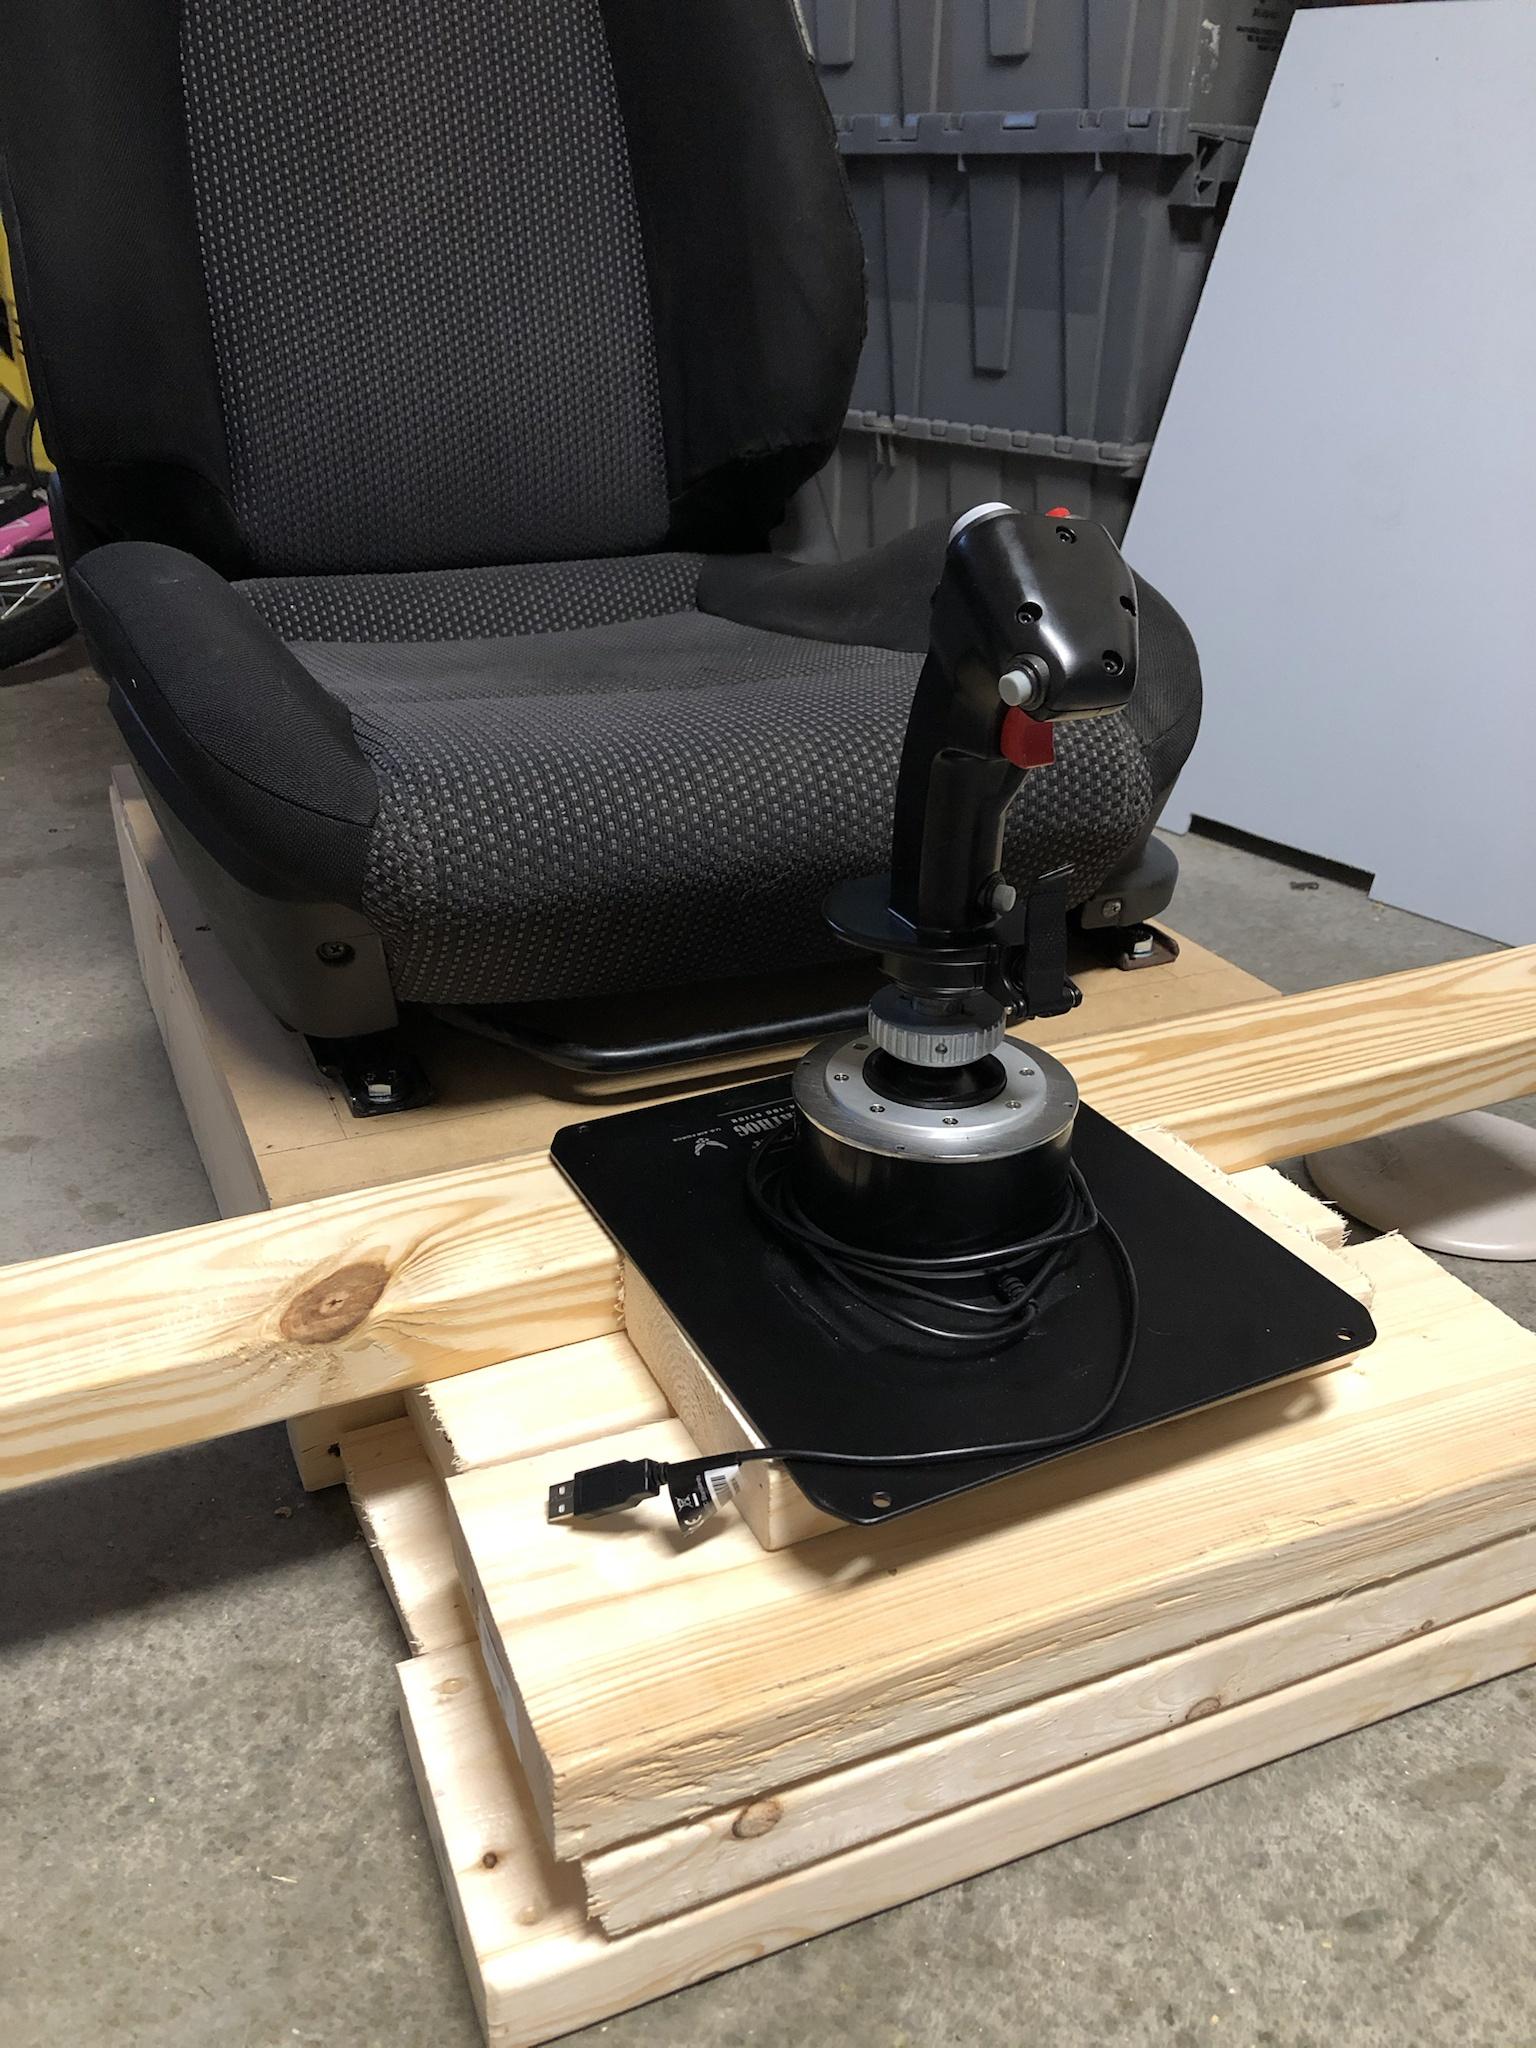
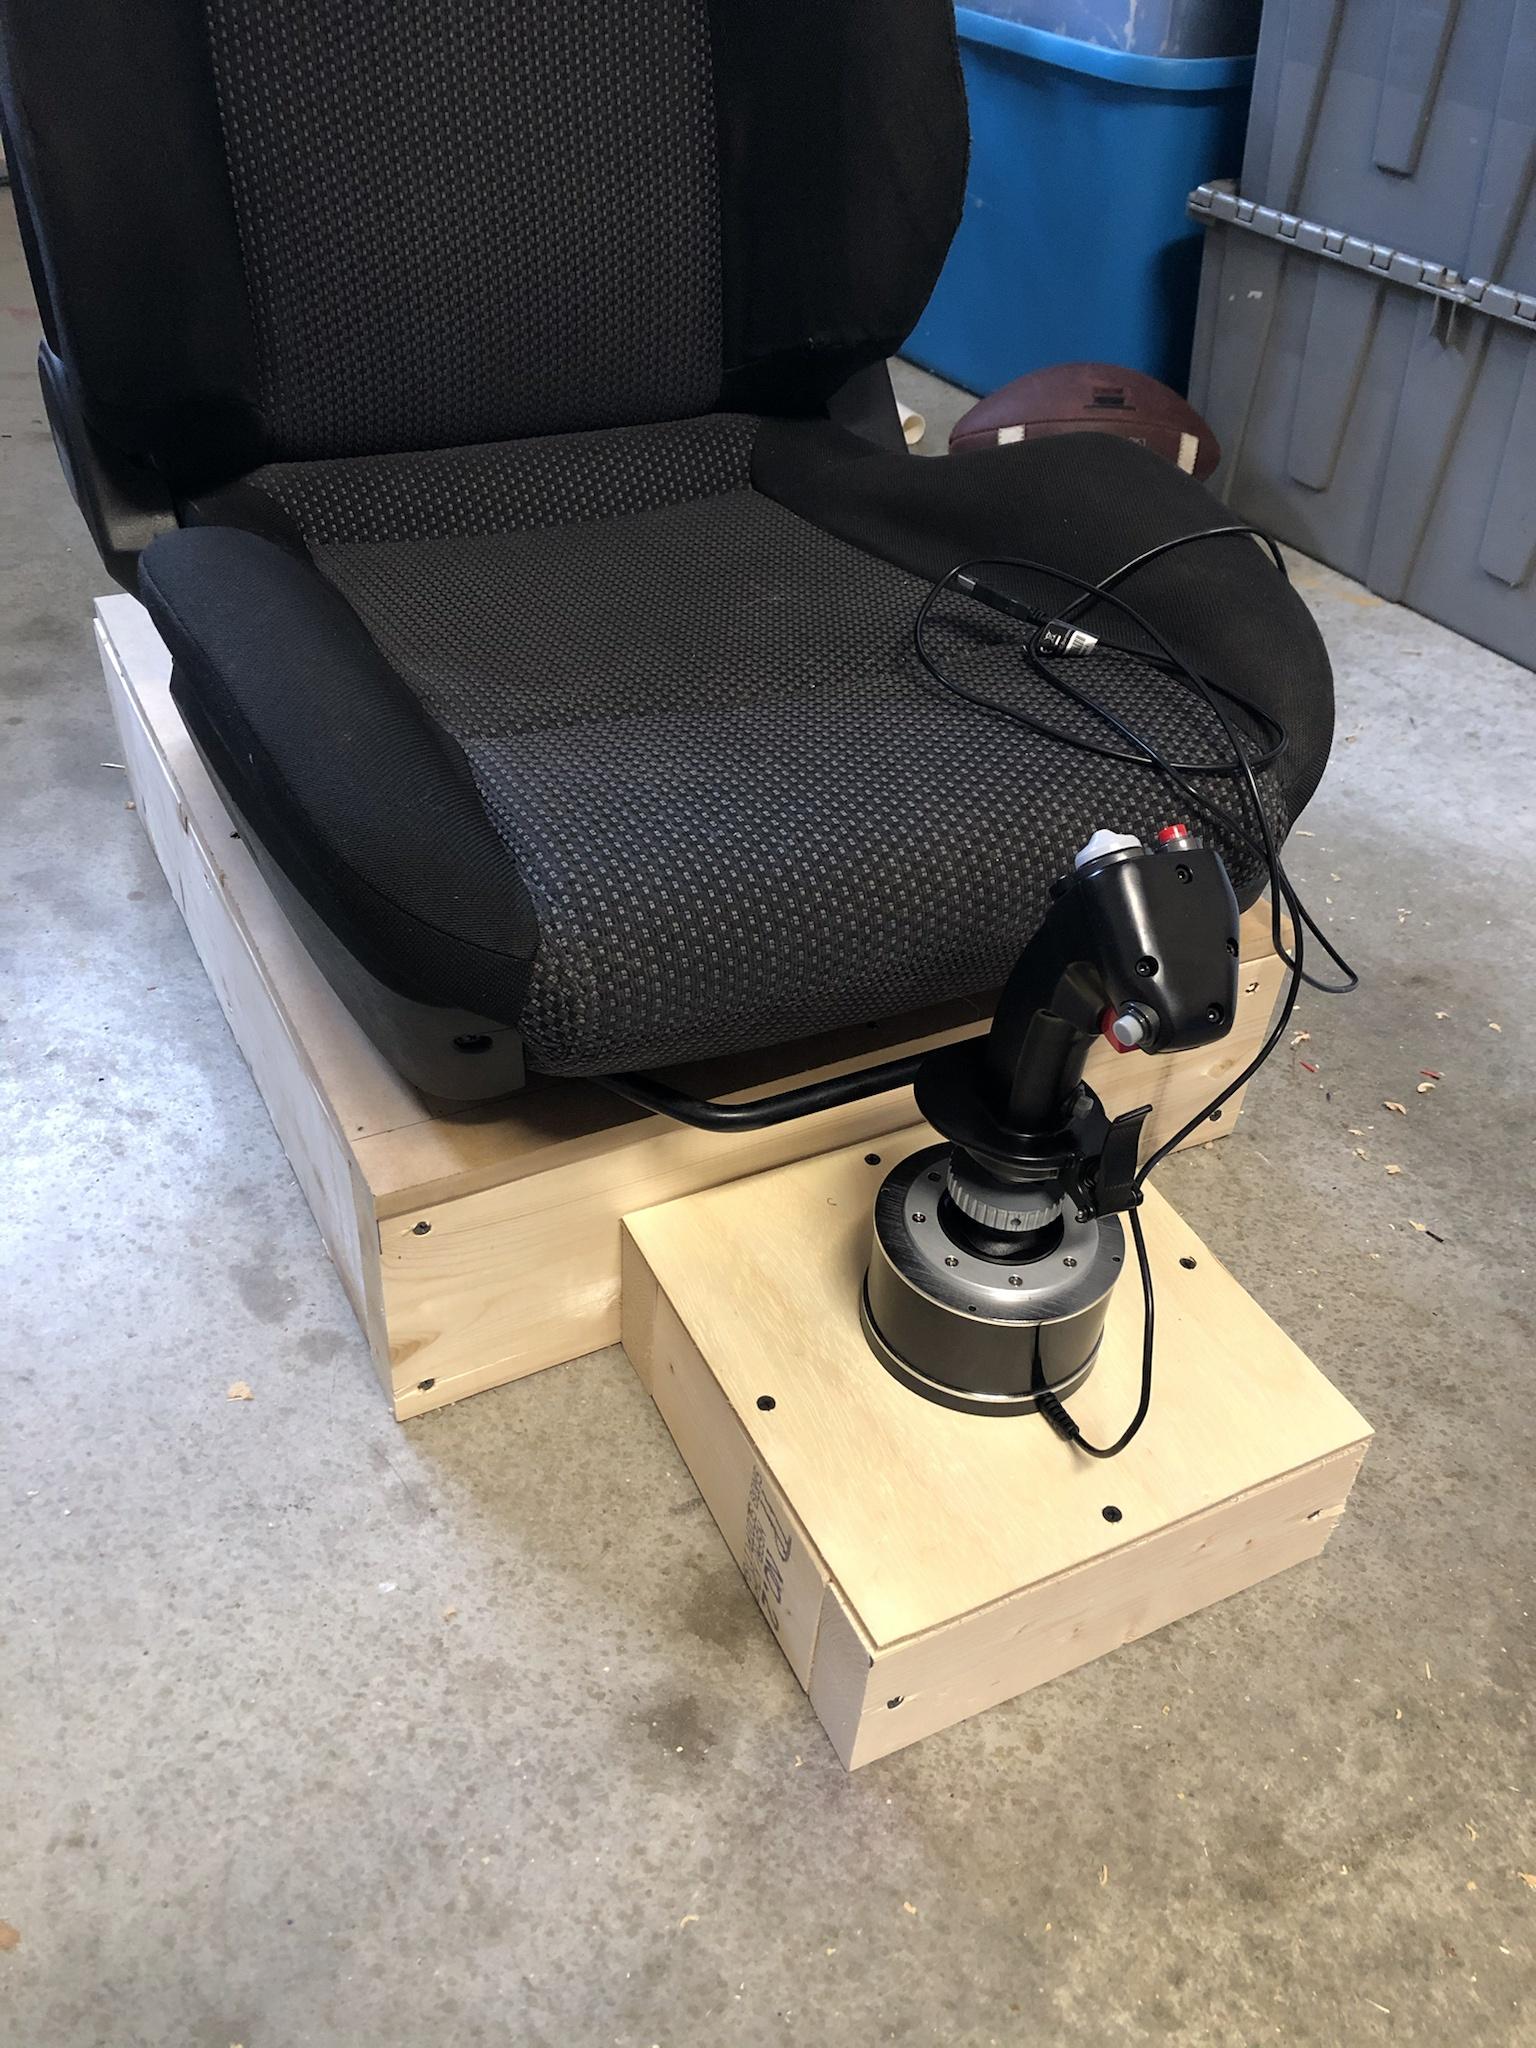
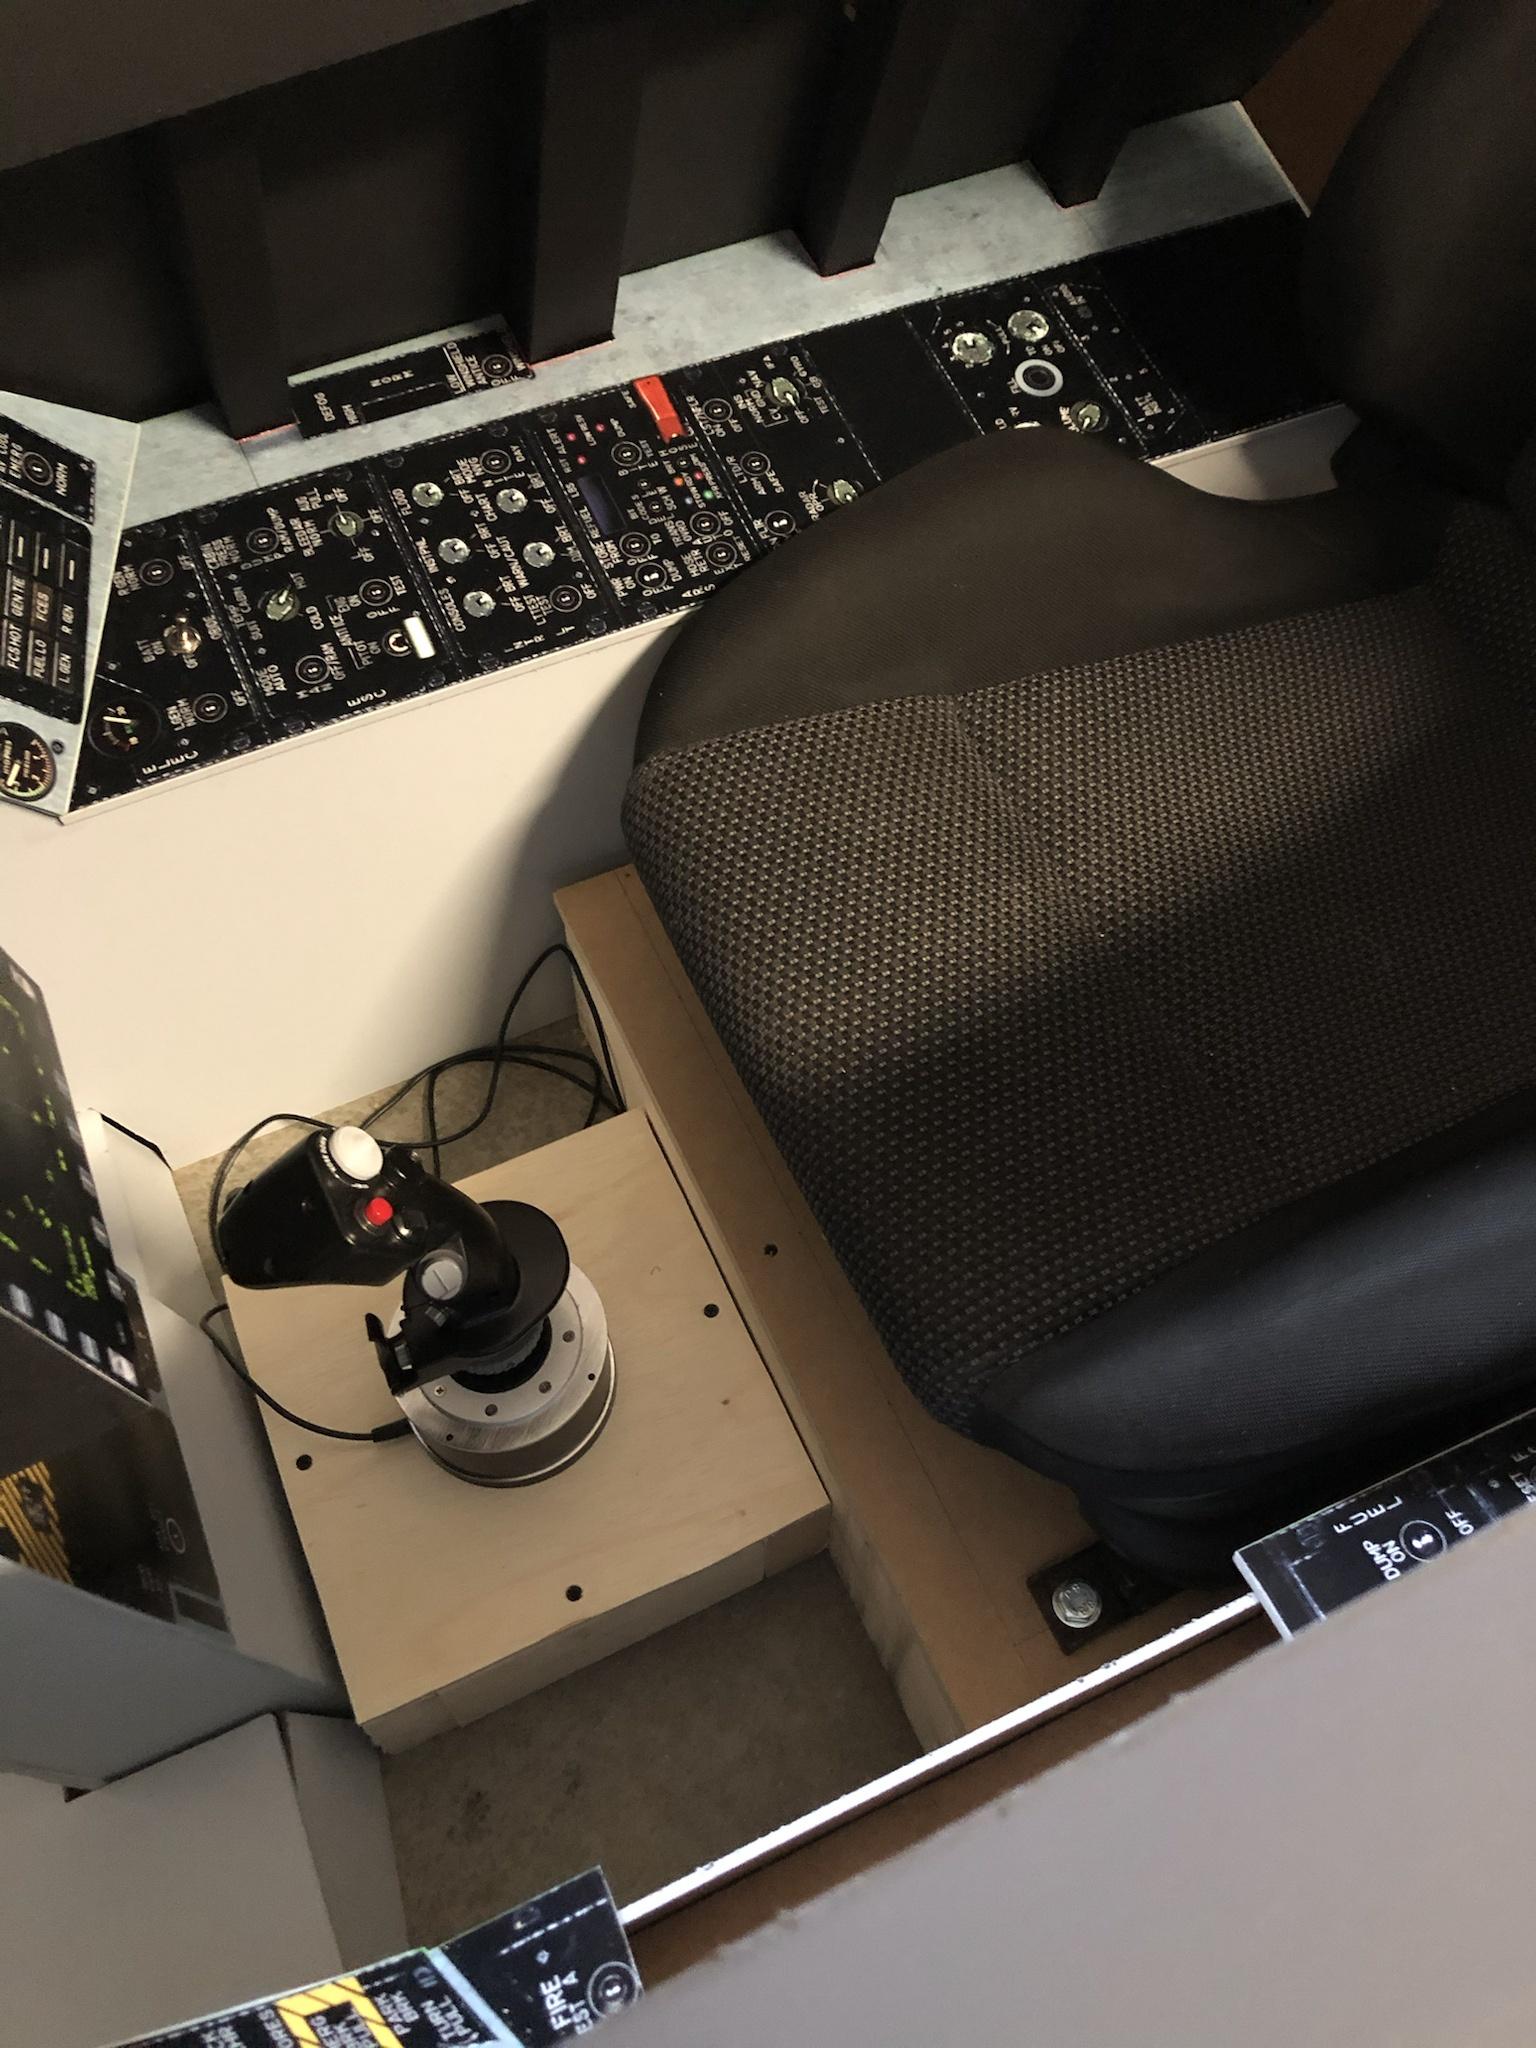
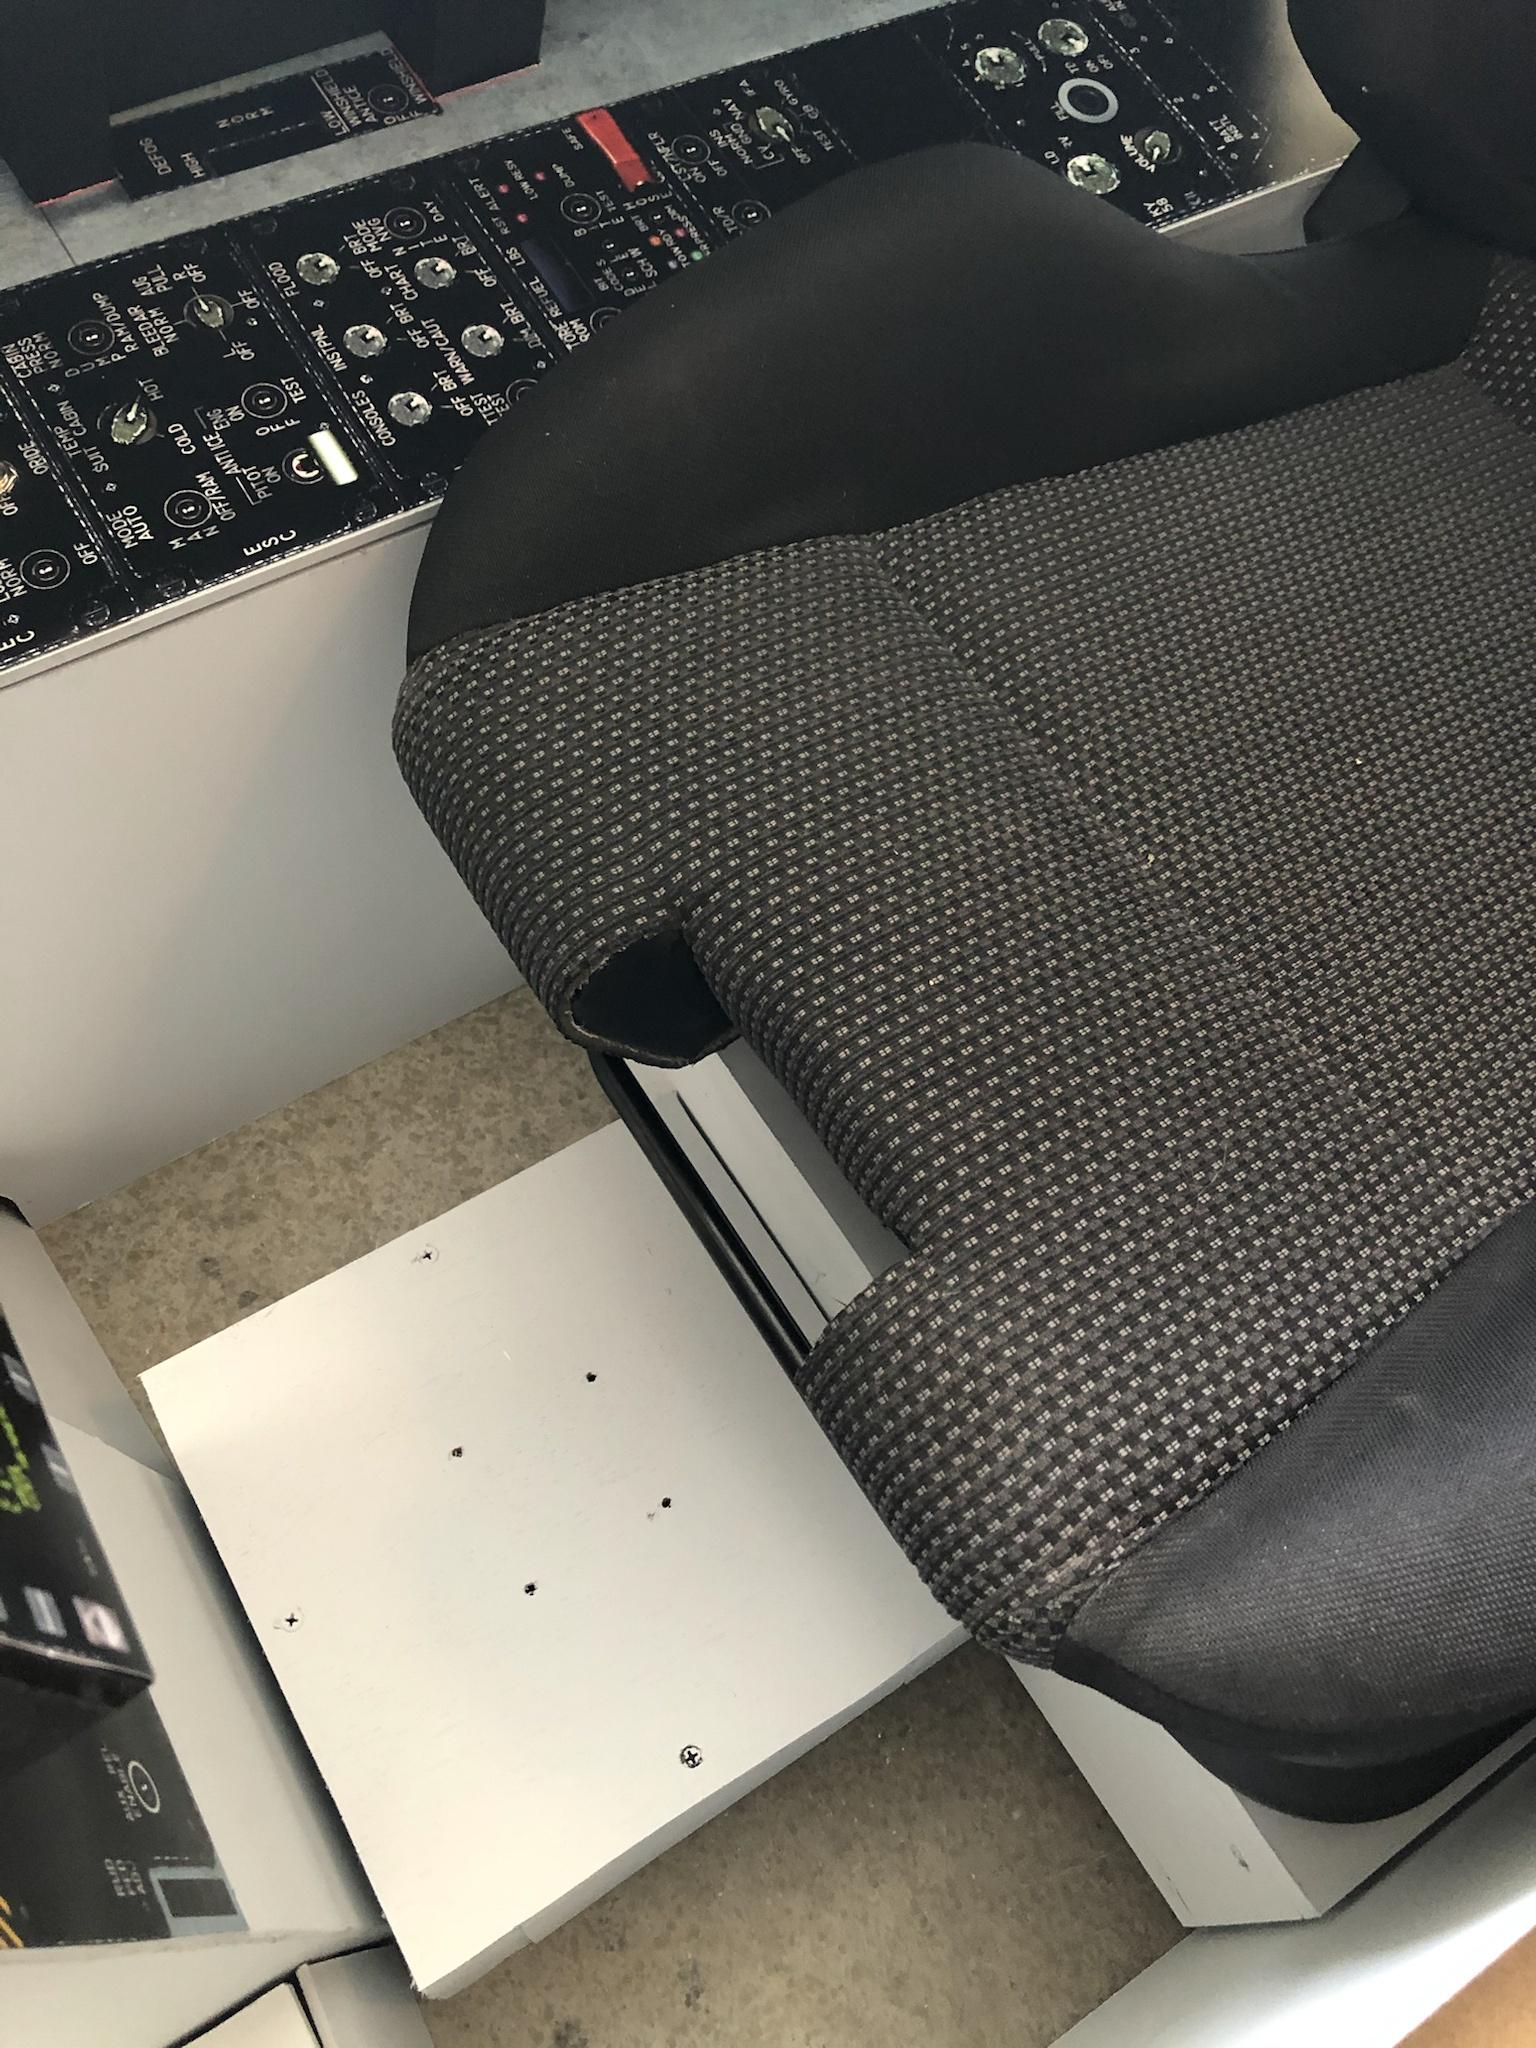
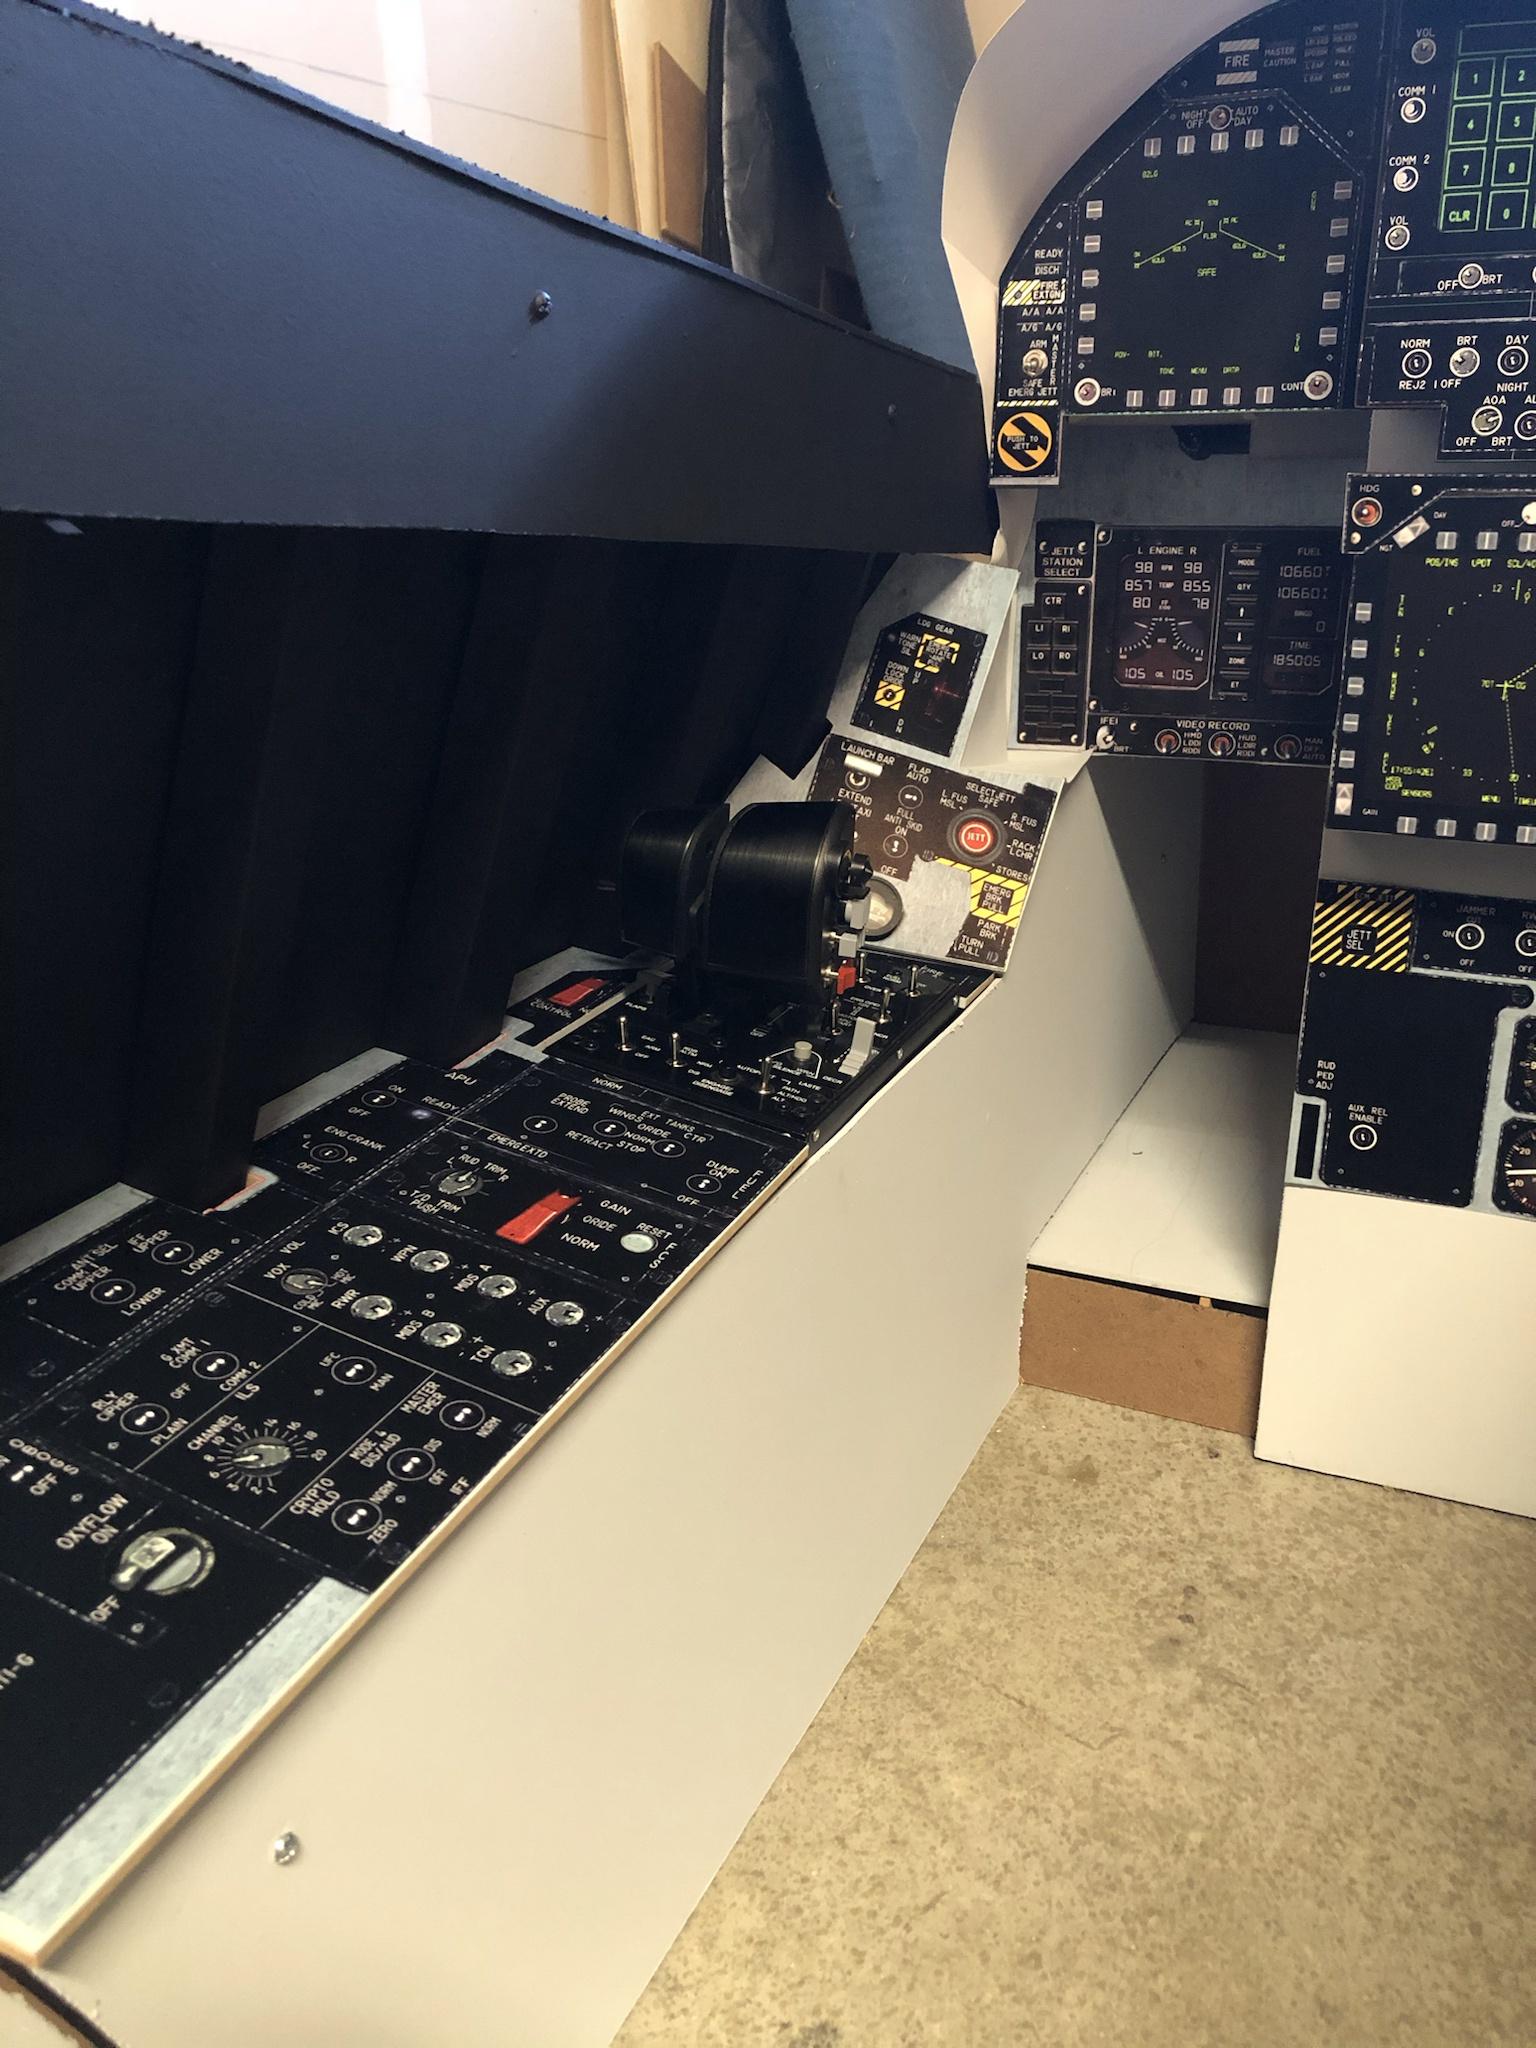
Onto making the sunshade. I bought a piece of thin aluminum from a metal shop and traced the pattern onto it and cut it out: I had to bend it where the bends are in the real cockpit, so I had to get a little creative to do the bends: Test fitting: Painted and retest fitting: Front panel with the sun shield installed: On to the seat! I went to a local junk yard and searched for over an hour for a seat I liked. Ended up liking the look of this one and the frame rails had flat mounting points which I needed for the box frame I was going to build to mount it on. Only $30! Bonus points if you can guess what kind of car it came out of! The seat had some tears in it, so I used my crappy sewing skills to close it up: The front of the seat needed to be cut to fit the stick/extension so I cut it out and added some material to make it look somewhat decent: Here is the seat mounted on the box frame: Putting some wood together to determine how high I need to build the stick mount box: Stick frame built: In the cockpit: Painted: Seat and stick in the cockpit:
-
I built a full F-18 cockpit, build thread inside!
MajSchrute replied to MajSchrute's topic in Home Cockpits
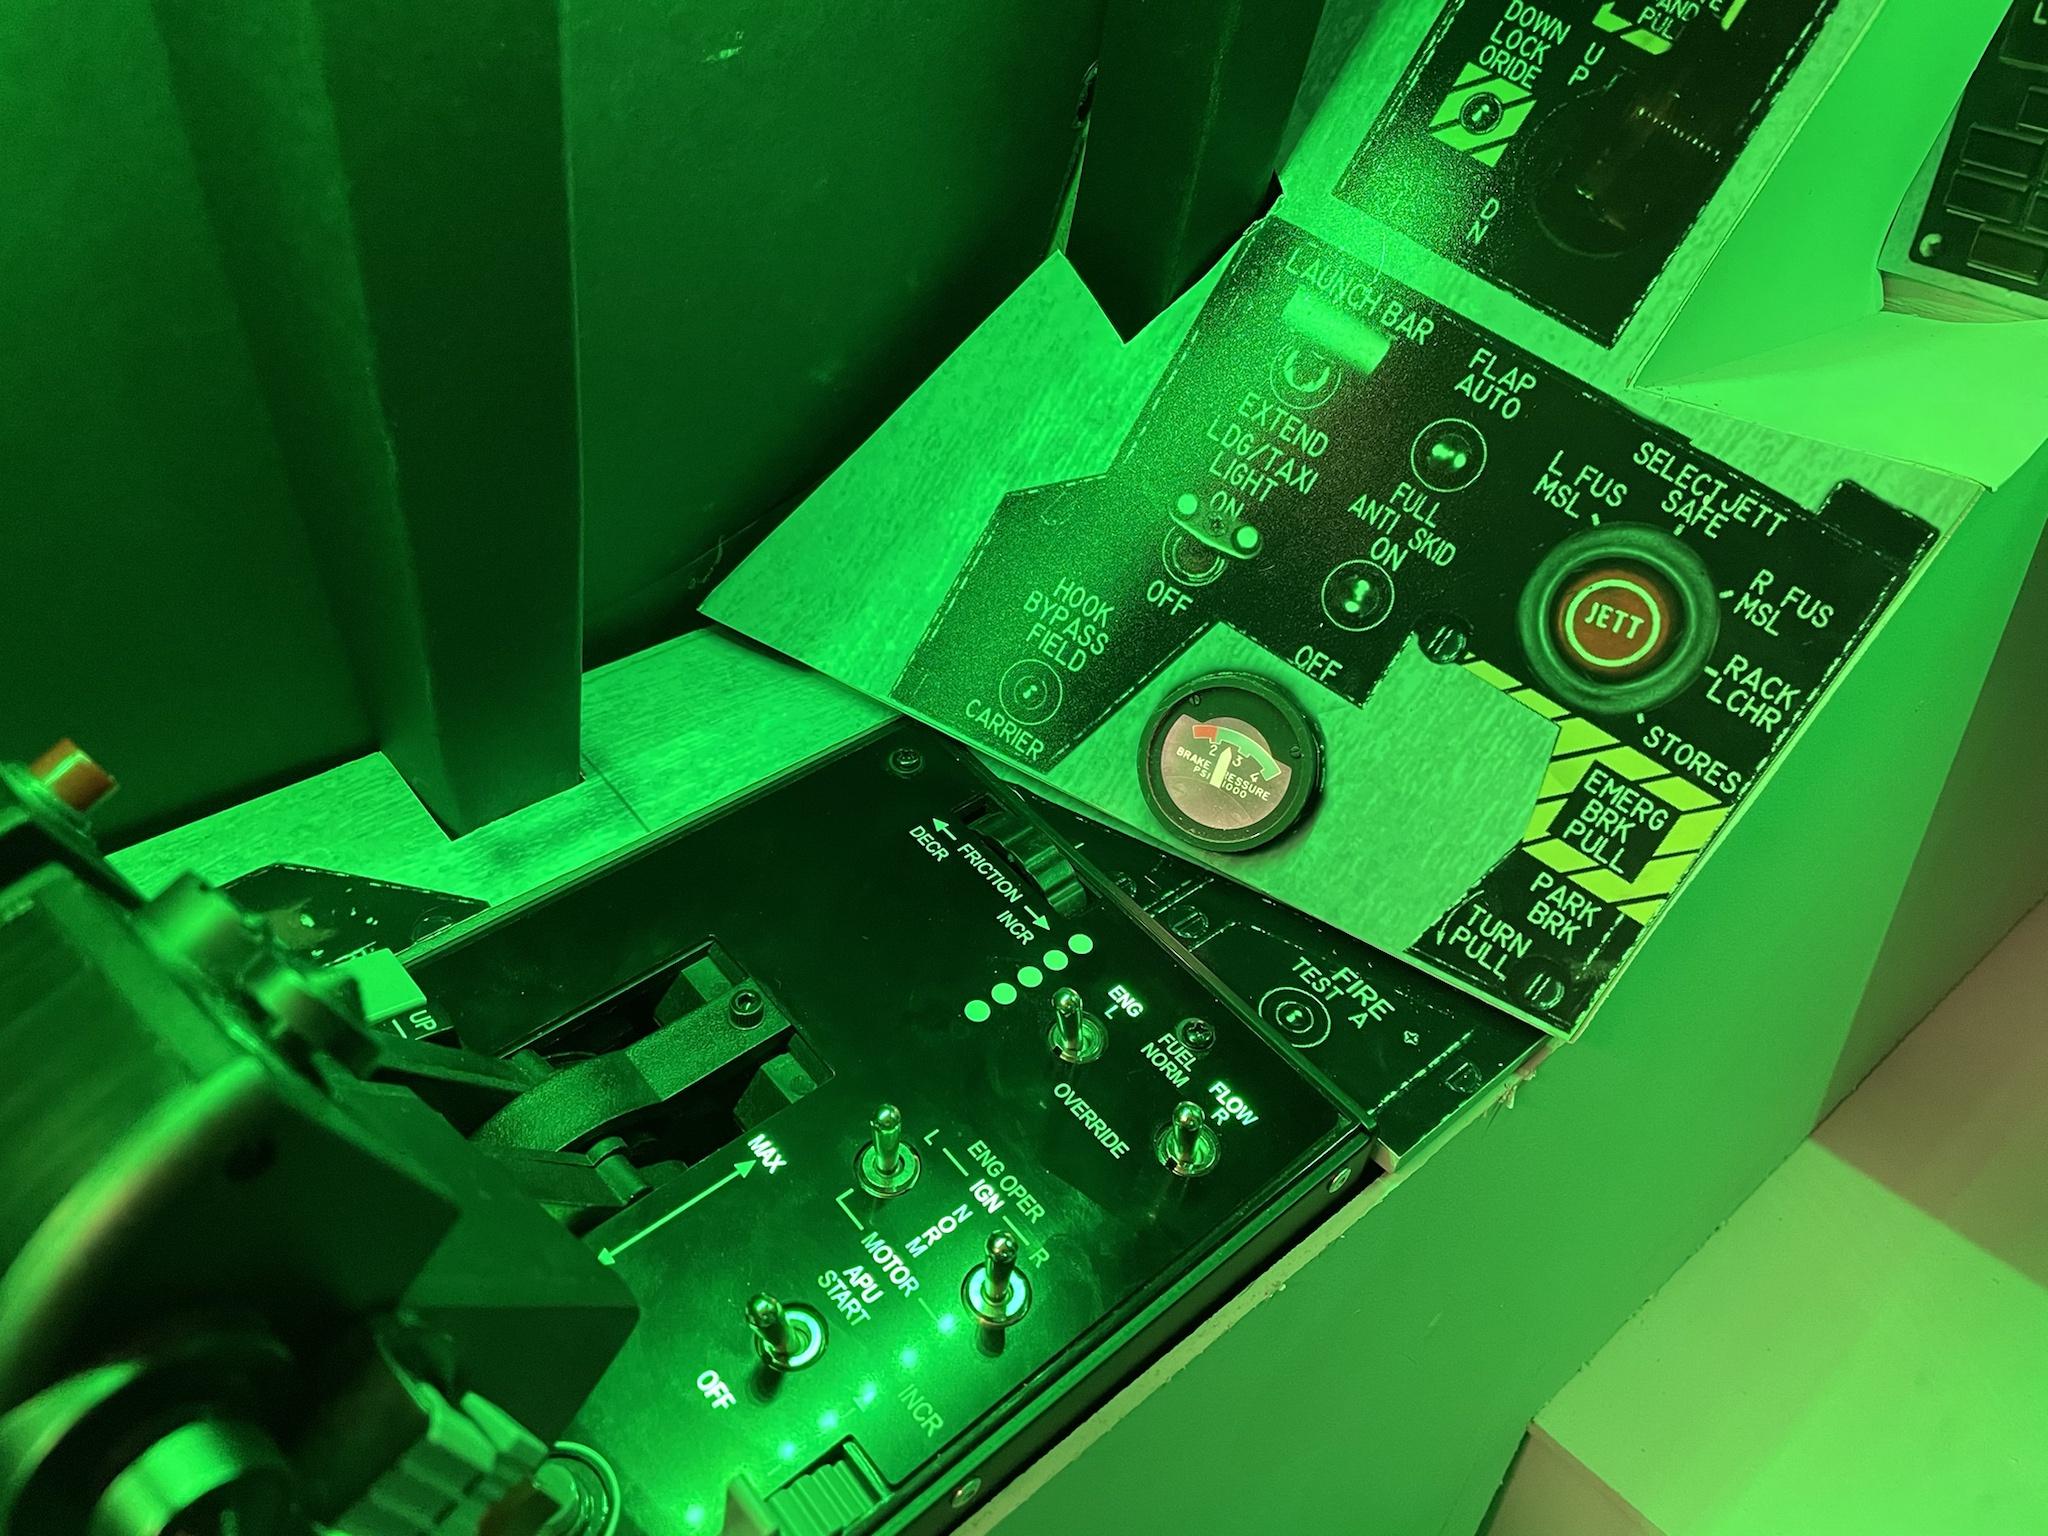
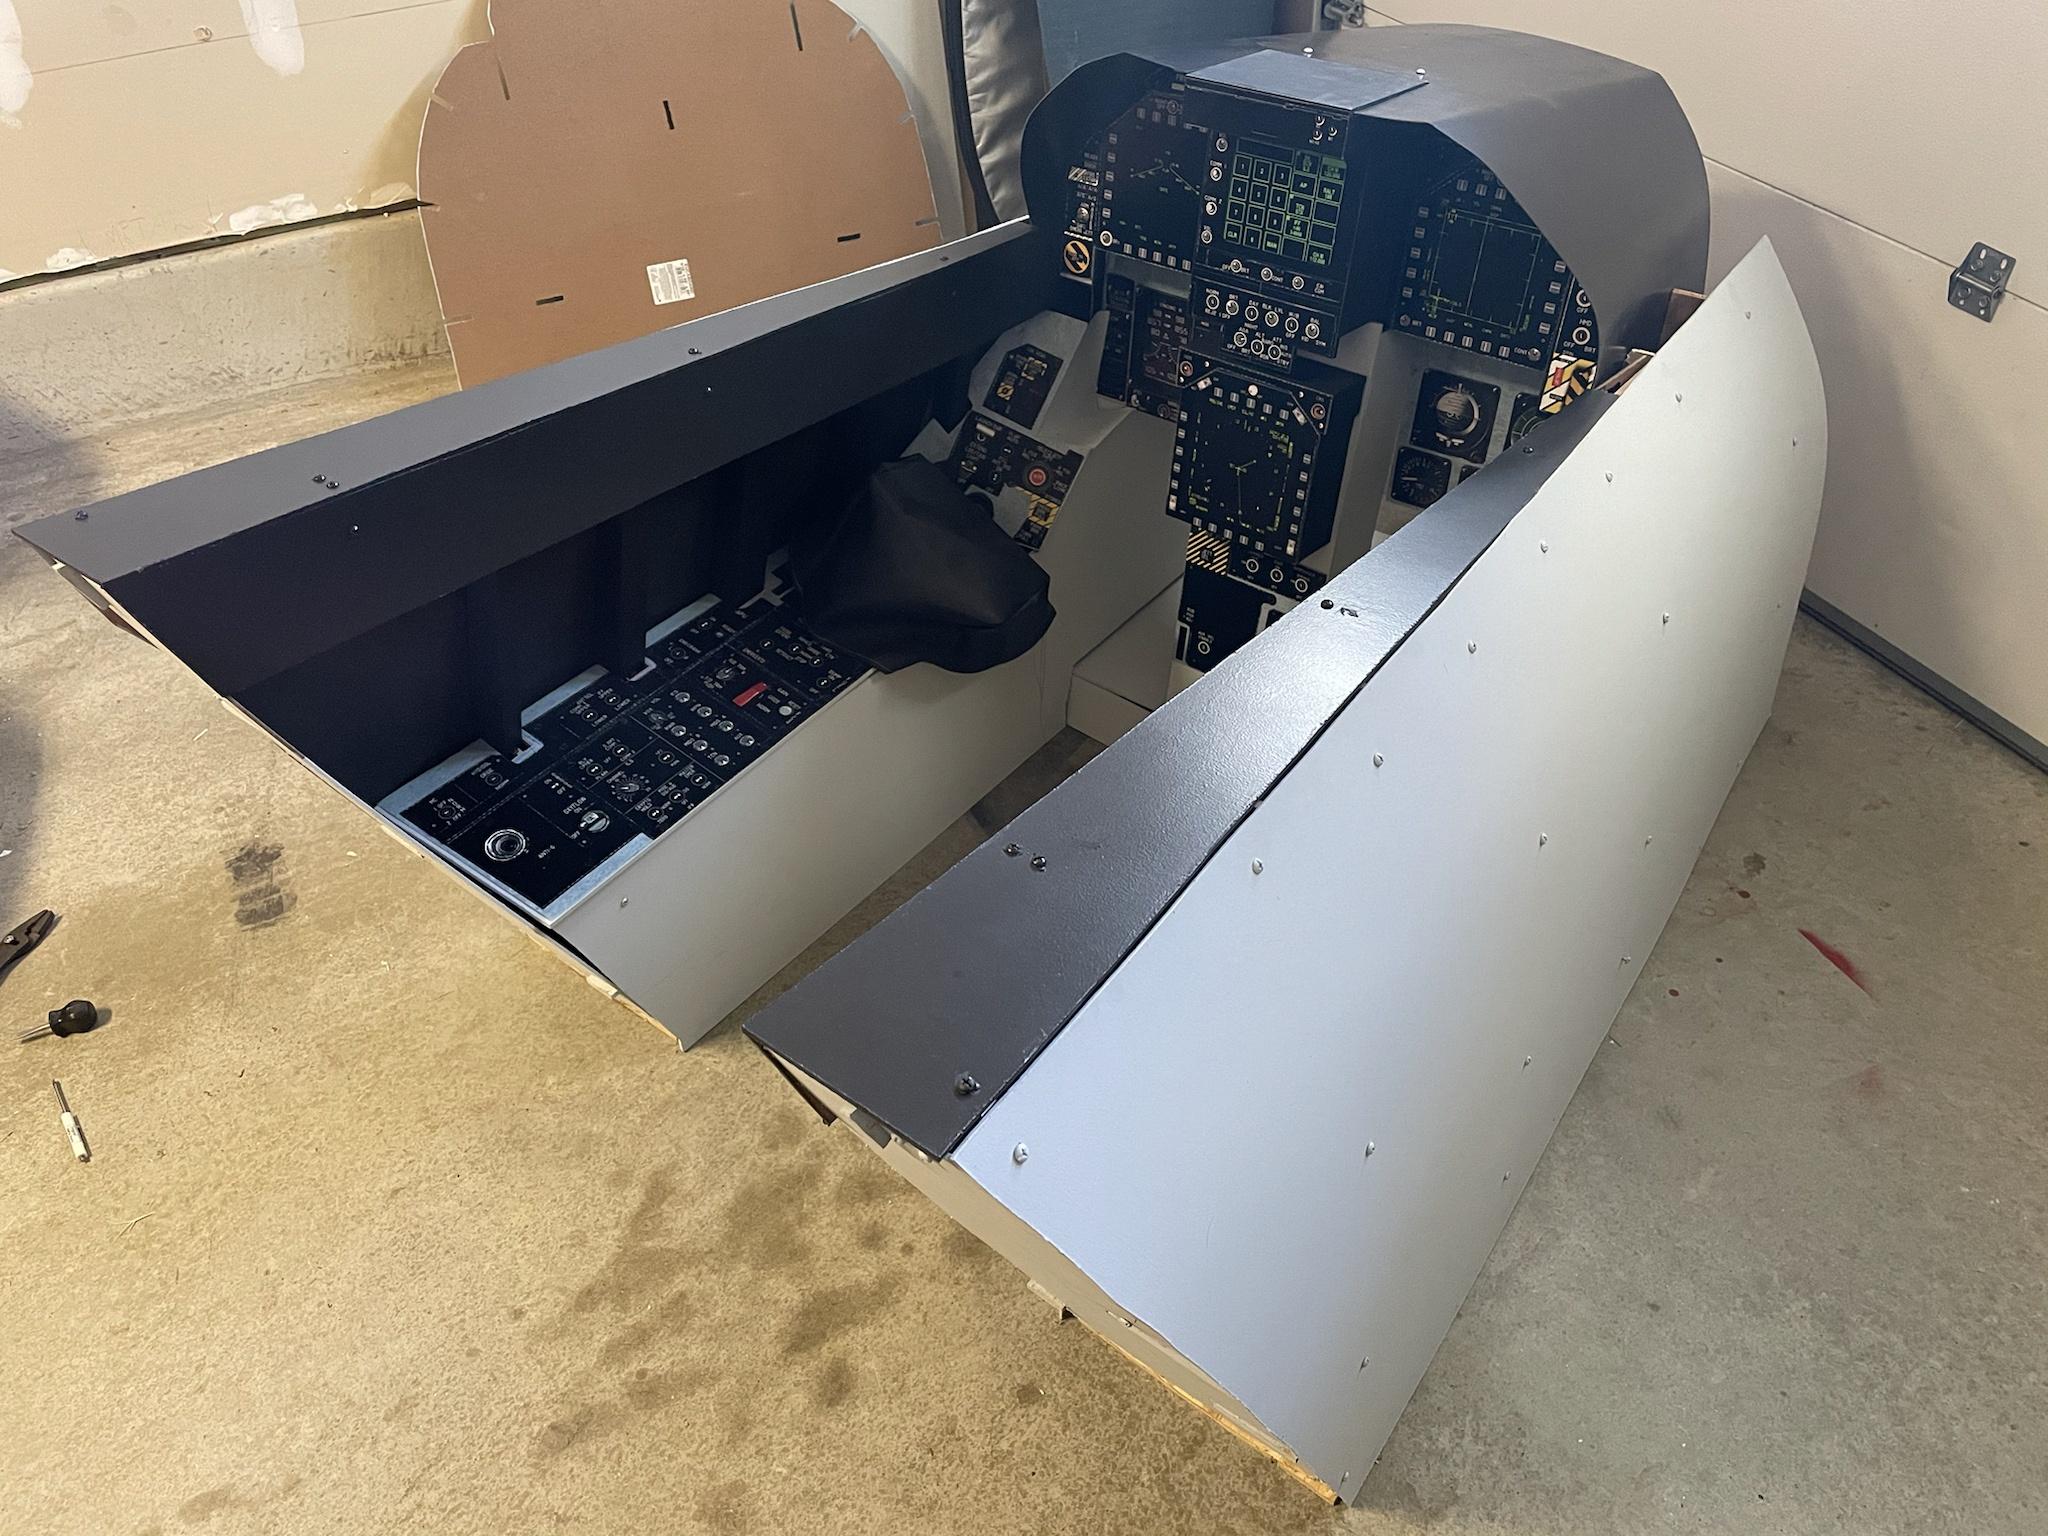
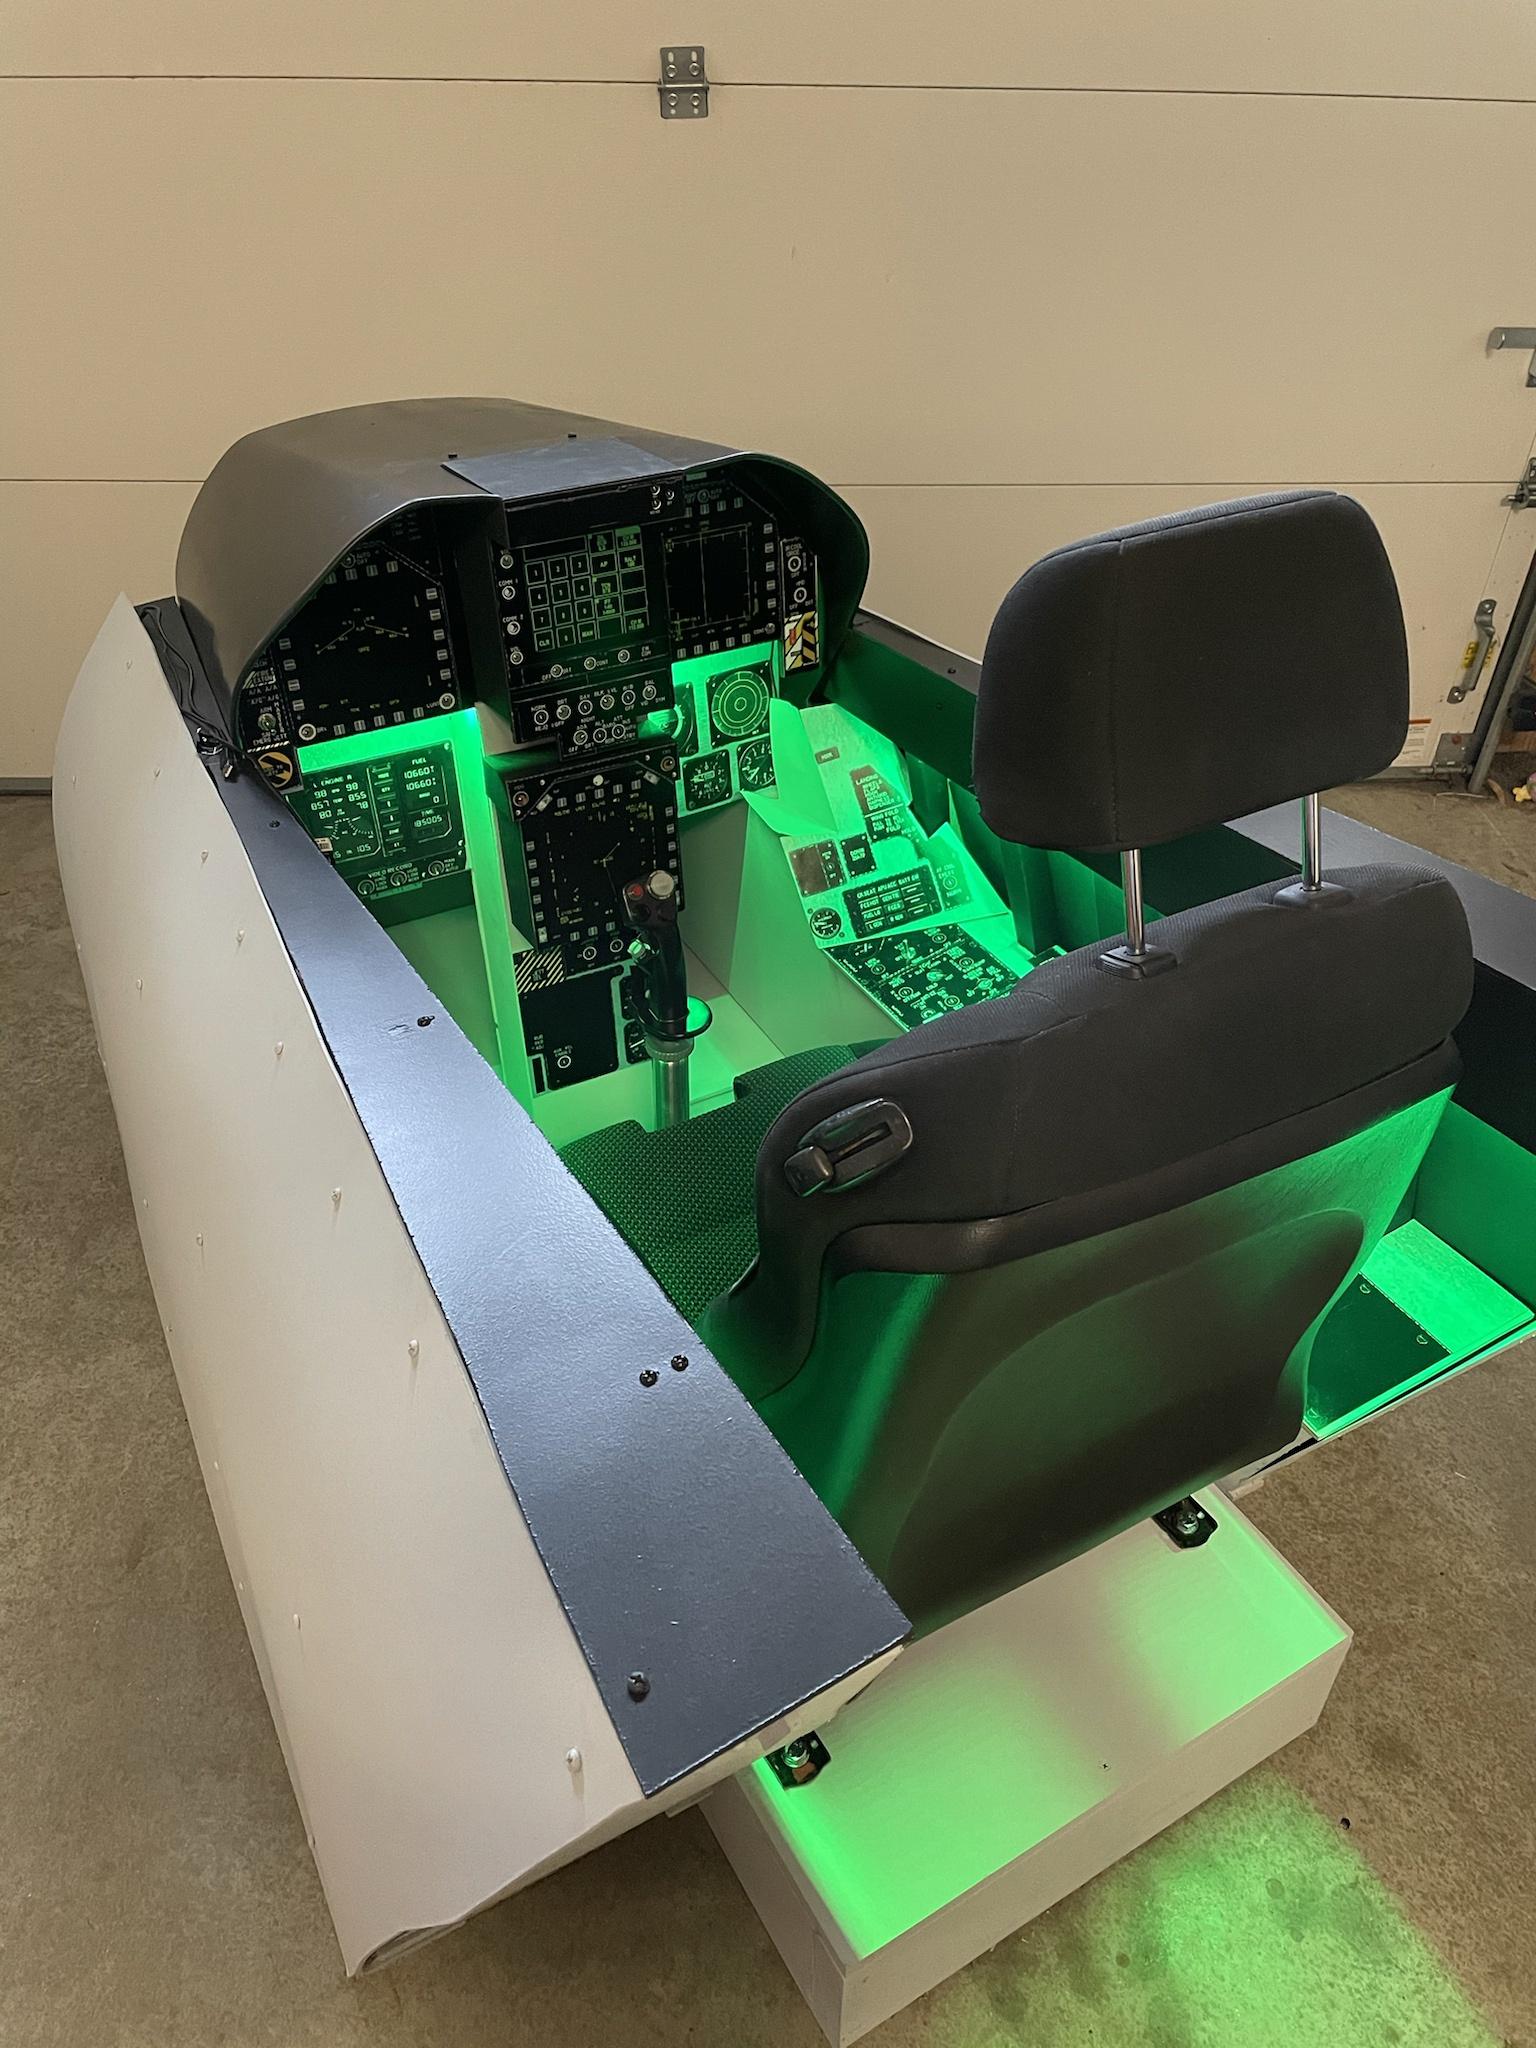
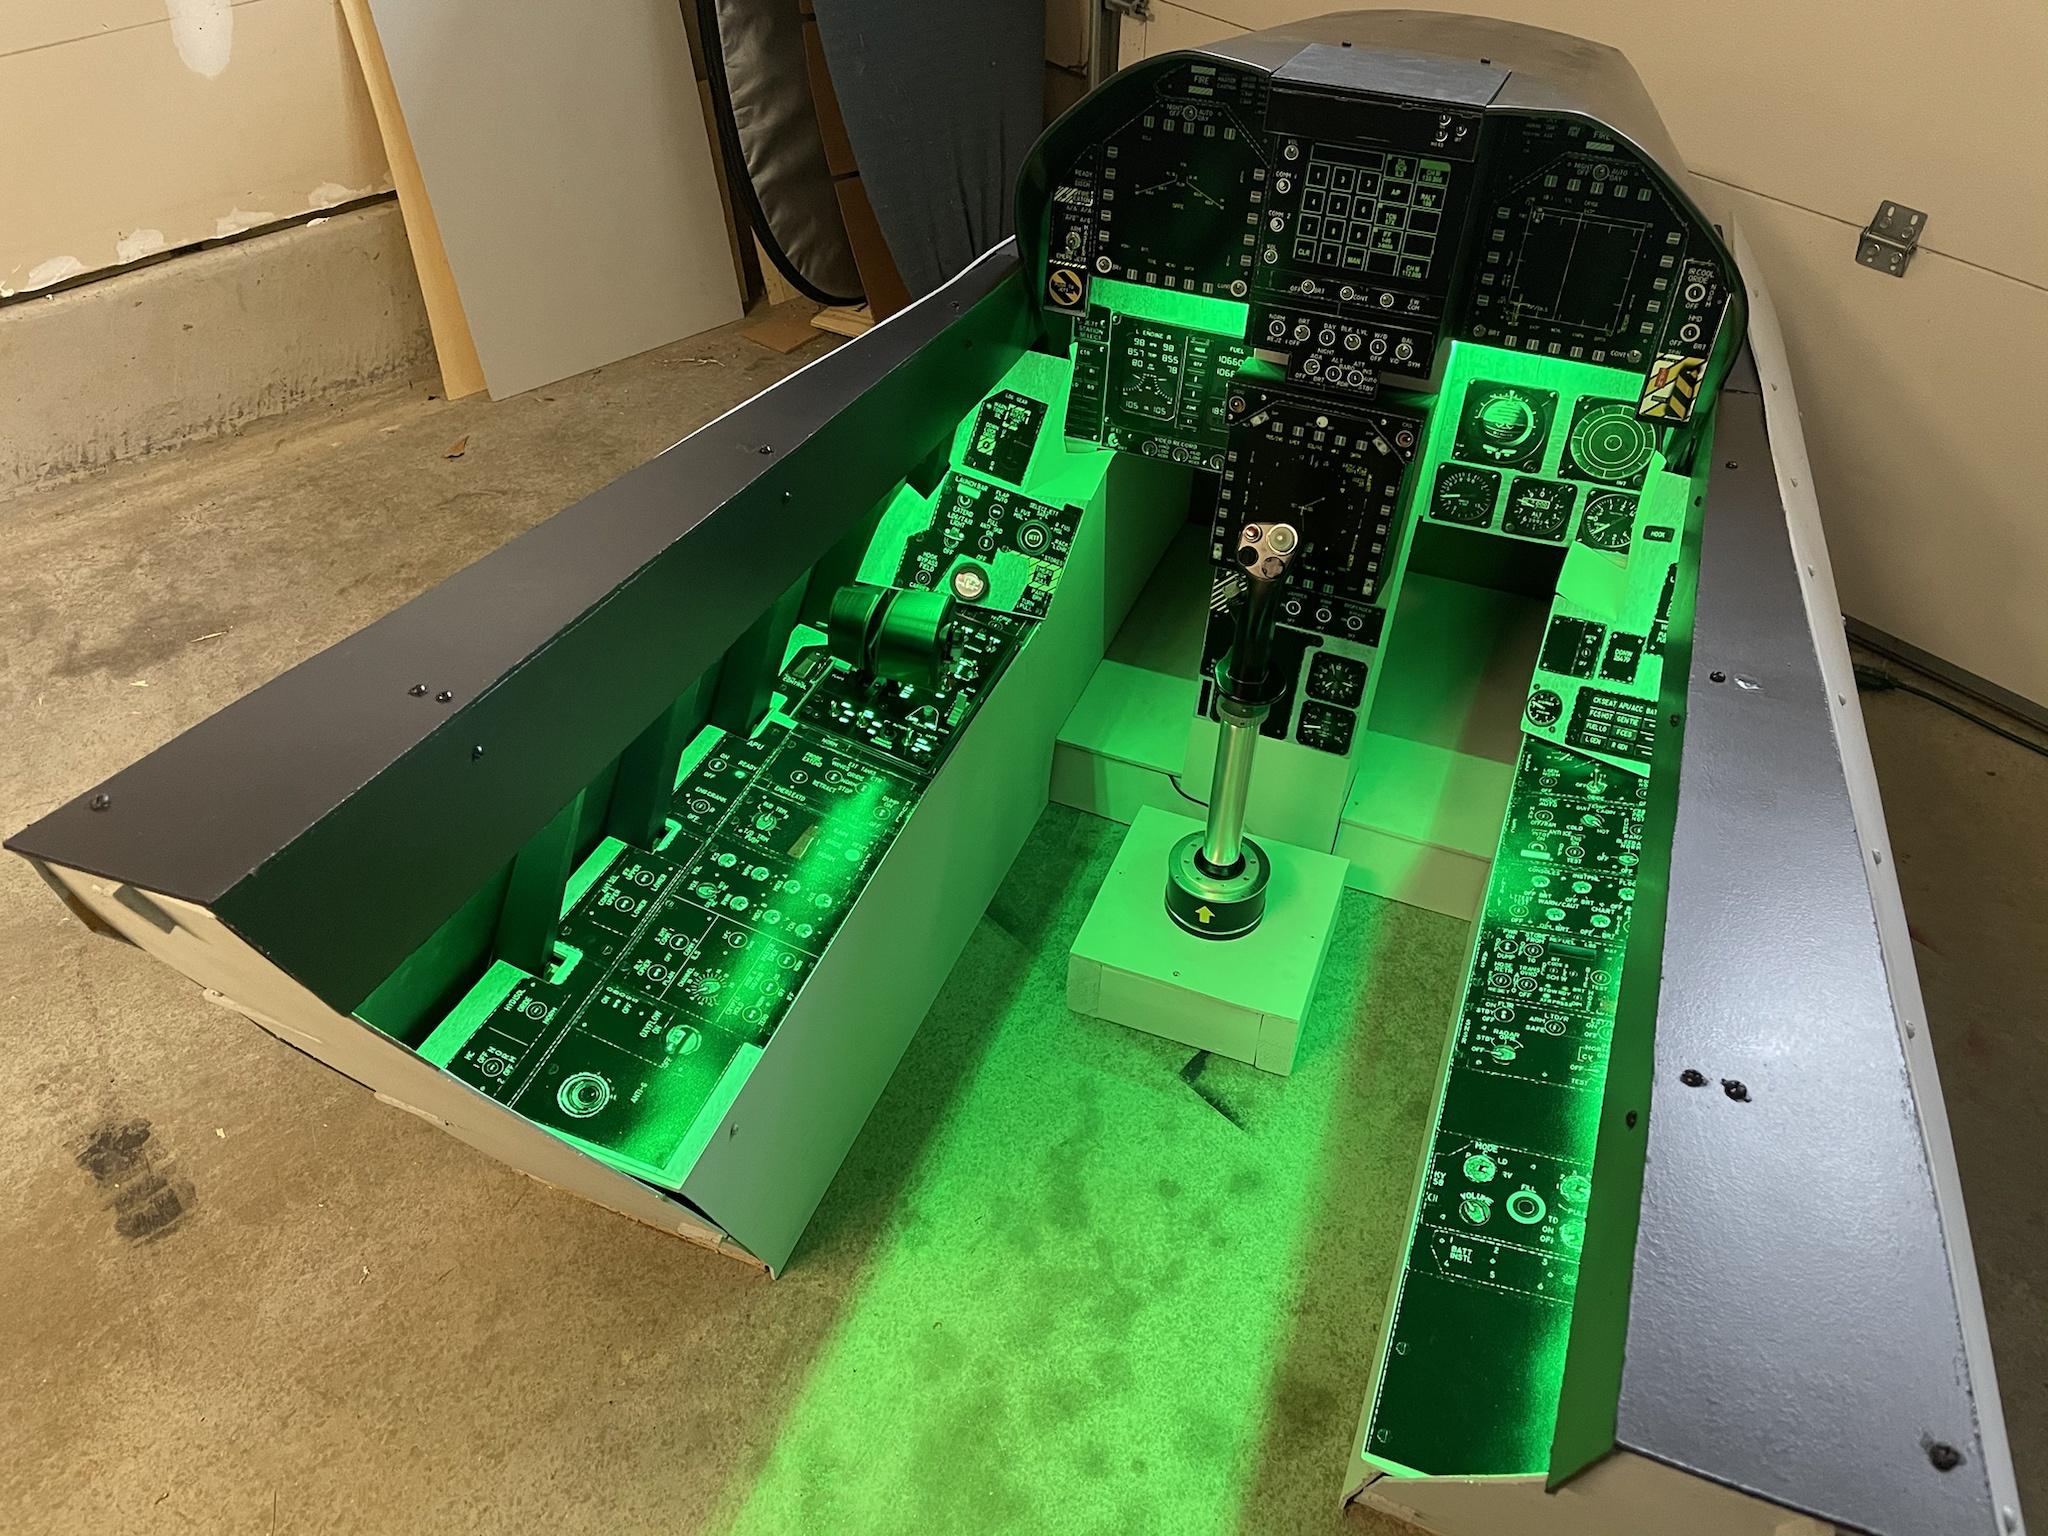
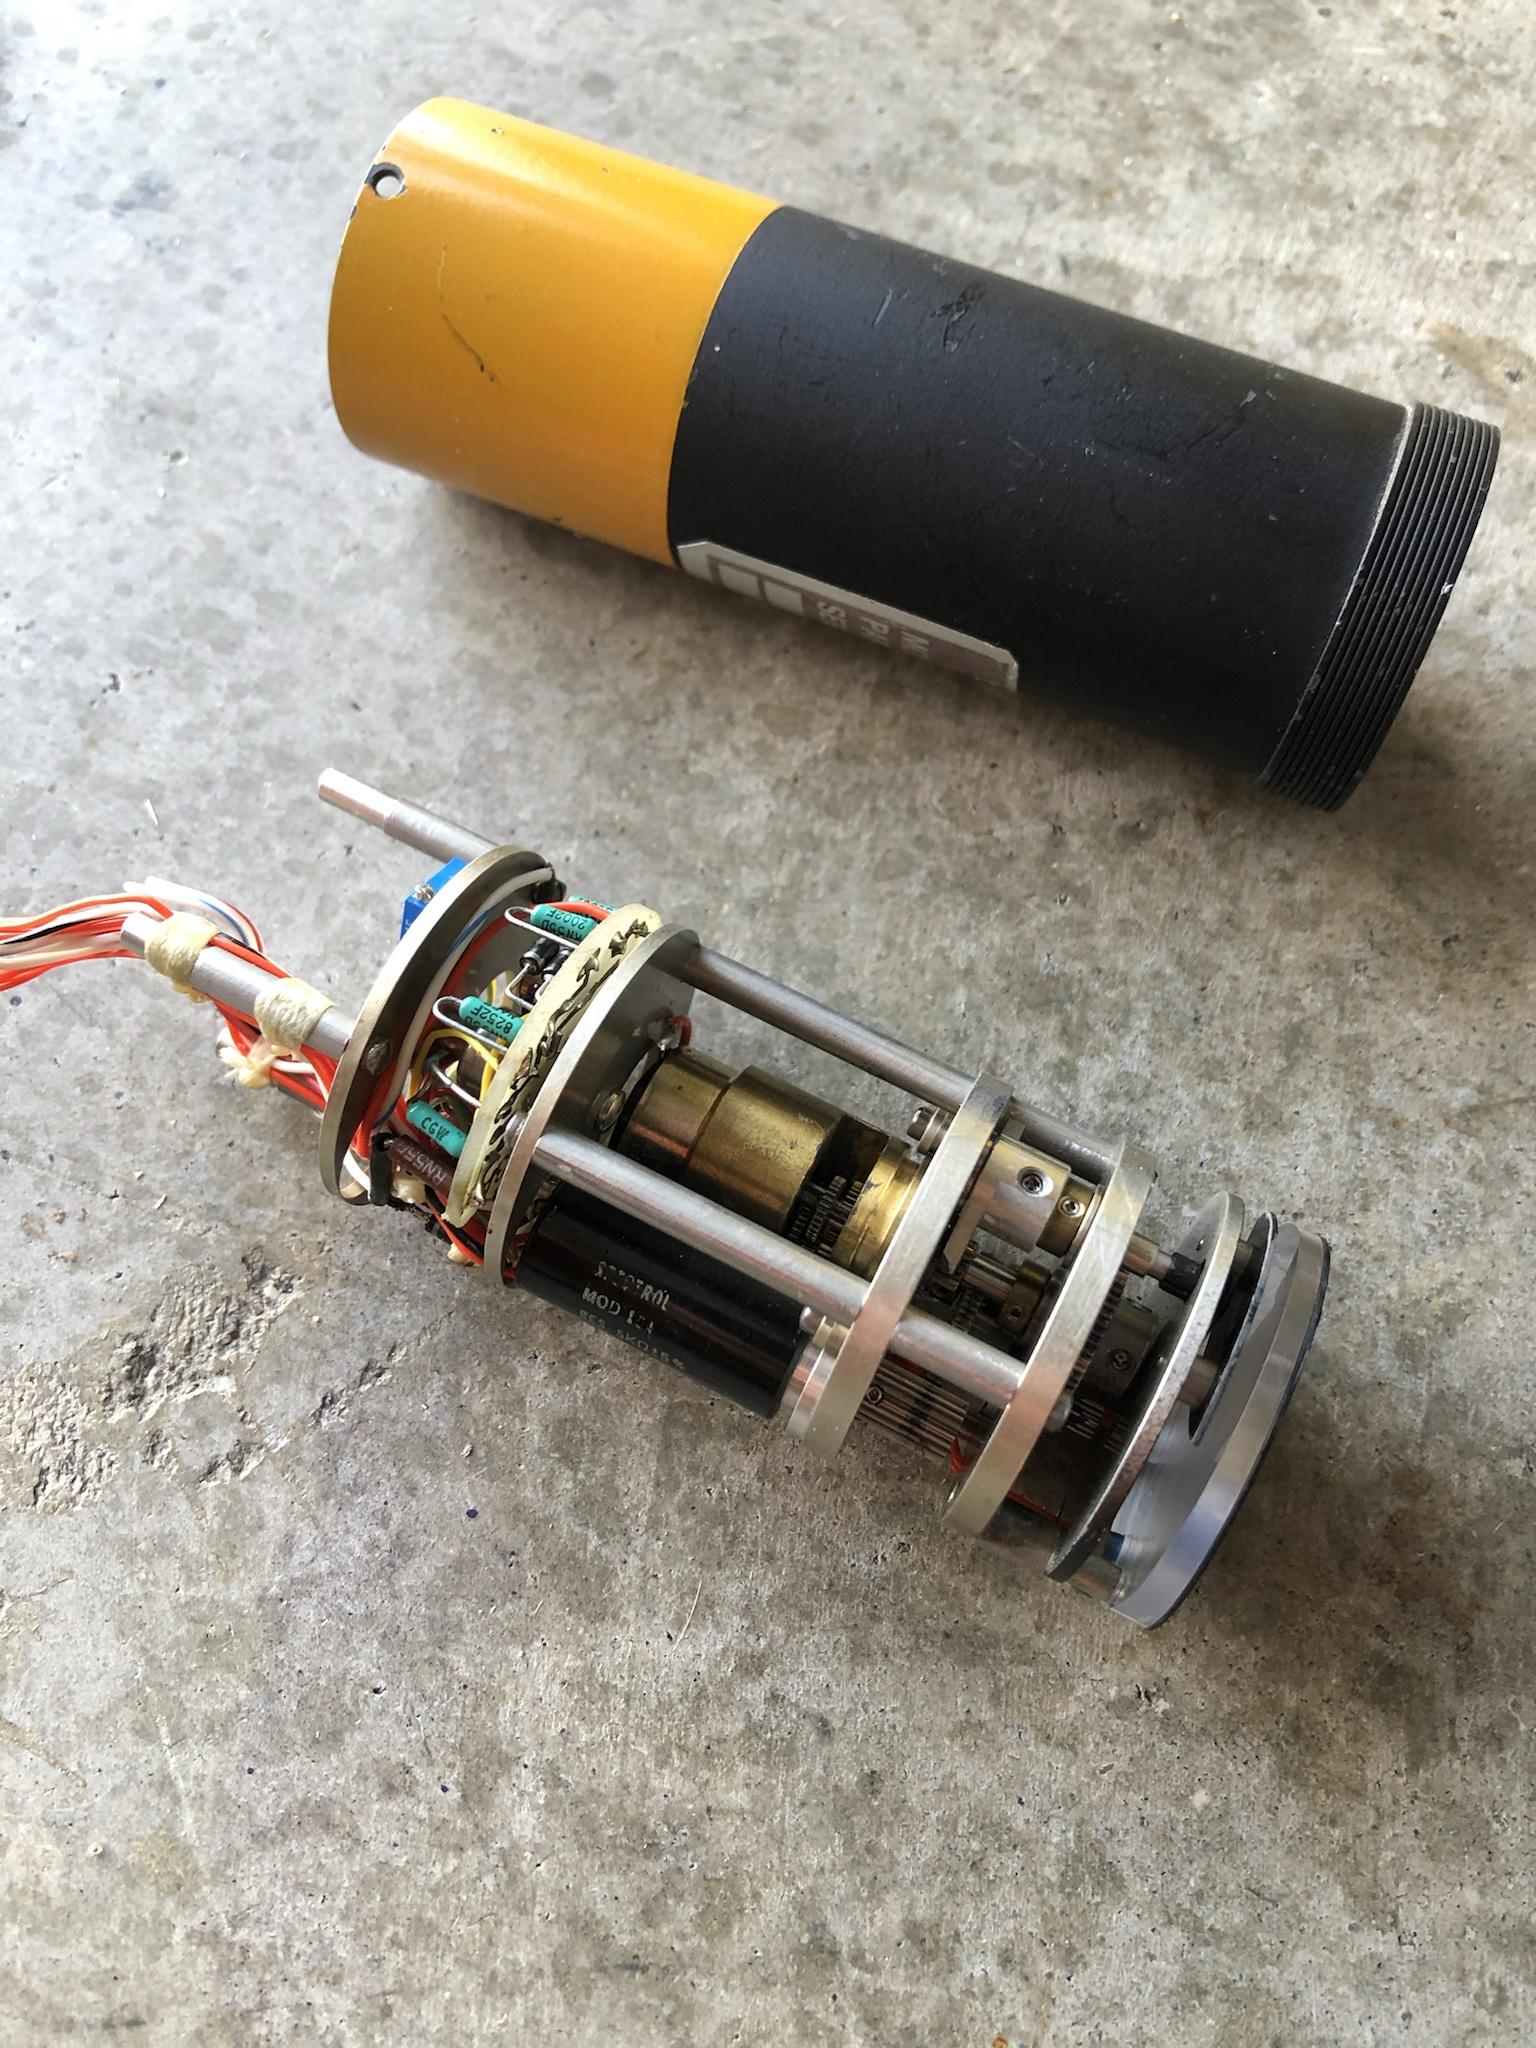
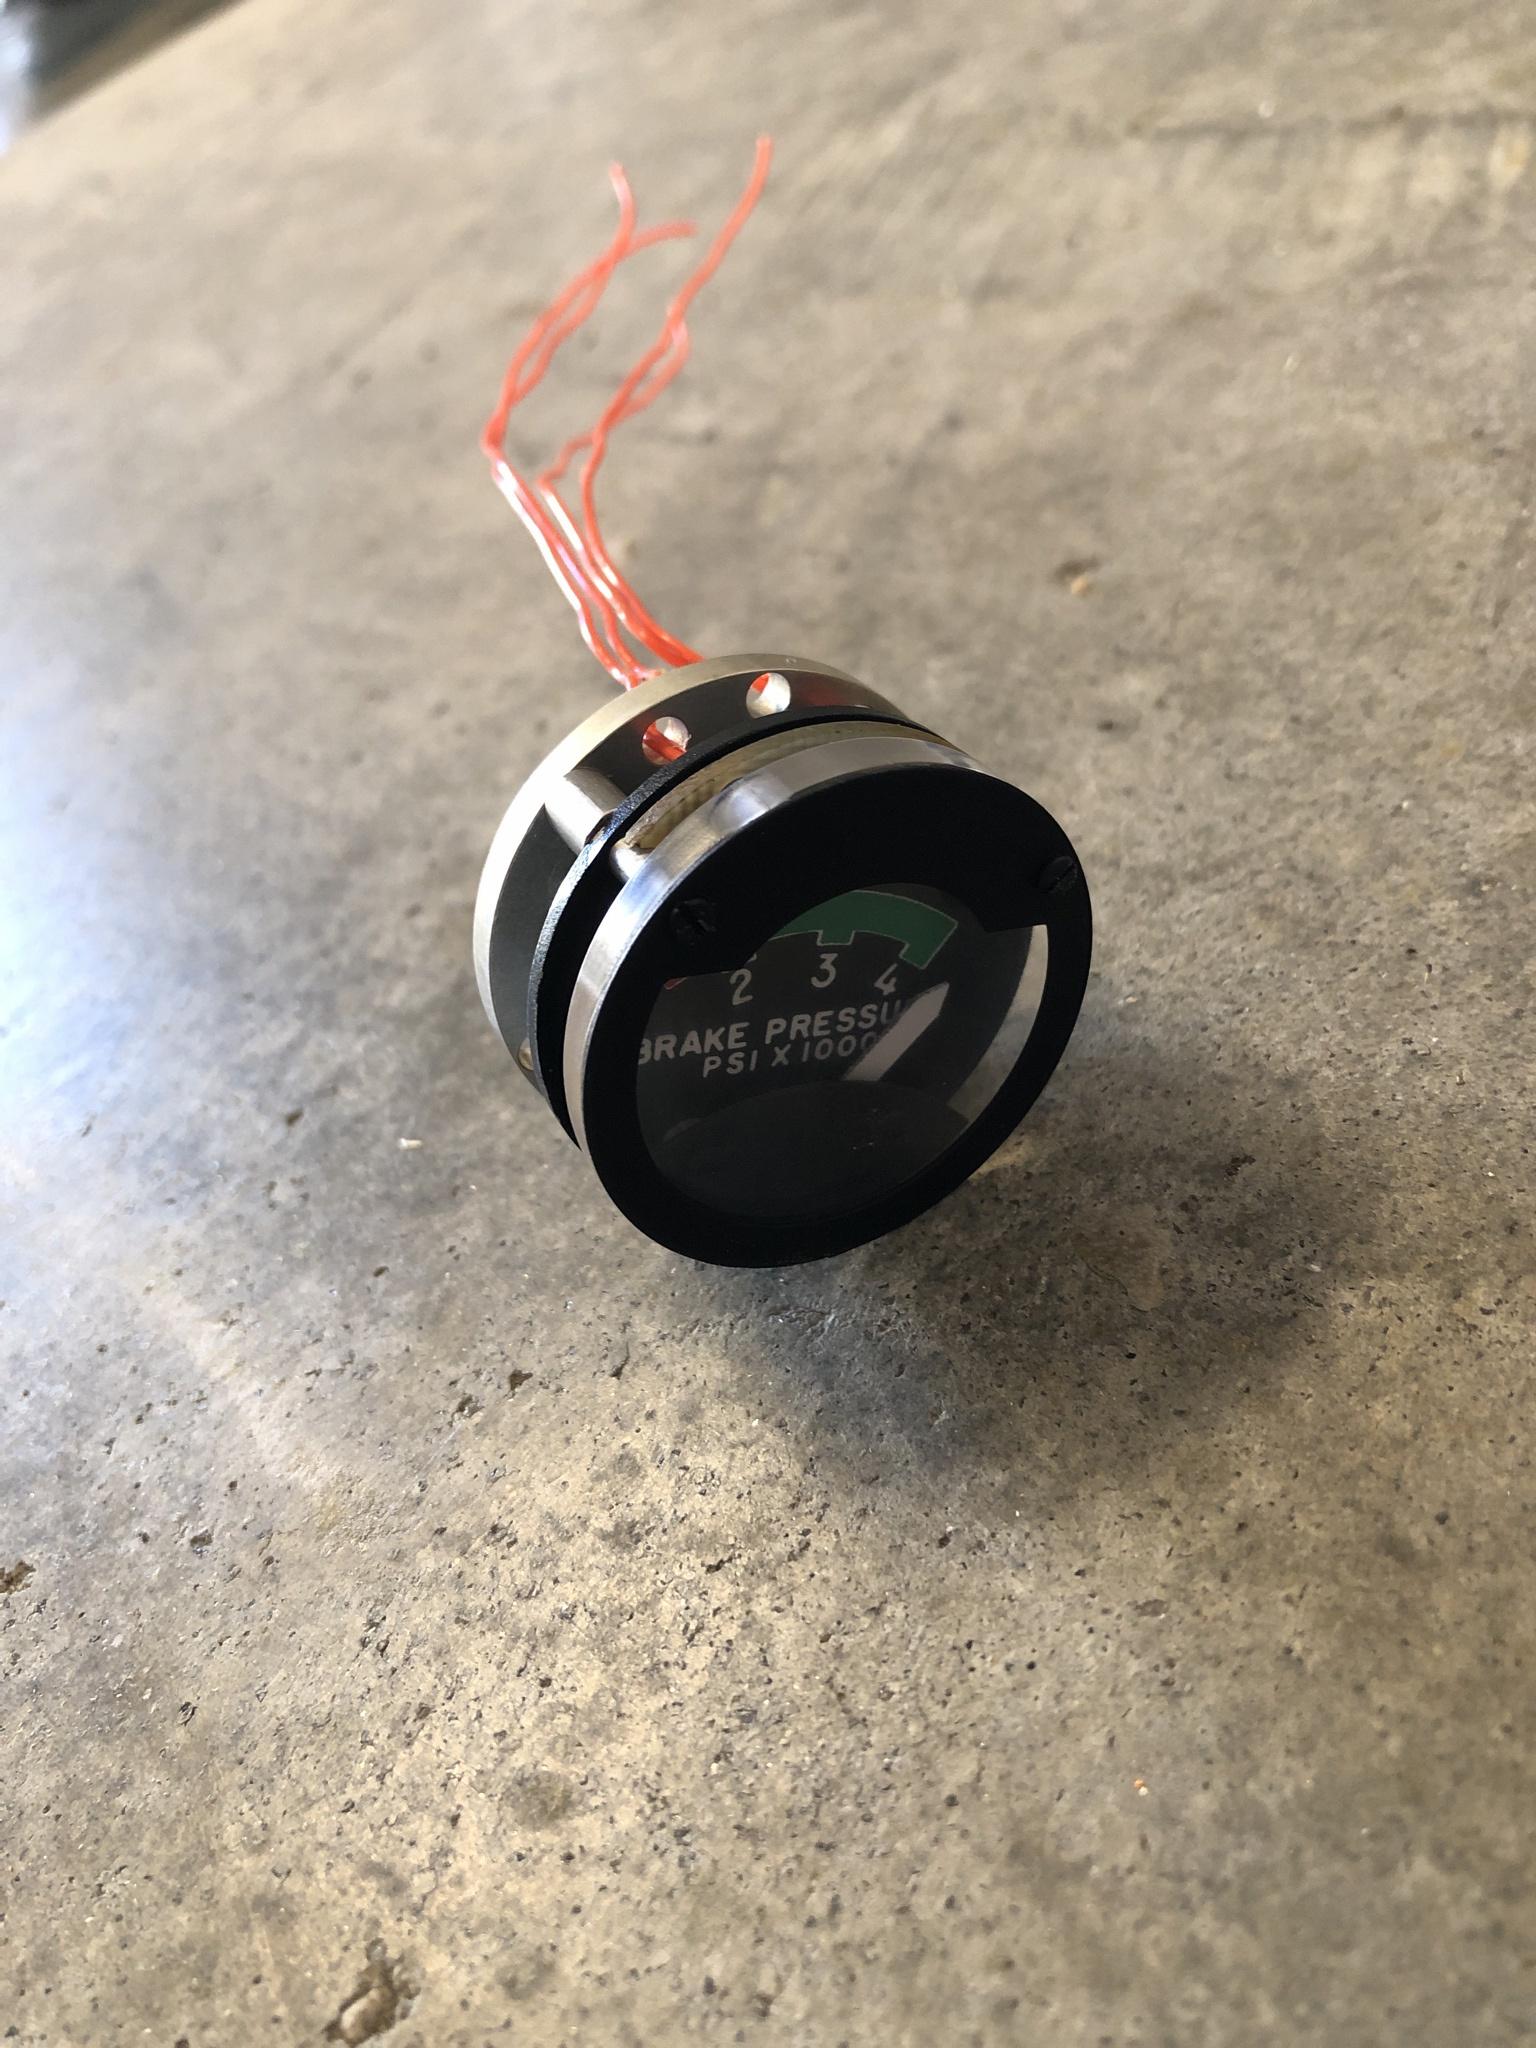
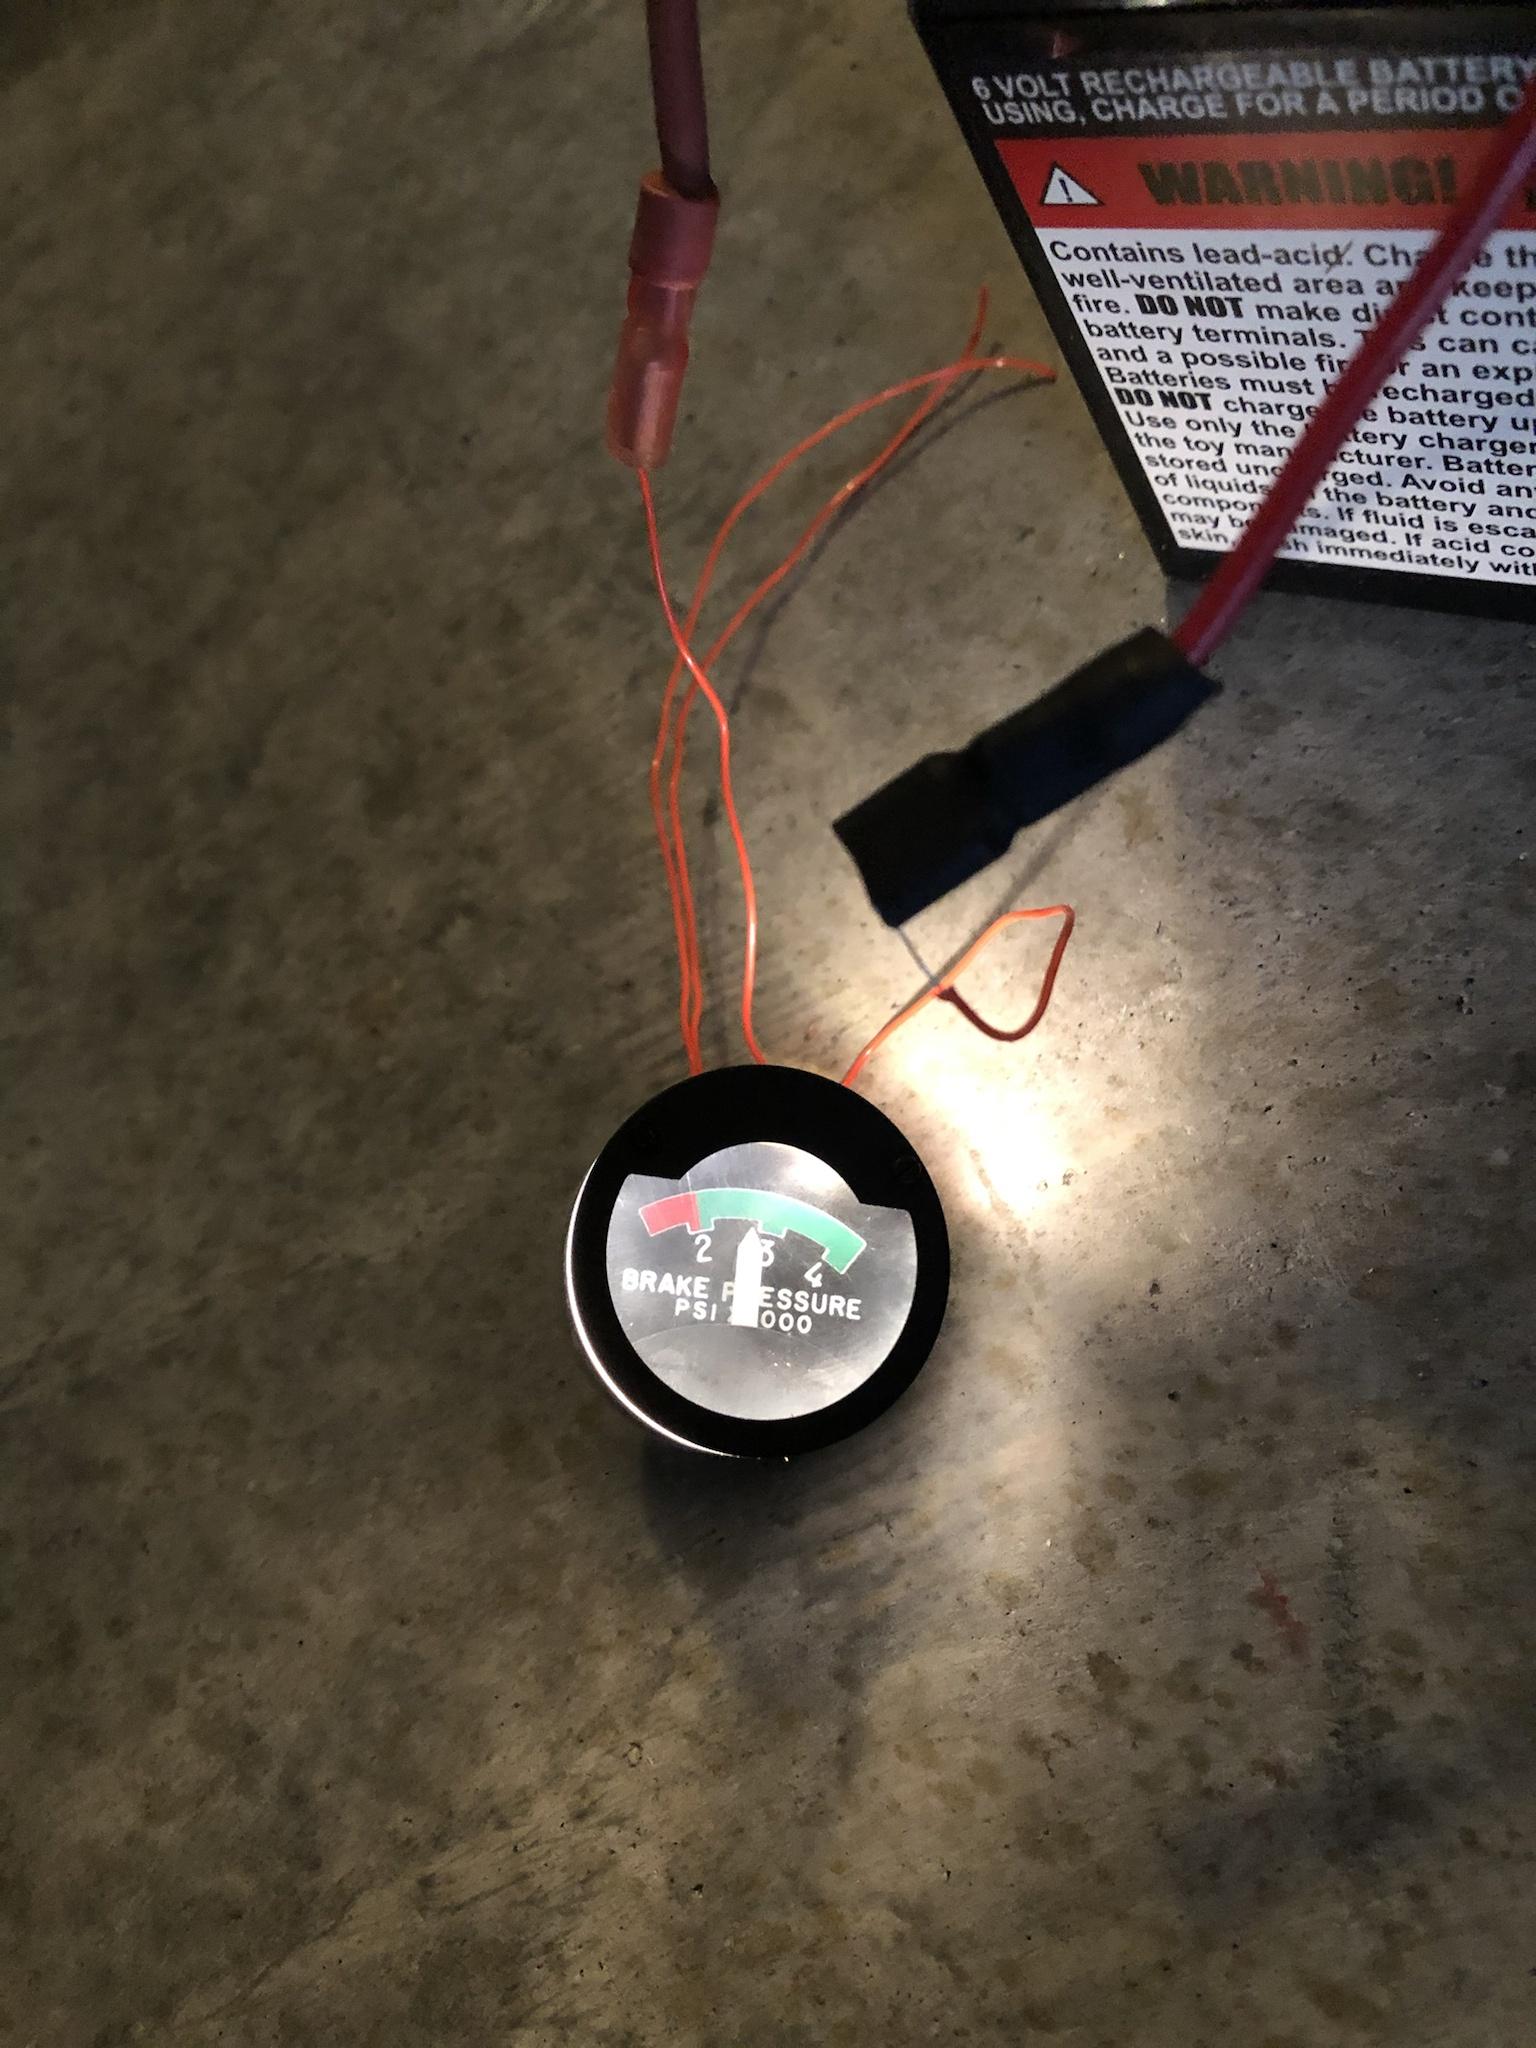
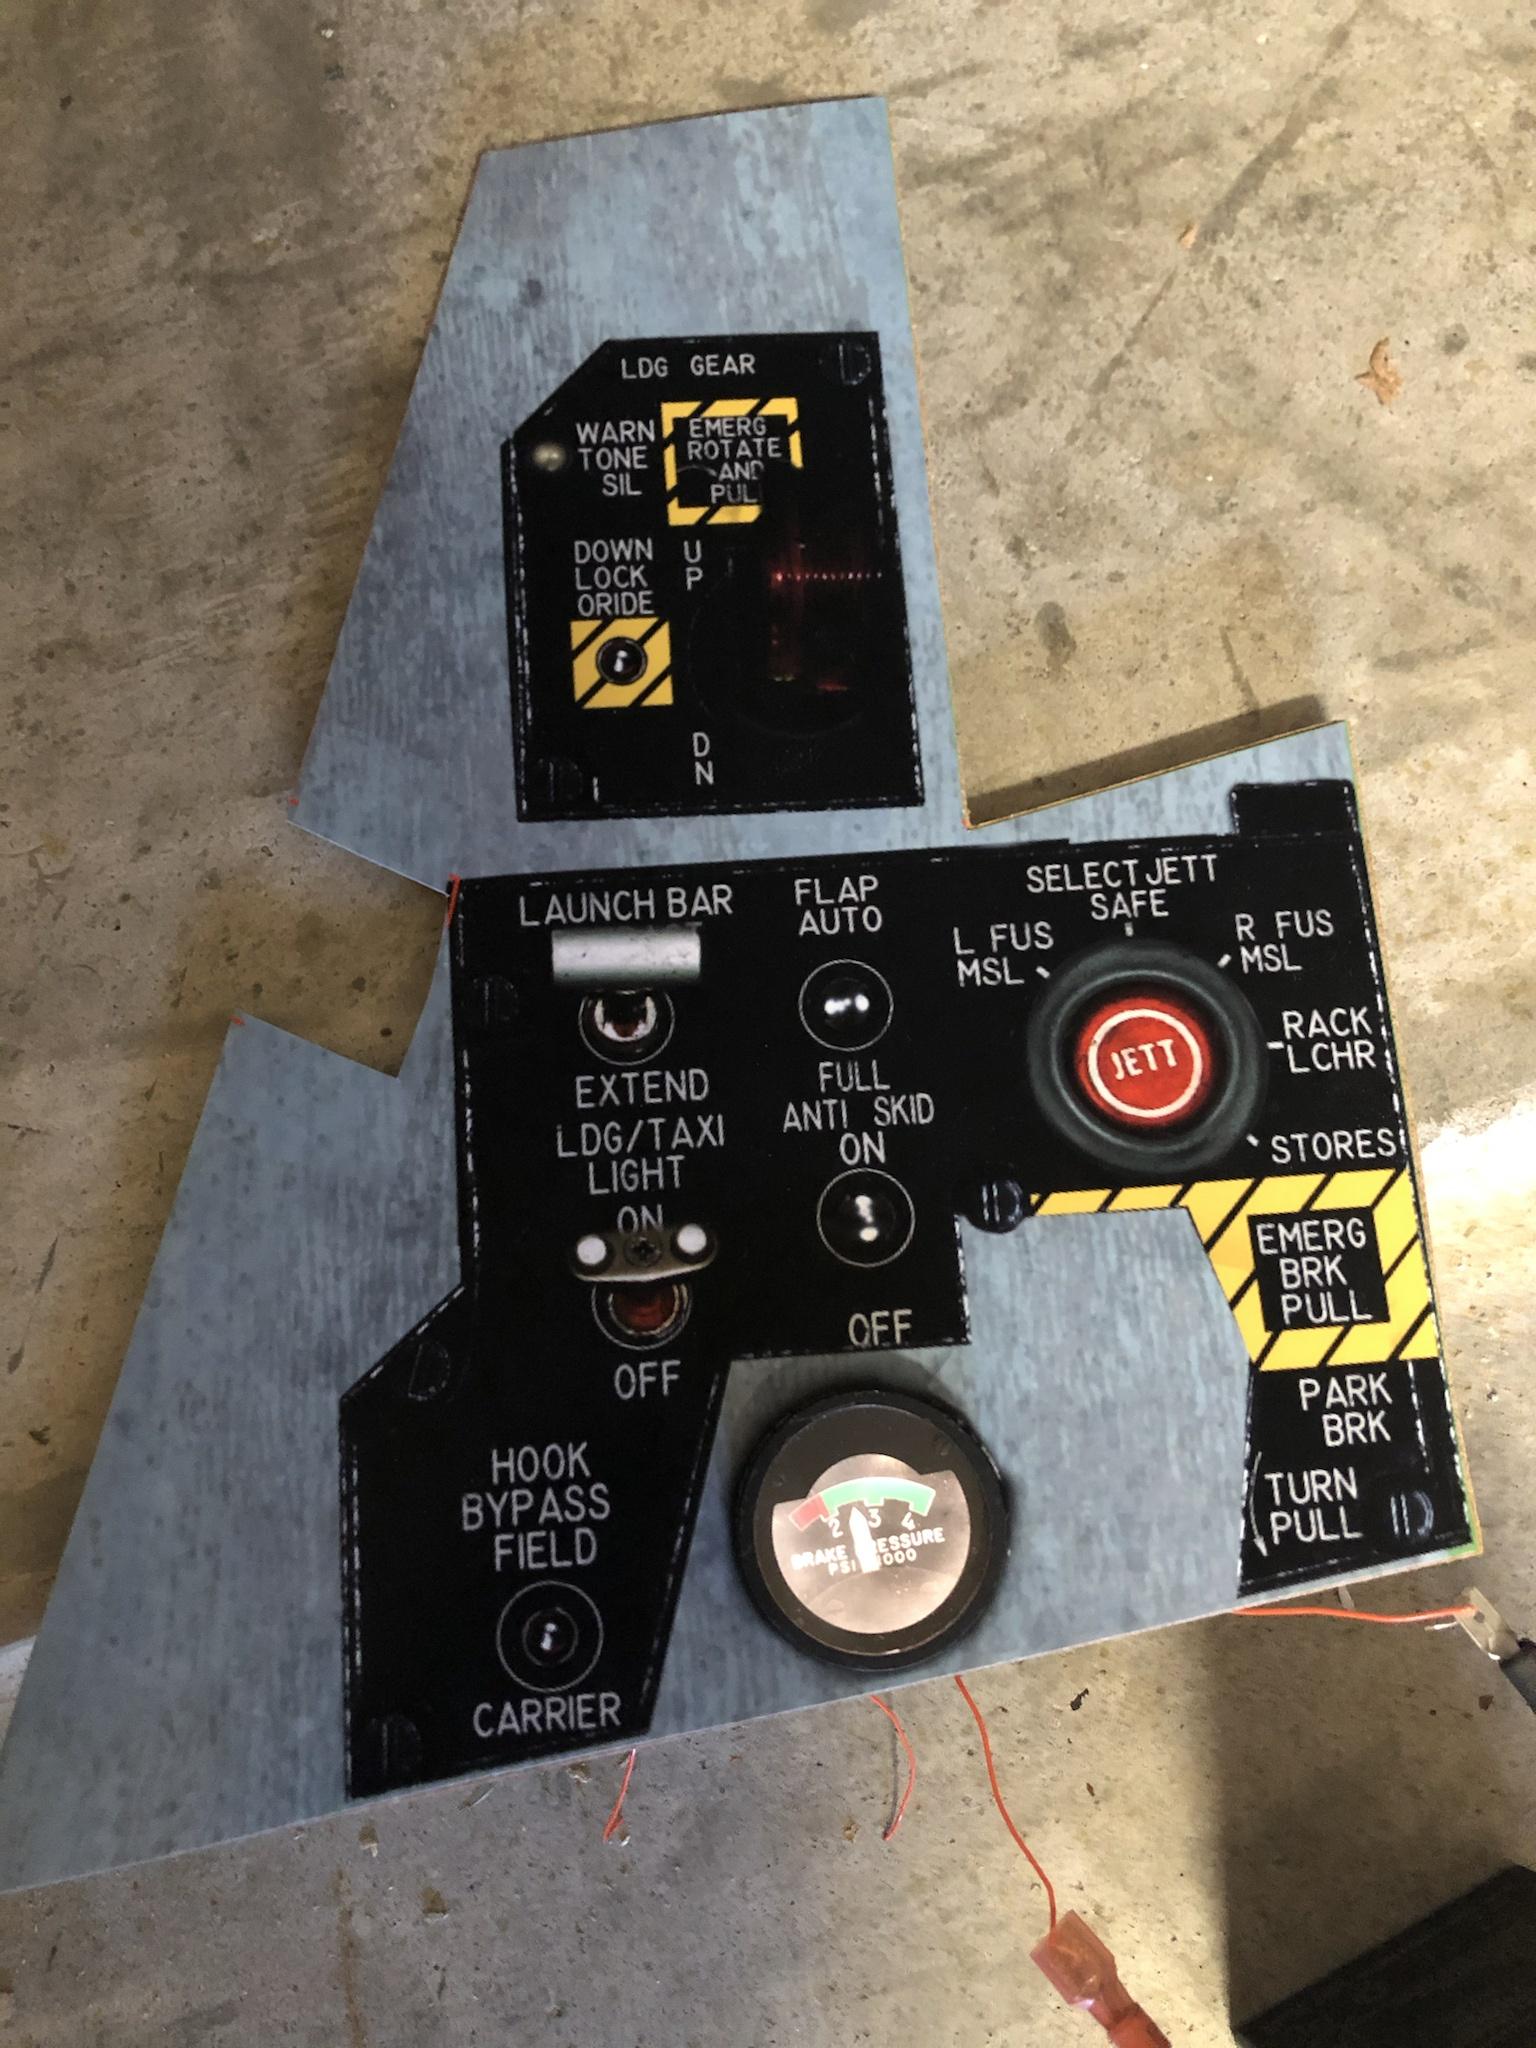
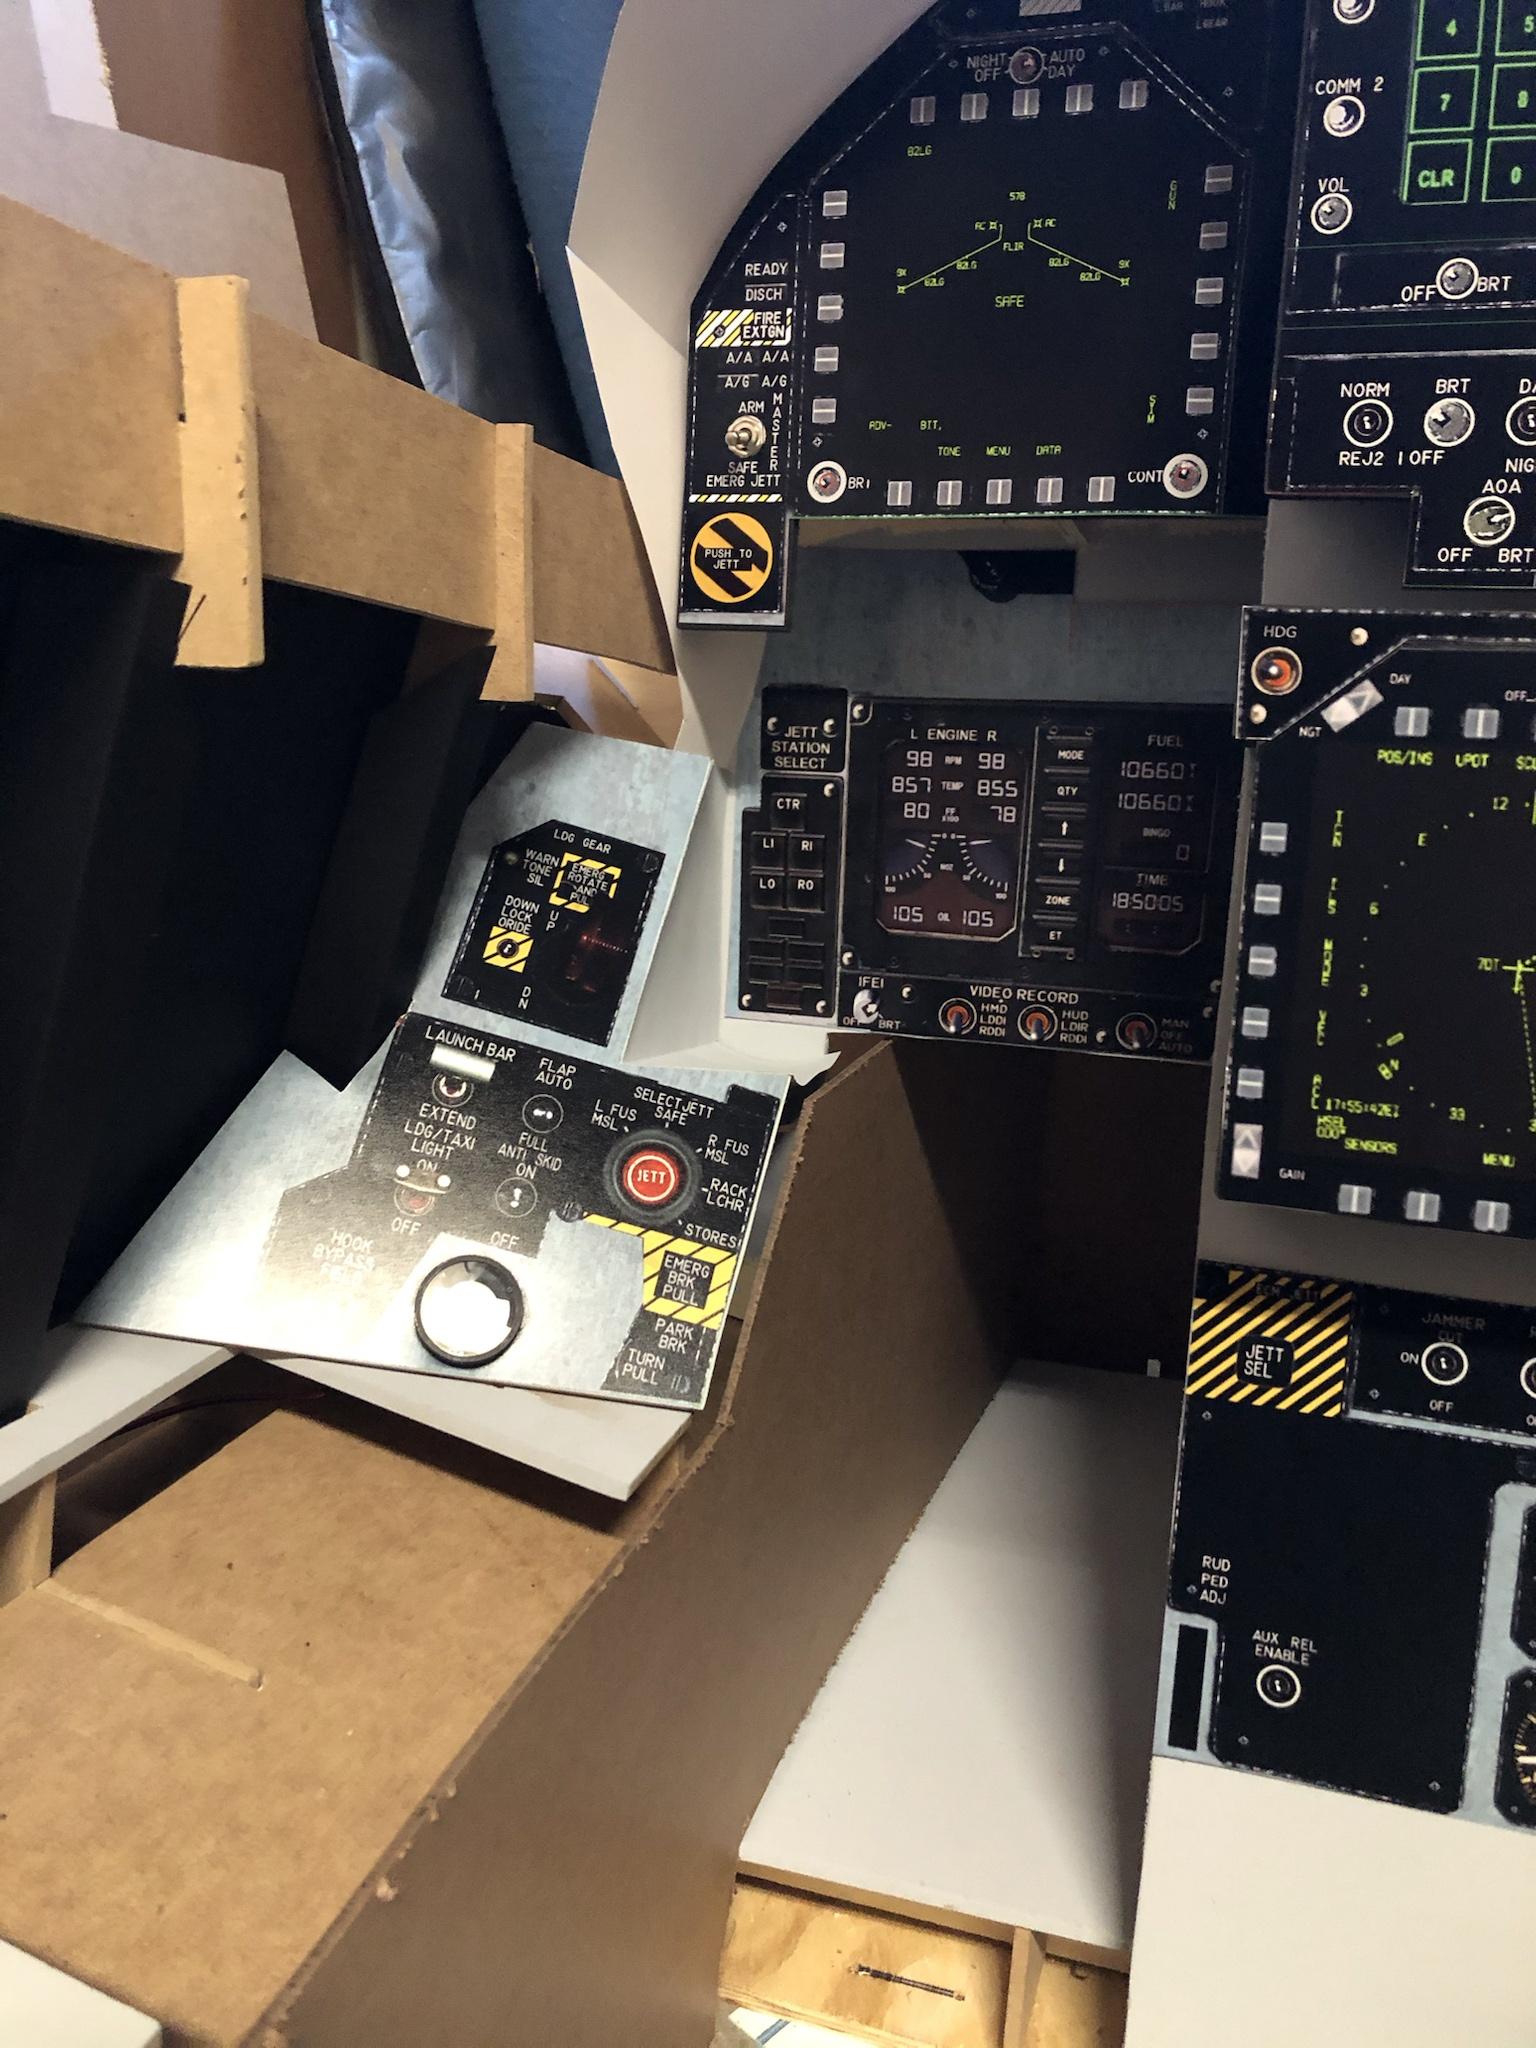
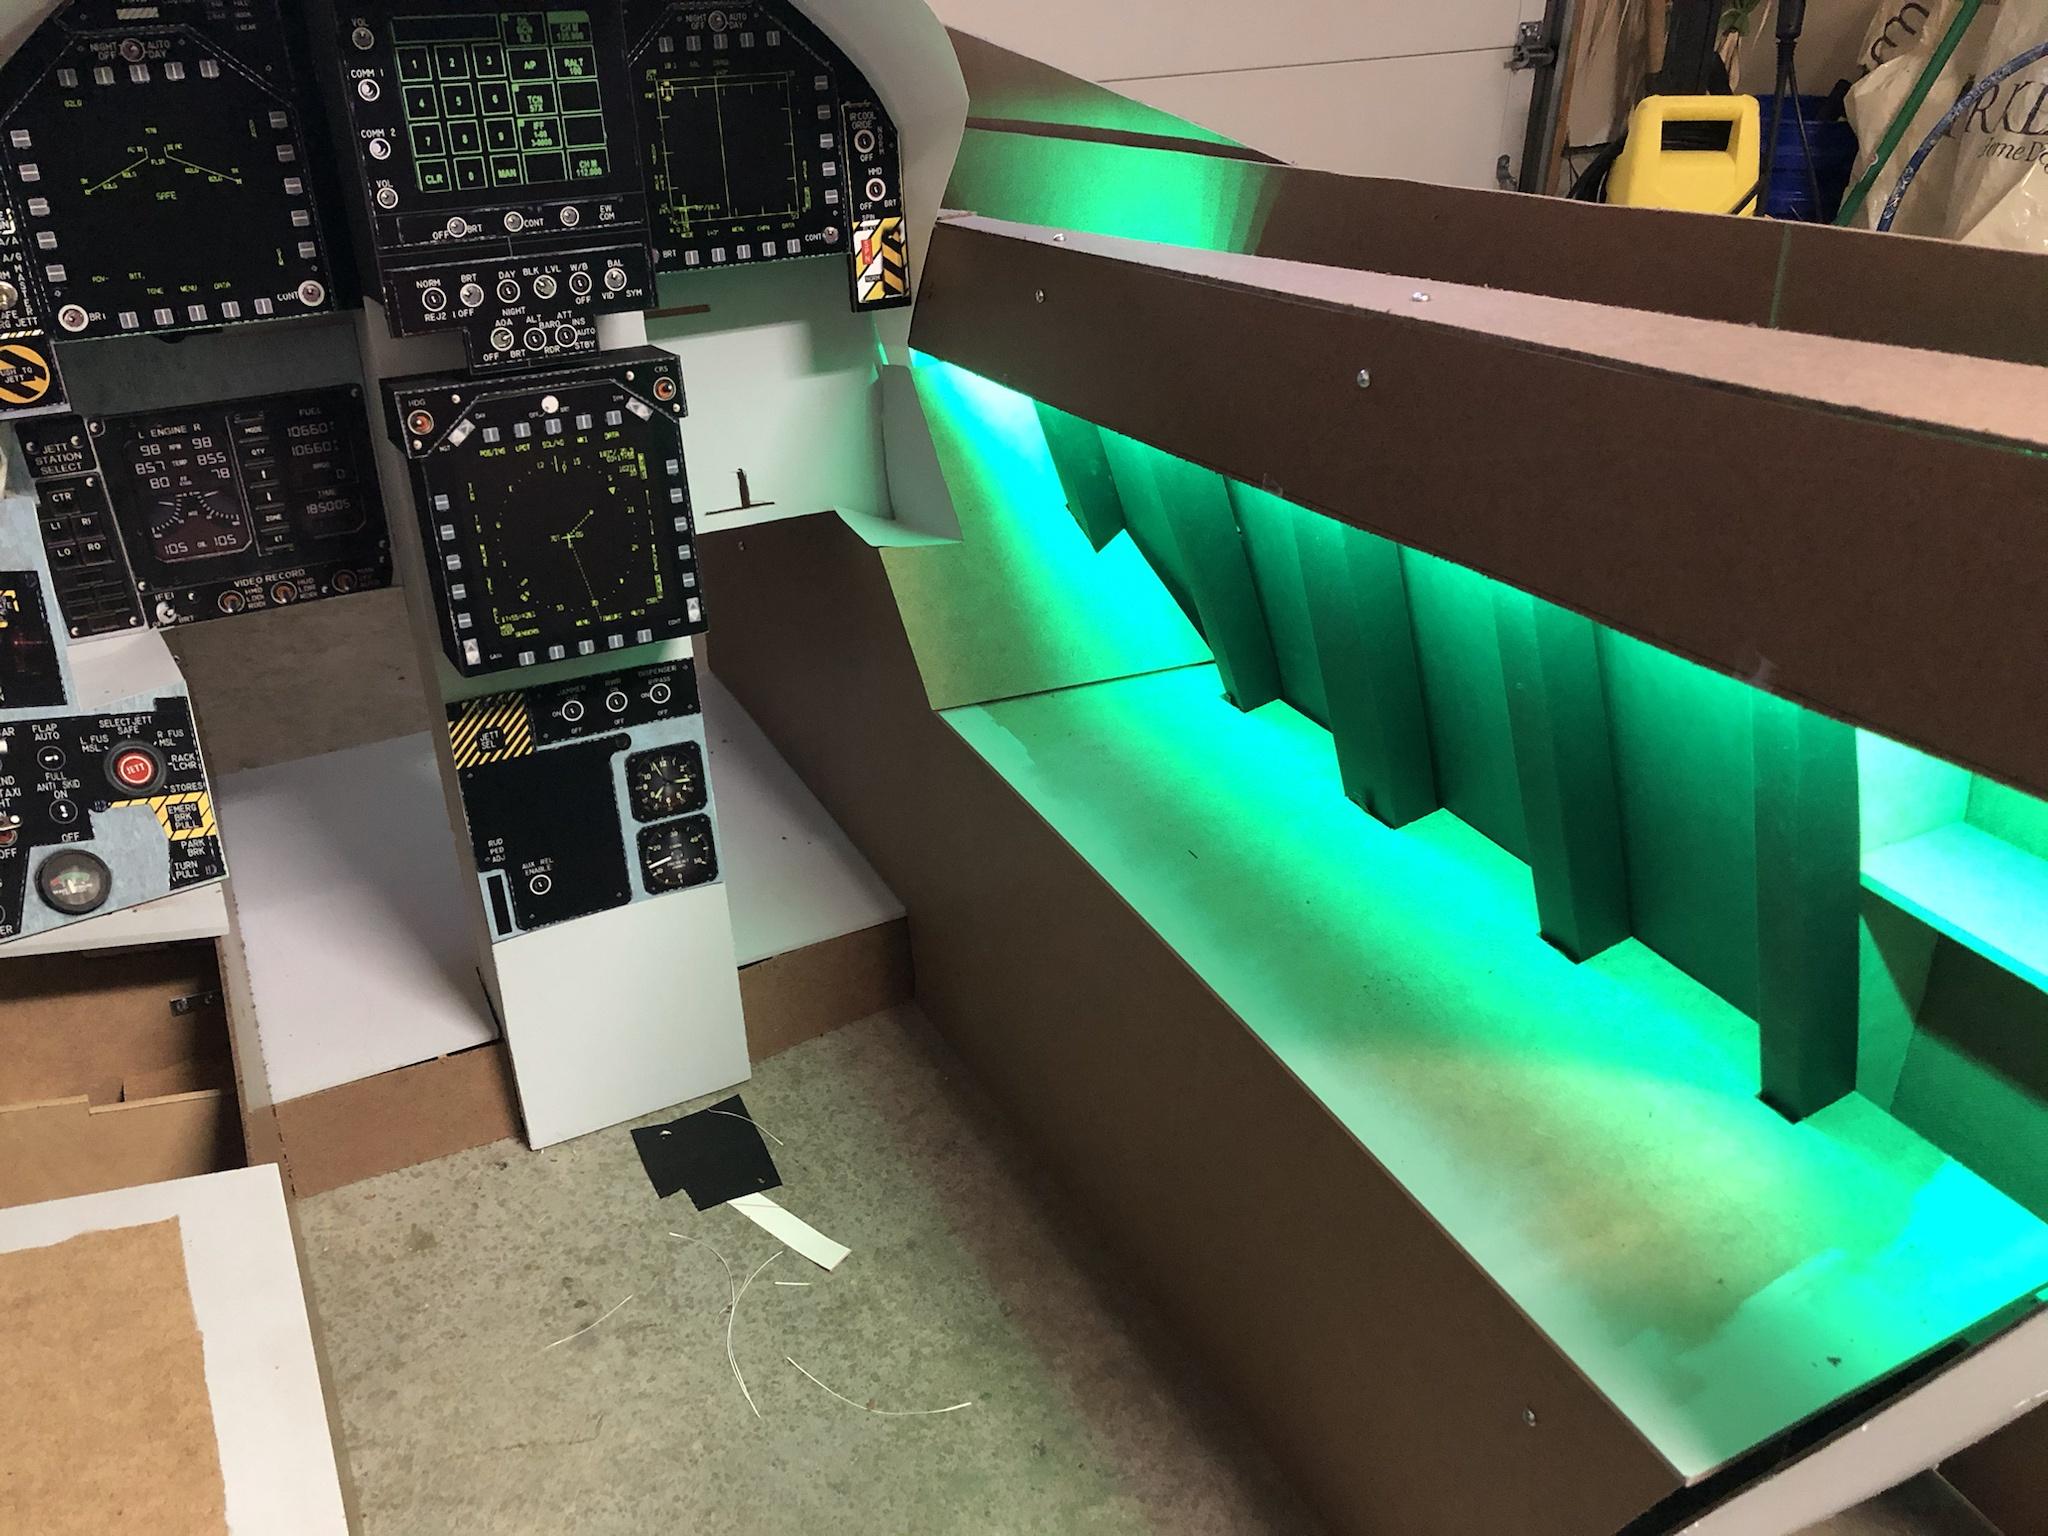
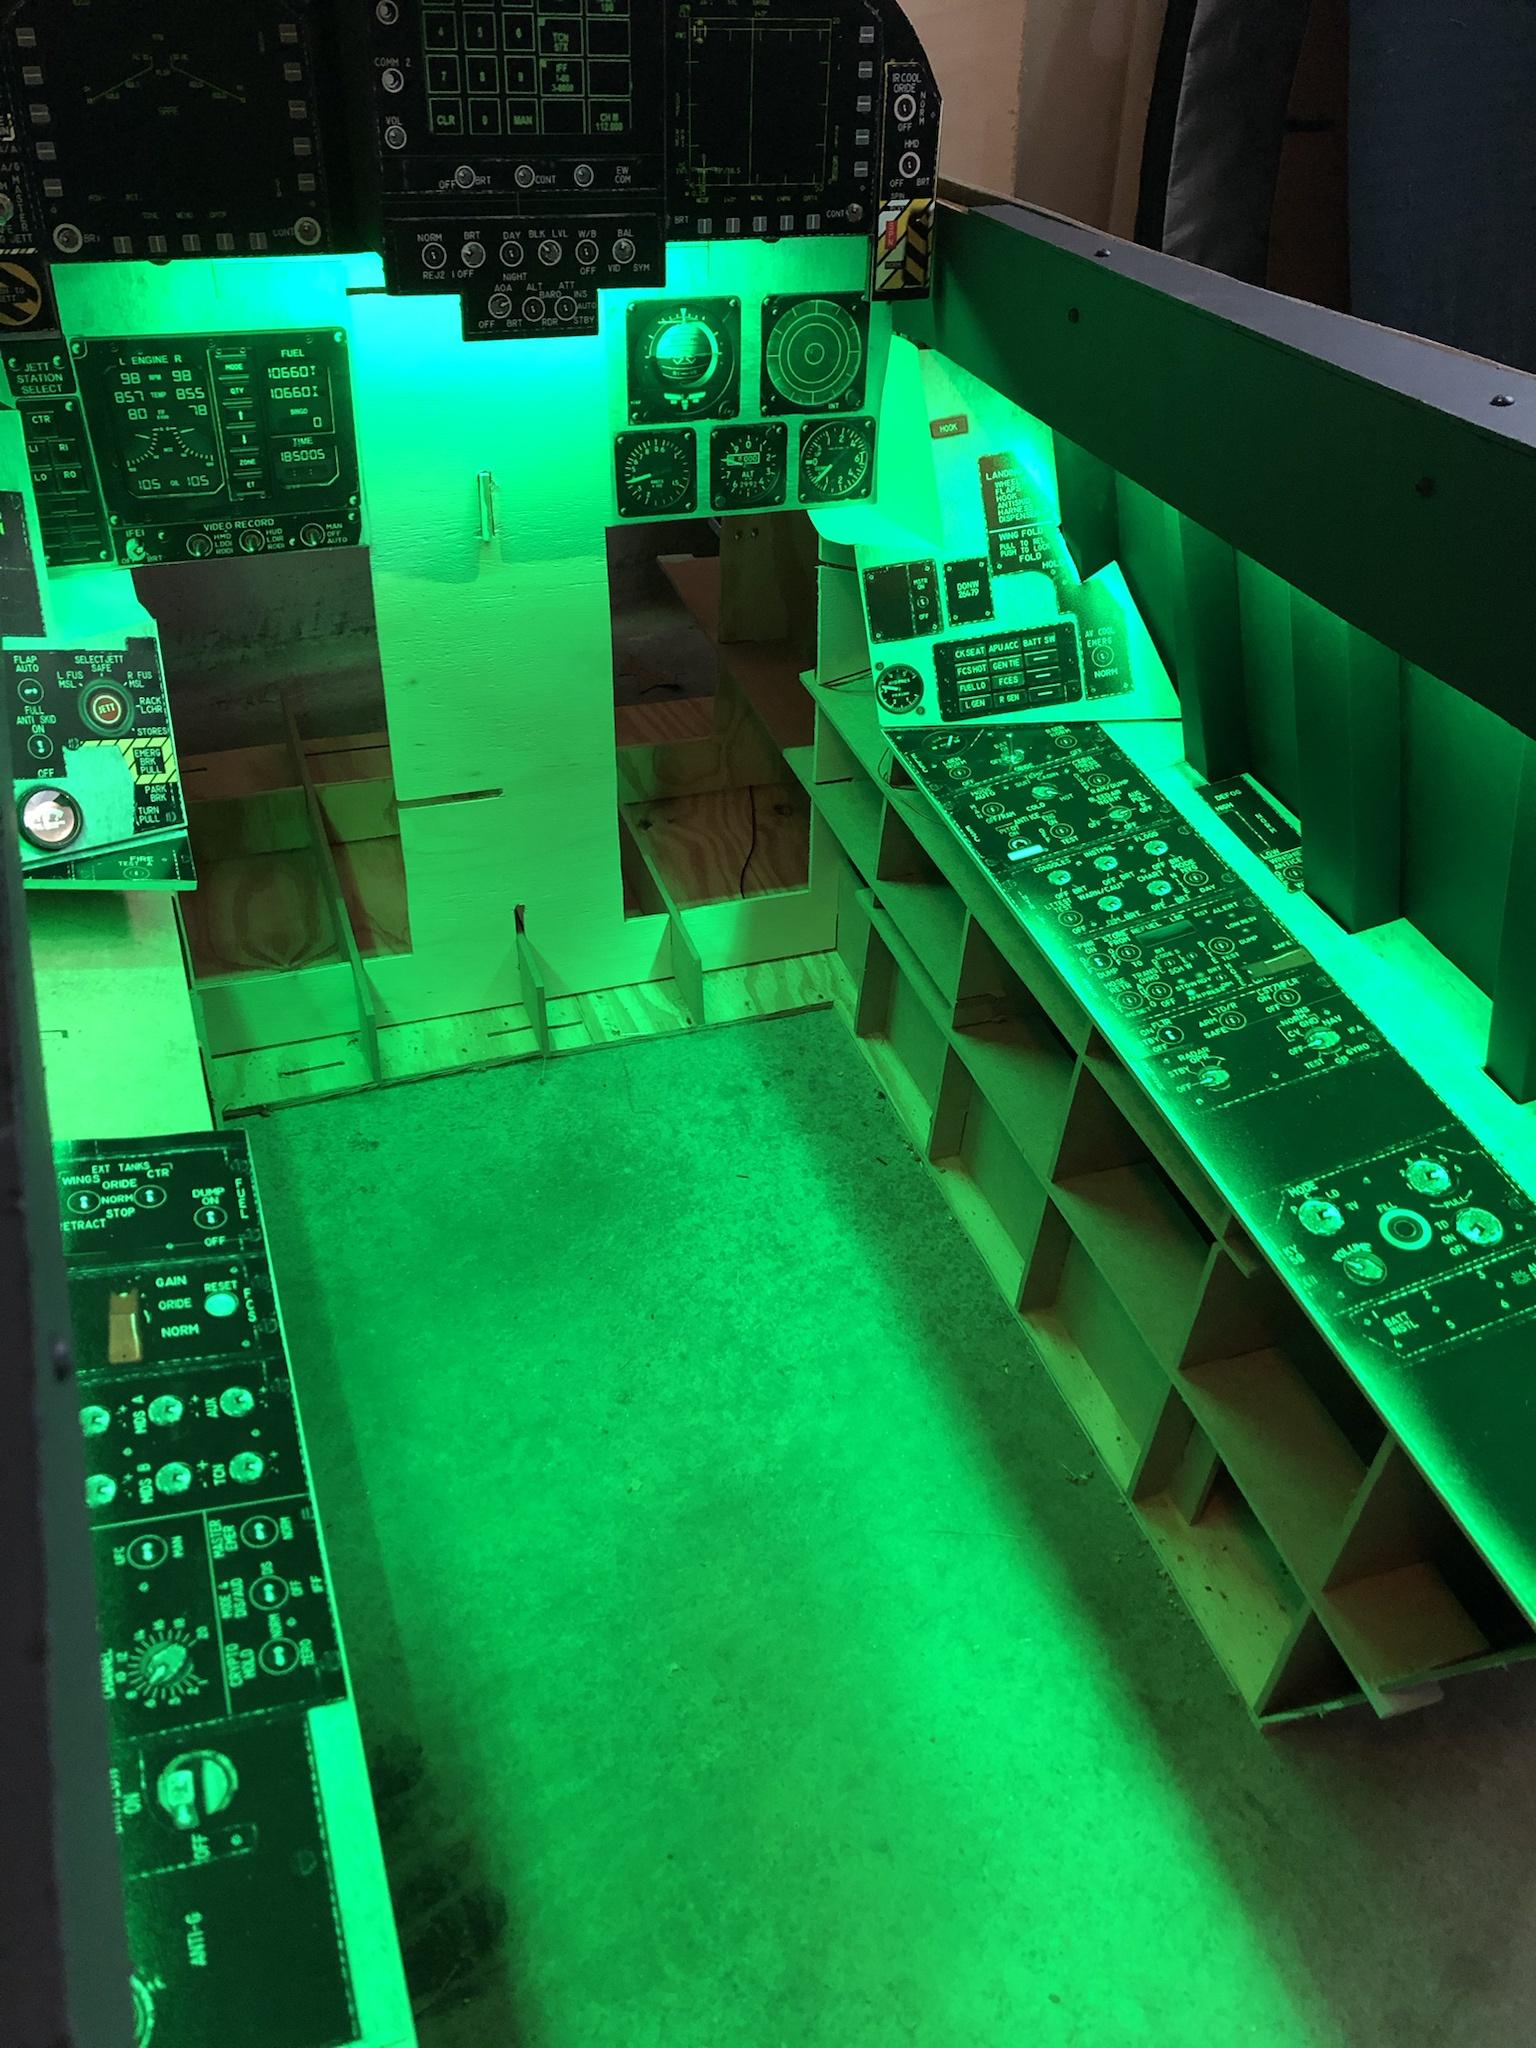
I really wanted to put something in the cockpit that came out of a real F-18 so I went on a search. I just wanted something like a switch or something small. Ended up with a real brake pressure gauge out of an F-18: It wasn’t going to fit in the cockpit like this so had to disassemble it: I needed it to be fairly short and didn’t need all the mechanicals on the back of it so I removed them and was left with this: The wires that were left connected seemed to go to what should be a light, so, I tested it with a battery and behold, light! I also glued the needle in place so it looks like it's in use. Cut out the shape in the landing gear panel and installed it: Here it is installed in the cockpit: Far rear panels painted and installed, and some paint going on the side panels: Starting to add the lights with the upper side rails installed: Side rails painted, pictures installed on arm panels, more lights: Close up of the gauge lit up with the lights: All lit up! Put a switch where the battery switch is in the plane and it controls the lights. I would have put it where the normal lighting dials are in the plane, but that is where the keyboard is going to sit: Throttle, side panels installed: Main outer panels being fitted: Painted!:
-
I built a full F-18 cockpit, build thread inside!
MajSchrute replied to MajSchrute's topic in Home Cockpits
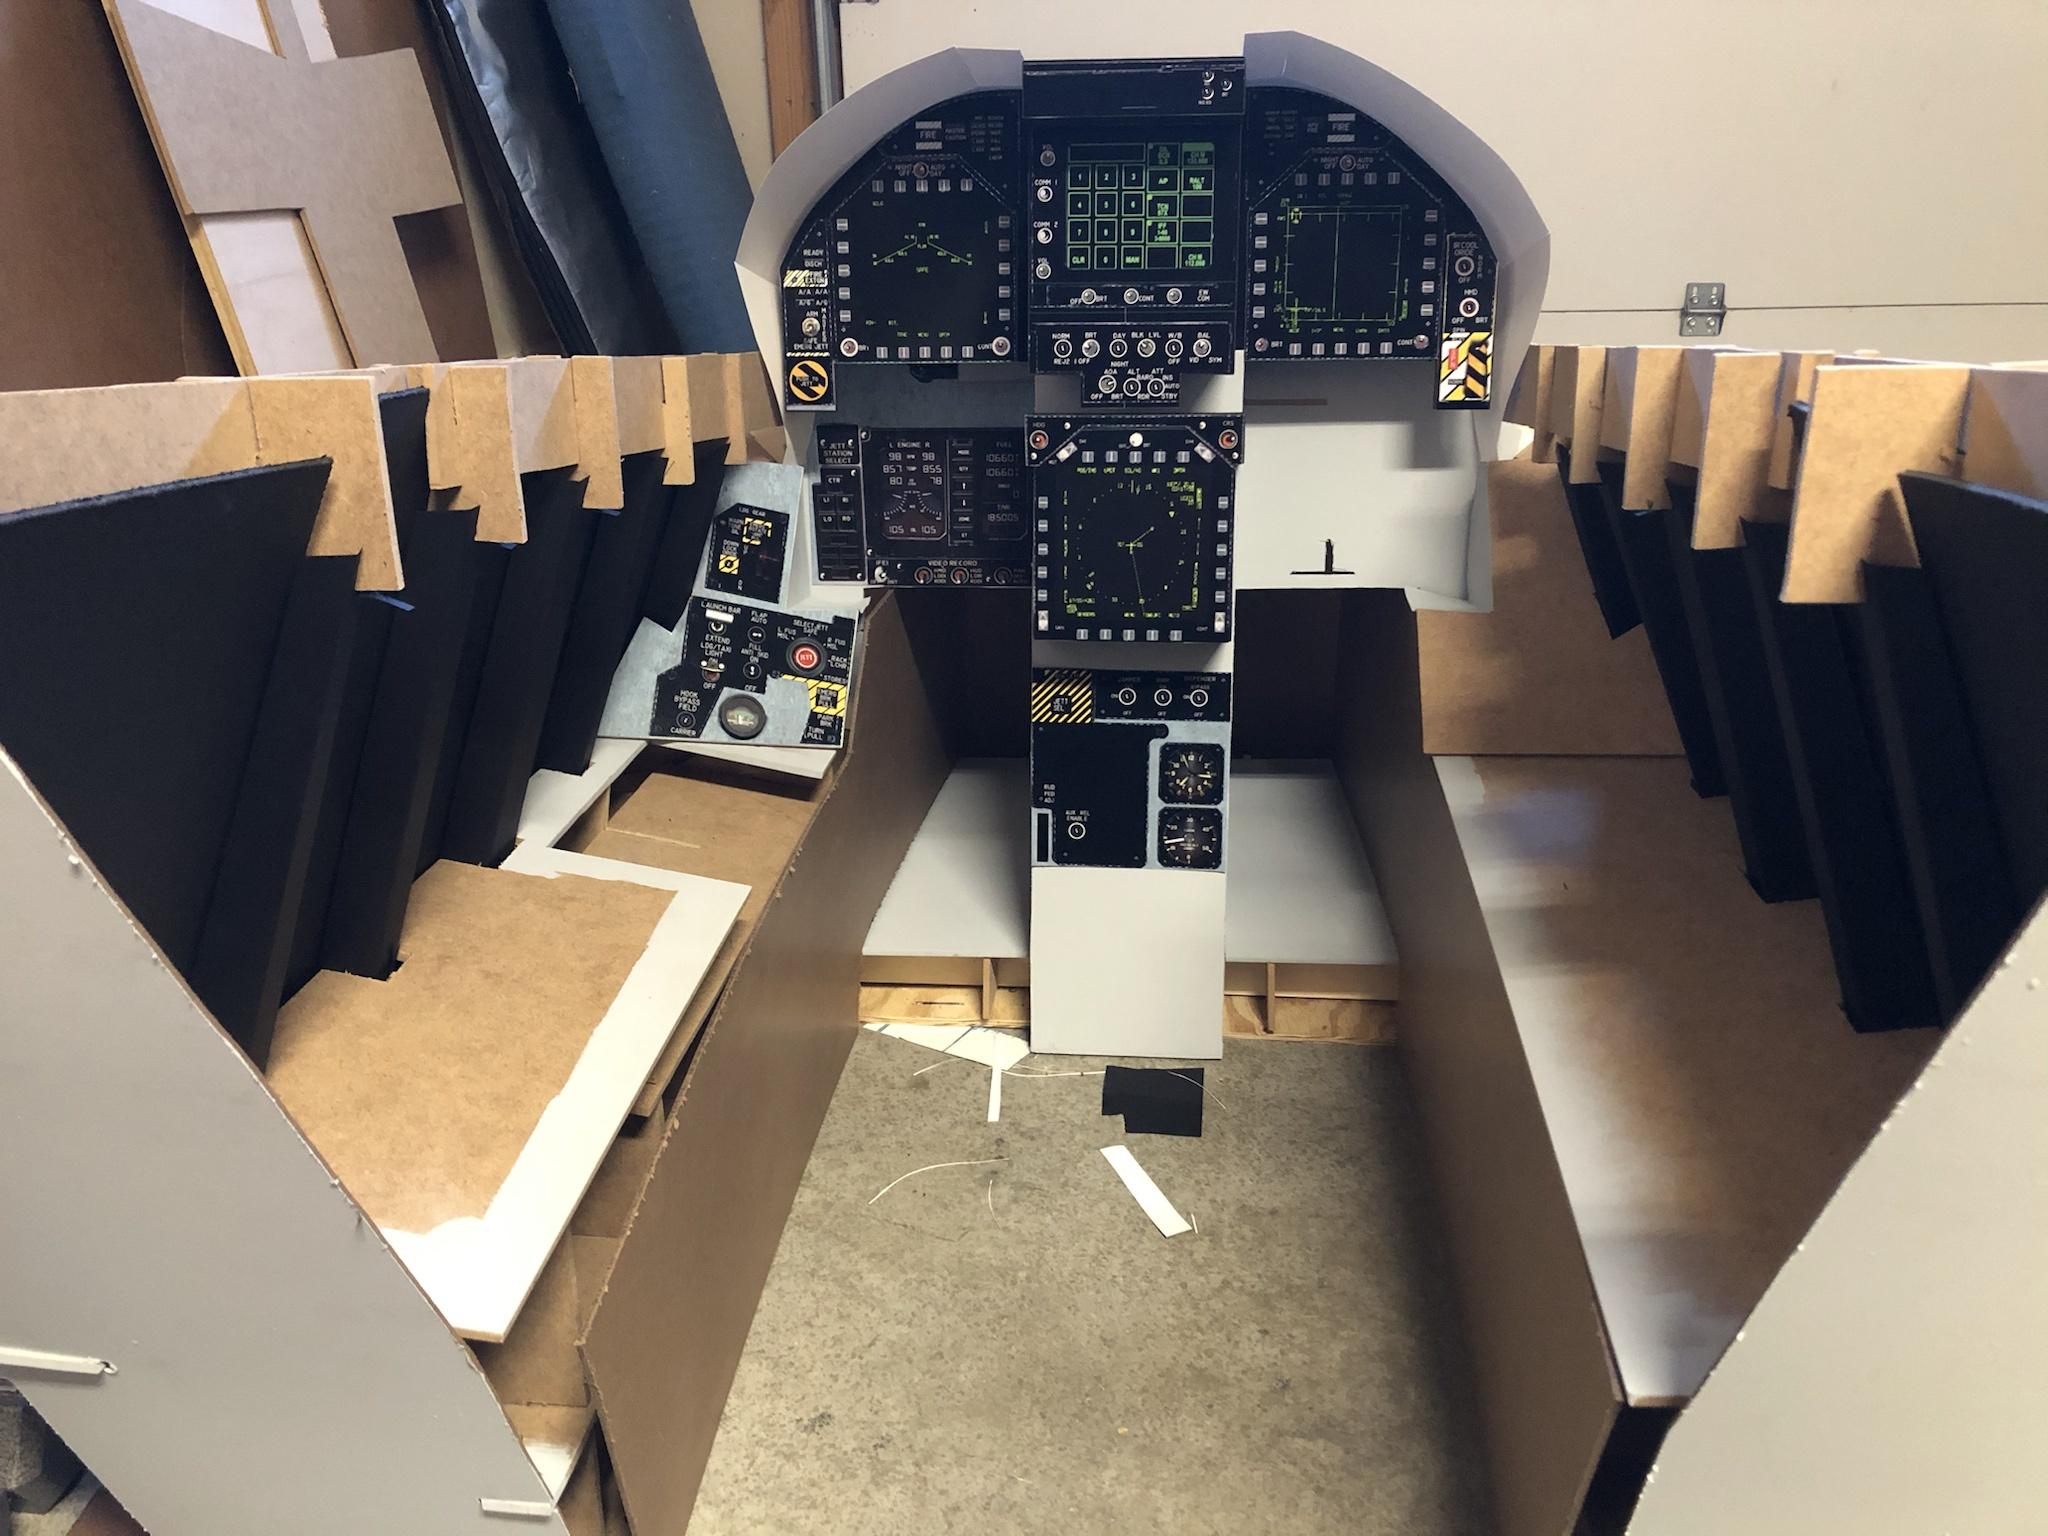
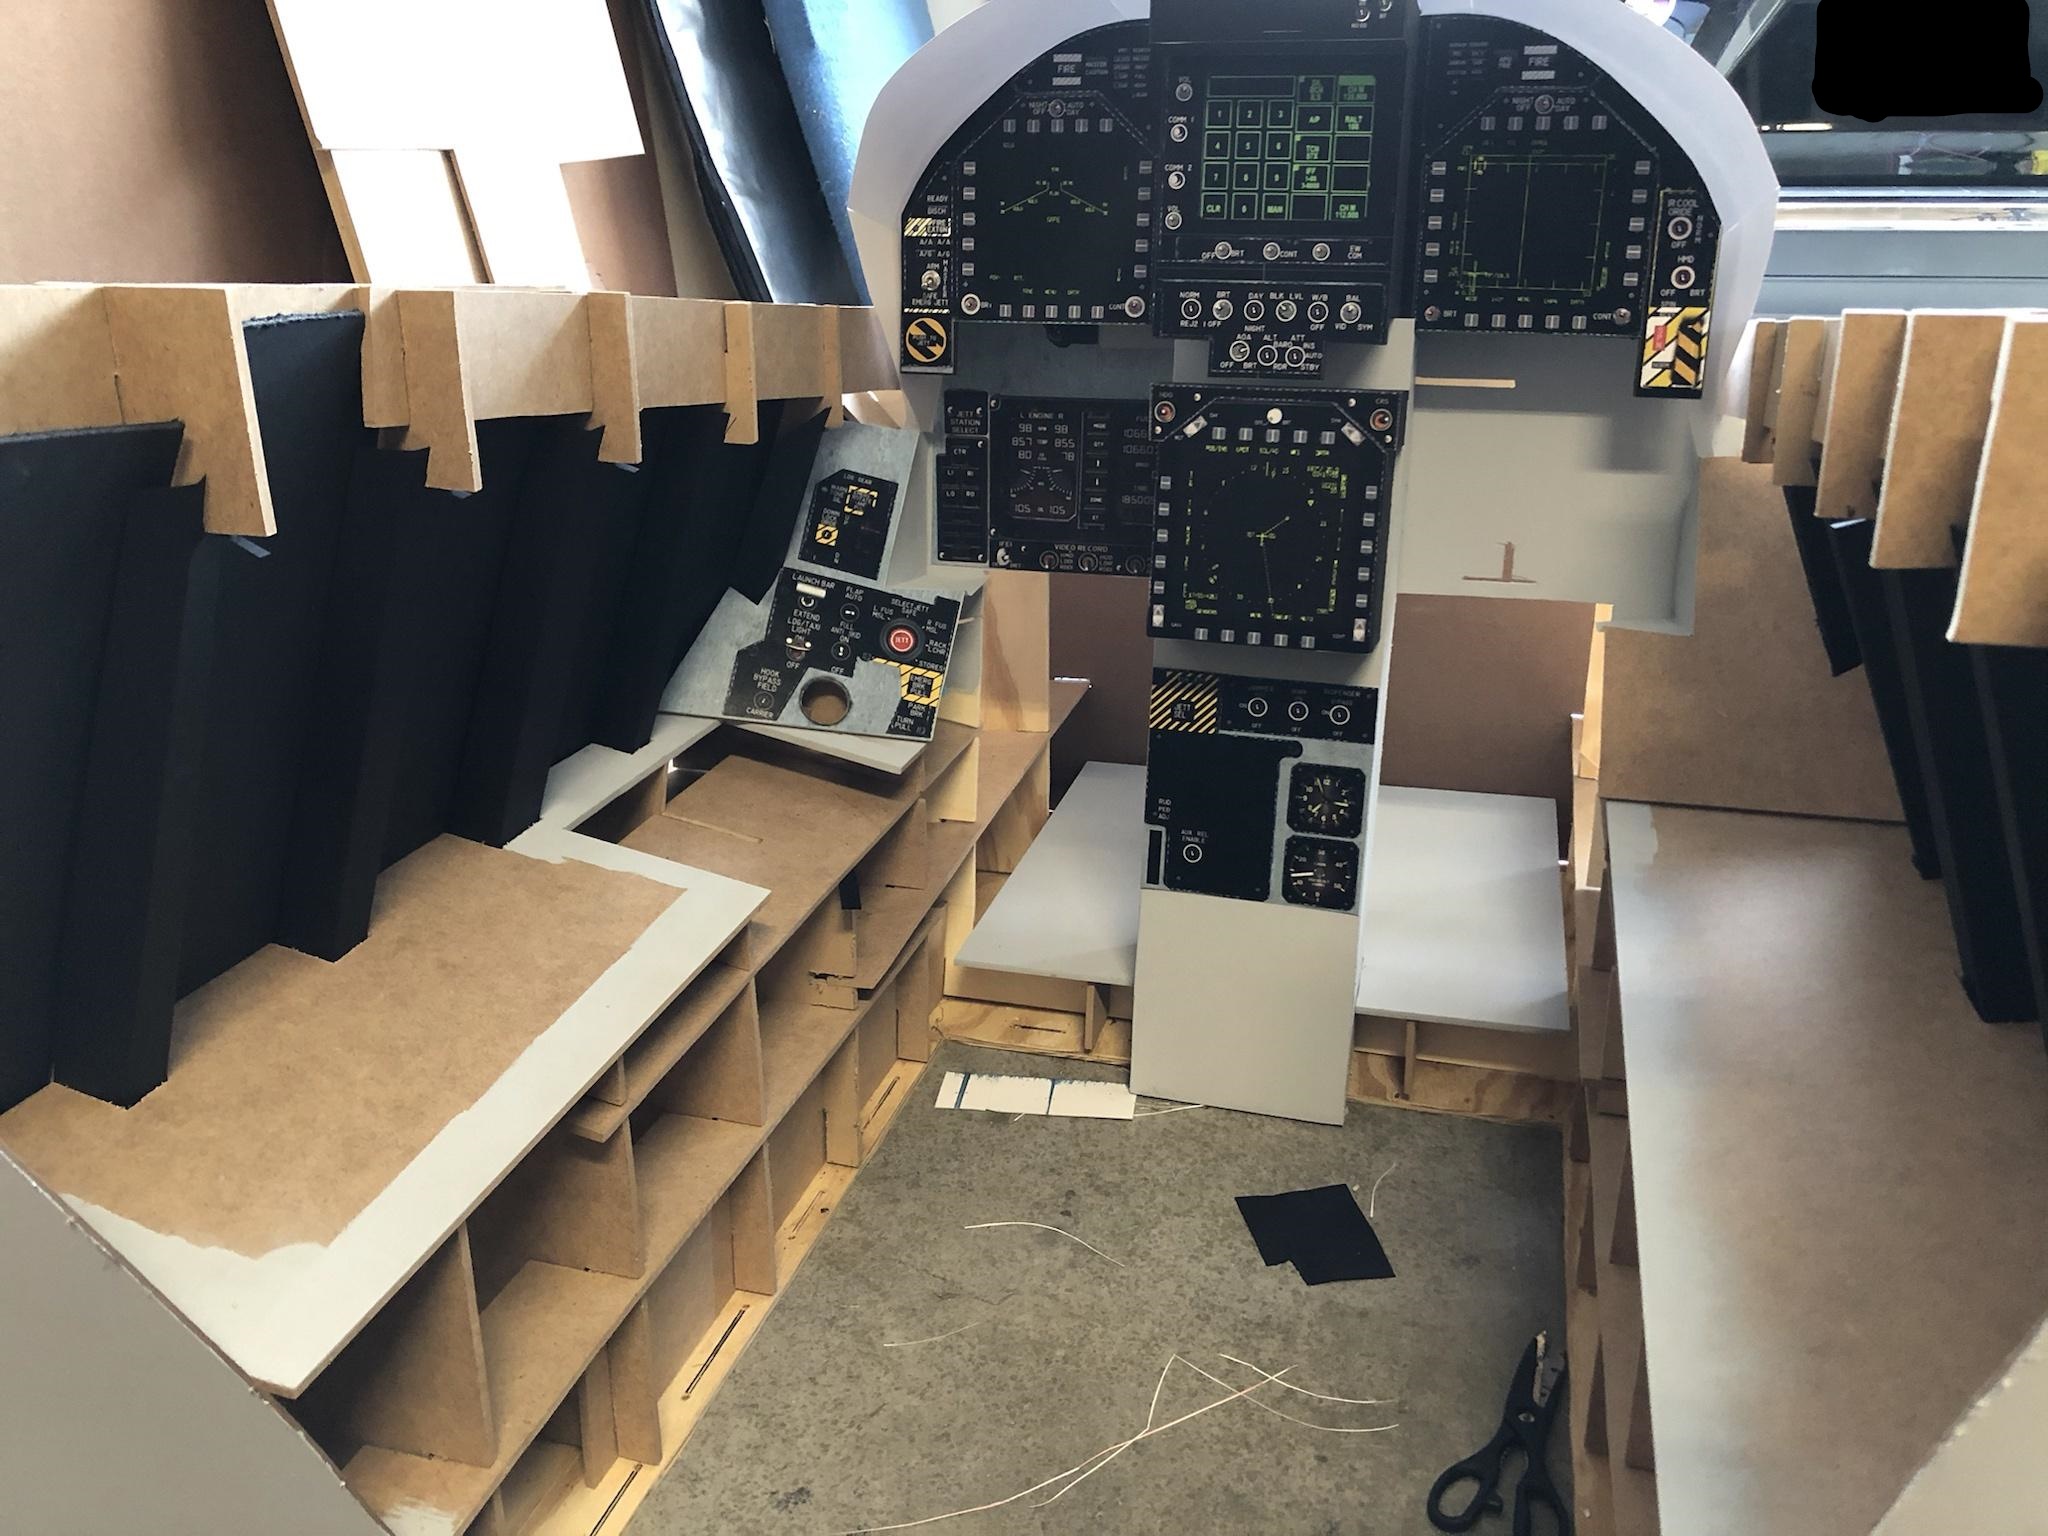
Now I started to work on the lower center panel: Here is the instrument panel on and the lower center panel: Painted and pictures applied, foot floor panel made and painted: Then onto making the arm side panels, and the panels for the landing gear and hook: I made the side ribs and back panels out of poster board cut to shape: Ribs/side back panels installed, applying pictures to the gear and hook panels: Made the lower side panels and it’s starting to come together a little: Front panel cut, and painted:
-
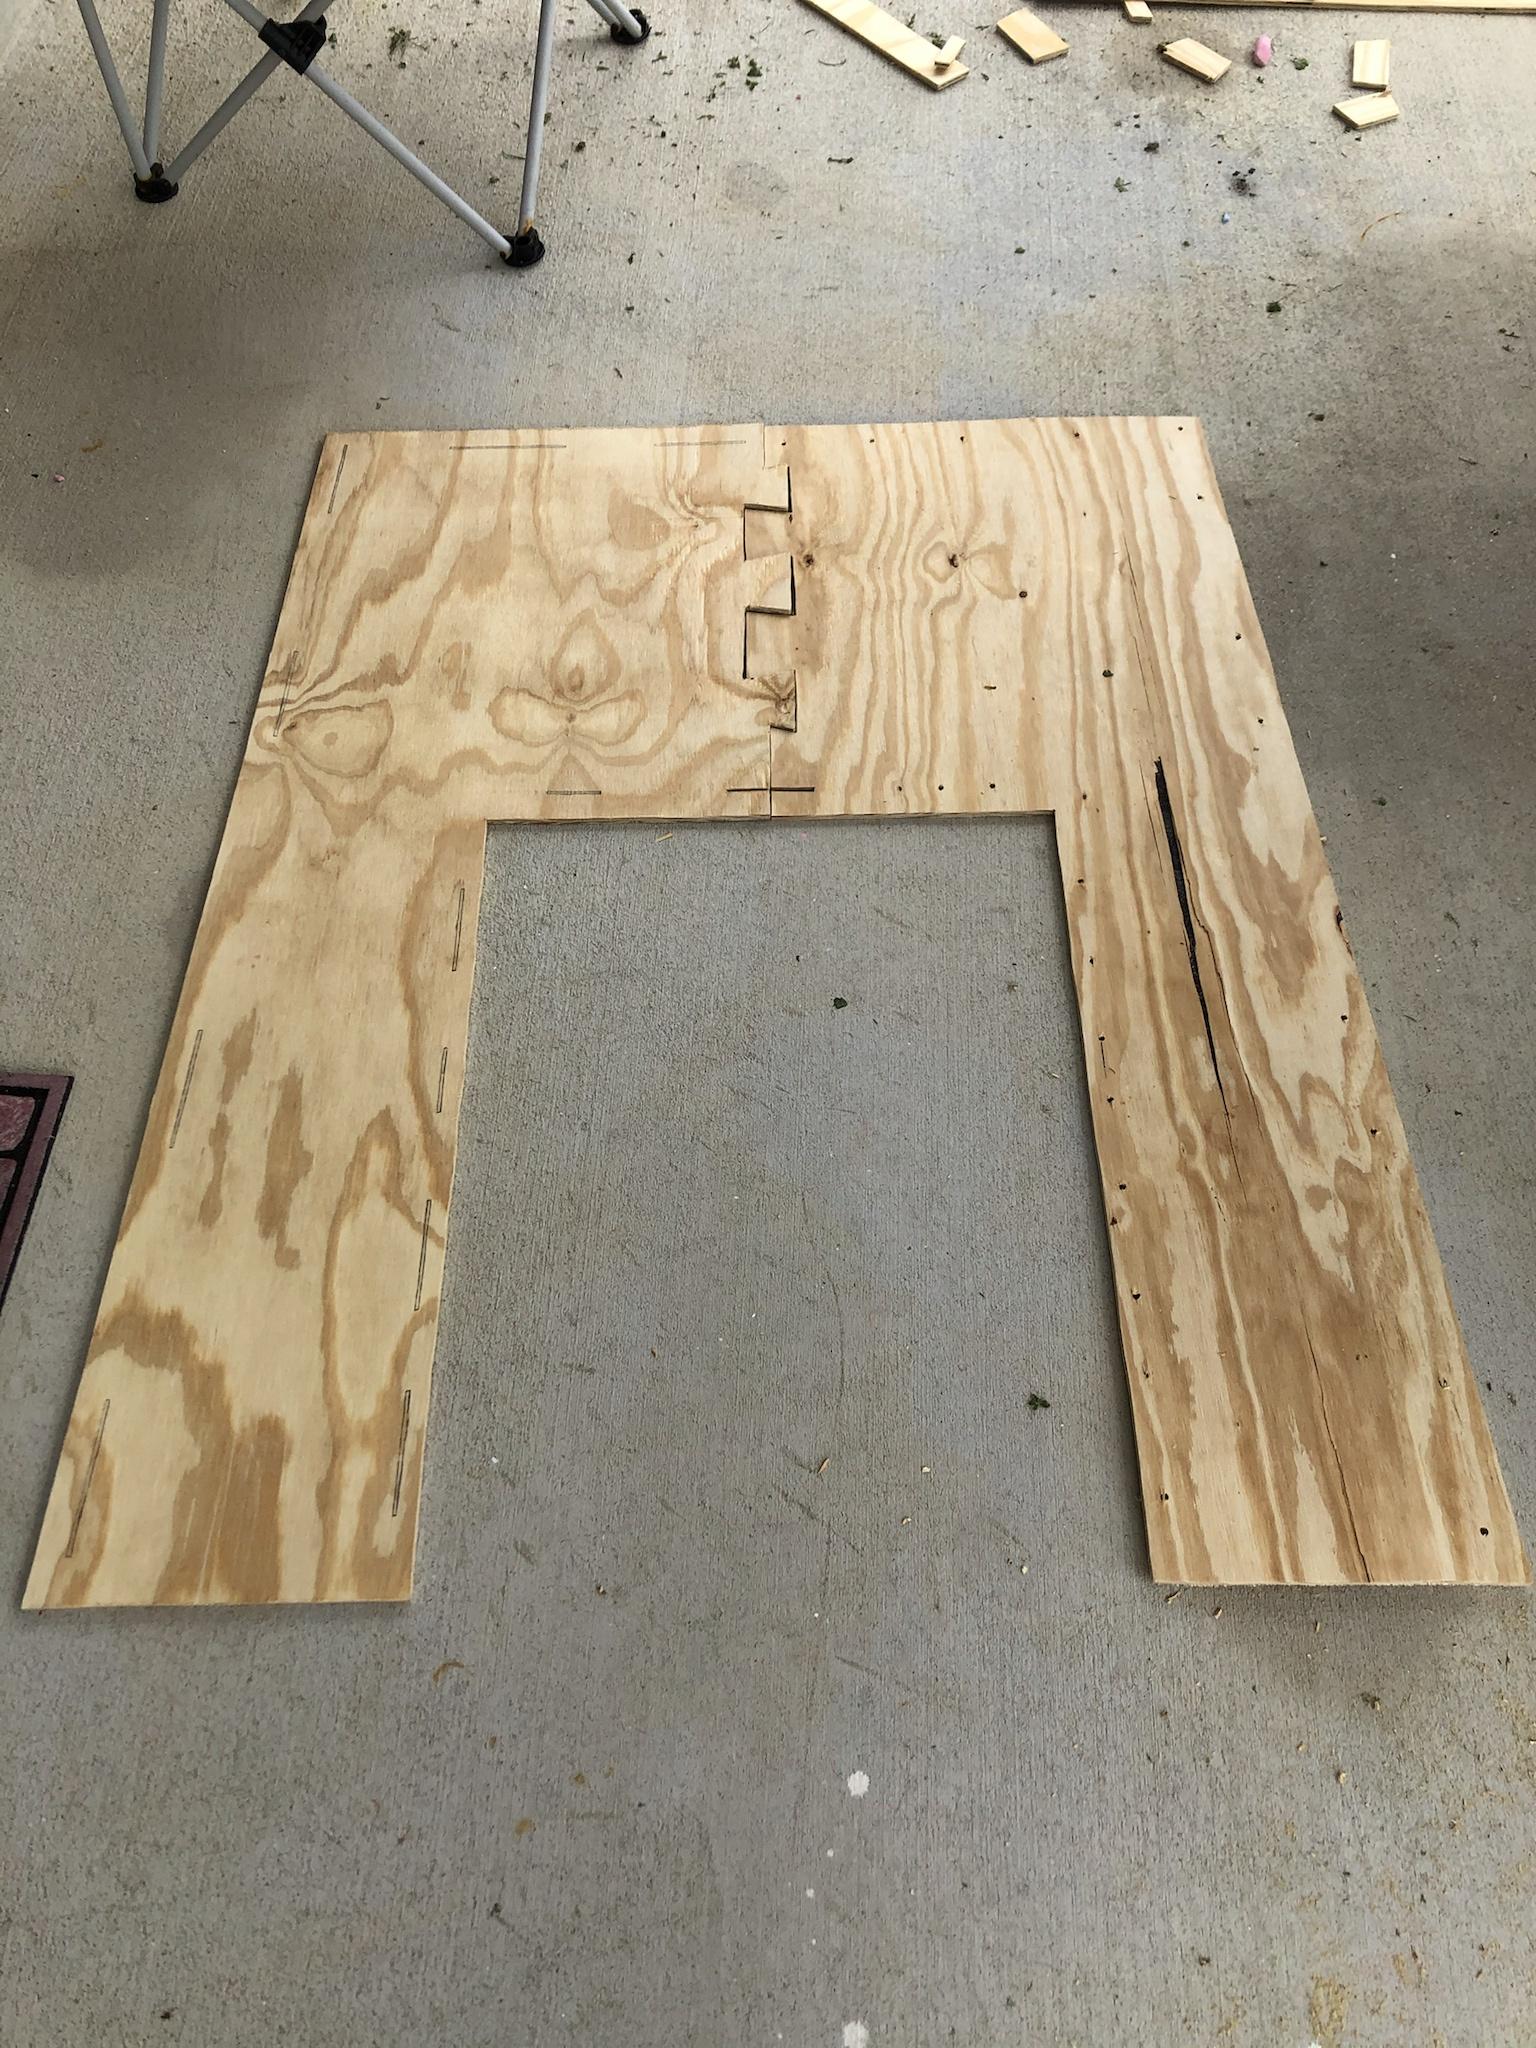
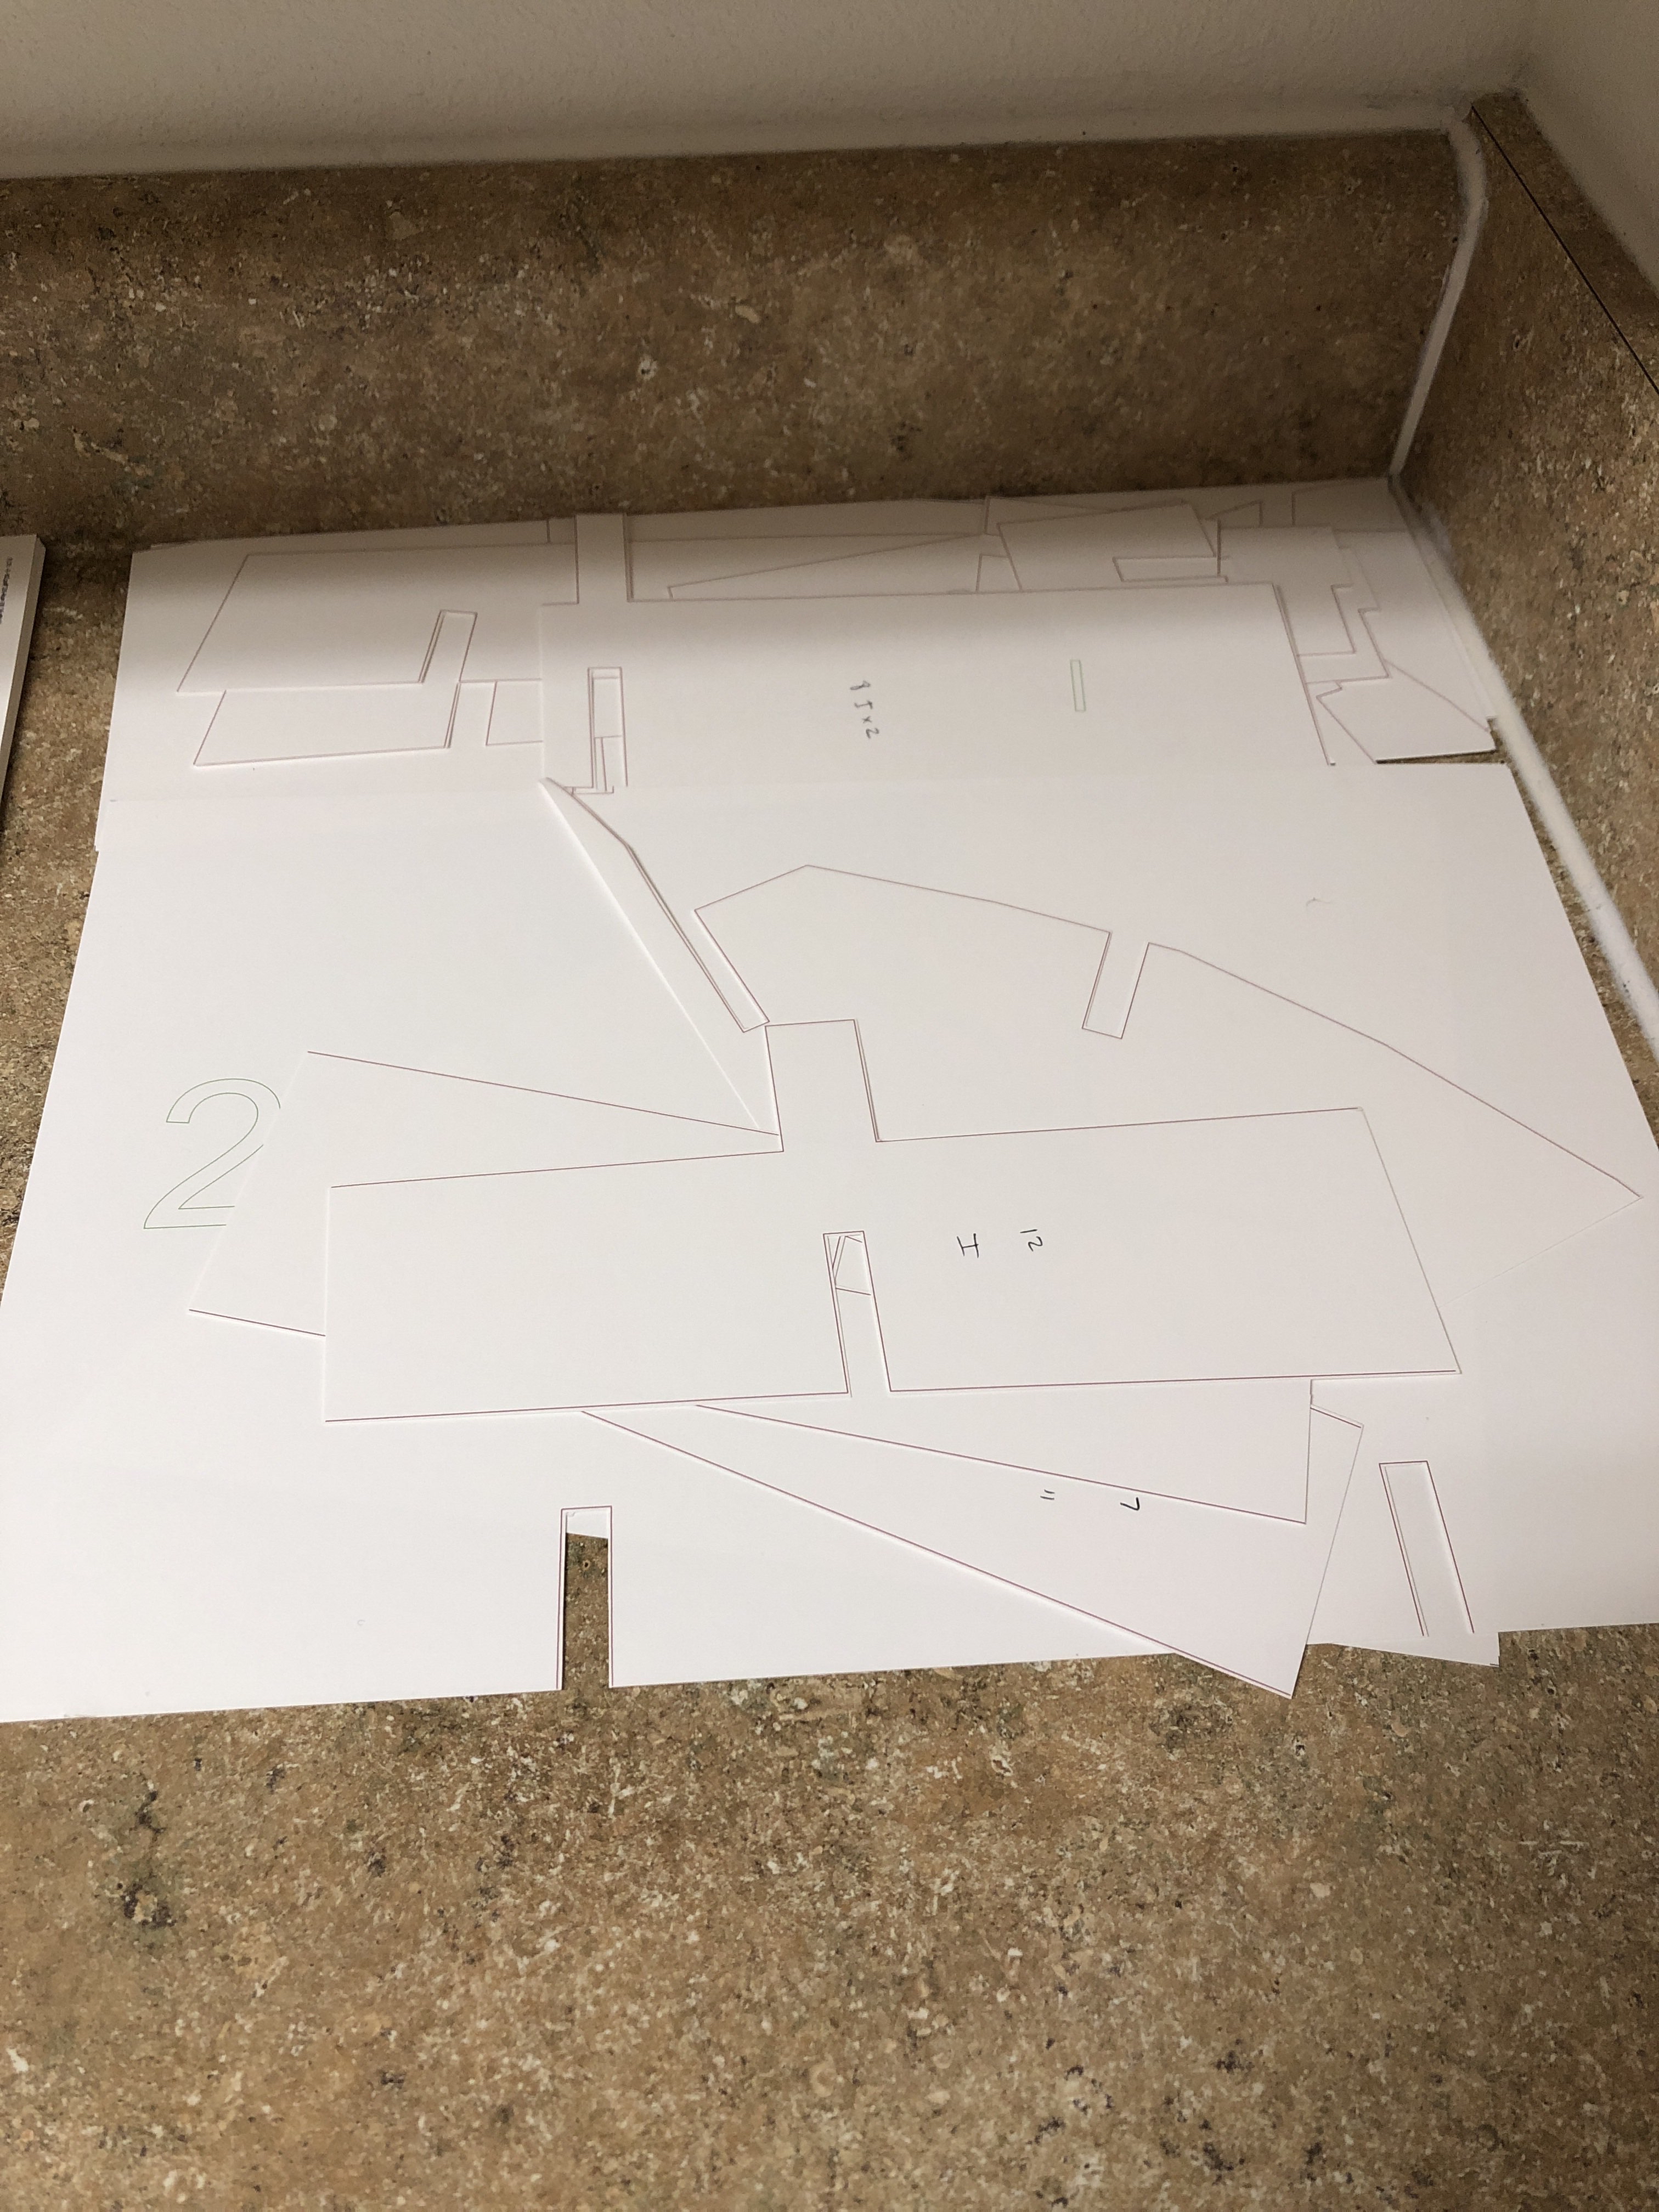
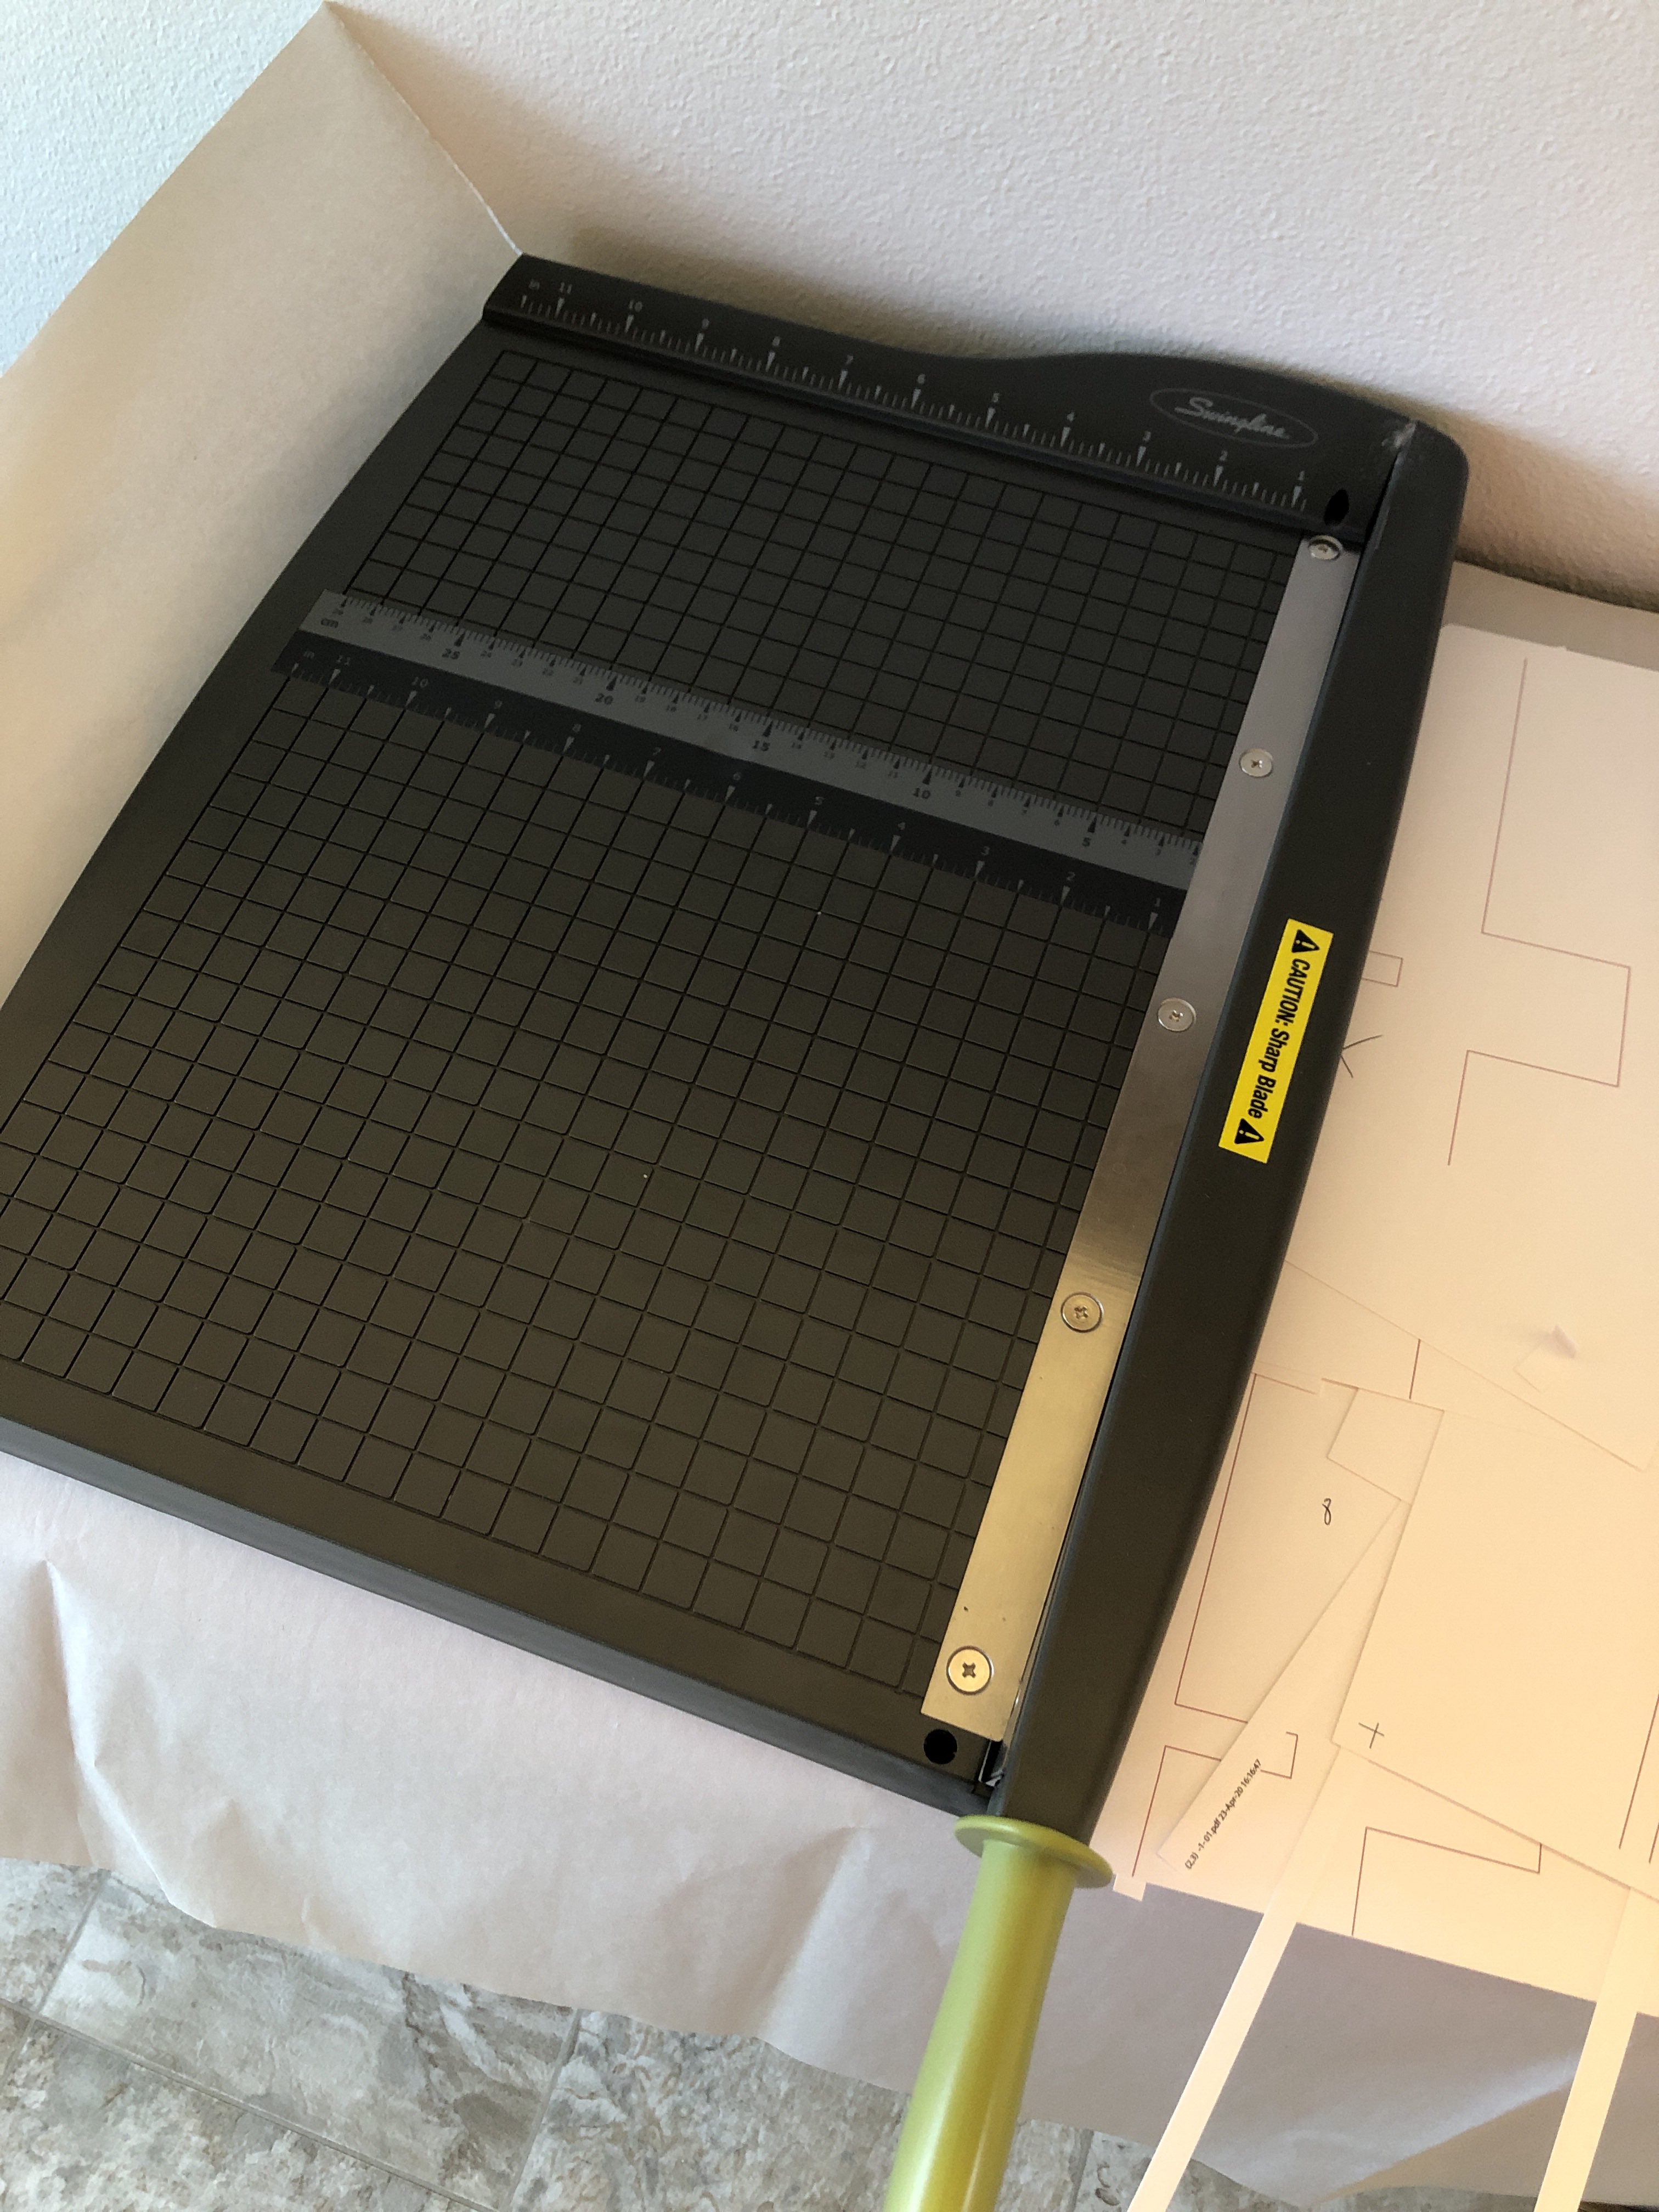
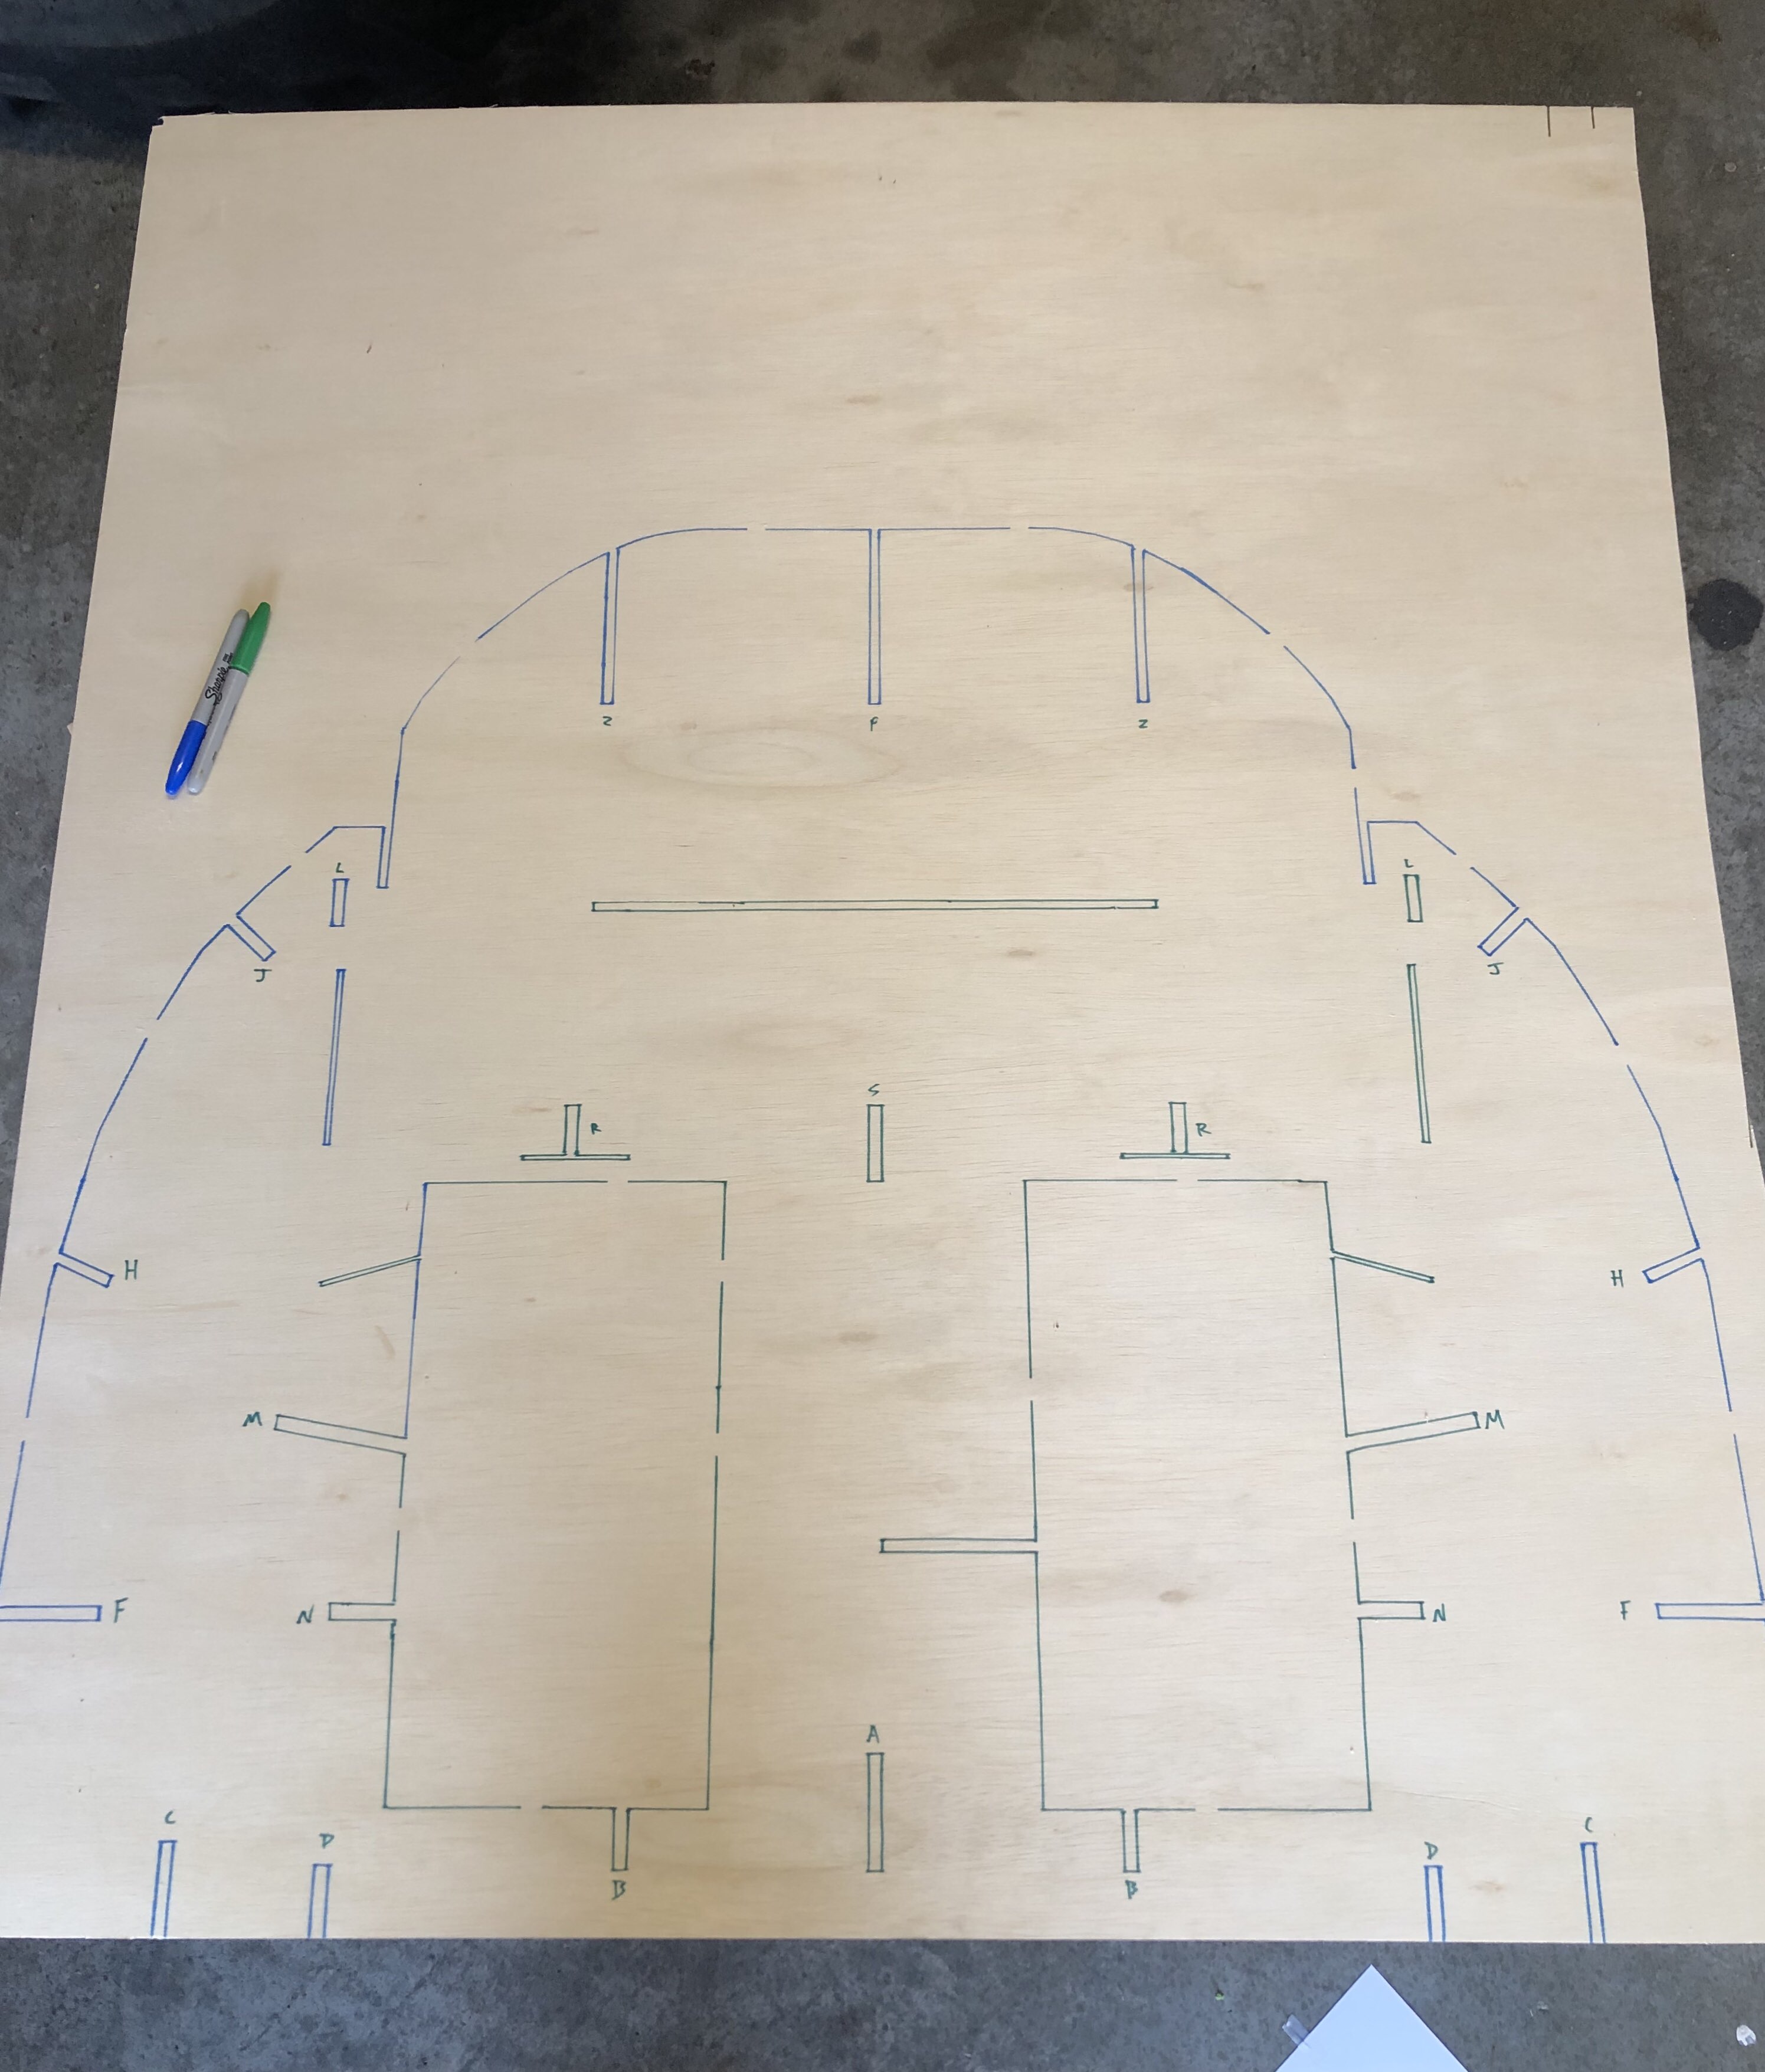
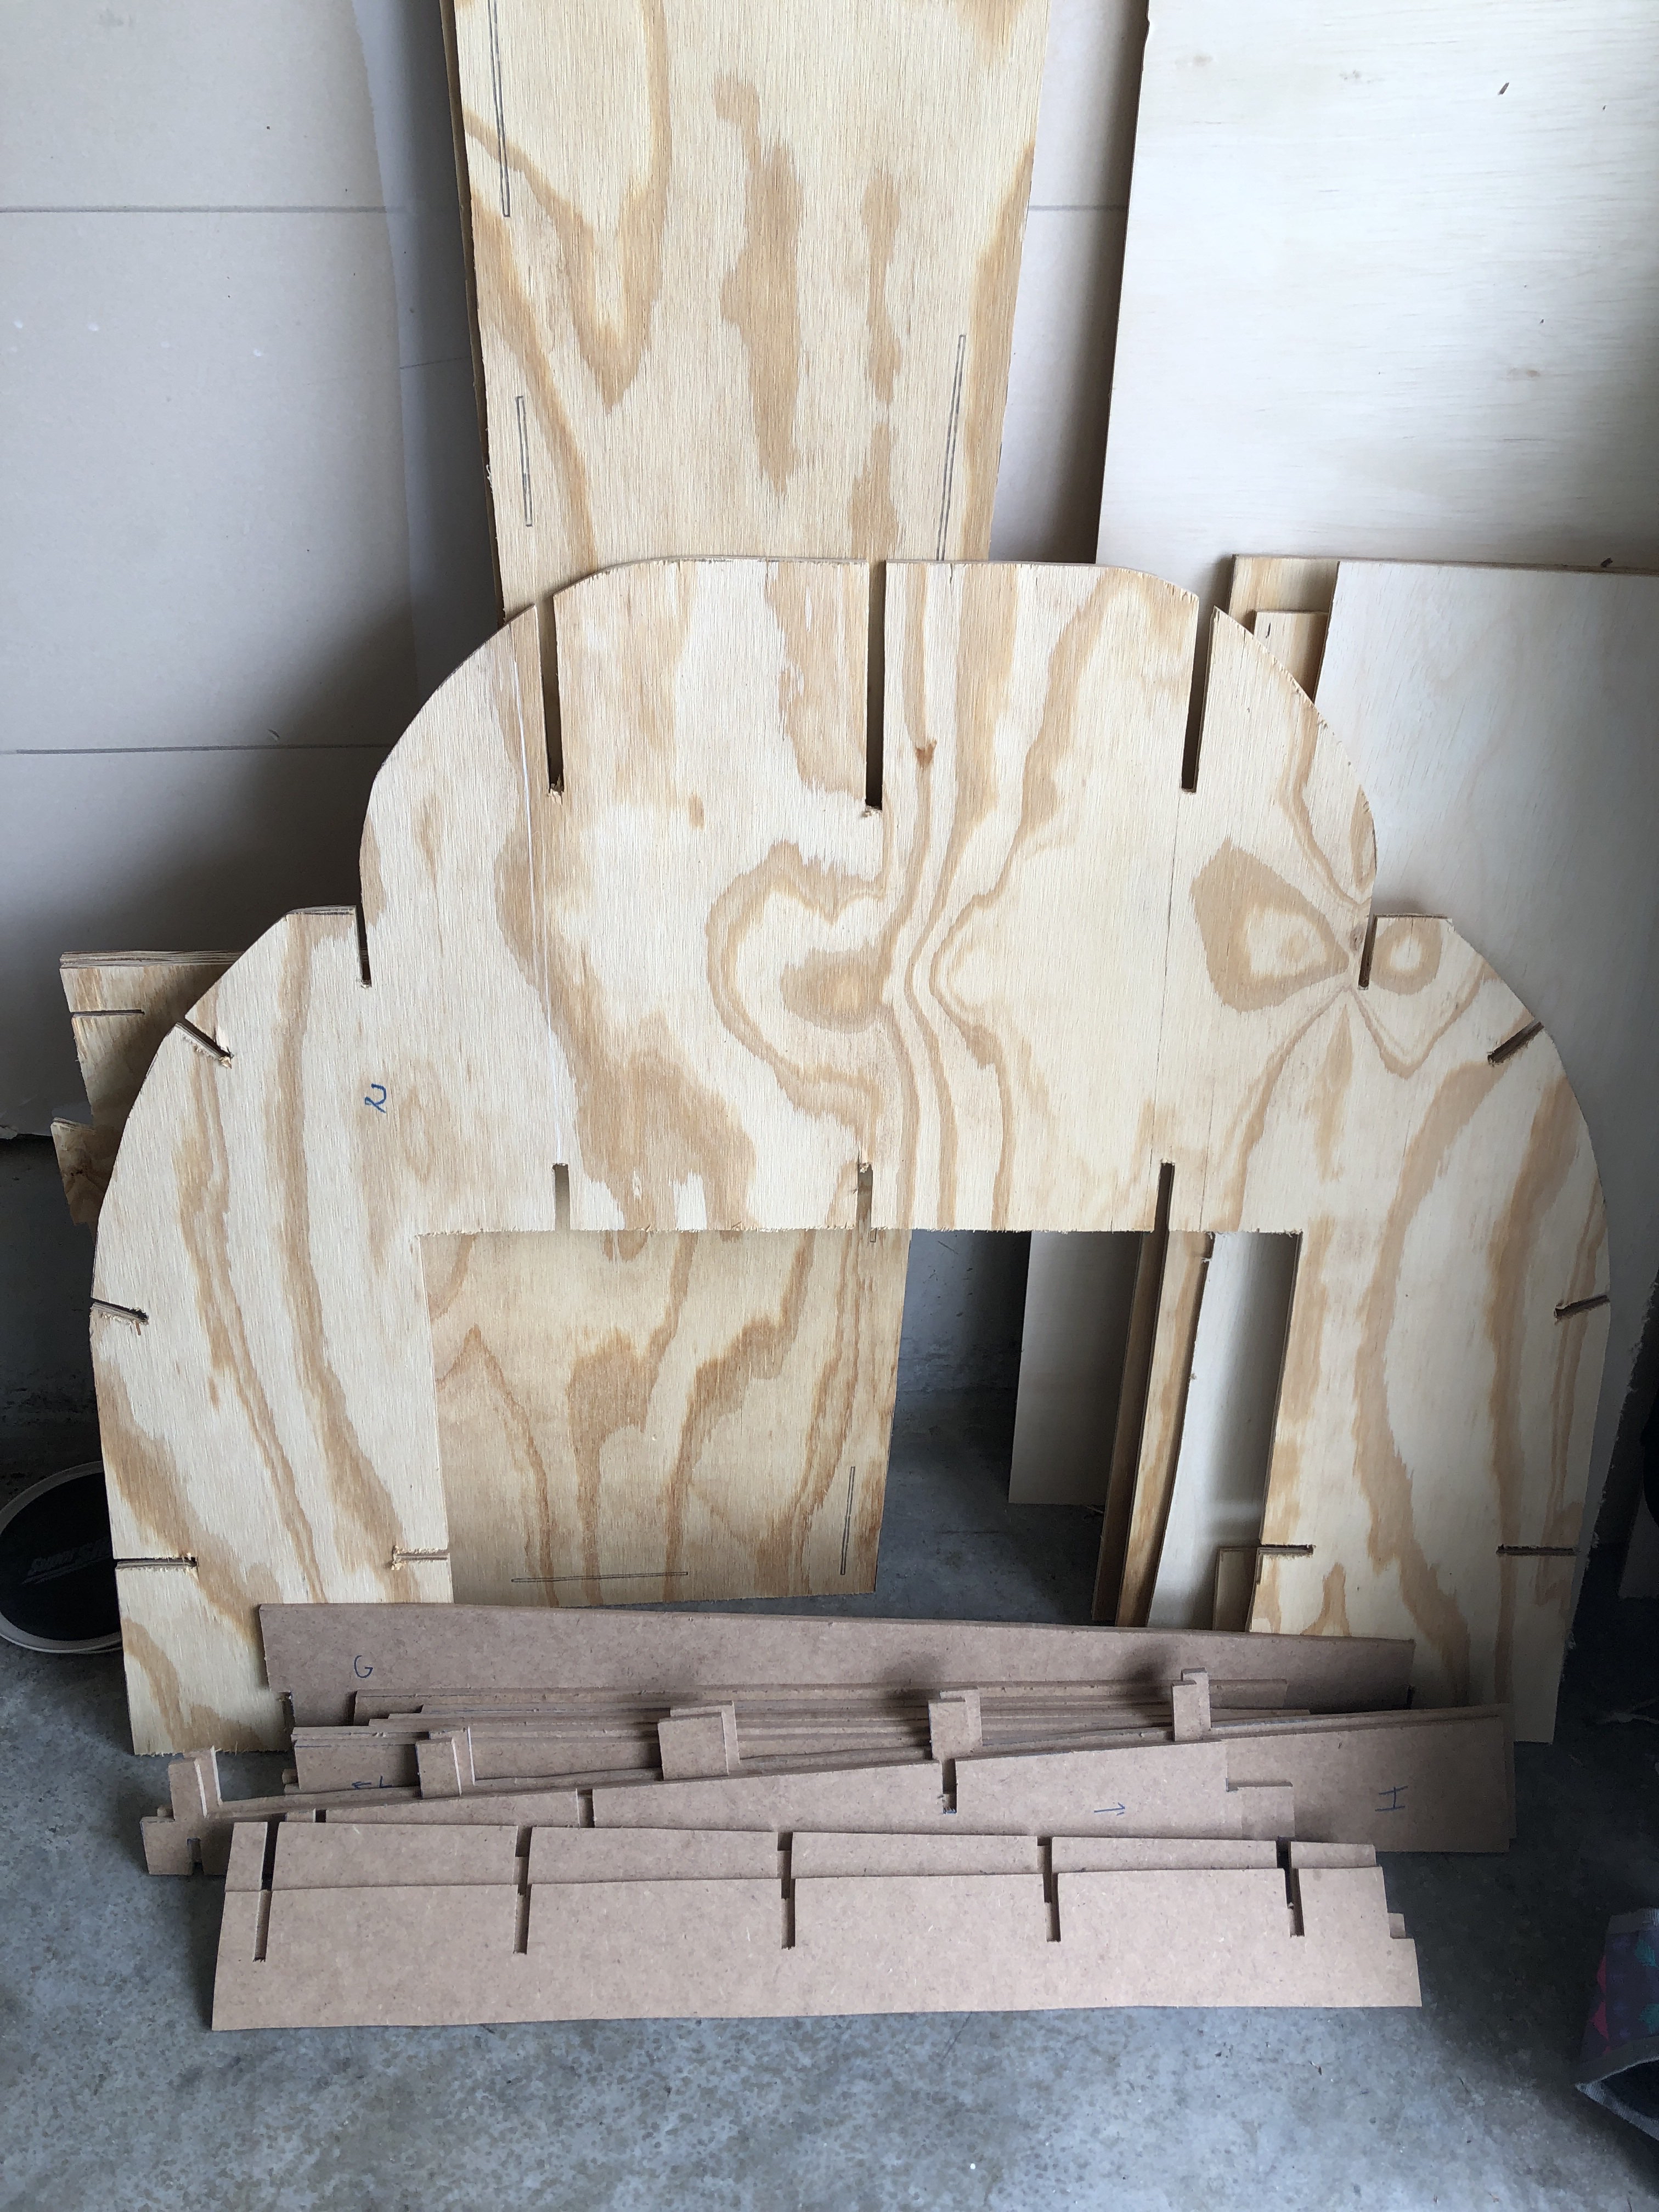
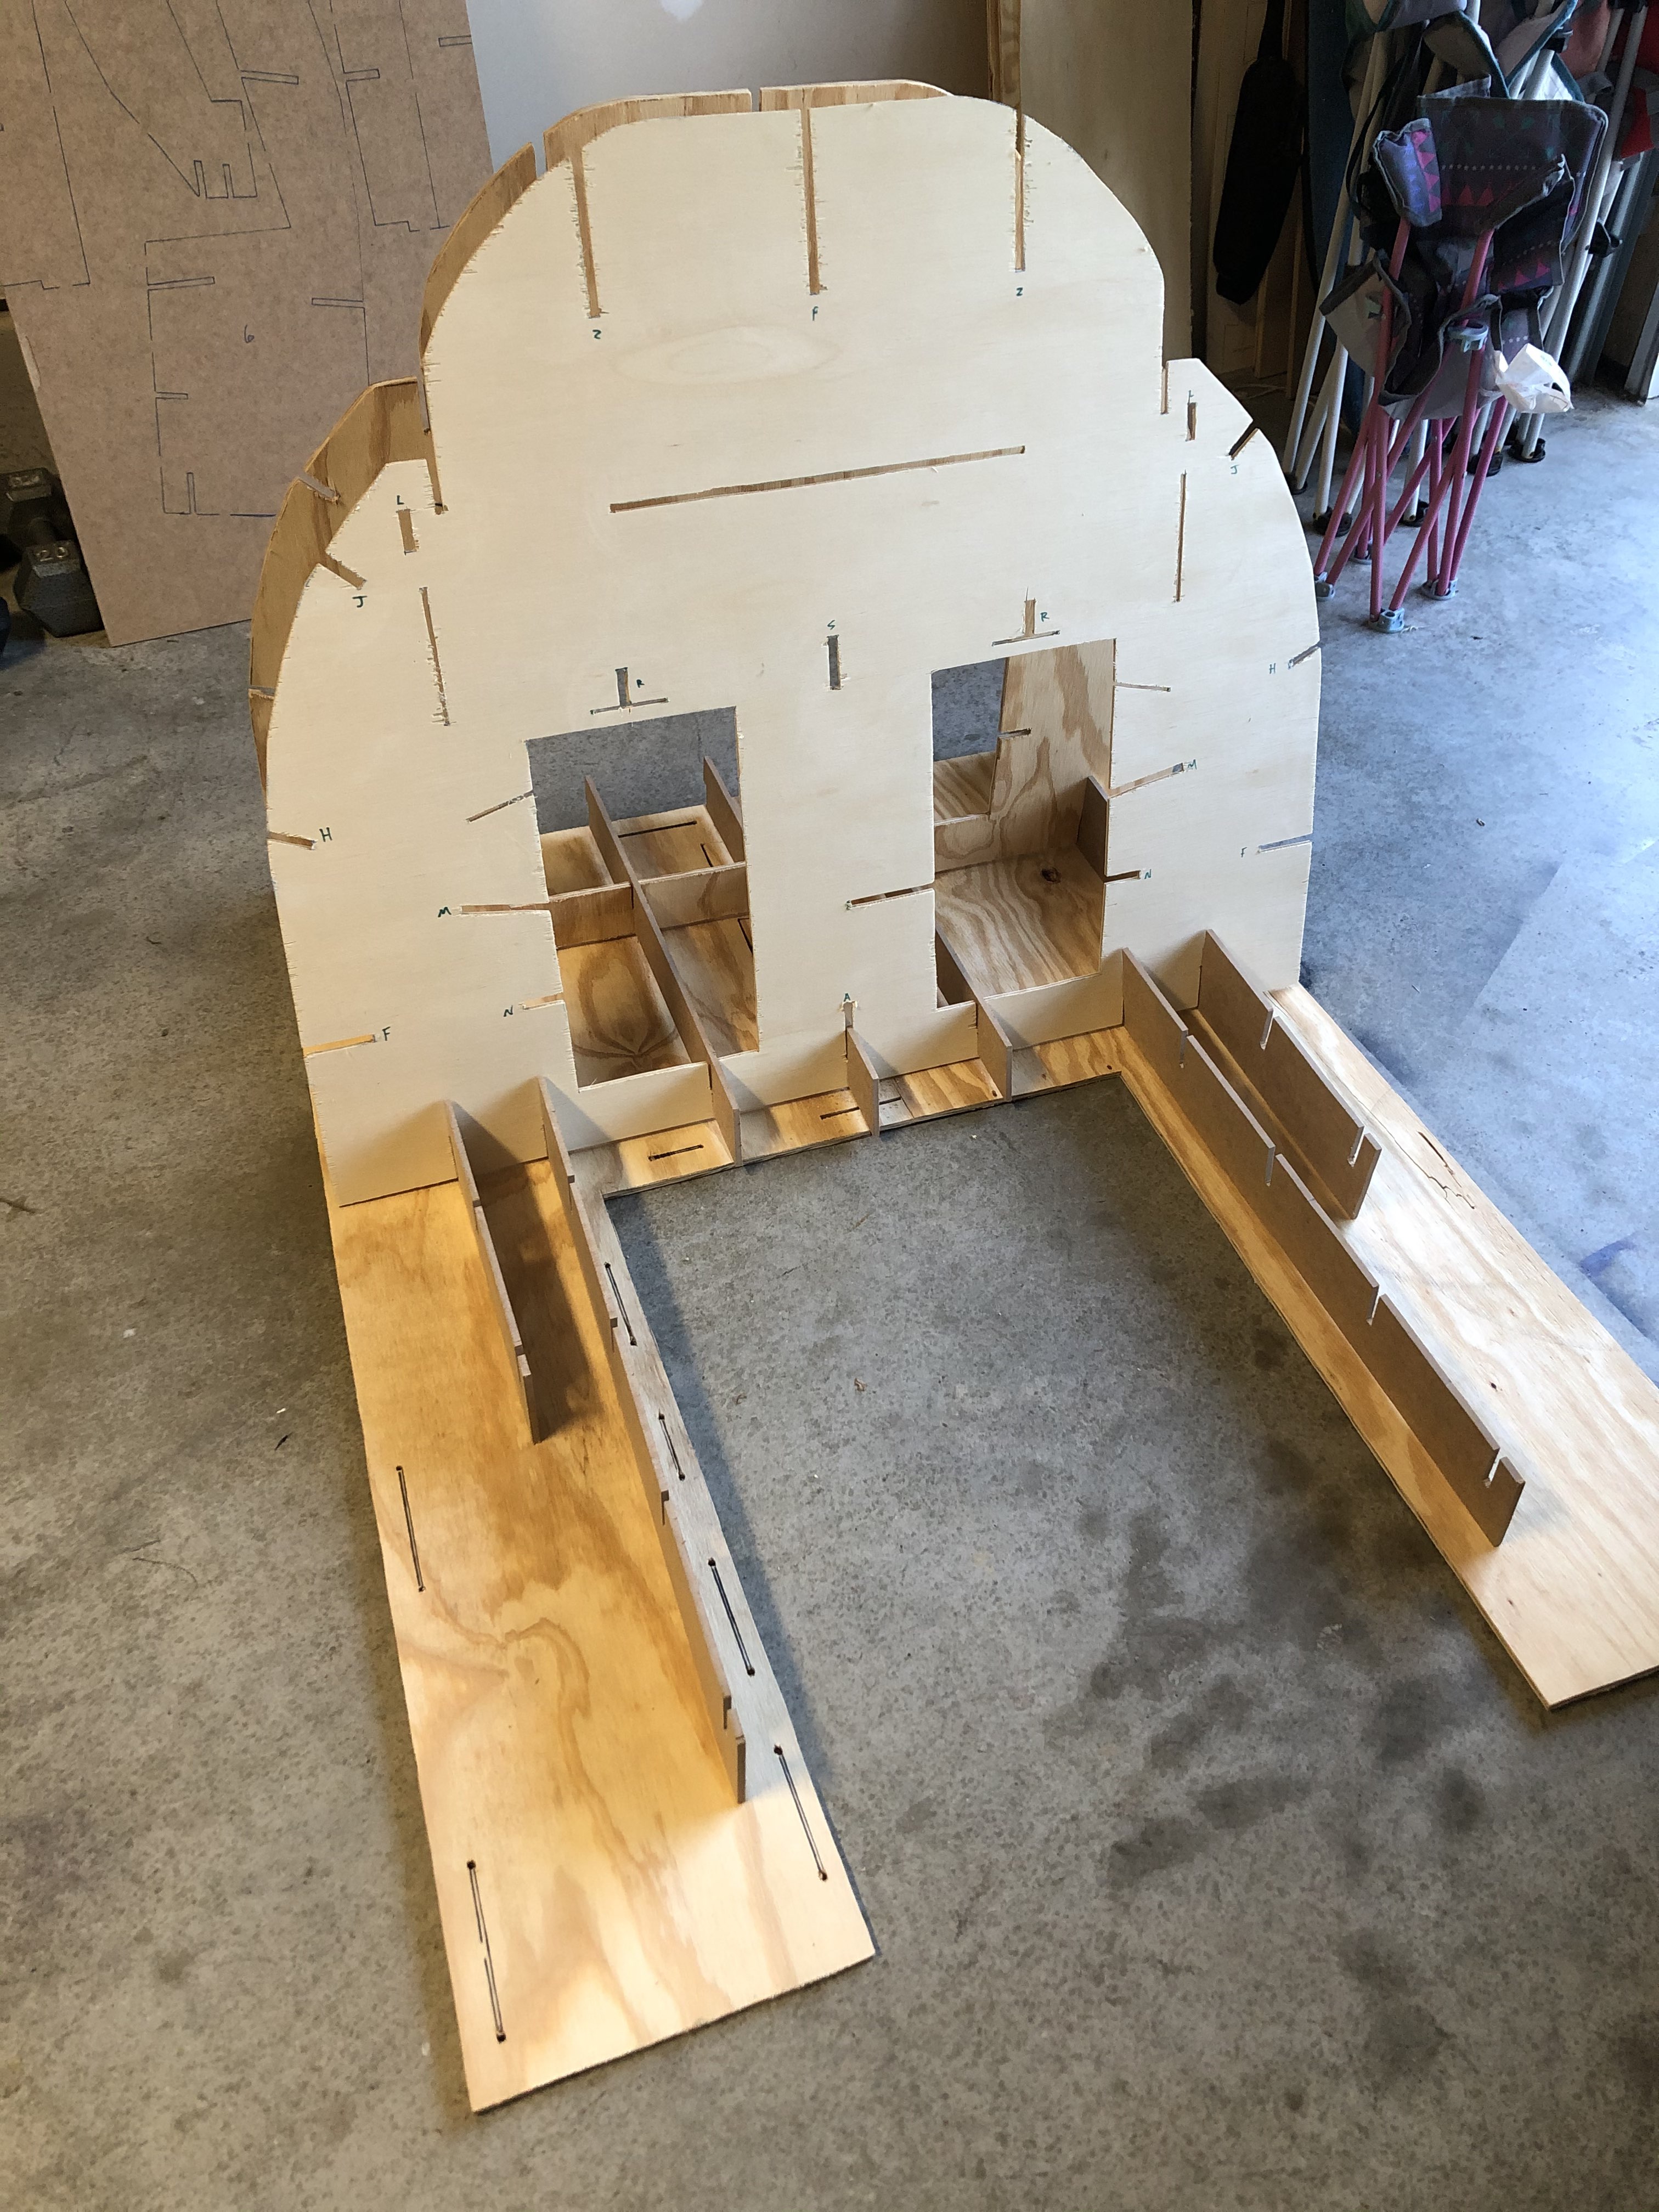
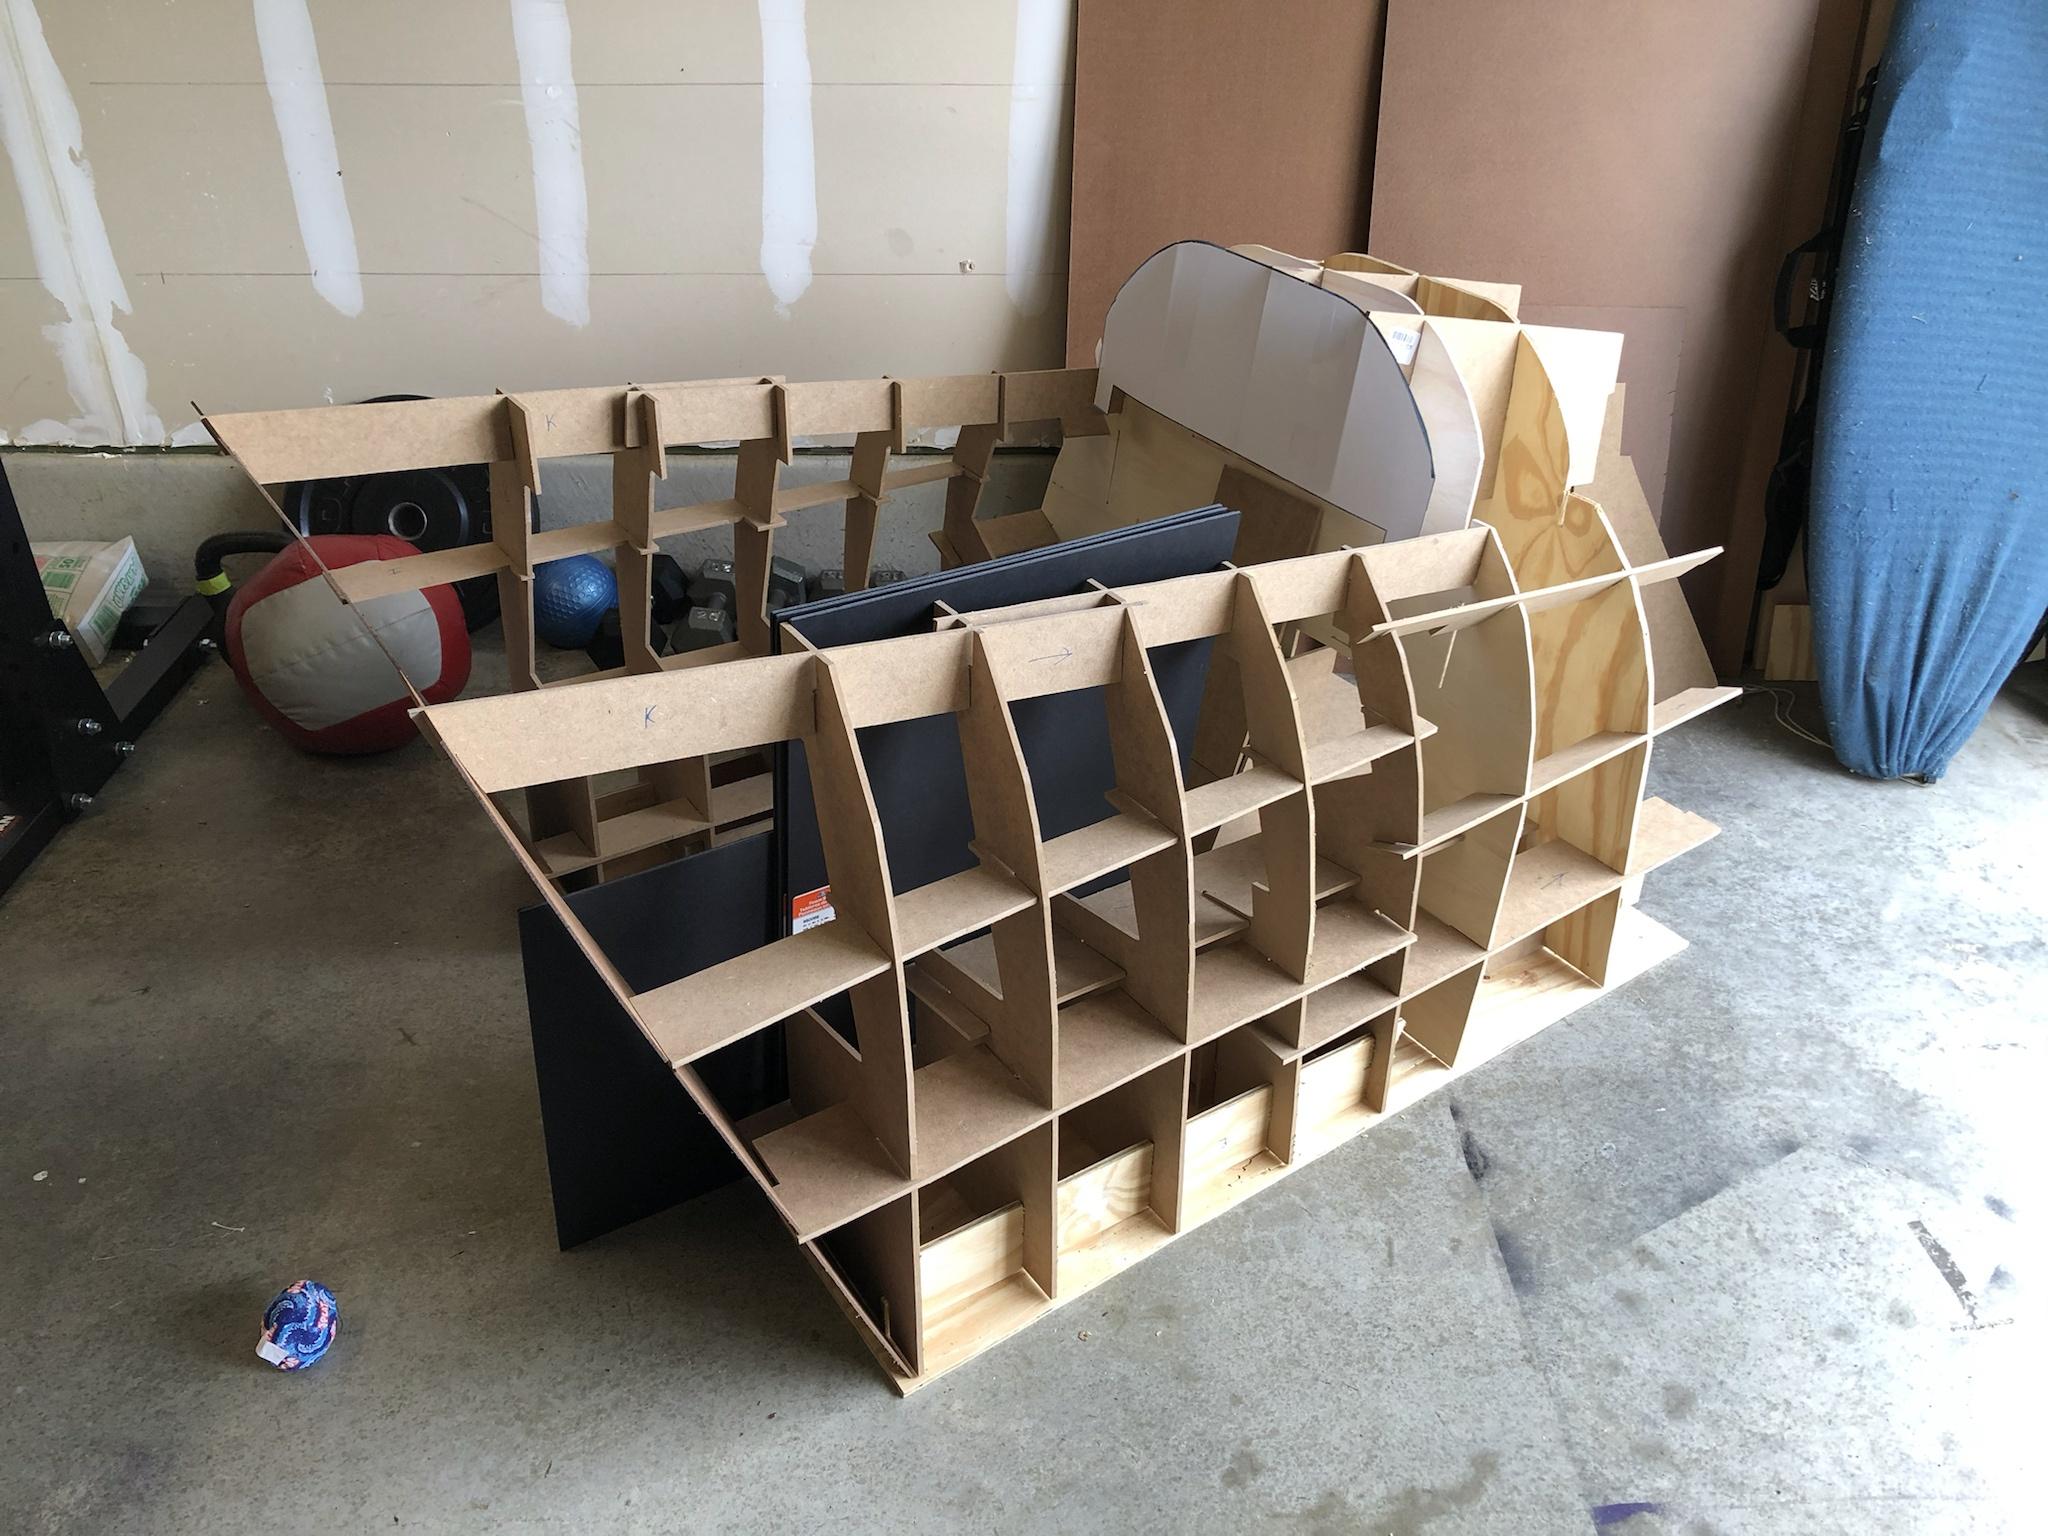
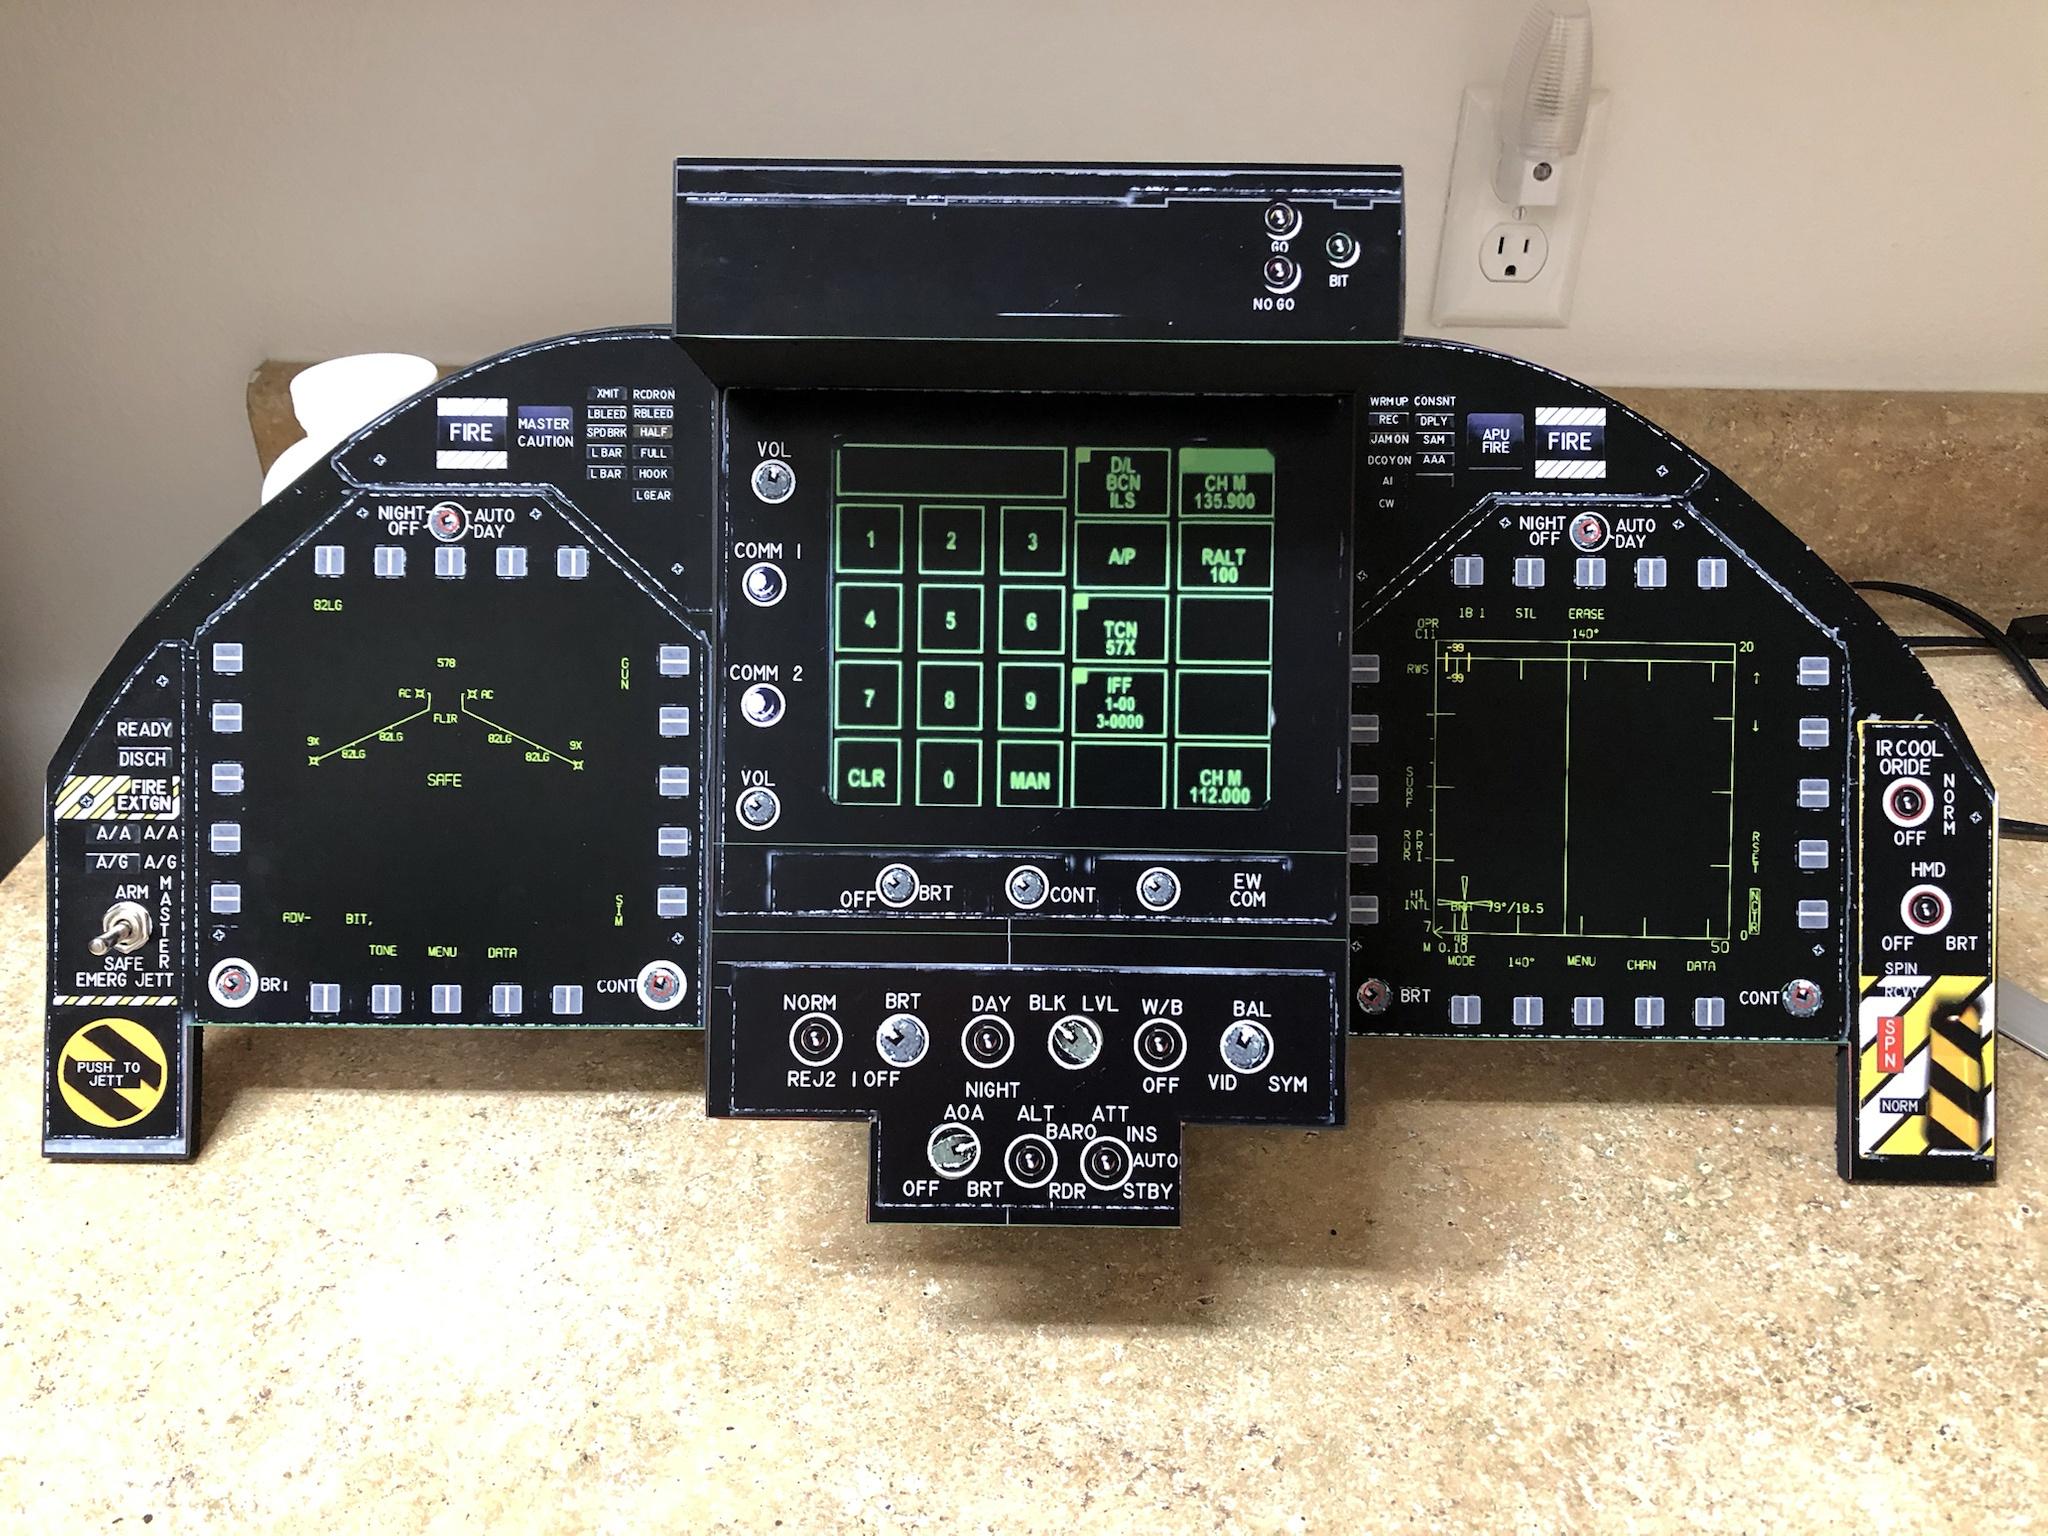
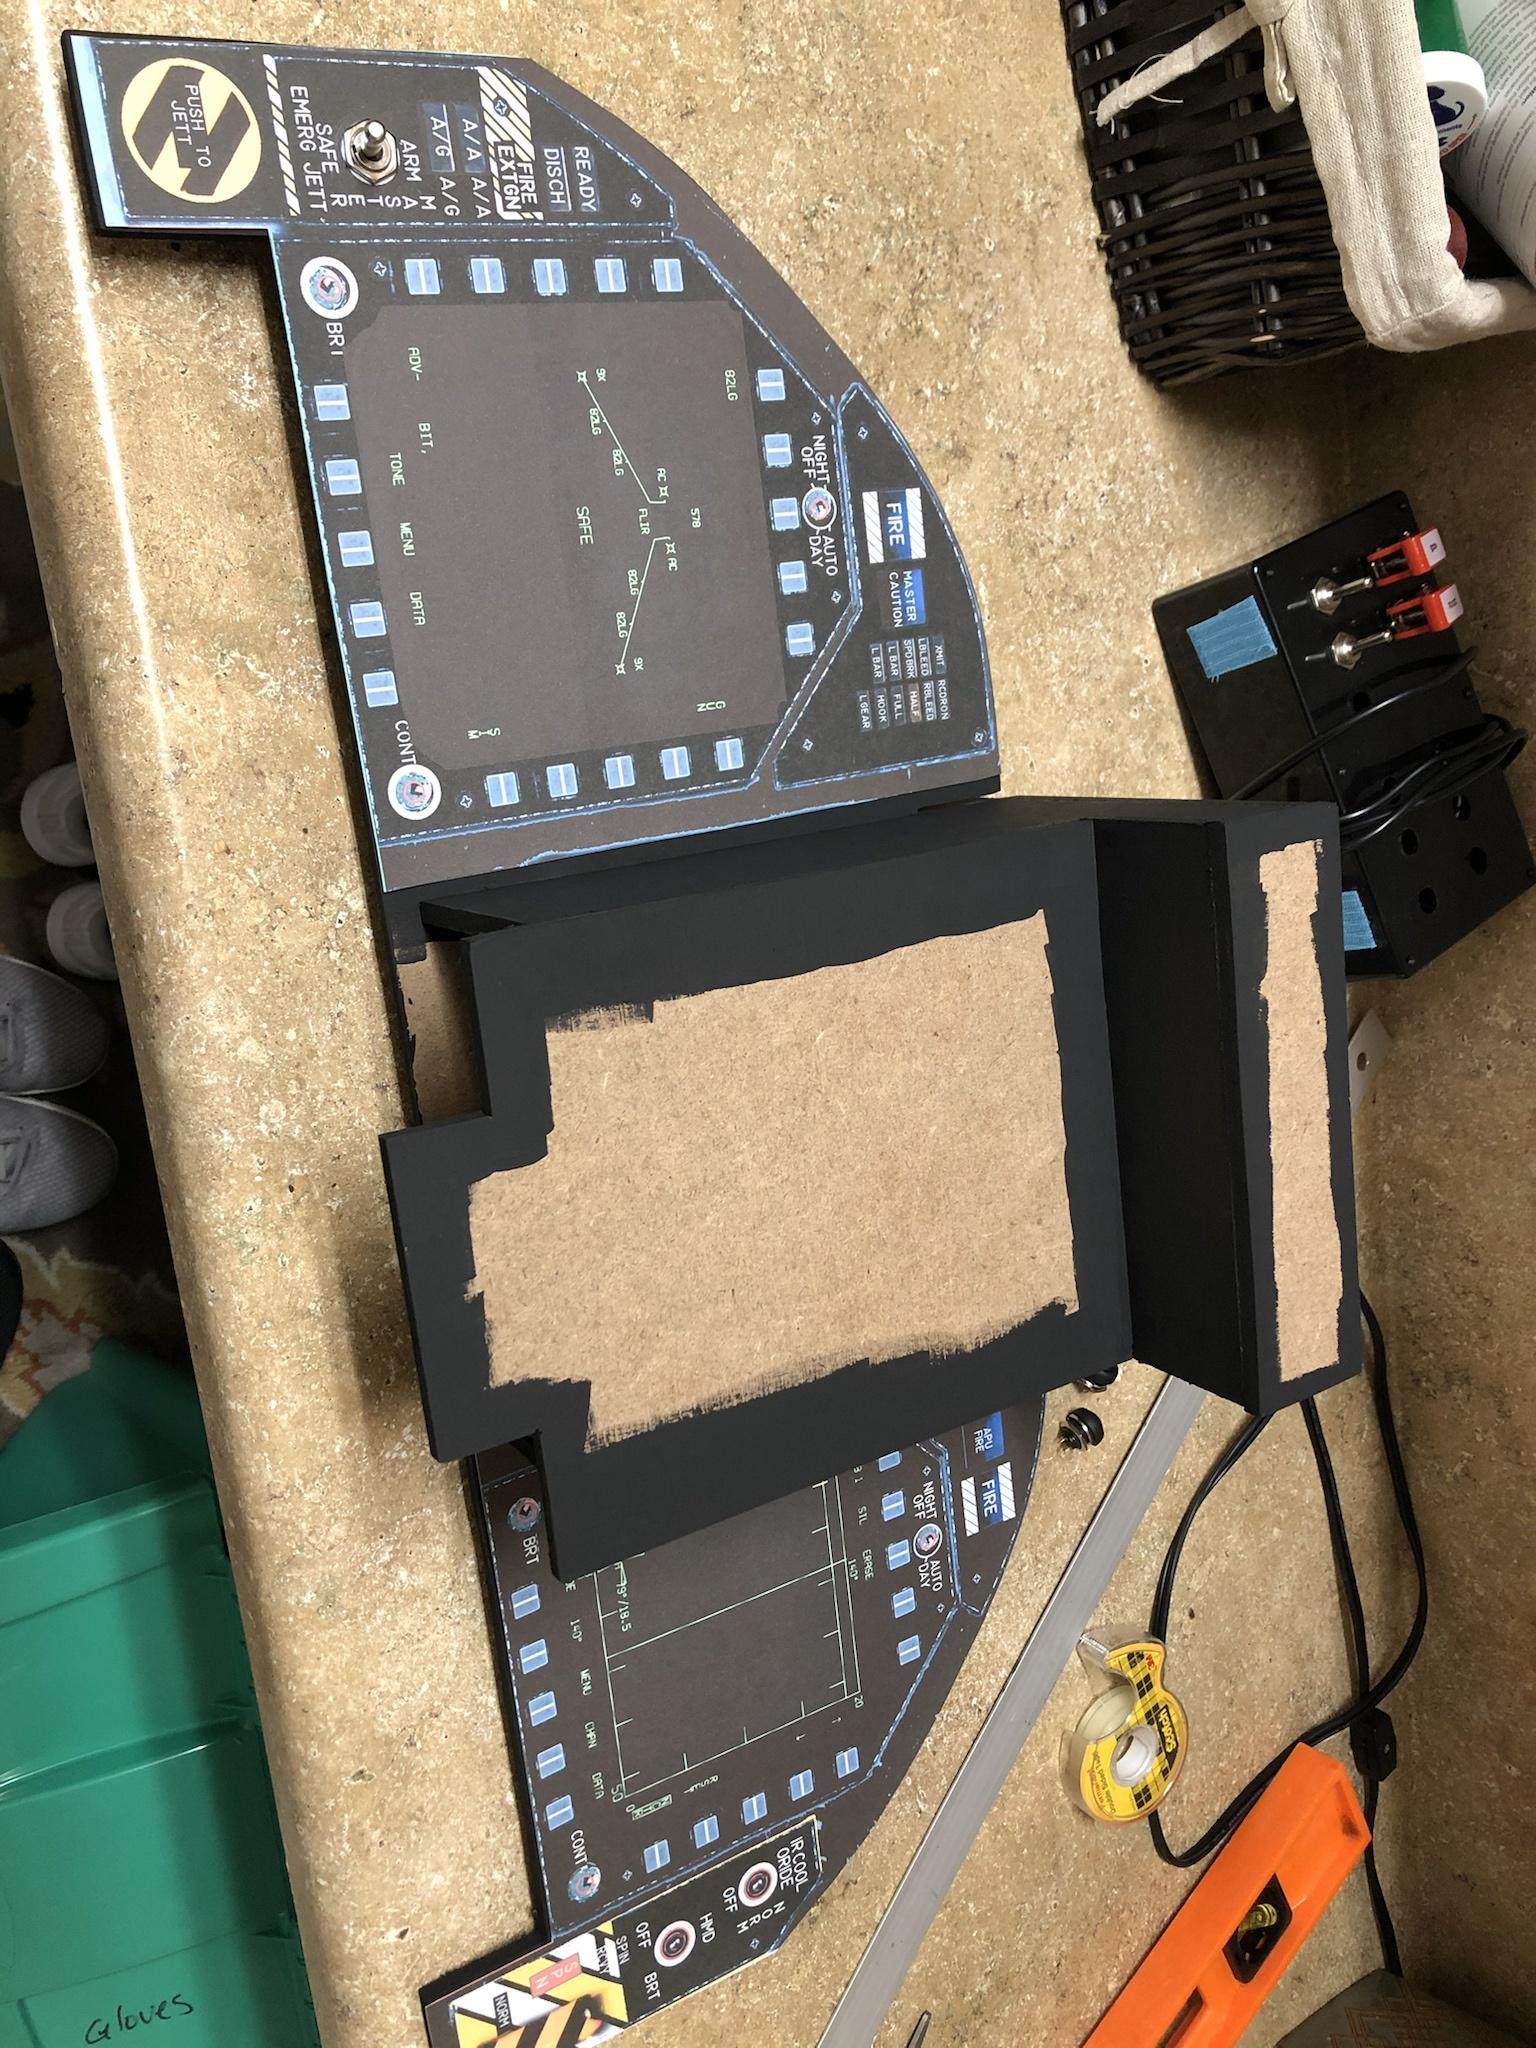
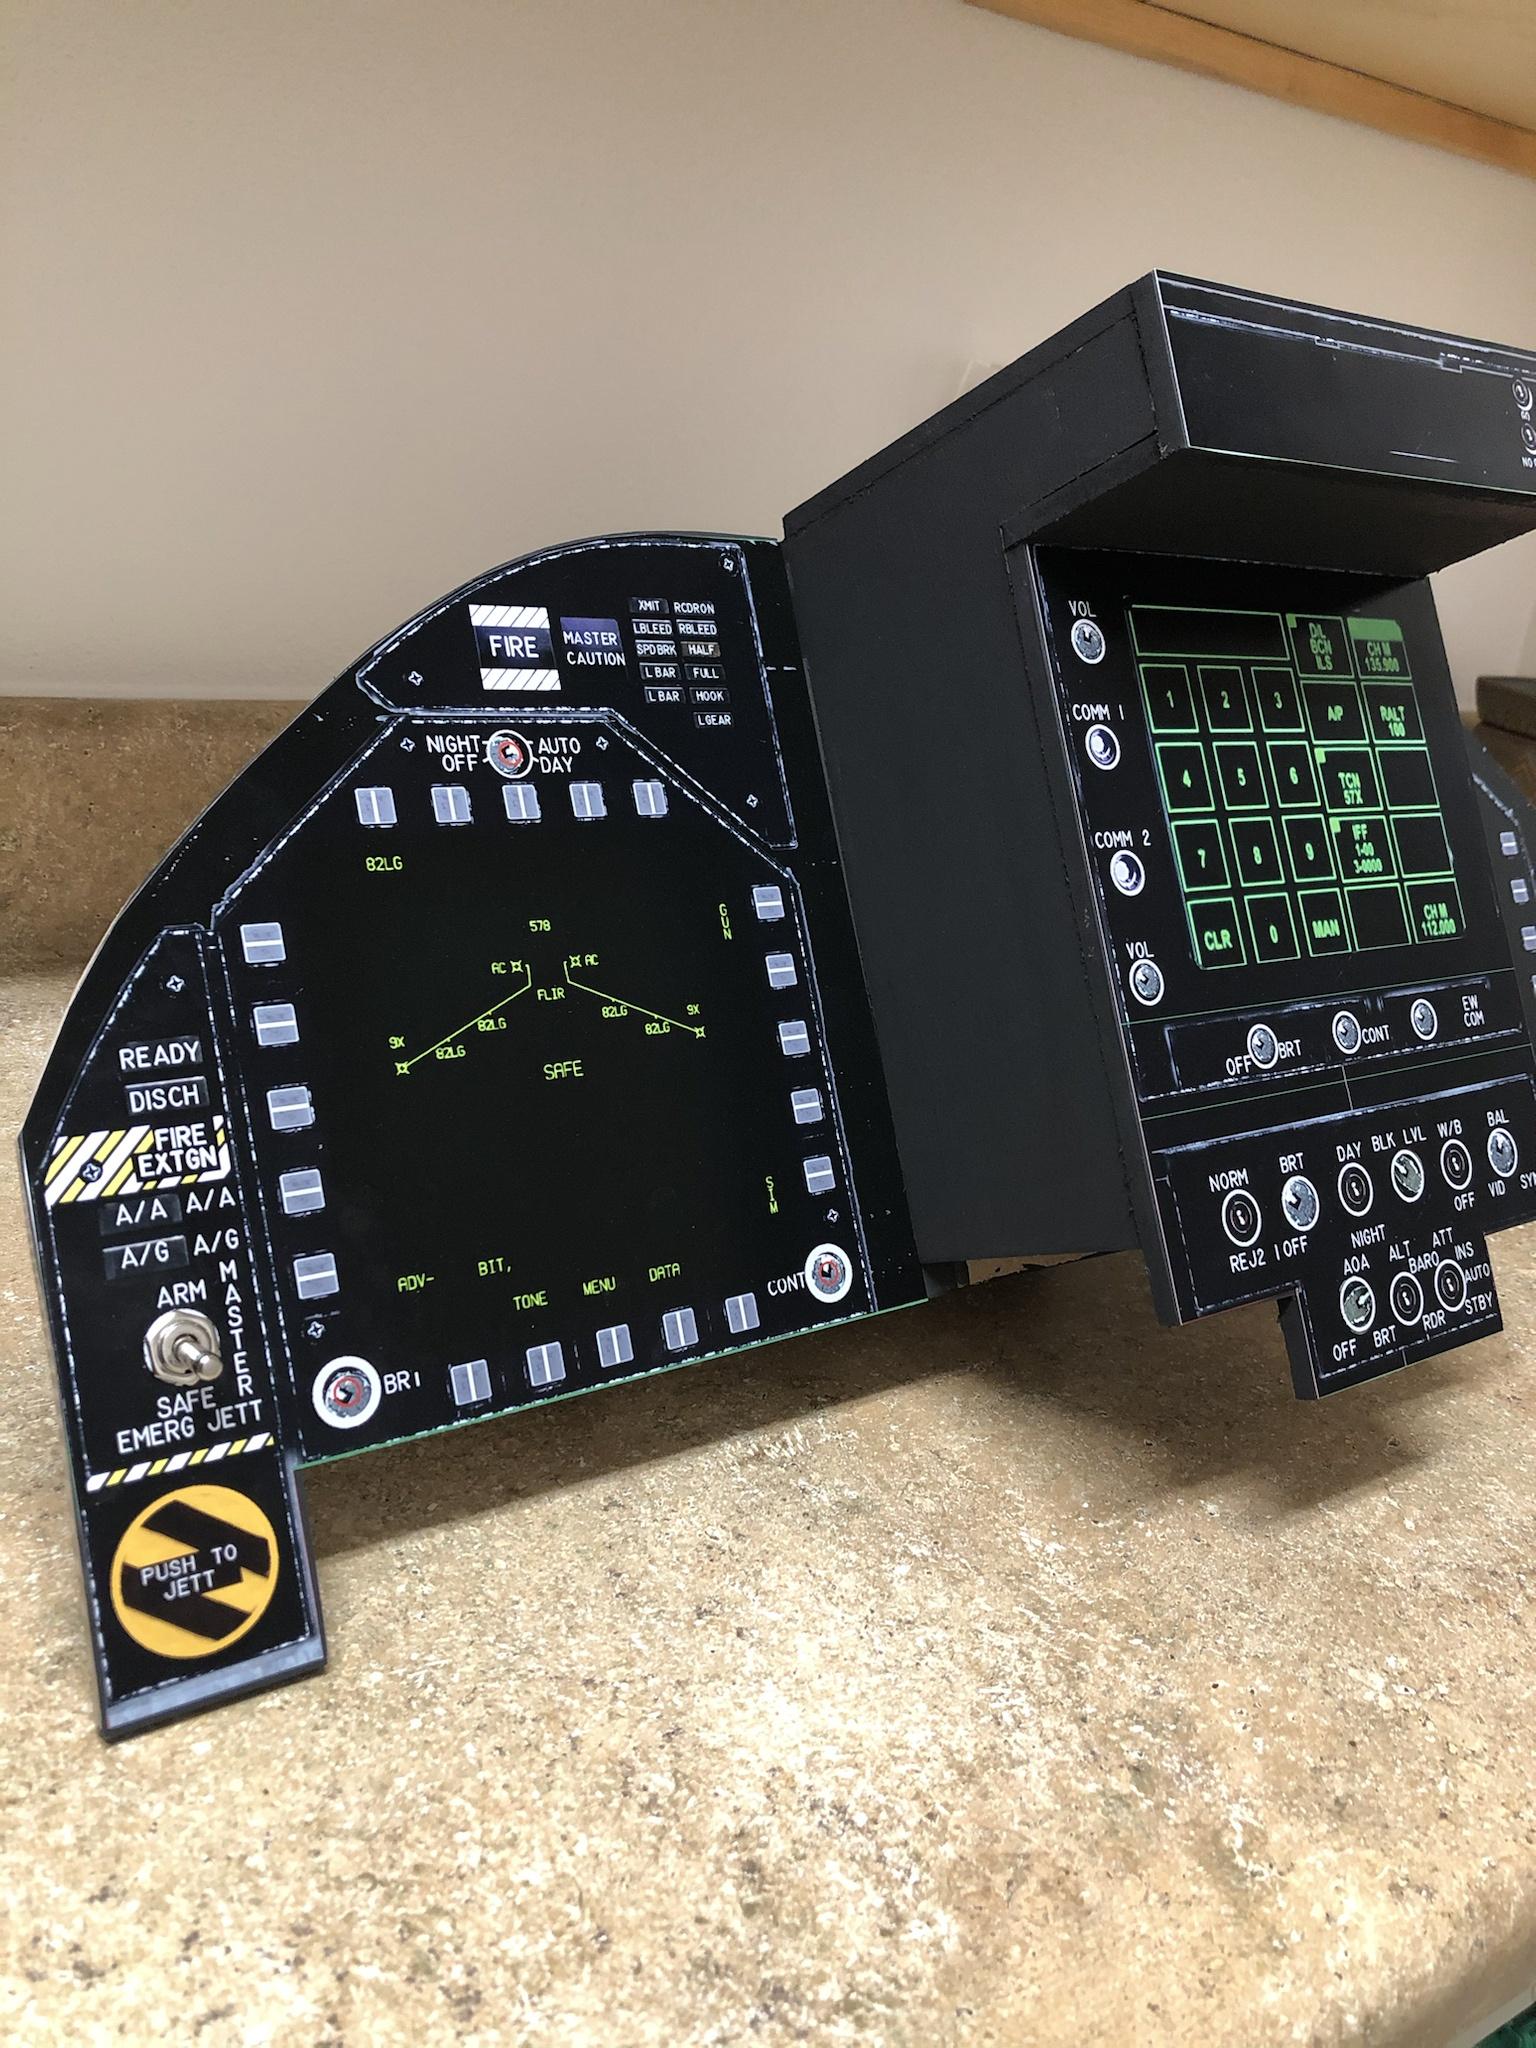
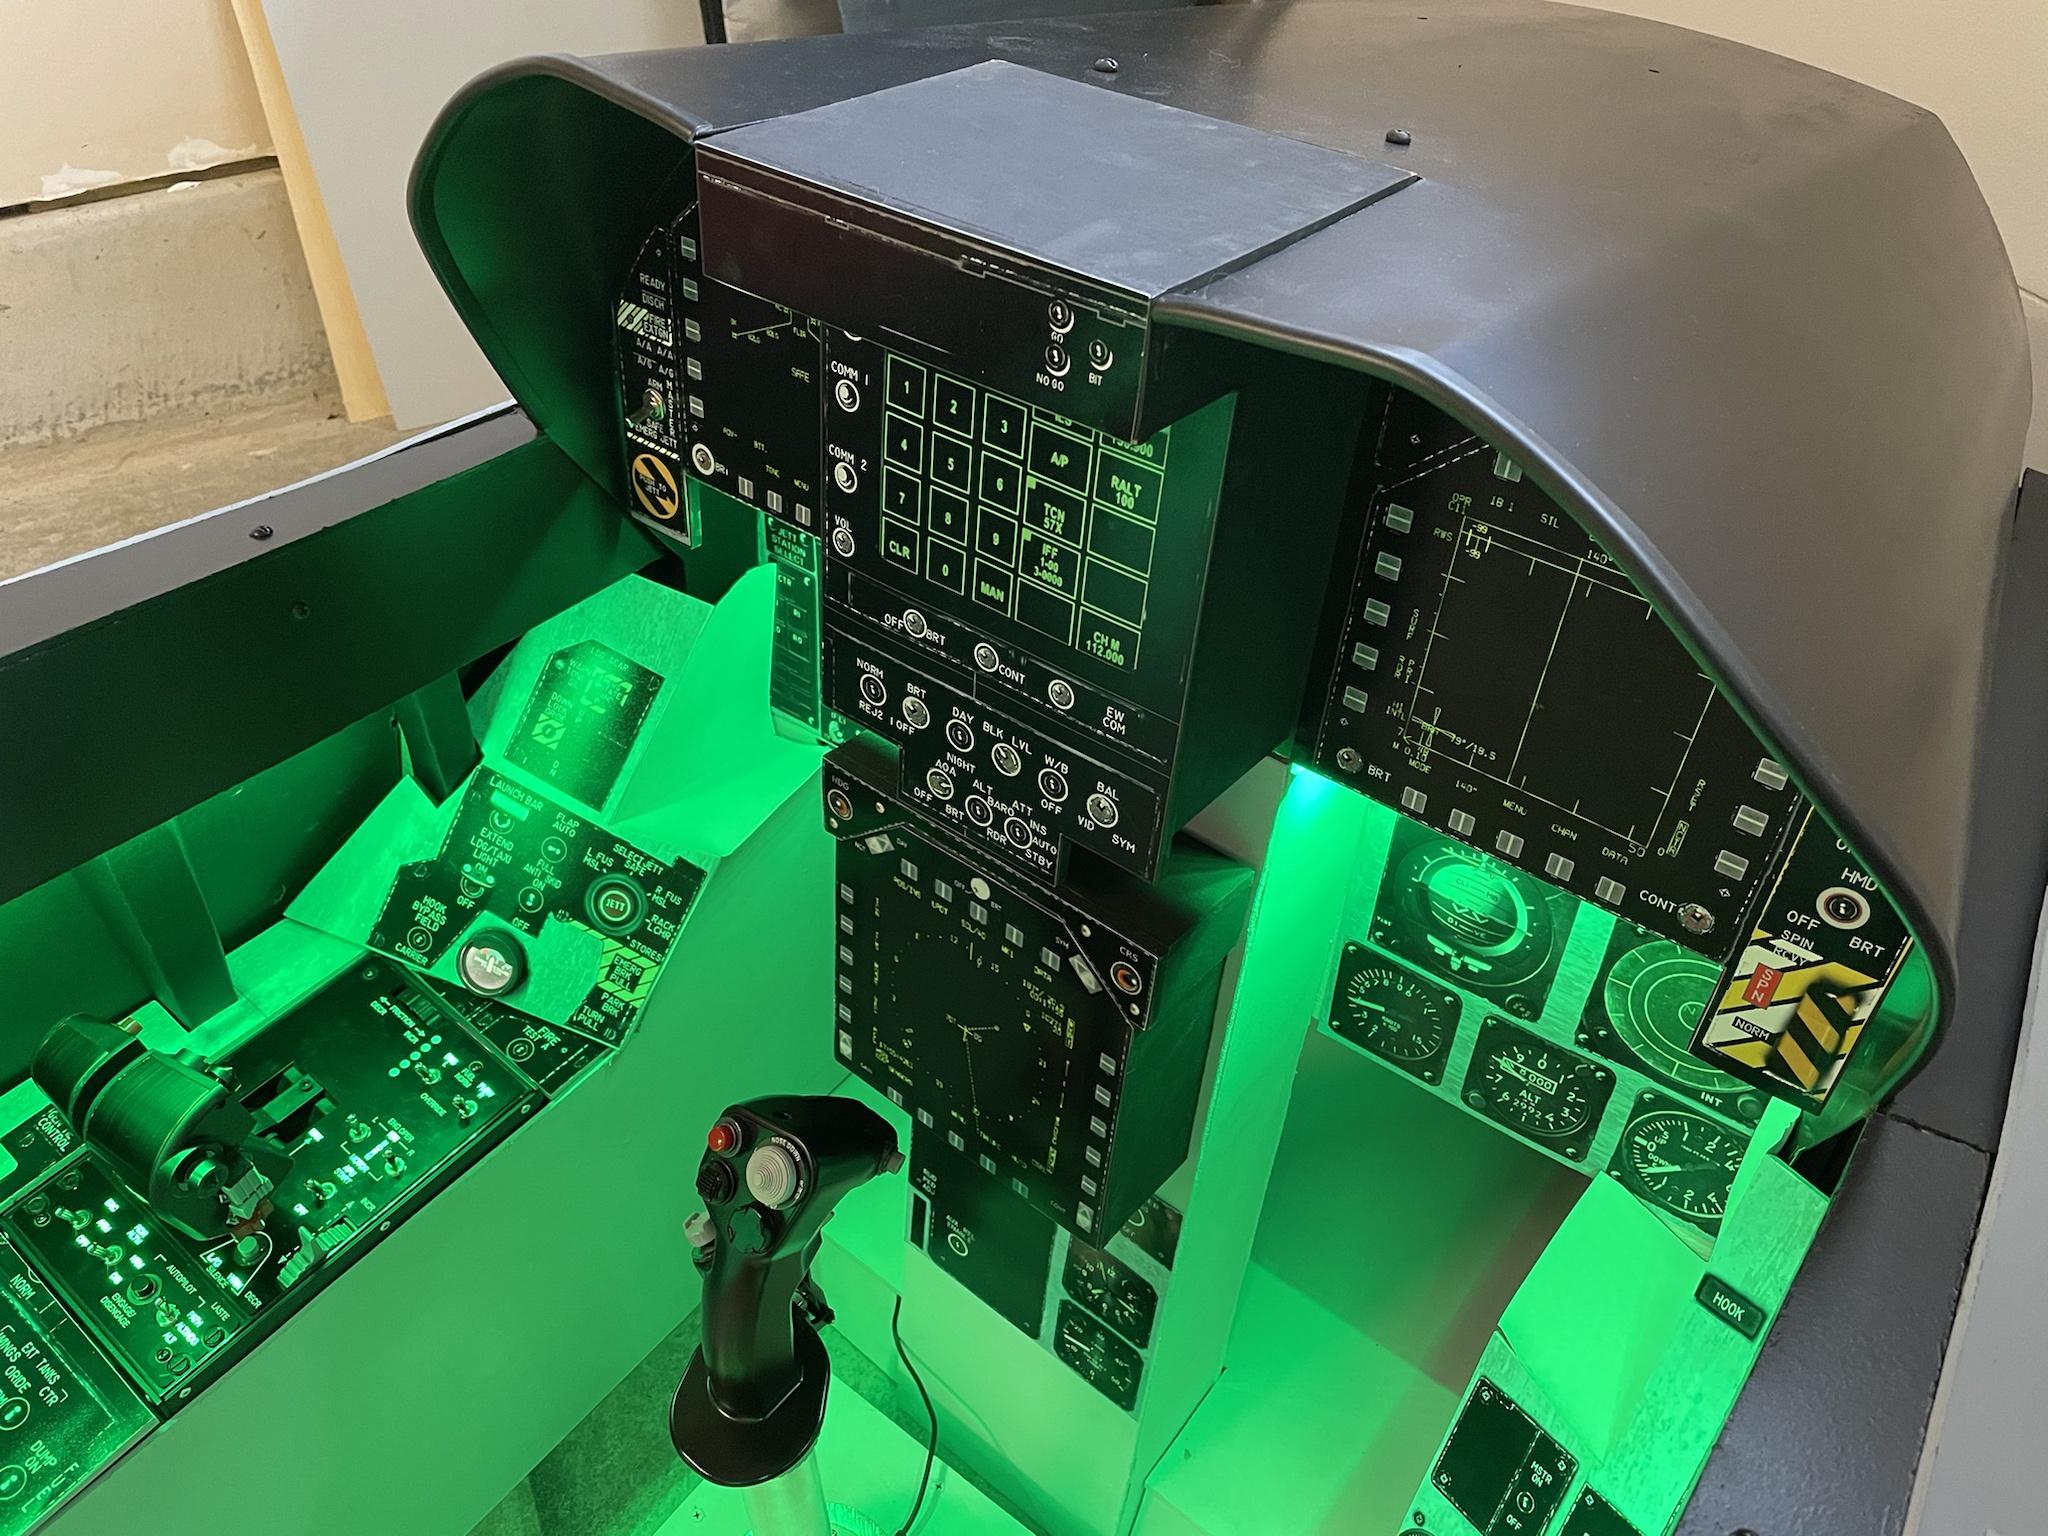
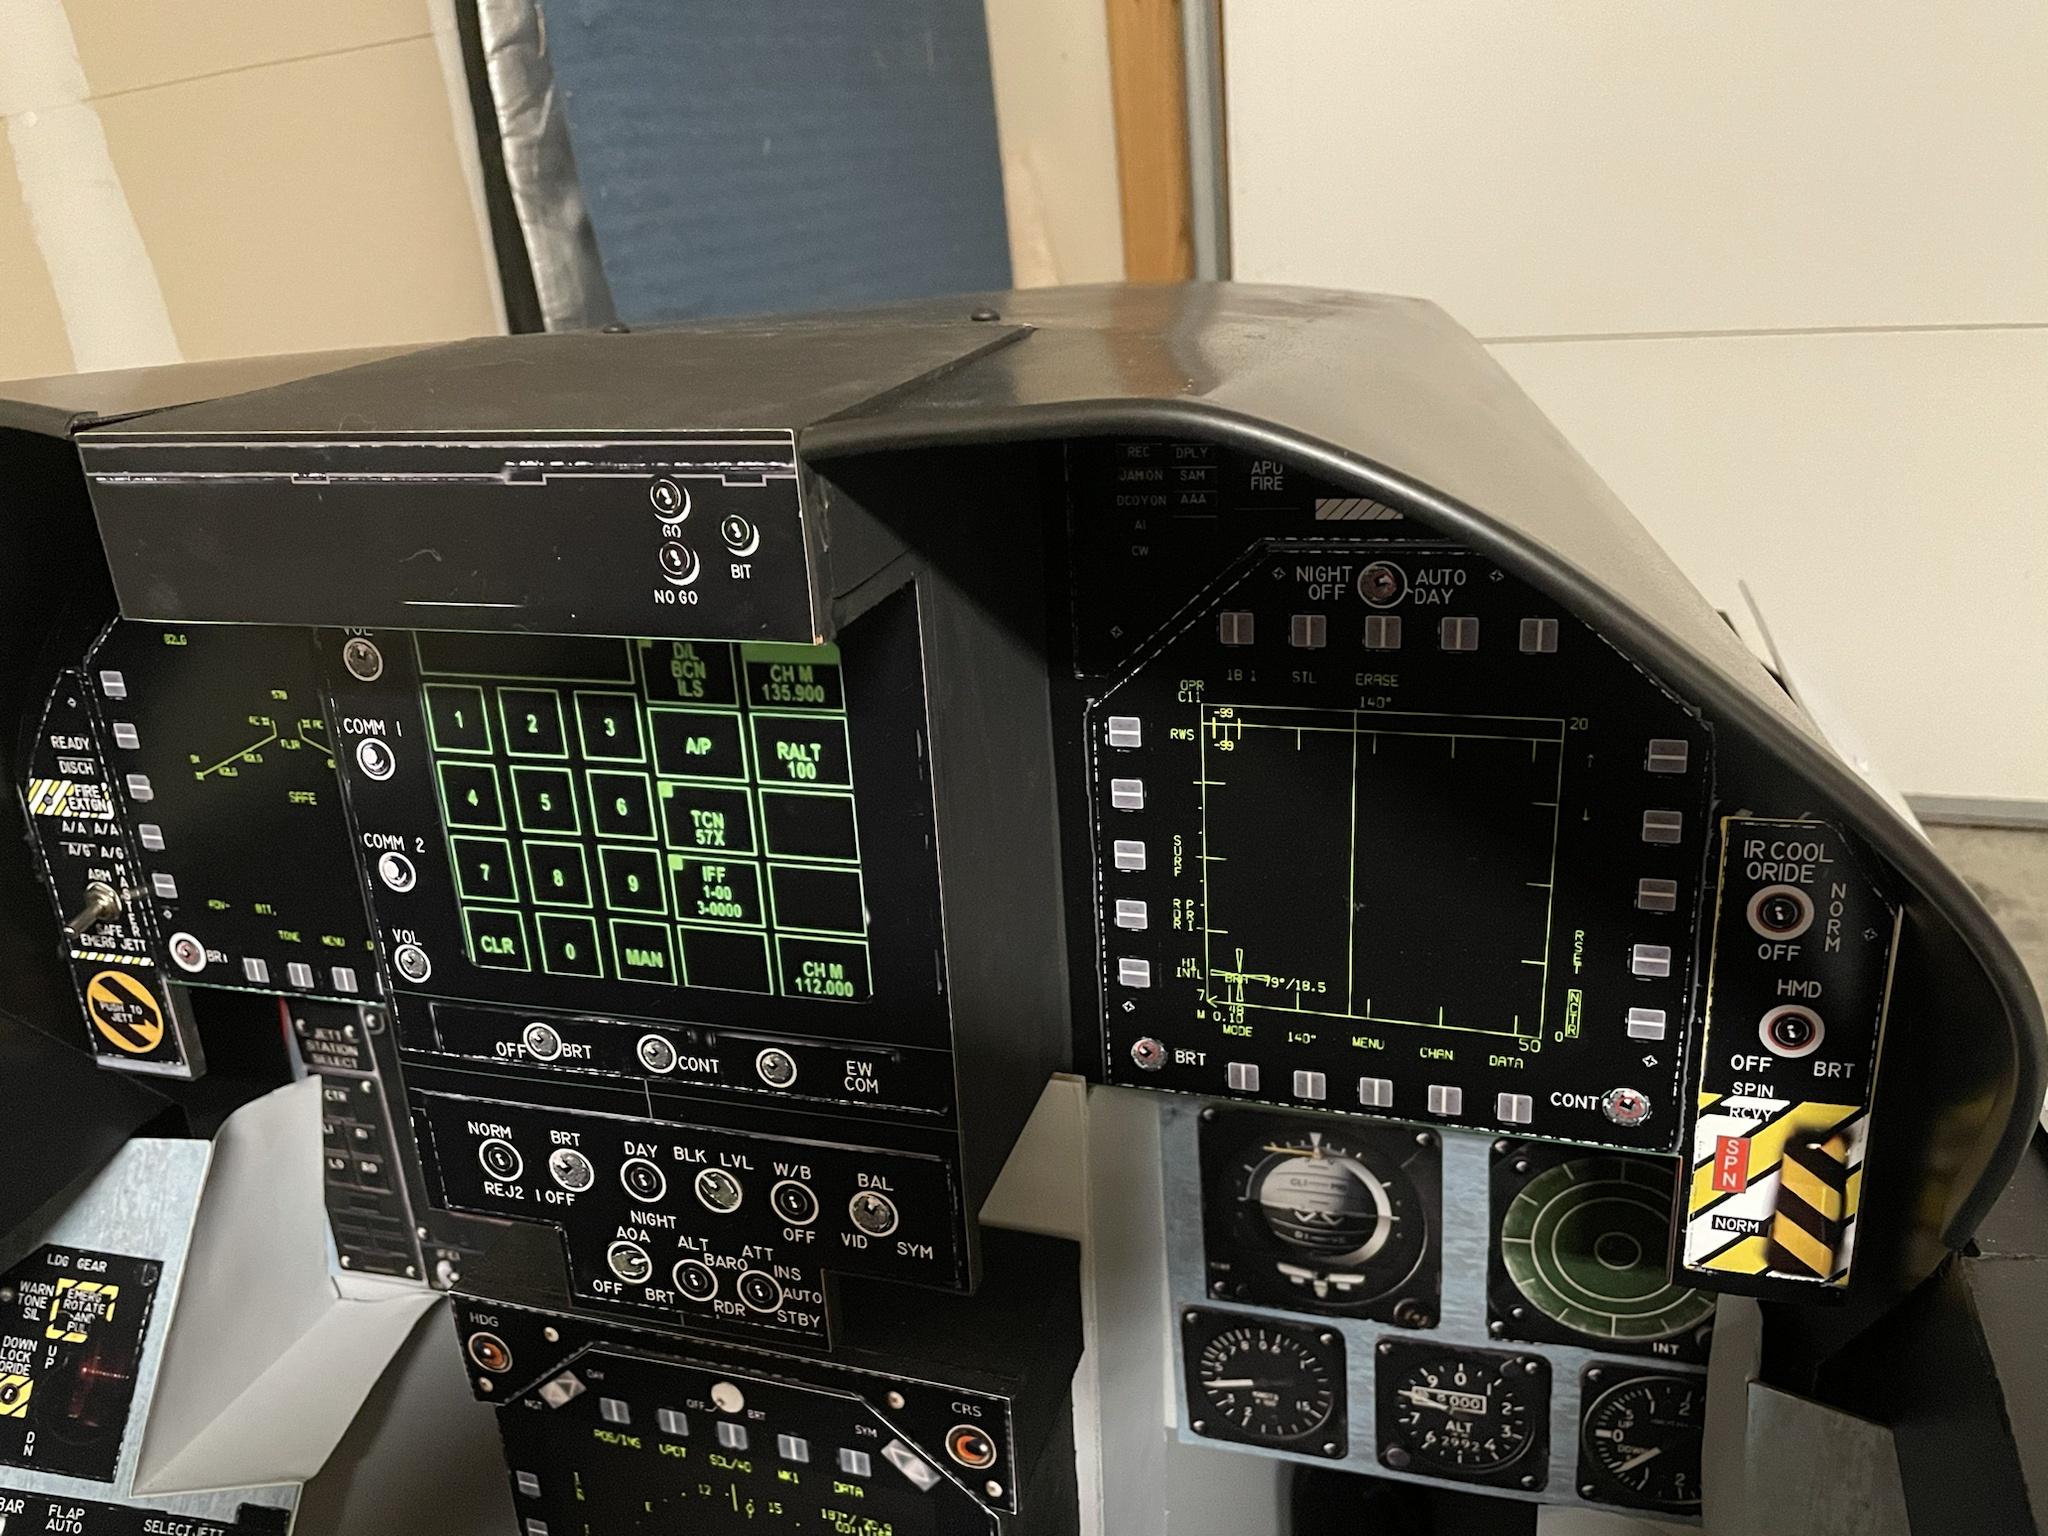
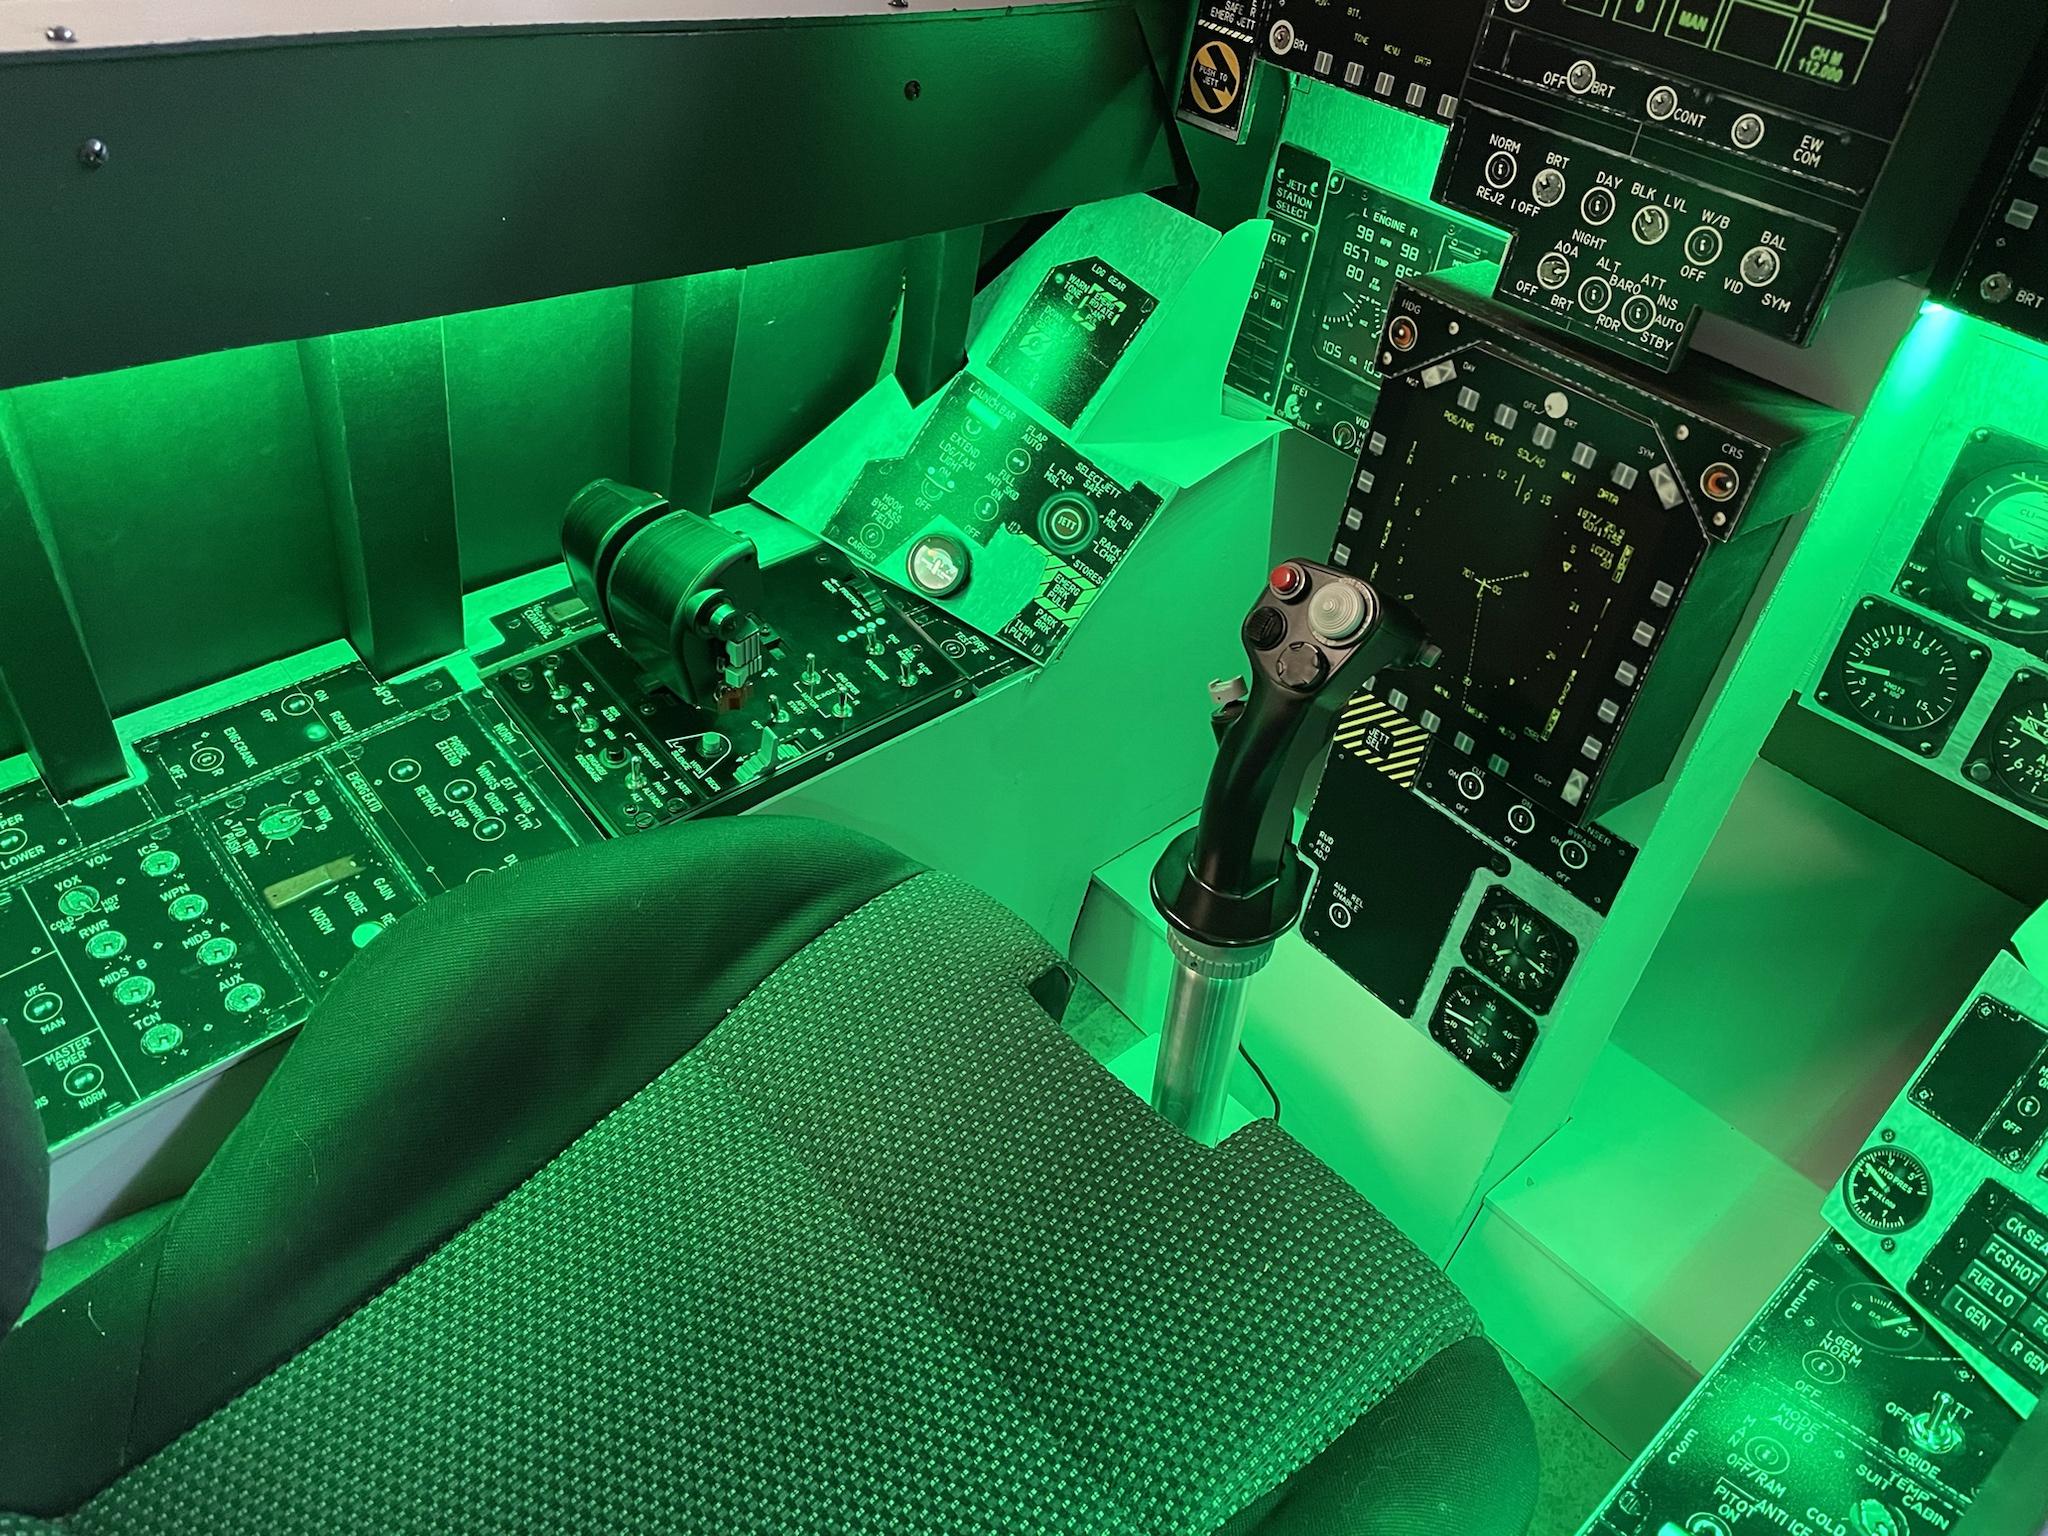
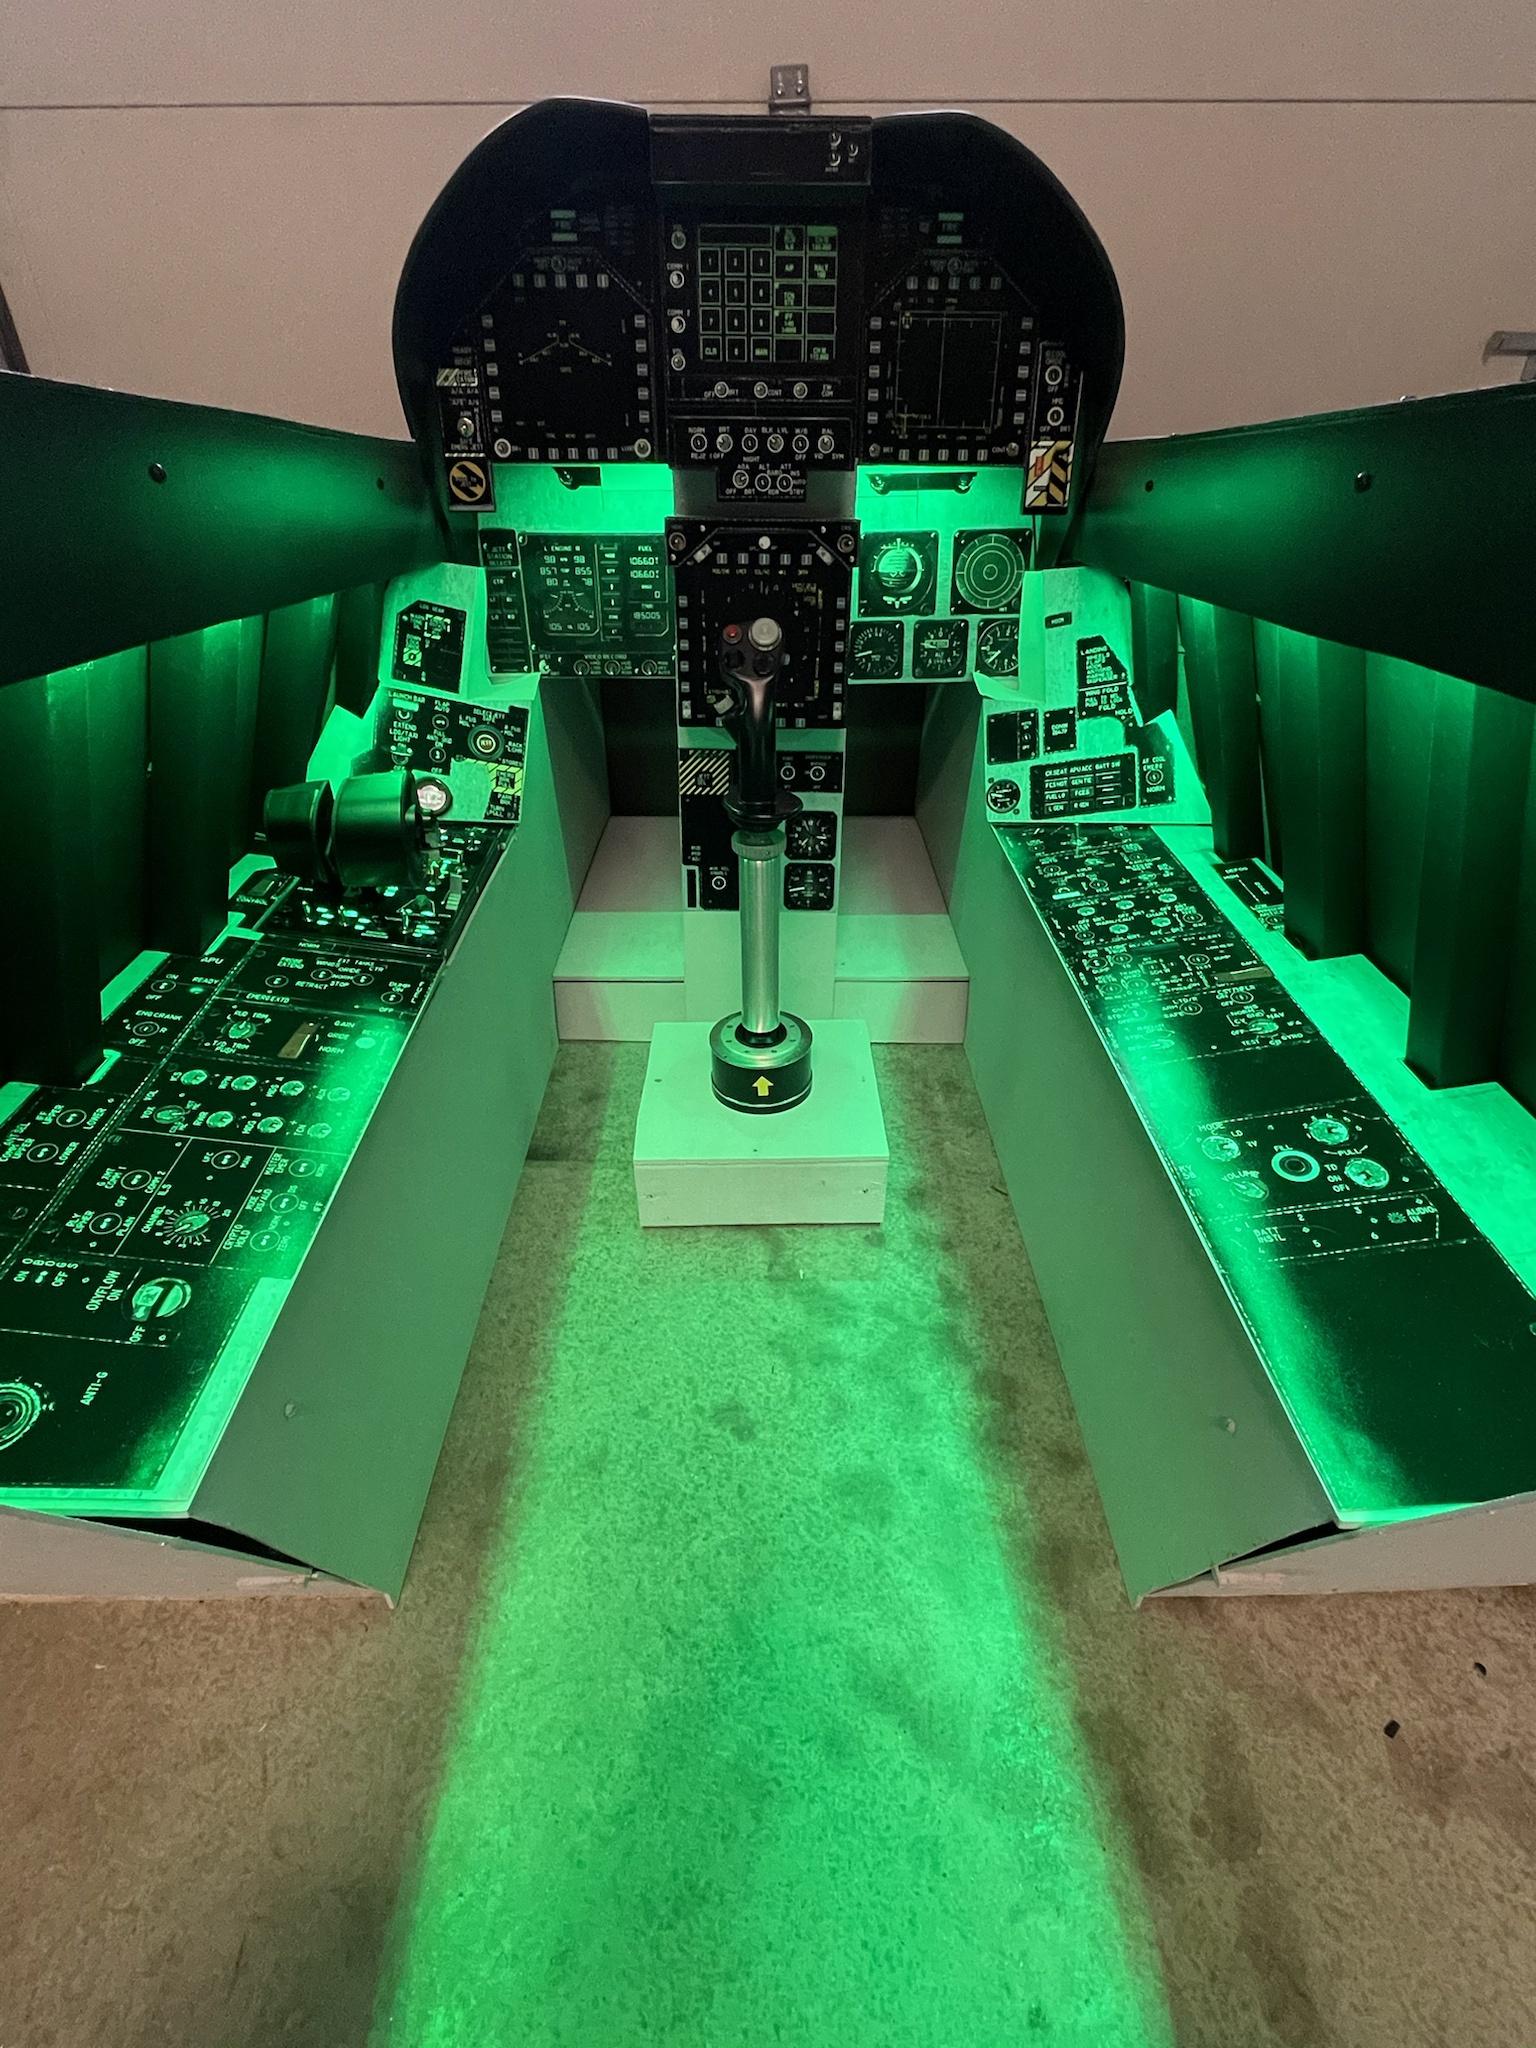
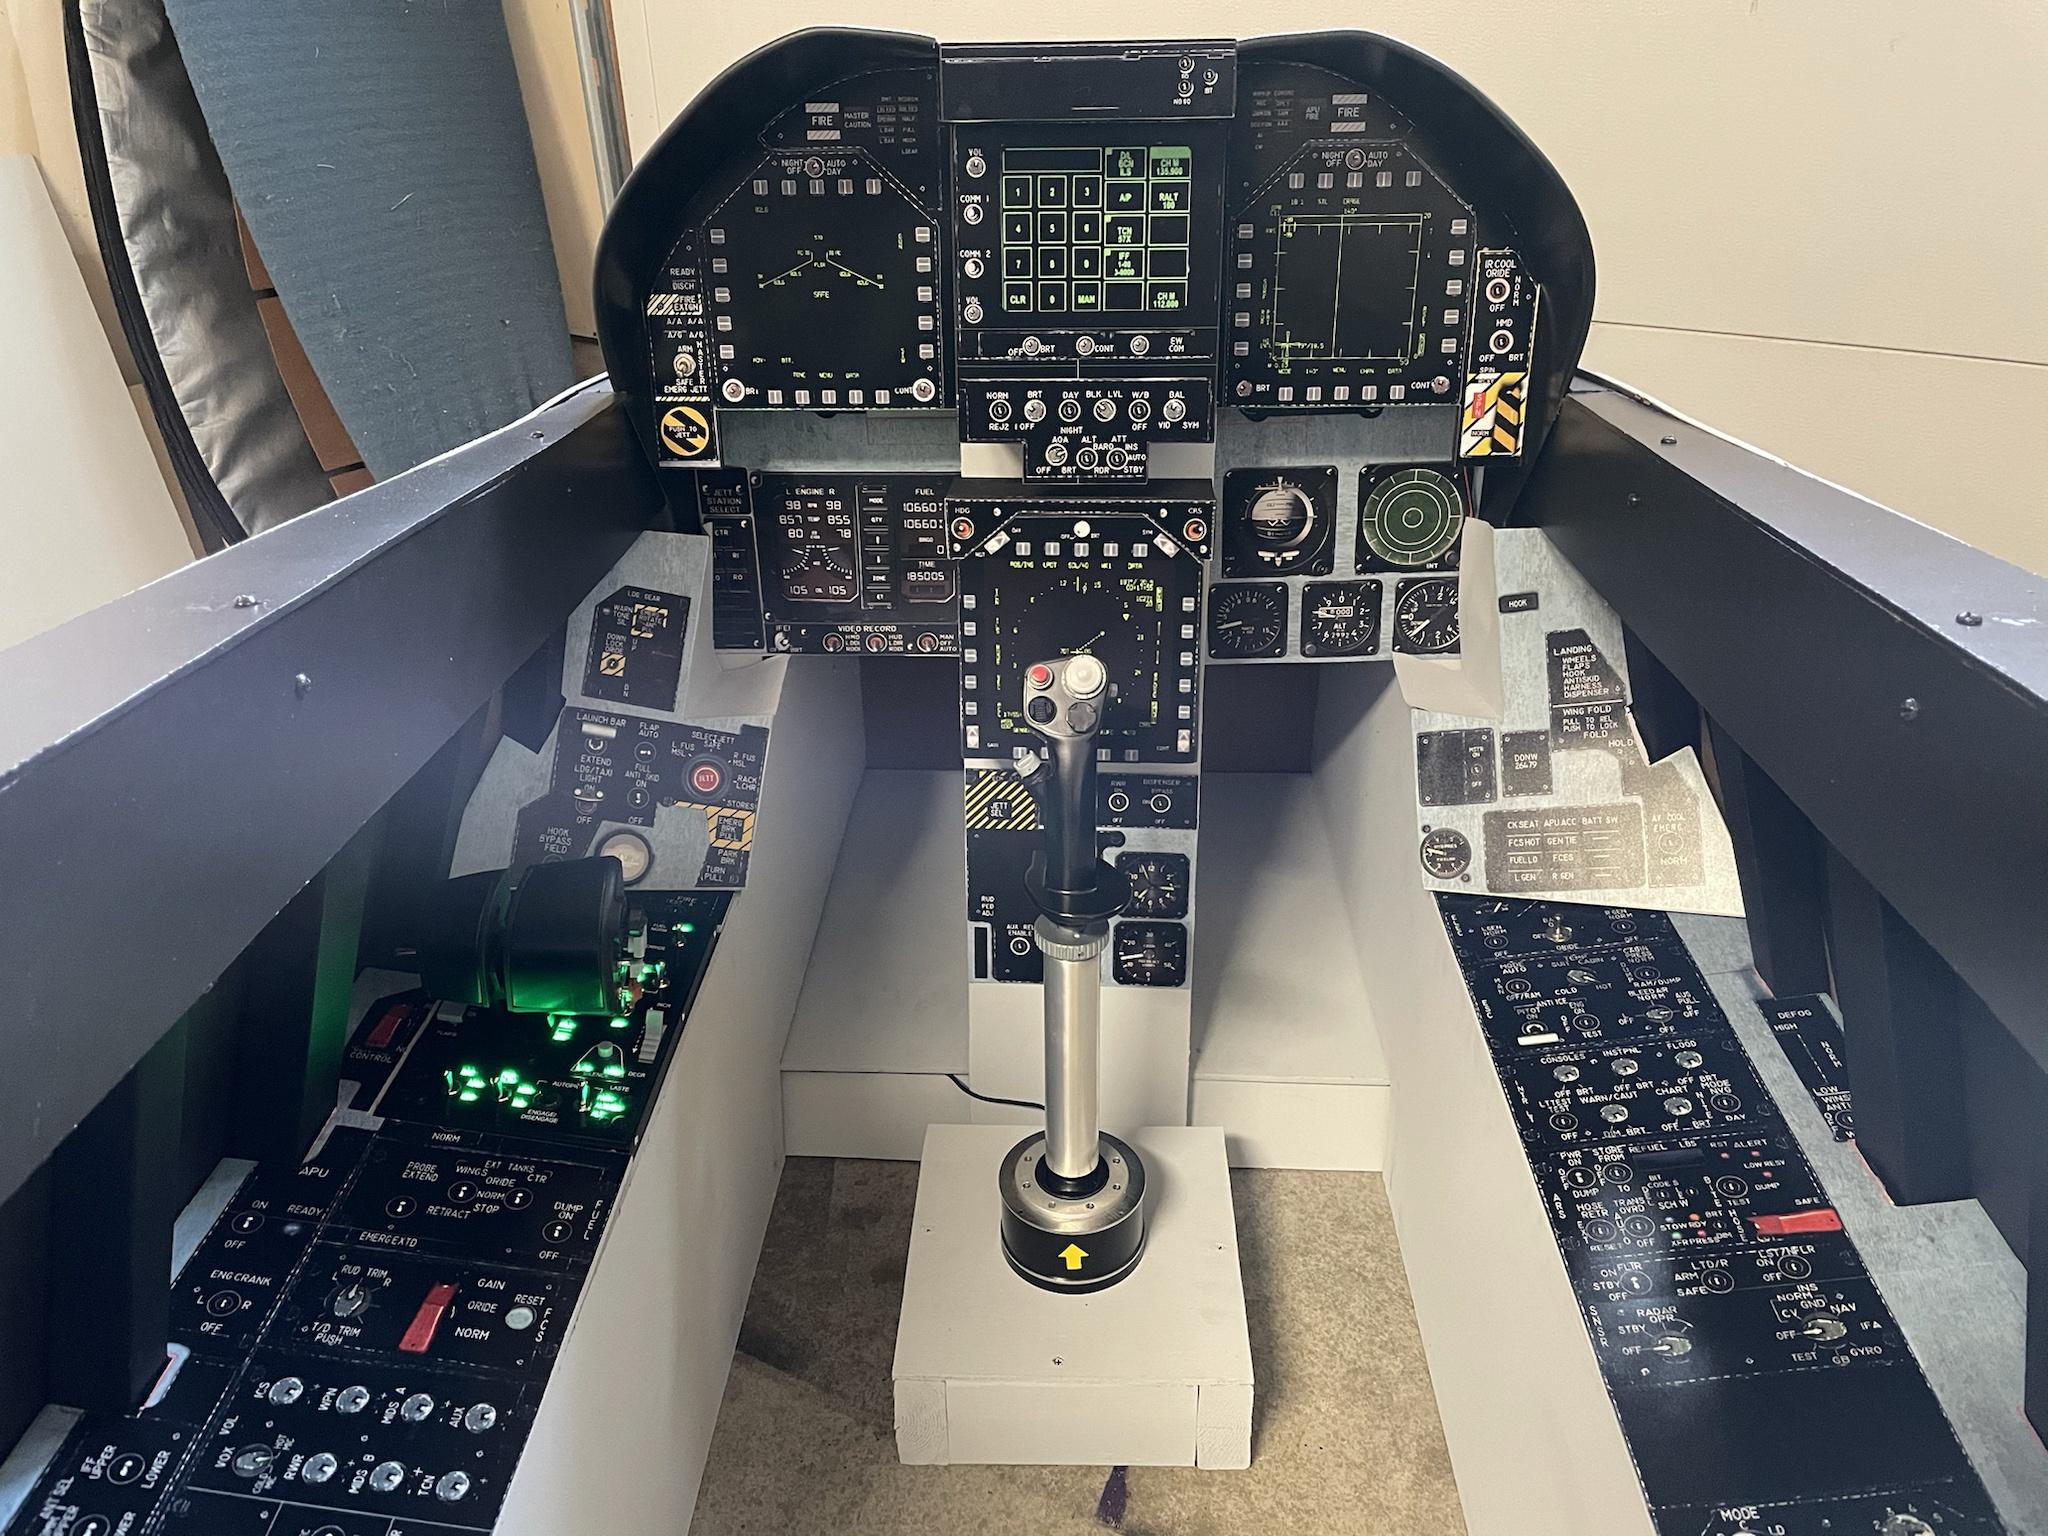
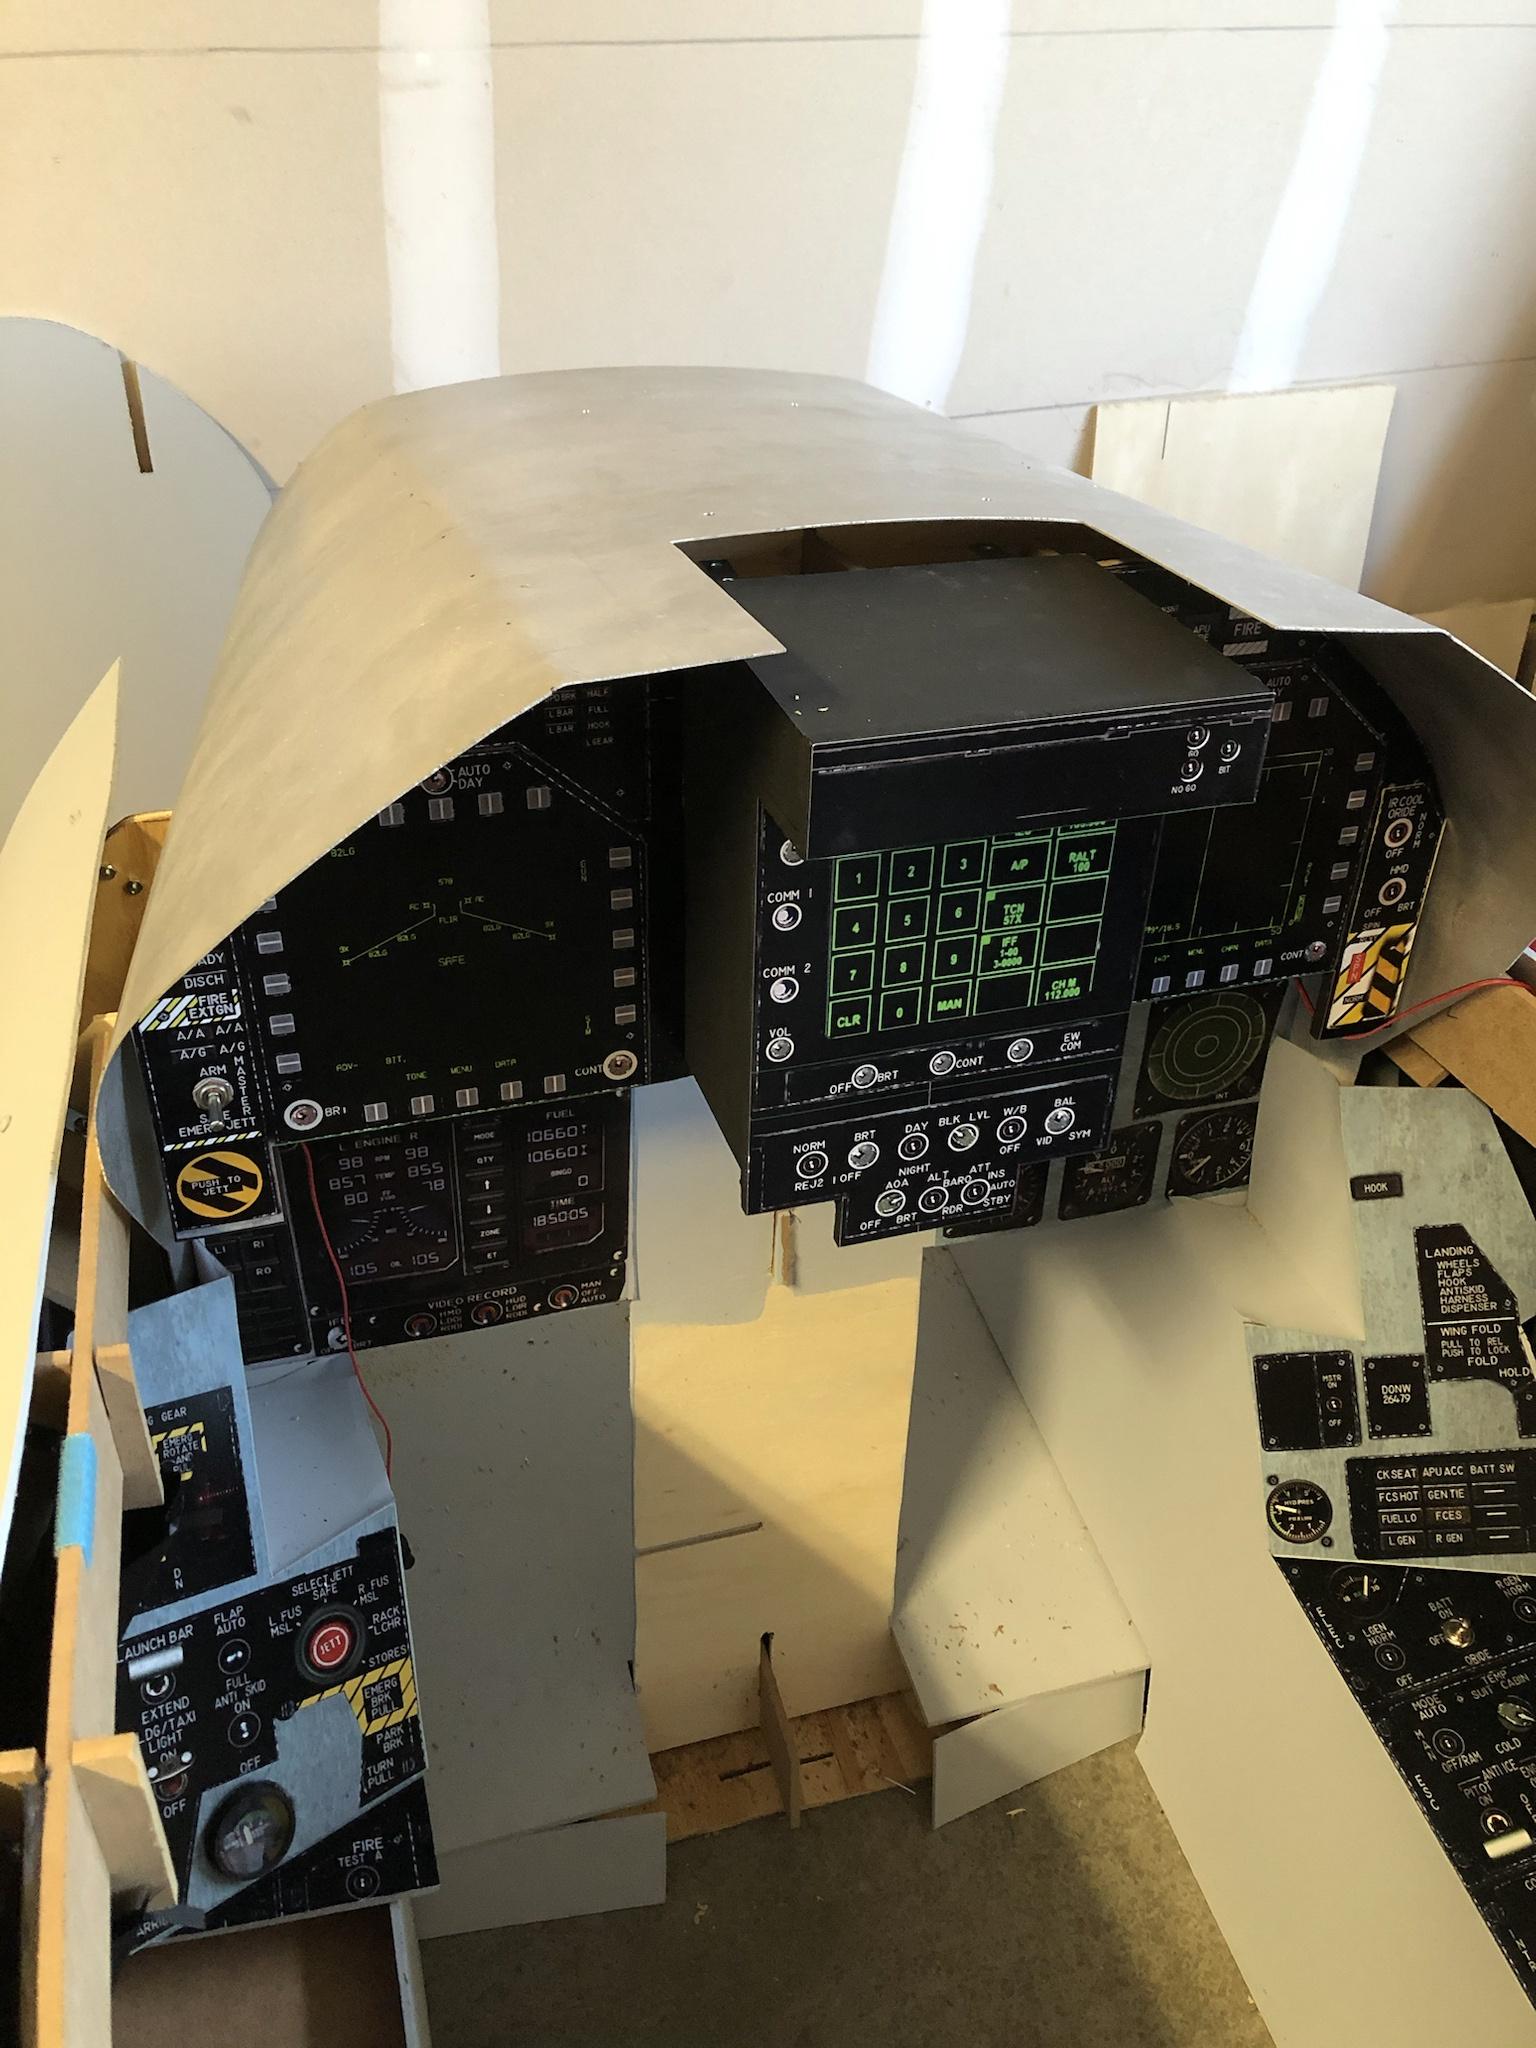
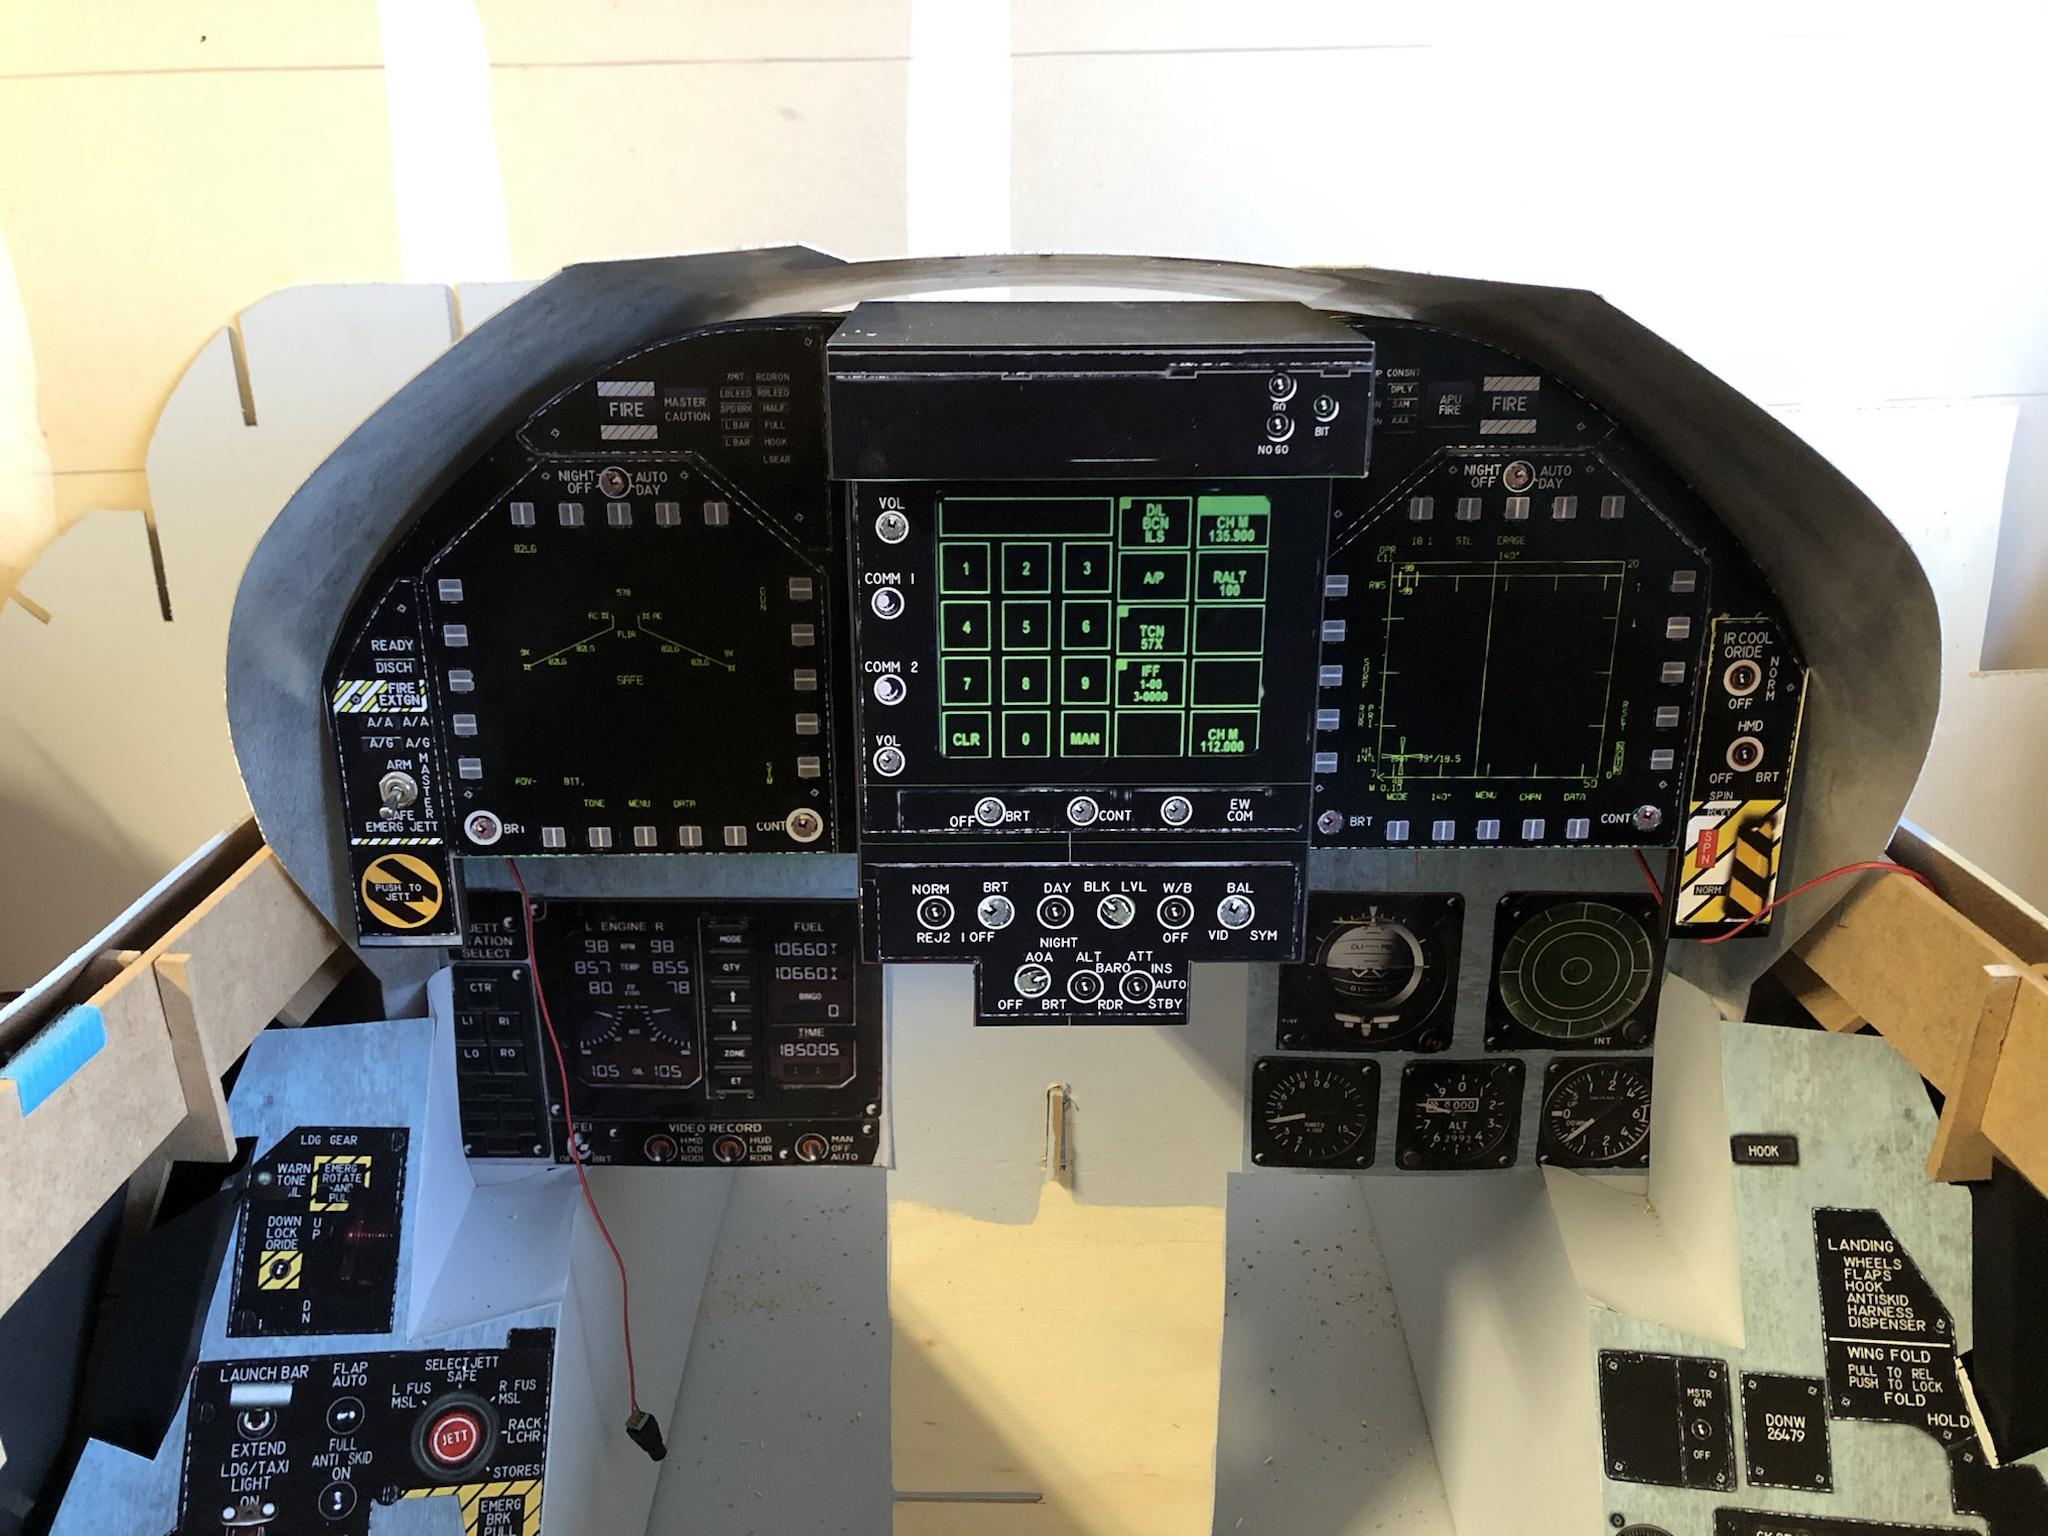
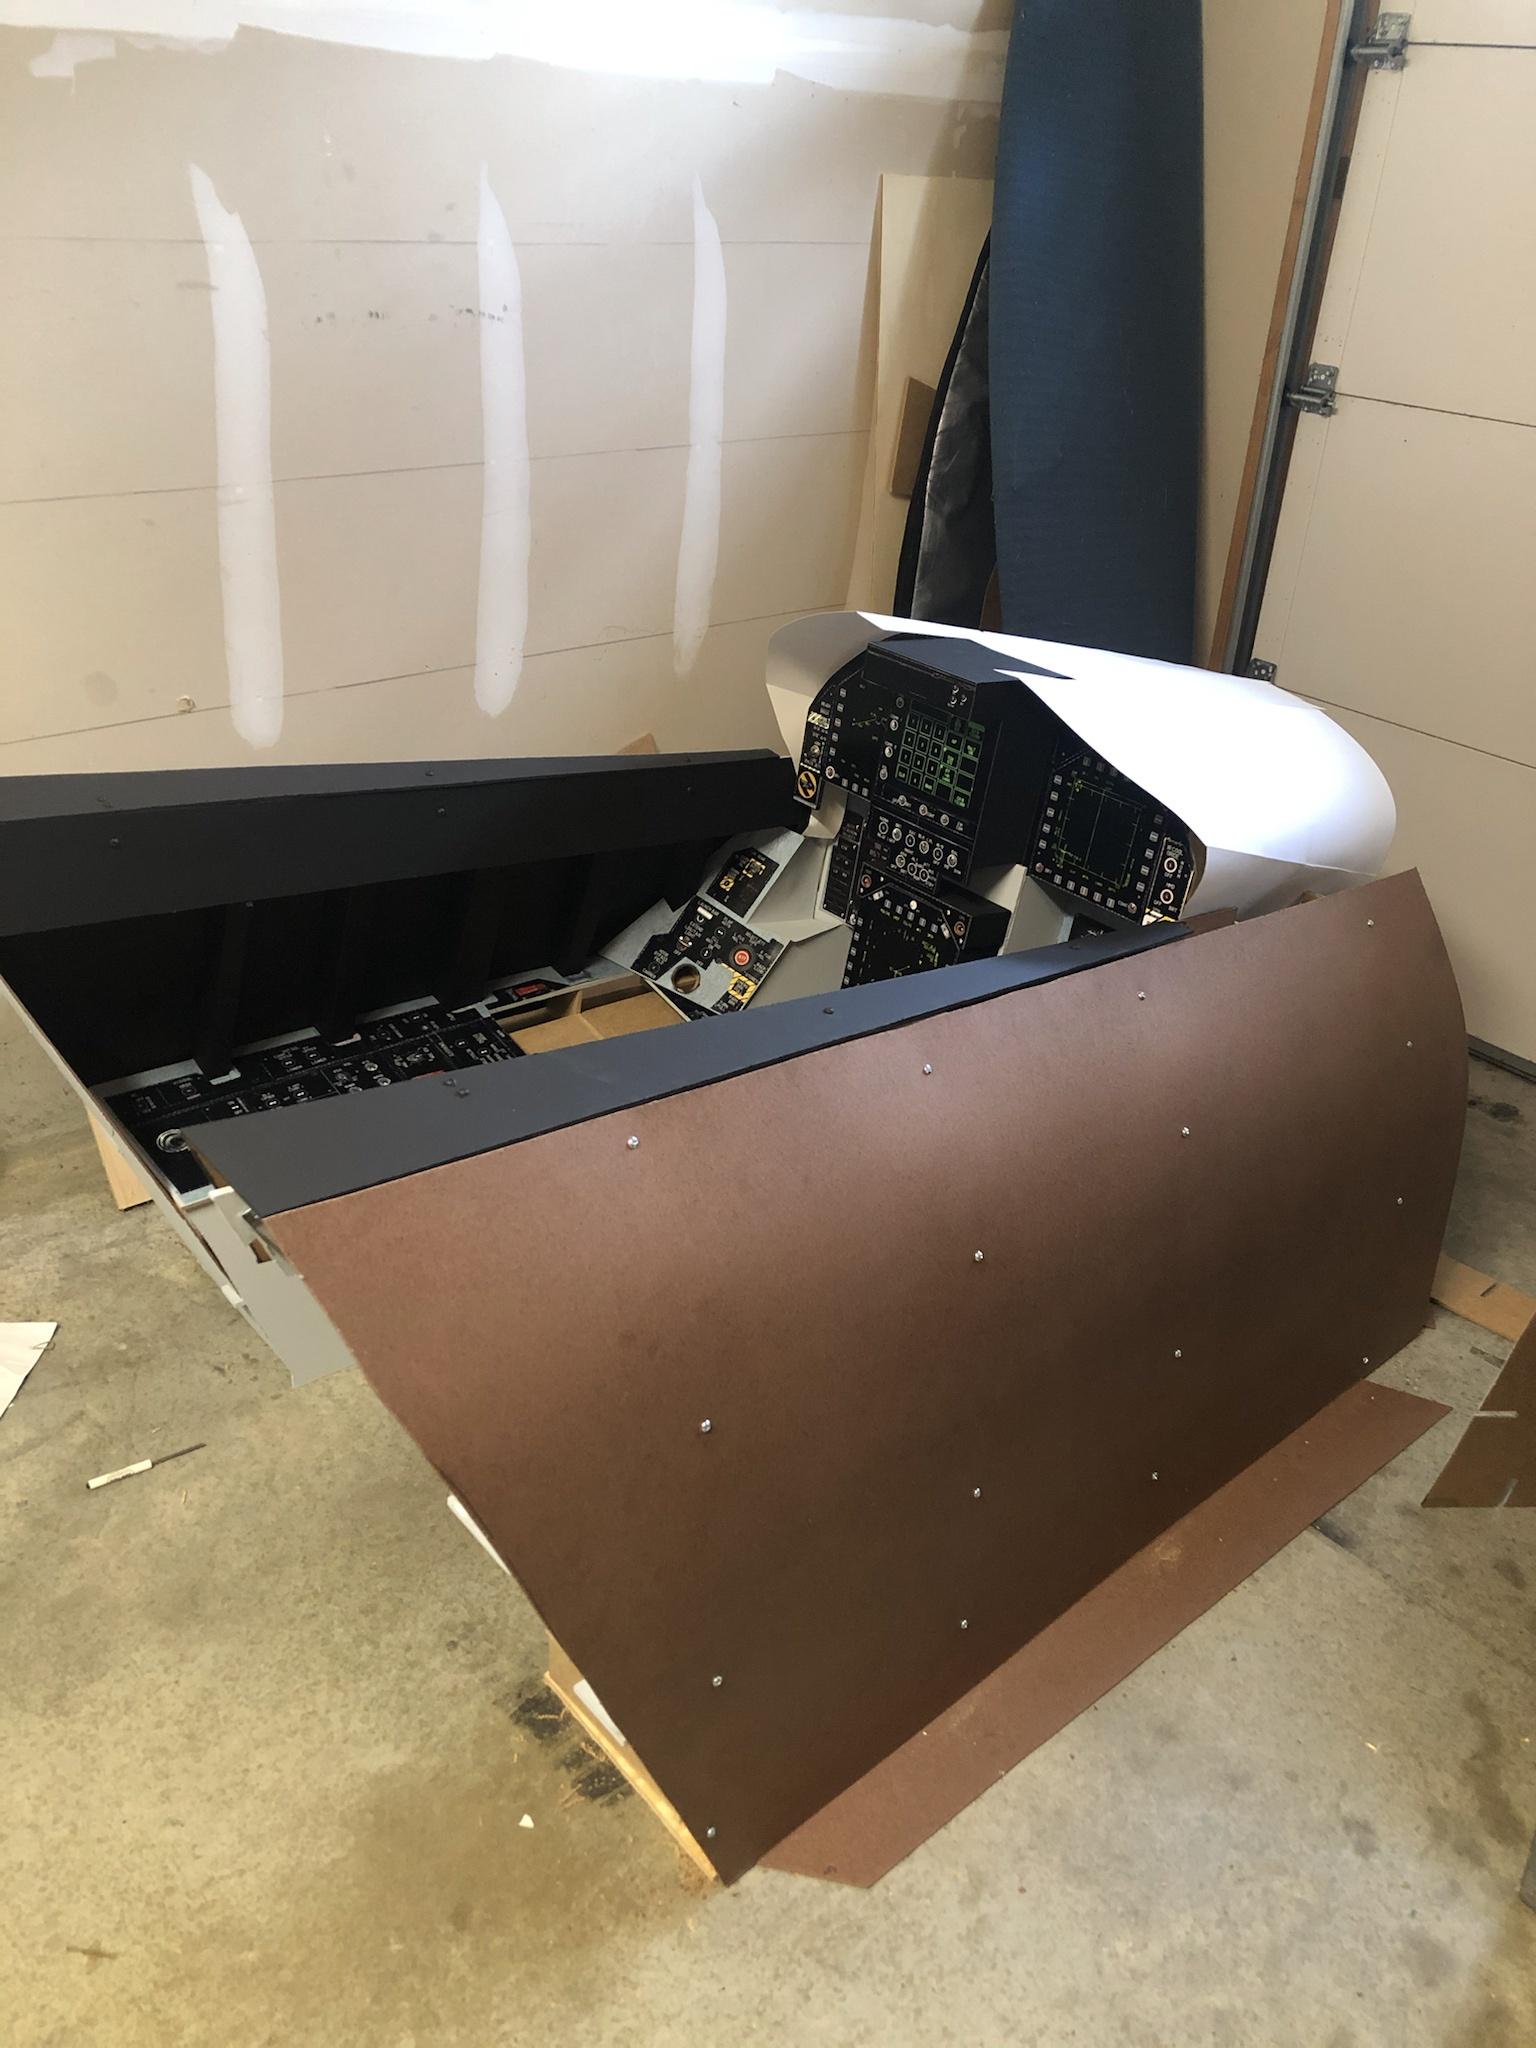
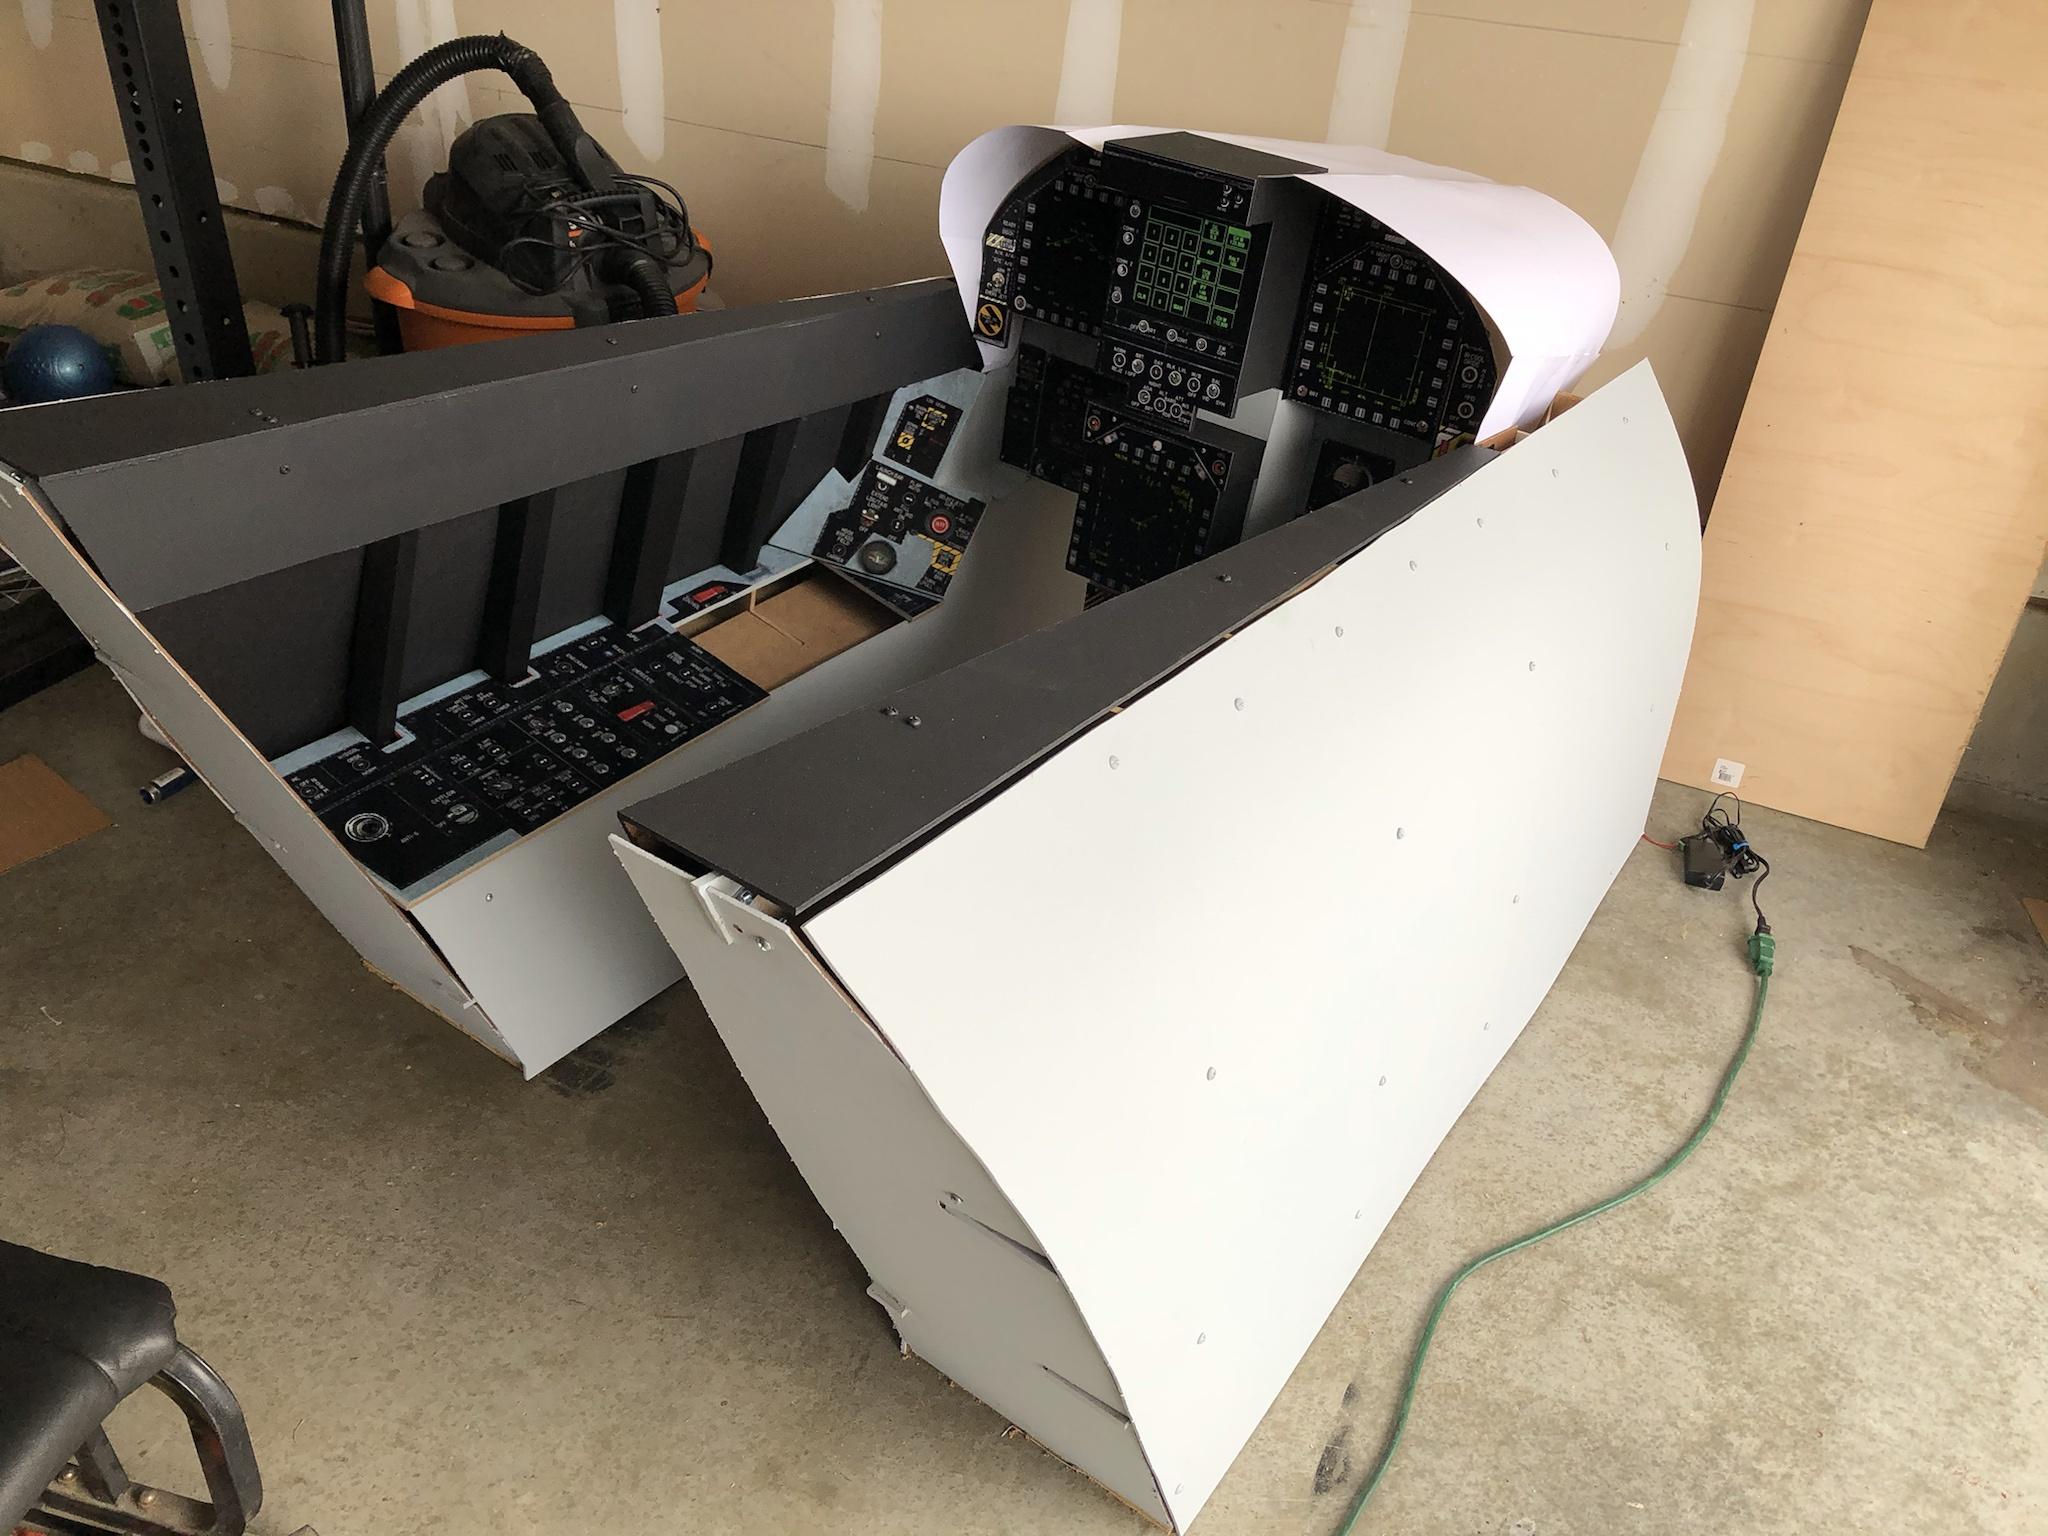
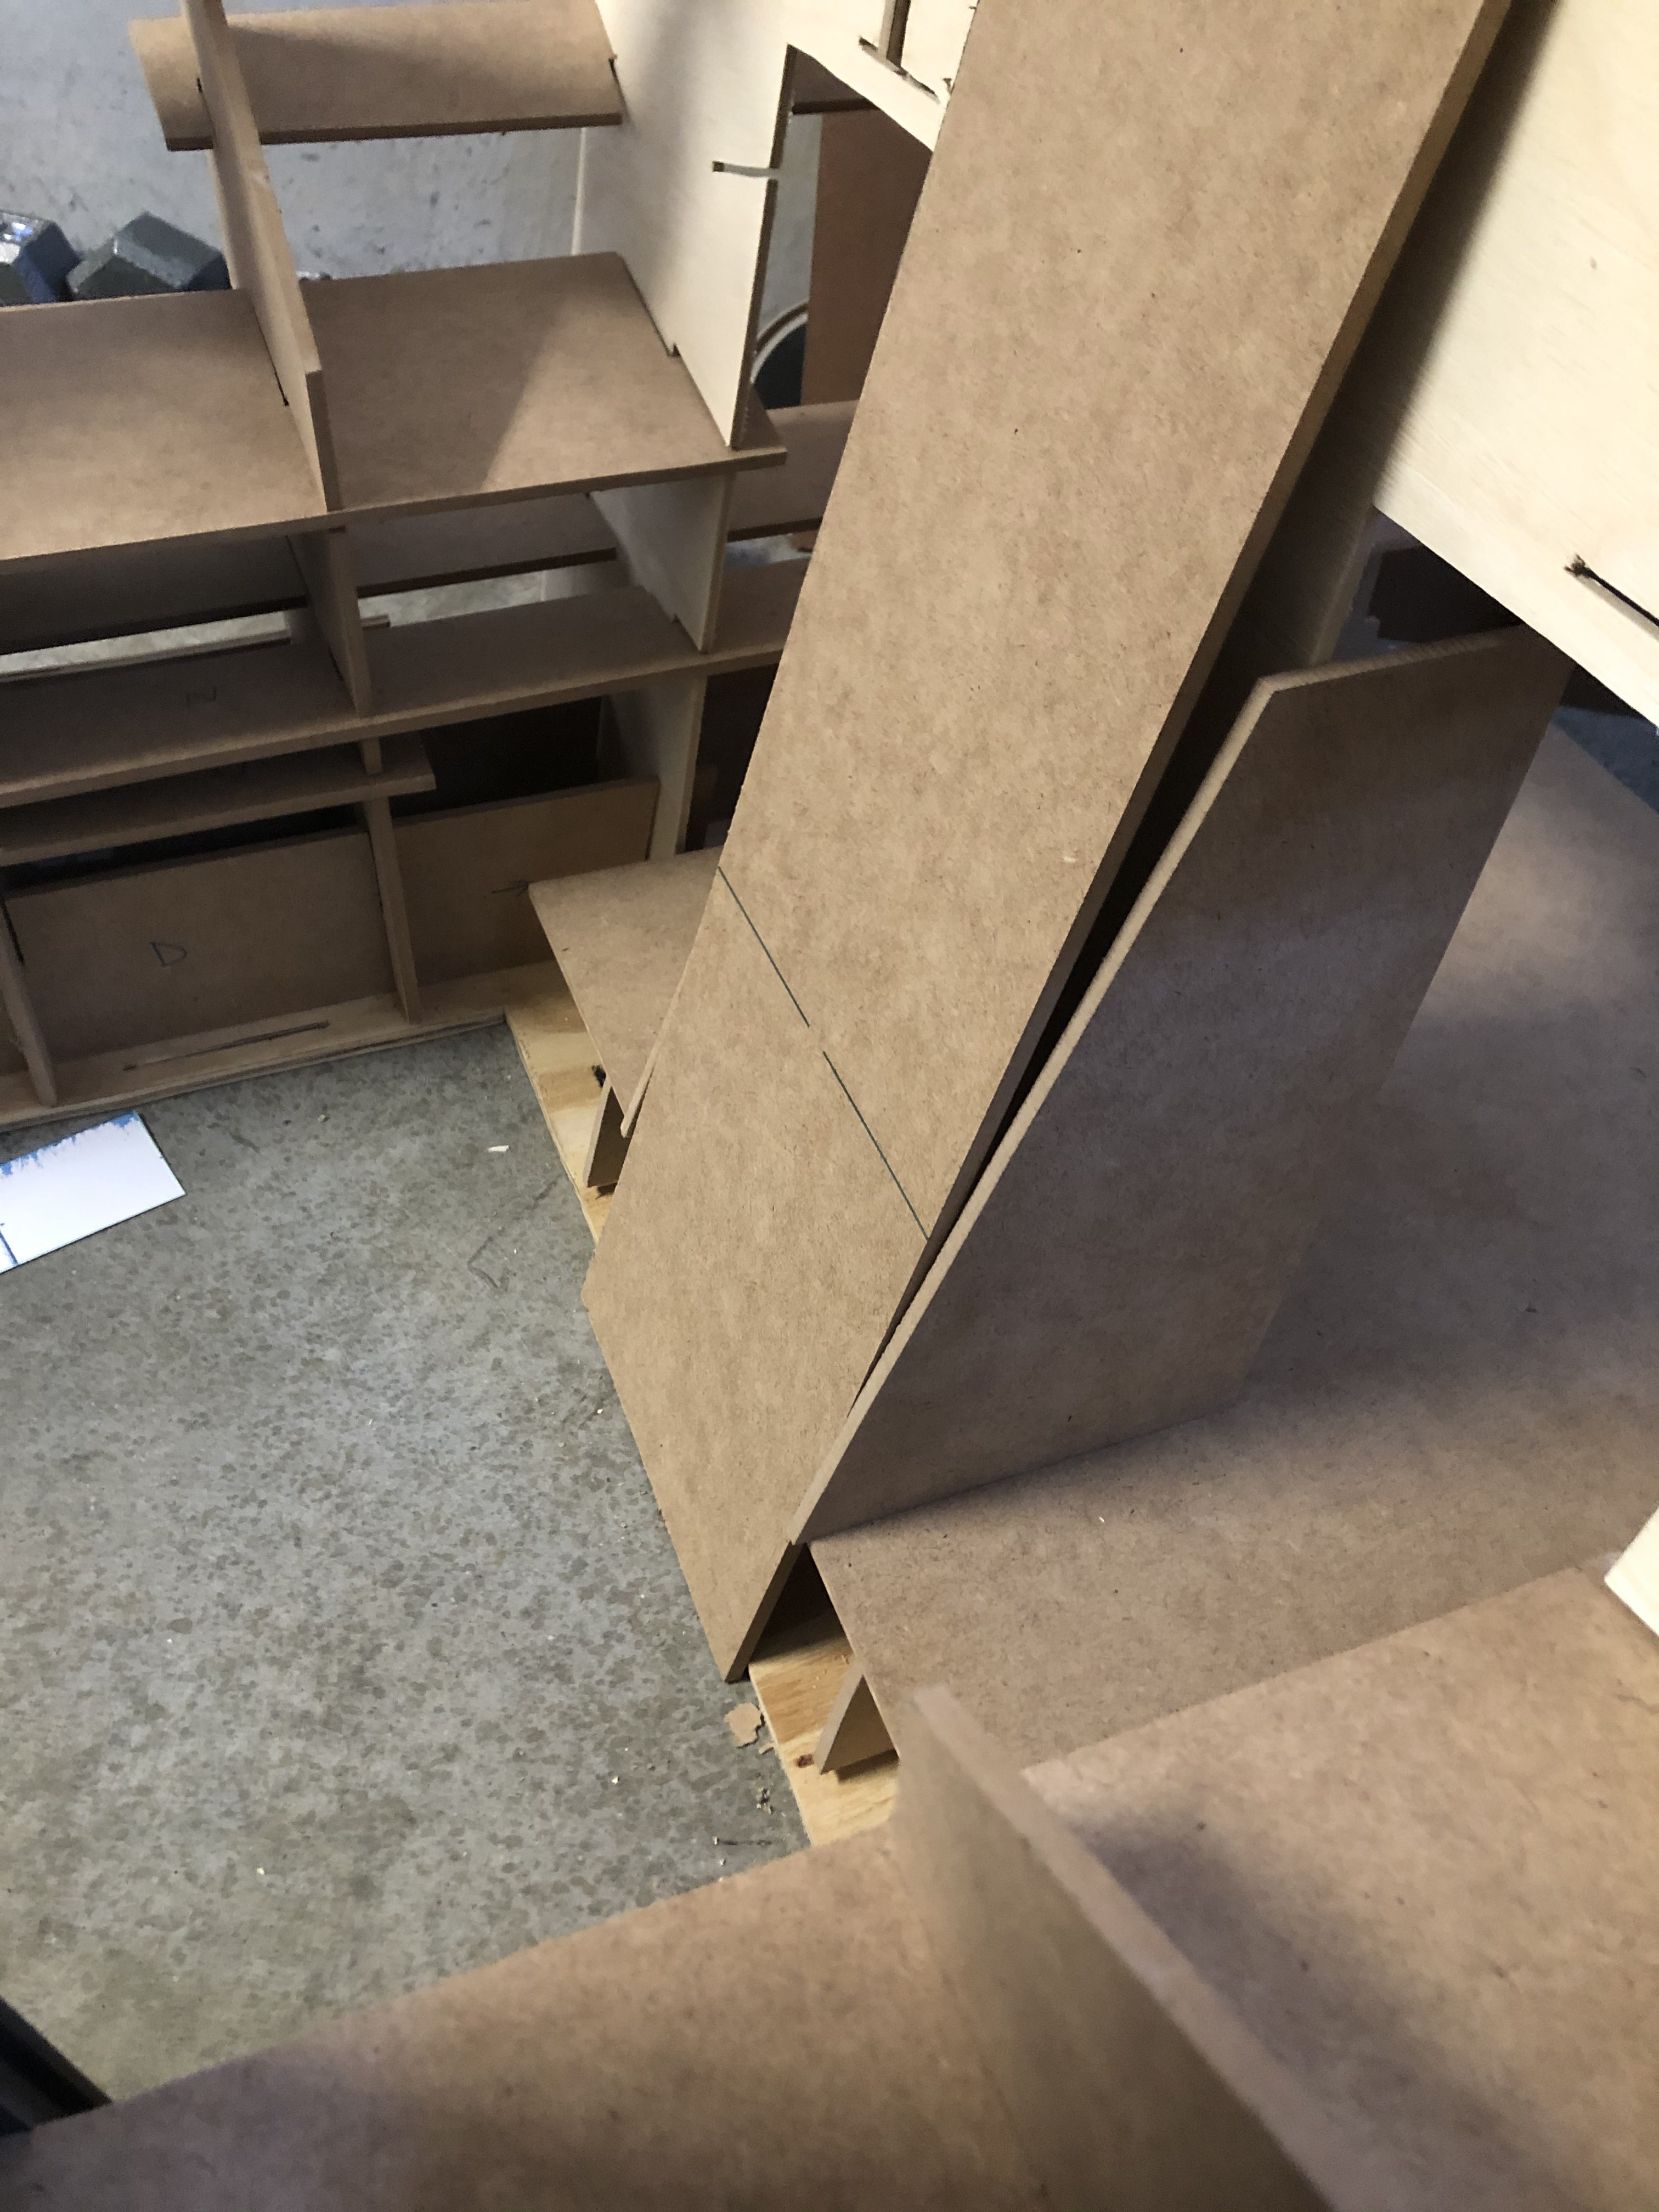
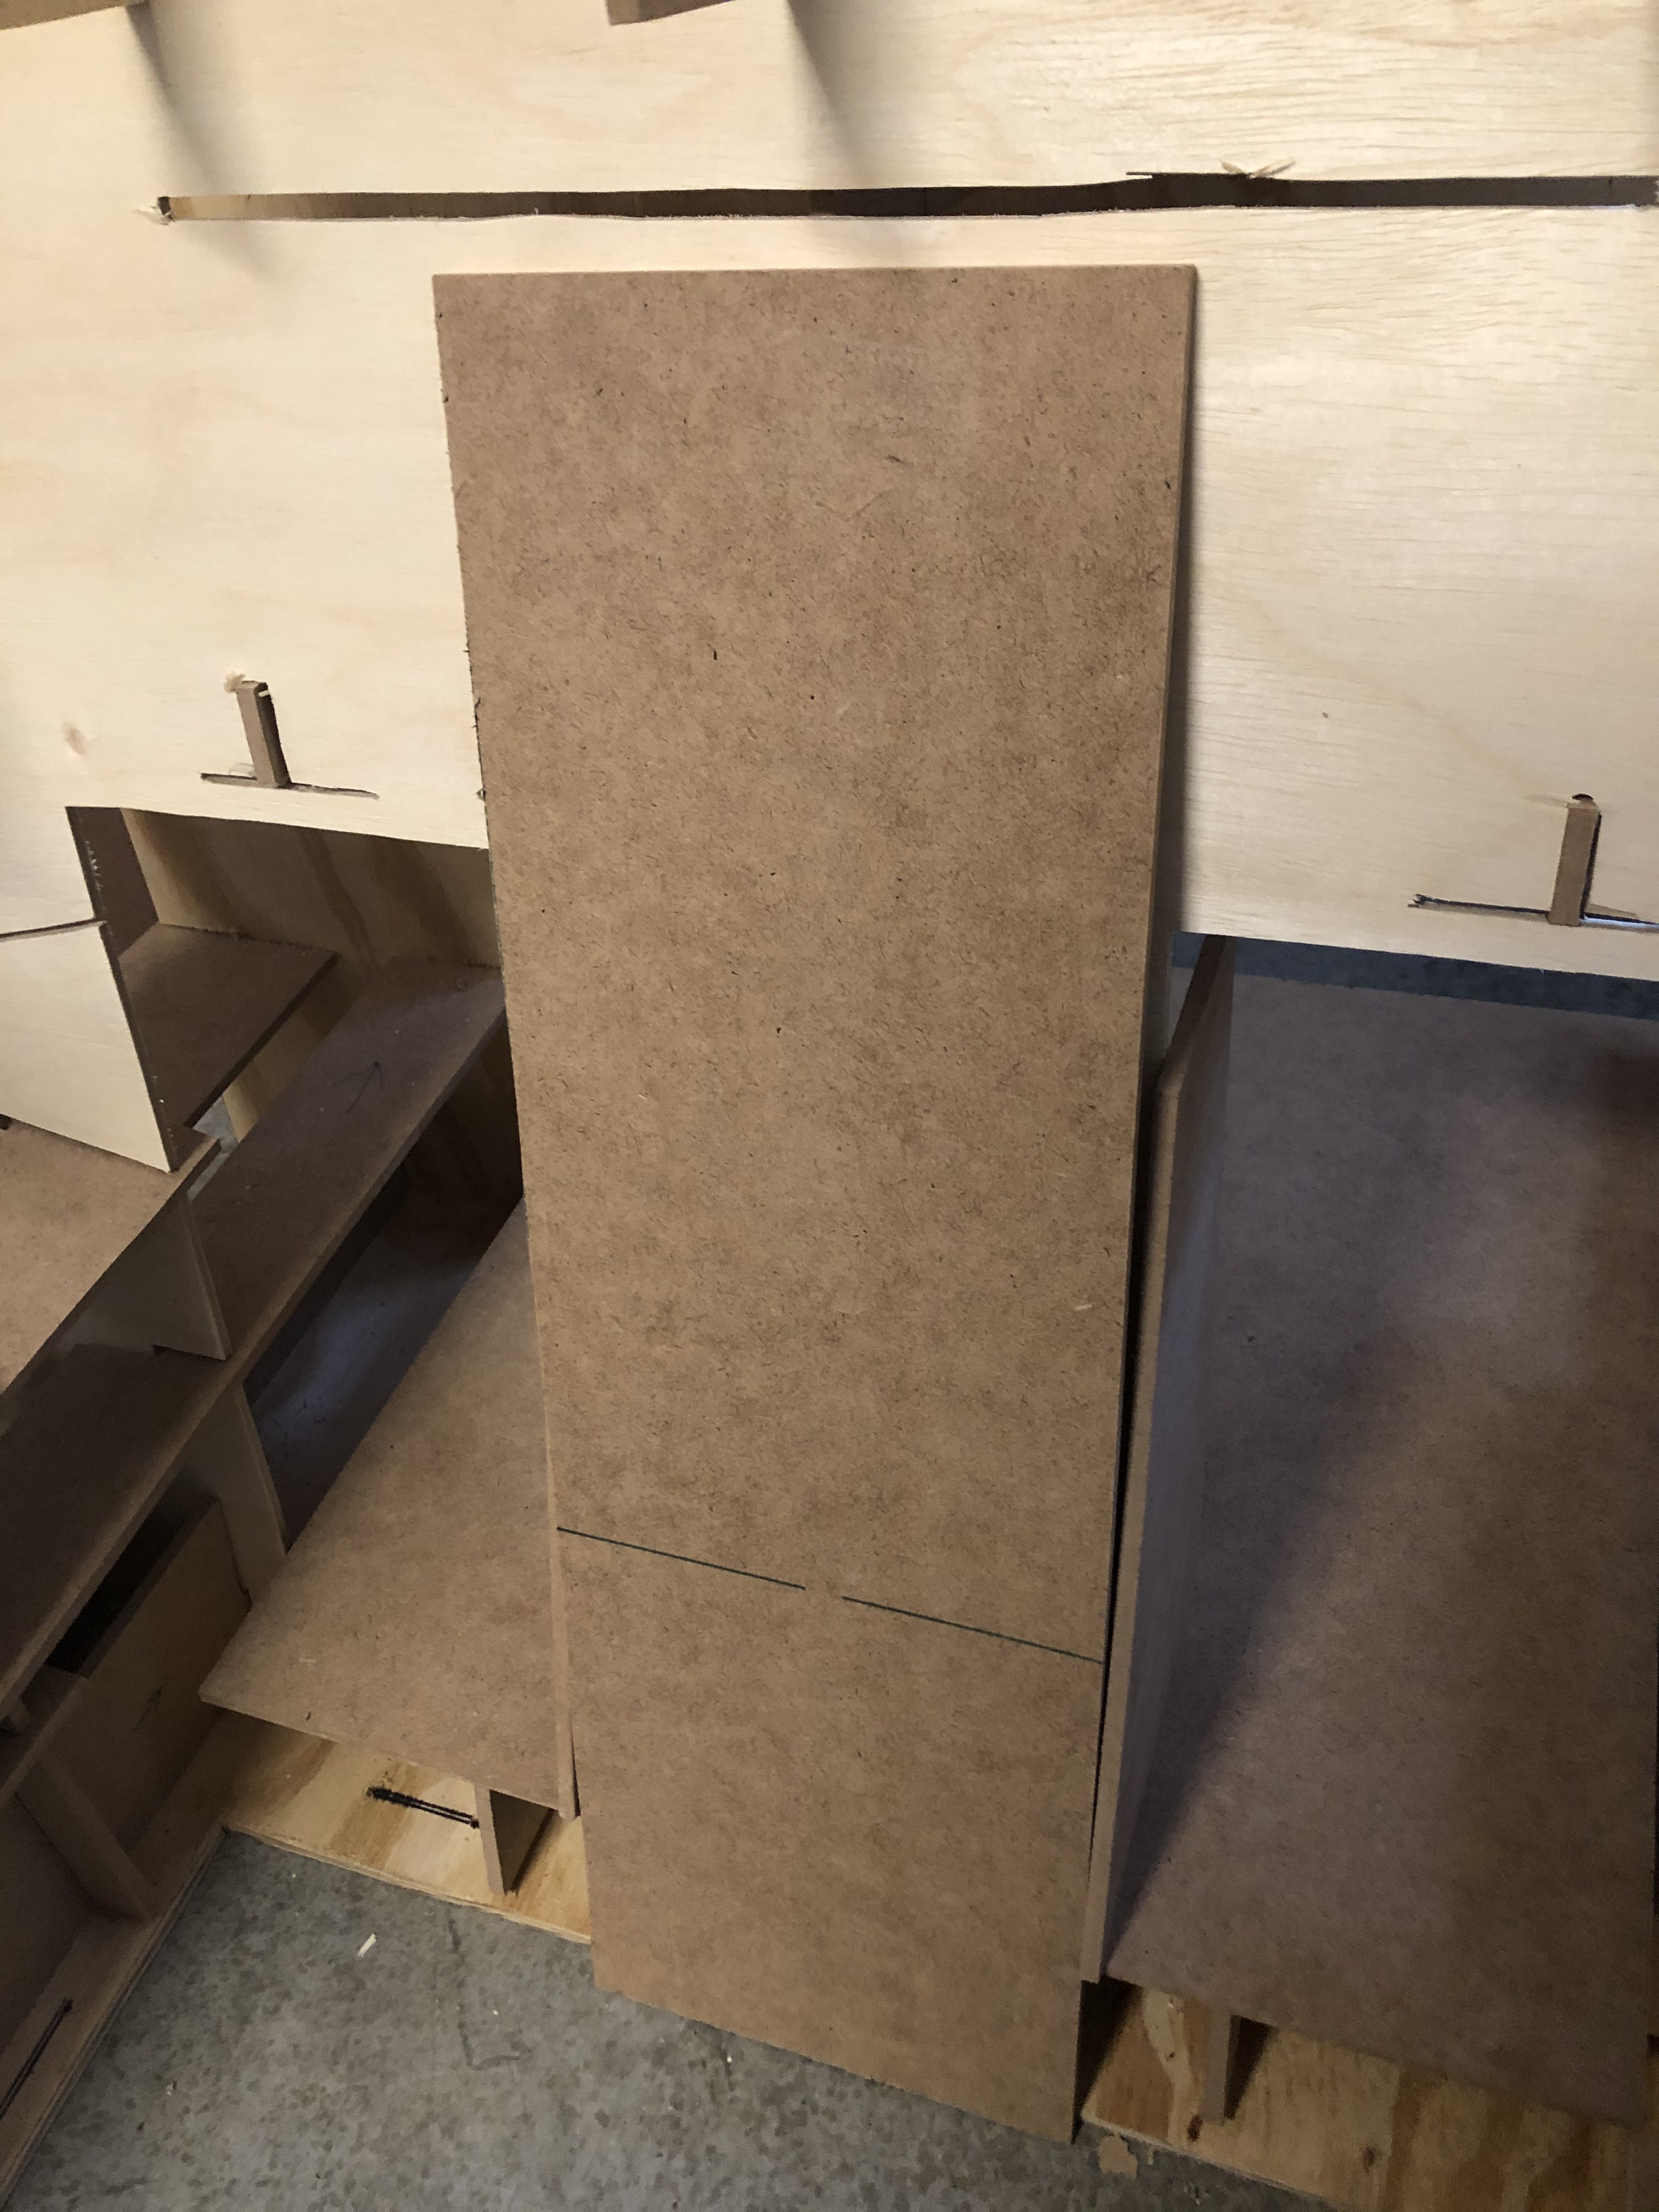
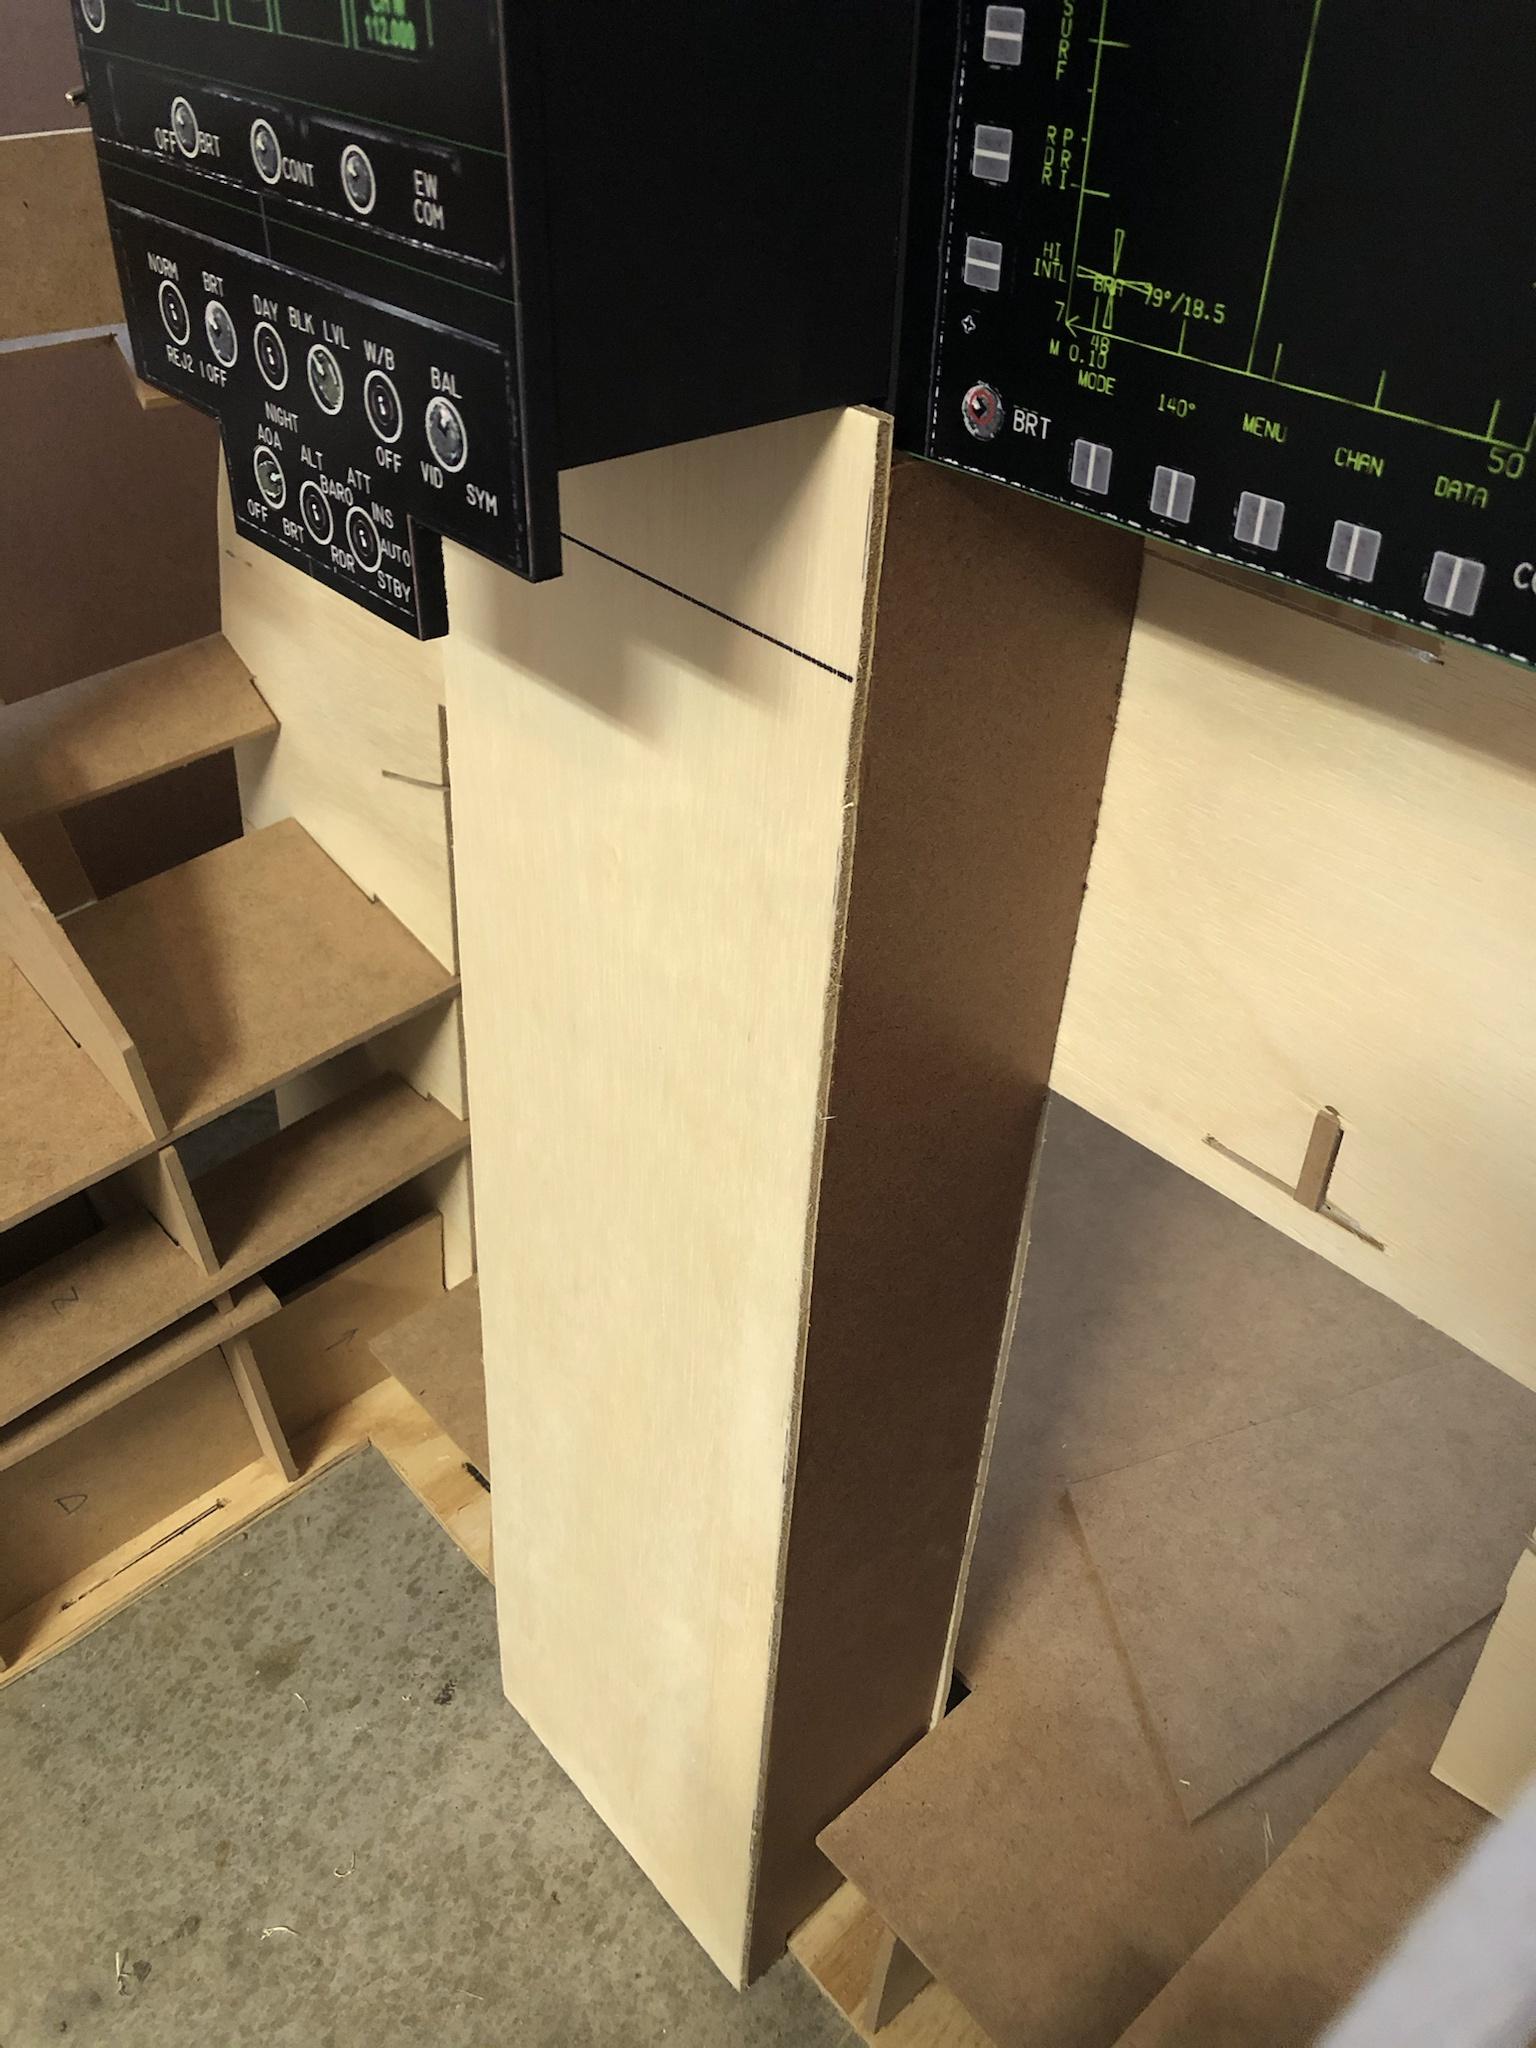
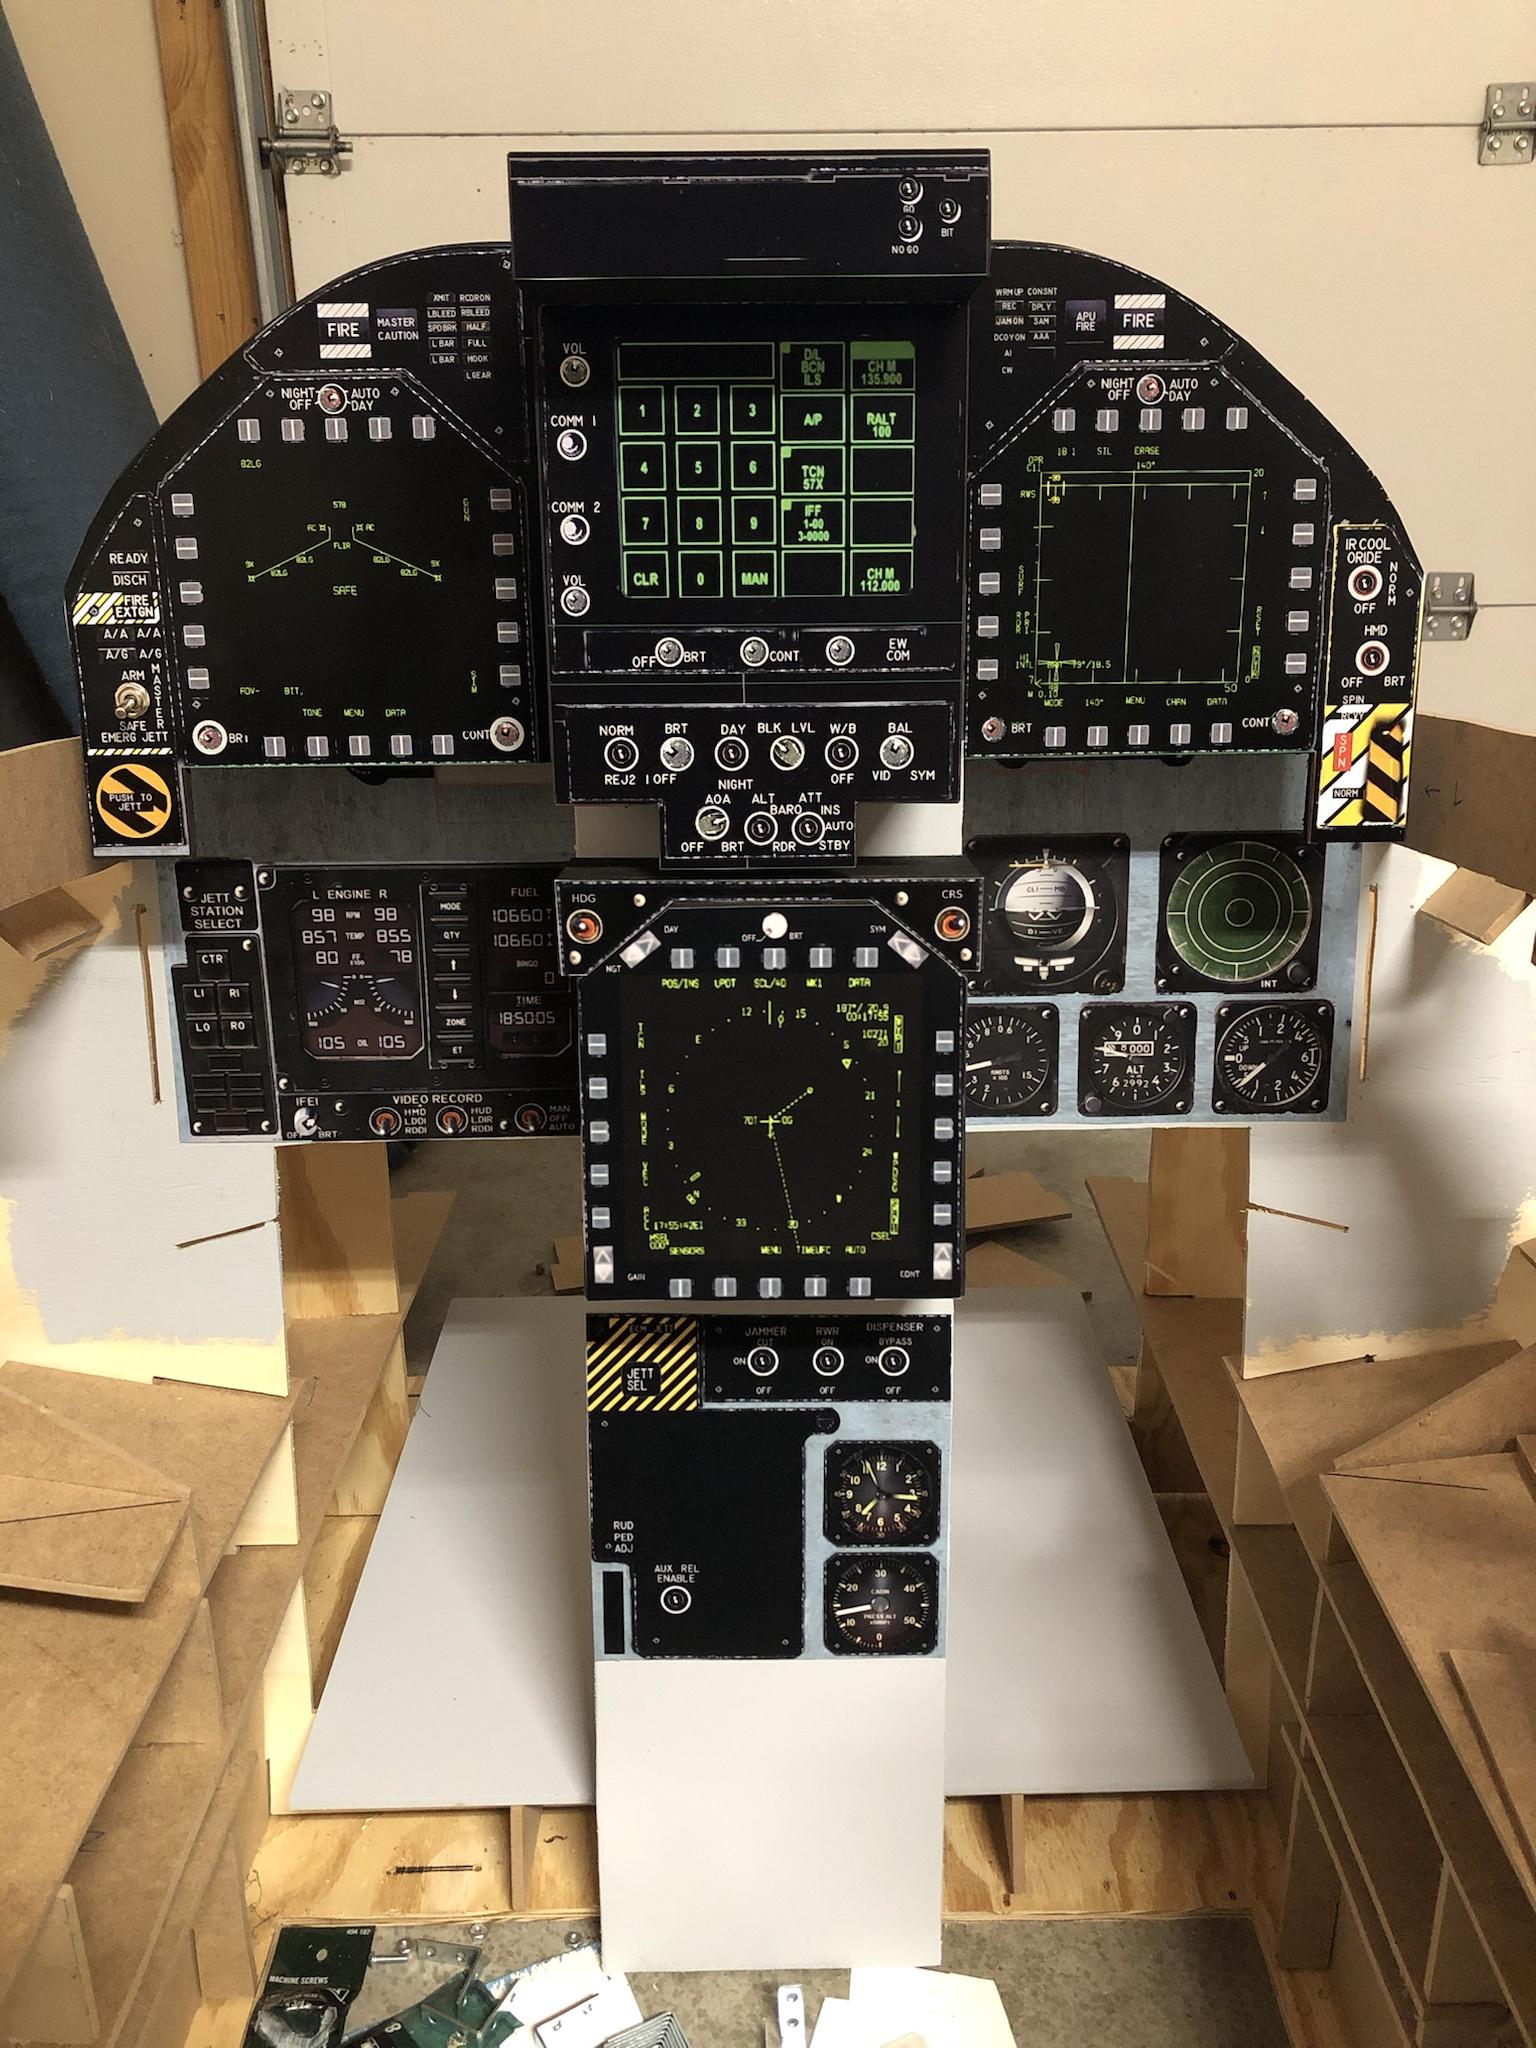
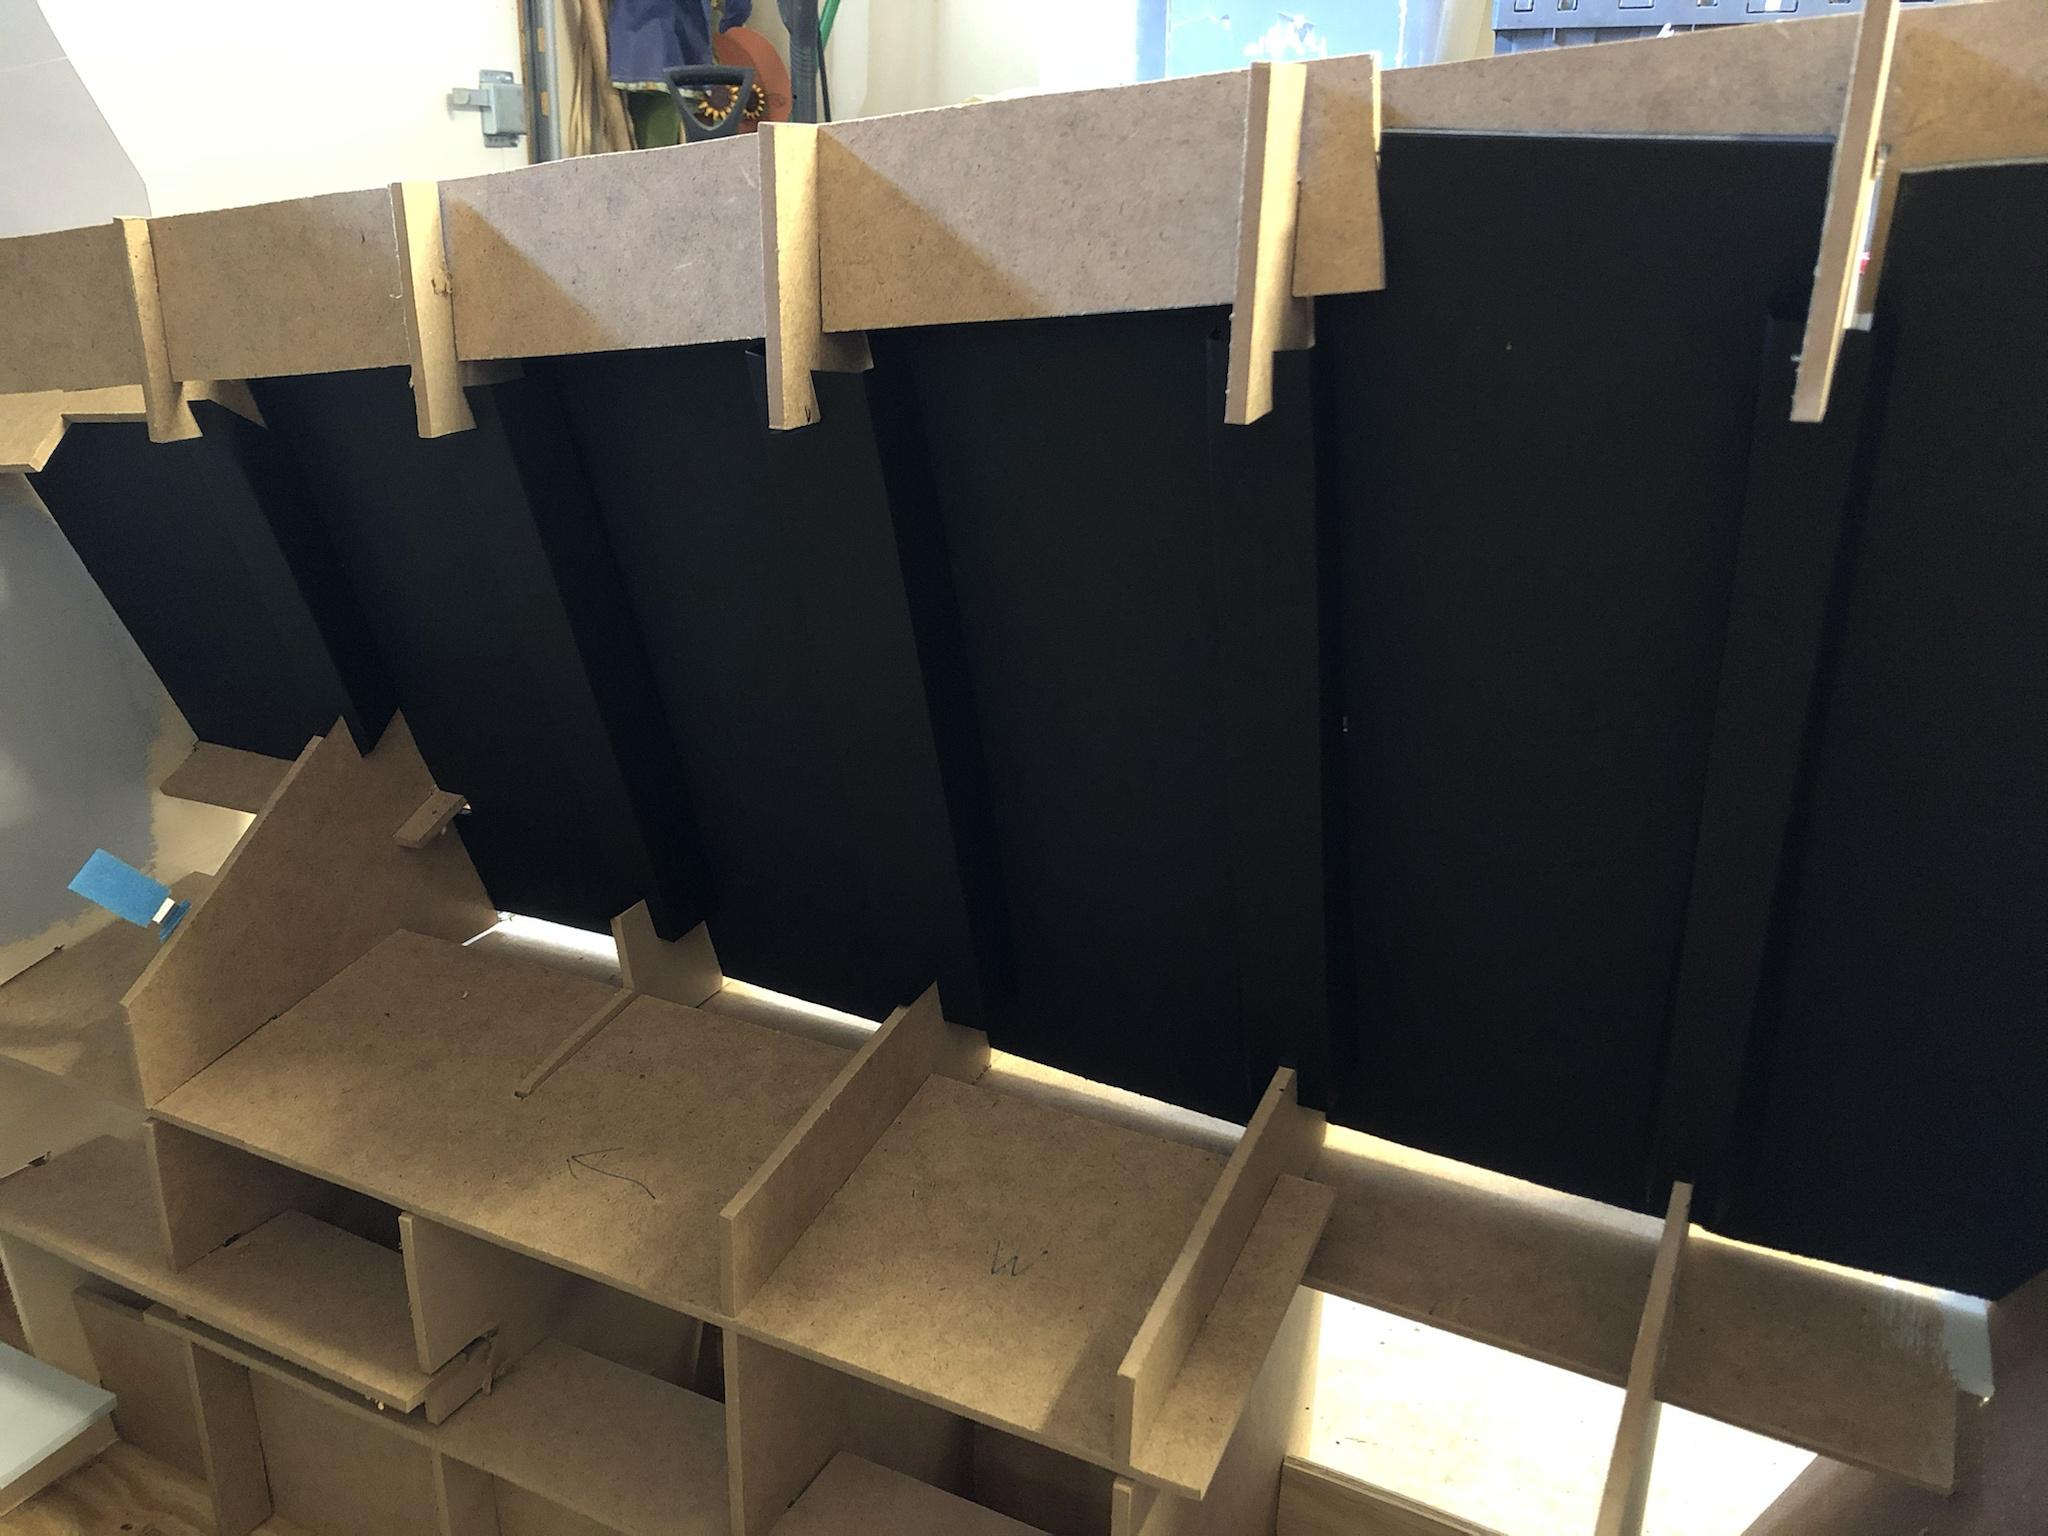
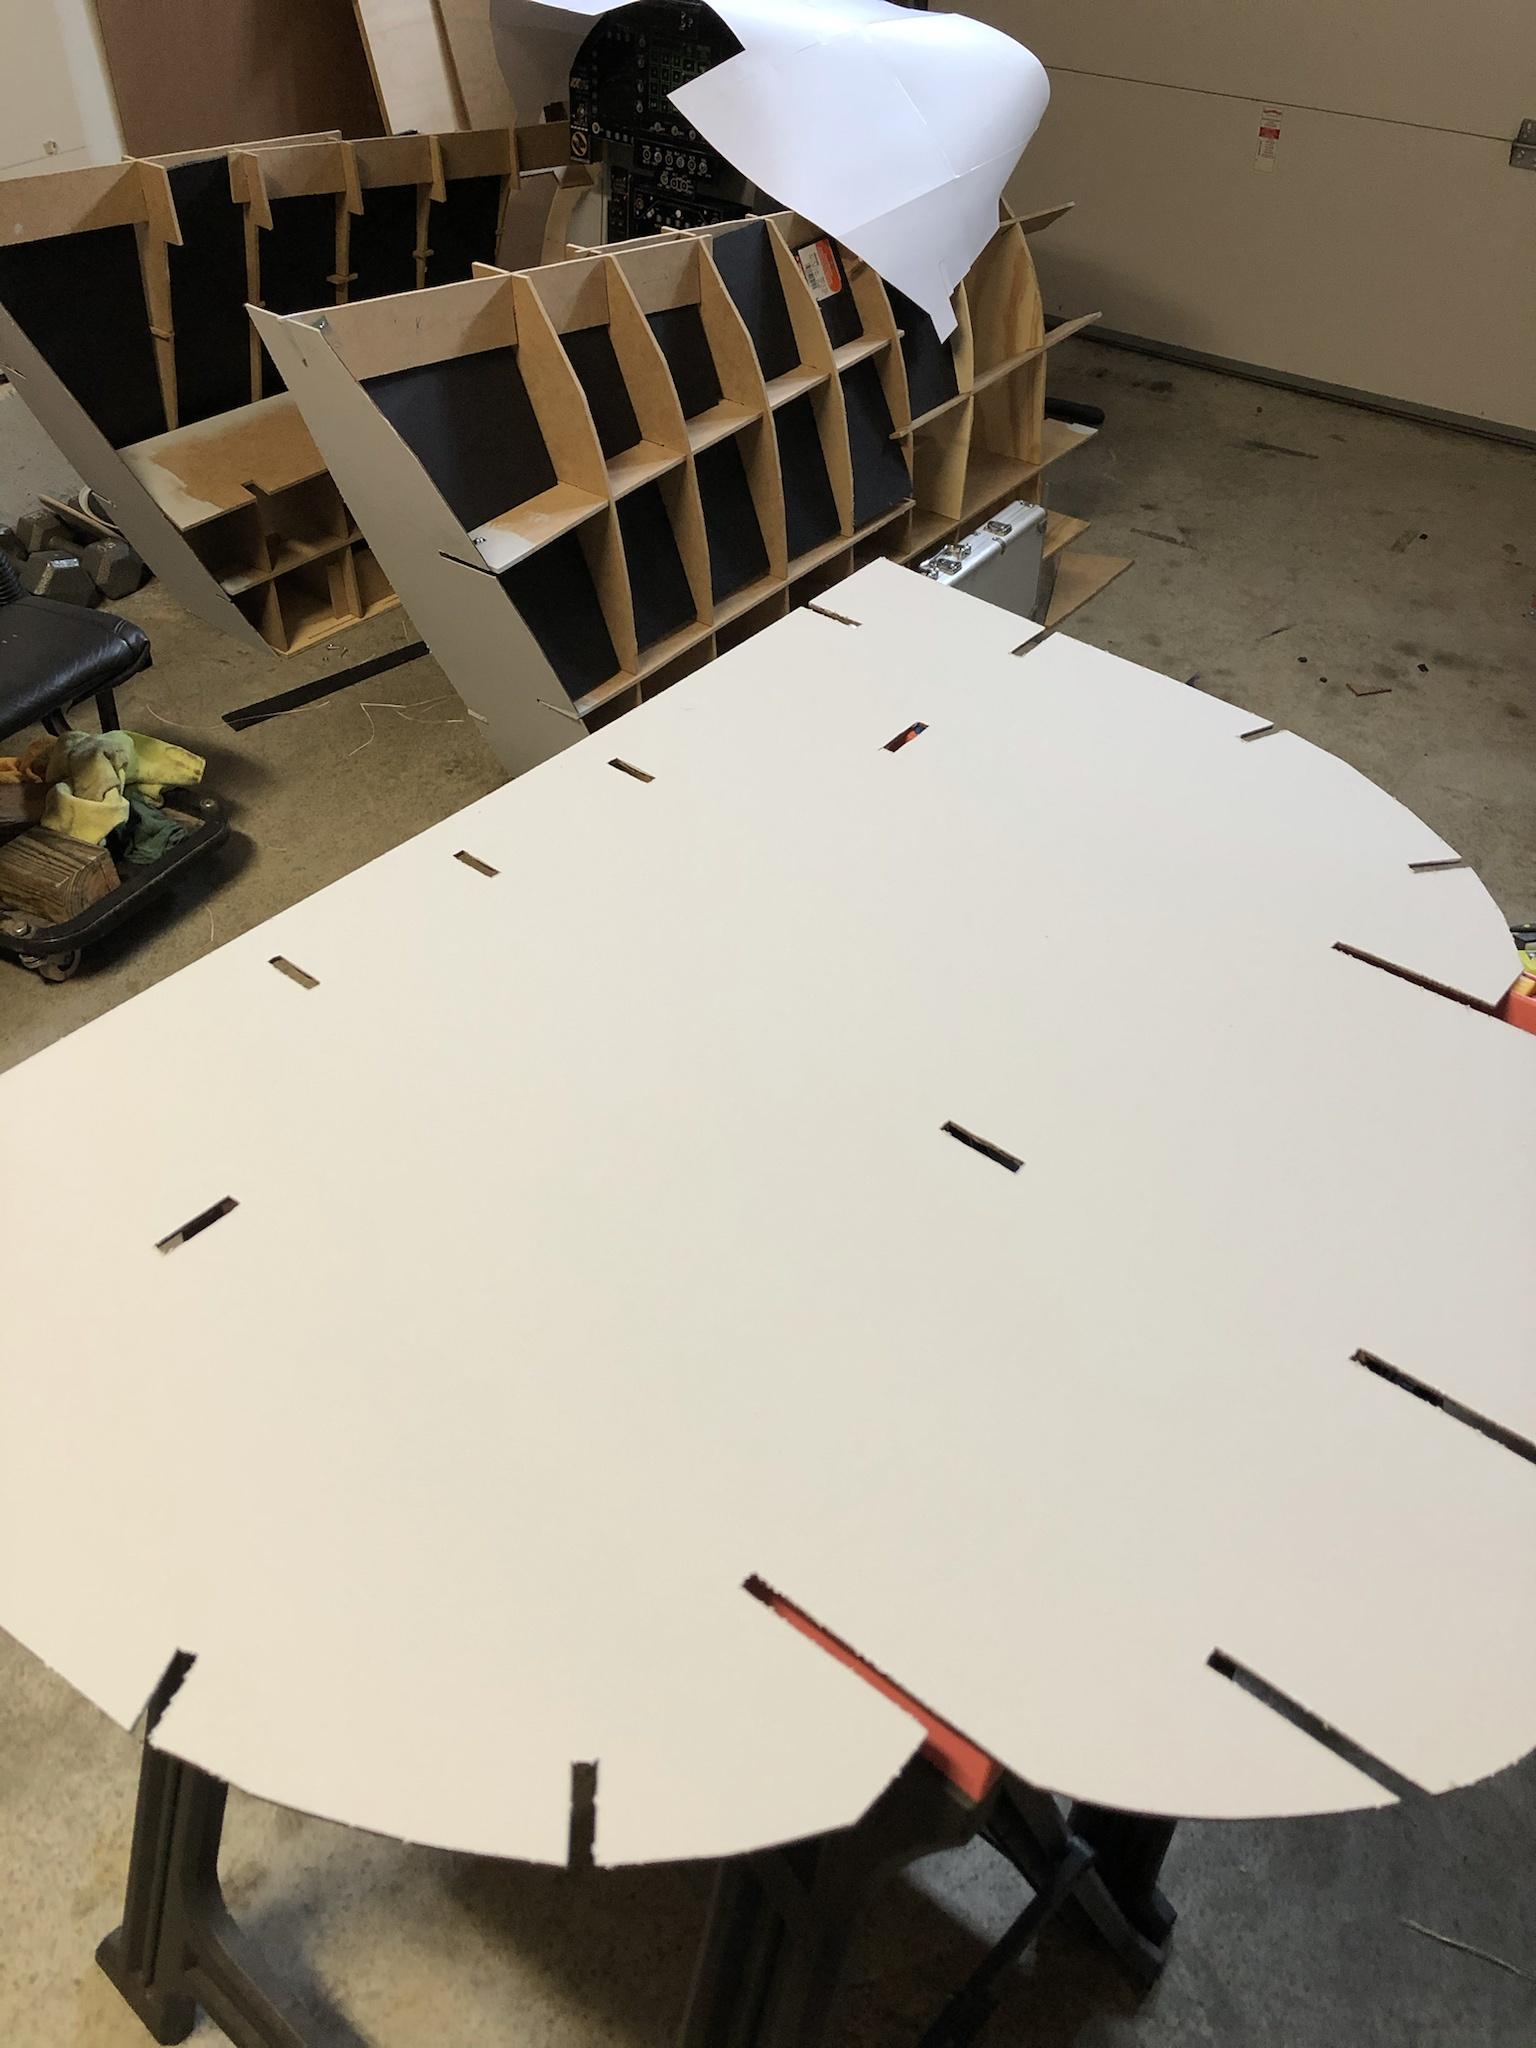
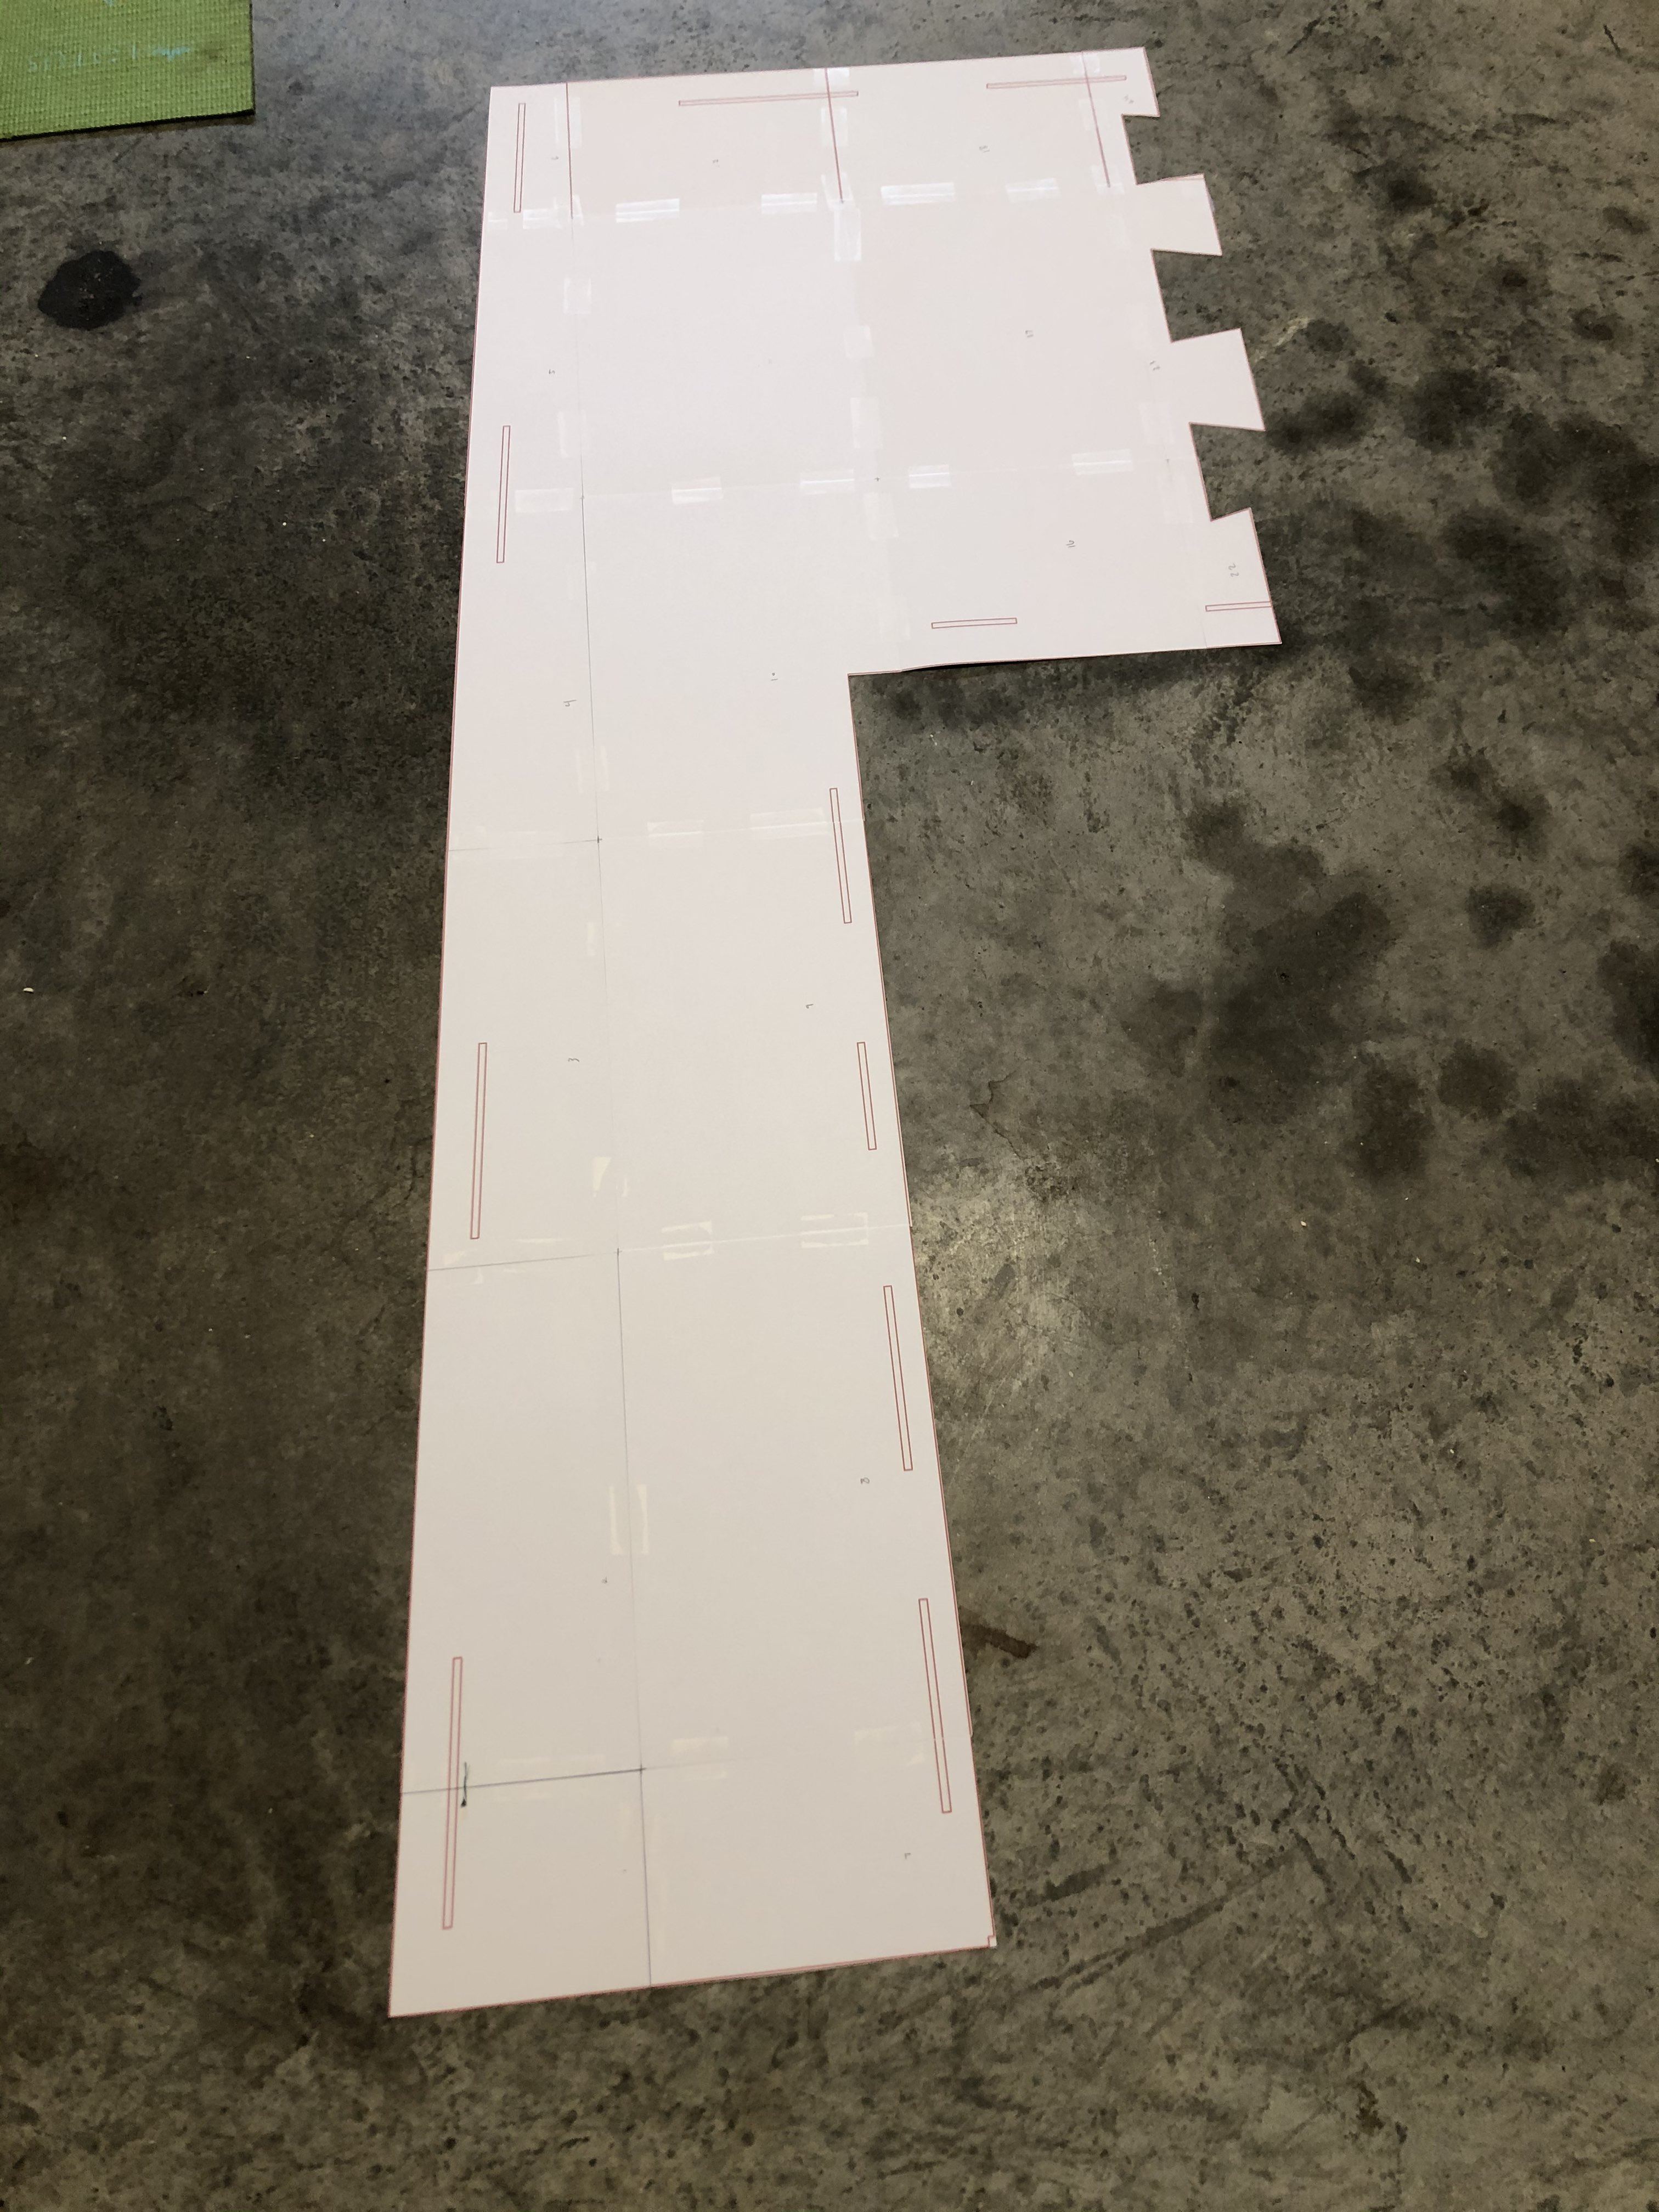
After almost a year, my F-18 cockpit build is complete and this is how it all happened! Here is a time lapse build video: https://www.youtube.com/watch?v=H1O_s5ZH_XE After searching around trying to figure out what kind of home cockpit I wanted to do, I saw this thread:https://forums.eagle.ru/topic/208612-f18-vr-simpit I decided that I was going to build a full F-18 cockpit based on @Shadow912 thread and the dogfight boss plans. Did a little research and off to Home Depot to buy wood and a jigsaw. Little did I know how much work was ahead of me! All of the cockpit pieces were printed out on paper, cut out to shape, traced onto wood, then cut out of the wood. Here is the very first piece printed on the paper and cut to shape which is the left base of the cockpit: And here it is cut out of the wood: The base done: Here are some more shapes cut out I need to put together: Using this thing was a life safer to cut out the printed shapes: Here is one of the frame pieces traced onto the wood ready to be cut out: Some of the pieces cut out: Starting to put some of the pieces together: Here is what the main frame looks like put together: Here is a gif of the main frame going together: Now I started to work in the instrument panel: The pictures are printed onto high quality photopaper and installed onto the wood. The middle of the DDI’s are actually screenshots taken out of DCS and photoshopped into the main pictures pulled from the Dogfight Boss plans. Instrument panel and UFC put together:

.jpg.0017737ae6c8d617c80cb9ee700bed26.jpg)


.jpg.71069d69a3bb1f1b551a53b6905eba73.jpg)
.jpg.3b0579c2377047078ad7f114b257f26d.jpg)
.jpg.6a6b2556c4a3c58d8147ade310dacec4.jpg)
.jpg.e49a491fc933c89d69985ad70129c258.jpg)
.jpg.d98ddbbb43885758b367a0e5e2a6c7a6.jpg)
.jpg.cb5a8ed05f5940a94e9ac80e22b030be.jpg)

.jpg.6b124ffa447f6d78883b2d984c6b1e05.jpg)
.jpg.df765cf6c58edc6df743bb5e25314132.jpg)