Red Yeti
-
Posts
103 -
Joined
-
Last visited
1 Follower
-
Die Aussage ist nicht richtig. Moderne Handgewindebohrer namhafter Hersteller werden aus denselben Werkstoffen gefertigt wie die Maschinengewindebohrer. Zudem sind Handgewindebohrer oft kürzer ausgeführt. Das senkt die Gefahr von Verkantungen und seitlichen Kräften durch Hebelwirkung. Es gibt auch nicht DEN Handgewindebohrer und DEN Maschinengewindebohrer, sondern den jeweils richtigen für den entsprechenden Werkstoff. Es sei denn, es sind damit Gewindebohrer aus VHM gemeint. Diese sind für den manuellen Einsatz jedoch vollkommen ungeeignet.
-
Edelstahl ist an sich schon ein bescheidenes Material um darin kleine Gewinde zu schneiden. Gedruckter Edelstahl ist da noch schlimmer, da er zum Teil nicht homogen ist. Du benötigst auf jeden Fall sehr scharfe Gewindebohrer, um die Kaltverfestigung zu vermeiden. Für den genannten Einsatz würde ich einen Durchgangsgewindebohrer nehmen, da dieser stabiler ist. Keinen Sacklochgewindebohrer mit der Spirale! Besorge Gewindebohrer von Gühring, Emuge oder Titex. Die mit dem blauen Ring eignen sich meistens auch für Edelstahl mit geringerer Festigkeit. Ob du ein Set aus 2/3 Gewindebohrern nimmst oder einen Einschnittgewindebohrer, musst du selbst entscheiden – da scheiden sich die Geister. Dein „Schmiermittel“ ist für diesen Einsatz nicht gut geeignet. Eigentlich wird für VA eine Paste (z. B. von Jokisch) verwendet. Für die paar Löcher wäre das aber ein Overkill. Ich würde auf jeden Fall ein Öl nutzen, welches gerade verfügbar ist (Hydrauliköl, Bettbahnöl, Feinmechanikeröl) und beim Schneiden ständig ölen, um die Reibung zu verringern. Die Löcher solltest du auch mit einem scharfen Bohrer vorbohren. Der Bohrer muss das Metall schneiden und nicht zur Seite verdrängen. €: Die Teile sehen sehr interessant aus. Kannst du den Link zu dem französischen Forum/Thread teilen?
-
Welche Gewindebohrer hast du denn bis jetzt genutzt? SLM(Metall) welcher Werkostoff genau? Alu?
-
I would try using a counterweight once the handle is fully loaded. You just have to find the right weight for the right distance.
-
If you are already using a Micro 32U4, why not just flash MMJoy2? There is a long thread about MMJoy here in the forum.
-
That looks really great! How did you achieve the white lettering? Are there two different filaments, or was it laser-etched?
-
Free 3D Plans for an F-4 Phantom/Century Series Grip!
Red Yeti replied to _BringTheReign_'s topic in DCS: F-4E Phantom
I'm sorry. I'm currently enjoying the summer with outdoor activities in my free time. If the weather is bad again, I could make a video with the most important steps. But that could take a few more weeks (or months). -
(Successful?) Revive dead Track Clip UTC II+ Pro
Red Yeti replied to Red Yeti's topic in Input Devices
Hi Aapje, thanks for the feedback. That gives me hope that the repair will last a little longer. -
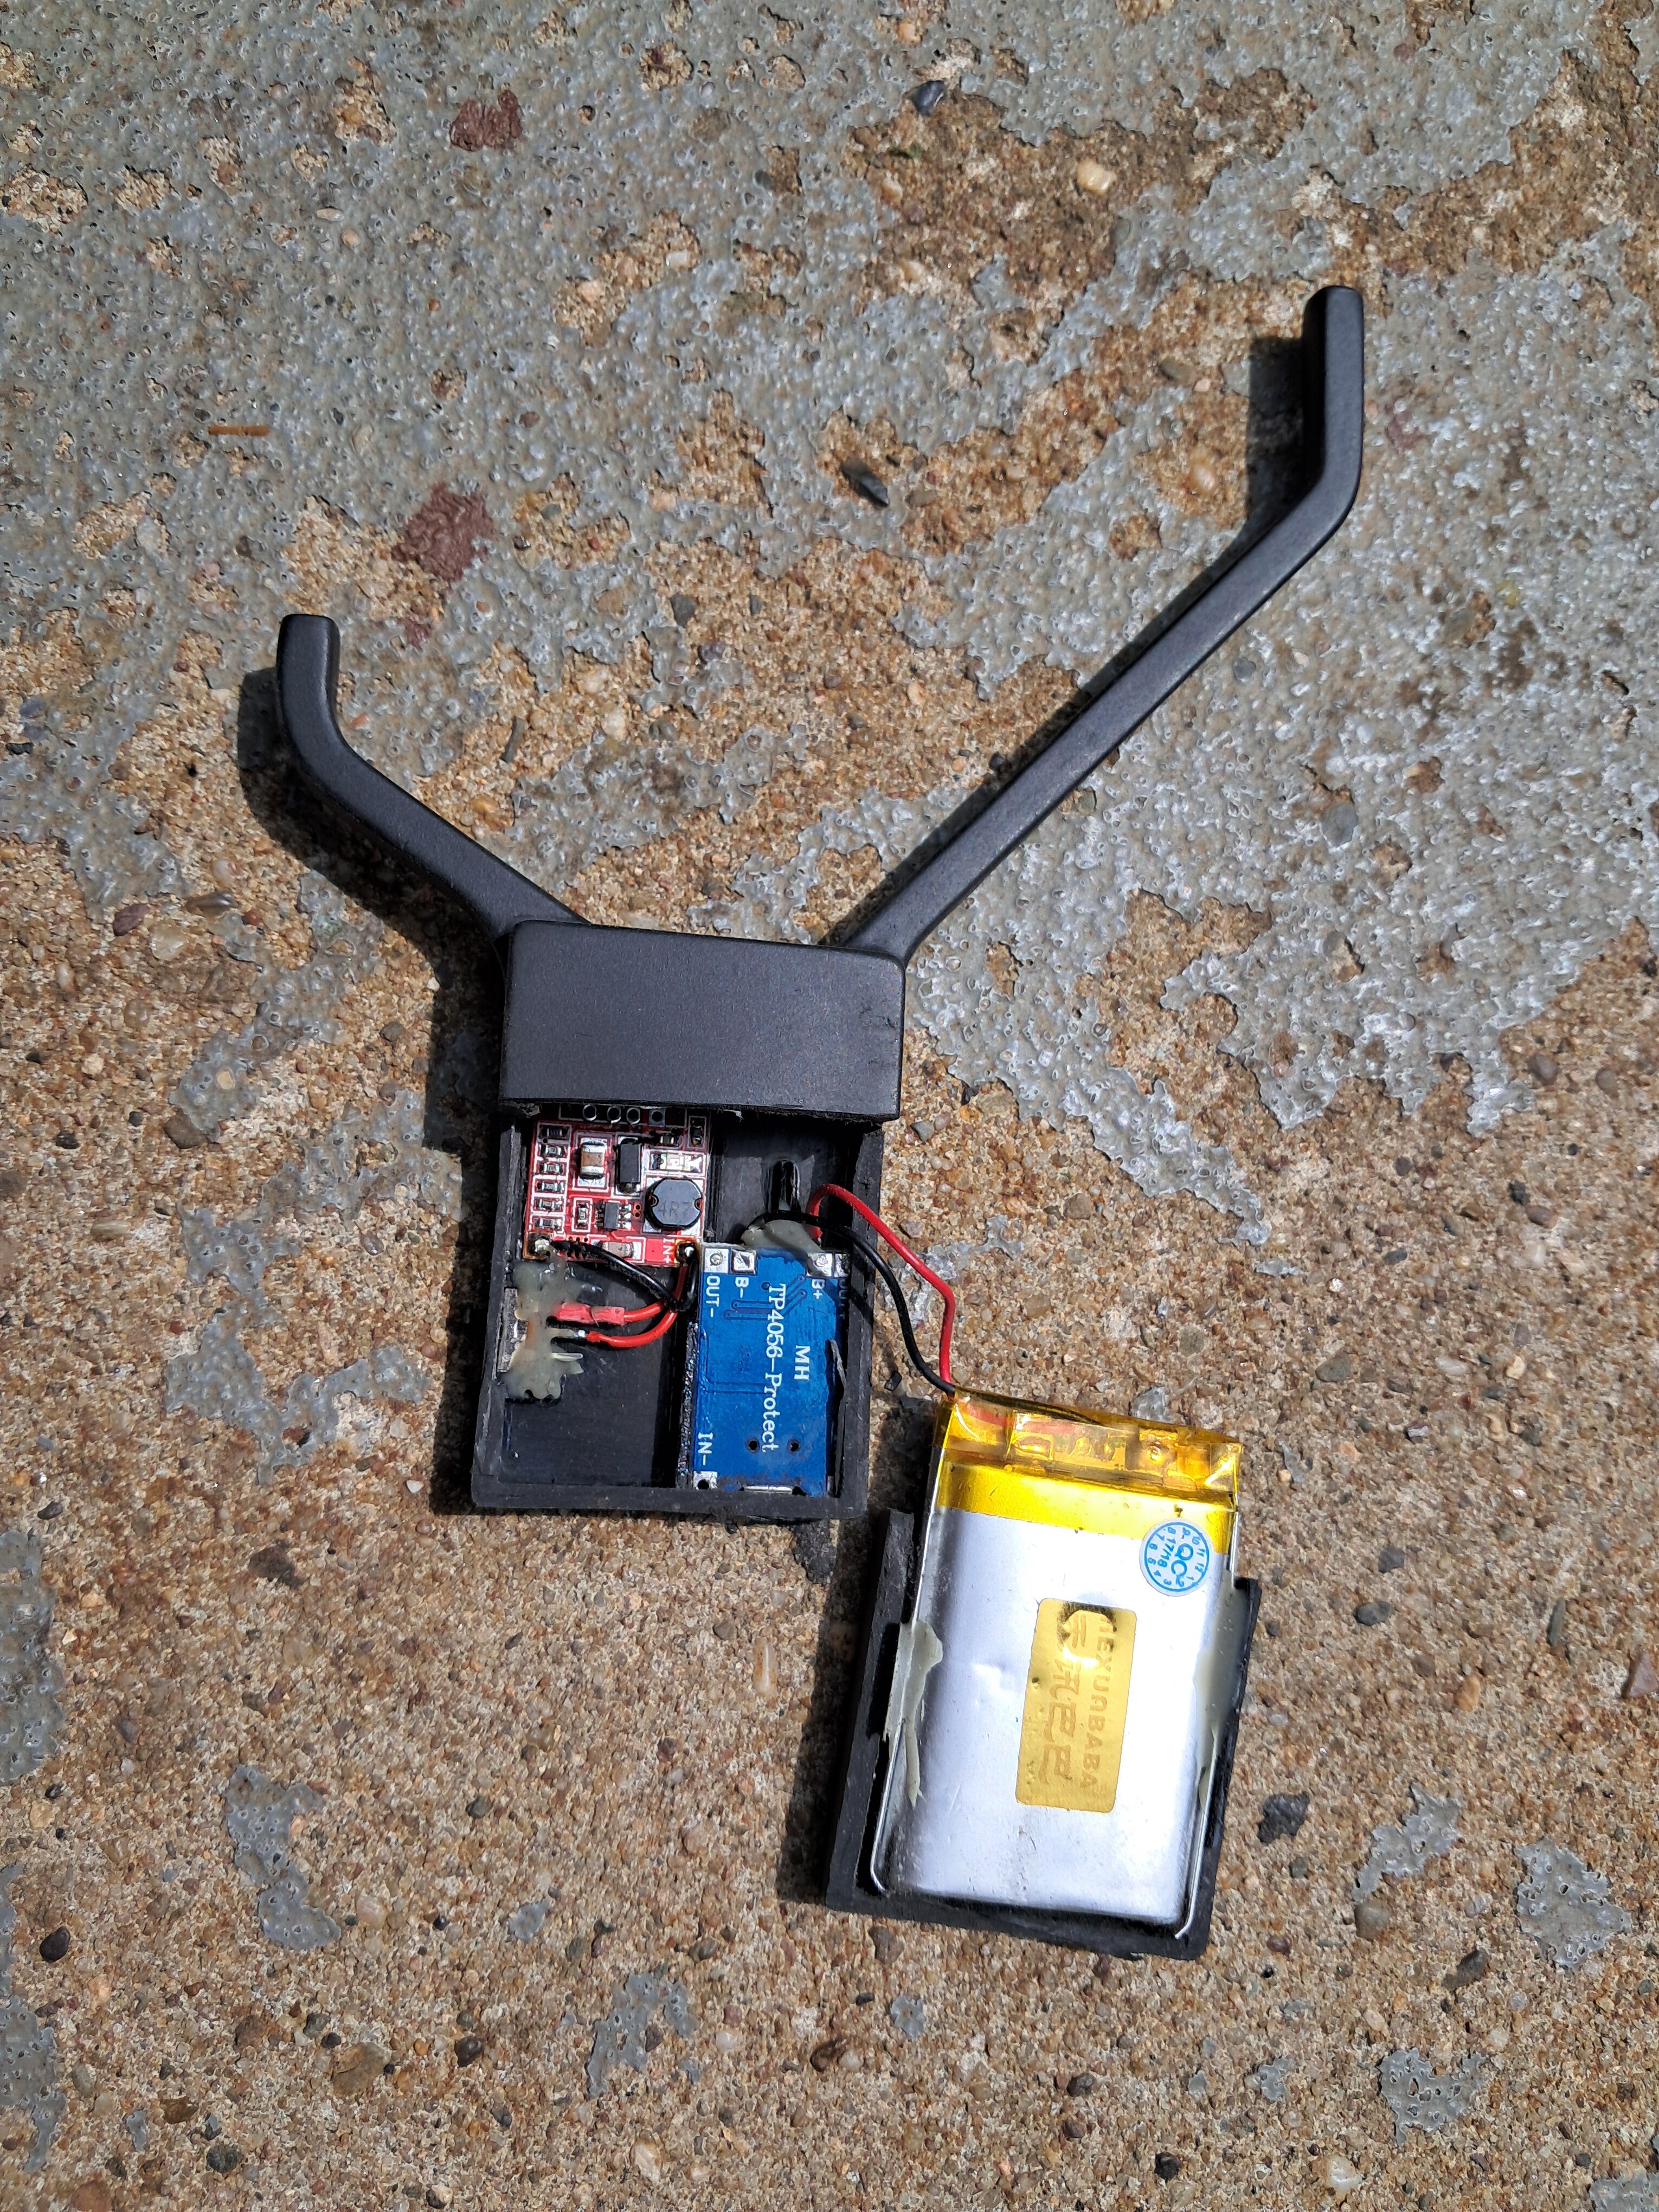
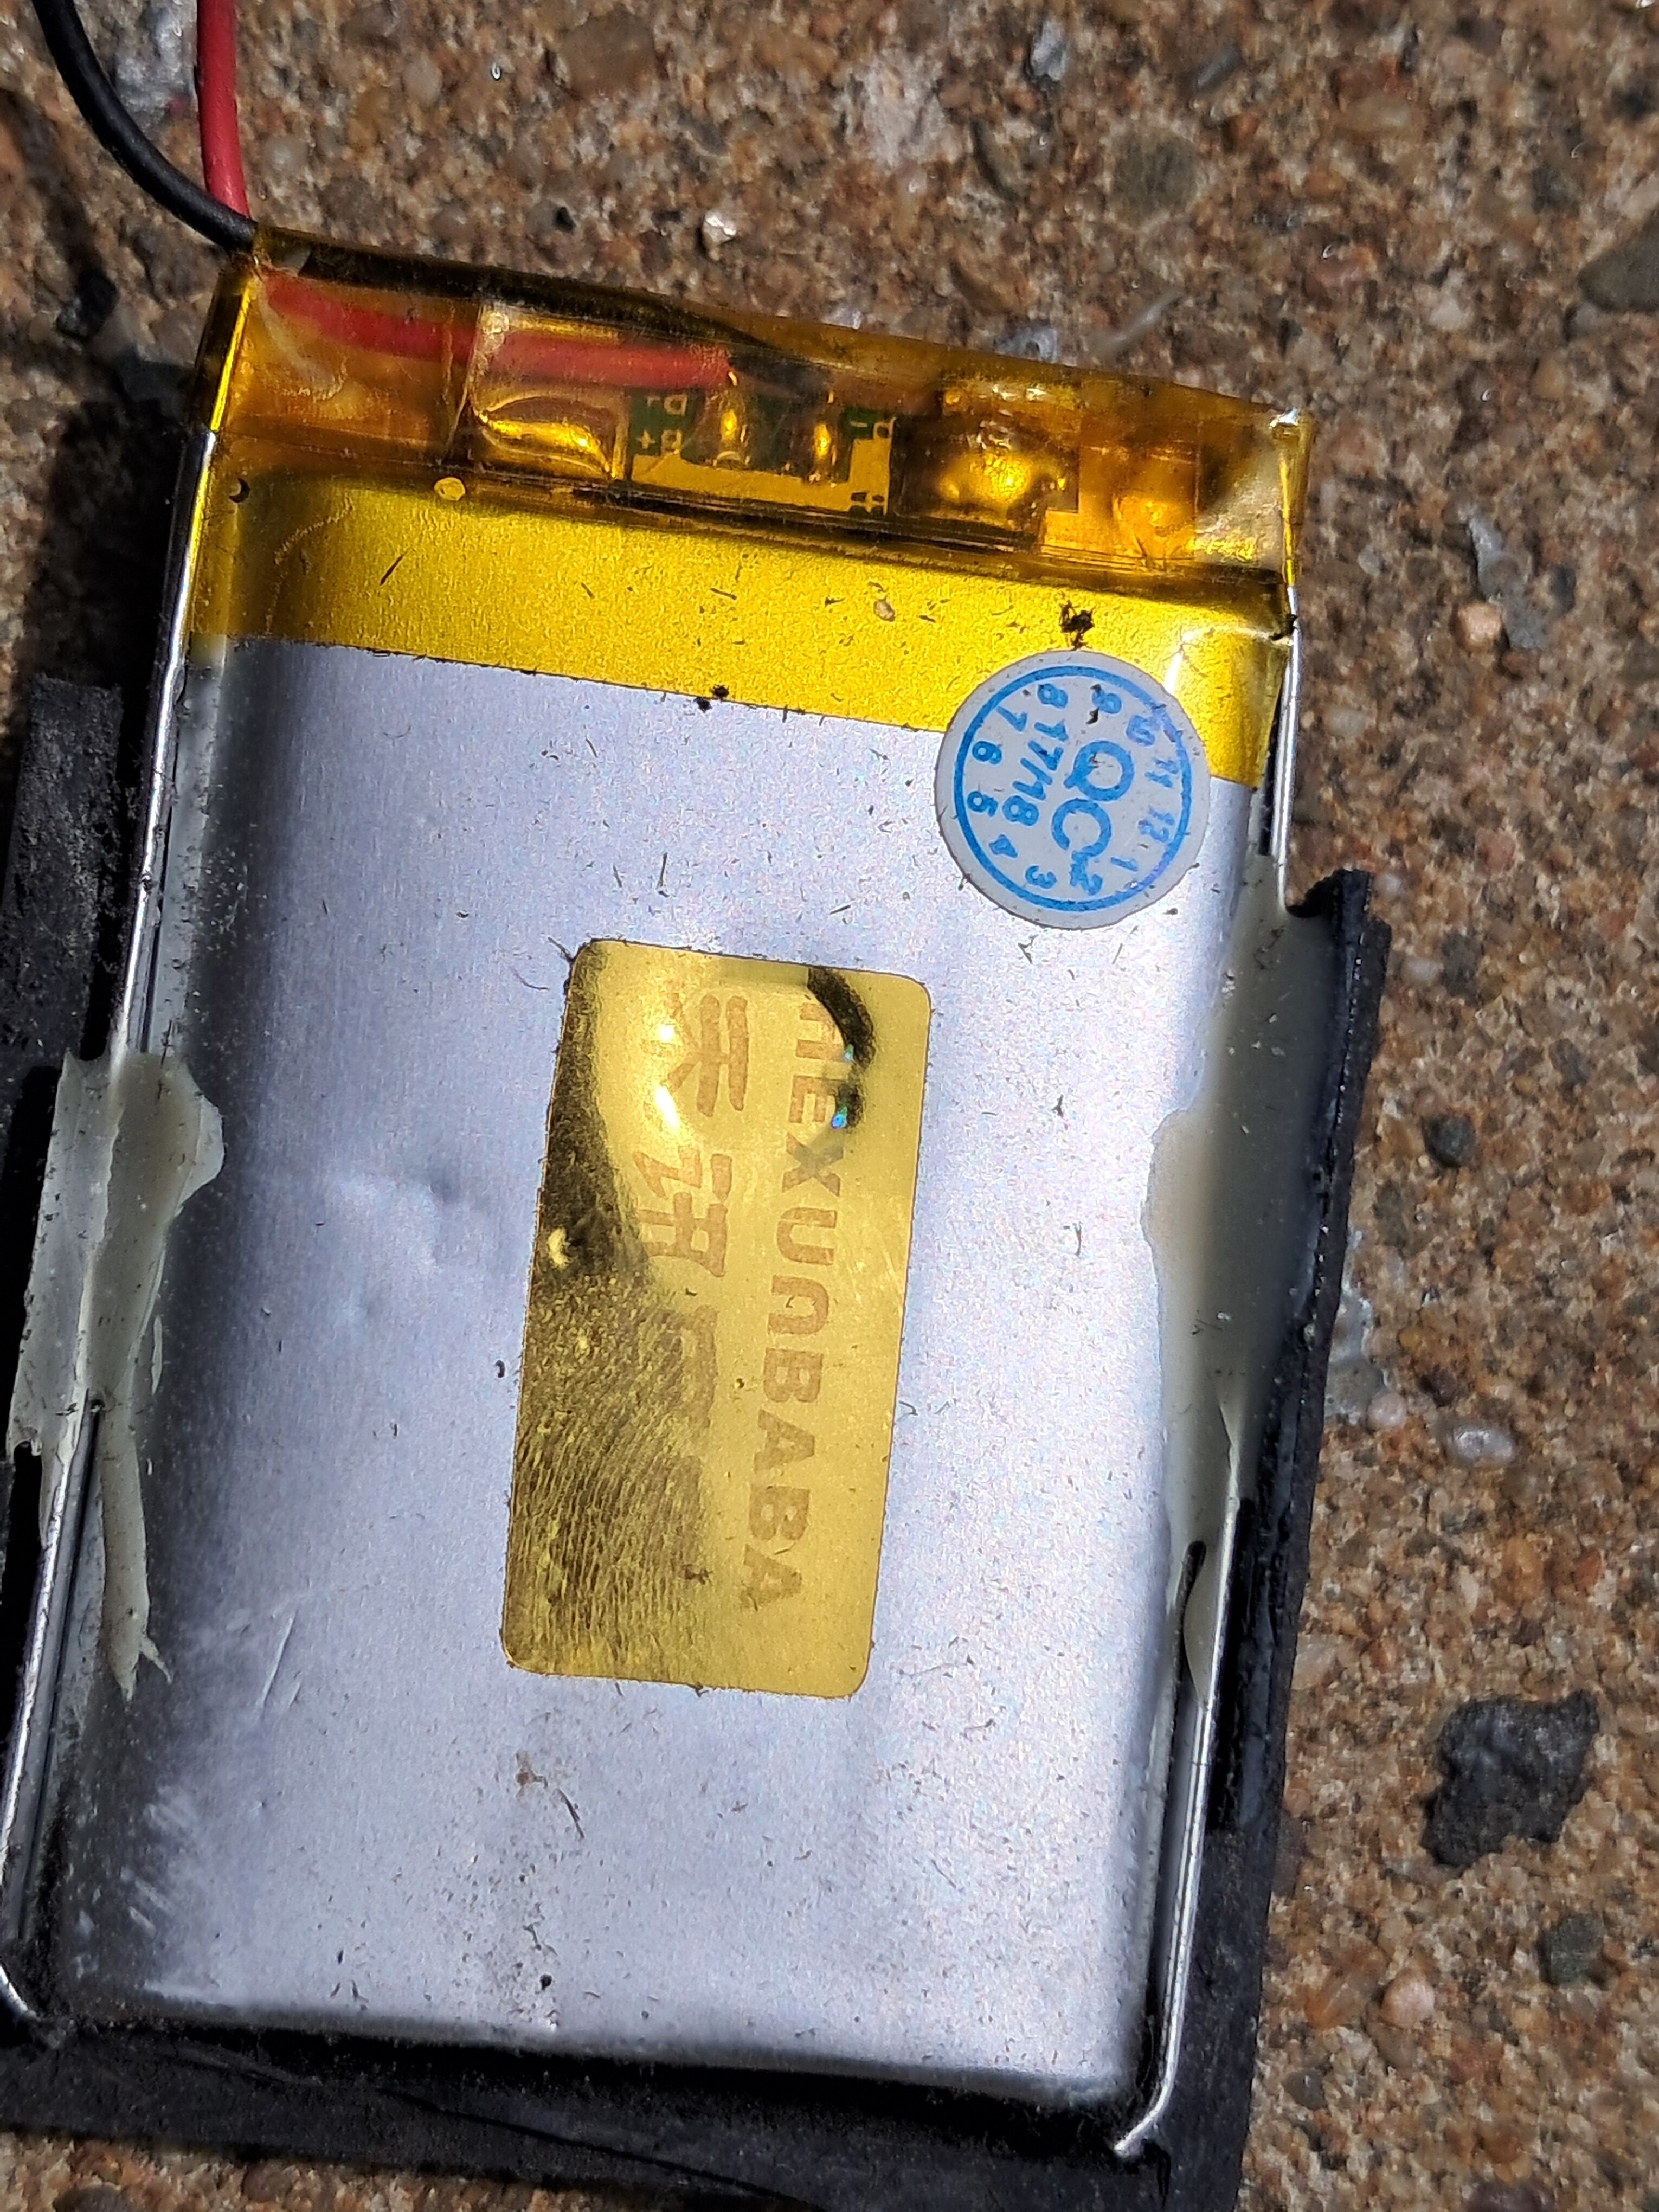
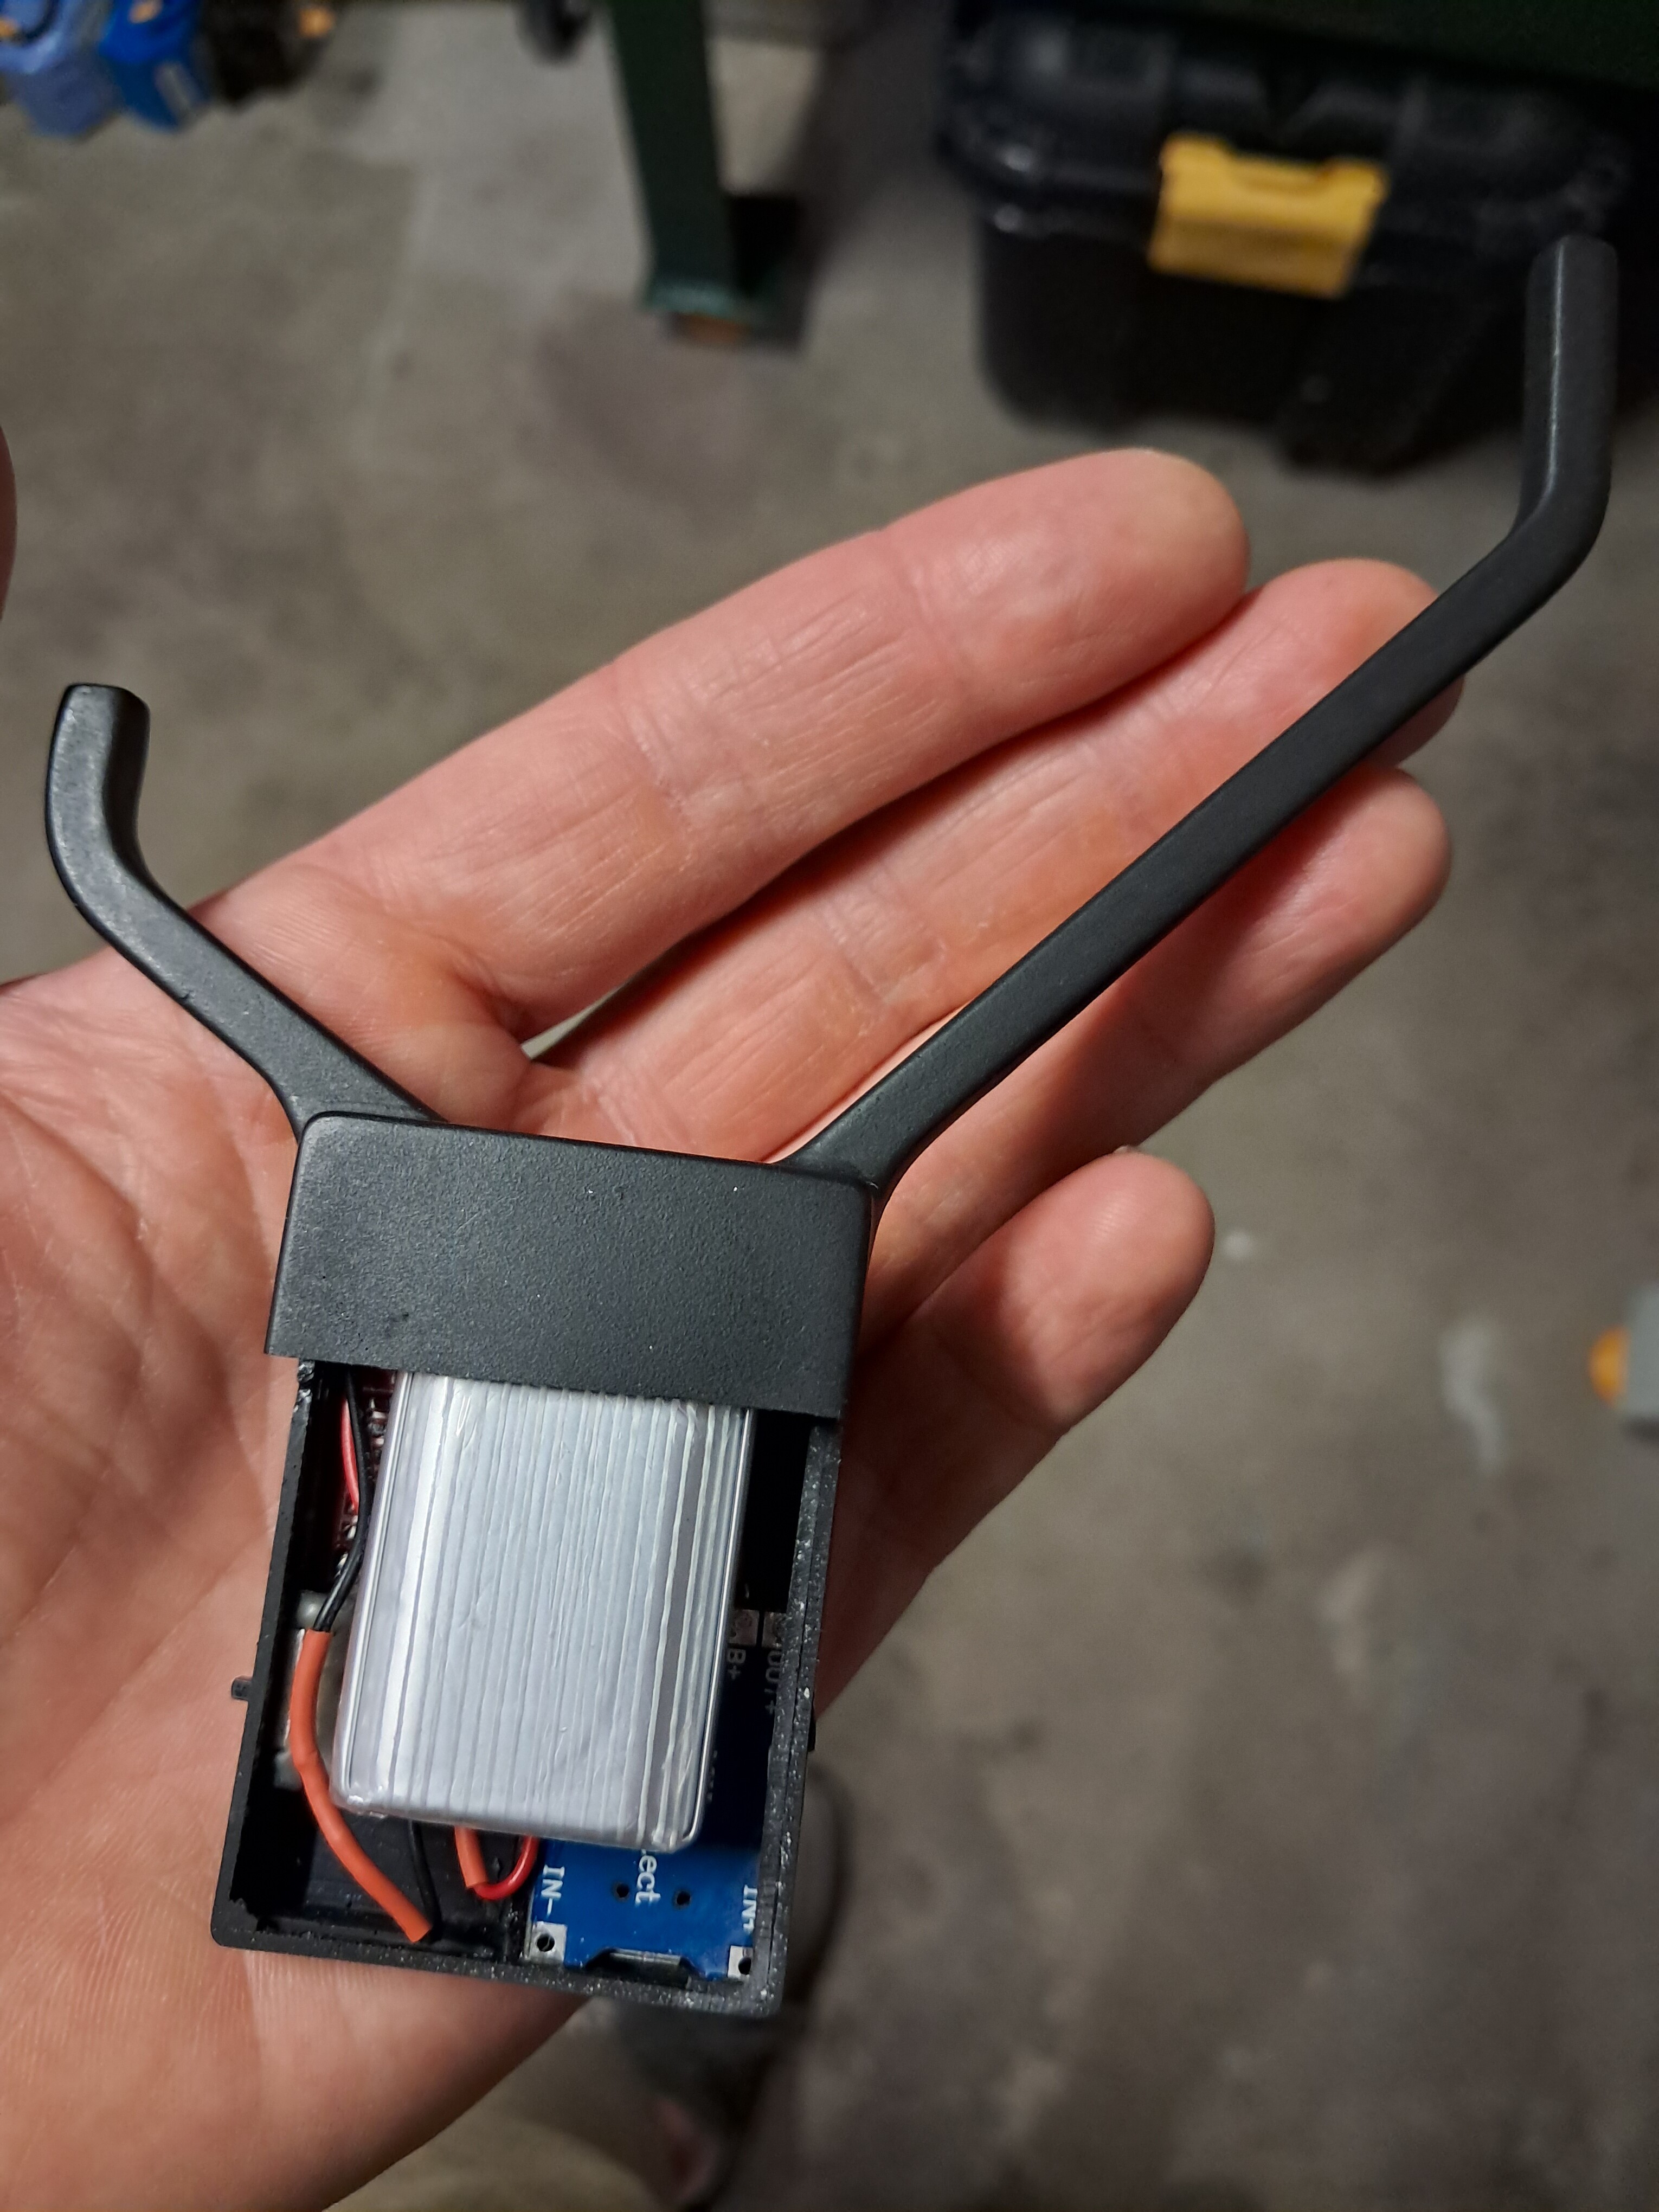
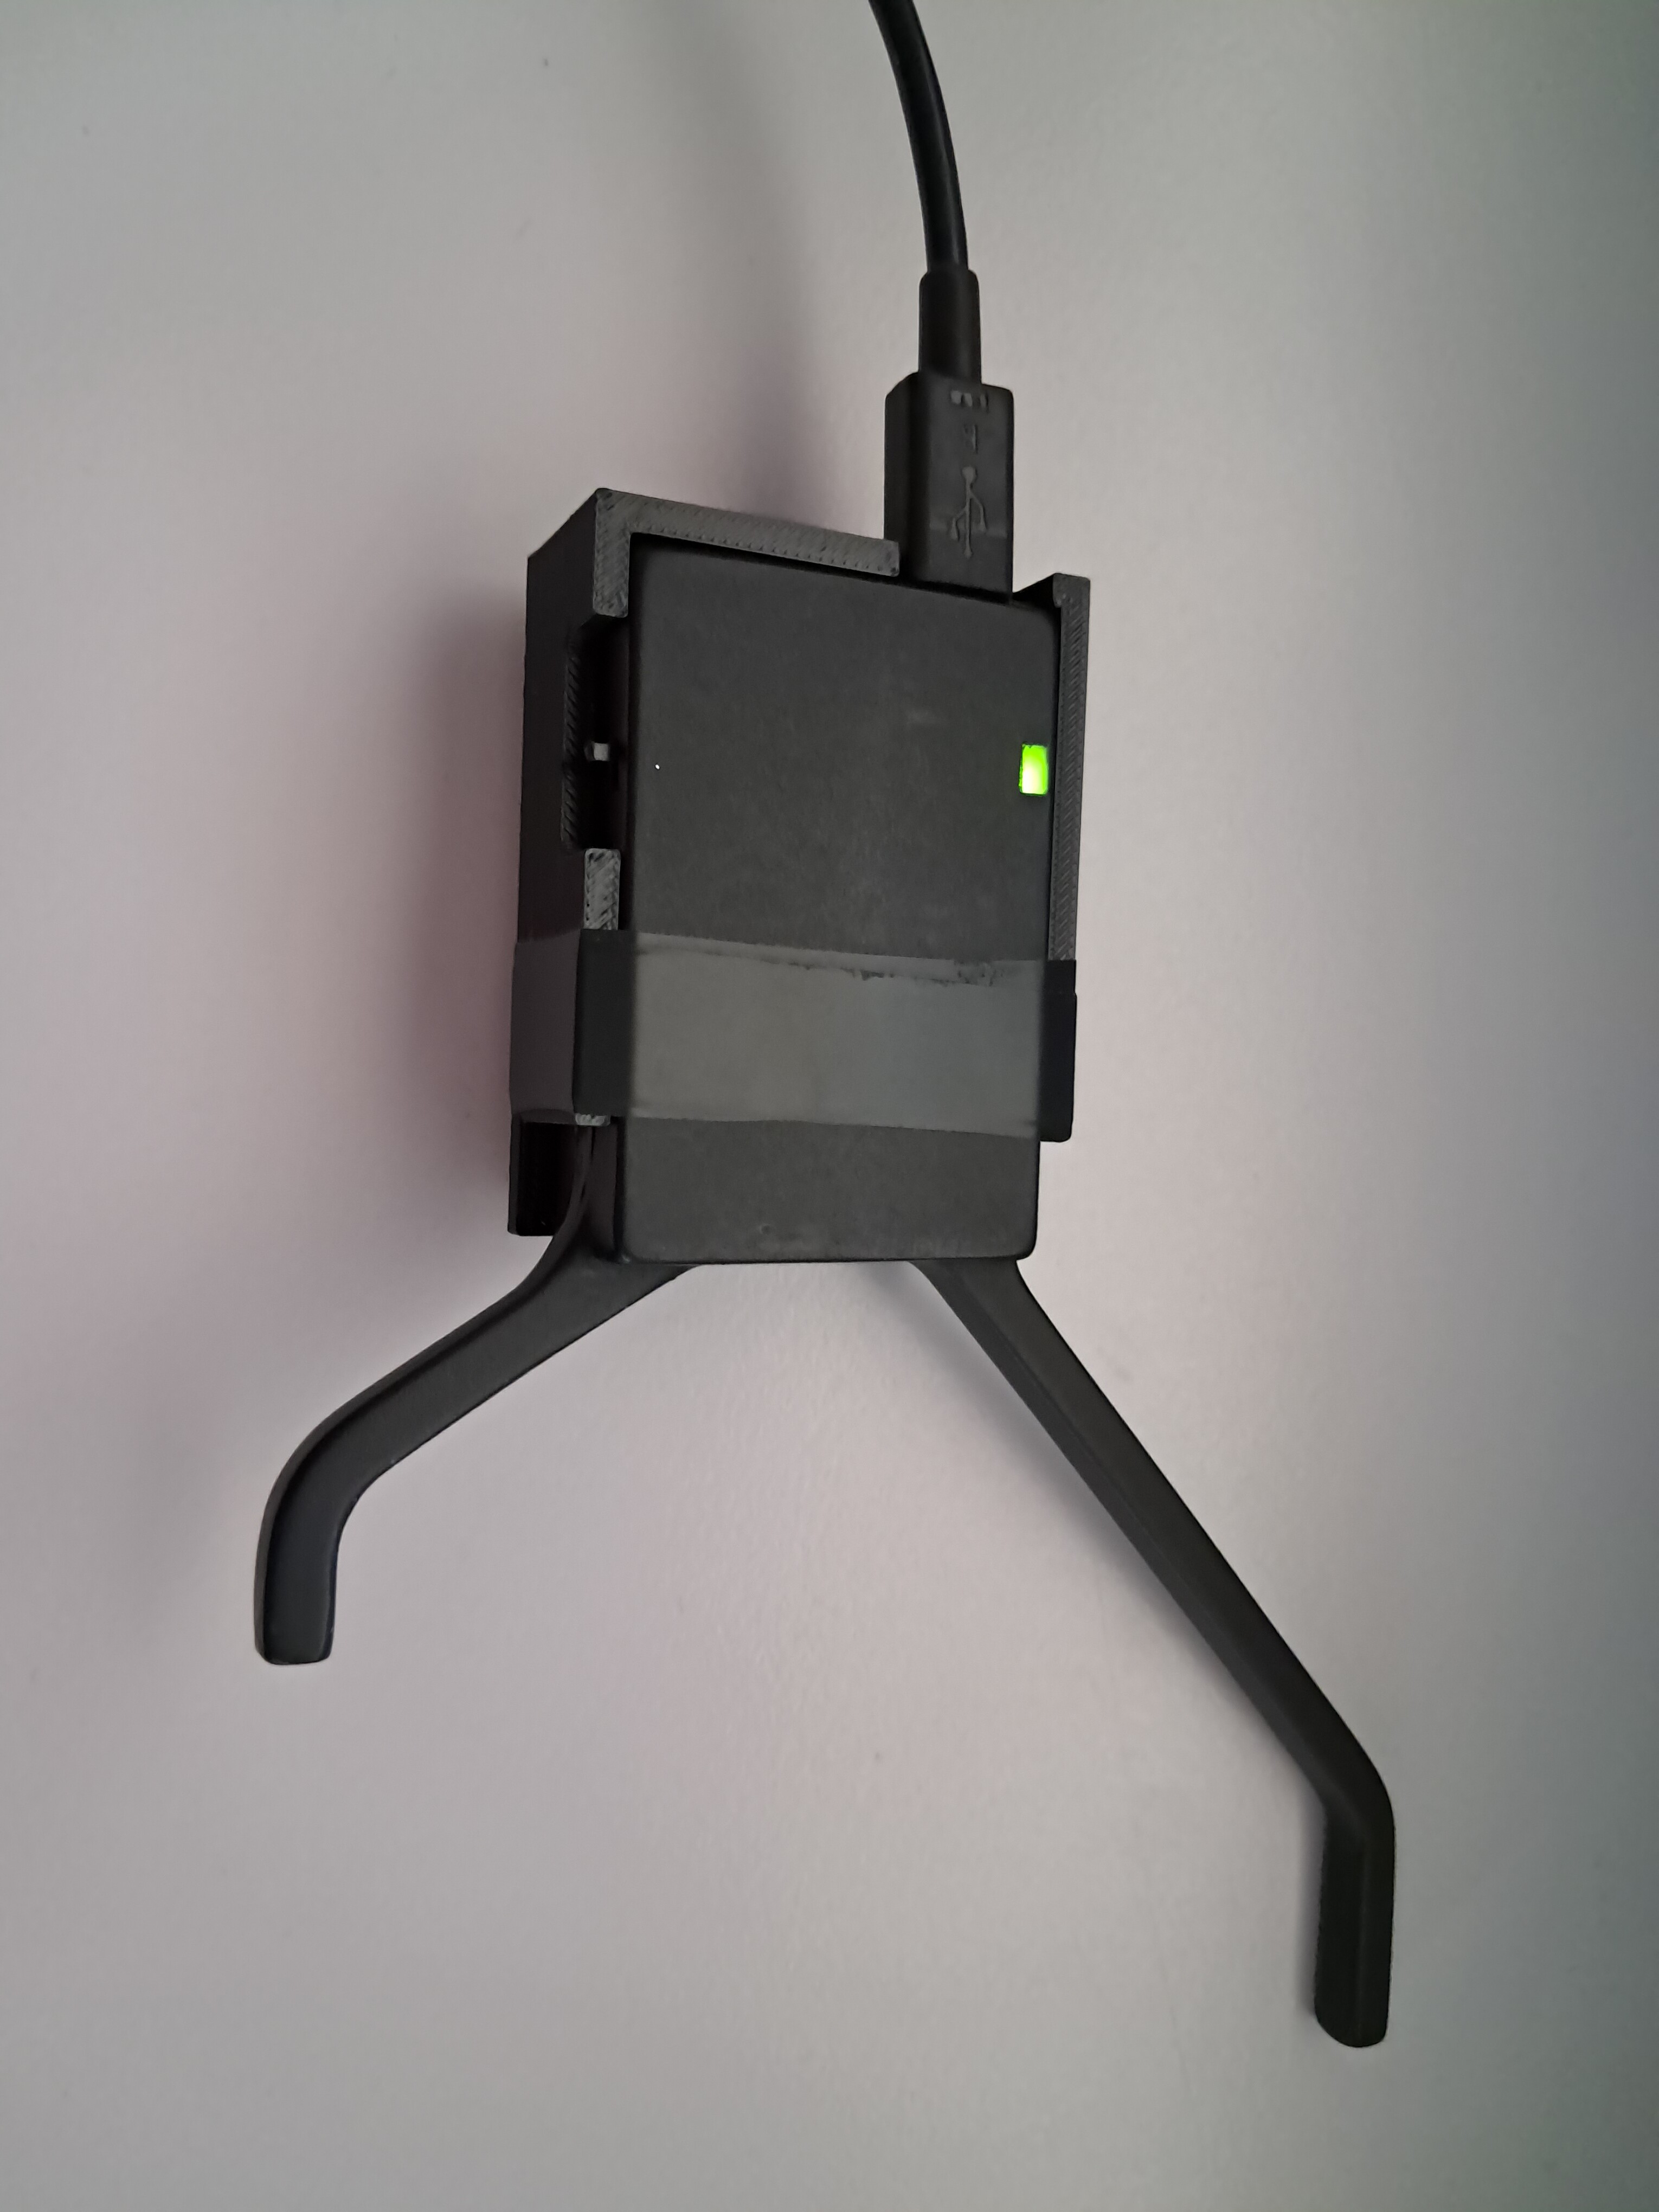
Attention! I am not an electrician and this is not a repair manual but documents my procedure. The battery in my UTC II died and I could only use it via the USB cable. Which was very annoying. Since I had nothing to lose, I carefully cut open the housing with a Dremel tool without damaging the battery underneath. Then I cut off the two cables from the old battery. I couldn't find a battery of the same type, so I simply ordered a 3.7V 950mAh LiPo from Amazon for 7.99€. https://www.amazon.de/dp/B0F594R2MB?ref=ppx_yo2ov_dt_b_fed_asin_title&th=1 I cut off the connector on the new battery and soldered it to the cables from the old battery. Black to black and red to red. The UTC has now been working for three weeks without any problems and can be charged as usual via the USB port. As the new battery is smaller than the original, it has to be recharged after about 8 hours of use. I have printed a shell for the housing and attached it with adhesive tape. So if the battery needs to be replaced again, opening it is no longer such a big effort. As I don't trust the cheap battery or my electronics skills, the whole thing is stored in a metal container when not in use. Perhaps someone here knows more about electronics and batteries than I do and can tell me whether my repair attempt is faulty?

-
Free 3D Plans for an F-4 Phantom/Century Series Grip!
Red Yeti replied to _BringTheReign_'s topic in DCS: F-4E Phantom
Thank you for your interest. Unfortunately, I only have a small manual Chinese bench mill and bench lathe with a low metal cutting volume. I think it would be a very boring video to watch of the same steps over and over again. -
Ka-50 - Shkval jumps after a target is destroyed
Red Yeti replied to NightMan's topic in Bugs and Problems
I don't want to push after almost one and a half years, but how good are the chances that the bug will be fixed before BS 4.0? It's a lot of fun when you sneak up on the target in MP for 20 minutes and then just watch the Shkval start playing ping pong. -
Free 3D Plans for an F-4 Phantom/Century Series Grip!
Red Yeti replied to _BringTheReign_'s topic in DCS: F-4E Phantom
I don't know if I'm interpreting the smiley correctly, but thank you. -
Free 3D Plans for an F-4 Phantom/Century Series Grip!
Red Yeti replied to _BringTheReign_'s topic in DCS: F-4E Phantom
I couldn't find anything suitable made of metal. So the only option was to make it myself. The alternative would be to have it 3D printed from aluminium, like _BringTheReign_ did, I think.
-
Thrustmaster Warthog Dual Throttle funktioniert plötzlich nicht mehr?
Red Yeti replied to Apache2410's topic in Deutsch
Wie bereits schon geschrieben, wird vermutlich die Platine defekt sein. Wenn du jeamanden kennst, der einen Reflowofen hat dann könntest du versuchen die Platine kurz backen zu lassen. Hat bei mir gut funktioniert. -
Free 3D Plans for an F-4 Phantom/Century Series Grip!
Red Yeti replied to _BringTheReign_'s topic in DCS: F-4E Phantom
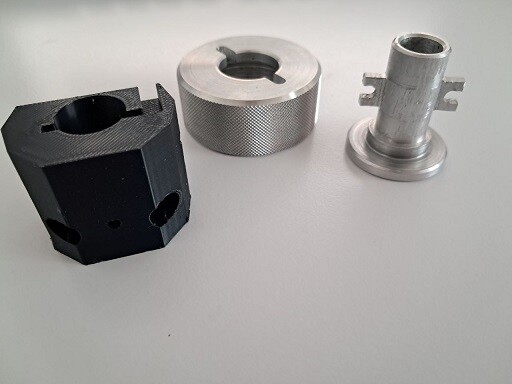
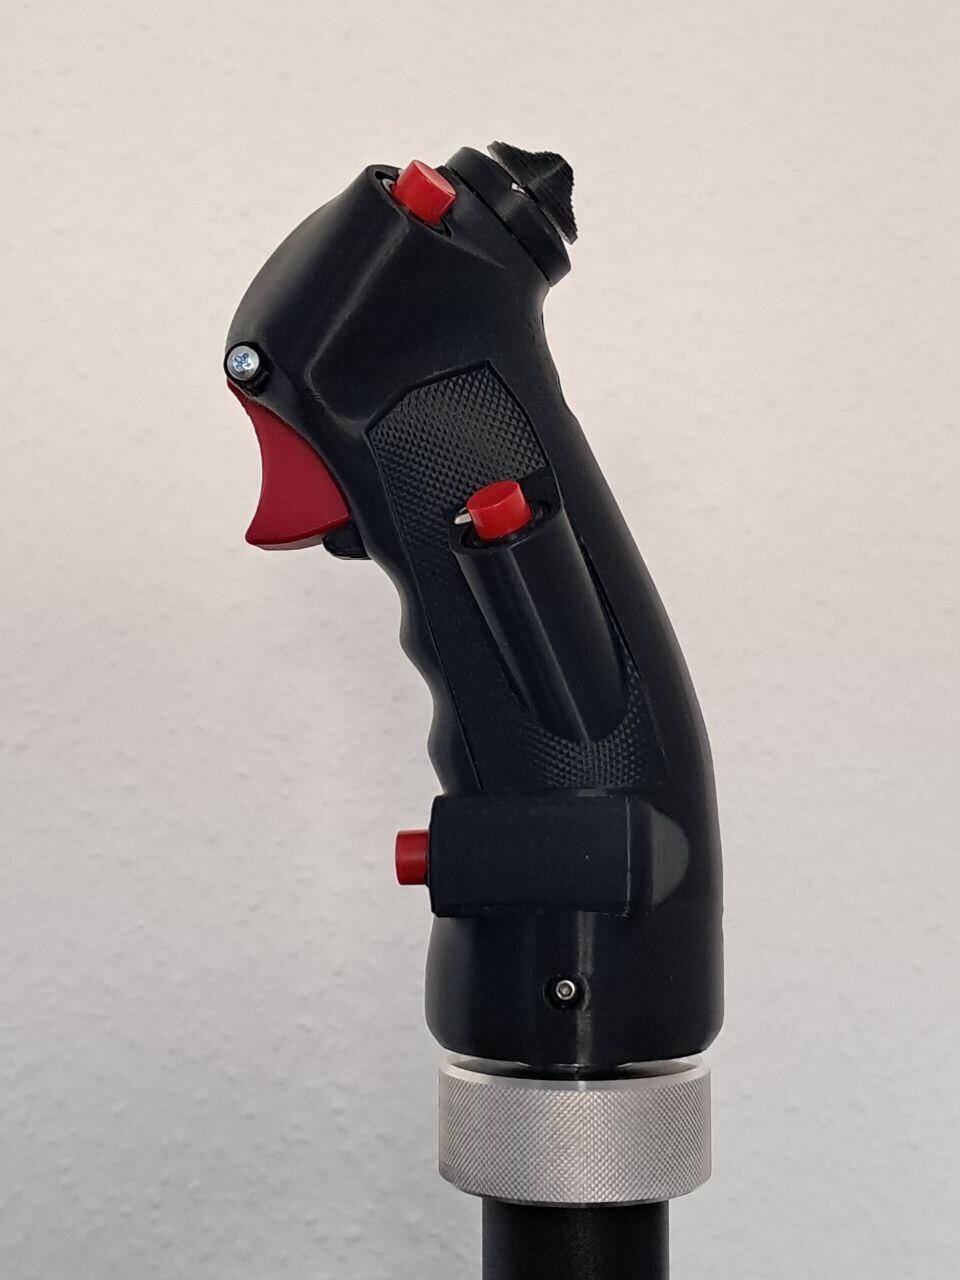
I finally finished my handle today. It wasn't that expensive at around €50 for the materials. It was also a lot of fun (except for the soldering! I don't like that at all!) I turned and milled the tube and the nut out of aluminum in the hope that it would withstand the FFB forces. Nice tinkering project. Thanks for sharing the files!