pesbra
-
Posts
82 -
Joined
-
Last visited
1 Follower

-
New updated MPD mounts. They have been modified a bit to better accommodate the cables and the depth of the monitor screen. New files uploaded to the google drive.null

-
Hey my man! so here are the files for the mounting shelf for the left console. I believe I neglected uploading them to the google drive. They are up now. Panel Mounting Shelf.f3dPanel Mounting Shelf.3mfnull I have not got around to that stage of the build as I'm running out of disposable cash for the project and it's getting expensive. This however should give you a good start but naturally some dimensions may need revising upon testing. I will update files as I do modifications but as I said this should get you very close if not already there. Remember this plate is sized to fit a Wingwing supertaurus. I believe it will fit an Orion Throttle too. I intend to make it either out of plywood or MDF or maybe acrylic. You could even do it out of aluminum. you just need a scroll saw to make those holes. It should be a fairly simple thing to do. I'm about to start printing/machining the 737DIYsim which is an amazing design which is much closer to real life. https://www.737diysim.com/product-page/apache-ah64-throttle-panel-cad. That plate will need to be resized to accommodate that throttle assembly and the ignition panel plate
-
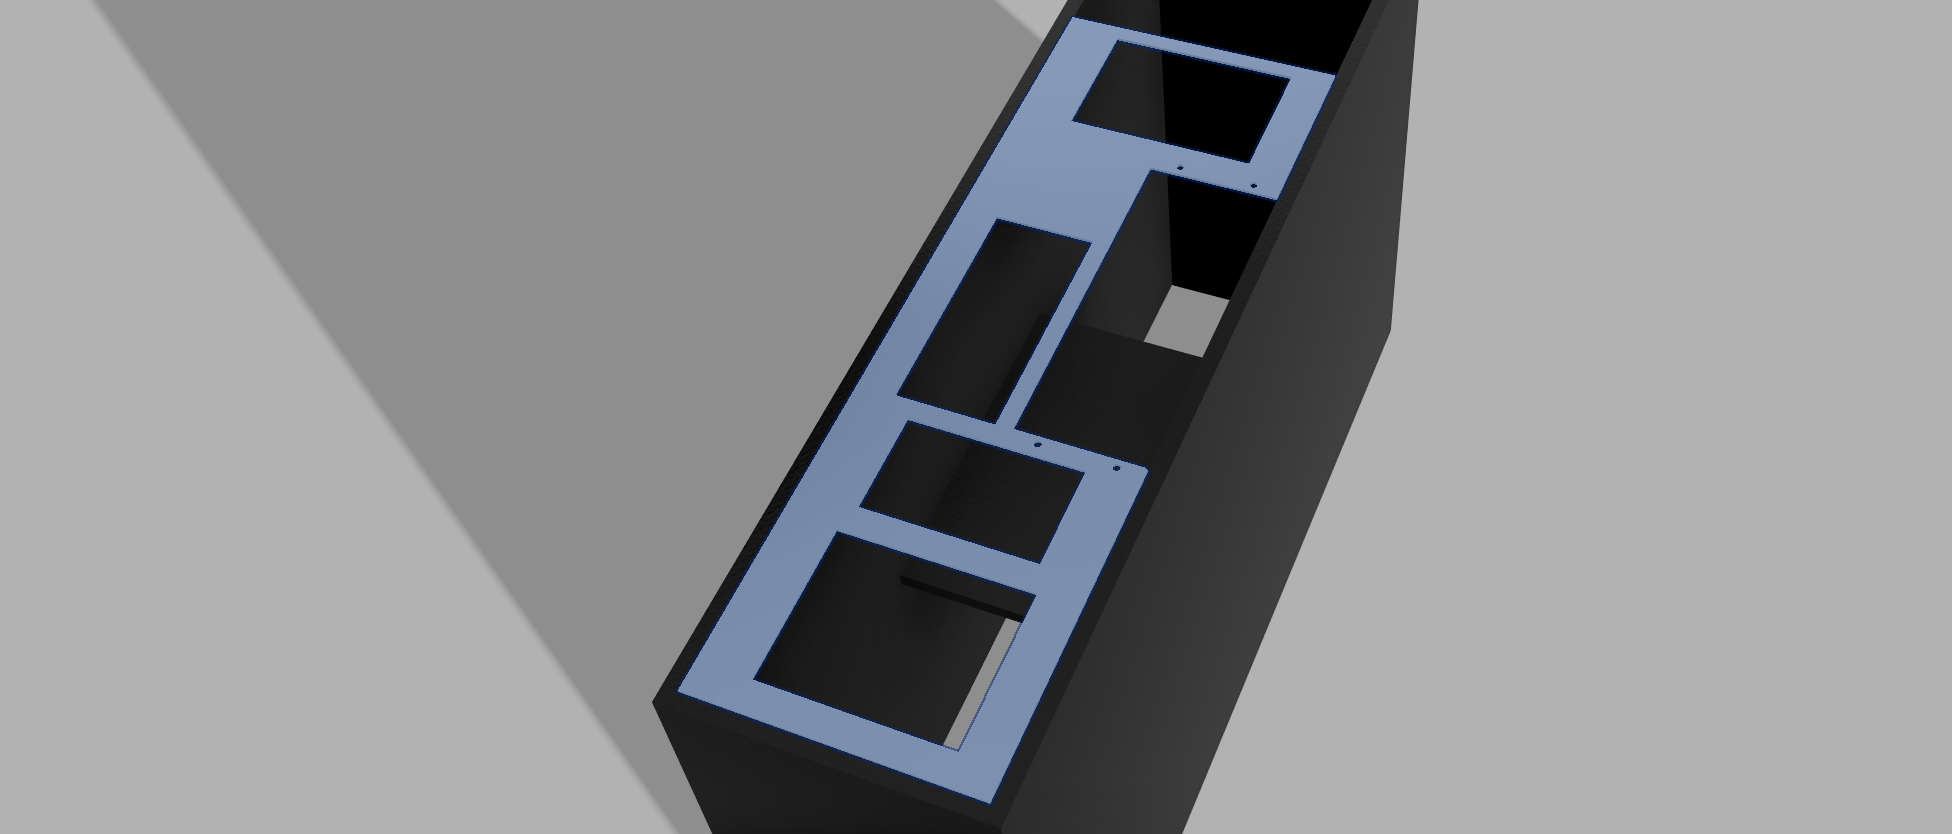
Hey man, the panels are designed to be mounted on a shelf at the top of the case. You should be able to see treat in the Fusion files uploaded to the Google drive. I’ll try to upload a couple of fotos of the internal structure tomorrow but suffice it to say for now it is extremely simple
-
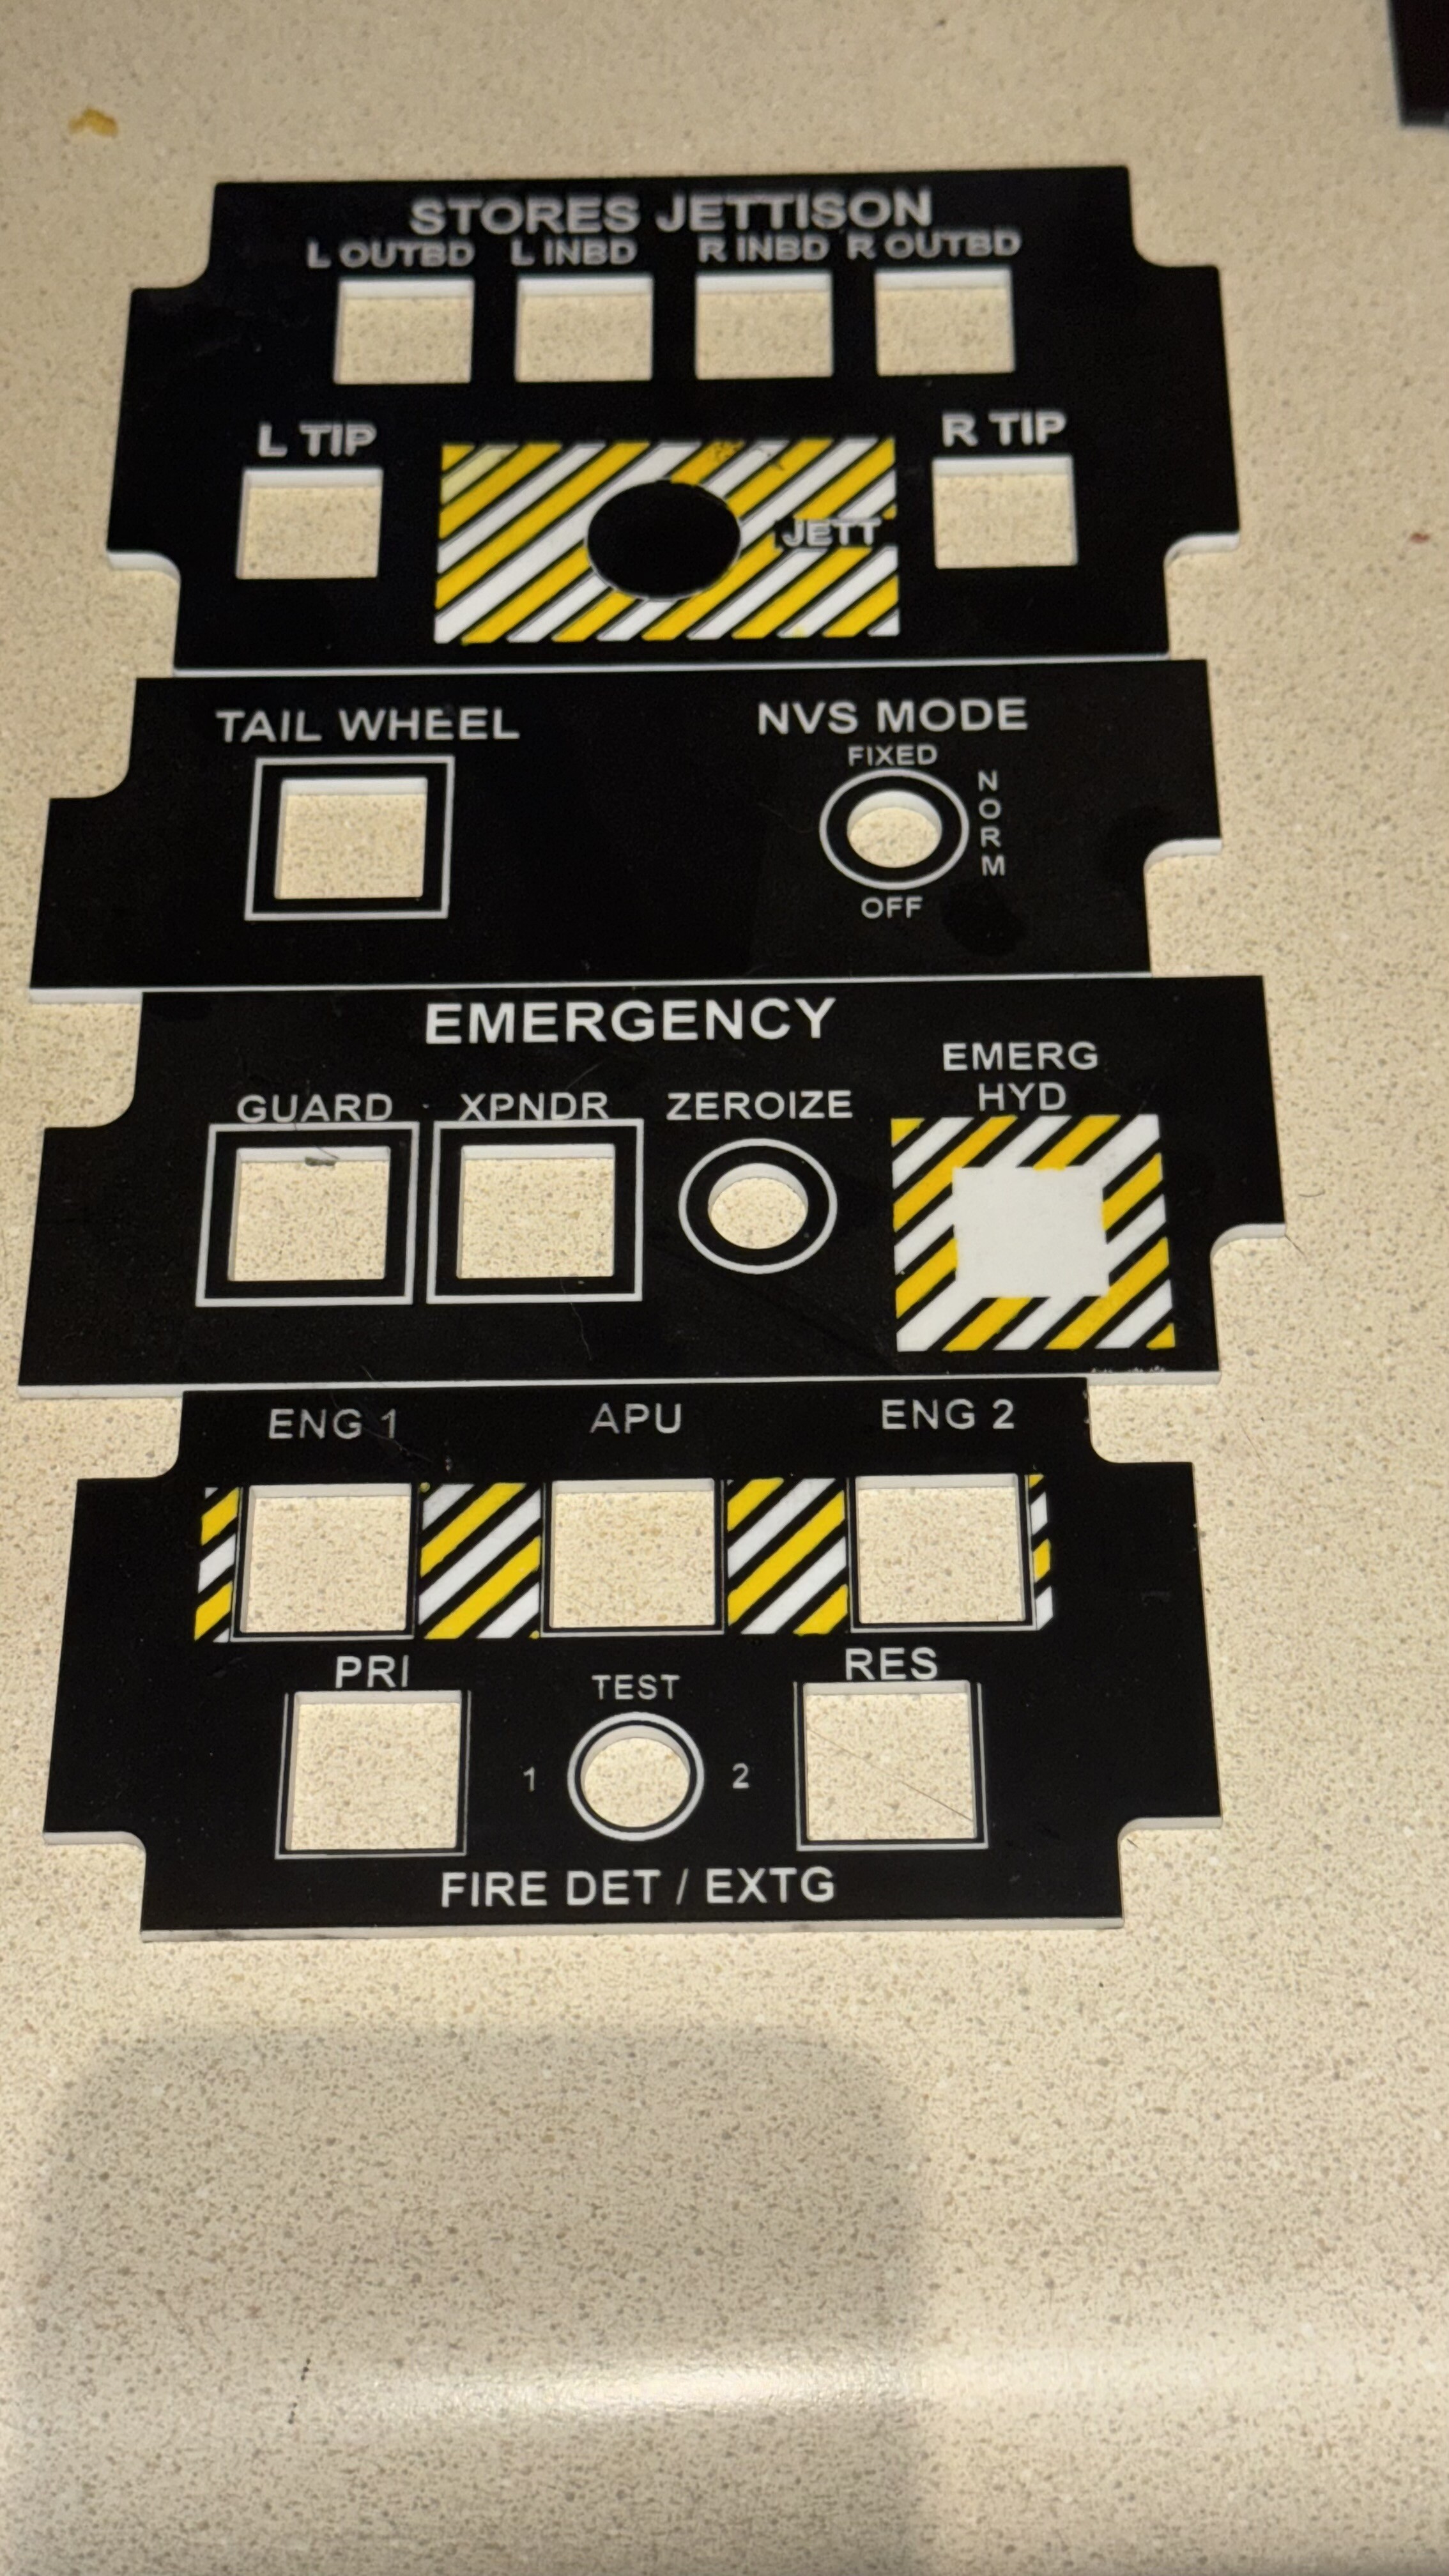
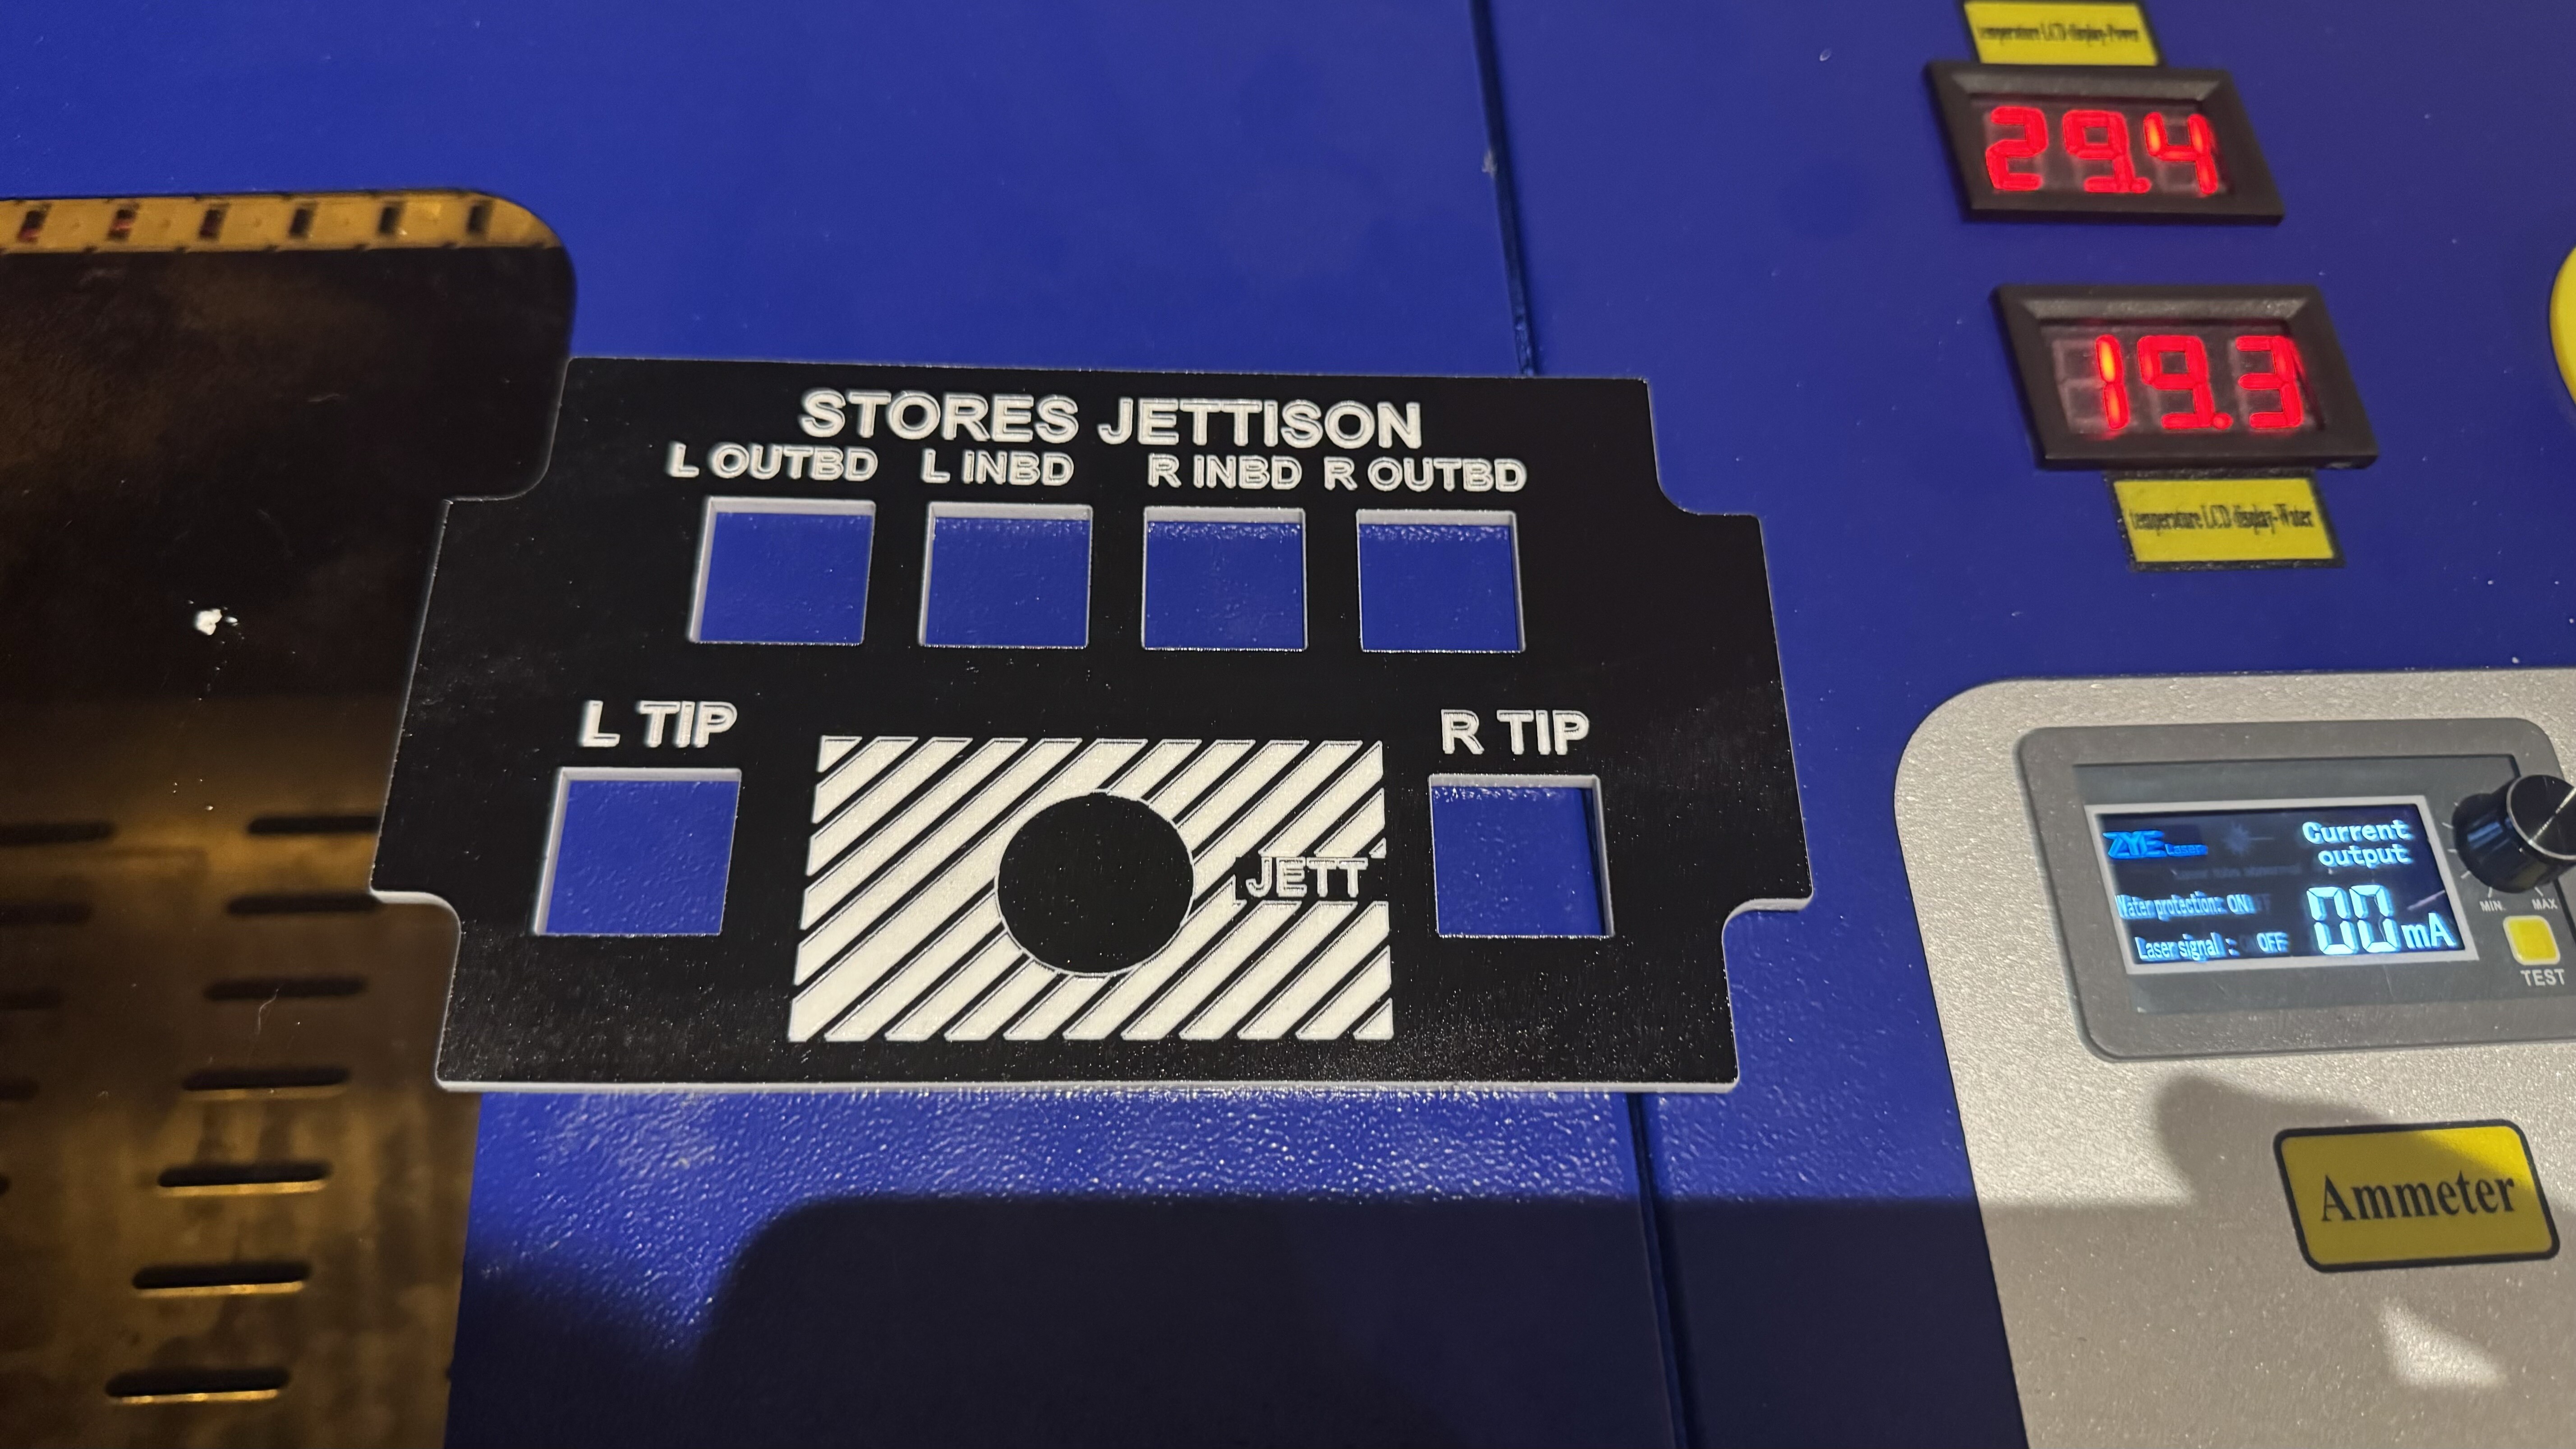
Finally got around tp restart work on the project. First tests with the K40 laser work pretty well. Also got a Bambu Lab P1s and started experimenting with multicolor FDM printed panels. First tests just came out the oven and am pretty satisfied with te results using a 0.4 nozzle. A 0.2 nozzle should increase the engravings quality significantly. Naturally the laser engraved is a bit better quality but the FDM printed panels with a good multicolor printer is not bad at all.
-
I have the Thrustmaster, the Virpil and the Winwing. I would decidedly go with the winwing https://winwingsim.com/view/goods-details.html?id=374&sku_id=21
-
That is insanely cool
-
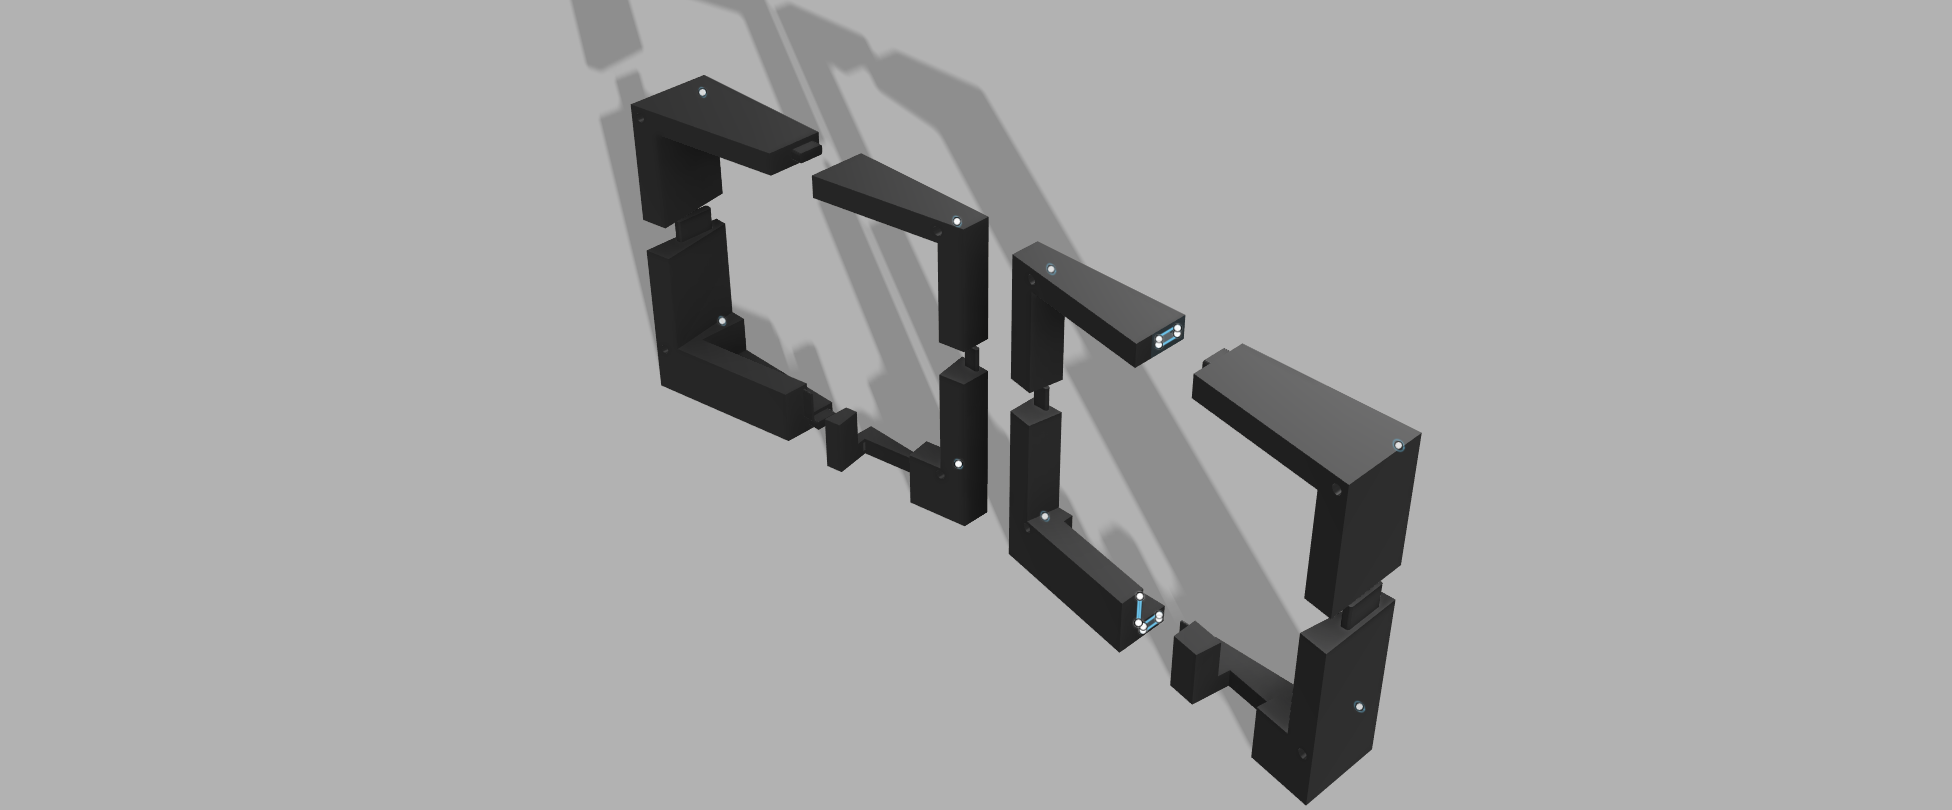
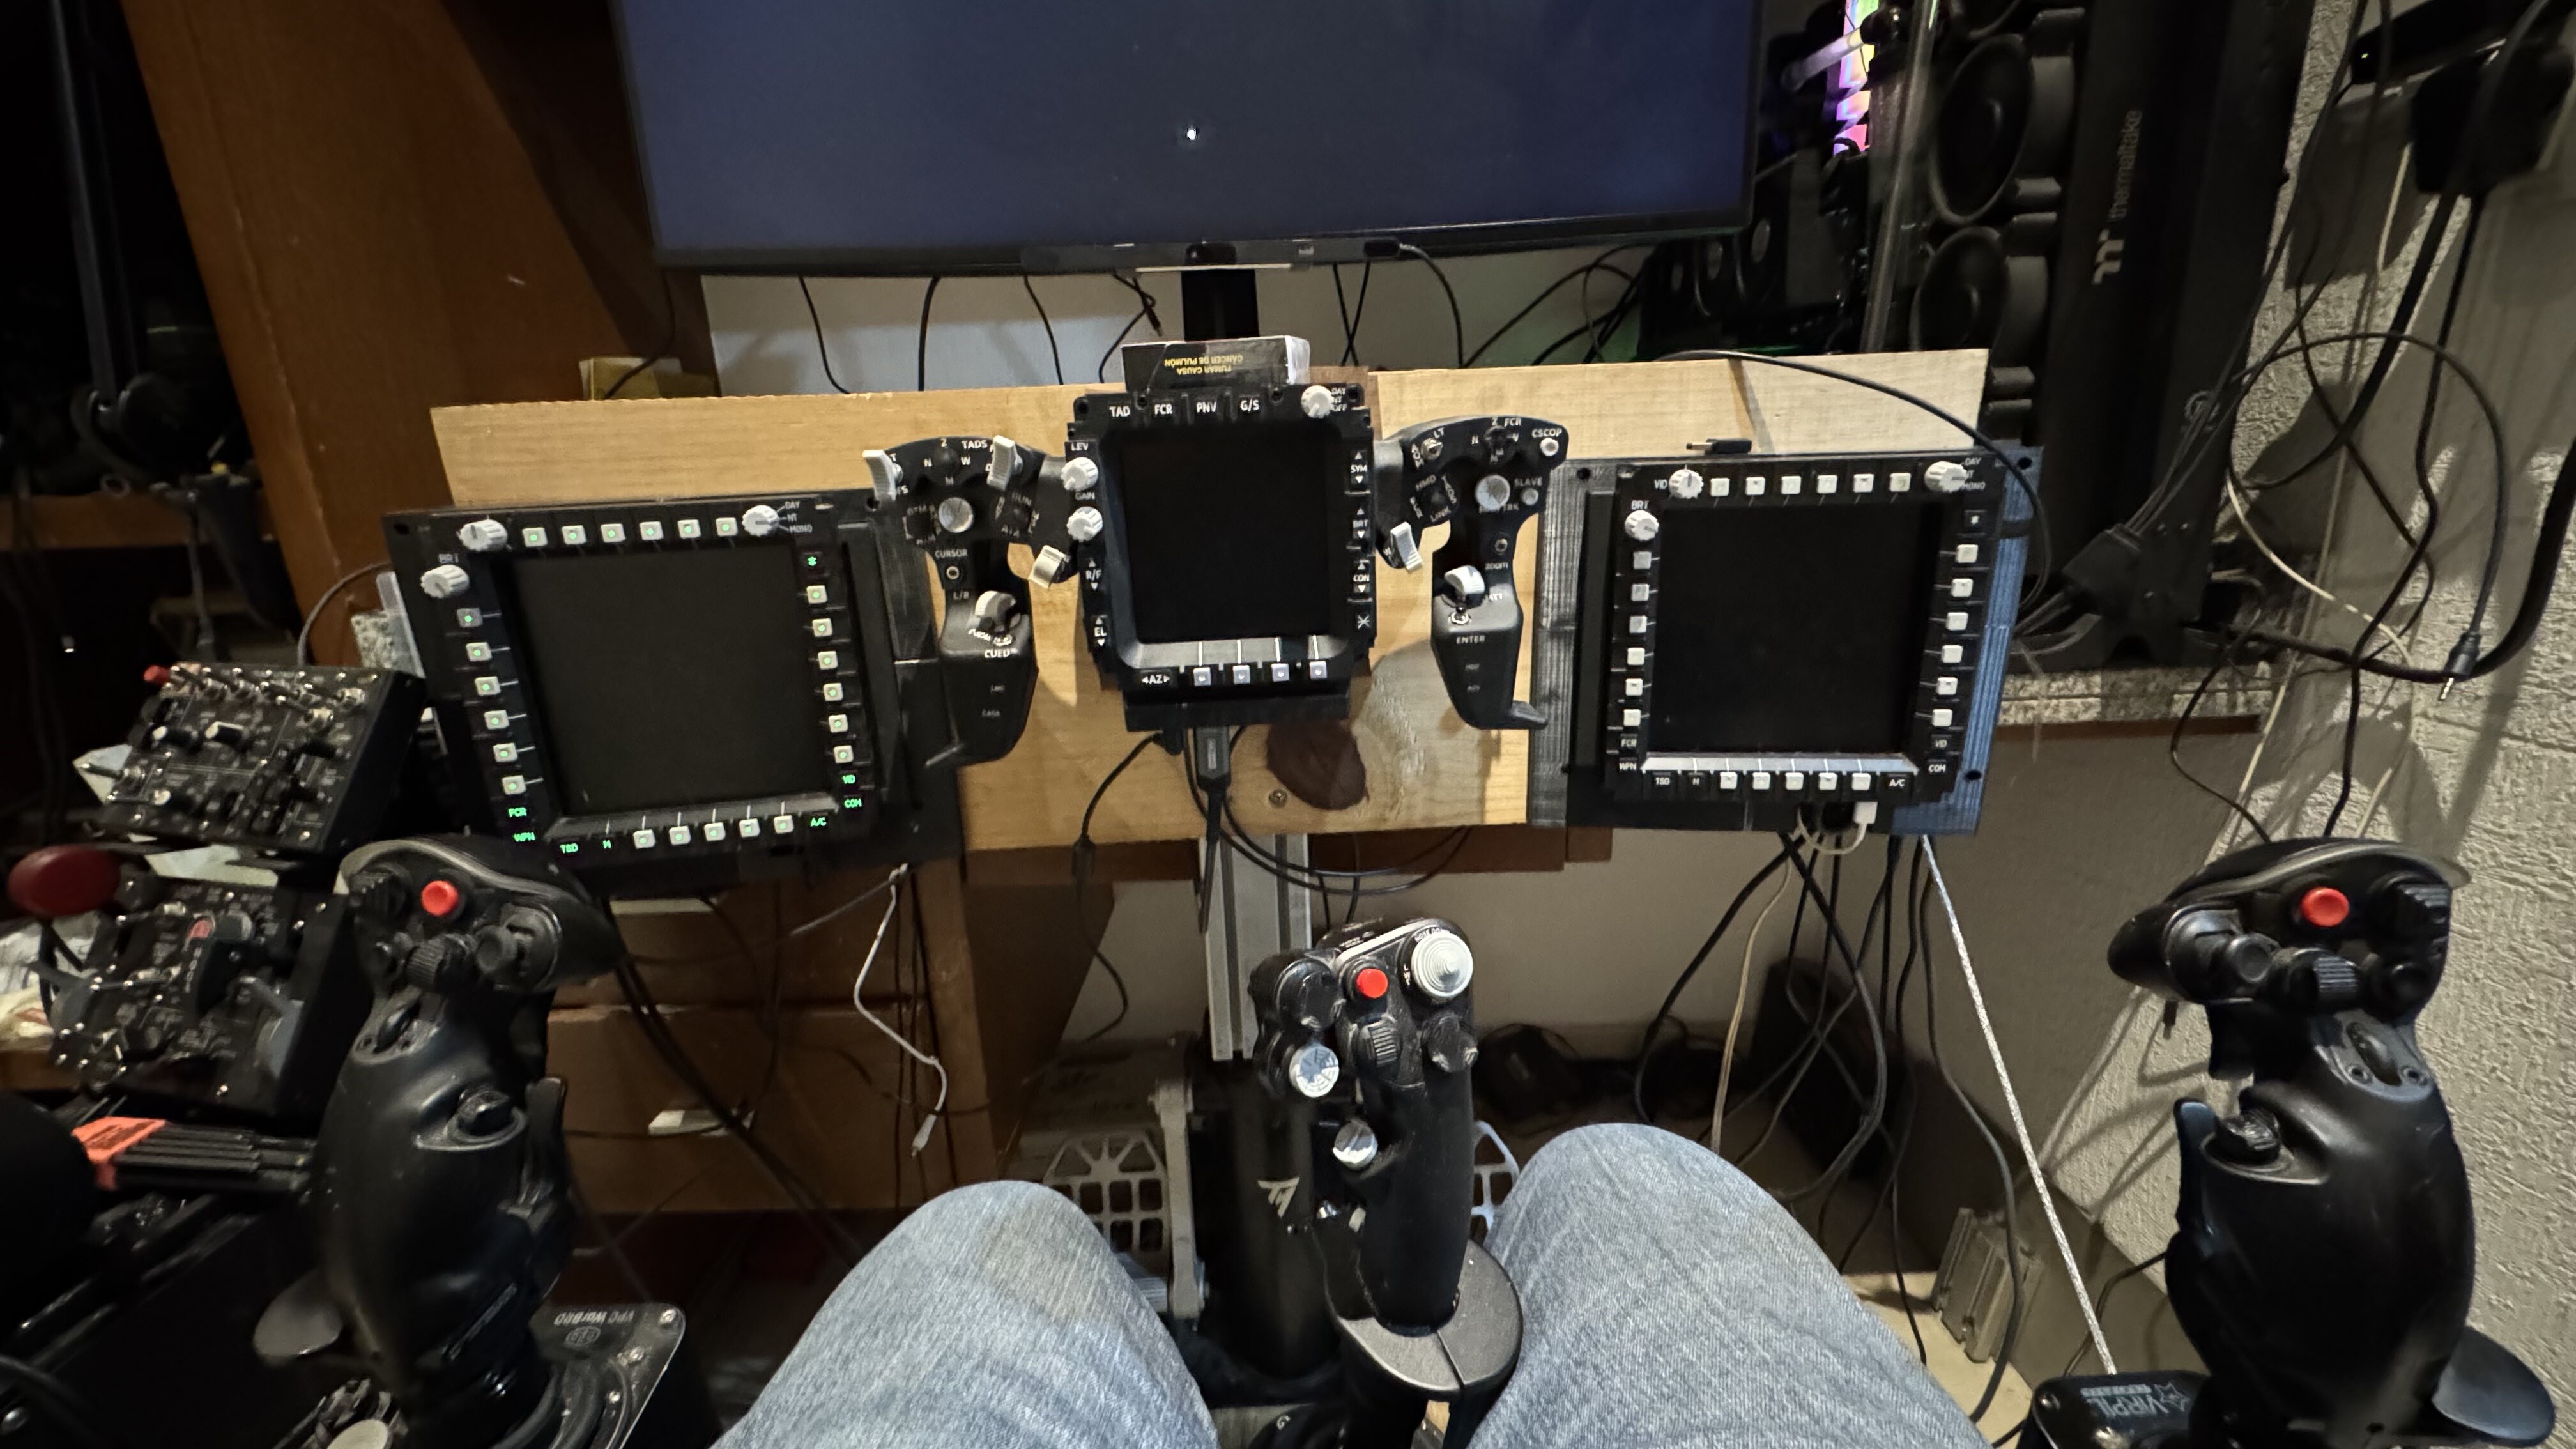
Hello Sigma. I have not fully worked on the Pilot front panel as my deskpit will need the space for a TEDAC and therefore I have put more effort on doing a CPG station where I'll be flying both the Pilot and CPG seats. However when I began embarking on this project I did model a Pilot front panel. Attached is the Fusion file. You can also find it here https://a360.co/3DJb29s. You can take the measurements from those files using Fusion 360. The overall dimensions are extrapolated out of the size of the lever switches and MPD buttons, so although it may not be 1:1 to real life it should be close. I do not have good reference material to do a proper 1:1 scale. But my aim is not to have a perfect 1:1 cockpit but rather something that is close enough to have a good experience flying DCS whether on a screed or VR. As for the MPDs I did also model mounts that would have an inward bend which you can also find among the files I have in the google drive link in my first post. Those mounts are designed to mount the Total Controls MPDs with the screens they recommend. https://totalcontrols.eu/product/apache-mpd-frame/. Those mounts have been cut to be printed on an ENDER 3 Pro on 4 separate parts and glued together. If you have a bigger FDM printer its much better to print it in a single piece. I need to do some modifications to the mount though because they lack enough depth so that the whole screen sits flush with the mount and the openings for the cables connecting the screen and the MPD to the computer are too small. The Pilot front panel may also need some modification to take those MPD mounts well. You will loose however more of the 1:1 scale if you want to go down that road. Otherwise I would mount them on the square holes modeled in the file which are sized to take those screens (https://www.amazon.com/dp/B09332N7MH/?th=1), (Note that the screens are bigger in the x axis and smaller in the y axis than the MPD frame) but you will loose the inward deflection. It is not a big deal either way in my humble opinion. I have not worked on the project for a couple of months now as I need some more hardware to order to begin building my prototypes. Some mistakes which are not apparent now will raise their ugly heads as I go through that process and some modifications will be needed. I hope to start working on the project again in a couple of weeks as I now have my K40 laser and the first panels I have cut have come out good enough that I'm satisfied. If you are building a pit with my stuff I would be over the moon if you can post some pics of your progress on the thread. Hope this works for you and happy new year. Pilot Front Panel.f3d
-
hello, I had my MFCDs, TEDAC and EUFD exported fine in DCS Open Beta. However I had to reinstall DCS and copied the screen export files to the DCS game folder. Copied my sceen export configuration files to the new saved game folder and configured the monitor nullsetup resolution as per the guide. However in the new install the screens are not getting exported. I'm not sure where to go next. Any help you guys can offer will be greatly appreciated. Many thanks AH-64D TEDAC under monitor.lua
-
Those macros won’t work forme either. Using the address mask works for me fine
-
That is the code I use. I’m just wondering how you got these lines of macros to work.
-
Quick and dirty mount for testing the MFD screen mounts. The spacing for the HDMI port and the overall height of the mount needs to be modified. Will post a new file in a couple of days. Jonny,how did you get these lines of code to work? I get the same error as Heli Shed when using the new version of the code with macros.
-
Would love to see your project. You raise an interesting point. Although I have done the coding for the master arm and warning I have not tested them yet. I’ll try and see what happens. Can you share the lines of code you are using? I’m not sure if you are using the version of the code that uses macros.
-
Looking good. Still a couple of mistakes but much better.
-
CO2 laser works much better for this application. Now I can start building in earnest.
-
Finally got my printer working right IMG_8112.mov