-
Posts
296 -
Joined
-
Last visited
Content Type
Profiles
Forums
Events
Everything posted by [MVP] Mugga
-
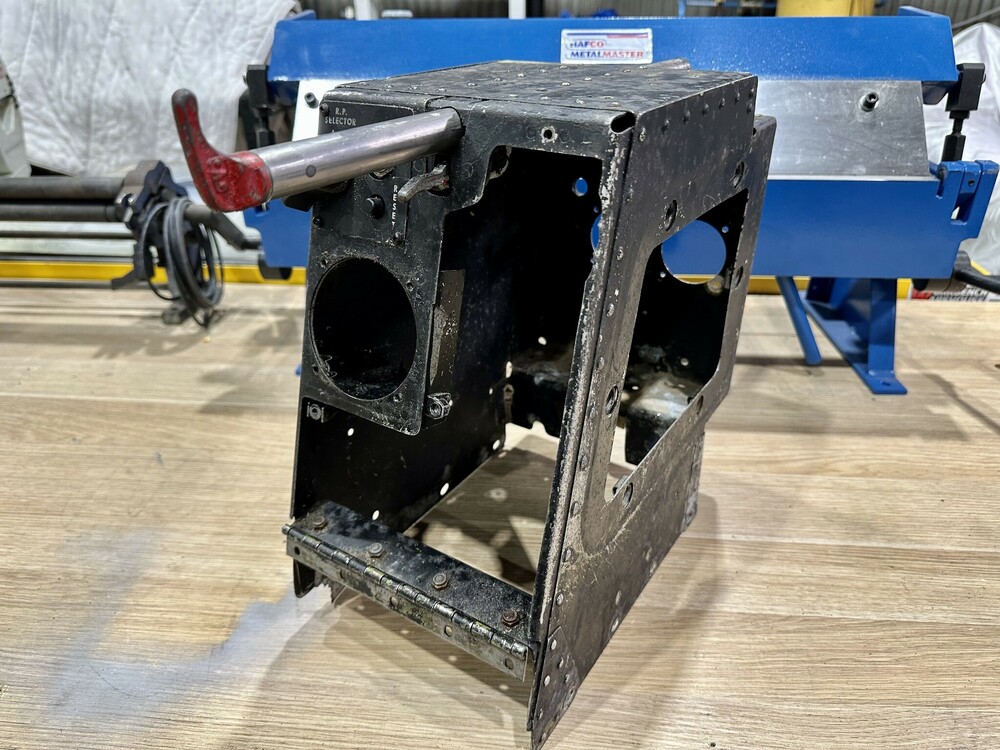
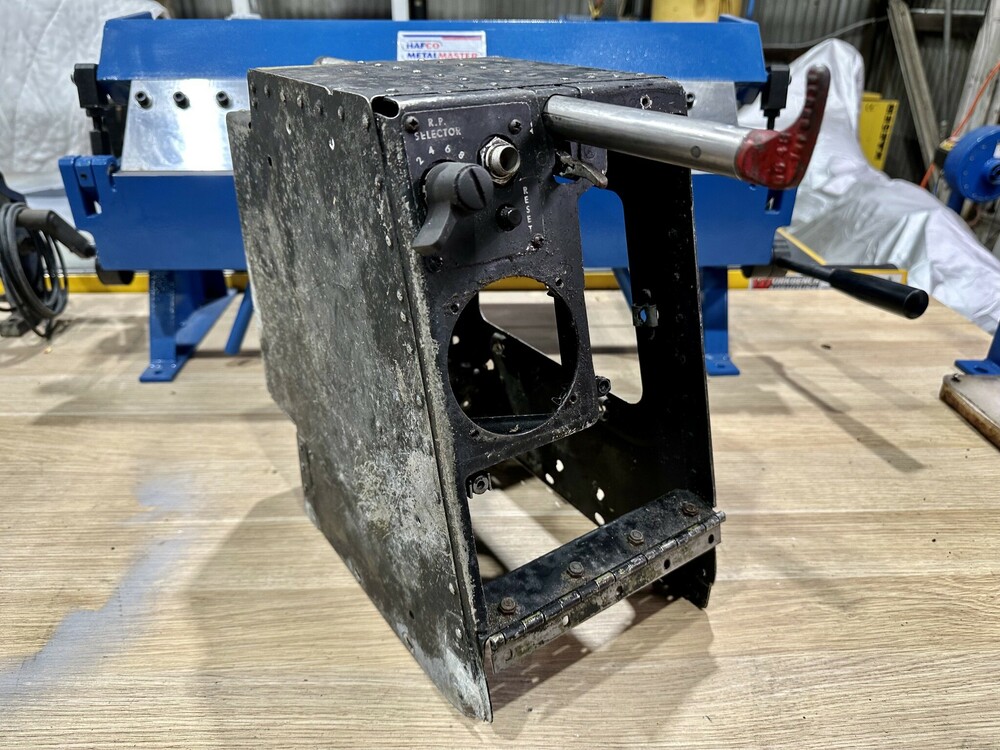
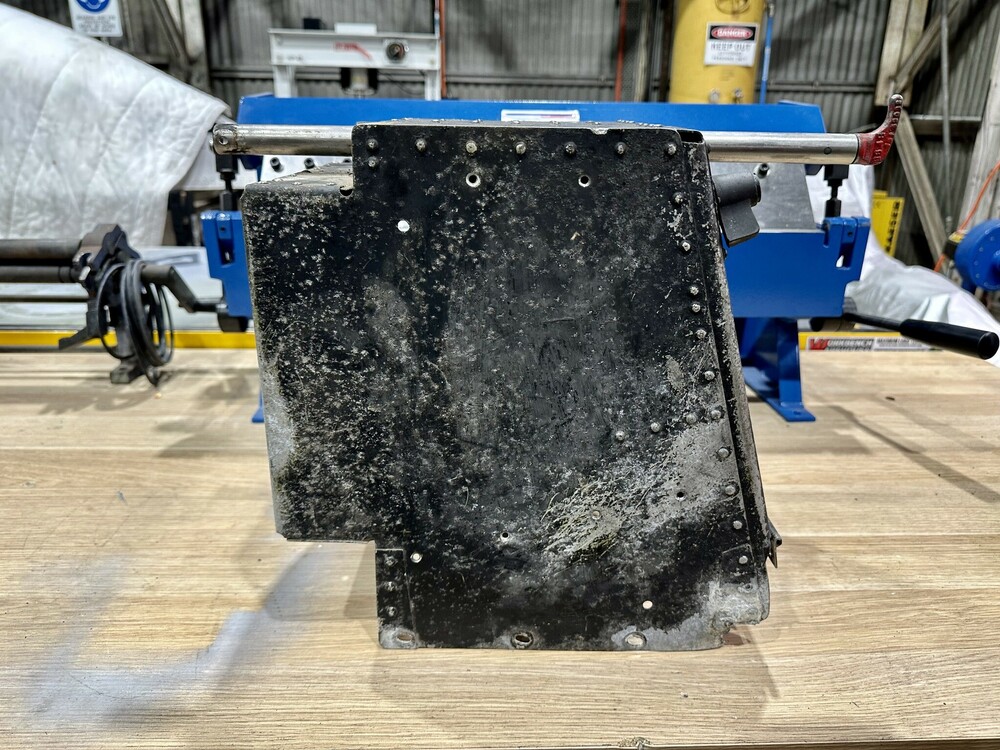
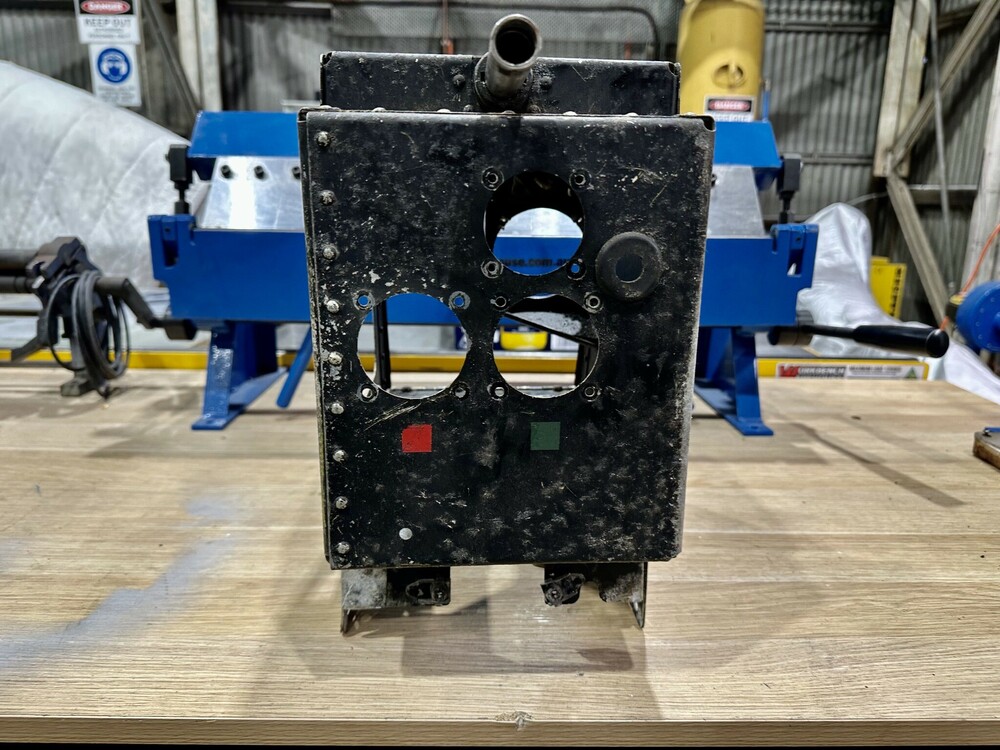
The centre console was lastly given two coats of matte black paint, and unfortunately I managed to get some runs in it! So... they have been left to dry out this week, following which I will given them a light wet-sand by hand, and then repaint them. Once the centre console has received three good coats of black, it will be given two coats of durable clear. And before leaving the workshop today, we gave the throttle quadrant outer left hand side cockpit fairing a coat of black paint. This fairing closes the gab between the throttle quadrant and the left hand side cockpit sidewall. It also houses a selection handle, which we are missing the knob off.
-
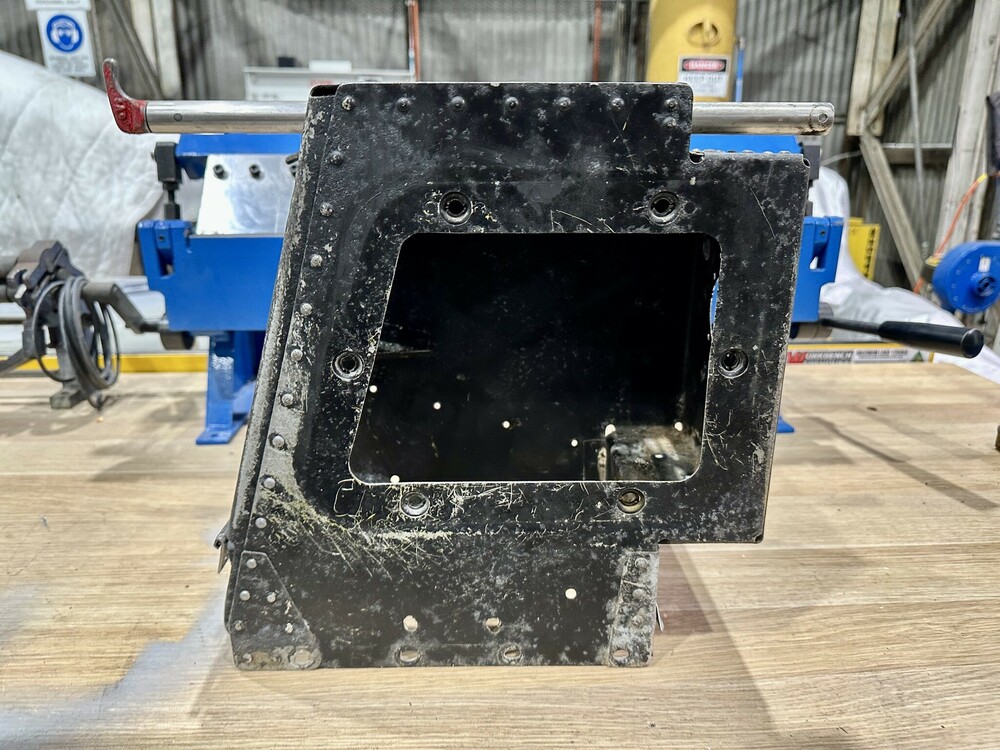
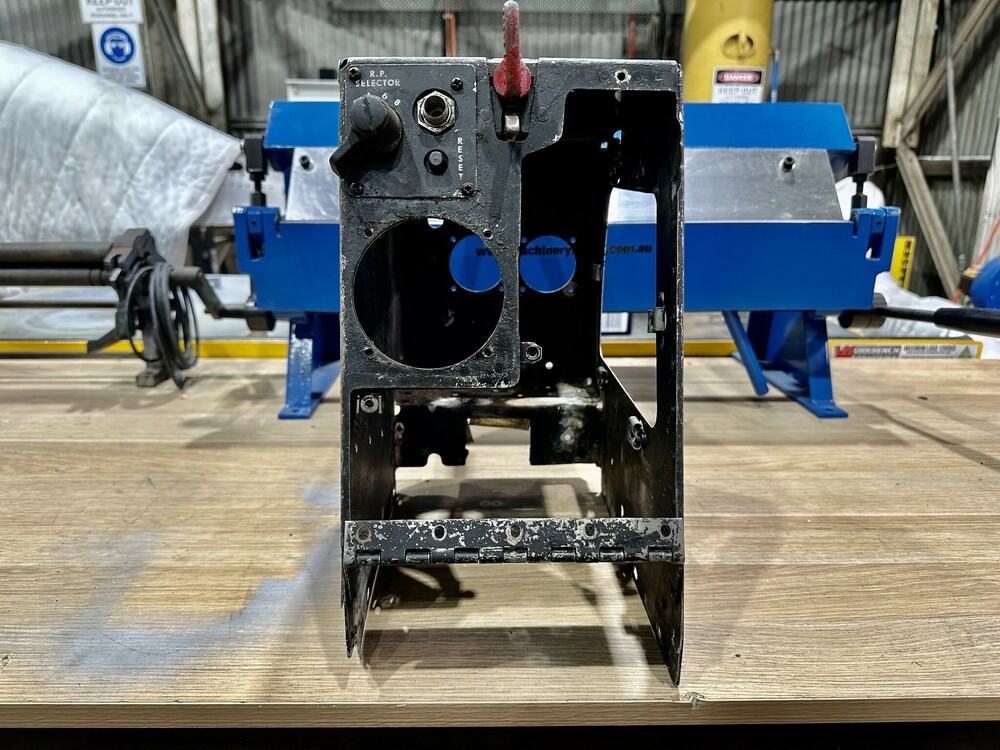
Work has continued on the cockpit instrument panel centre console. The last of the electronics/instruments were removed and the console was media blasted back to bare aluminum. Unfortunately, corrosion had eaten away the left hand side lower corner of the console and it required a quick repair. We first drilled out the remnants of the old corner doubler, then took a paper template from the right hand side. The template was cut out and a new doubler was cut from aluminum sheet stock and all the corners rounded off and given a coat of grey etch primer. The new doubler was then match drilled to the existing rivet holes on the centre console and then new rivets installed.
-
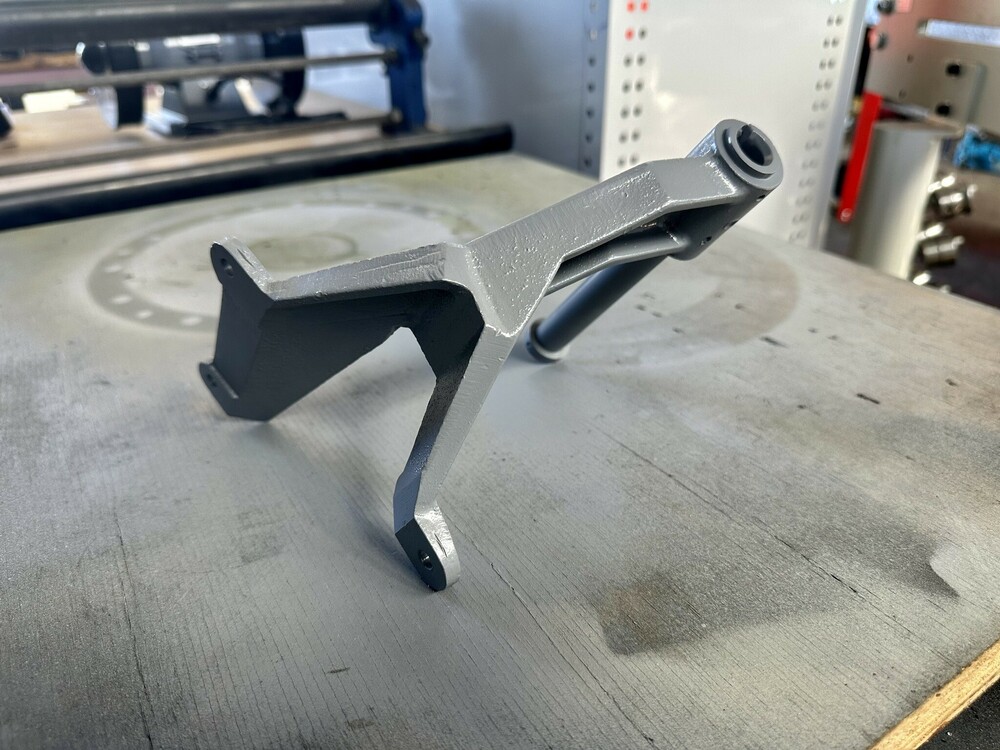
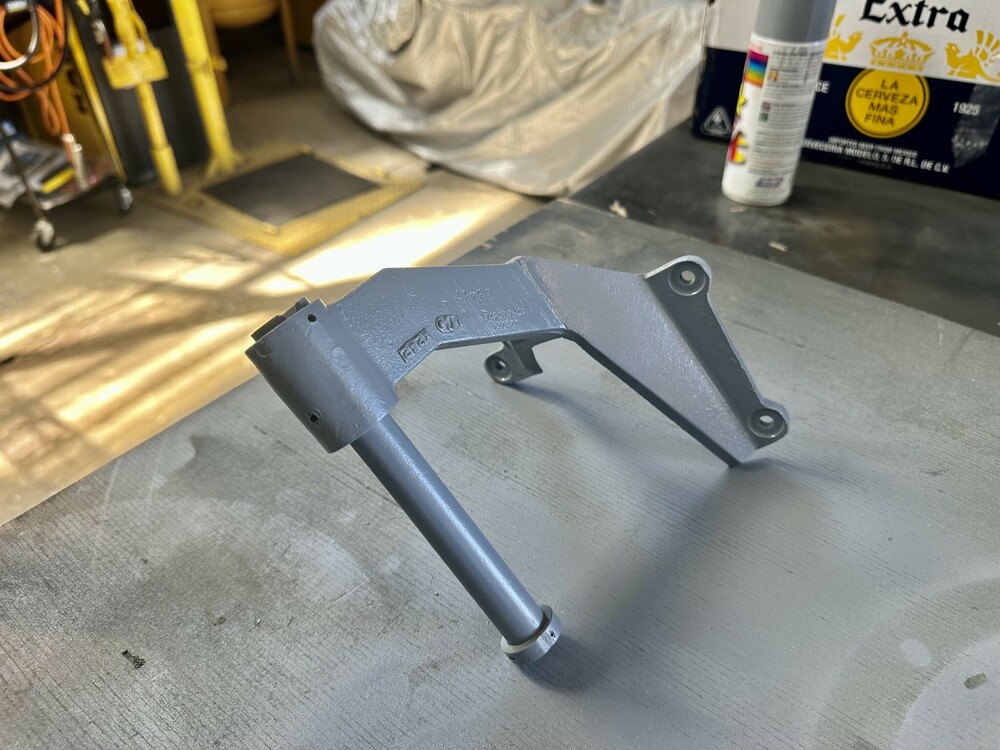
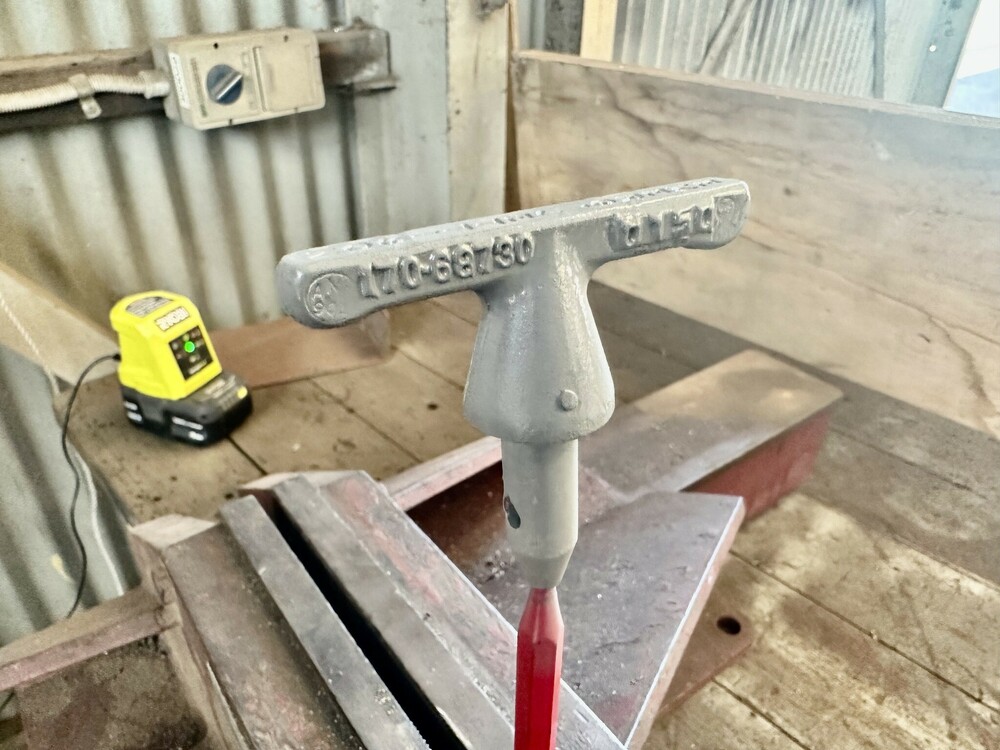
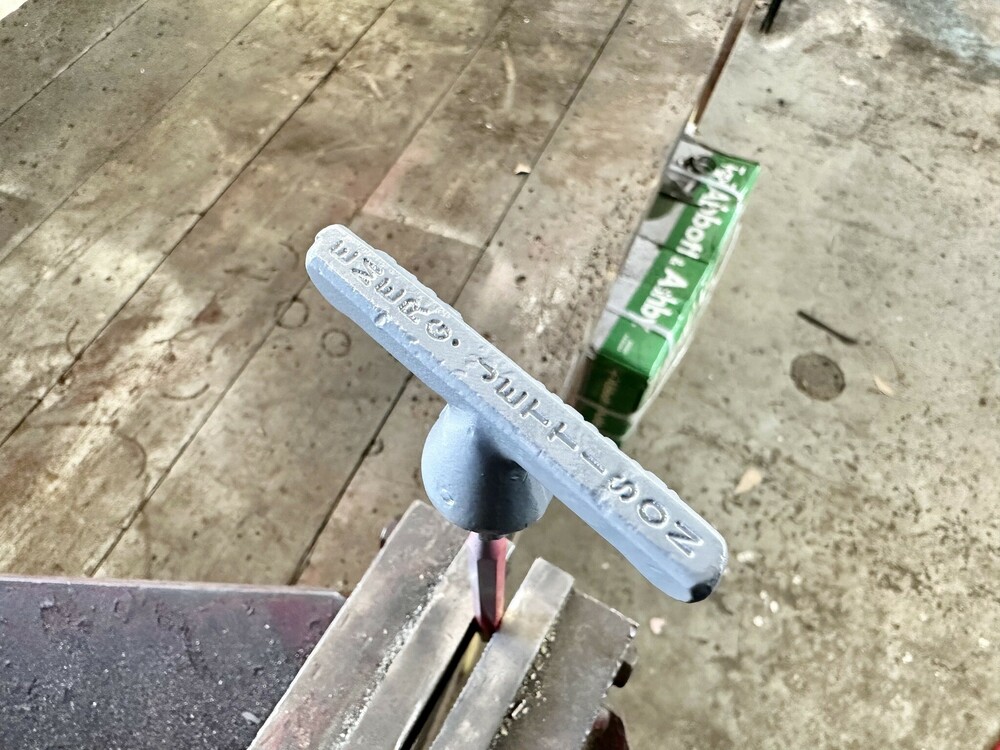
The team were back in the workshop this Saturday, finishing off the restoration of the Emergency Stores Jettison handle and attachment bracket. Finish colour coats and clear have been applied, with the completed assembly looking better than new in the 1960's. The stores jettison bracket mounts to the cockpit left hand wall, underneath the instrument panel. During the week ahead, we will source a Pull/Push style switch and fabricate a shaft that will run through the attachment bracket and connect to the handle itself. When completed, the handle will pull out and push in, with the electronics connected to an Arduino controller.
-
-
Our collection of Sabre canopies have been stored up on top of the office in the hangar to make room in the workshop. Space is a premium!
-
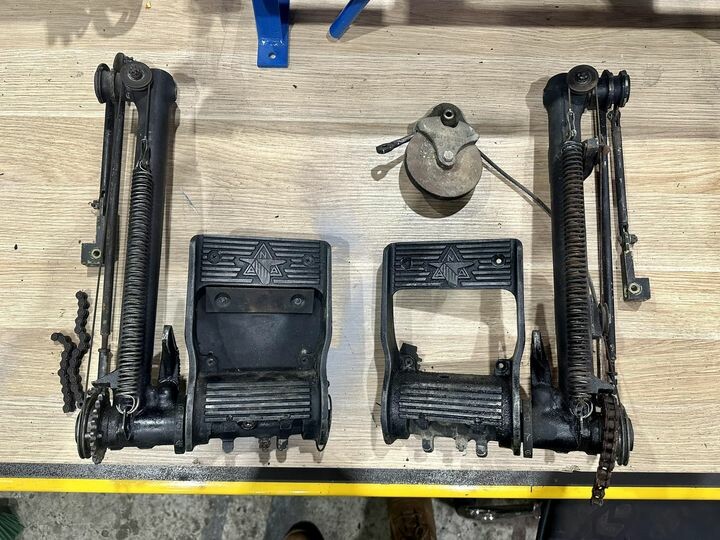
Another milestone achieved tonight with the trial installation of the production spare forward windscreen assembly! The unit slid straight into position and will require very little adjustment for its final installation. The forward windscreen section will be removed later this week, as we continue stripping out the cockpit tub ahead of a major pressure washing this coming Saturday. Both the left and right hand side rudder pedal assemblies were removed from the aircraft for restoration. Both units will be dismantled, cleaned up and given fresh paintwork, with all bearings and pivots lubricated etc. The right hand pedal is missing a back-plate, which we will have to fabricate and fit.
-
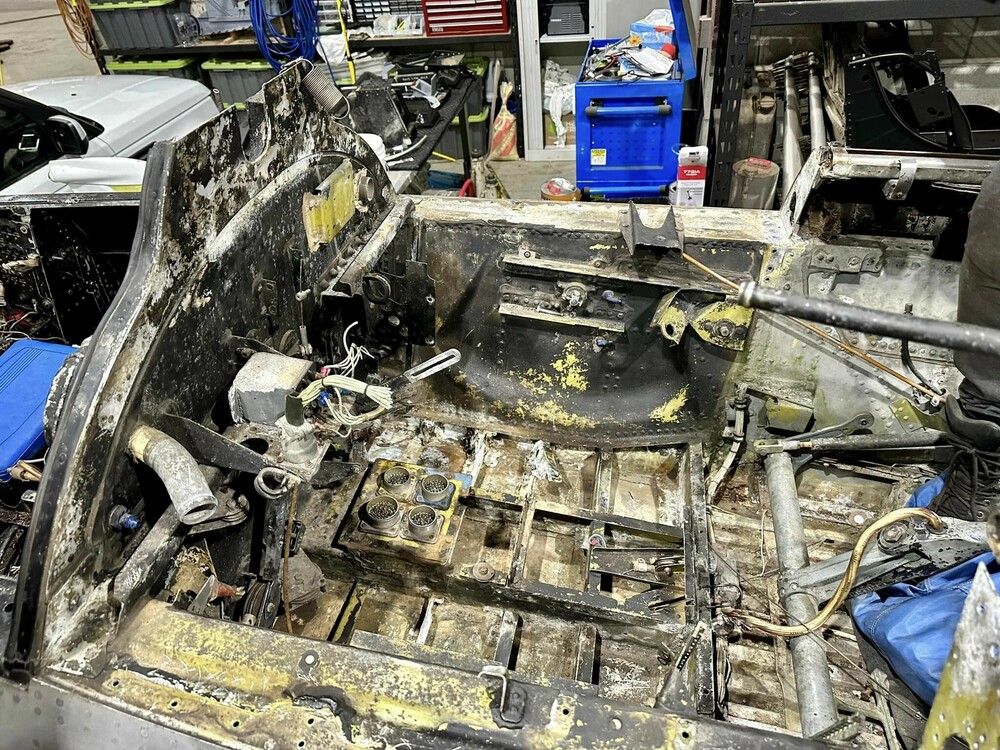
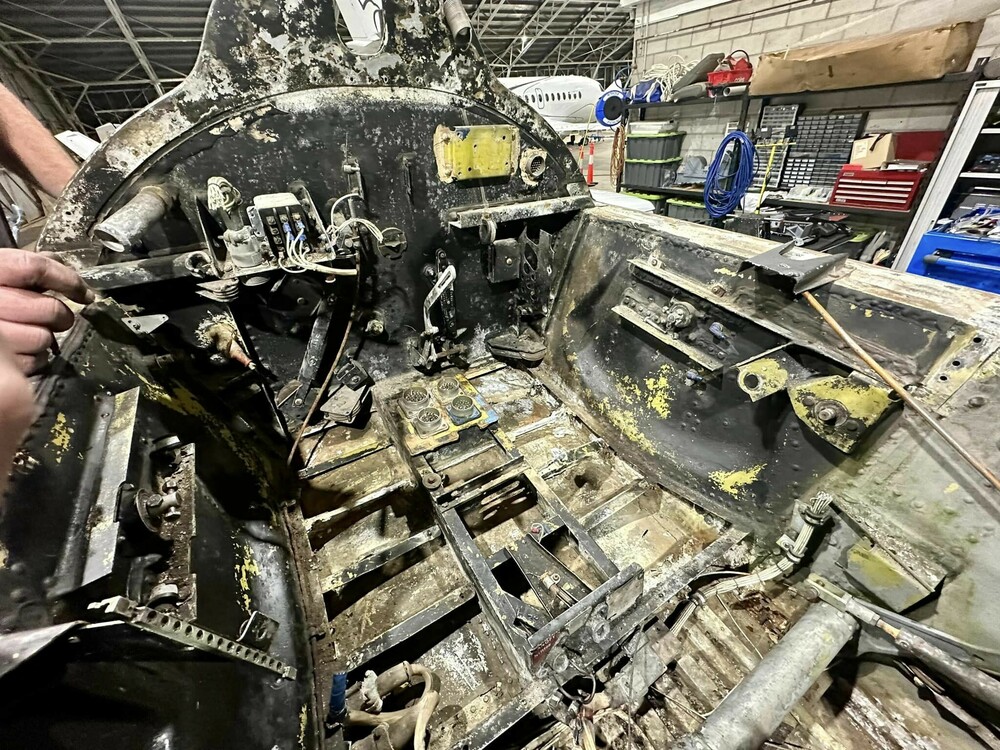
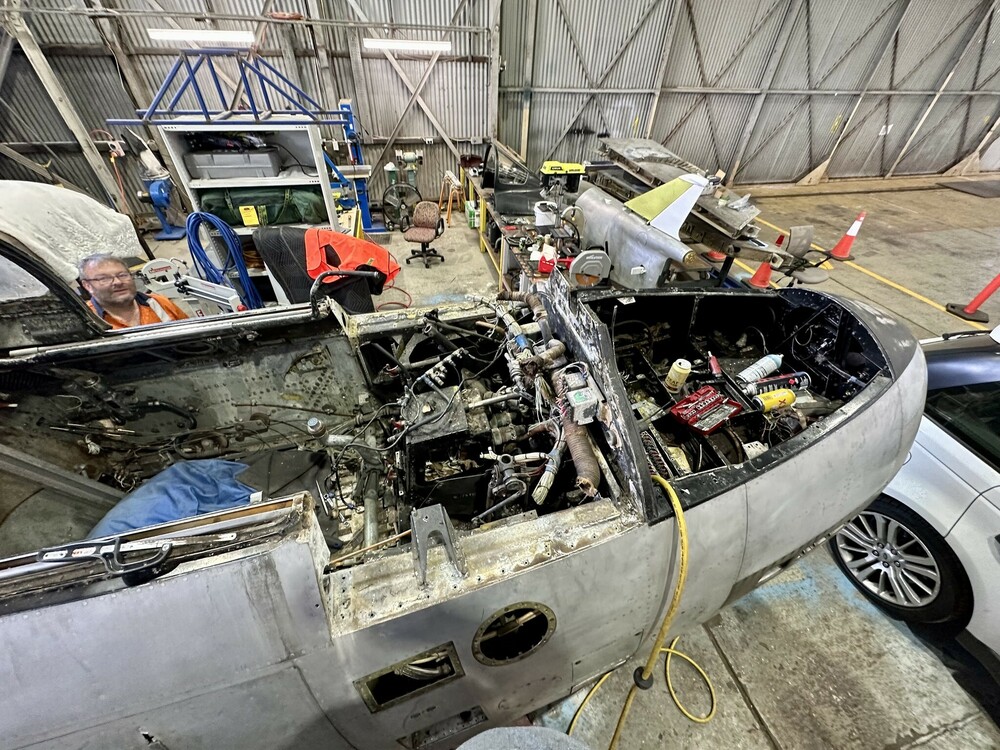
The team made another big push this evening in the workshop with the focus on removing all of the cockpit accessories and fittings. We aim to have completely empty by this coming weekend so we can drag the fuselage outside and pressure wash everything, removing 50 years of accumulated dirt and debris. Once we have everything de-greased and clean, we will then get stuck into the sheet metal repairs where the structure has corroded. There is extensive corrosion damage to the flooring on the right hand side of the cockpit, which is the side that had the broken front quarter window. many decades of exposure to moisture and collection of water has taken its toll. Around five new floor ribs will need manufacturing so that the floor panels can be properly supported. There is also extensive corrosion of the alloy structure that supports the stainless steel cockpit canopy rails, as a result of the dissimilar metals. We will need to remove the canopy rails and clean back the aluminum supports and fabricate flush patch repairs and new channel angles to replace the badly corroded areas. Whilst it looks terrible at the moment, everything will clean up nicely and when the paintwork is finished it will look like it has rolled off the production line.
-
Great to welcome three new MVP members at the restoration workshop, we are very much looking forward to seeing 'Slaxor' and crew on the weekends.
-
Took a quick scan of the cockpit centre console The Emergency Stores Release handle and attachment bracket have been media blasted and given primer coat. The attachment frame will be cockpit black, whilst the handle itself will be red with white lettering. There is also a stainless retainer cage, which we are yet to polish. The assembly will be modified to accommodate an electronic switch setup for the sim pit, doing away with the old wire system used in the actual aircraft.
-
The team got back on the tools this weekend, with the cockpit centre console removed for restoration. All of the console instruments, wiring, relays and switch gear have been removed. The structure will be media blasted, primed and painted before all of the new sim electronics are installed.
-
Will be doing exactly that... filling with rivets and then re-drill to fit everything neatly.
-
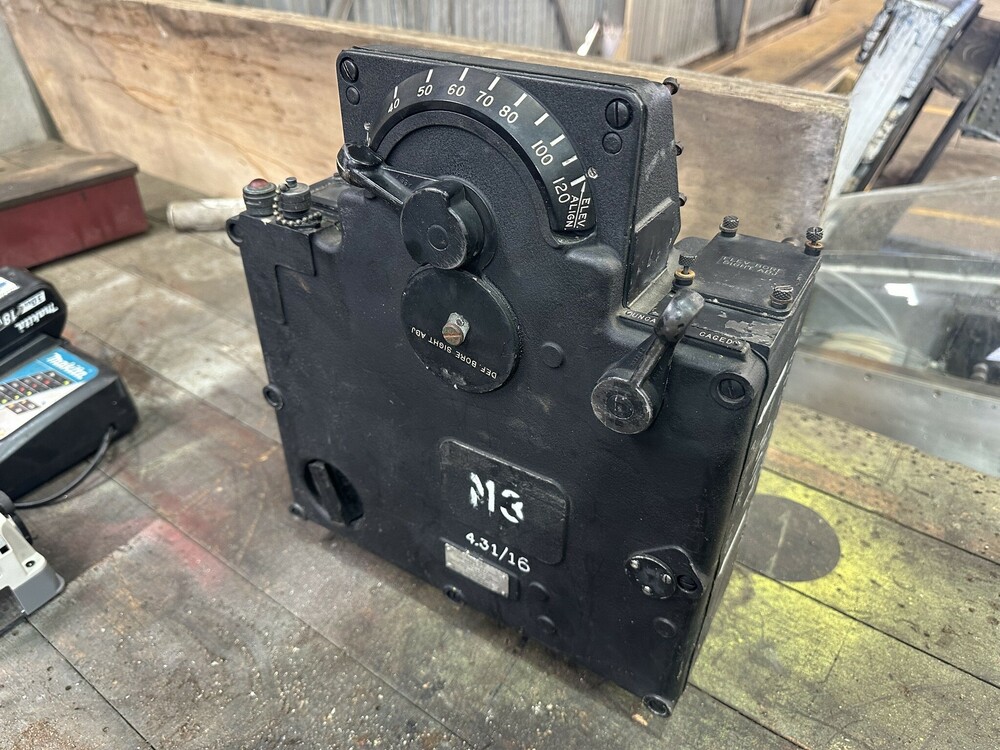
Reassembled the A4 gun-sight components. This will now be wrapped and stored until we are closer to reassembling the cockpit. Many thanks to Judd from the MVP team who pulled down our worst A4 gun-sight box this evening. This unit box will be cleaned up and repainted, and the internals modified to accommodate the sim. This will include the use of an LCD display for the gun-sight, and digitisation of the wingspan adjustment and cage/uncage levers.
-
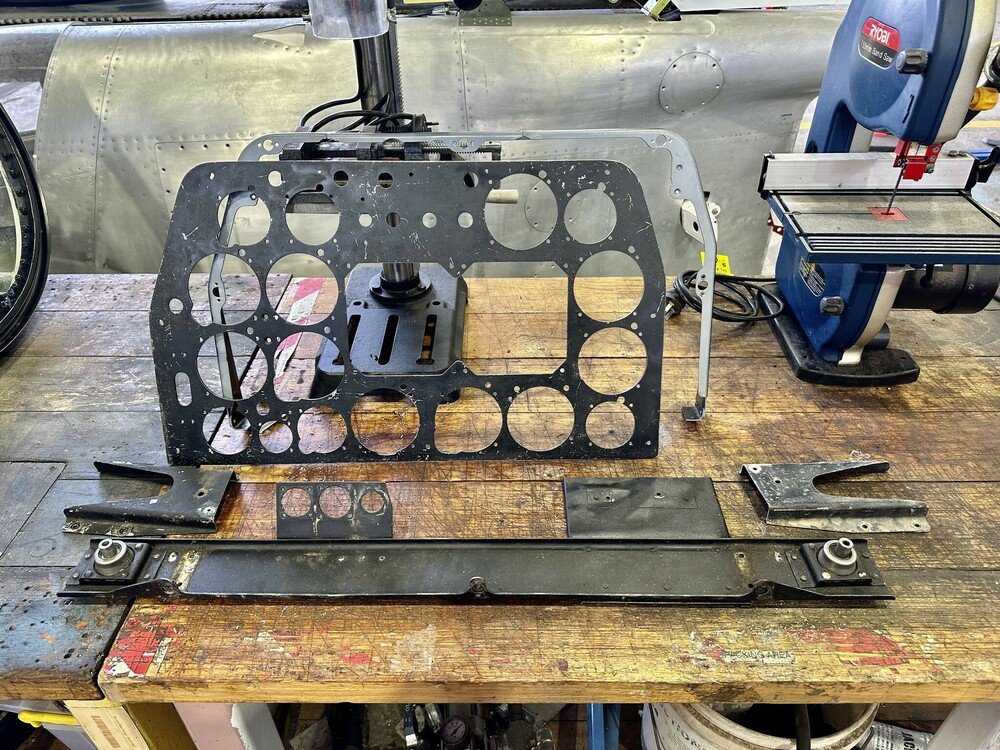
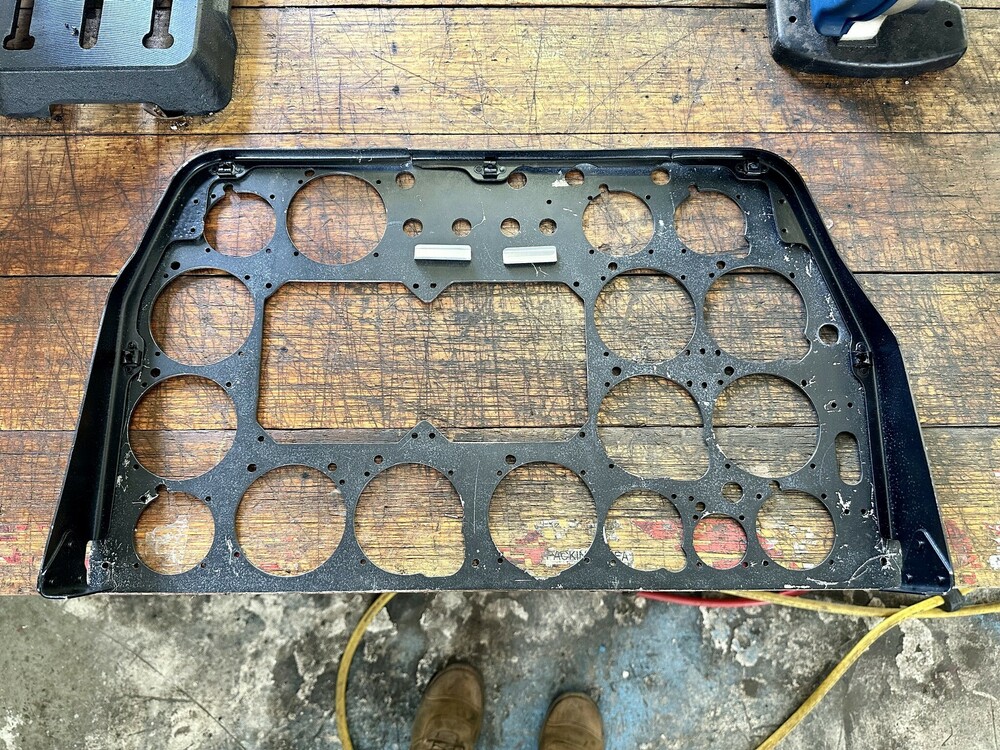
Managed to get a little more time in the workshop at lunch today, this time focused on the instrument panel and the associated support beam and brackets. The panel attaches to a back-frame which was salvaged from the aircraft and is cracked in two places. I folded up an aluminum support bracket and then drilled and riveted the broken sections together.. Tomorrow I will media blast all of the components and then prime and finish paint them. Got the clear coats applied to the gun-sight HUD frame today. Will now let these components sit for the next 7 days to cure and harden.
-
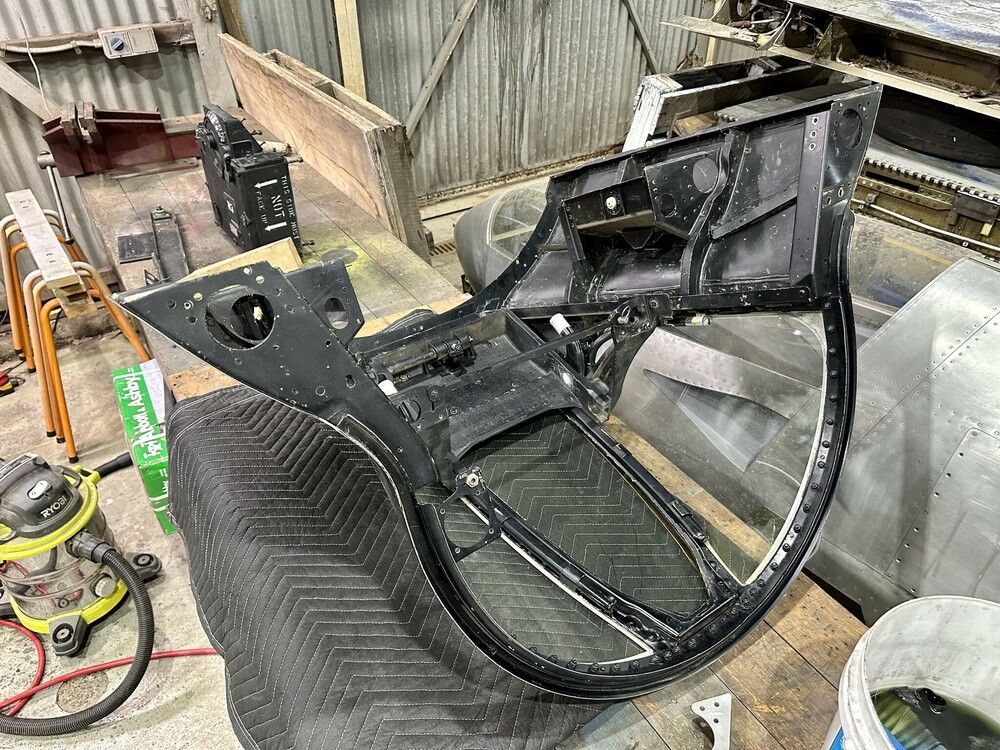
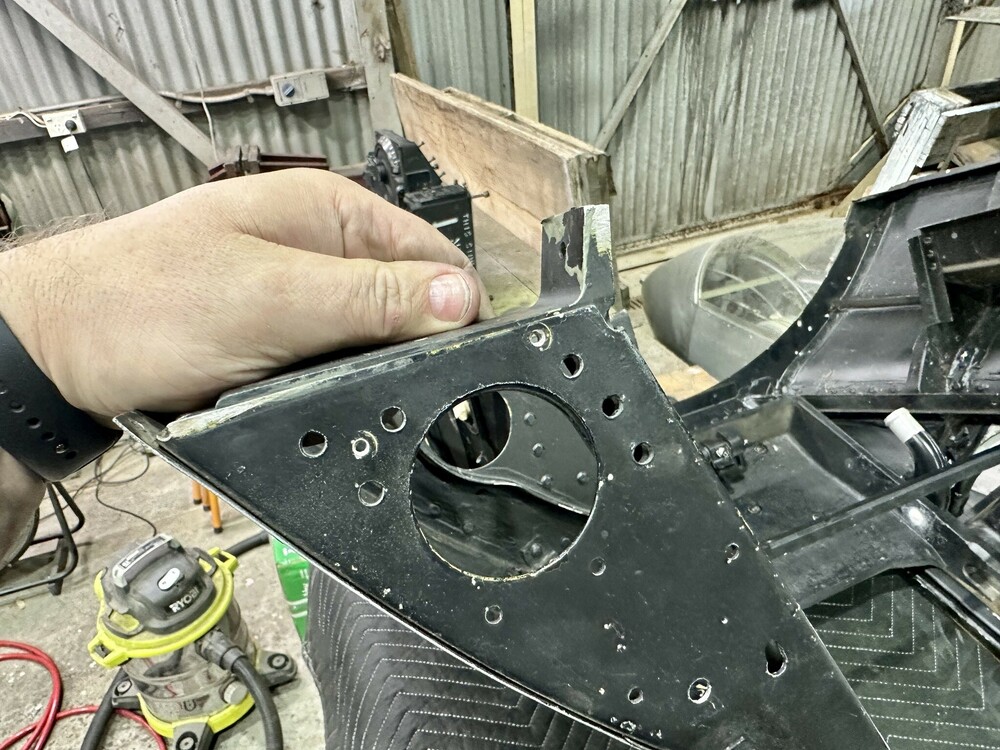
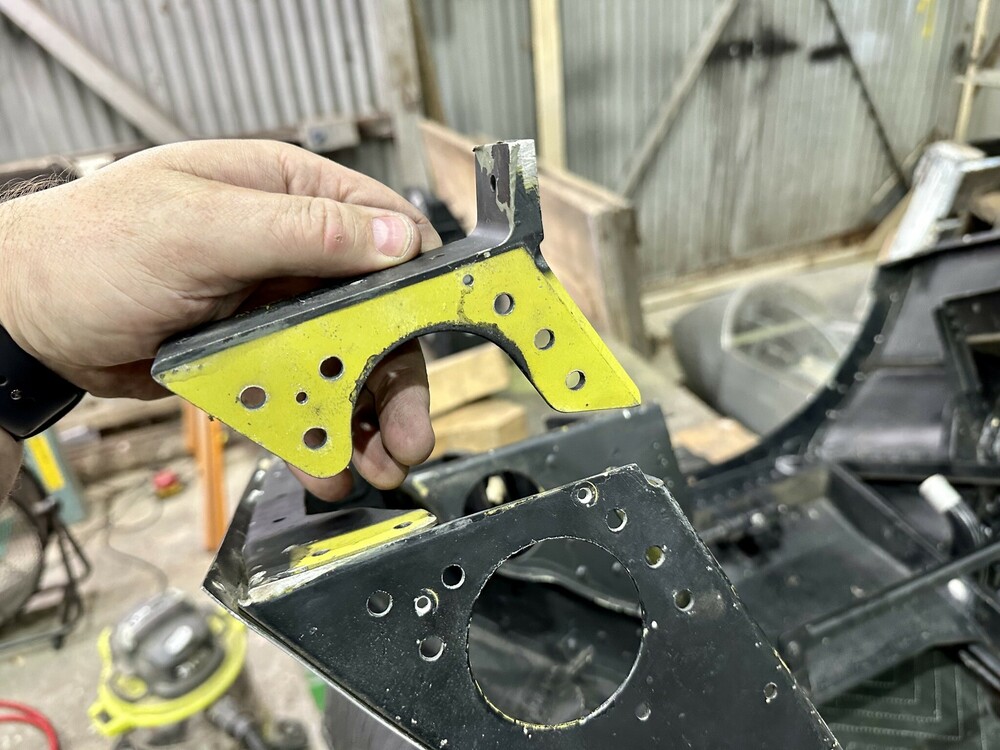
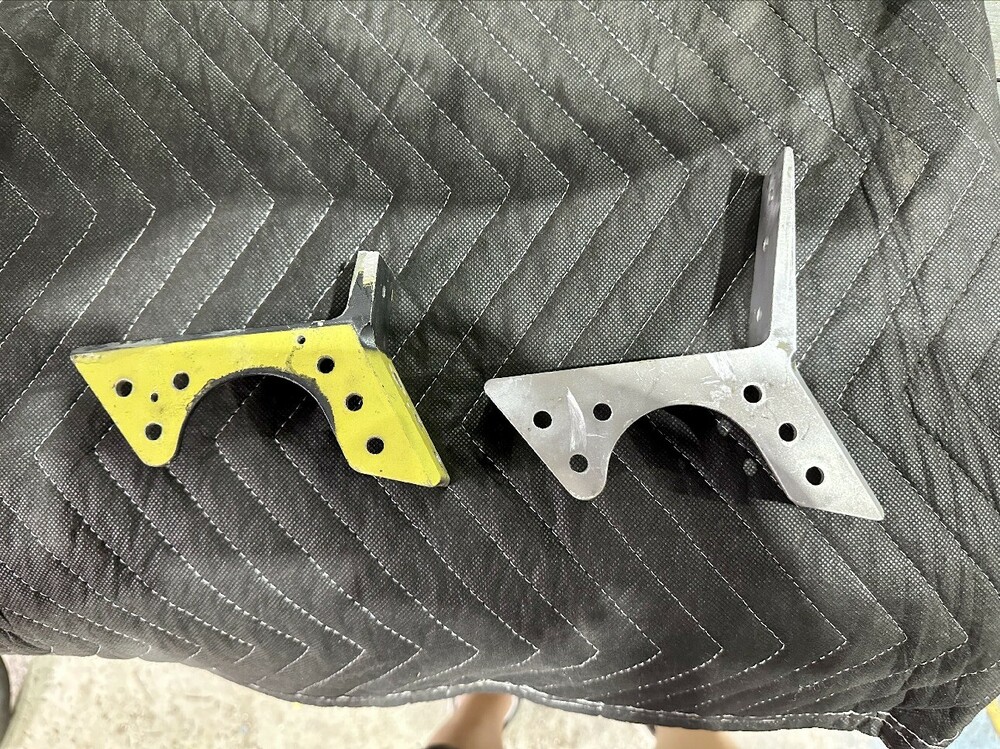
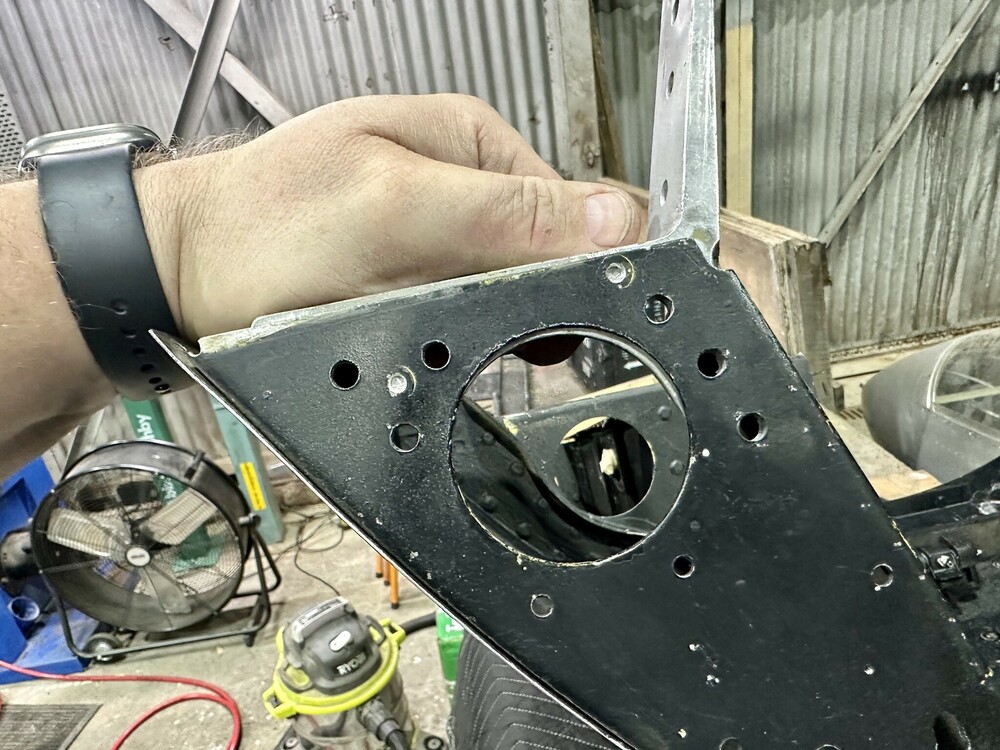
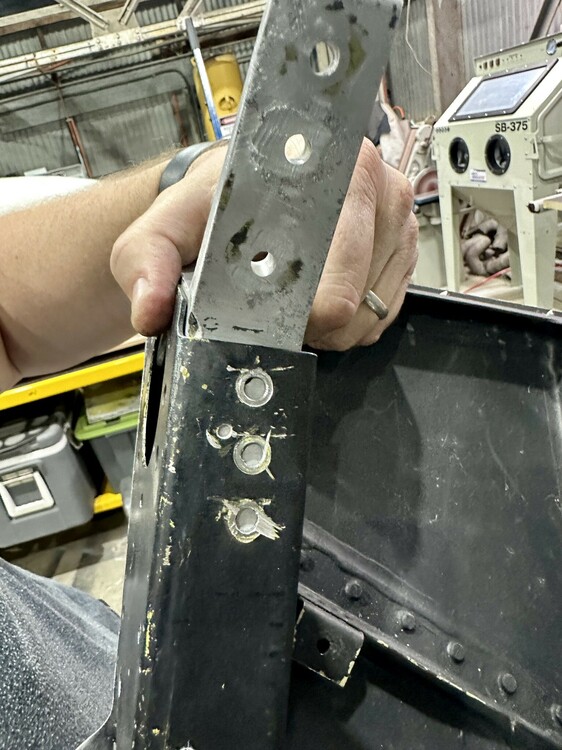
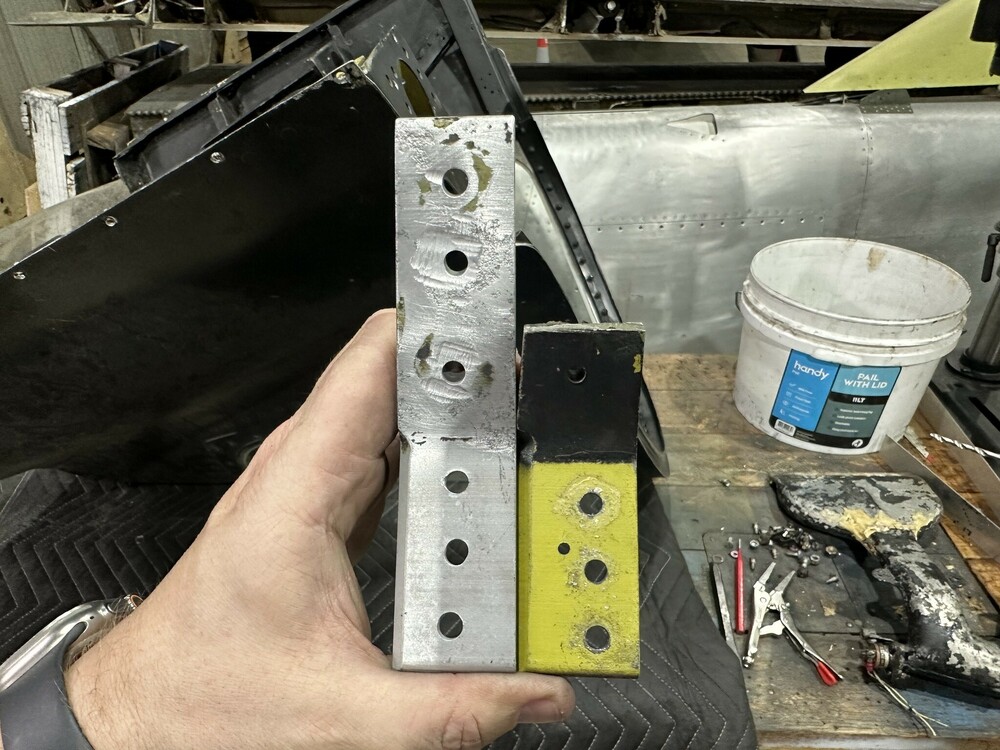
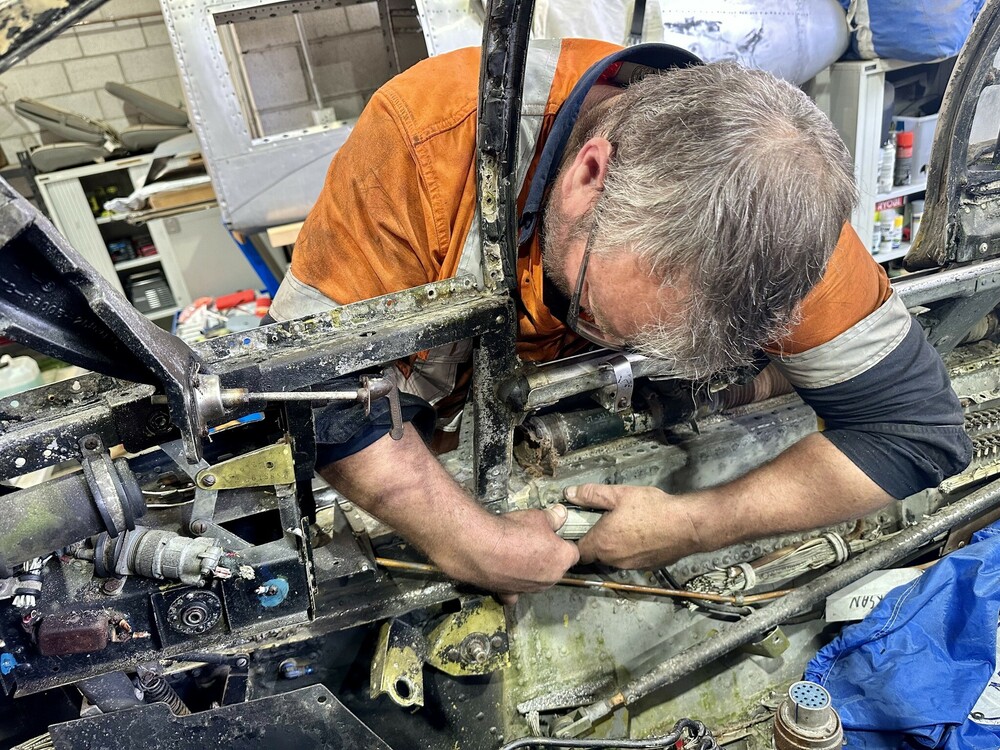
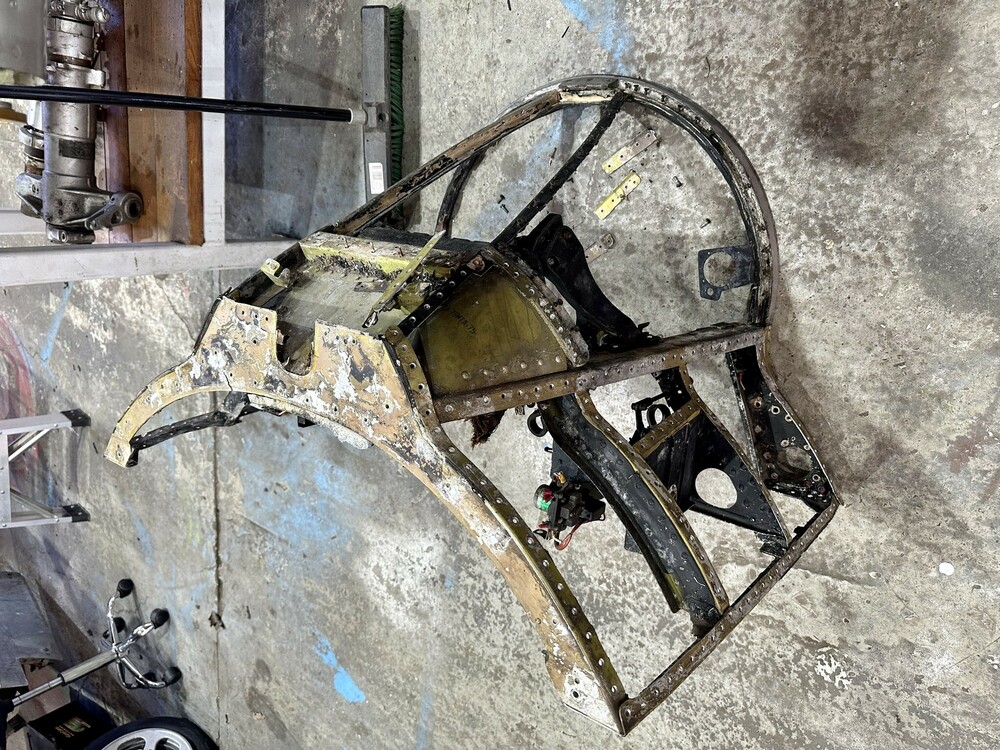
Went back to the workshop tonight to drill out the forward windscreen attachment brackets out. This was a little easier said than done and It took turning the entire forward structure upside down to get clear access and managed to burn through several good drill bits removing the fixings that held them in. The aluminum castings attach to the windscreen hoop frame and tie the structure into the main fuselage cockpit and are integral to the overall strength of the cockpit hoop. Without them, if you hang on the hoop frame lowering yourself into the cockpit, they're likely to move and fatigue crack. When we removed the forward structure of the aircraft we salvaged the brackets as the ones on the production spare have been cut through. We have now discovered that the brackets are hand-drilled at the factory and do not line up! NO jigging is a PITA. I have taken some photos comparing the silver (one recovered from the aircraft) and the green (one from the production spare). Interestingly the part numbers are not the same either. Am going to do some research to work out why that is. Once the salvaged brackets have been cleaned up, we will have to blind rivet them and hand-drill them to match the holes in the production spare frame to get everything to fit. More work... who said building a sim pit out of 100% original aircraft parts was going to be easy!
-
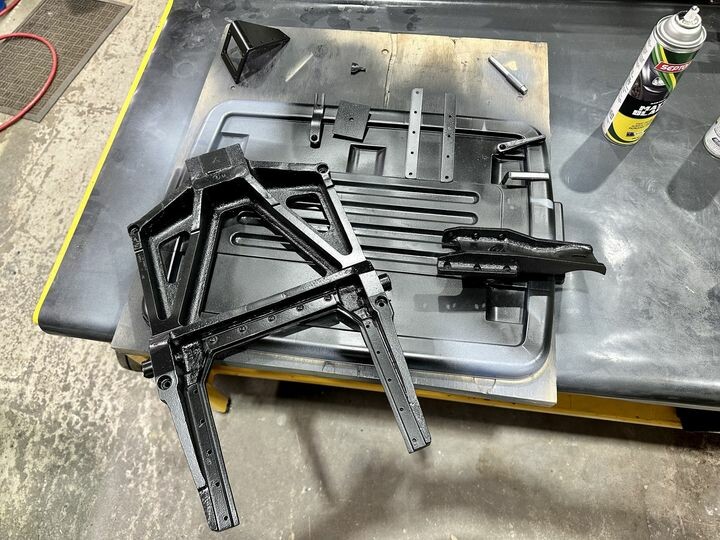
Managed to get several coats of matte black paint onto the gun-sight HUD frame and accessory brackets. Once these have cured overnight, they will be given two coats of clear to protect them and to make future cleaning easier. Without the clear layers, over time cleaning can erode the surface layer paint, so the clear helps provide some longevity.
-
The coloured lens on the G-LIMIT push to test light when pushed, illuminates a distance in front of the depressed light unit. It appears that the illuminated lens remains fixed, but the unit moves forward when pressed. I will screenshot and capture a video and update this post.
-
![[MVP] Mugga](https://forum.dcs.world/uploads/monthly_2021_03/MVP.thumb.png.398f5fa5eaf57799a81da76f4cc64fc1.png)
MVP F86 Sabre Sim Pit - Converting an Original ex-RAAF Sabre!
[MVP] Mugga replied to [MVP] Mugga's topic in DCS: F-86F Sabre
Work is continuing.... null -
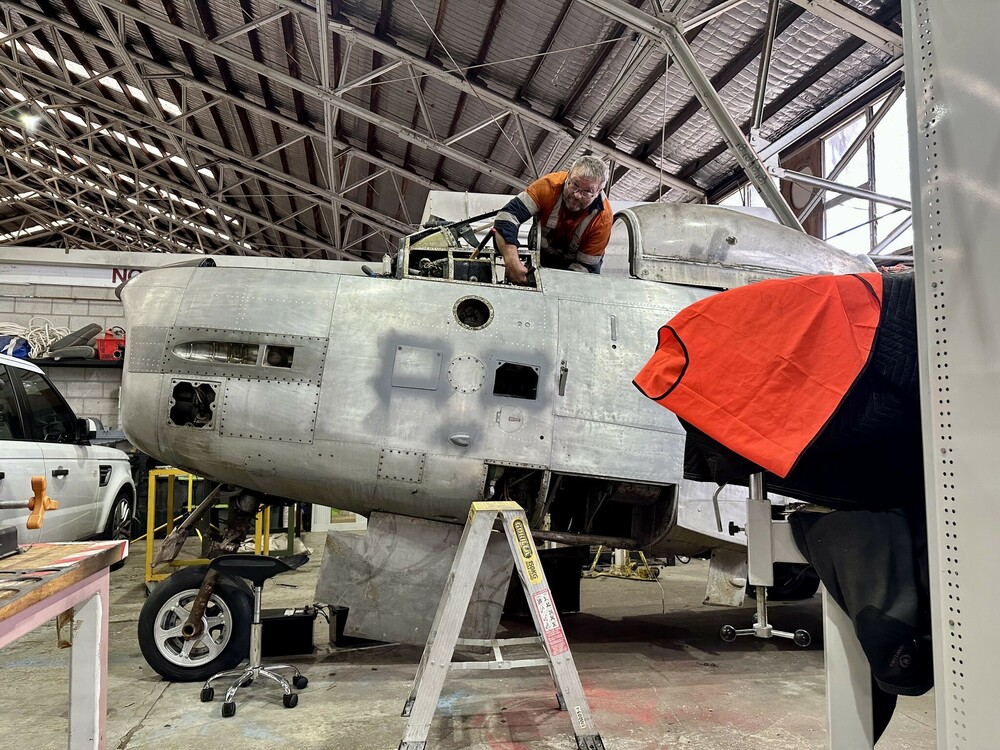
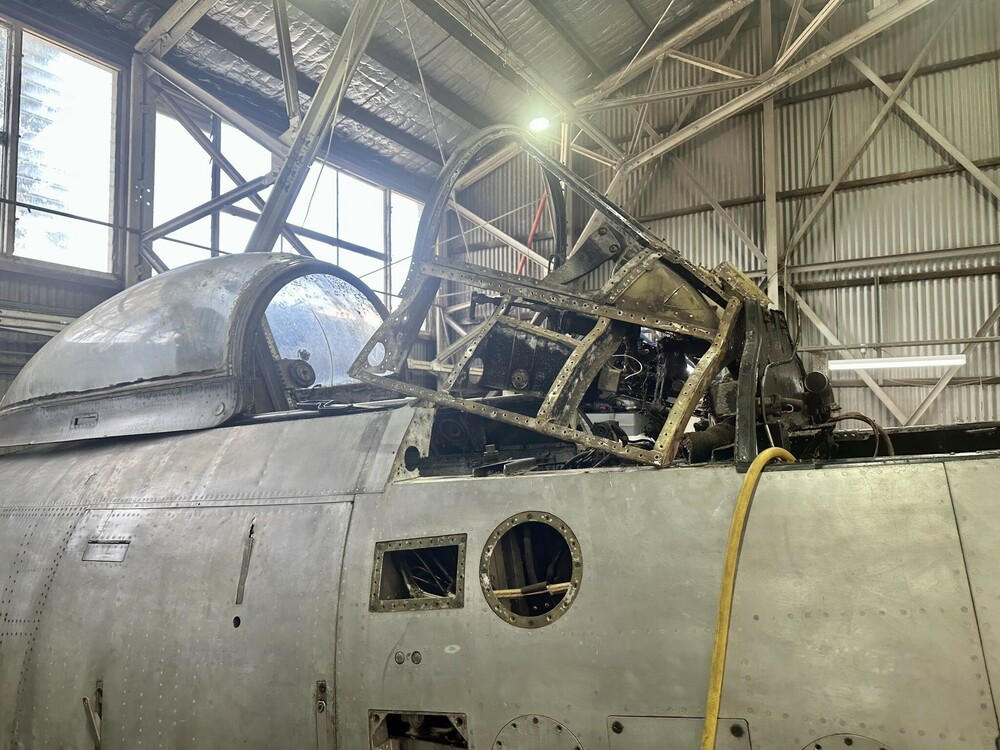
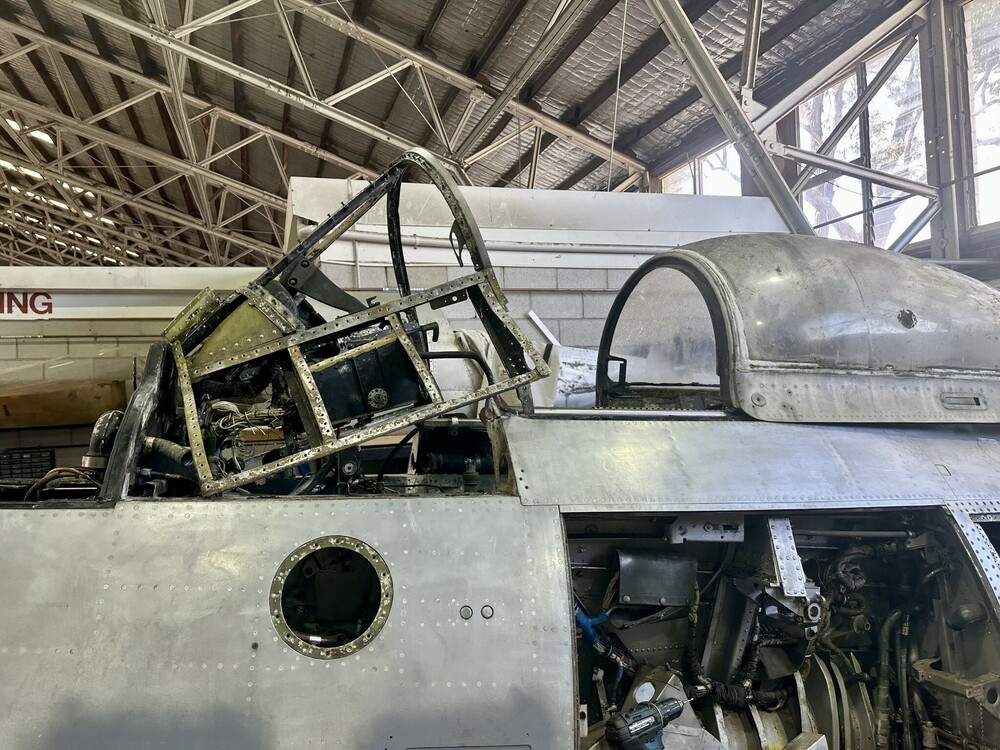
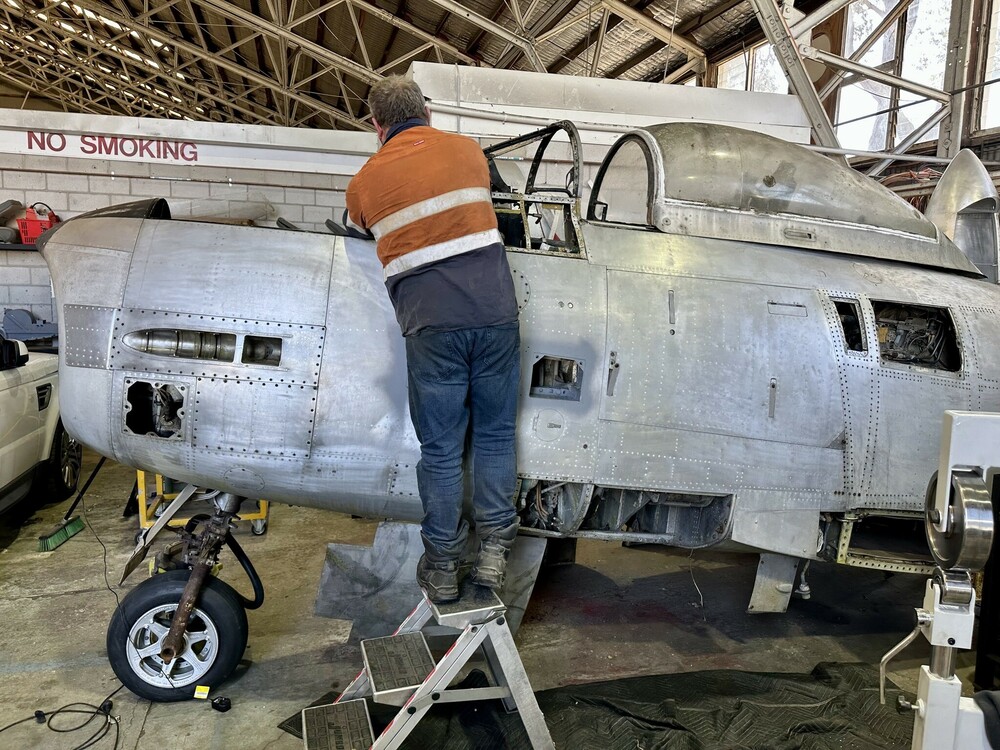
An all out effort was put in today to remove the forward windscreen structure with the last of the rusted out bolts and hardware either ground out, drilled out or cut out! The removed forward windscreen section and associated parts will be boxed up and sent across to [MVP] IndianaShane in Western Australia, where it will be used as part of his F86 Sabre sim pit build. Hopefully he starts a forum post and we can follow his build too!
-
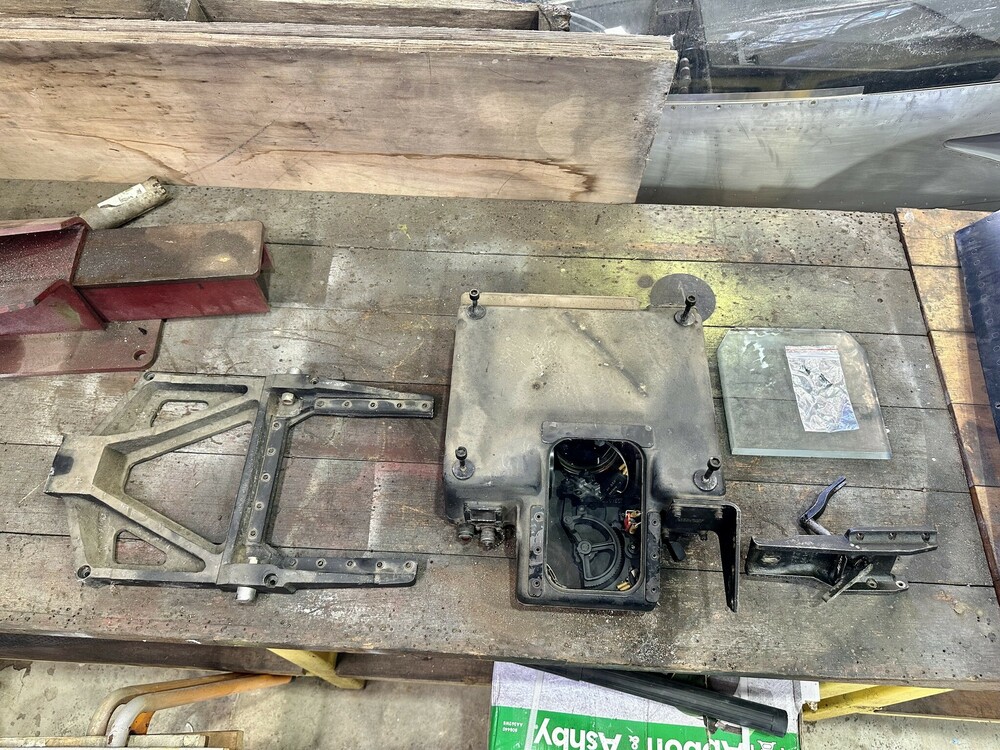
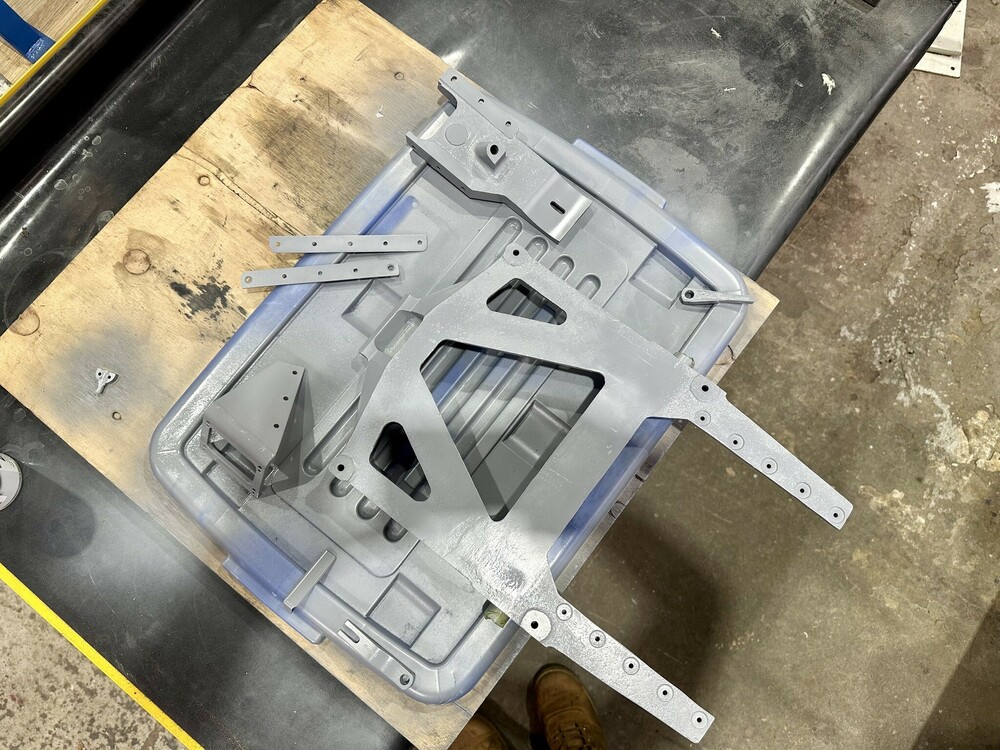
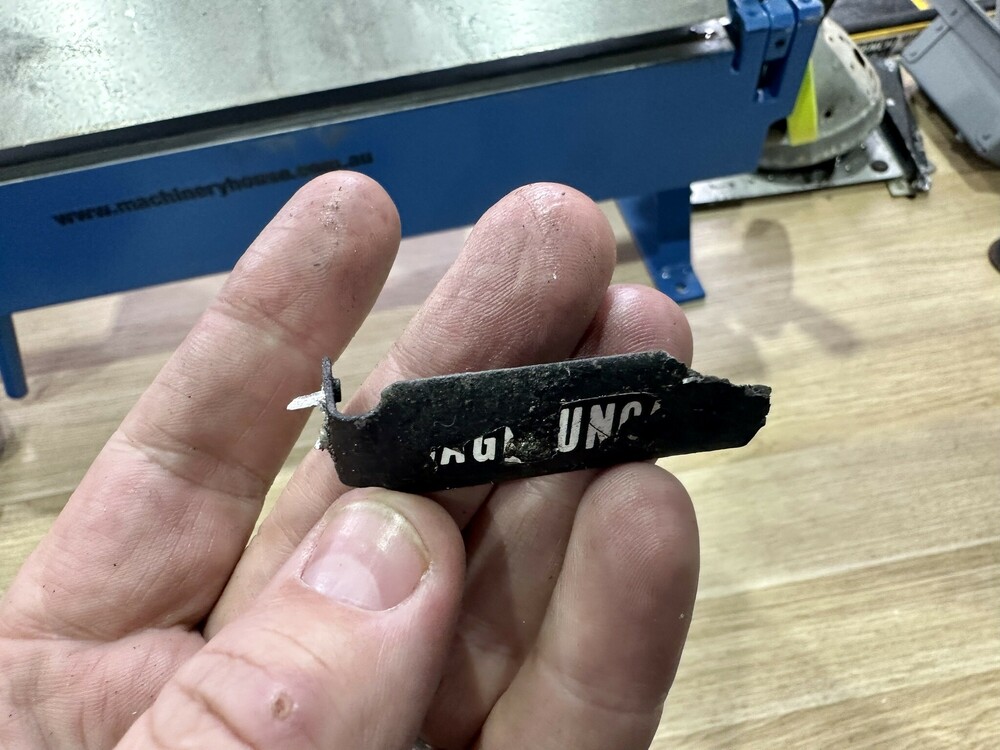
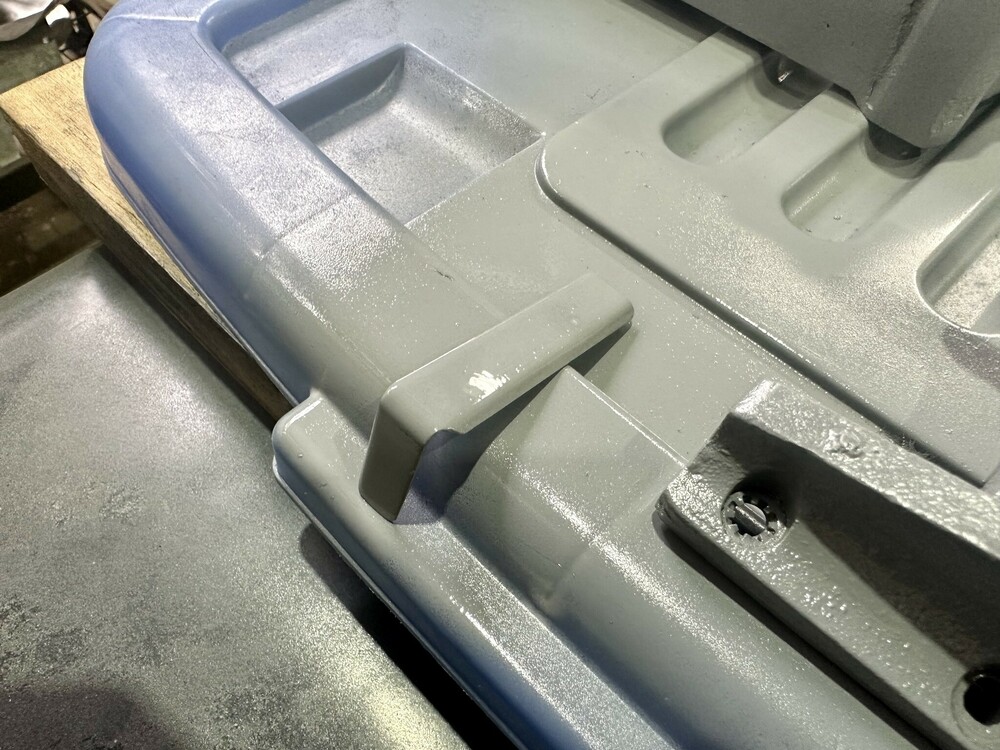
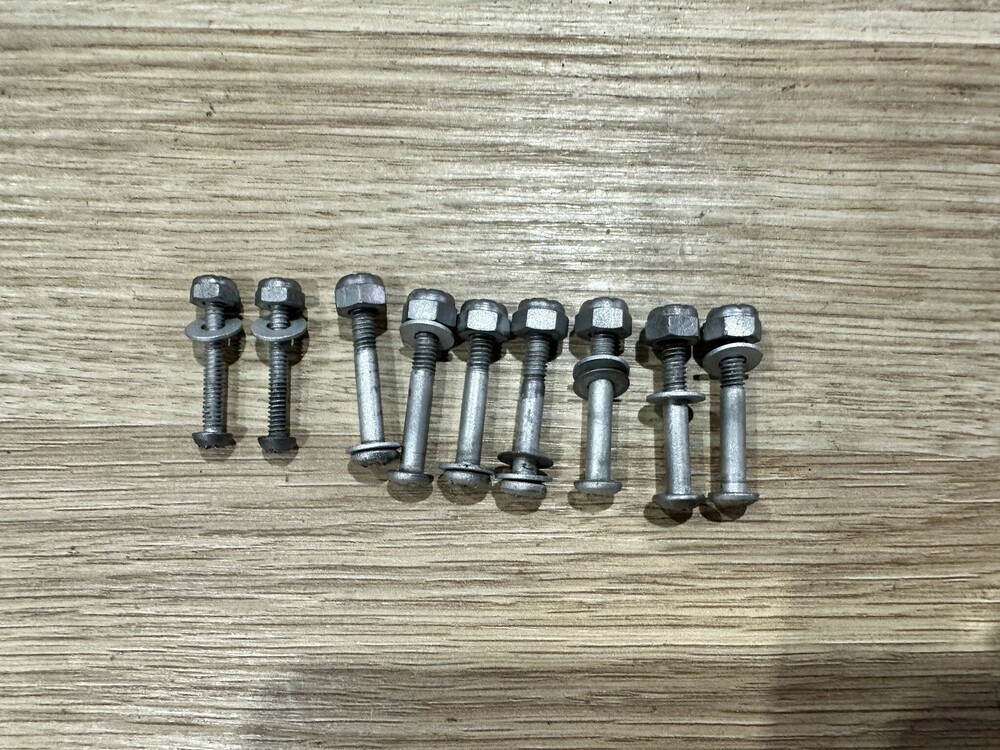
Took the opportunity to tear down the A4 gun-sight and HUD so that all the components could be painted and made ready for reassembly and re-installation. 965 came with a complete gun-sight assembly in the aircraft, which included all of the small accessory brackets etc. These will now be refurbished and installed onto the gun-sight unit that was in the production spare forward windscreen assembly. The UNCAGED/CAGED placard bracket had unfortunately corroded way, so we quickly fabricated a new one out of 0.25 aluminum sheet stock. This has been primed and will be riveted back onto the bracket when reassembled. All original hardware was given a light media blasting and will be painted when reinstalled.
-
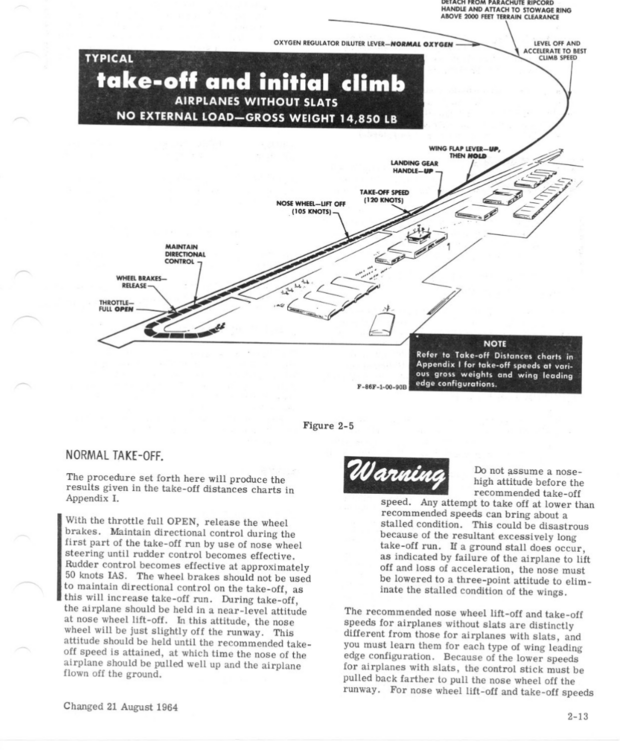
The Flight Manual states that a pilot should rotate and keep the nosewheel just off the ground, and maintain that attitude until takeoff speed is attained, after which the pilot can pitch the aircraft up accelerating away. The NTSB report mentions that the deck angle was approx 5deg, which would equate to a nosewheel height just above the runway surface. And yes... the Canadair is comparable to the F86F.
-
Not sure if this has been brought up in any earlier reports, but the flight model during take-off has a glaring error that would be great if it could be fixed up. The DCS F86 can be easily over-rotated during the takeoff roll with no corresponding increase in drag and subsequent decrease in airspeed. Instead, the DCS F86F Sabre can rotate all the way to tail-strike and continue to accelerate to take off speed. This does not happen in the real-world. The real-world F86 Sabre was extremely sensitive to deck angle at rotation and pilots were trained to be aware of over-rotating the aircraft during the ground roll, given the swept wing aerodynamics etc. In addition, the Sabre has a powerful all flying tail-plane that gives the aircraft excellent control authority at low speeds and a hydraulic flight control system that provides limited force feedback. The Sabre did not have engine sufficient power to overcome the induced drag of excessive rotation angles during ground run, and would squat on it's main gear with it's nose in the air refusing to accelerate. At normal rotation angle of approx 5 deg the speed is around 110knots and takeoff speed is around 130kts, at which point the aircraft is flying and can be pitched up to climb away accelerating. However, if the aircraft deck angle exceeds 5deg, then induced drag loads rapidly overcome the thrust available and airspeed either stops increasing or starts decreasing as deck angle increases to maximum available (tail-strike). The F86F Sabre Flight Manual informs that if the rotation angle is too high, the airspeed will begin to decrease with pilots trained to lower the nose to the three point attitude to regain acceleration. The flight manual affirms that once flying speed has been attained, the pilot can pitch the aircraft up. There was a famous F86 Sabre (Canadian Canadair Sabre Mk5) accident in Sacramento, where the pilot over rotated during the ground roll, resulting in a failed takeoff and the Sabre departing the end of the runway and spearing through a restaurant and killing quite a few children and adults. The NTSB report details the over-rotation analysis. F86F Sabre Flight Manual + Performance Data https://drive.google.com/file/d/1-JV9l6z-Y6V9rS2W7e6DiC8NBwMx-ZEU/view?usp=sharing NTSB Report into the Sabre Accident: https://www.ntsb.gov/investigations/AccidentReports/Reports/AAR7306.pdf
-
![[MVP] Mugga](https://forum.dcs.world/uploads/monthly_2021_03/MVP.thumb.png.398f5fa5eaf57799a81da76f4cc64fc1.png)
MISSILE PANEL - Bugs & Incorrect Items
[MVP] Mugga replied to [MVP] Mugga's topic in Bugs and Problems
Thanks for the update mate. From what I can garner, the DCS F86F is a hybrid of a range of F86F dash-series variants and really does not represent any singular revision. It's pretty darn close, but if you wanted to pick a particular dash series, things could be tuned up! -
So true! We have managed to get more out of the cockpit over this past week and I will snap some photos tomorrow and upload. Our goal is to have the cockpit fuselage section cleaned out, primed and painted before the close of November. That way, we can spend December and January fitting out the cockpit, panels and sim integration.
-
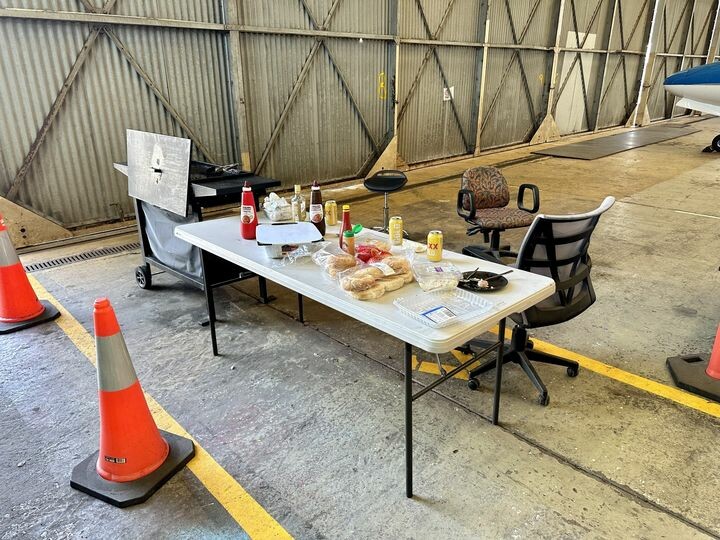
A big thank you to Nathan Eustace who put a solid day into the forward windscreen assembly removal. We had hoped to have the structure free of the aircraft by close out, however, several corroded and stubborn fixings have thwarted things. You have to see it first hand to believe just how many nuts and bolts hold on the forward windscreen assembly. Over engineered, but given this airplane was built in the 1950's, they were probably just learning what could and could not be done. This weekend wrapped up with a thank you BBQ which everyone enjoyed, along with a couple of rounds of cold beers! Thank you again to everyone who has been taking part and enjoying the restoration journey and experience!

