boopidoo
-
Posts
51 -
Joined
-
Last visited
-
LOL why would TSA bother with it? Because it is a black box with buttons? :)
-
I love flying in DCS and do this a lot with my HOTAS setup at home. While travelling I have my laptop but I never fly since I cant bring the HOTAS with me. So what to do? Well I sacked an old unused RC controls and build my own mini HOTAS which is the perfect size for traveling. Not too small buta lso not to big. It is powered with a Leobodnar BU0836 12-bit Joystick controller and connects with USB to computer, no extra drivers necessary. :) So I gutted an old RC transmitter and combined its gimbals with trim pots, some switches and toggles. Everything is connected to a Leobodnar BU0836A 12-Bit Joystick Controller and matrix board. Very easy to use and install. The CC between mounting holes is 40mm hence the name Mini HOTAS 40. Parts needed: 1pcs 3d printed box: https://www.thingiverse.com/thing:2564784 1pcs 3d printed lid: https://www.thingiverse.com/thing:2564784 2pcs 3d printed supports: https://www.thingiverse.com/thing:2564784 2pcs gimbals CC40mm 8pcs 7mm momentary push switches 4pcs 3-way flip switches 6pcs 10x2mm rare earth magnets 6pcs M3 screws 6pcs M3 knurl nuts 1pcs USB-cable (A-connector and open ended), length depending on your need. For use with laptop I have only 60cm. 1pcs Rubber grommet suitable for USB cable 1pcs zip tie 1pcs BU0836A 12-Bit Joystick Controller: http://www.leobodnar.com/shop/index.php?main_page=product_info&cPath=94&products_id=219 1pcs BU0836A Break out Matrix board: http://www.leobodnar.com/shop/index.php?main_page=product_info&cPath=94&products_id=274 Note: I've also designed a larger version for CC45mm gimbals: https://www.thingiverse.com/thing:2569465 Step 1. Print the box. Step 2. Mount the knurl nuts in place using a solder iron. Make it hot and let it melt into the correct position. Step 3 (optional). If you want to make the box nice spend some time to sand and plaster it smooth before applying paint. Step 4. Glue magnets to box and supports. I use CA-glue with accelerator Step 5. Insert a USB cable through the center hole of the box and solder to the BU0836. I use a rubber grommet to reduce dirt coming into the box. Step 6. Solder USB cable to BU0836. Step 7. Solder the BU0836 cards. Step 8. Attach controls; joystick gimbal, switches and pots to the lid. Step 9. Solder cables to the controls, twist them to reduce interference and make sure they are longer then you need. Step 10. Trim cables with some extra cm to spare if the BU0836 is on the center bottom of the box. Step 11. Solder controls to the BU0836 cards. Step 12. Position BU0826 card in the bottom center of the box and pull on the USB cable so you have a few cm spare cm inside the box and attach the zip tie between the BU0826 and rubber grommet where it'll work as a strain relief. Step 13. Hot glue the BU0836 cards (two dabs on either side so it is easy to detach if necessary). Step 14. Use M3 screws and attach lid to box. Step 15. Setup as a standrad joystick inthe simulator of your choice! :)
-
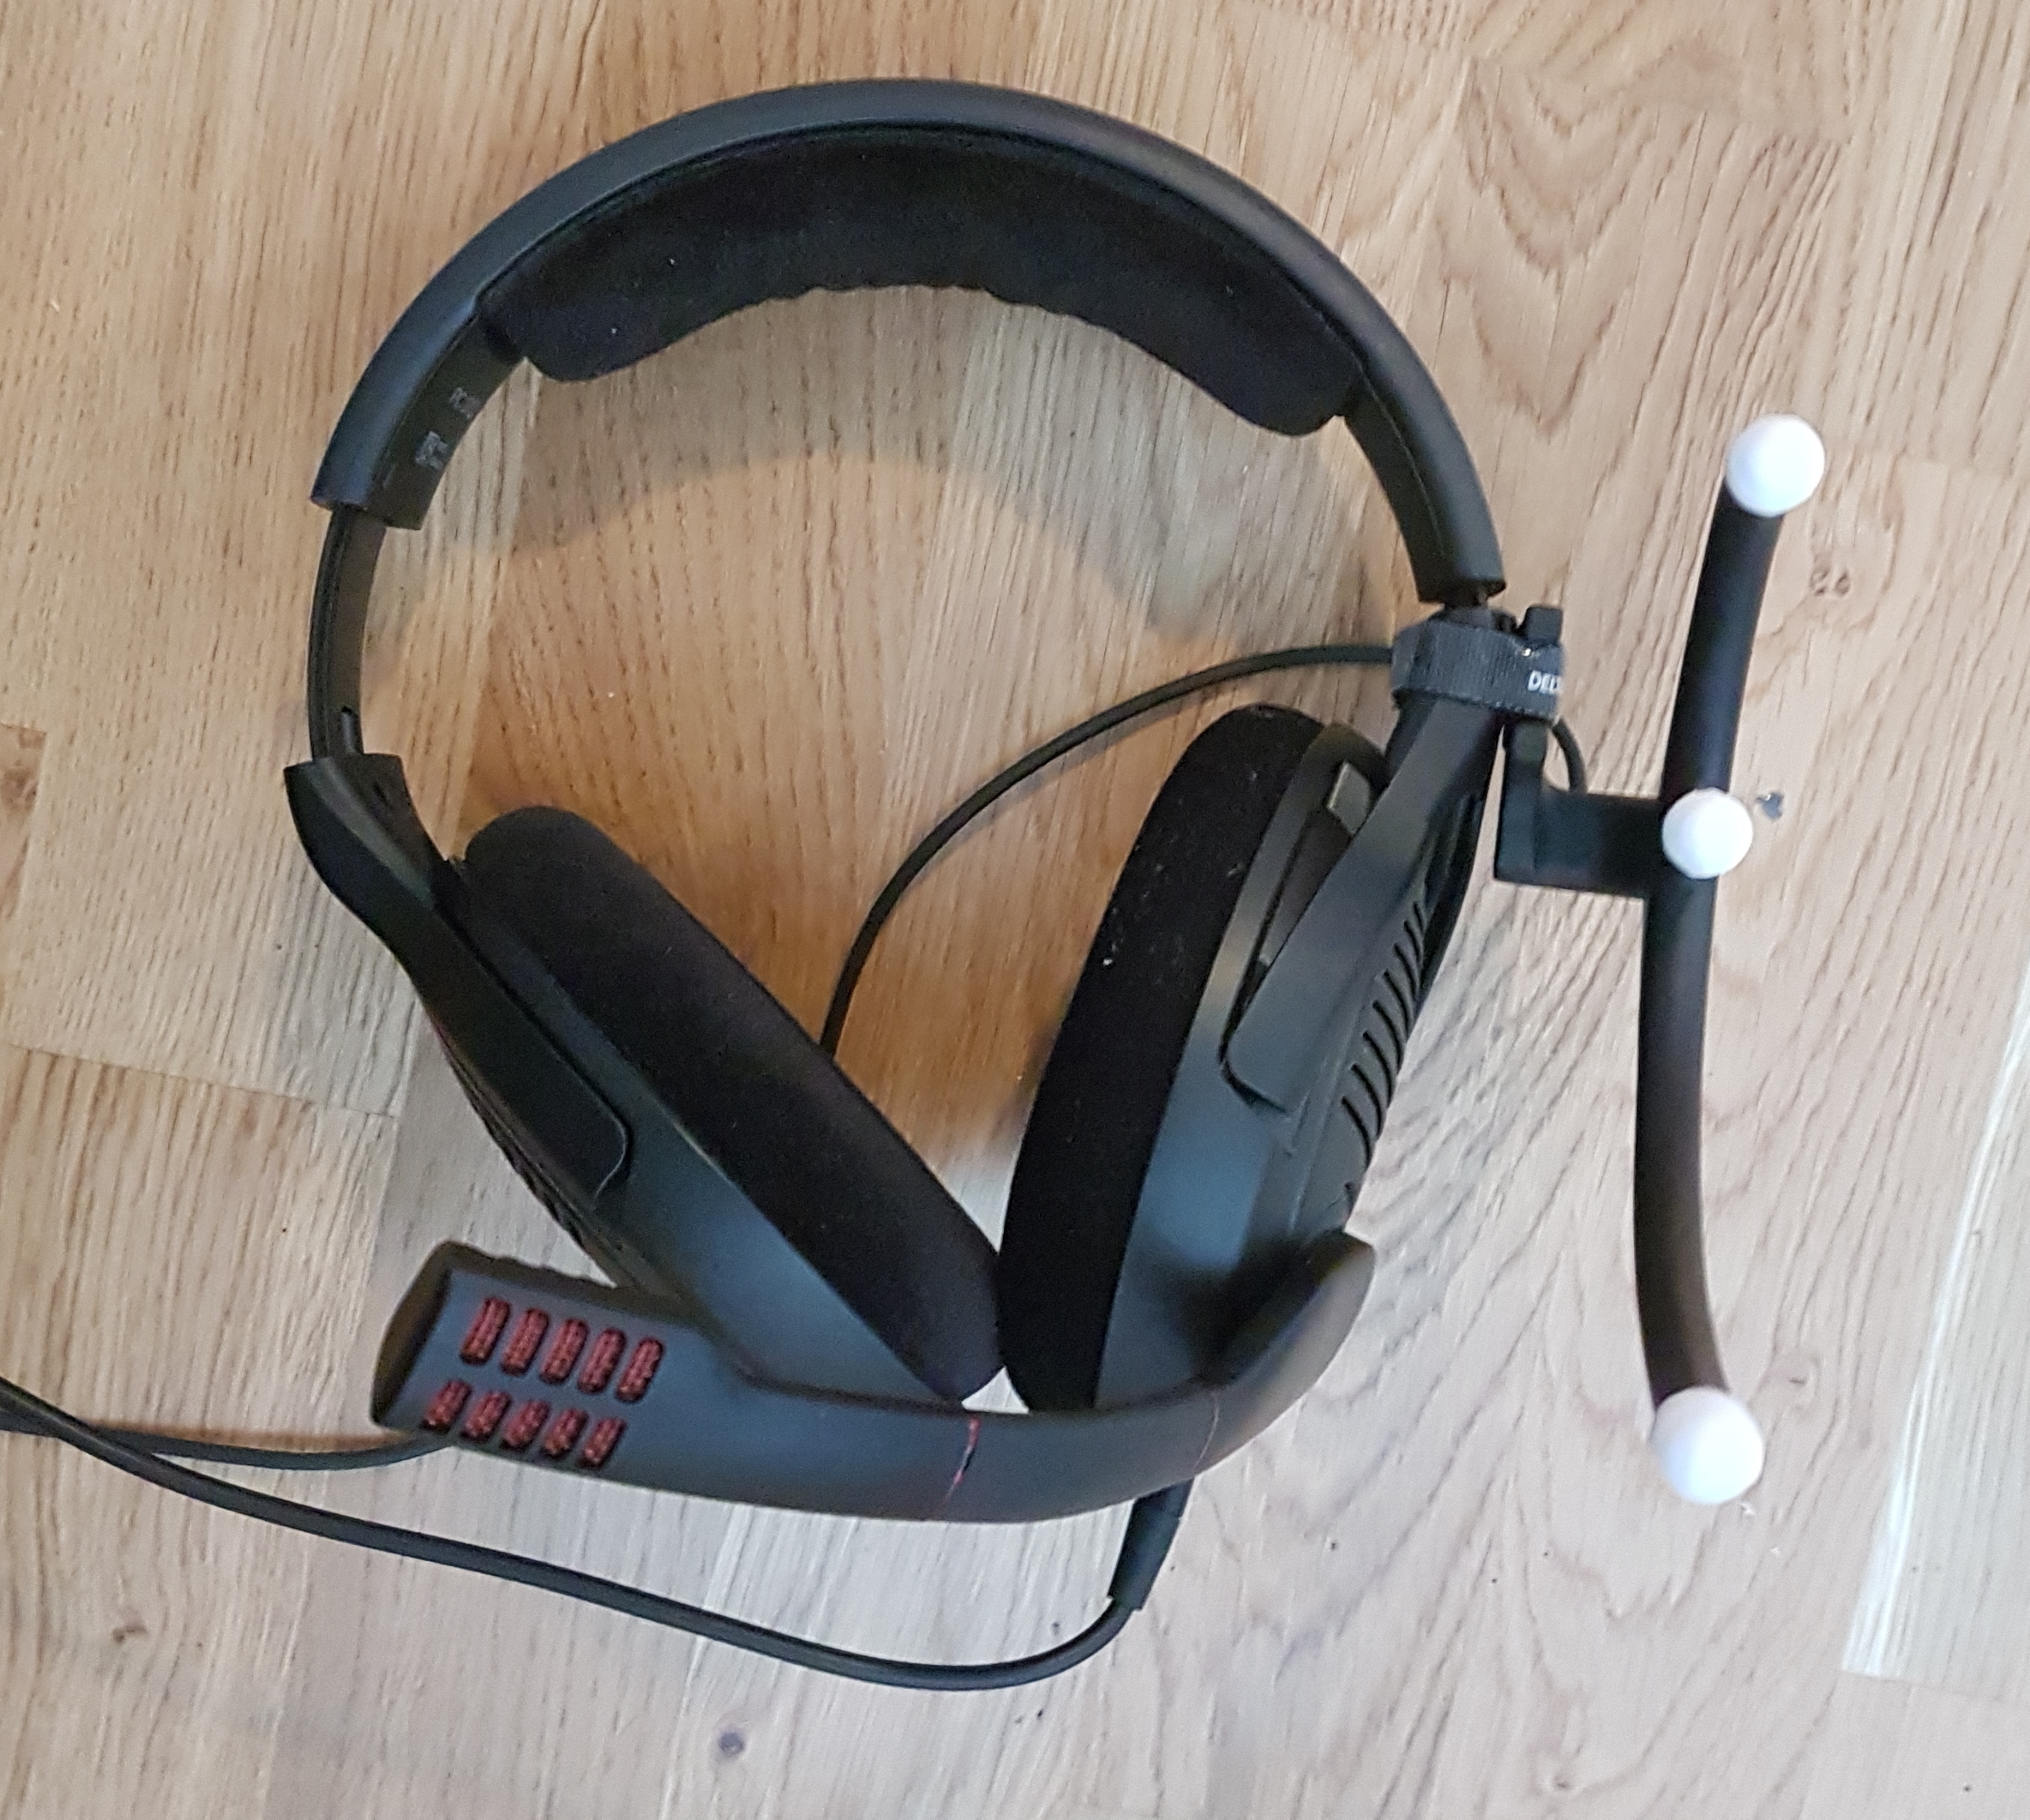
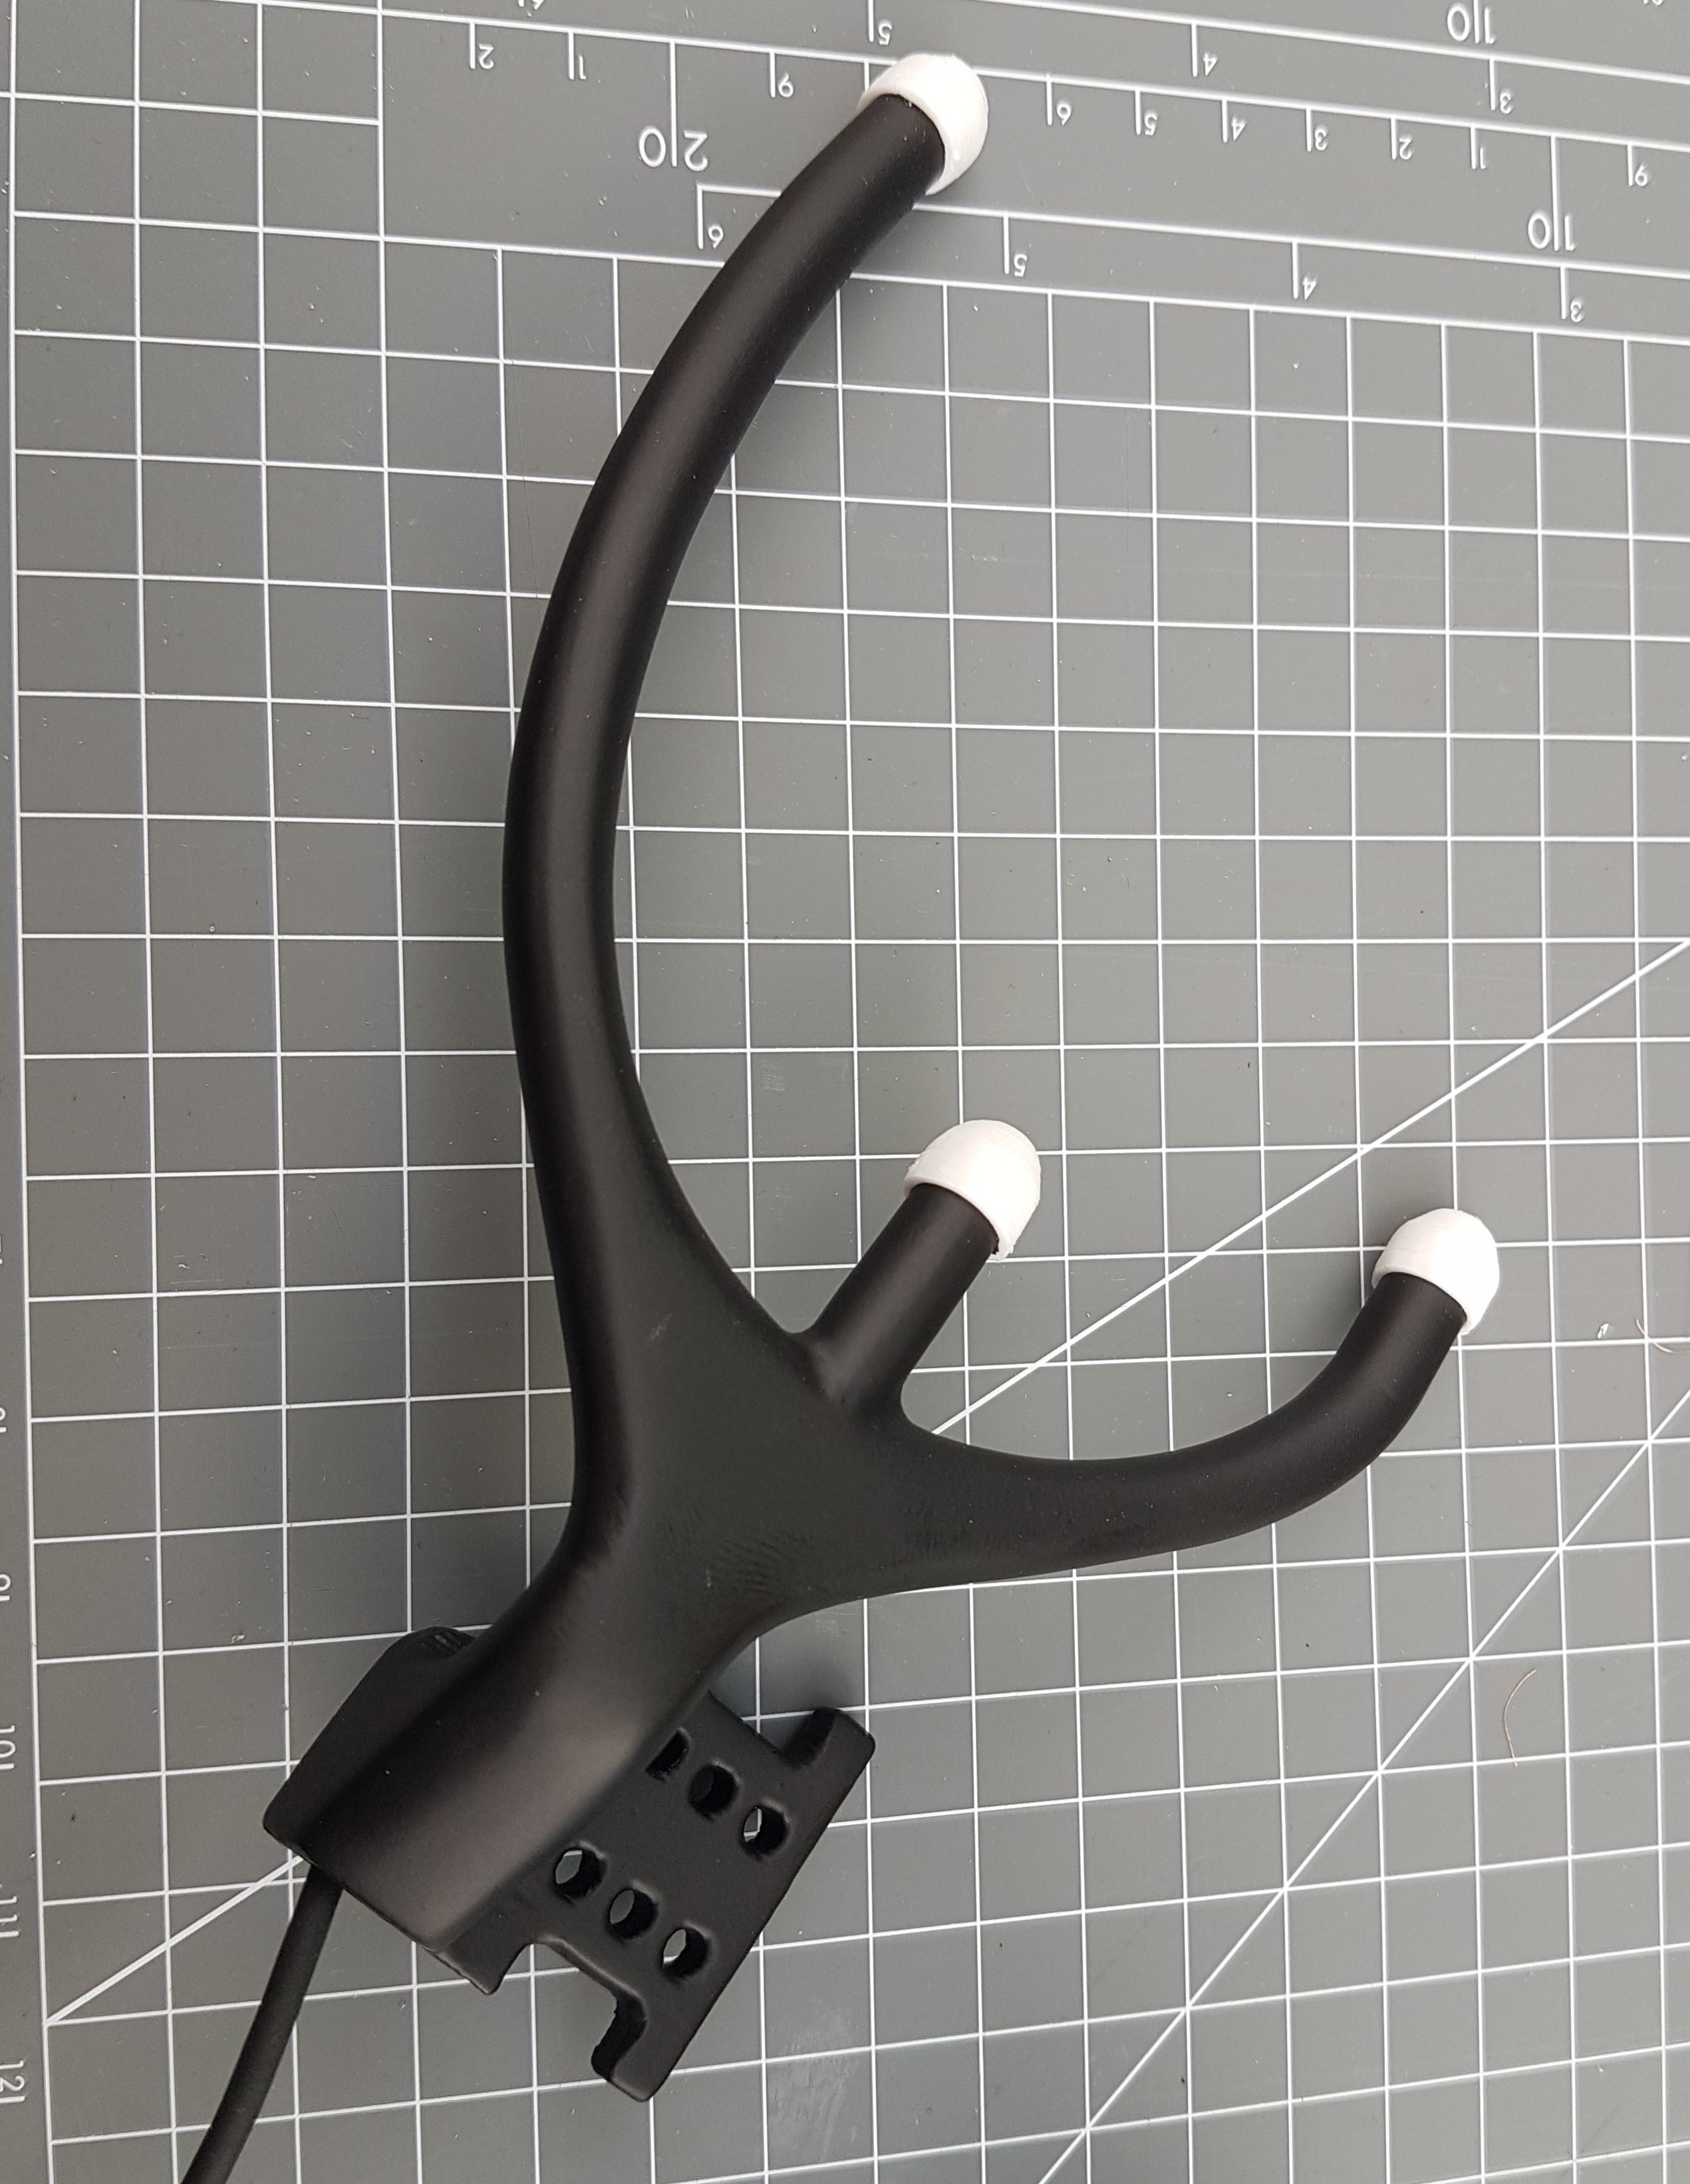
DIY TrackIR/Freetrack LED holder
boopidoo replied to boopidoo's topic in PC Hardware and Related Software
Thanks! :) -
Inspired by some DIY LED holders (and not overly impressed by the TrackIR pro clips) I decided to design some of my own. I made variants for 5mm and 3mm IR LEDs. I used narrow angle LEDs so have to use the white omni bouncers, if you use wide angle LEDs those are not needed. Files and instructions is posted on thingiverse: https://www.thingiverse.com/thing:2458689

-
Heh, I use an extended X52. :) https://forums.eagle.ru/showthread.php?t=168533
-
Ah, ok so it was a bug then. That explains it. I thought it was strange to have the same settings on all missiles.
-
@Fri 13 No guidance bug, AFAIK that is how single mode works. They could have set up the missiles better though or spread out more before release.
-
That is EXACTLY what I need. Got a link? :)
-
So, what have us VR-pilots done to deserve that punishment? I struggle to see any benefit of that. :huh:
-
I wish it was some settings for the size of the labels, for me the labels are way too big, slmost un-usable. I also fly VR. The best would be to be able to remove text and just keep a dot instead of having complete labels IMO. That way it would help make out enemy locations (which is more difficult in VR then desktop flying) but wouldn't give away too much information.
-
I just downloaded the latest DCS version (1.5.5.59992) and now all labels looks very large. This happened to you guys as well?
-
Yeah, leaving it on Auto wasn't good at all. Now I set it on adaptive mode with turbo at 1.28 with offset +0.001 and temp hasn't reached above 68C during benchmark. Anyway, I just tried DCS and did some low altitude flights with the Su-25T and I think I have a slight improvment in FPS. :)
-
Just OC to 4.4 but during stresstest it went to 80°C so I won't try more until I get a better cooler. Right now I have a hyper 212 tower cooler and I guess I need a water cooler to go further. During benchmark I reached max 75°C. CPU voltage is unchanged on Auto but it seems to well.
-
I have a i7 6700k 4ghz, worth over clocking for better VR performance? To those of you who have one it was performance noticeably better after OC and how much did you OC? It was a decade since I last OCd but figured I might try it again. :)
-
Ok, thanks. Disabling that also fixed the strange object disformations. Now the FPS also varies of course between 35-75 on VR default settings which I find a bit low, I thought they would be higher. What resolution do you guys run at 2160x1200 or 1920x1200, I've read that ppl use both with CV1?