-
Posts
88 -
Joined
-
Last visited
-
I can convert it to SVG if that helps at all. Pretty sure you could just print it out in tiles that way.
-
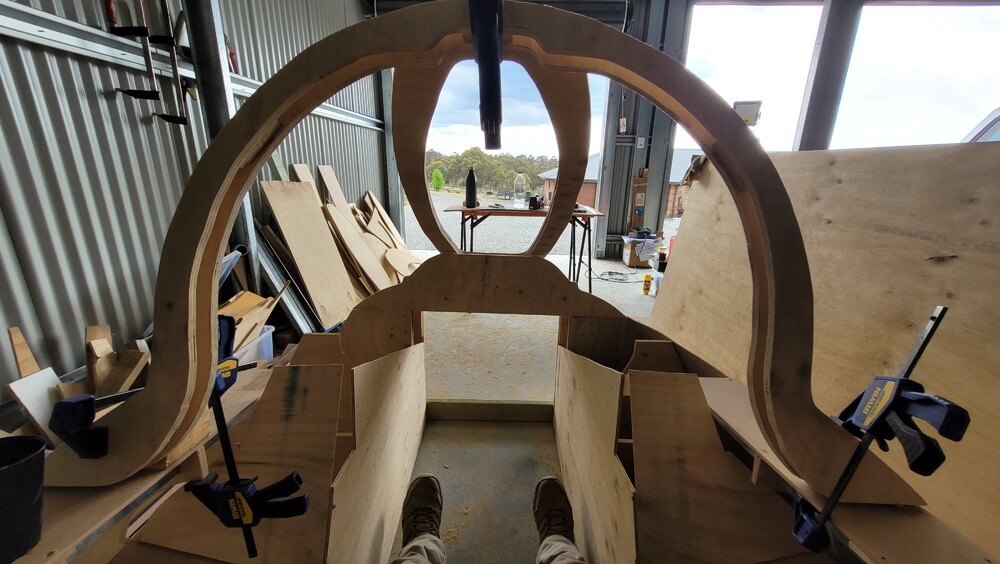
@BULLITT83 that is looking phenomenal mate! I'm pretty sure it was in the last .skp I uploaded. I'll have a quick check for you now. (https://forum.dcs.world/topic/141193-f-14-cockpit-and-instrument-dimensions/?do=findComment&comment=5296407) - pretty sure it's in here. I cut out two of them with some offcuts layed in as stand-offs to make it four pieces thick, then glued it together. I then just wraped it in 2 or 3mm mdf I cut into a strip, then glued it on as per the last photo you posted of mine. Cheers, Mumbles
-
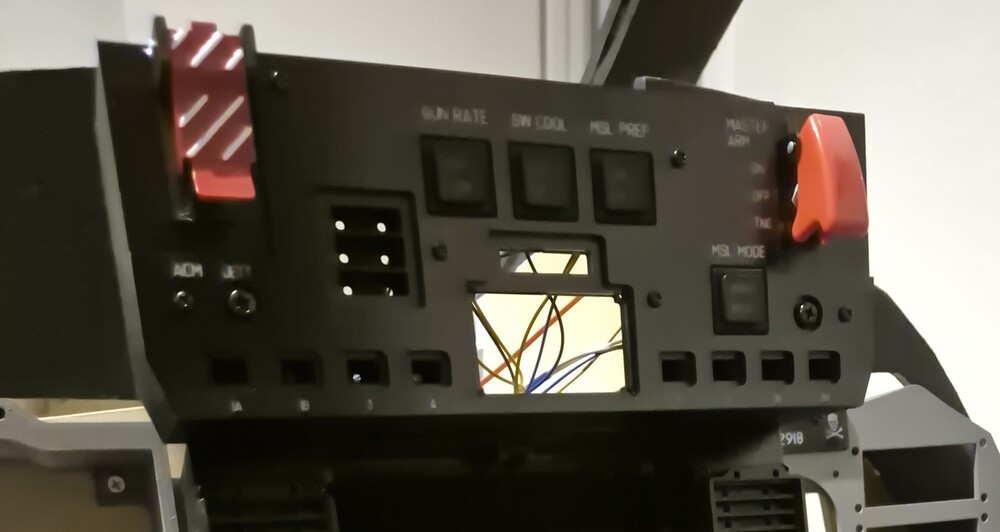
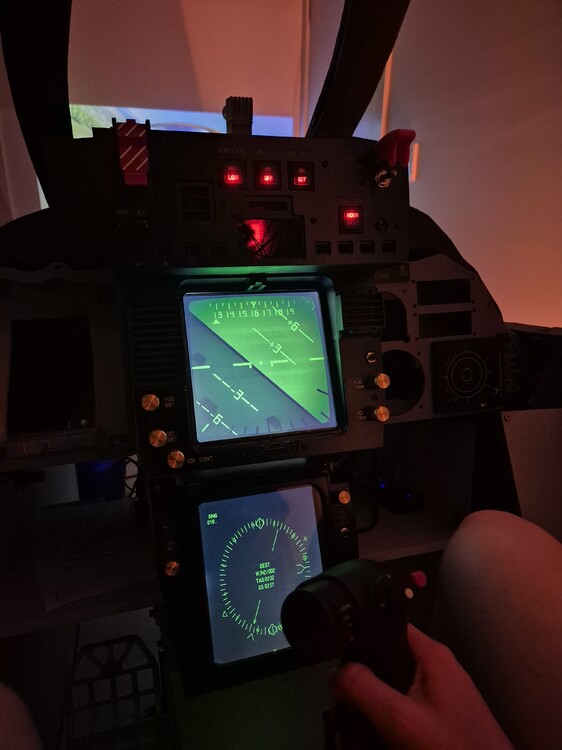
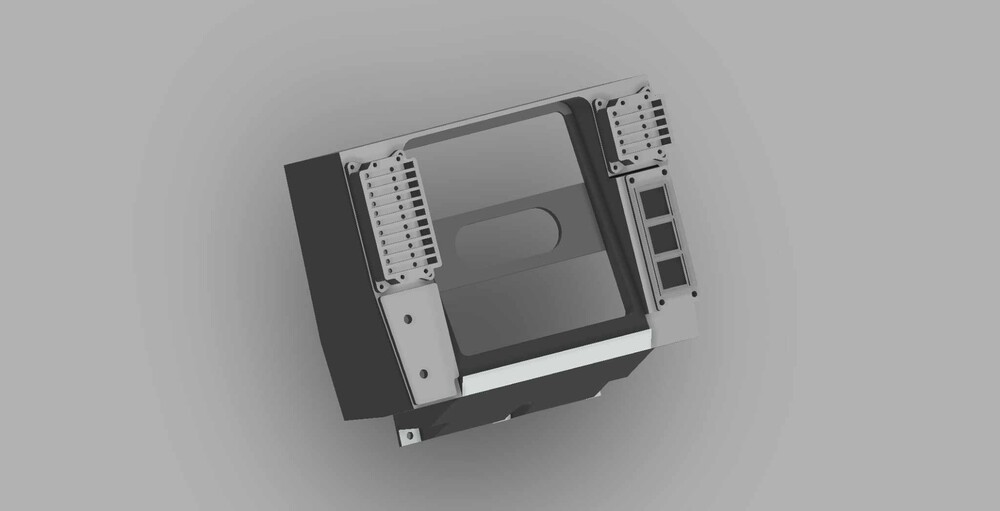
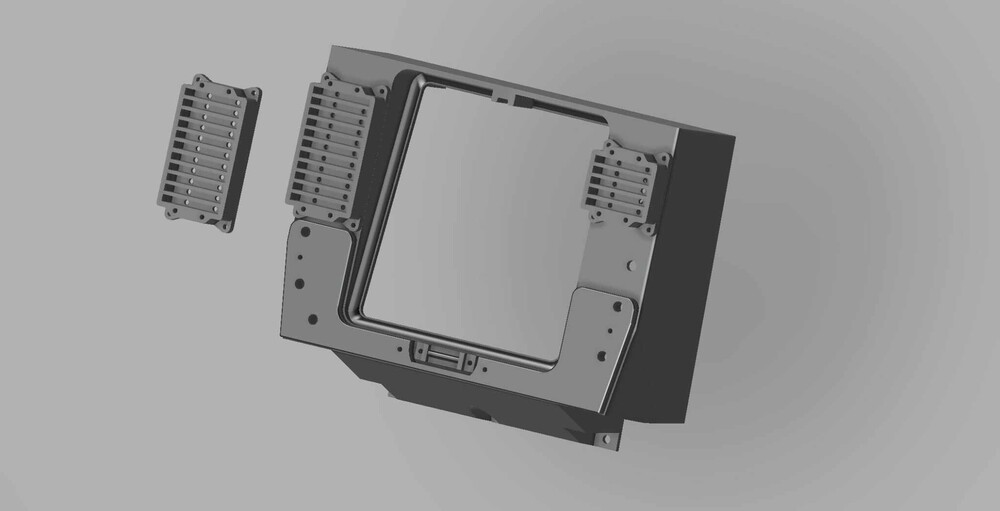
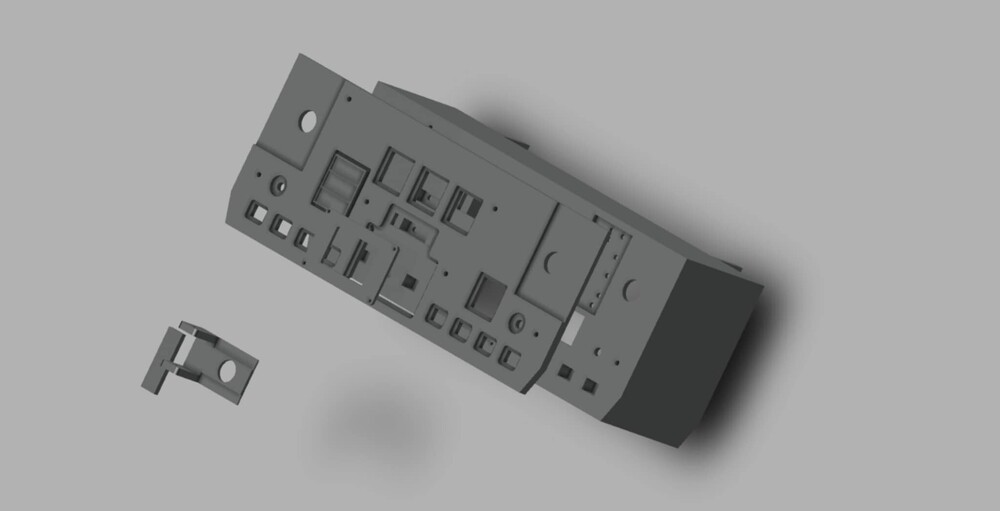
Heya Gents, Quick and dirty pics of the HSD. Still WIP. I'm quite happy with the little HDG/BRT type indicators. They backlit quite well. I've still got to cut a 3mm clear screen protector (current one is 1mm) and put the pots in. Good pick for the screen @Elo. What pots did you end up using? Cheers, Mumbles
-
Quick progress update, VDI and HSD prototypes pretty much work. (Minor refinements in pot hole sizing, mounting etc) to come. Intrum VKB stick is in as well. Has anyone from the cockpit building community managed to make a ribbon guage yet? Same same with the fuel guages odo style counter. I'm a bit stumped on how to effectively achieve it at the moment
-
Kane.ellis995 started following AusMumbles
-
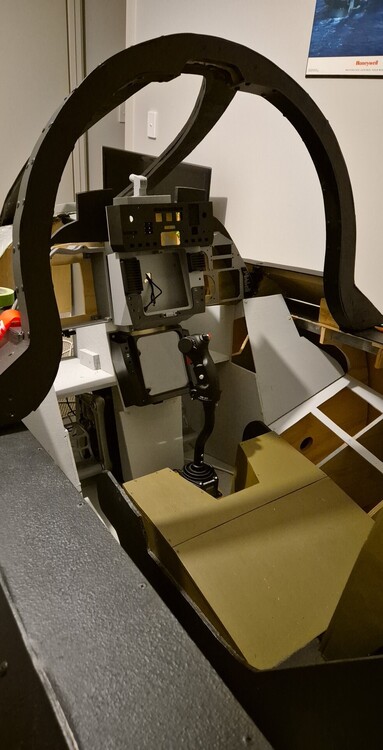
Thanks heaps dude. I've ordered the majority of the stuff to make the laserwing FFB DIY base. https://www.laserwing.com/miniffb I'm currently working up a design to allow the roll of the stick to be independent from the pitch like the real jet. That's gunna take me a hot minute to finish/get right so I've got a VKB Gunfighter IV and F-14 Stick with 200mm extension inbound this week as the 12-18 month intrum solution. Tbh I have no idea bout how I'm going to tackle the glare shield, best guess 3d print it in 3-4 bits and then glue them together. Mumbles
-
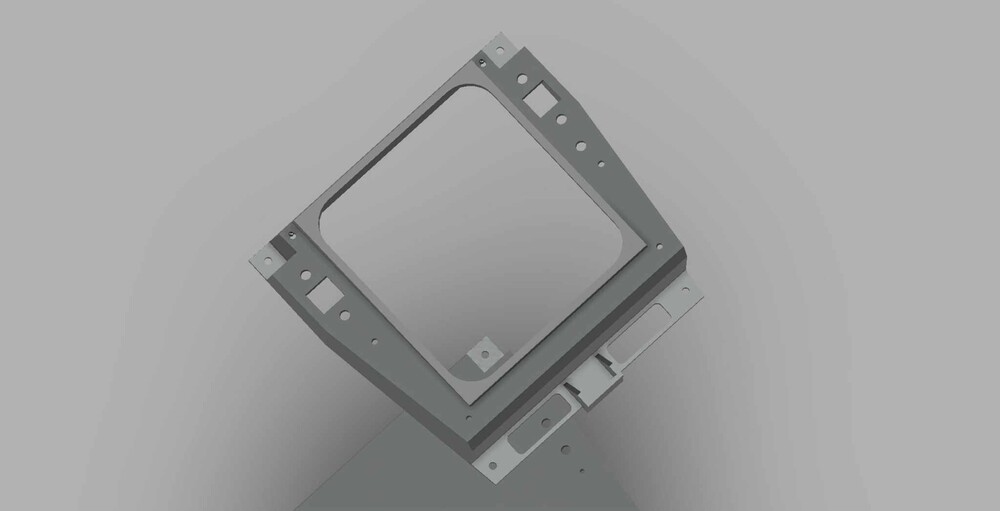
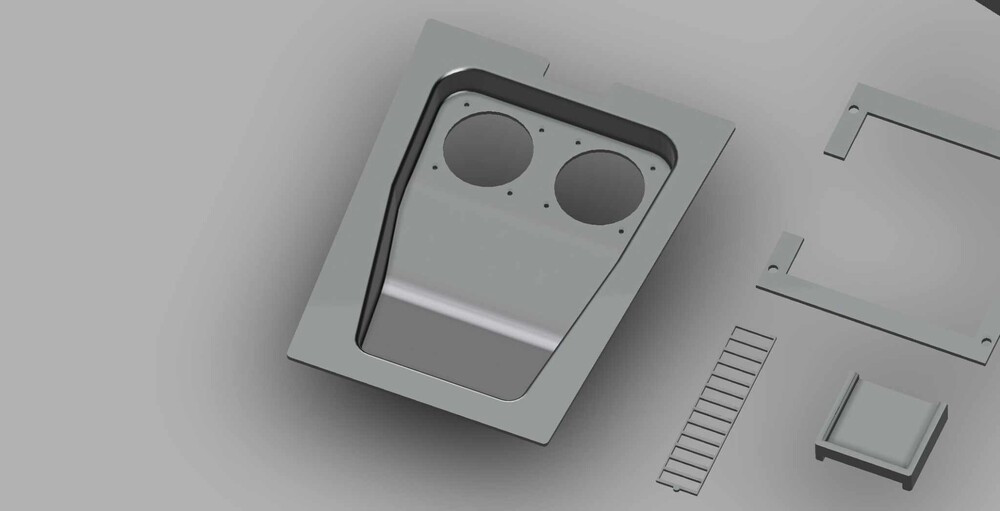
@Elo ya big stud! That looks incredible man. Thanks for the link to the screen, I'll be buying that in a minute. @ITR1102 found the link to those screens dude. It's from a company called tailorpixels. Really easy to deal with. Order both the screen and the control board. It took about a week and a half from ordering to delivery https://tailorpixels.com/product/7-6-inch-lcd-800x800-high-brightness-mipi-with-touch-and-hdmi-option/ @LASooner are you files still up somewhere to download? I'll post my VDI and HSD models shortly, just cleaning up some little errors in the mounting blocks etc in them atm. Cheers, Mumbles
-
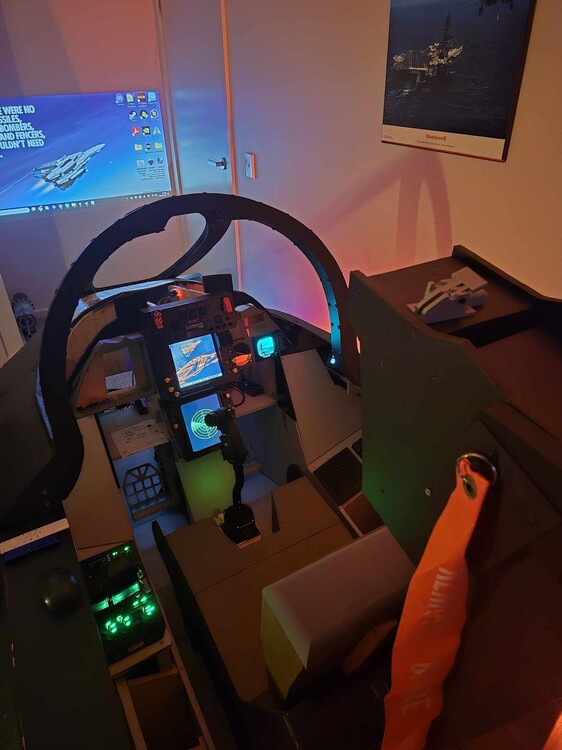
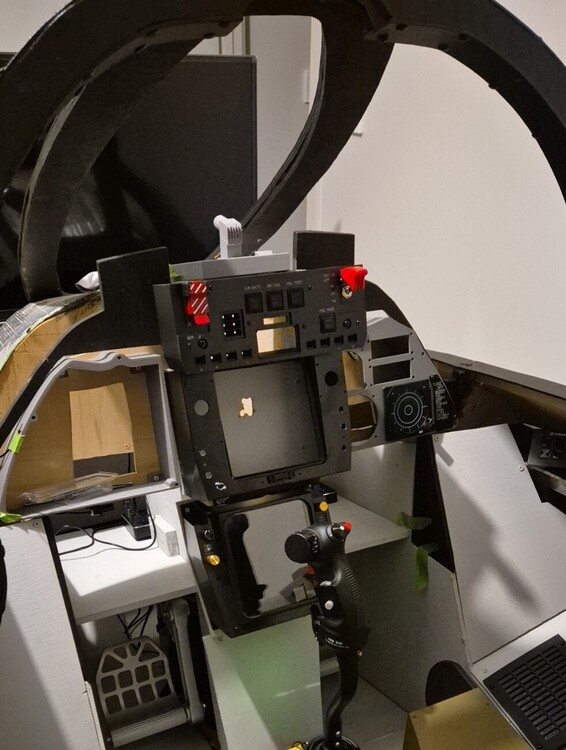
Heya Peeps, Got a bit more done today on the right instrument panel housing and frame. It's starting to actually look kinda cool. (I know the sticks wrong, yet to order a VKB stick).
-
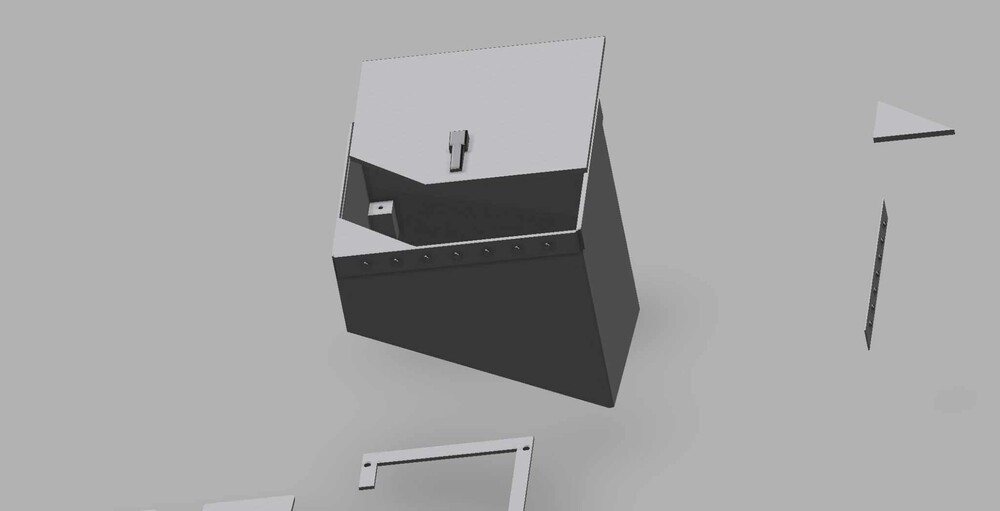
G'day everyone! Hope you are all keeping well. I've finally had some time to get back into Tomcat development. I'm working on the right instrument panel housing at the moment. I picked up an ALR-67 from flight sim pro. It's really nicely made by the Gents who put it together. https://flightsim.pro/ols/products/rwr-azimuth-indicator-alr-67-us-navy I managed to find a 5x5 inch screen for the VDI, but still coming up short on a 6.5x5 inch screen for the HSD. I've swapped out my old rudder pedals for some TPRs as well. If someone has one handy, can they please chuck up the dimensions of the canopy jettison handle. Cheers, Mumbles
-
@Trainman what sort of CNC do you have access to? Depending on what CNC you are working with will depend on the file you need. For my Maslow, I converted the SVGs to gcode specifically for the Maslow, then cut them out. You are probably best off going to the shop that's going to cut it for you, and see what they need file wise. They should probably take SVGs or DXF files at a guess. @BULLITT83 That's looking fantastic dude! You happy with it so far? @Jar72 Thanks for putting those together my man. Owe you one. I haven't had a chance to do a lot with mine recently, but should crack out the laser cutter shorty to start doing some basic panel work. Cheers, Mumbles
-
Trainman started following AusMumbles
-
Duchess_14 started following AusMumbles
-
StarlightUmikena started following AusMumbles
-
@Elo, Your panels looks sweet man! The canopy bow was a bit of a pain in the ass tbh. The main part of the bow is two panels, laminated with spacers made from spare ply in-between. I then skinned it with 3mm MDF. I'll shoot you some better shots of it when I get home. The front section is both an upper and a lower glued together. I then cut two spare strips of 3mm MDF off and then skined the beveled edge on the outside. Good luck with the qualifying exam mother goose, I'm sure you will crush it.
-
Heya Gents, Long time no post. @Elo Here you go brother, as promised the front seat .skp plans. My cockpit has used all these files to build the frame and it's come together exceptionally well for a hobbyist level product. I do stress though, that it's only as good as my skill with both CAD and fabrication. This is my first big project and has been a massive learning curve. I've included the rough hack at the back seat based on the 303E blueprints and some best guess work based on the design in the front seat. Until I get both the time and better references its going to have to be best guess. I promise I will still get around to converting these to SVG's to make them easier to cut out but I'm exceptionally time poor at the moment. However it's still very easy to do within SketchUp. I've used the plugin called FaceSVG (https://github.com/marvingreenberg/FaceSVG/releases) that makes it exceptionally easy to pull the part out and convert it to an SVG. Converting it to G-Code is fairly straightforward from there and has been easy enough using my Maslow CNC to cut most of the parts out (It's just as easy to do on an Jiggy, just print the panels out tape it to the timber). Notes on the model: 1. I'm still working out the best way to mount the instrument panels in the left and right, if you are going to build this cockpit I'd recommend you figure out both a mounting config and a wiring lume housing etc to allow you to run them. (When I come up with something better I'll mod the plans). 2. The skin on the outside was just a few massive sheets of 3mm MDF wrapped and then attached with button heads screws. The upper skin around the canopy bow was the most difficult and was just done with a pencil, some artistic licence and a lot of small cuts and patience on one side till it fit then just traced it out to make a second copy. 3. The boarding step works ok but isn't the most elegant thing in the world. I eventually want to make a 3d printed plug or something to make it flush when its closed but isn't a priority at the moment. In saying all this, even sitting in it in VR it feels amazing. Everything is where it should be, you might just need to setup the default head position in game a touch to fit your sitting height etc. (I just sit forward about 1-2 inches and then recentre it, when the neck of the pilot model matches mine it feels great). The work on the throttle's are looking amazing, I'll can't wait to put one in my cockpit. Cheers, Mumbles F-14AB Plans Sep 23.skp
-
@Elo Sorry about the delay my man. The day job has keep me very busy for the last few months. I'll push a new edit to this post tonight but I'm slowly getting there with the plans etc.
-
Heya Mate, Easy fix to that one. Kill the Jammer. A Fox 3 to face will probably do it.
-
ButchNZ started following AusMumbles
-
LASooner, That's some of the best looking panels/instruments I've seen to date man. Can't wait till you get the itch and put all the parts in a full pit. Are you happy with the ACM panel mod you did to the Tek creations panel or do you just recommend making one from scratch myself? Elo, Good news, I now know the plans work for the front seat. I've more or less finished the front seat build myself and haven't had any major mods to do on it so expect I'll release the 1.0 plans. I'll drop the updated sketchup plans in the next week or so. I've got about 3 different sketchup files on 2 computers I need to collate together before I can upload it. Give me a few weeks and I'll get the SVGs ready to go as well. Chrono, It's all setup around DZUS rails on the left and right panels (I still have to cut some deeper slots with my Dremel on mine for some of the larger switches etc. (The updated plans has it already modelled, ready to go). The left and right instrument panels are 3d printed buckets with a laser cut acrylic face. The instuments bolts on to the acrylic face to make it easy to do maintenance. (I'll put some better CAD screenshots up soon to show you what I mean). I finally got some time to get some work done on the rest of the frame this weekend. Still working on finishing off alot of the external artwork but I'm so happy with how it's looking so far. I've also ordered some new hardware recently. I've got a set of TPR pedals, a laserwing FFB kit (https://www.laserwing.com/miniffb)and a Haptic Feedback Pad (https://nextlevelracing.com/products/hf8-haptic-gaming-pad/) in the mail to add to the pit.
-
Thanks brother! Are you going to do the full pit or something a bit more smaller scale?