AusMumbles
-
Posts
101 -
Joined
-
Last visited
Content Type
Profiles
Forums
Events
Everything posted by AusMumbles
-
Heya Mate, Easy fix to that one. Kill the Jammer. A Fox 3 to face will probably do it.
-
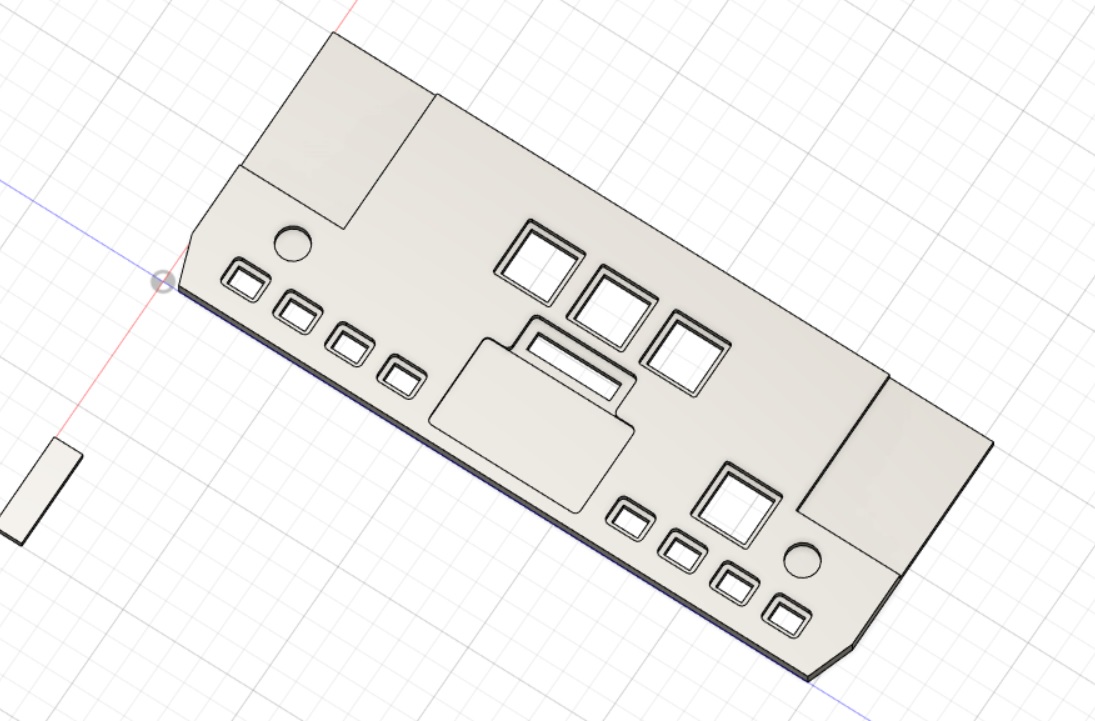
LASooner, That's some of the best looking panels/instruments I've seen to date man. Can't wait till you get the itch and put all the parts in a full pit. Are you happy with the ACM panel mod you did to the Tek creations panel or do you just recommend making one from scratch myself? Elo, Good news, I now know the plans work for the front seat. I've more or less finished the front seat build myself and haven't had any major mods to do on it so expect I'll release the 1.0 plans. I'll drop the updated sketchup plans in the next week or so. I've got about 3 different sketchup files on 2 computers I need to collate together before I can upload it. Give me a few weeks and I'll get the SVGs ready to go as well. Chrono, It's all setup around DZUS rails on the left and right panels (I still have to cut some deeper slots with my Dremel on mine for some of the larger switches etc. (The updated plans has it already modelled, ready to go). The left and right instrument panels are 3d printed buckets with a laser cut acrylic face. The instuments bolts on to the acrylic face to make it easy to do maintenance. (I'll put some better CAD screenshots up soon to show you what I mean). I finally got some time to get some work done on the rest of the frame this weekend. Still working on finishing off alot of the external artwork but I'm so happy with how it's looking so far. I've also ordered some new hardware recently. I've got a set of TPR pedals, a laserwing FFB kit (https://www.laserwing.com/miniffb)and a Haptic Feedback Pad (https://nextlevelracing.com/products/hf8-haptic-gaming-pad/) in the mail to add to the pit.

-
Thanks brother! Are you going to do the full pit or something a bit more smaller scale?
-
Nice, I'm trying to work out if I want to make the emerg twist work or not. I think I'm gunna at least give it a go to start with. Would you mind if I grab that length off you? If you have the hook lever length as well that would be greatly appreciated. Negative on taptalk, just via the web on both my PC and phone. You're latest image that was uploaded of the working UHF and V/UHF guages is working fine. They look awesome btw man! Mumbles
-
You're work is looking great dude. Could be just me but alot of the recently uploaded images aren't working for me. How did you design the gear handle? Cheers, Mumbles
-
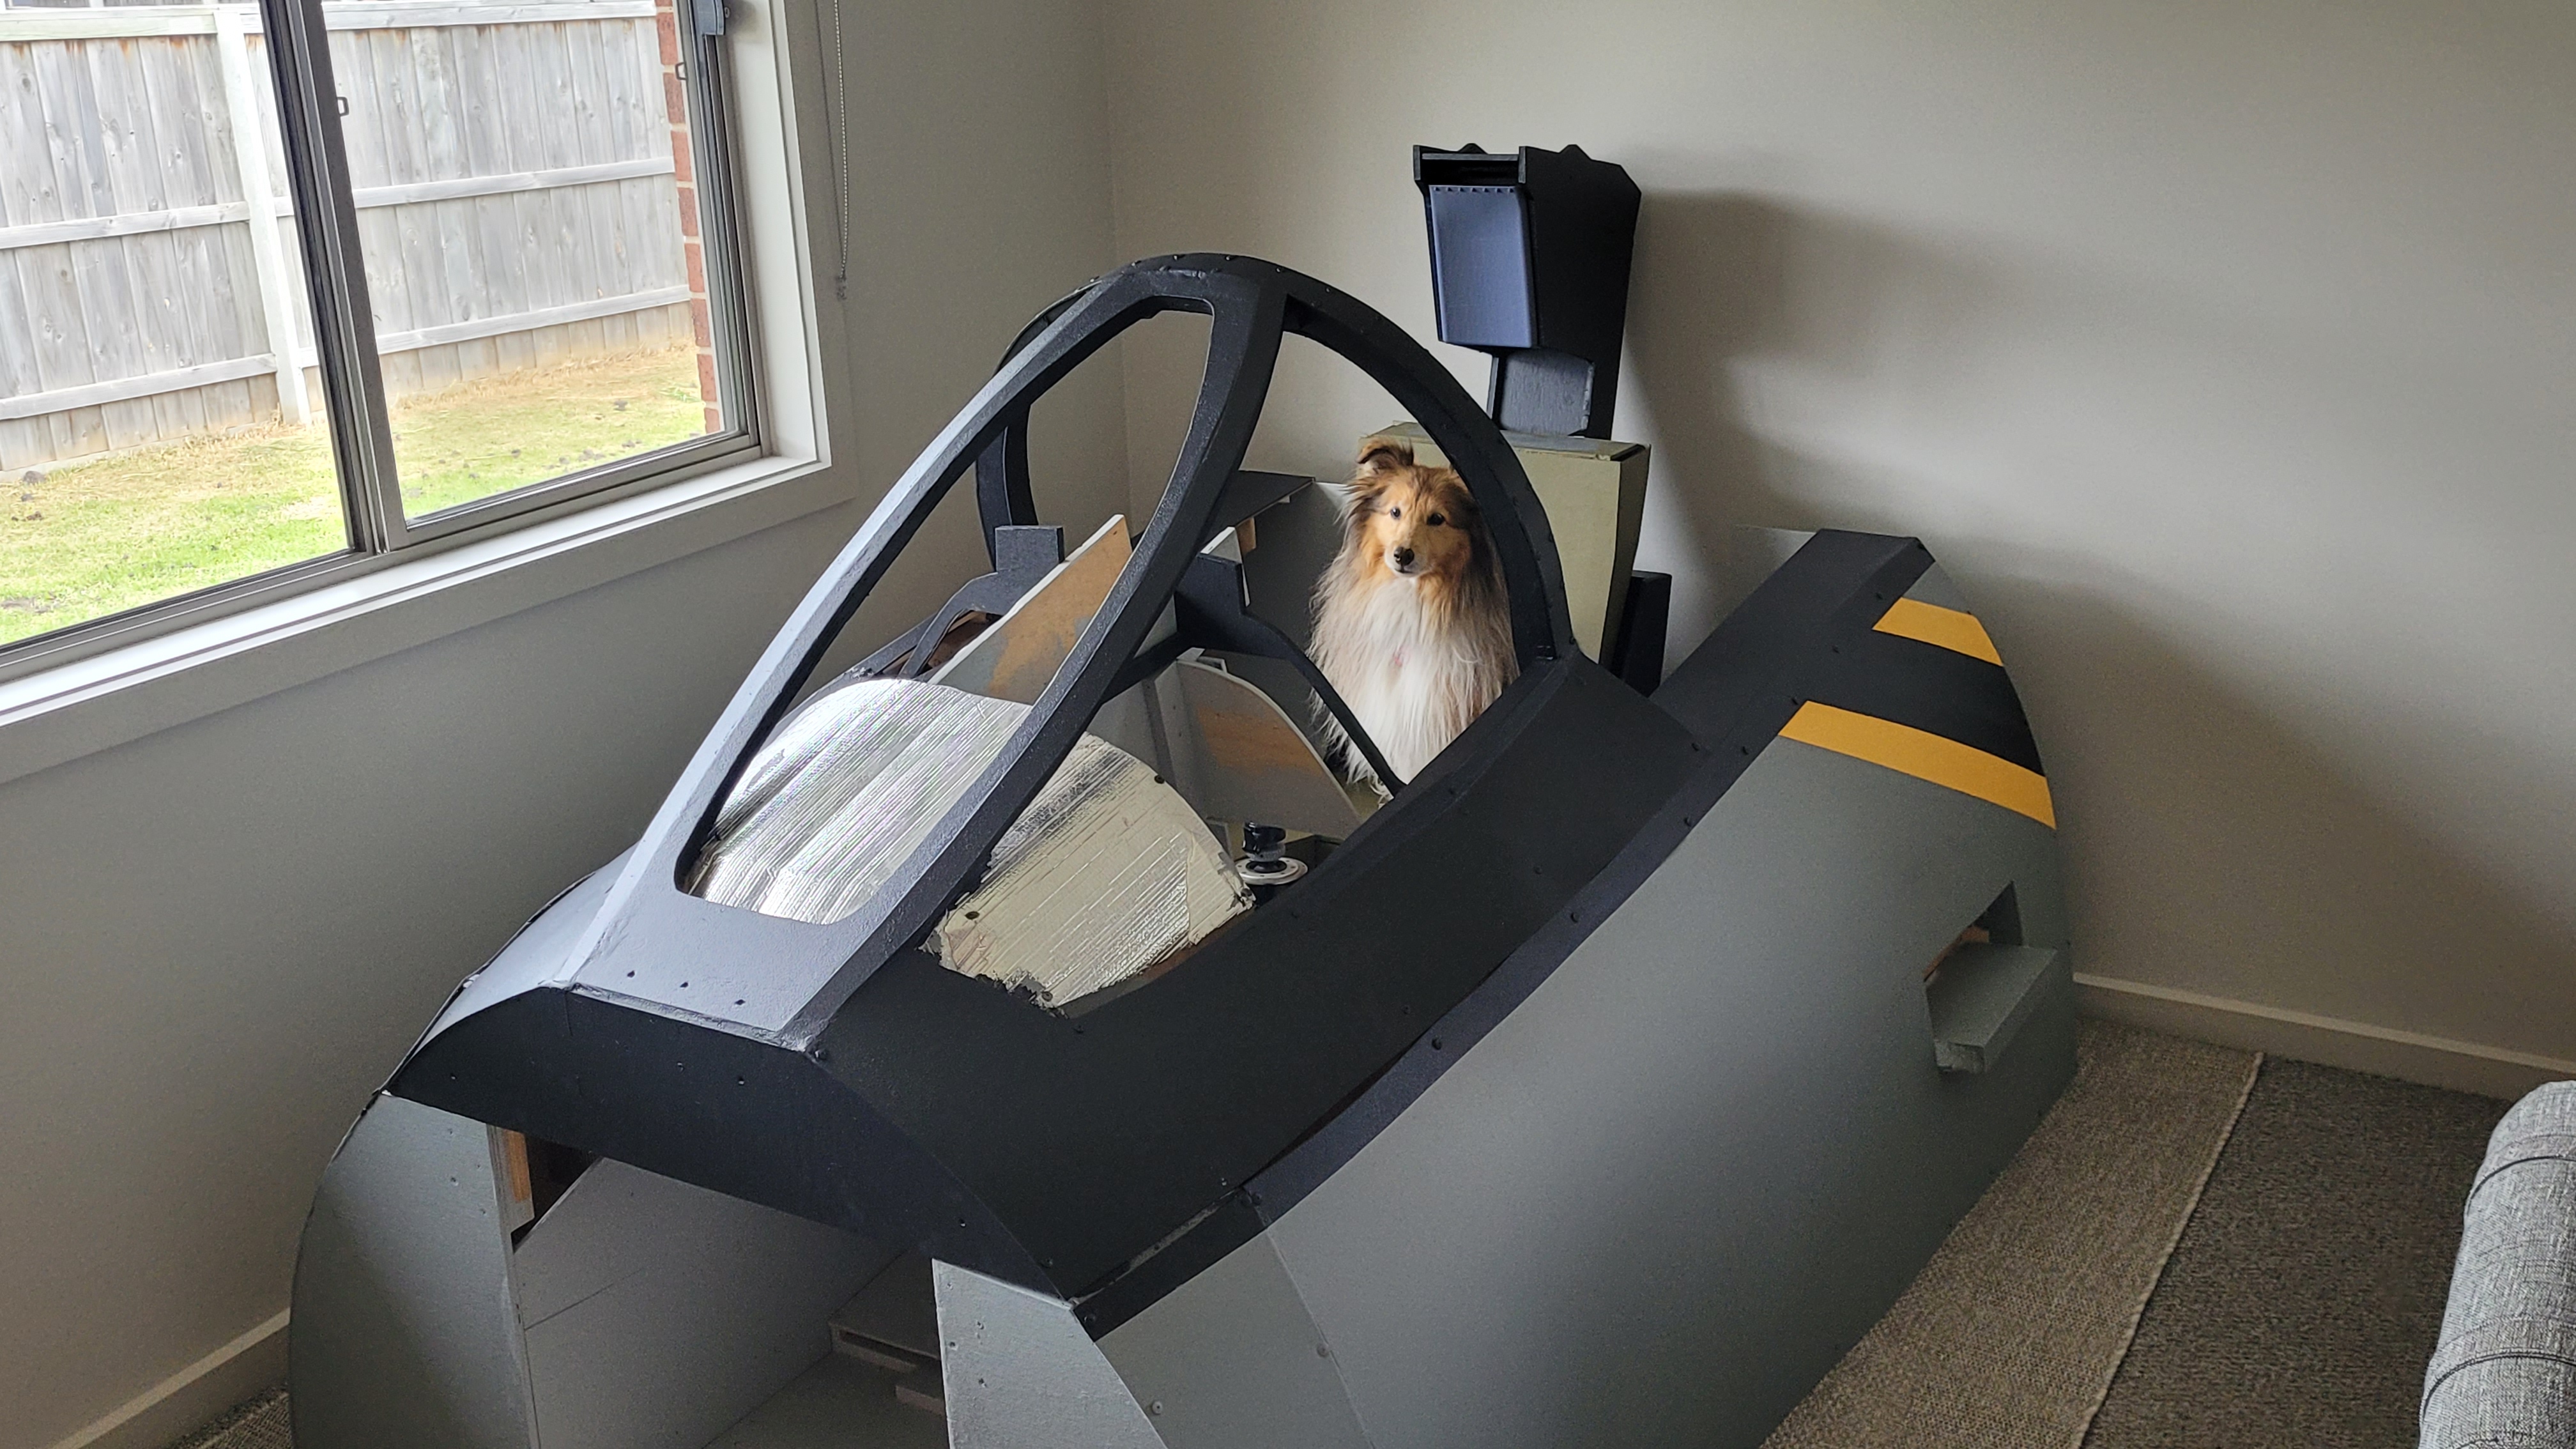
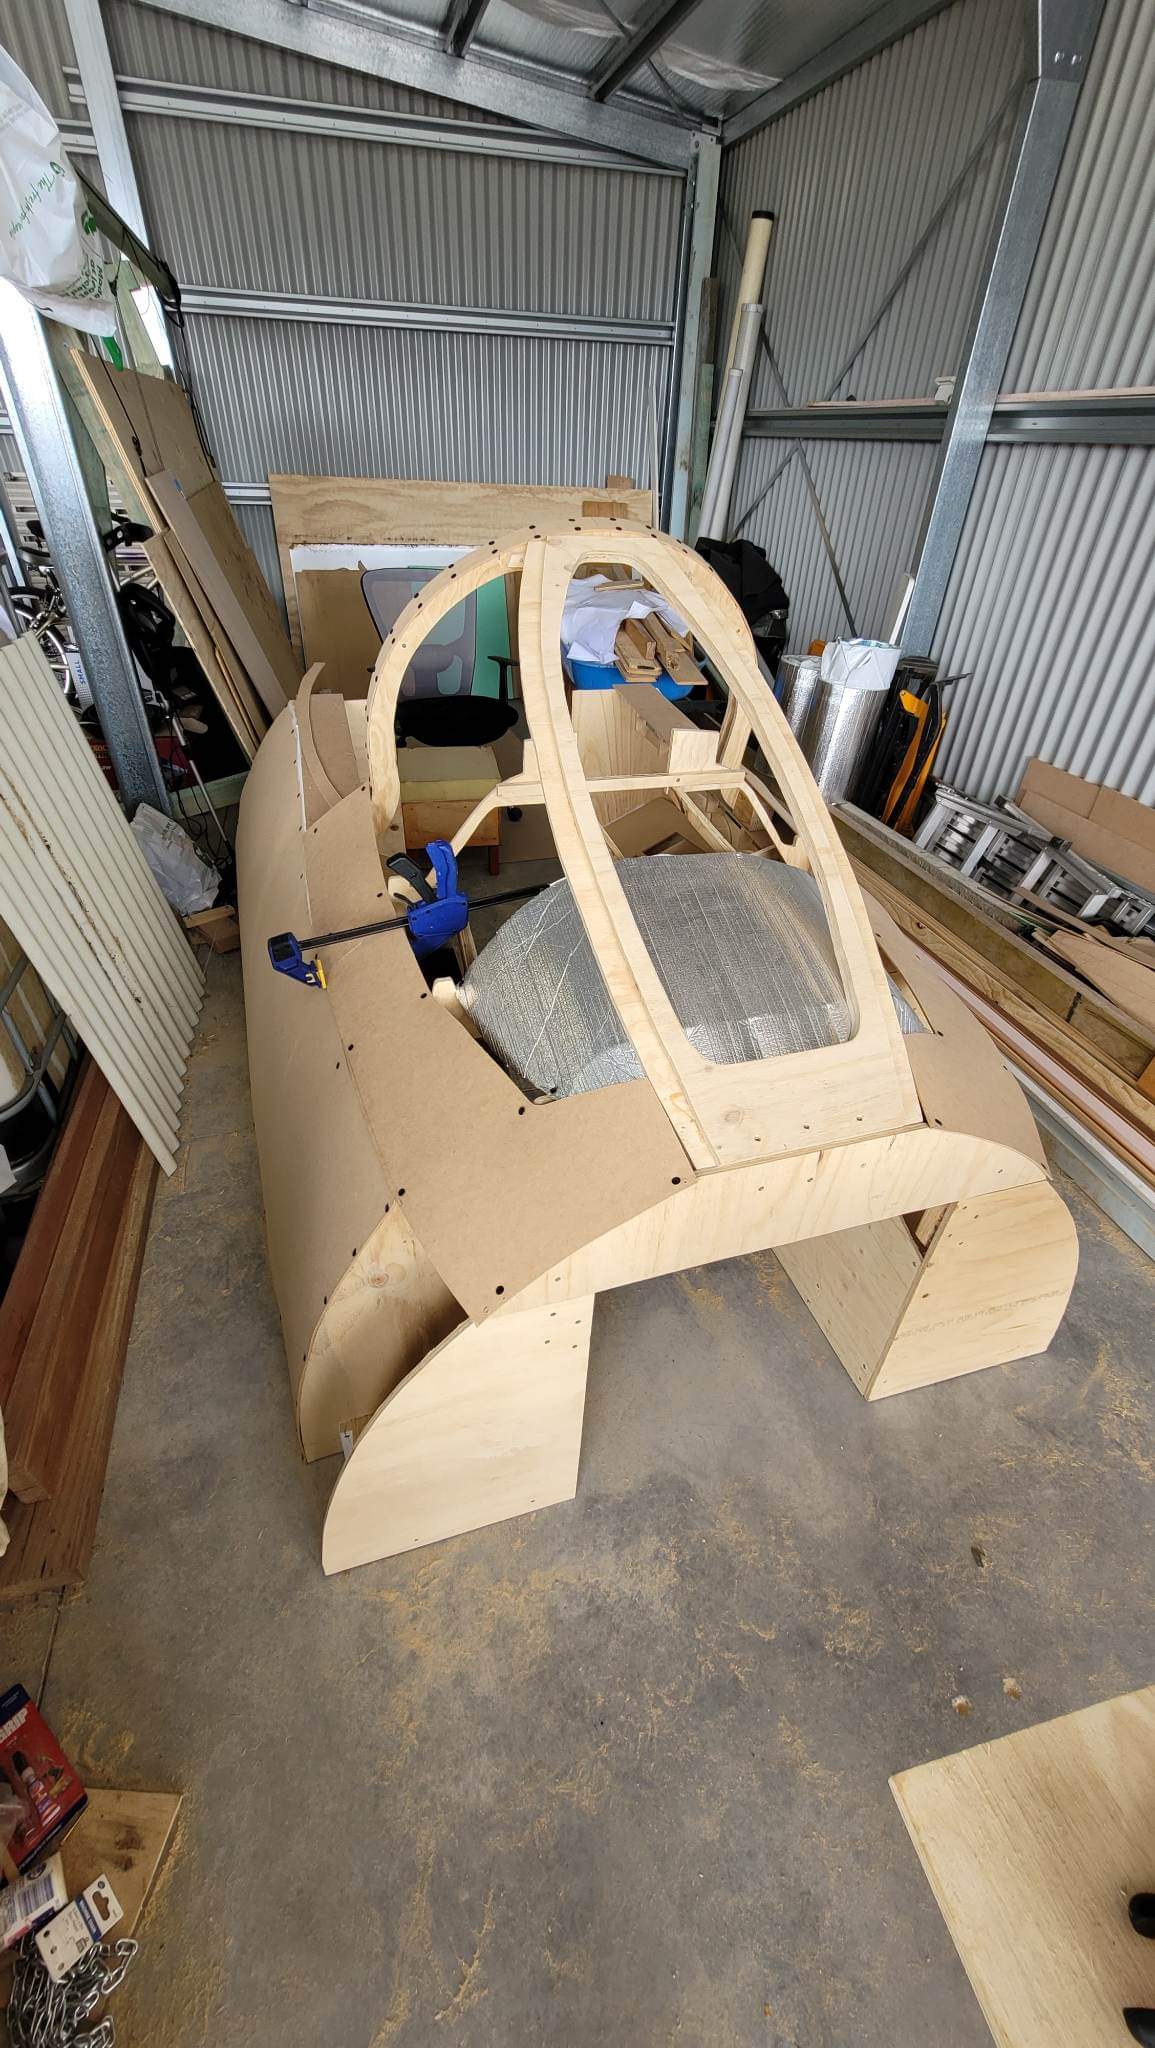
Howdy Gents, Thanks for those images, they are good enough I can make it work. @Elo I haven't seen Dino online in a long while. Long term I'll aim to setup a website or something to host all the files on for free, including a proper build log to follow along with. I'm at the point where I'm pretty much done with the frame so I'm happy to post the updated plans knowing it's correct. My next big job (outside of my own build) to allow people to get started is converting all the sketchup files to svg. This should allow for easy tool path conversion or printing on A0 at officeworks to make templates. Once I've done that I'll post it in this thread in the interim. I posted the sketchup model quite a few post back if you are chasing a starting point. Excluding the skin on the port side, a lot of bog and paint she's starting to take a really nice shape. Any thoughts on the paint scheme? I'm leaning towards a 2003-4 VF-103 CAG bird.
-
Dude, the Standby AI looks fantastic. Is there any chance you can go into a bit more detail on how it's made? I'm making an F-14B pit and some of the instruments on the MIP are a bit to difficult for me to make work without a screen to drive it. This looks like it would fit right into my build. Cheers, Mumbles.
-
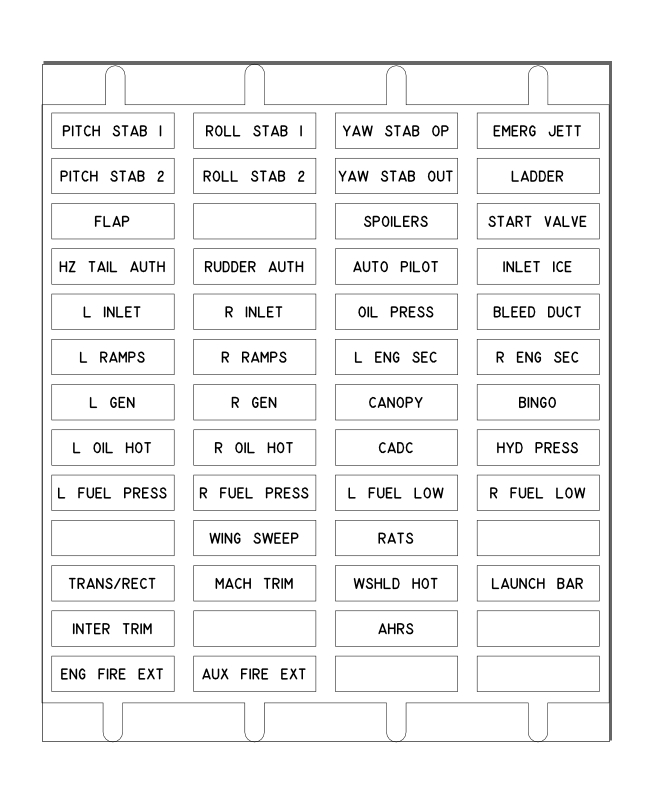
G'day Gents, Hope everyone is keeping well. Just thought I would post some progress of the laser cut parts I'm working on this weekend. I've pretty much finished the Caution Advisory Indicator design. It's a bit of a hail mary but I'm thinking about trying to get a run on digital EIG cluster from the B model made with a custom PCB and screen. If its achievable I'll ship them to anyone building a Turkey pit for cost price. Bit of an aside but I'm getting some more of the details on the seat finished up. I'm looking for a high quality image of the seat pre-flight checklist on the left side of the seat headrest so I can make it up as a part of vinyl sticker pack. Any pics would be greatly appreciated. Cheers, Mumbles
-
G'day Peps! LASooner, great find man. I've done some ordering from the store. While poking around in the listings, I found this: https://www.ebay.com.au/itm/293015393938?hash=item4439141692:g:H2MAAOSwTXdckleO It's almost a match for the left windshield annunciator minus the Auto Throttle light and lense colour on the bottom 3 lights. Any guess on the Jet? I know it's a Grumman part from 78 so I was thinking A-6 but it in my very short search I couldn't find it anything on the dash that matches. If anyone has a laser cutter they could cut 3 replacement parts in acrylic and have an authentic Grumman part in their pit. I got to see a Real F-14D for the first time a few days ago. Shes a big bird! Mumbles.
-
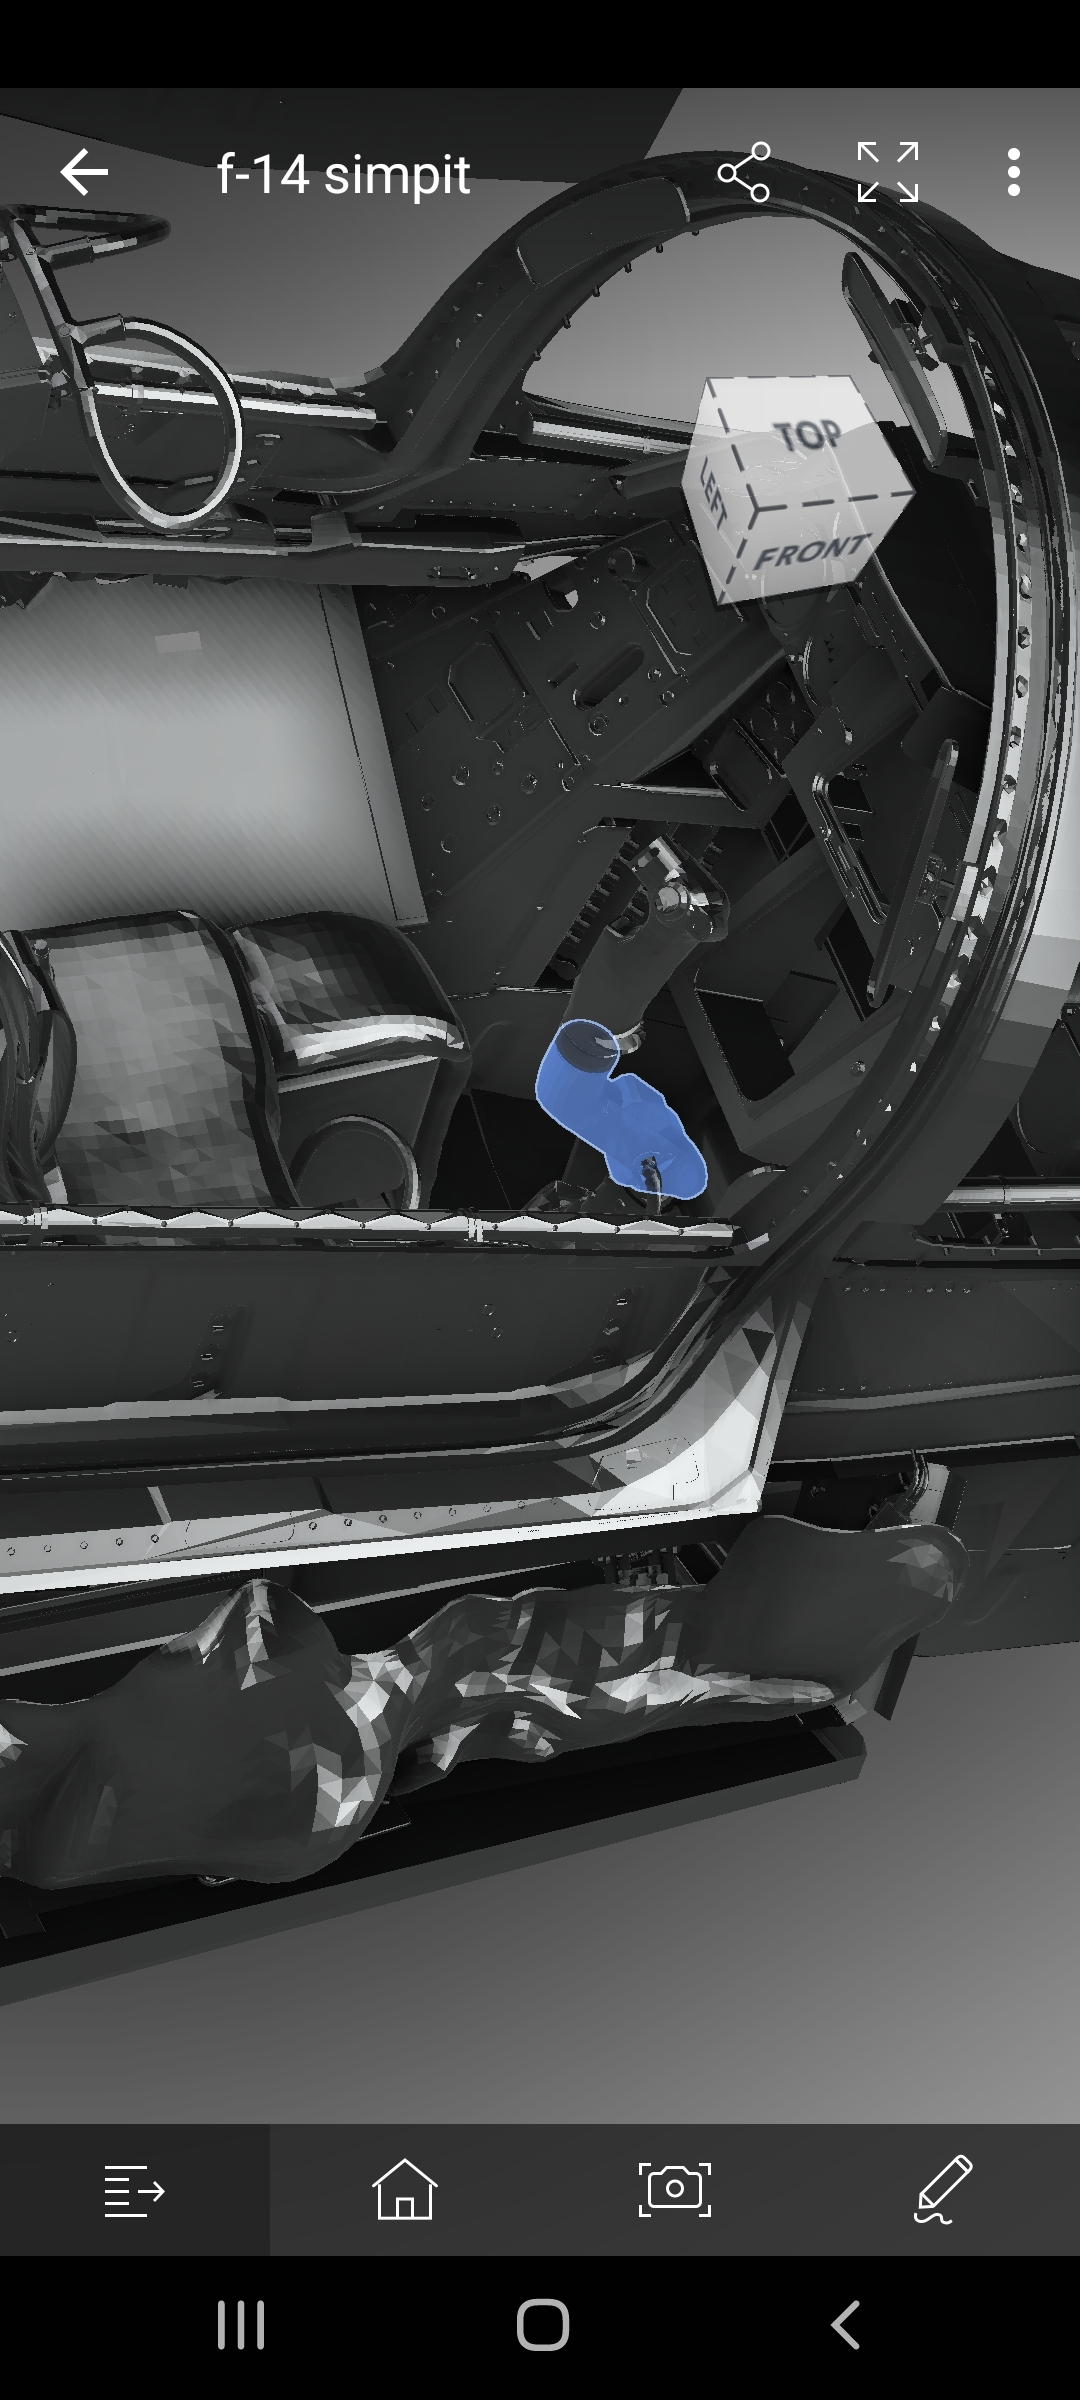
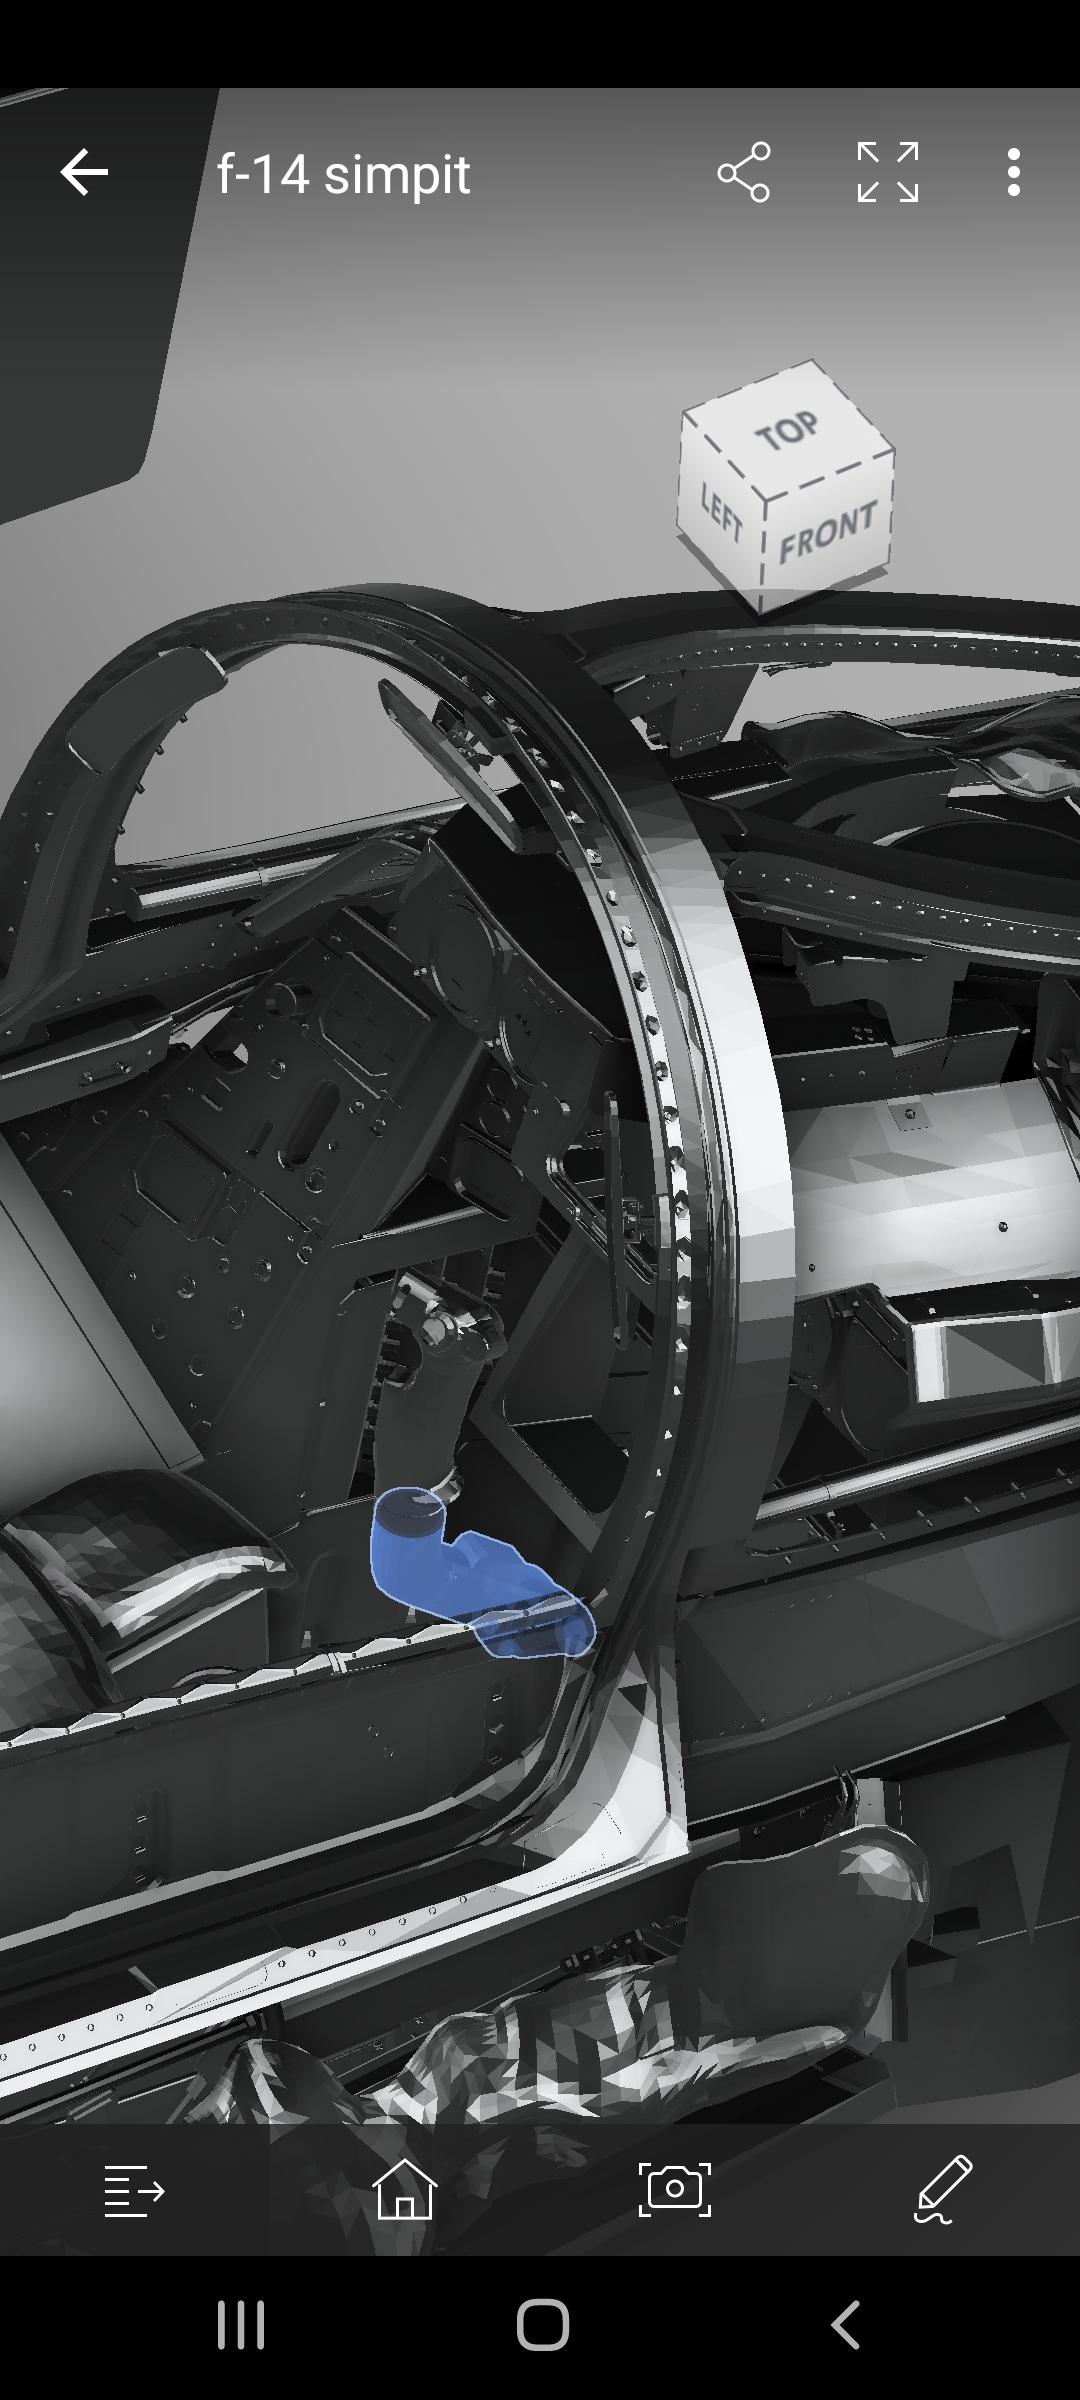
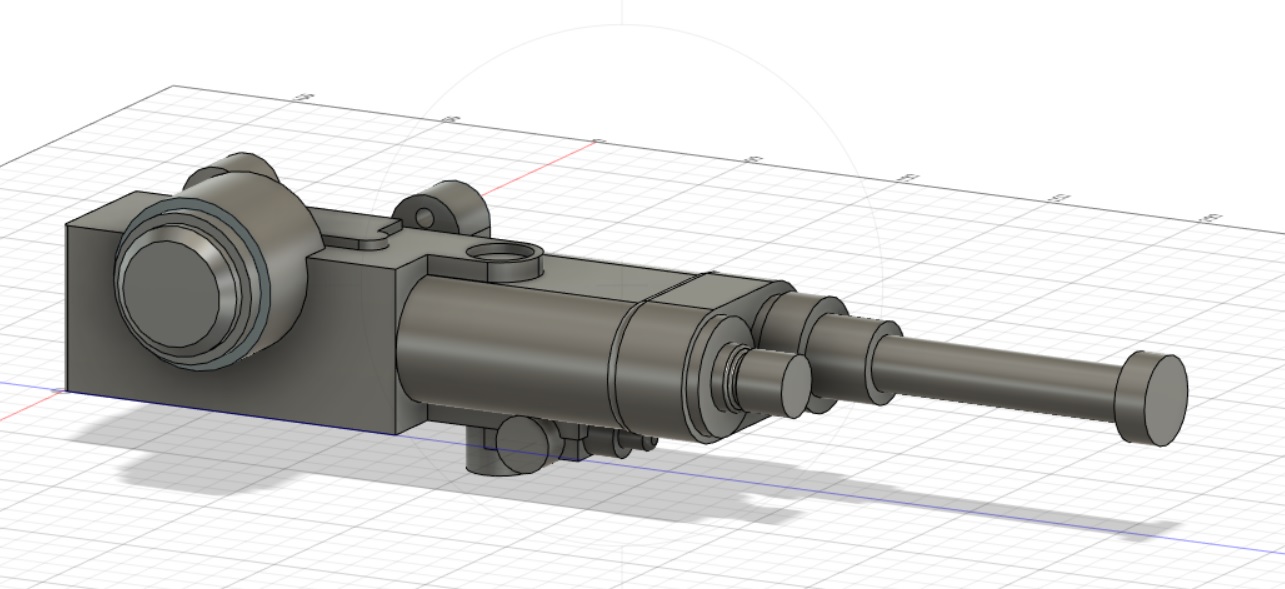
@PSYKOnz, Heya mate, sorry about the delay on this. Forgot I said I'd do it for you. The stick is mounted in the vertical with a slight twist on the handle its self to the left. by about 5-6 degrees. Hope these images help bro. Mumbles.
-
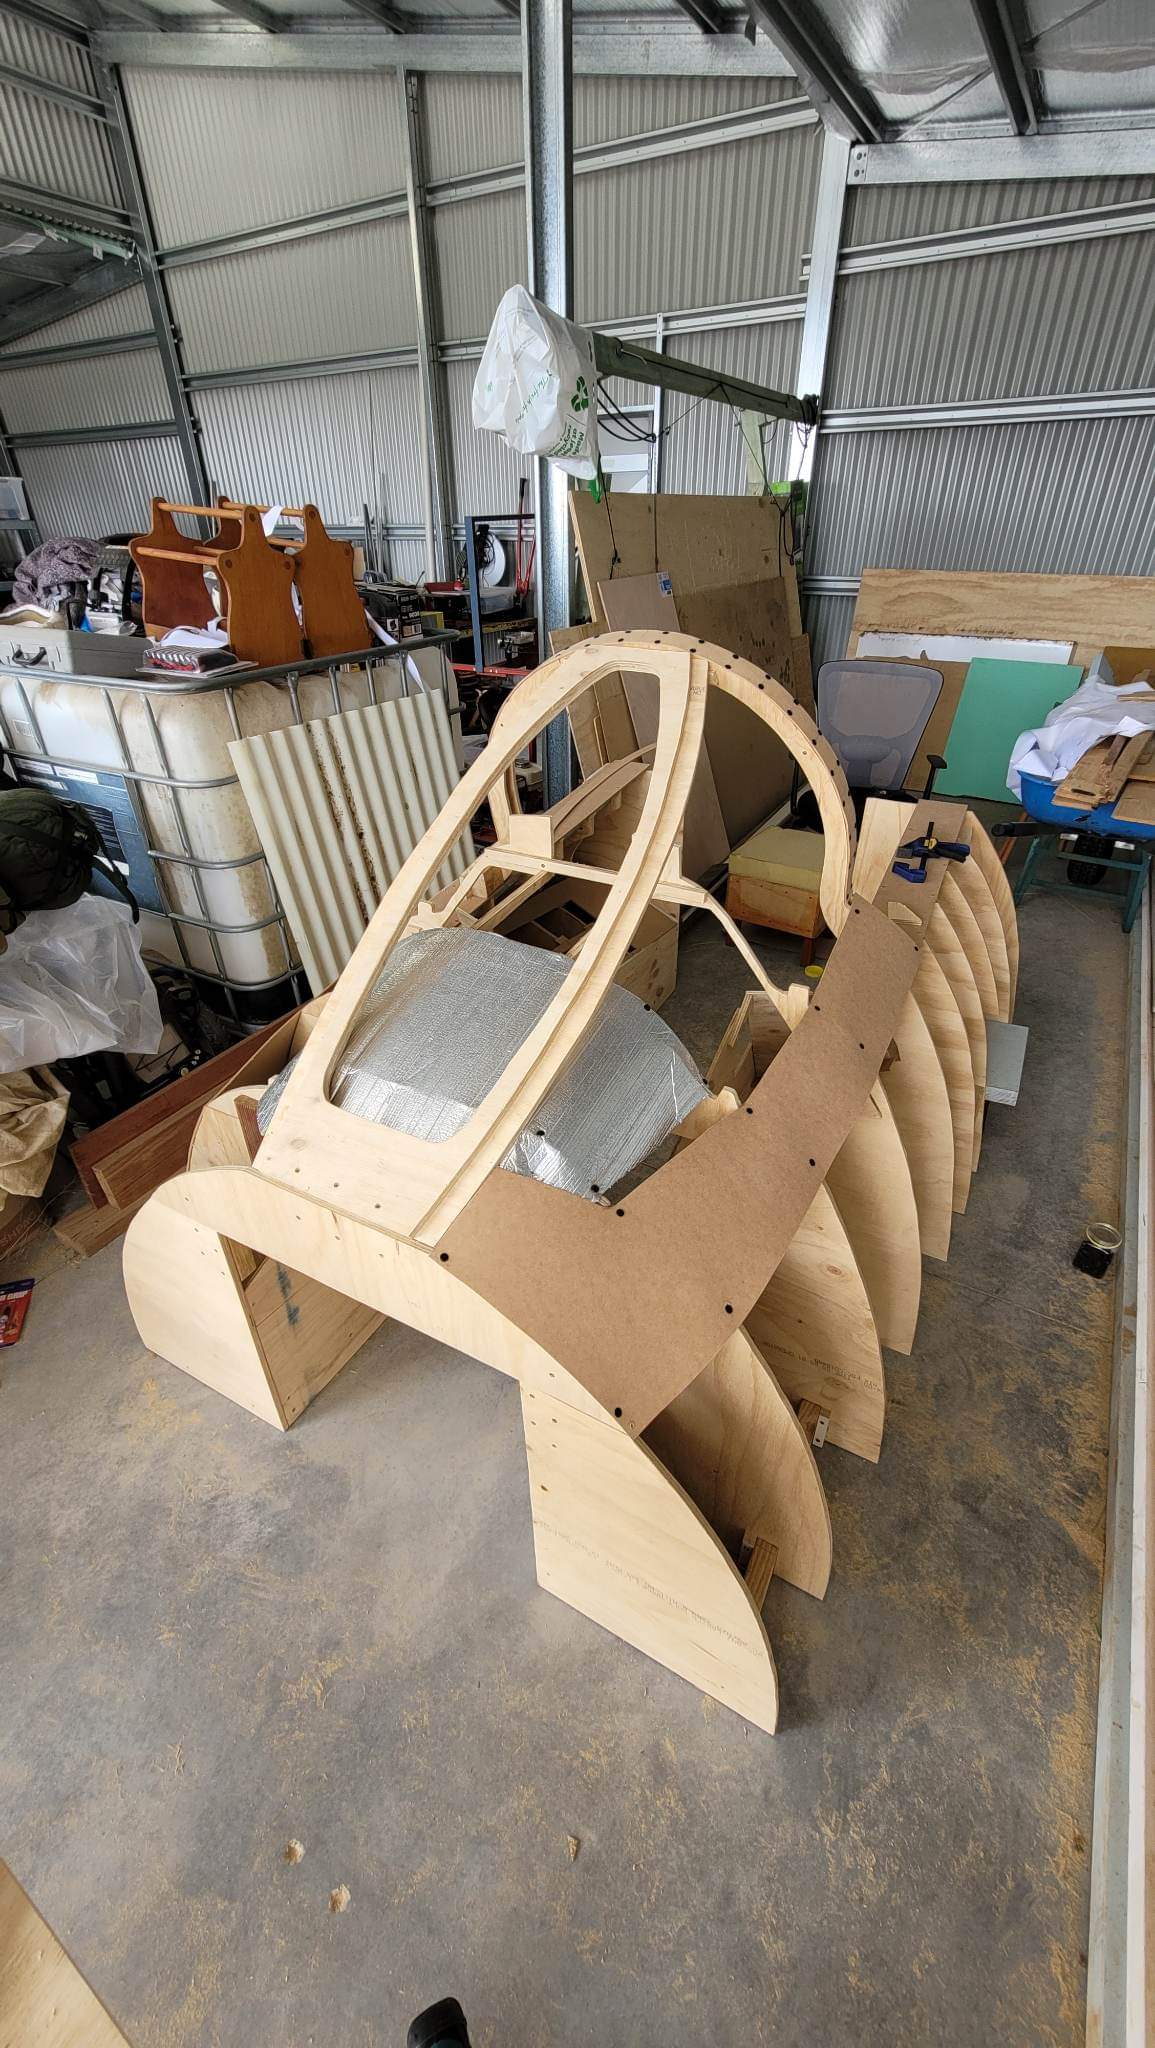
G'day everyone, hope your Christmas break has been productive. Rosariovw, that's looking phenomenal mate. I'd love some of those stls if that's ok. I can't wait to see how it all turns out. So I've finally had the time to get back into the shed and do some more on my pit. The frame minus bog and paint is mostly done. I've just got two more skins to finish of the canopy frame. How did everyone else design their panels? I was thinking of counting dzus rail holes but that seems tedious. If anyone has access to the dimensions of the canopy jettison handle that would be fantastic, I'll release the plans for it once I have some better dimensions for it. Many thanks to all for your help so far with this. Mumbles.
-
Heya @PSYKOnz. I can get it for you tonight, I'm away from my PC at the moment. Just checking you are tracking it has an curved profile in the foward/aft axis prior to mounting to the stick? The sticks roll axis is also around a centre bearing as well. I've attached a few screen grabs from my phone to show you what I mean in the interim.
-
Yeah mate, the data Cobra provided way back when, is to my knowledge the most accurate data available to the public. I've used them in my seat and they came out fantastic. The GRU-7A isn't the most comfortable bang seat as it is. But to be honest, not alot of them are.
-
Heya PSY, You are looking at 5.5 degrees aft from Heatblurs laser scans for the parachute pack. My actual seat and plans are at 6 degrees aft. The SKU (seat pan) is 7 degrees aft. Schtick, kinda. I'm making them as 3d printed buckets, then laser cutting acrylic sheets as the front panel to mount on those buckets with pre-cut holes. 3d printed and laser cut instruments will mount into that panel from there. All the files will be chucked up here once I've build them so I know I'm not posting sub par designs. Hopefully that makes sense. Cheers, Mumbles.
-
Heya PSY, Just to confirm you want the angle of the parachute pack mounted to the seat vs the vertical? If so I can pull it for from the 3d scans for you tomorrow afternoon.
-
Heya Woody, Sorry about the delay Mate. I've modified and broken down the seat for you. If and when you want to break down more parts from the SketchUp model, let me know and I'll provide some more detail. In a nutshell all I do is double click on the part I want, copy it and then paste it onto a flat area like I did in the attached file. If you install the FaceSVG extension you can convert all the parts to .svg if that helps you at all. 3d modelling an printing has been continuing slowly. Cheers, Mumbles. Seat Rip Down.skp
-
Heya Woody, I when I get some time this weekend I'll post a broken down model here for you and some instructions on how to pull out parts from the model for when you get to the frame. This might be a dumb question but does the UK use anything different with regards to standard timber thickness? (Aus uses mm in 3mm, 6mm, 9mm, 12mm, 16mm, 18mm, 25mm, 32mm sheets as standard) If so, I can tinker with the seat to make it work for you. Mumbles
-
LeBryce, I reckon that's from https://throttletek.com/gf-14-throttle/ From a couple of the dudes in the F-14 fourms here, it's a bit of a hit and miss. LASooner might be able to give you some more recent data. Bout time I chucked an update in as well. Headrest just came off the printer. Cheers, Mumbles
-
Heya mate, It kind of depends on what kit you have access to and what your current panels look like now. Did you model the letting as part of the panel and looking for painting tips or did you want to apply letting to a panel with nothing on it?
-
Thats looking Sexy AF man. <profanity> hot work!
-
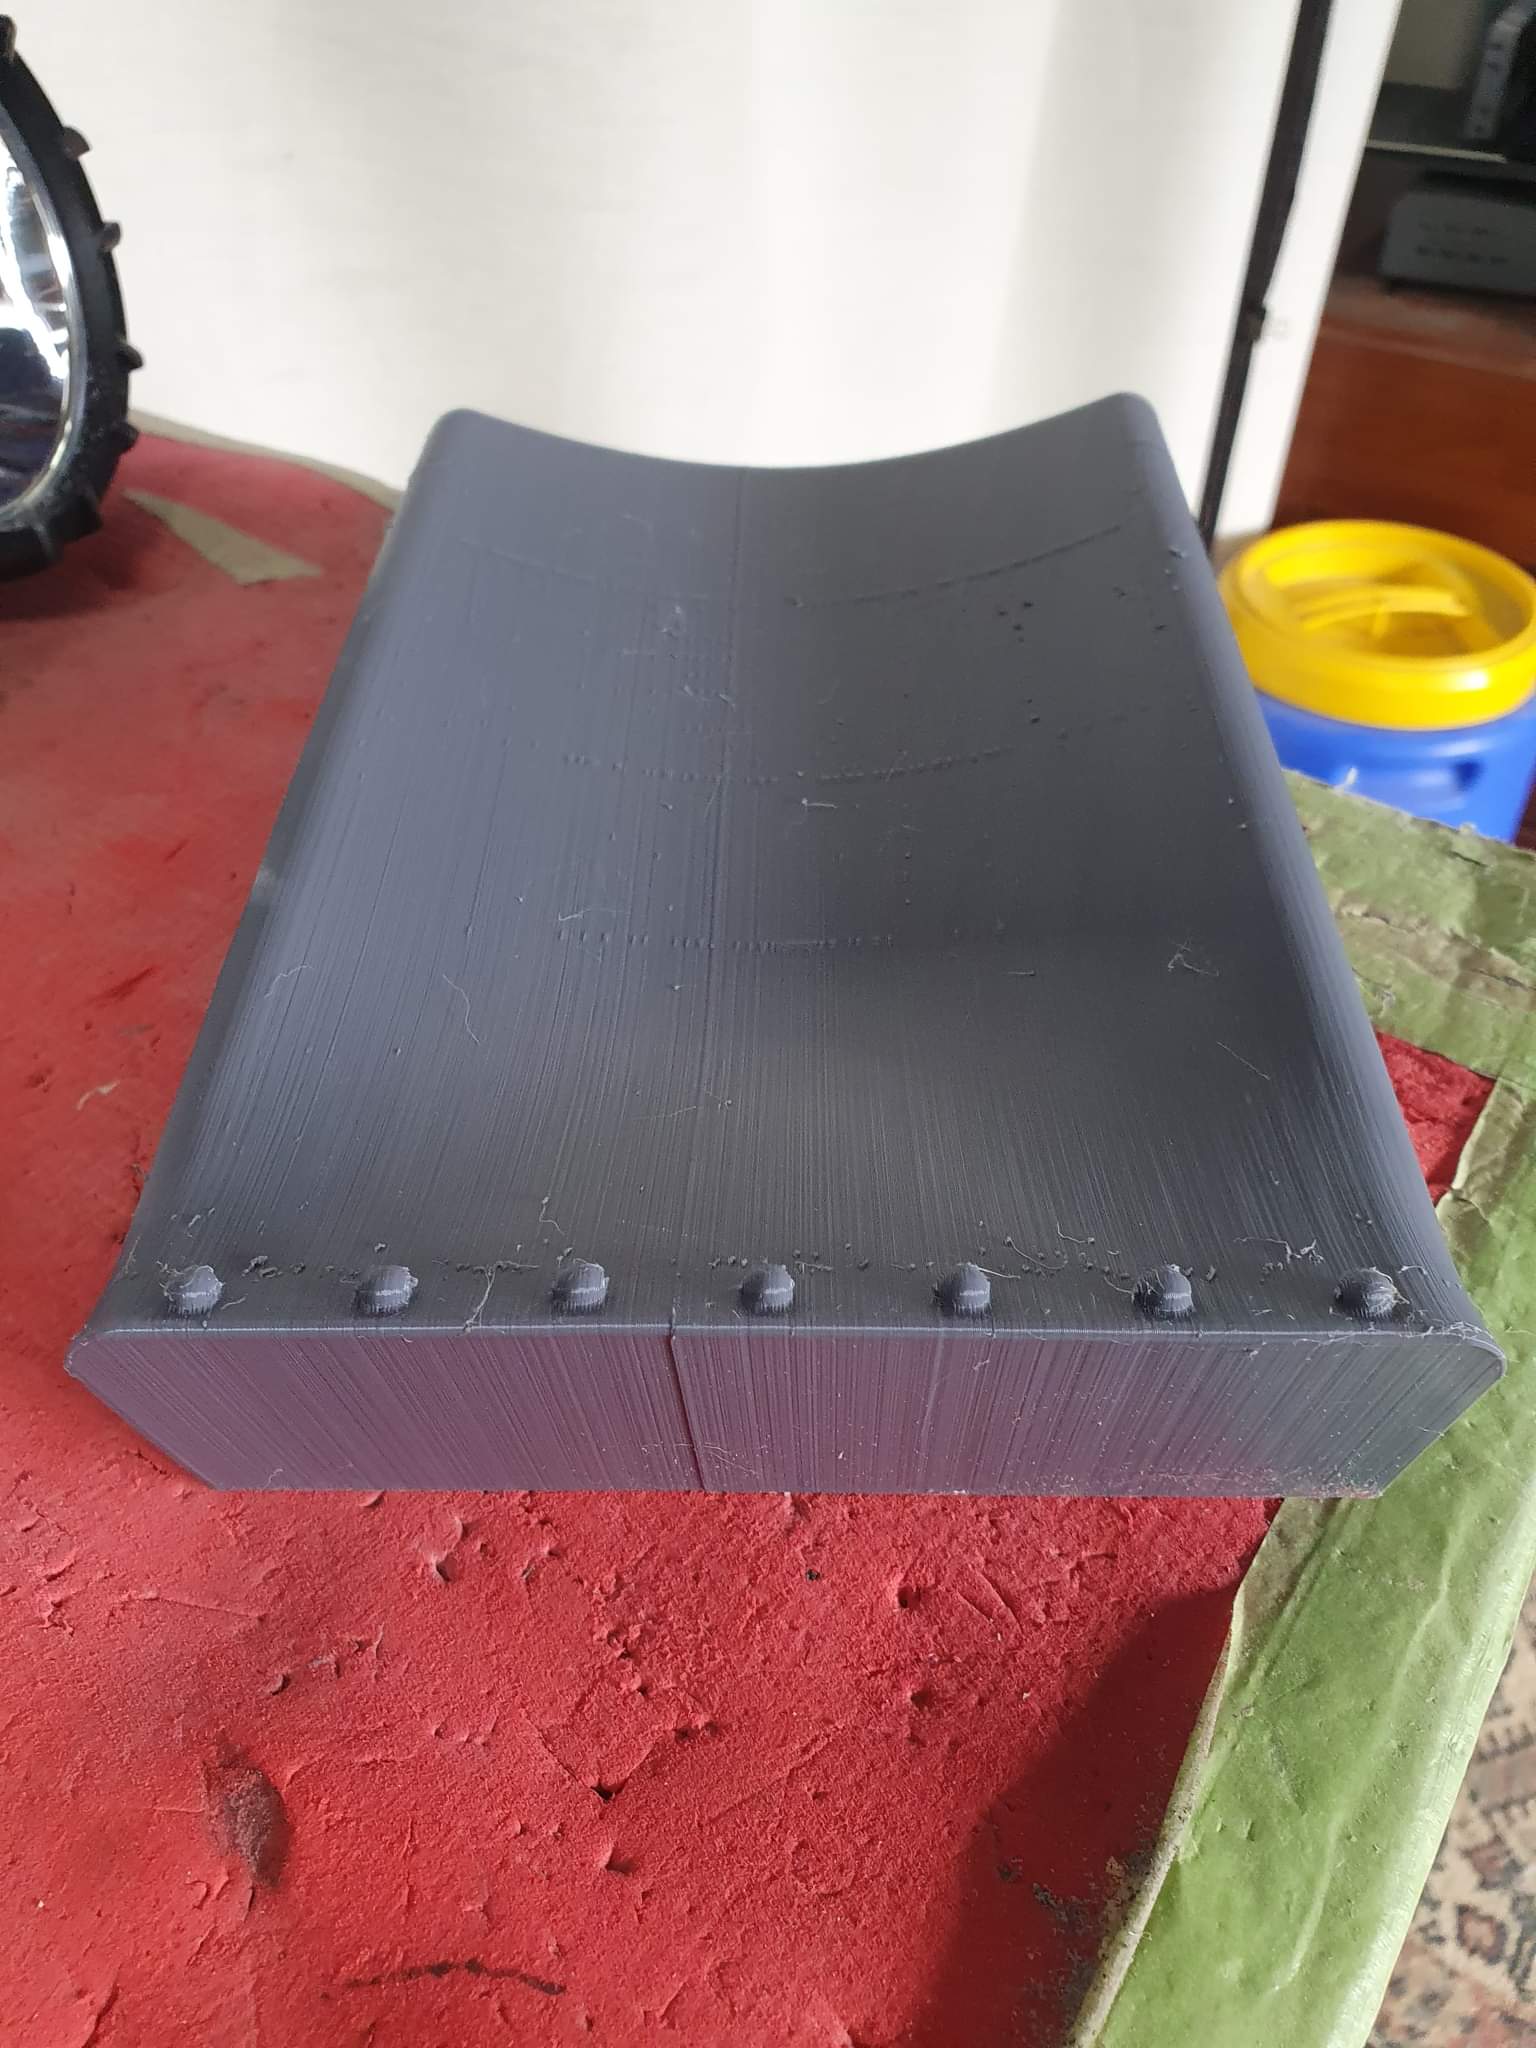
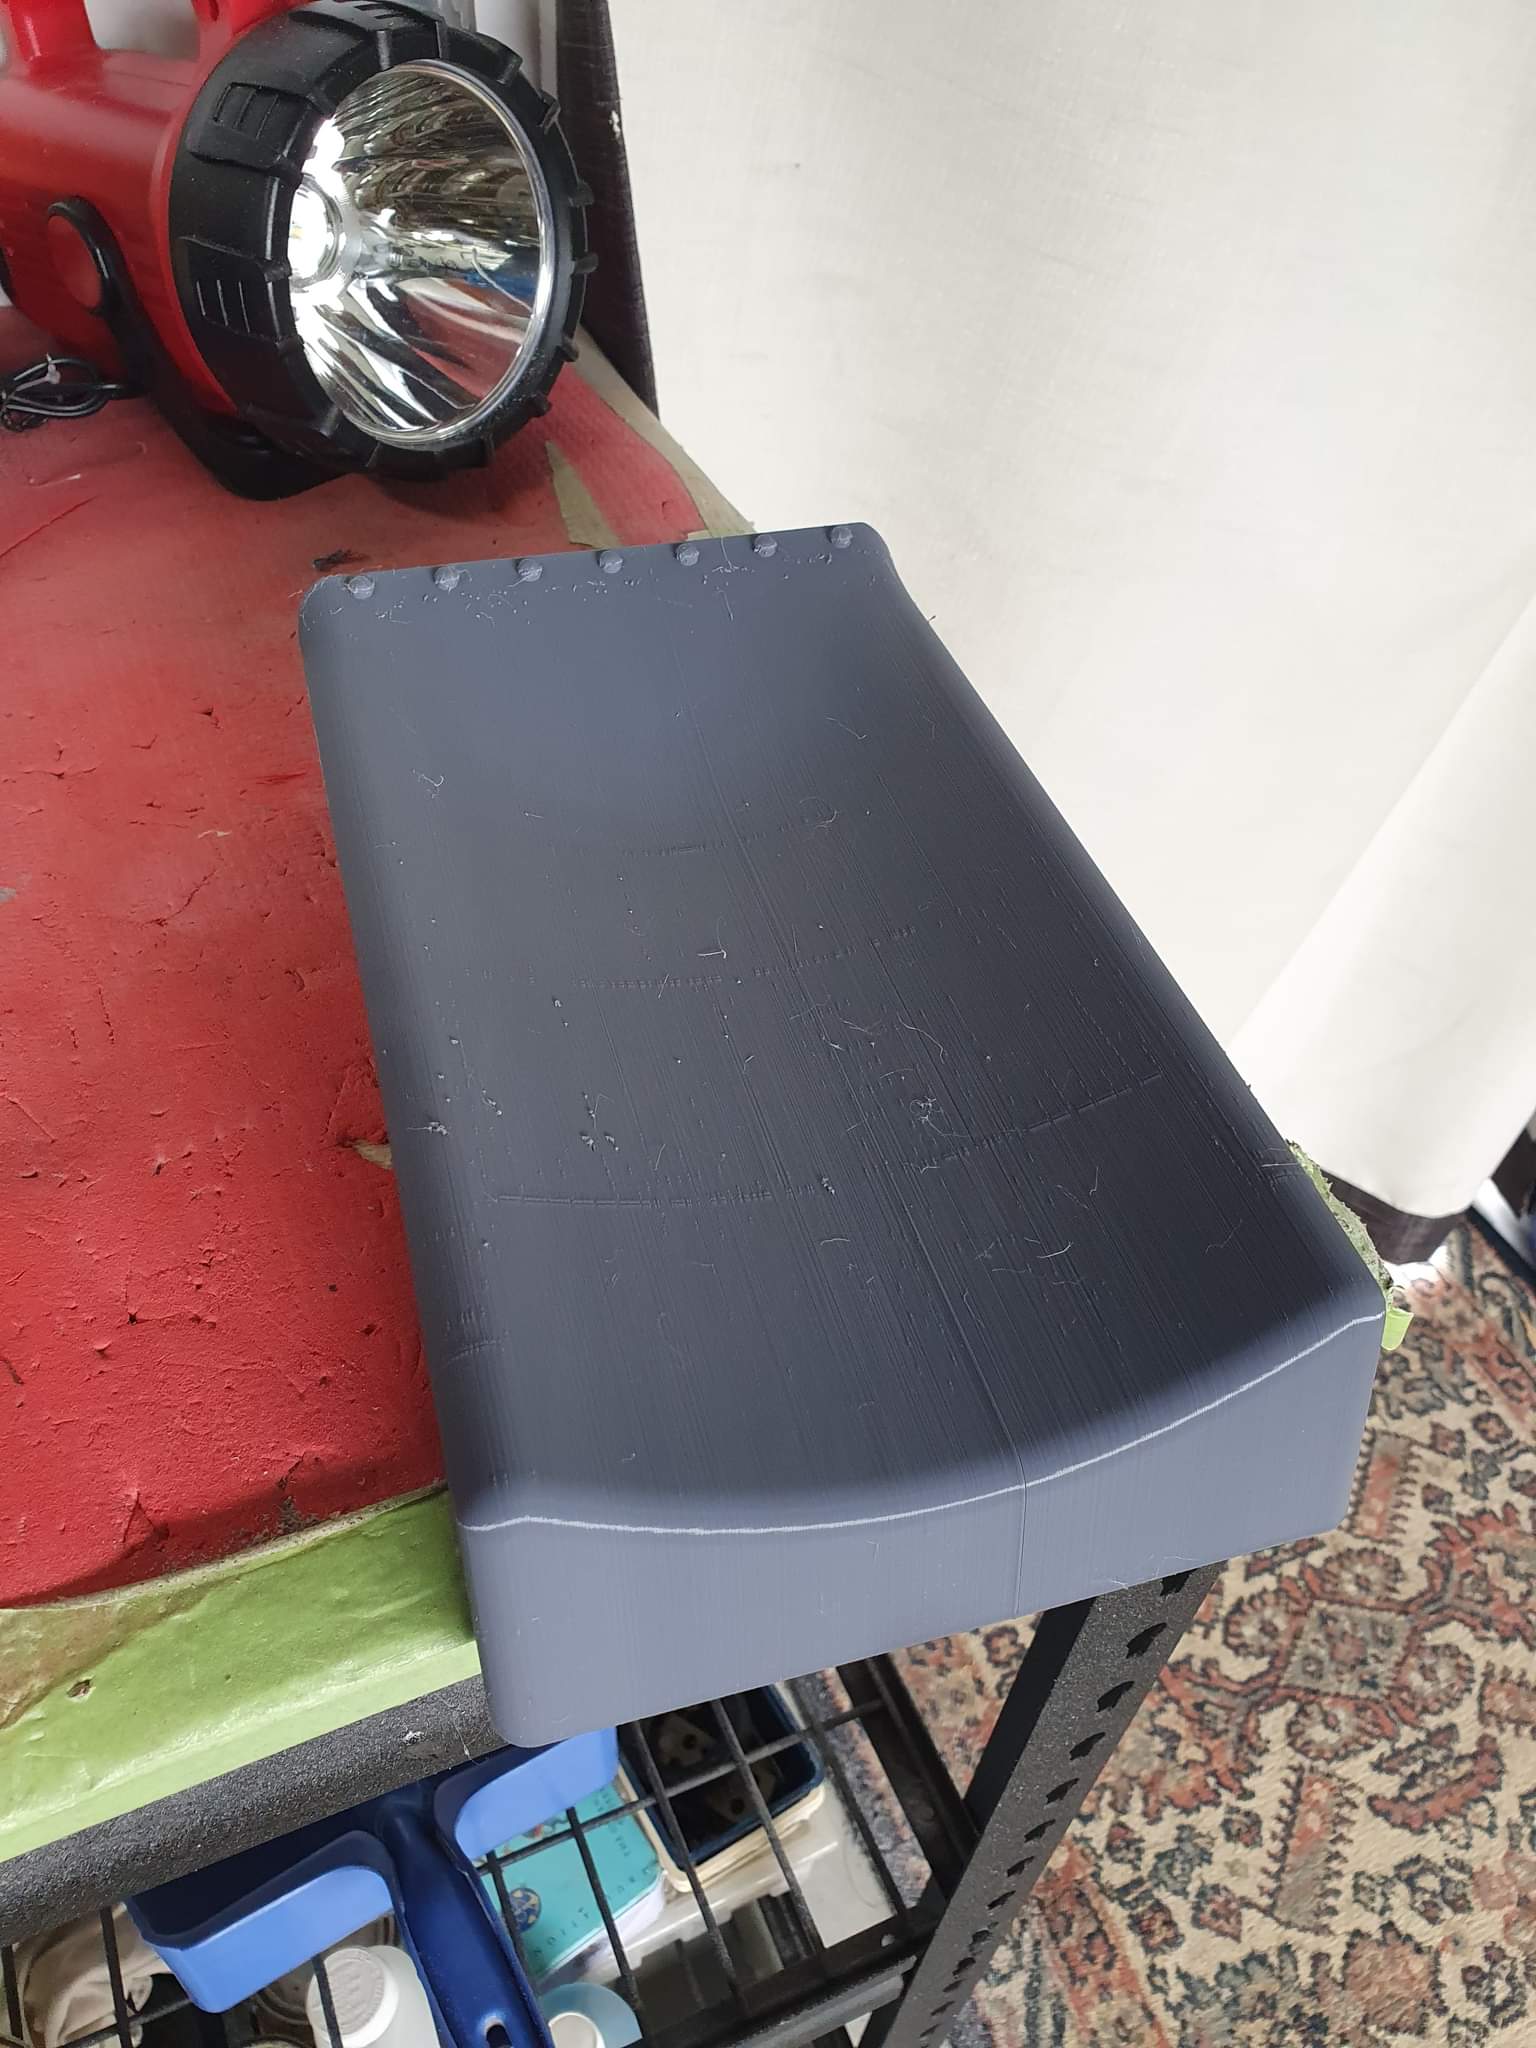
Hey Chronocidal, The headrest is being 3d printed as a plug then possibly fibreglassed. I initially was intending to use my hot wire foam cutter to make a foam and fibreglass piece like the backrest. Cutting it to get the curves right is a bit to difficult for me to accomplish. I like your cushion idea, I'm just fabricating up cushions like the real jet. Mumbles
-
Heya Gents, Hope you are all doing well. Quick photo of the latest slow progress. I've got the skin on the right side and some of my prototype 3d printed parts attached to the MIP. Cheers, Mumbles
-
Heya Dude, So the side panels are 5 3/4 inch as is standard in all US fighters. https://www.google.com/url?sa=t&source=web&rct=j&url=https://mycockpit.org/tutorials/Panelbuildingfocussedondimensions.pdf&ved=2ahUKEwi9o-fyt-b3AhXGR2wGHTVsBvIQFnoECAgQAQ&usg=AOvVaw3TrxgSDhX2sLG6QfvqwKVW This doc is really good as a reference. I'll dig the page number up in a bit,but quite a few of us have released models and references of the front cockpit and seat. If you need anything else let me know. Mumbles
-
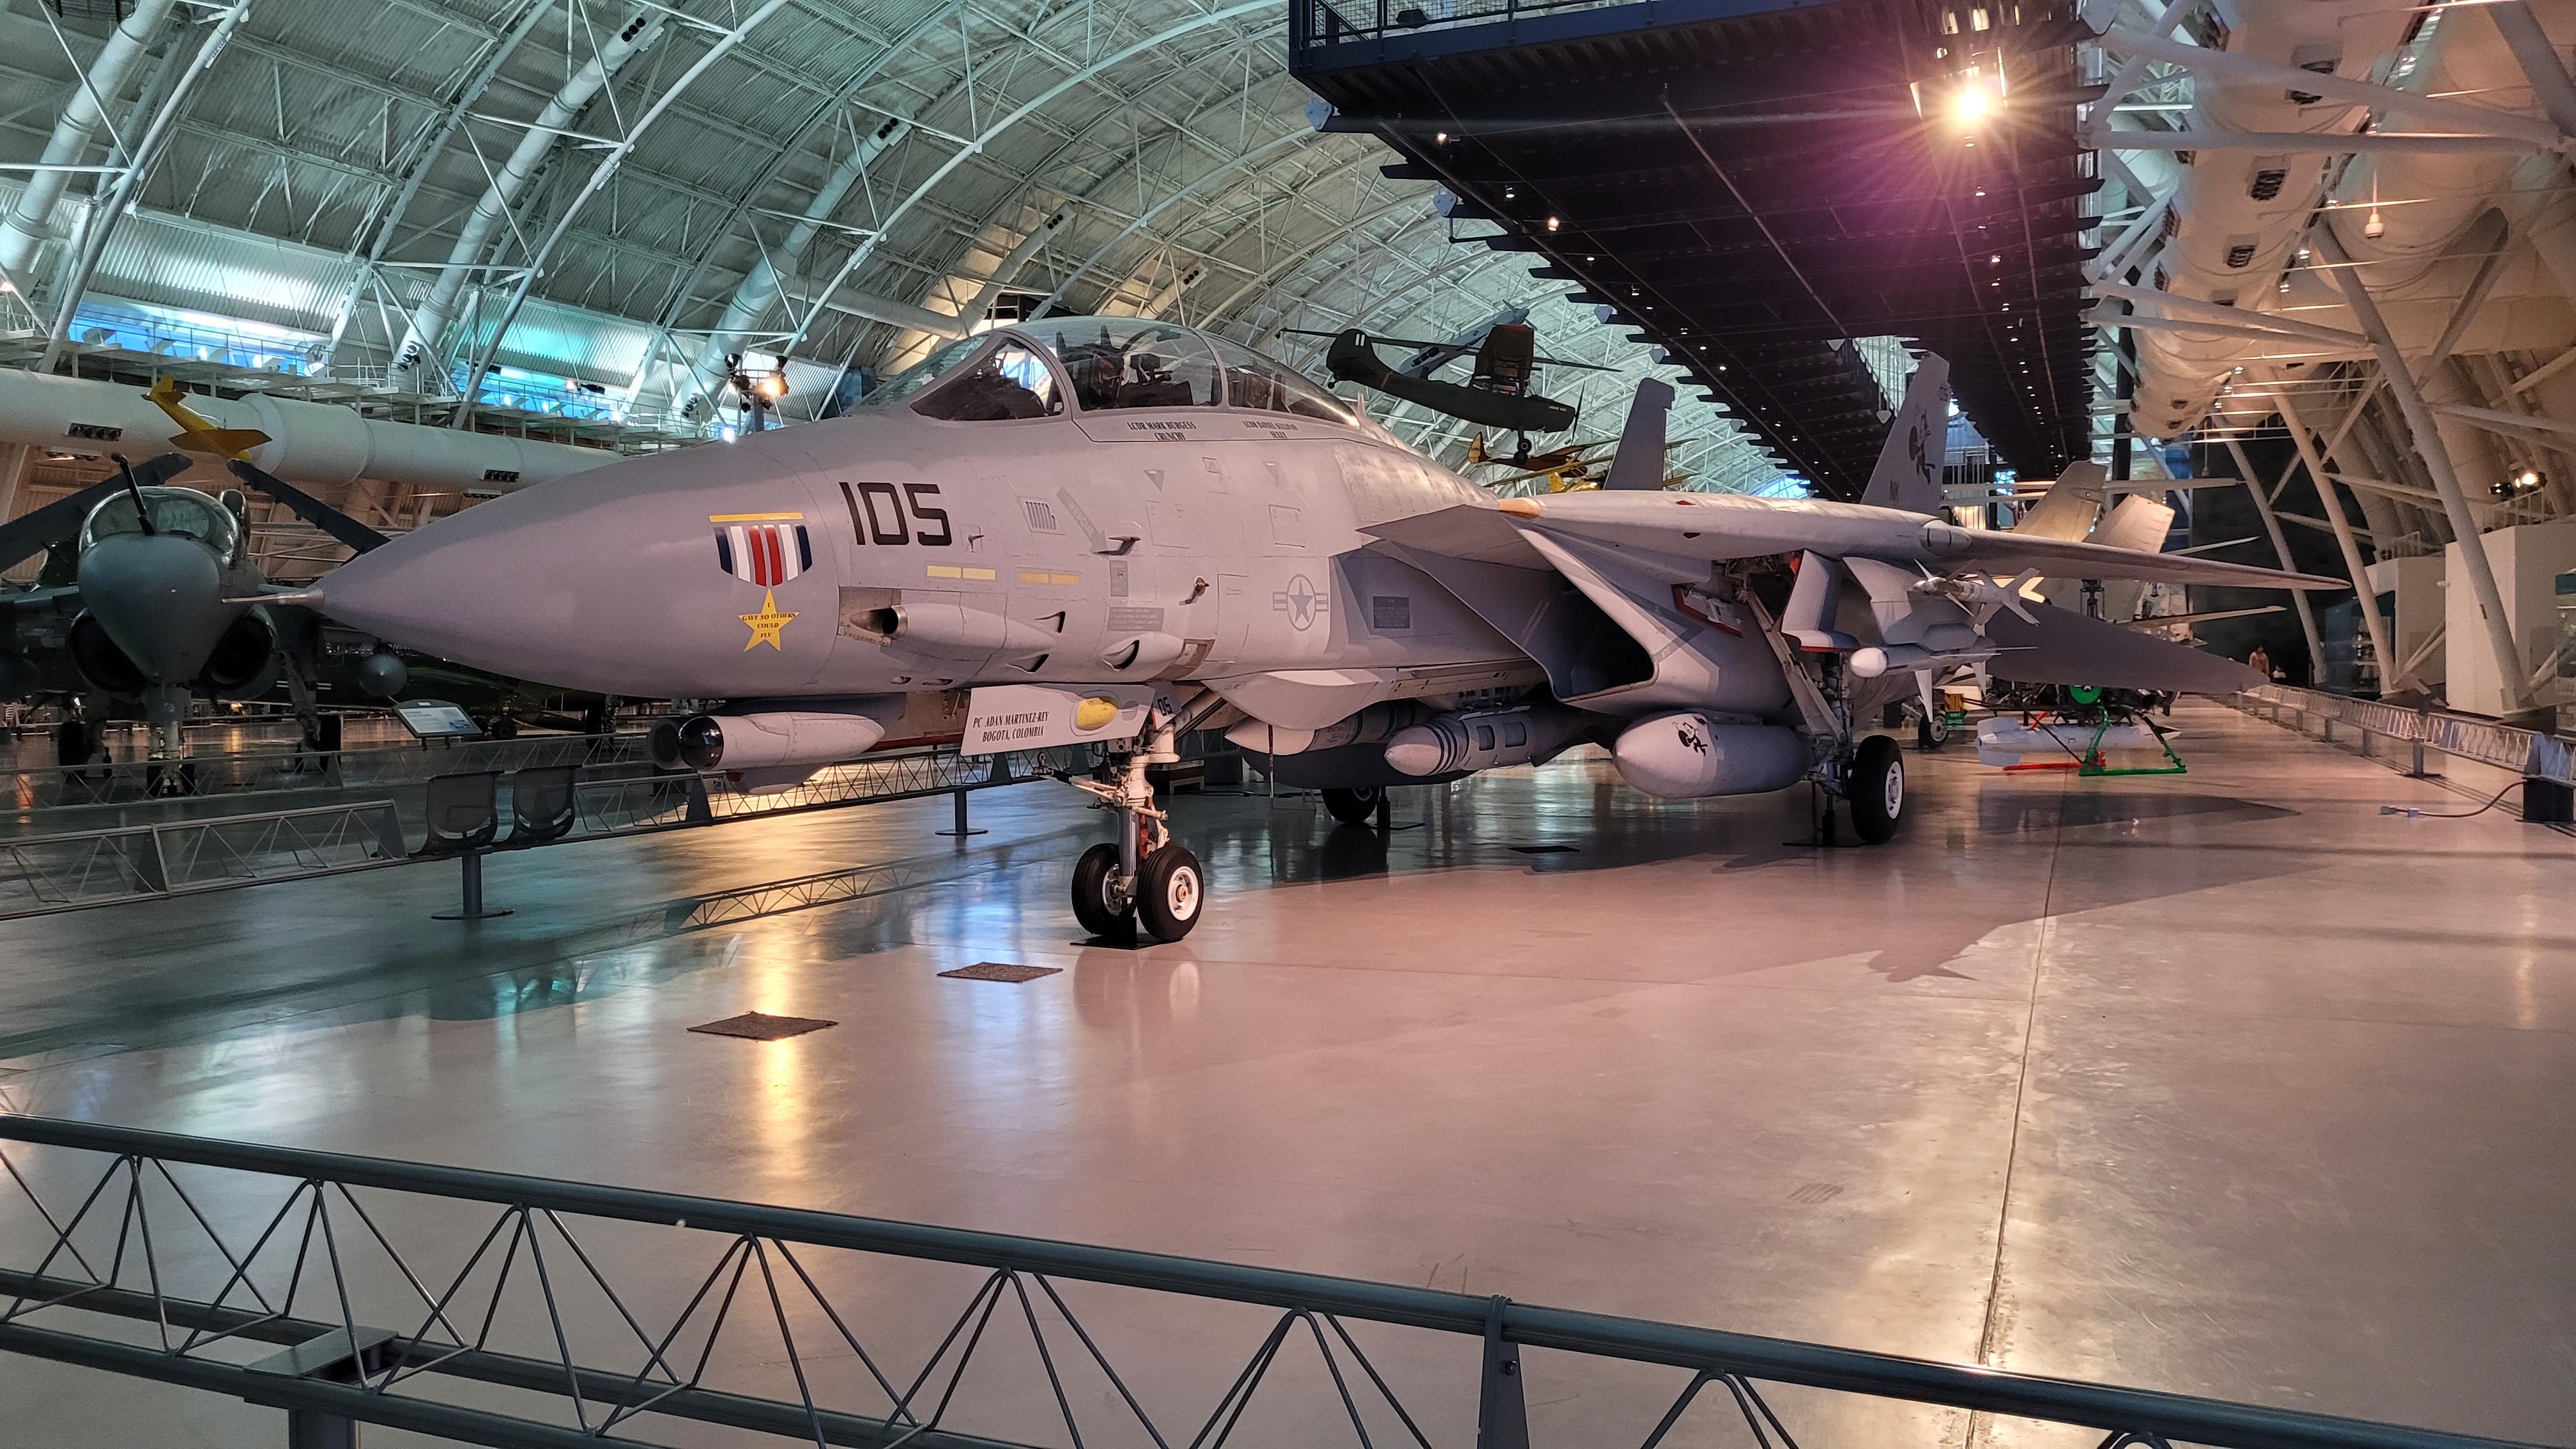
Woody, I'm sorry to hear you've have a bad run of it. It sucks it happened over Christmas as well. It's good to hear you are on the mend! Nice find, those pedals are amazing. I might have to add it to the list of things to build. Jaeger, So I have used a few references, Heatblurs 3d scans for the 3d printed parts, inside of the cockpit dimensions, bang seat etc. I've also used the old 60s era 303 blueprints scaled appropriately around the base frame to build the outside shell to the right size. I love the setup mate, it's functional and has a rustic charm to it. I'm still yet to see if the VR simpit setup is as good as it sounds. I'm hoping by mid year I can set up some controls and basic panels to see how it feels in the pit. Cheers, Mumbles.
-
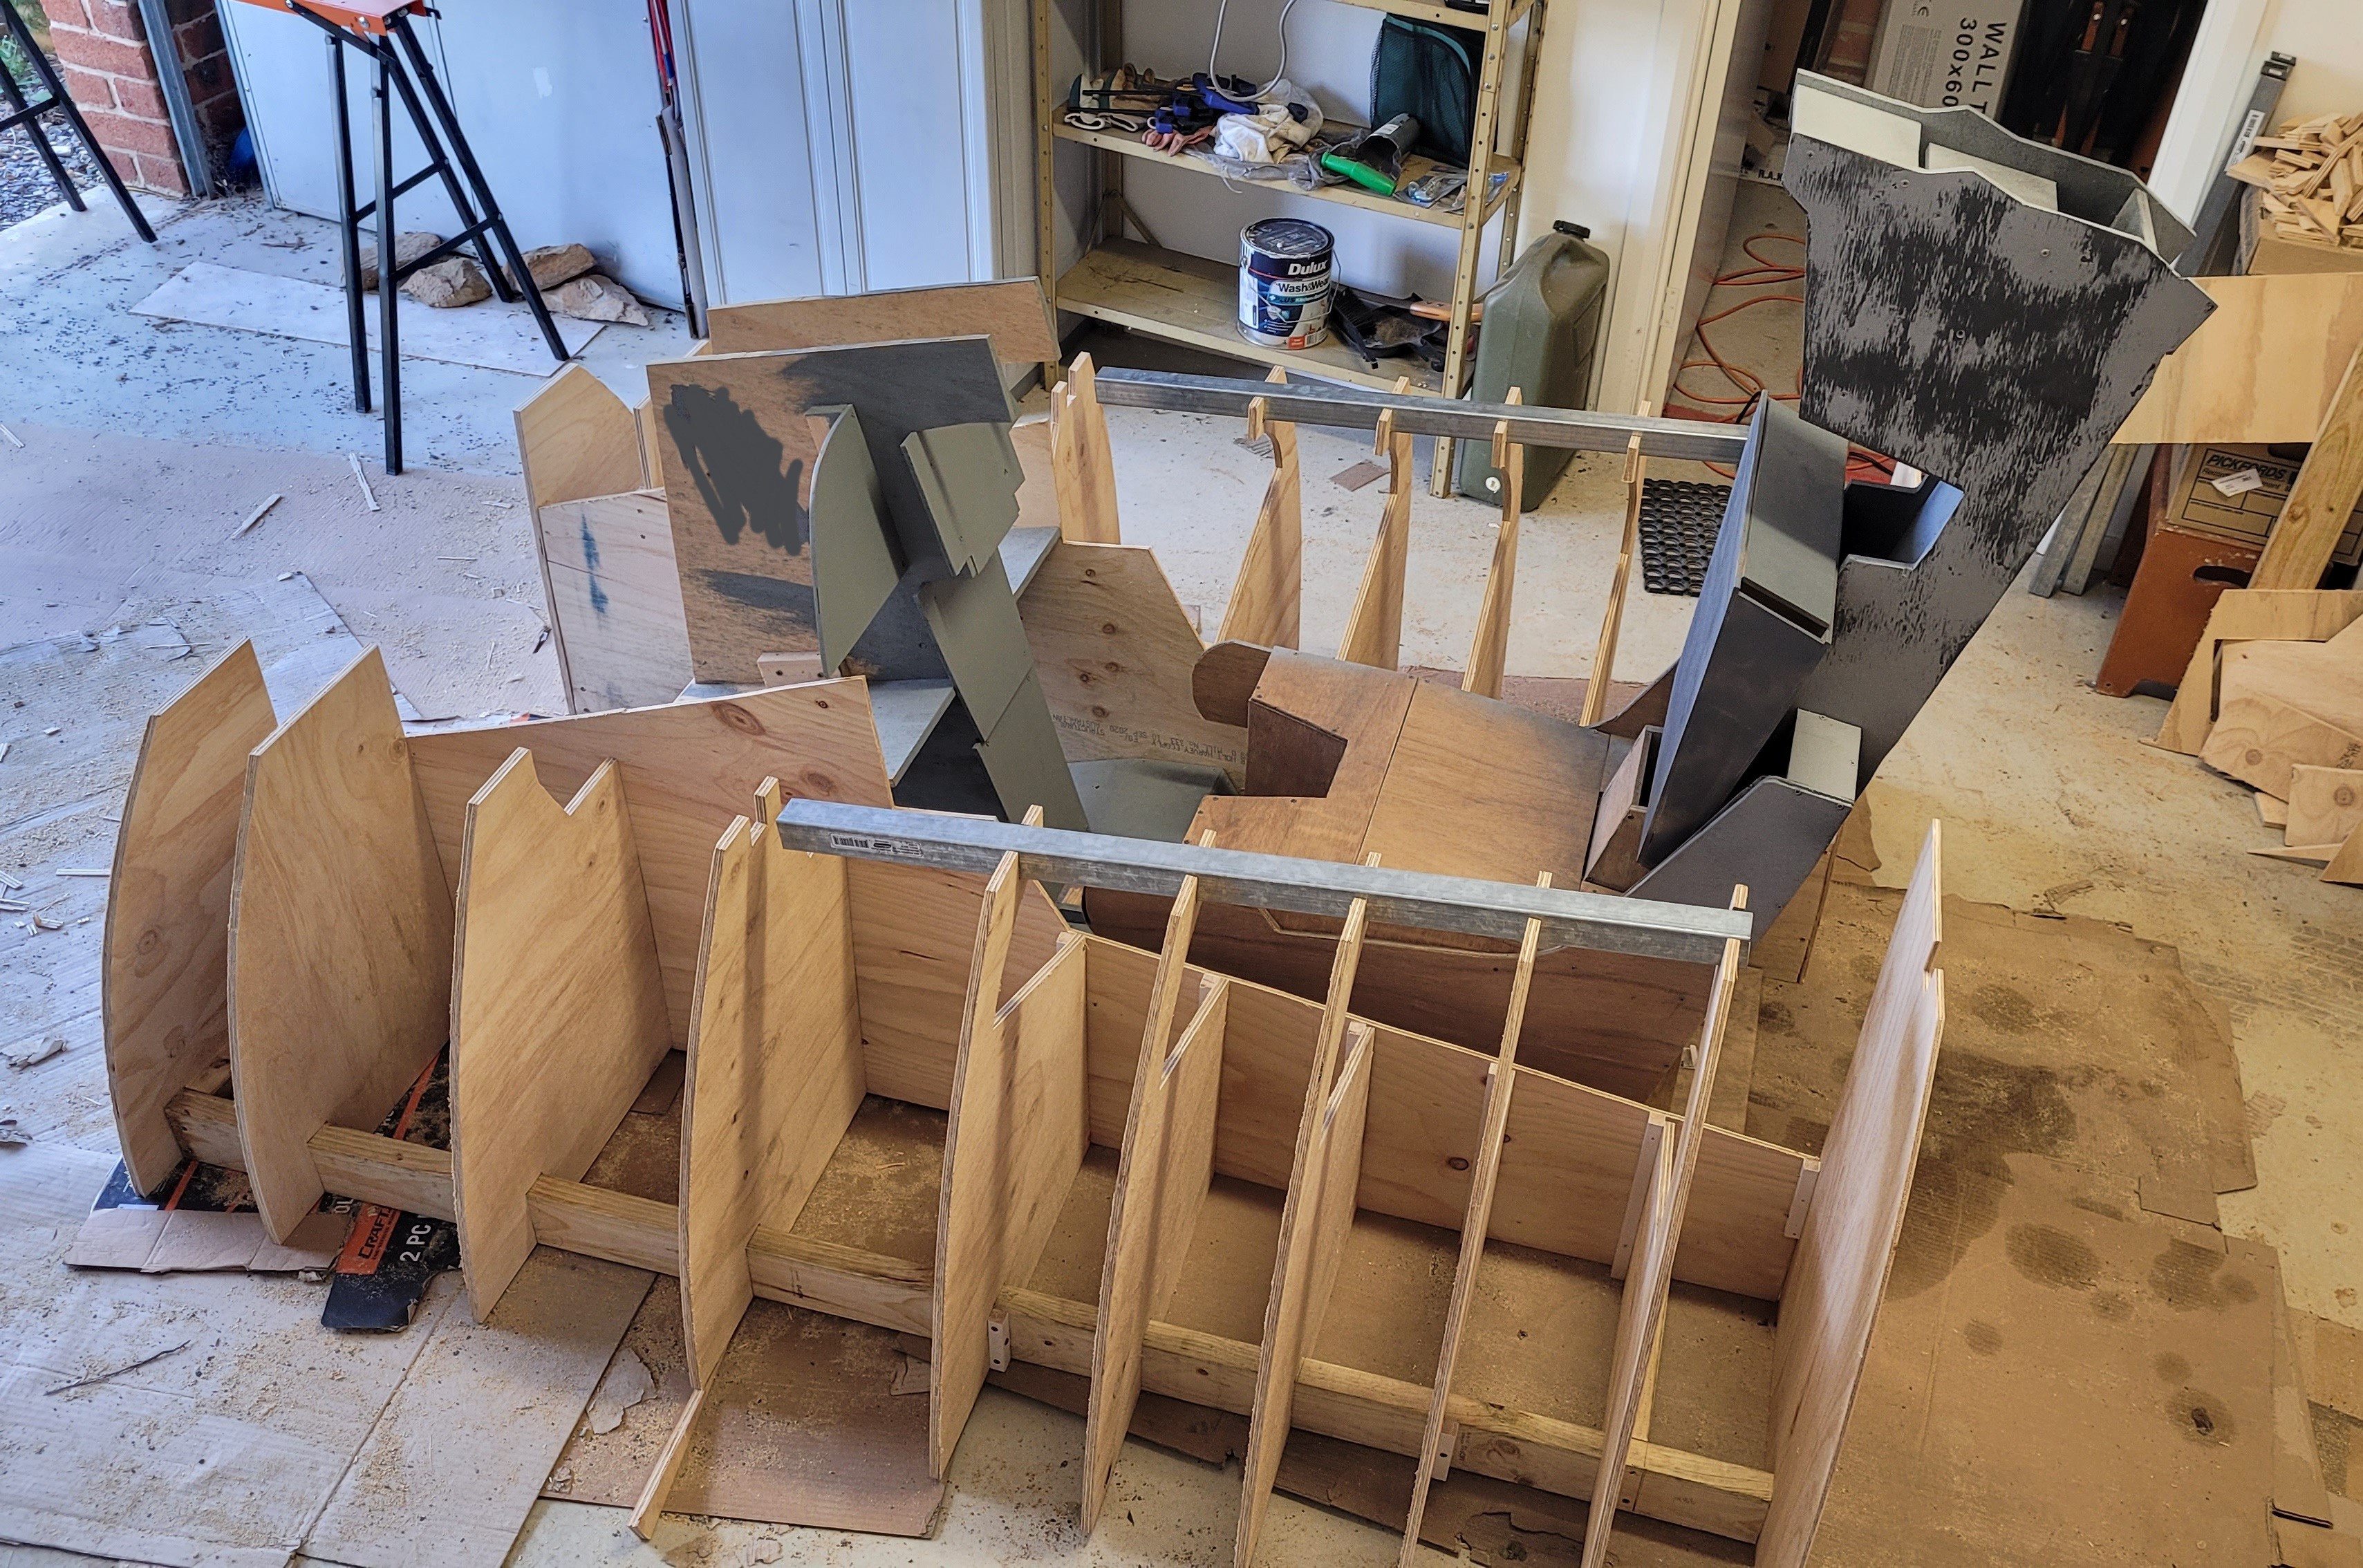
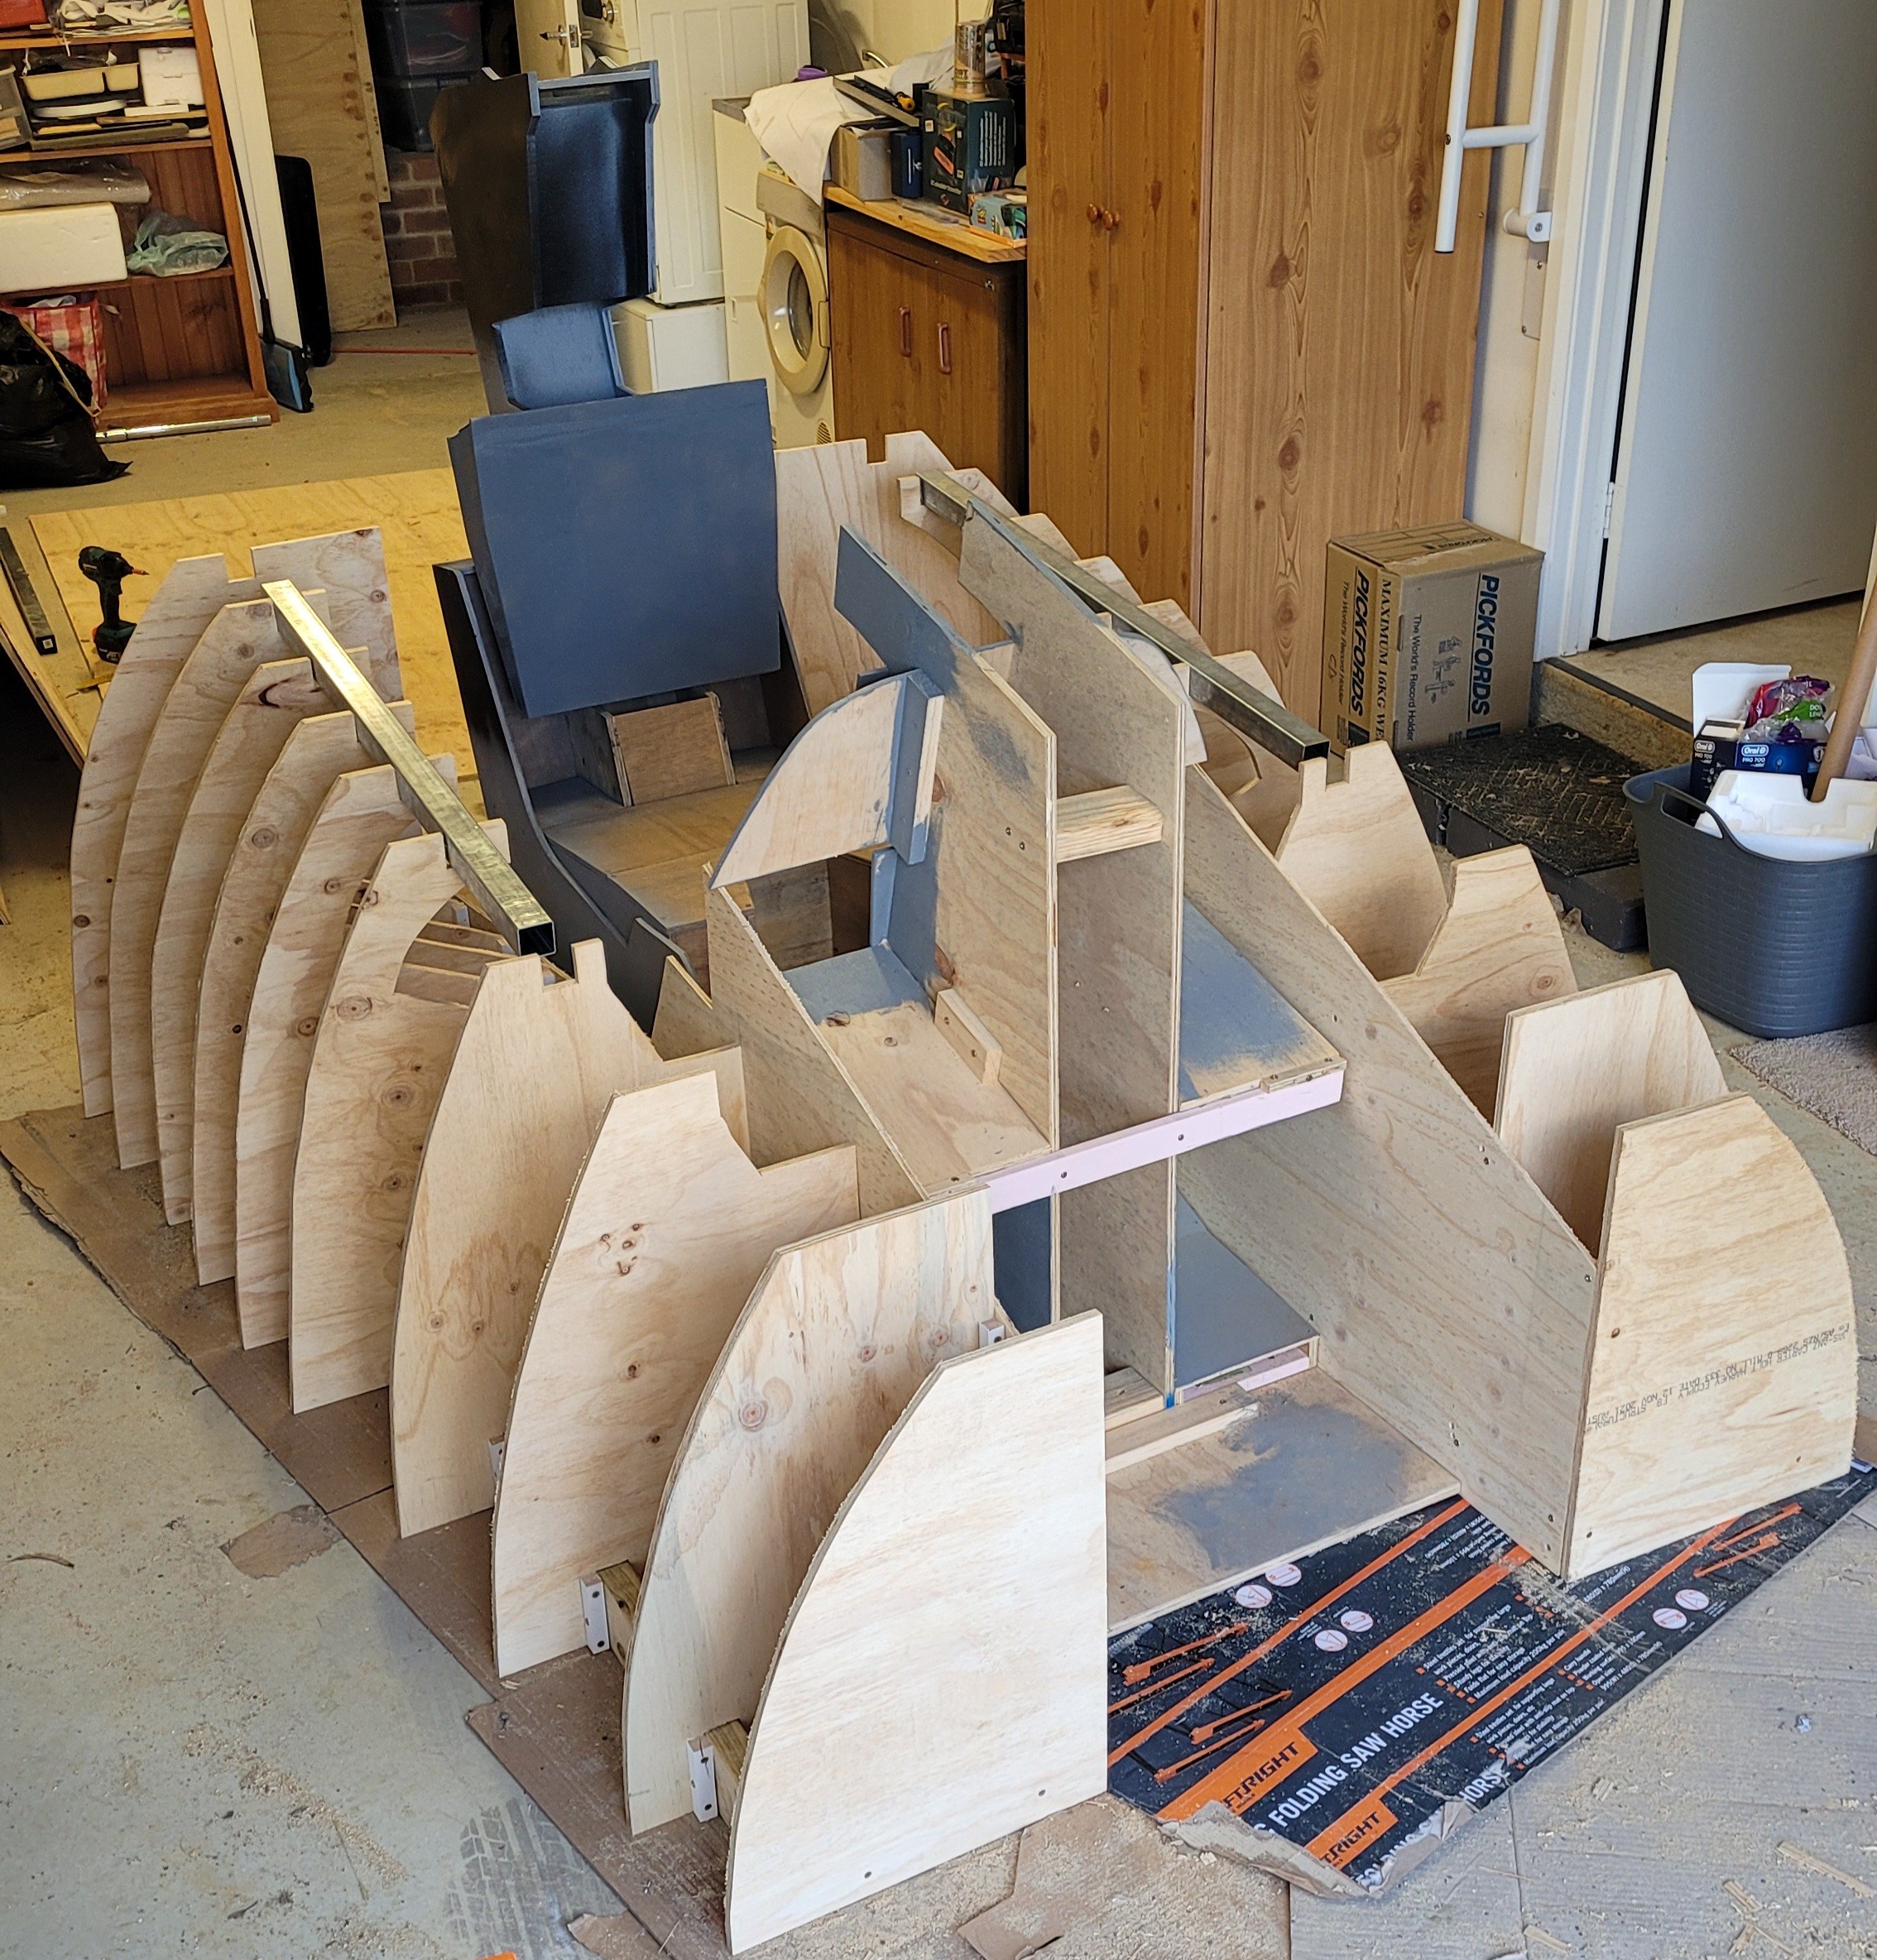
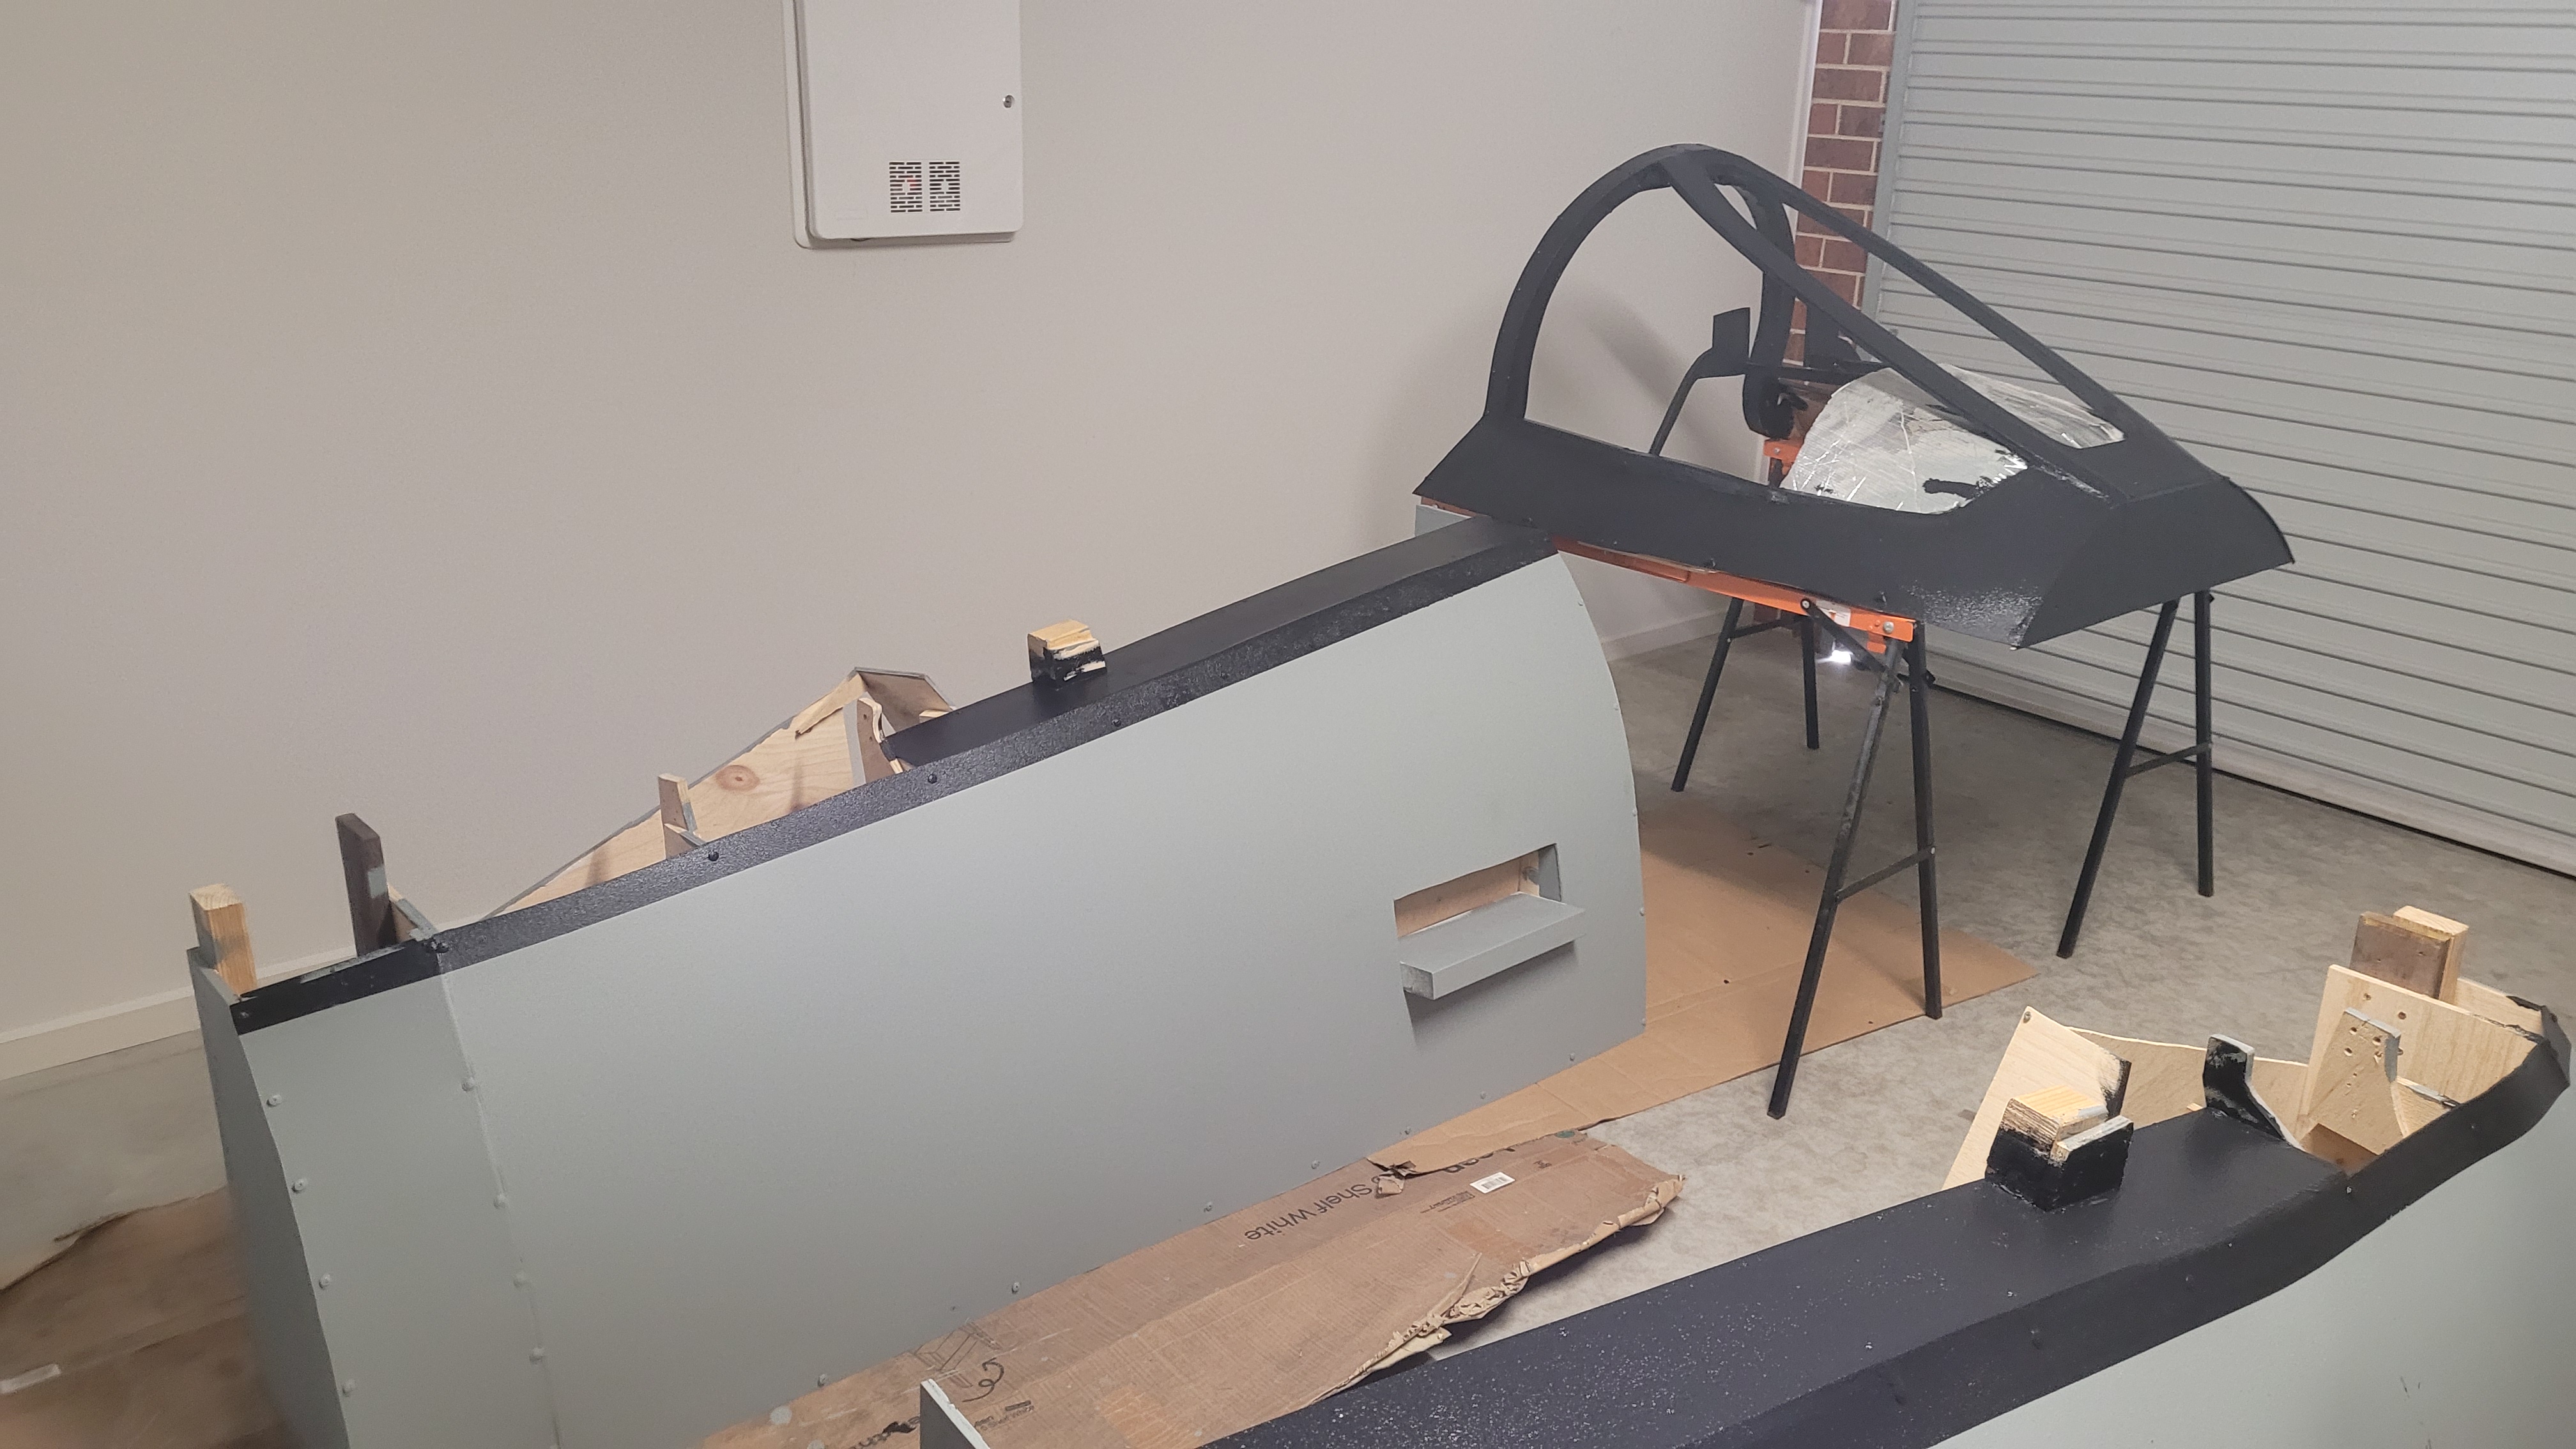
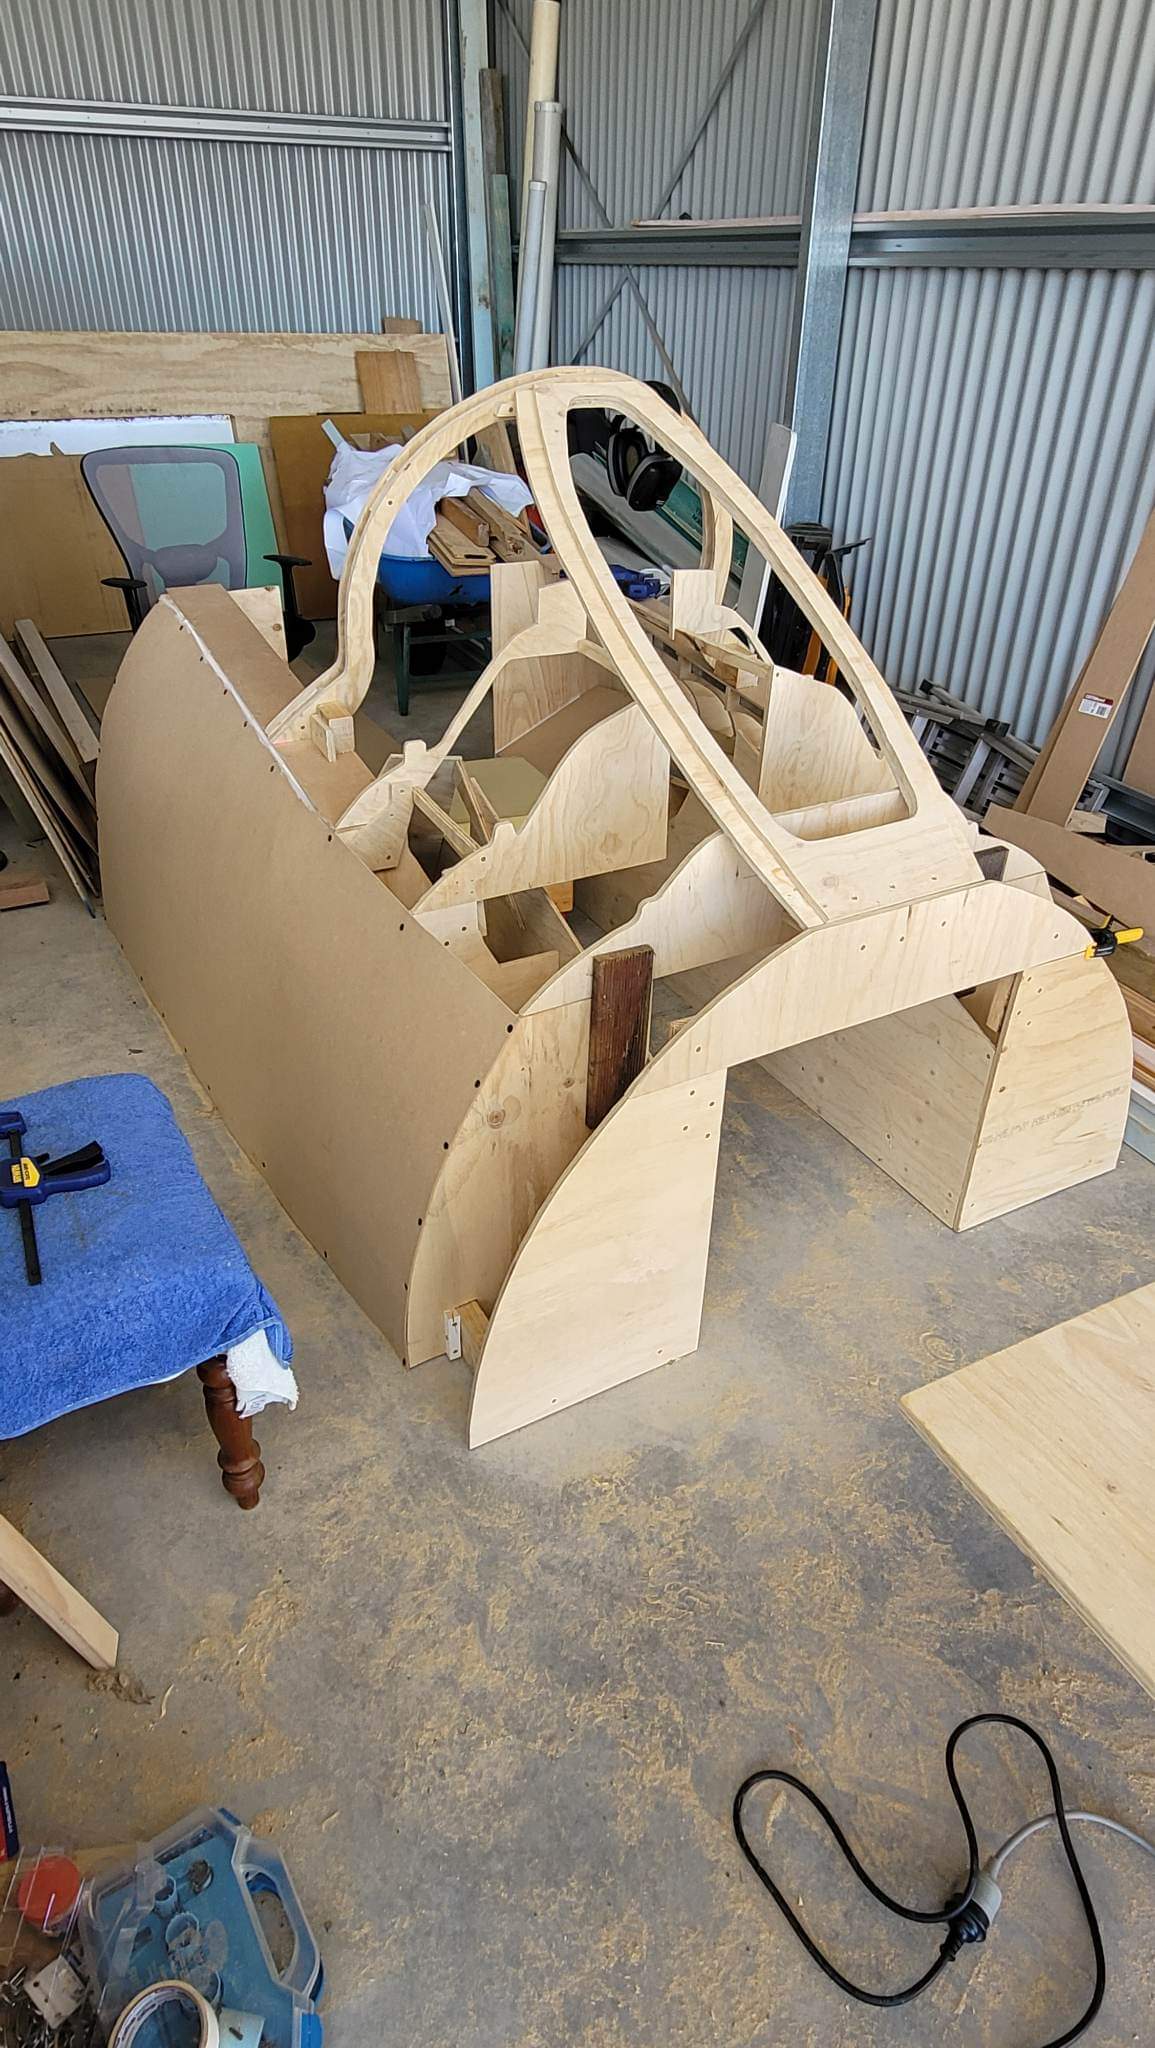
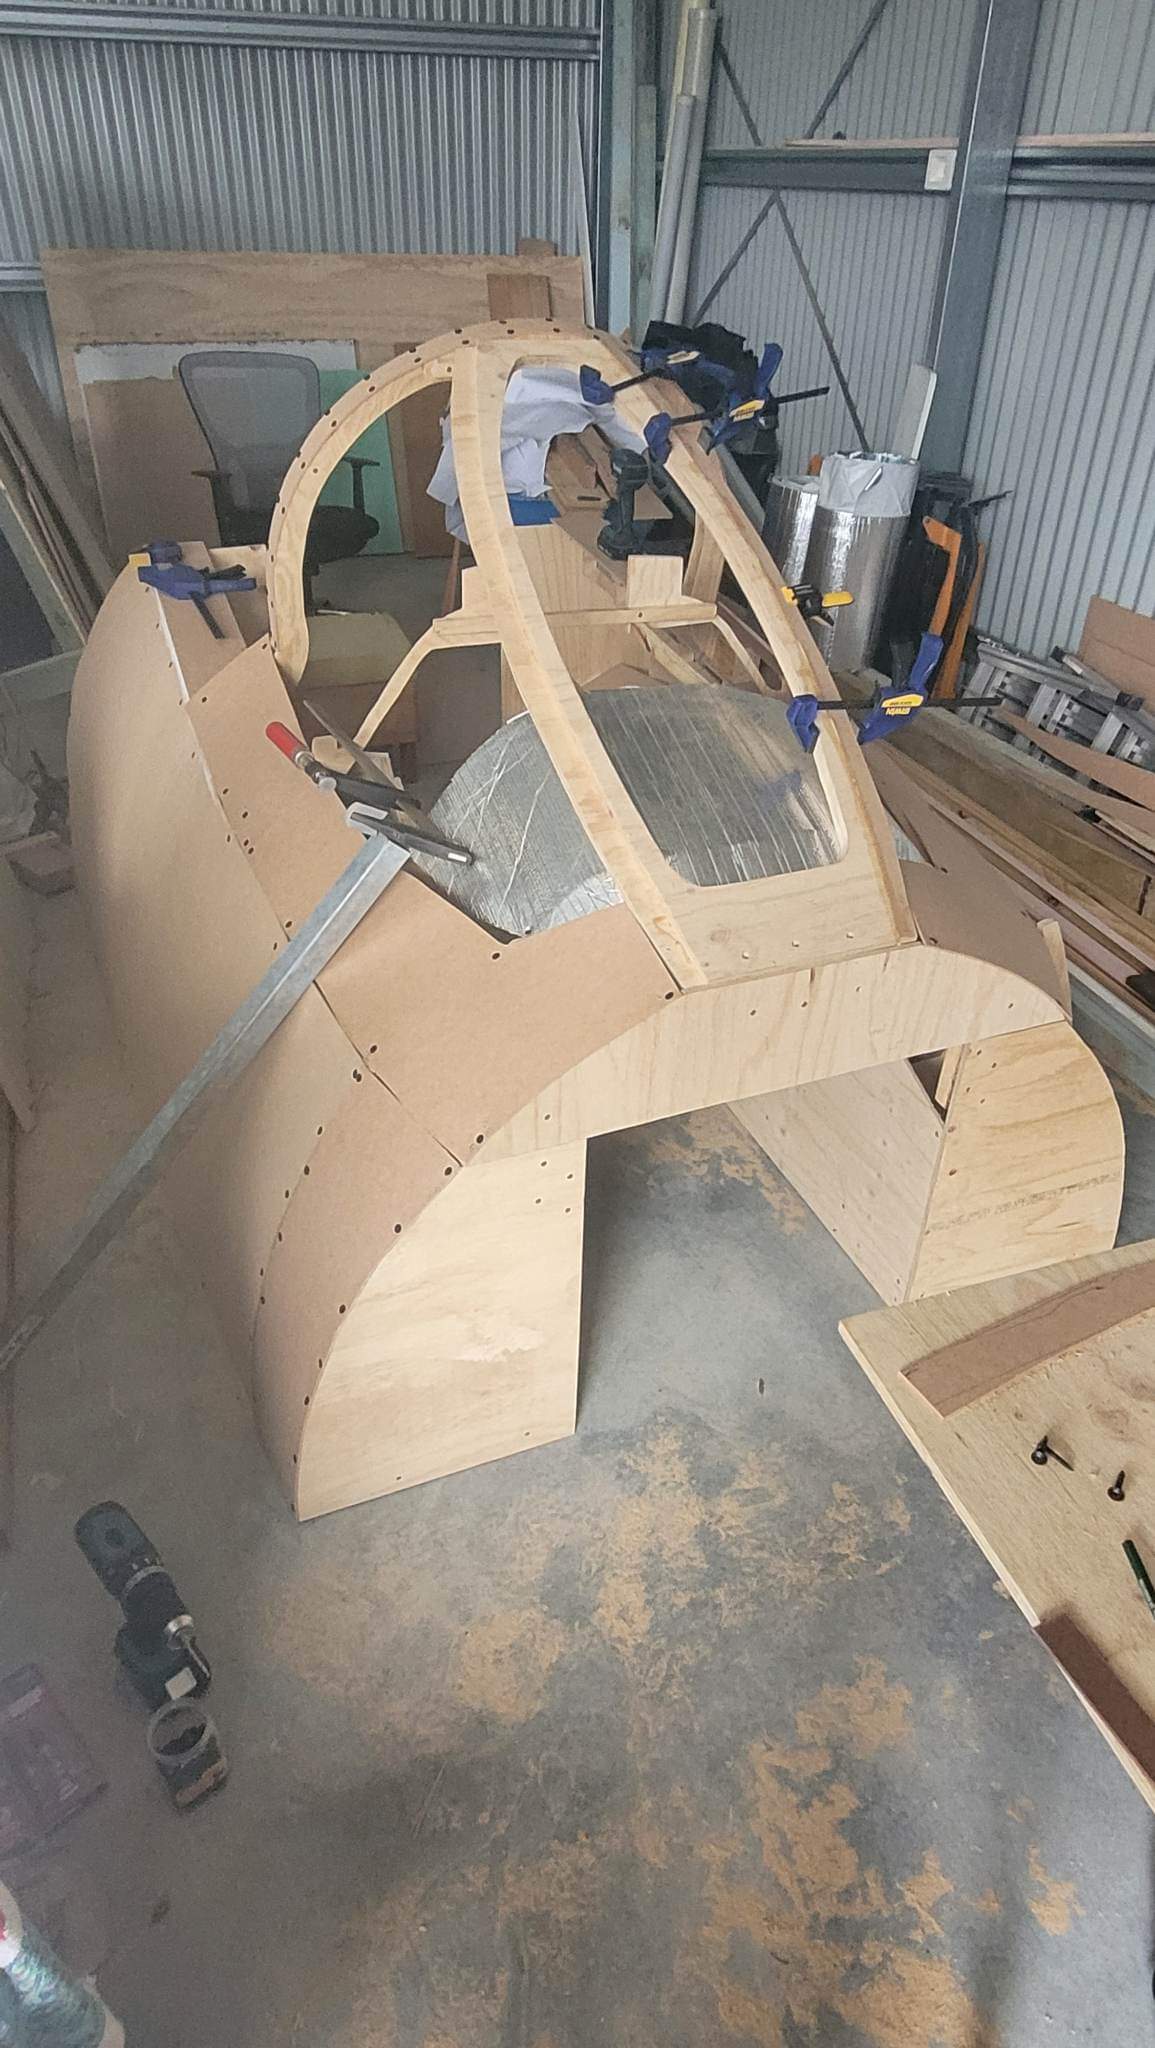
Howdy Gents, Bout time I put something up. I've got the base frame lowers finished over the Christmas break. Still in need of a skin, boarding steps, paint etc. Been slowly tinkering with the Flux Beamo as well. Hope everyone's break was productive. Mumbles.


.jpg.01c00641754be303700516c102a607fe.jpg)
.jpg.4506cfc6b160f3b326d6b552cec2f43c.jpg)
.jpg.03ccabb895672492280192cb3df427d9.jpg)


.jpeg.13ebf9104a50842fbdb87aa4924f2250.jpeg)