LASooner
-
Posts
252 -
Joined
-
Last visited
9 Followers


-
Life's been too busy to do much, so it's been slow going, but I found time to weld all the smaller parts together and connect it to my desk mount

-
Slow progress
-
I'm not prepared to make any of this stuff available, firstly I'm still working on all of it myself whenever I get a spare moment. Secondly, I dealt with some issues with the Tomcat stuff I made available that I wasn't real thrilled with. I model all my stuff in Maya.
-
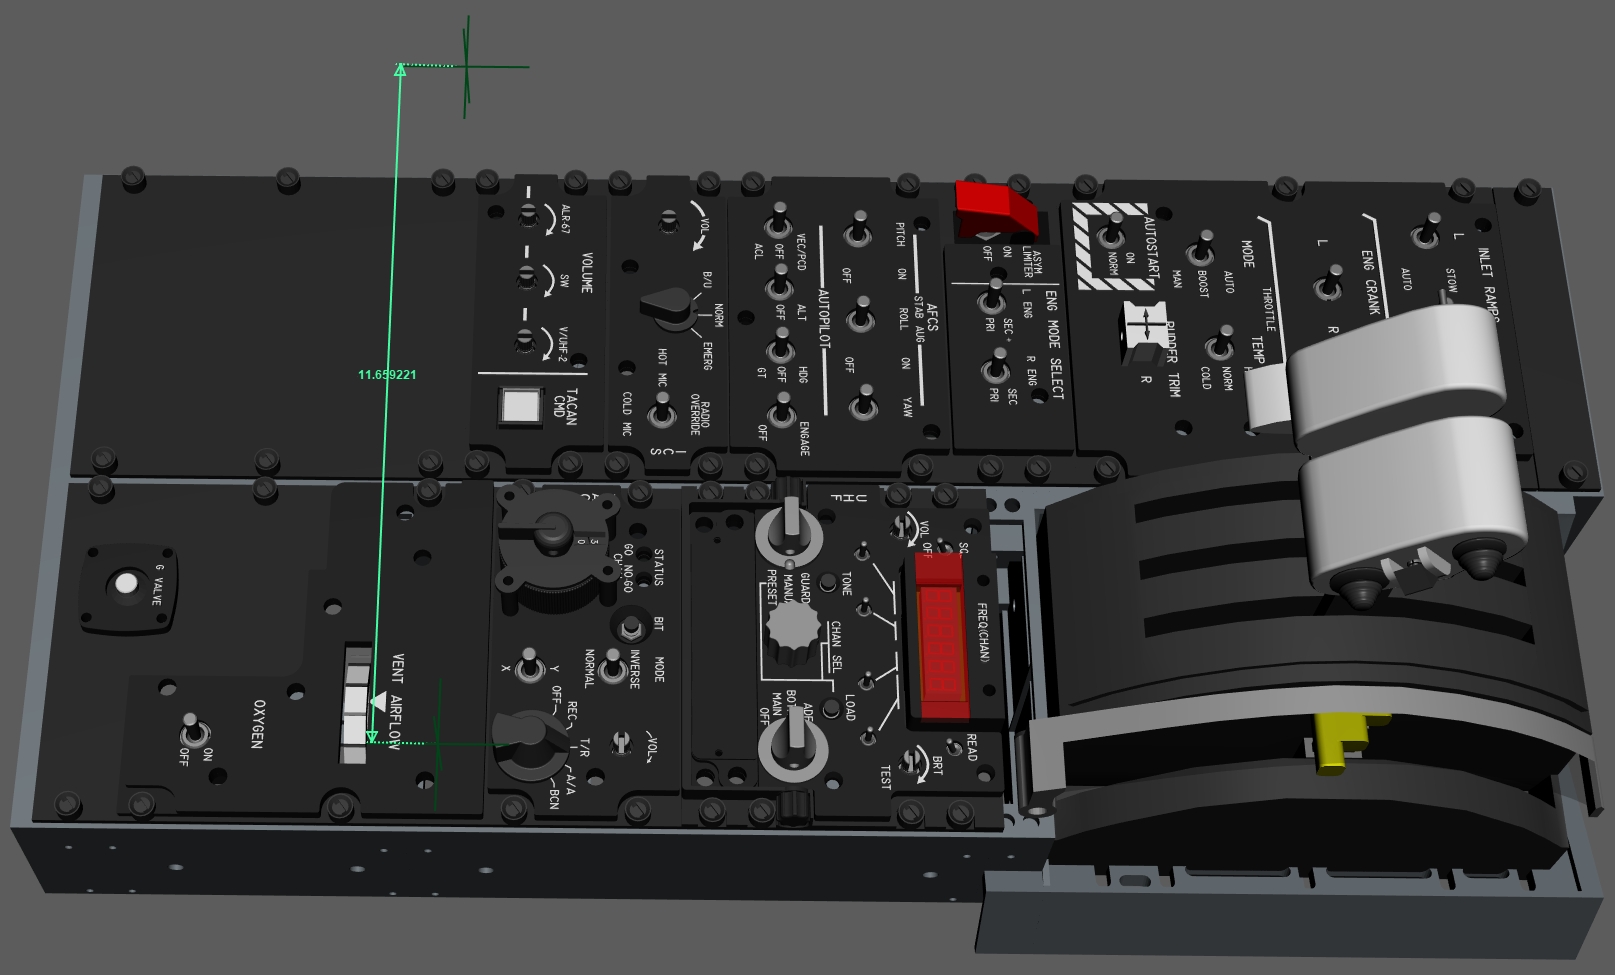
It's in inches
-
I got this one, I haven't programmed it yet https://www.amazon.com/dp/B08JKCDHRW?ref_=ppx_hzsearch_conn_dt_b_fed_asin_title_9 Sent from my Samsung Chromebook Plus using Tapatalk /topic/350660-desk-mounted-ah-64-apache-cockpit-for-vr/#findComment-5462623 Sent from my Samsung Chromebook Plus using Tapatalk
-
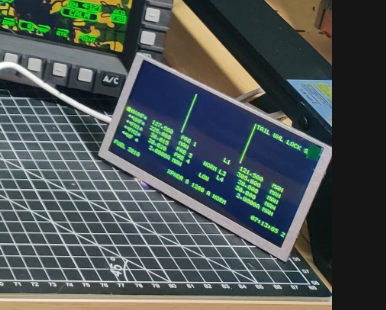
where did you get this monitor? null
-
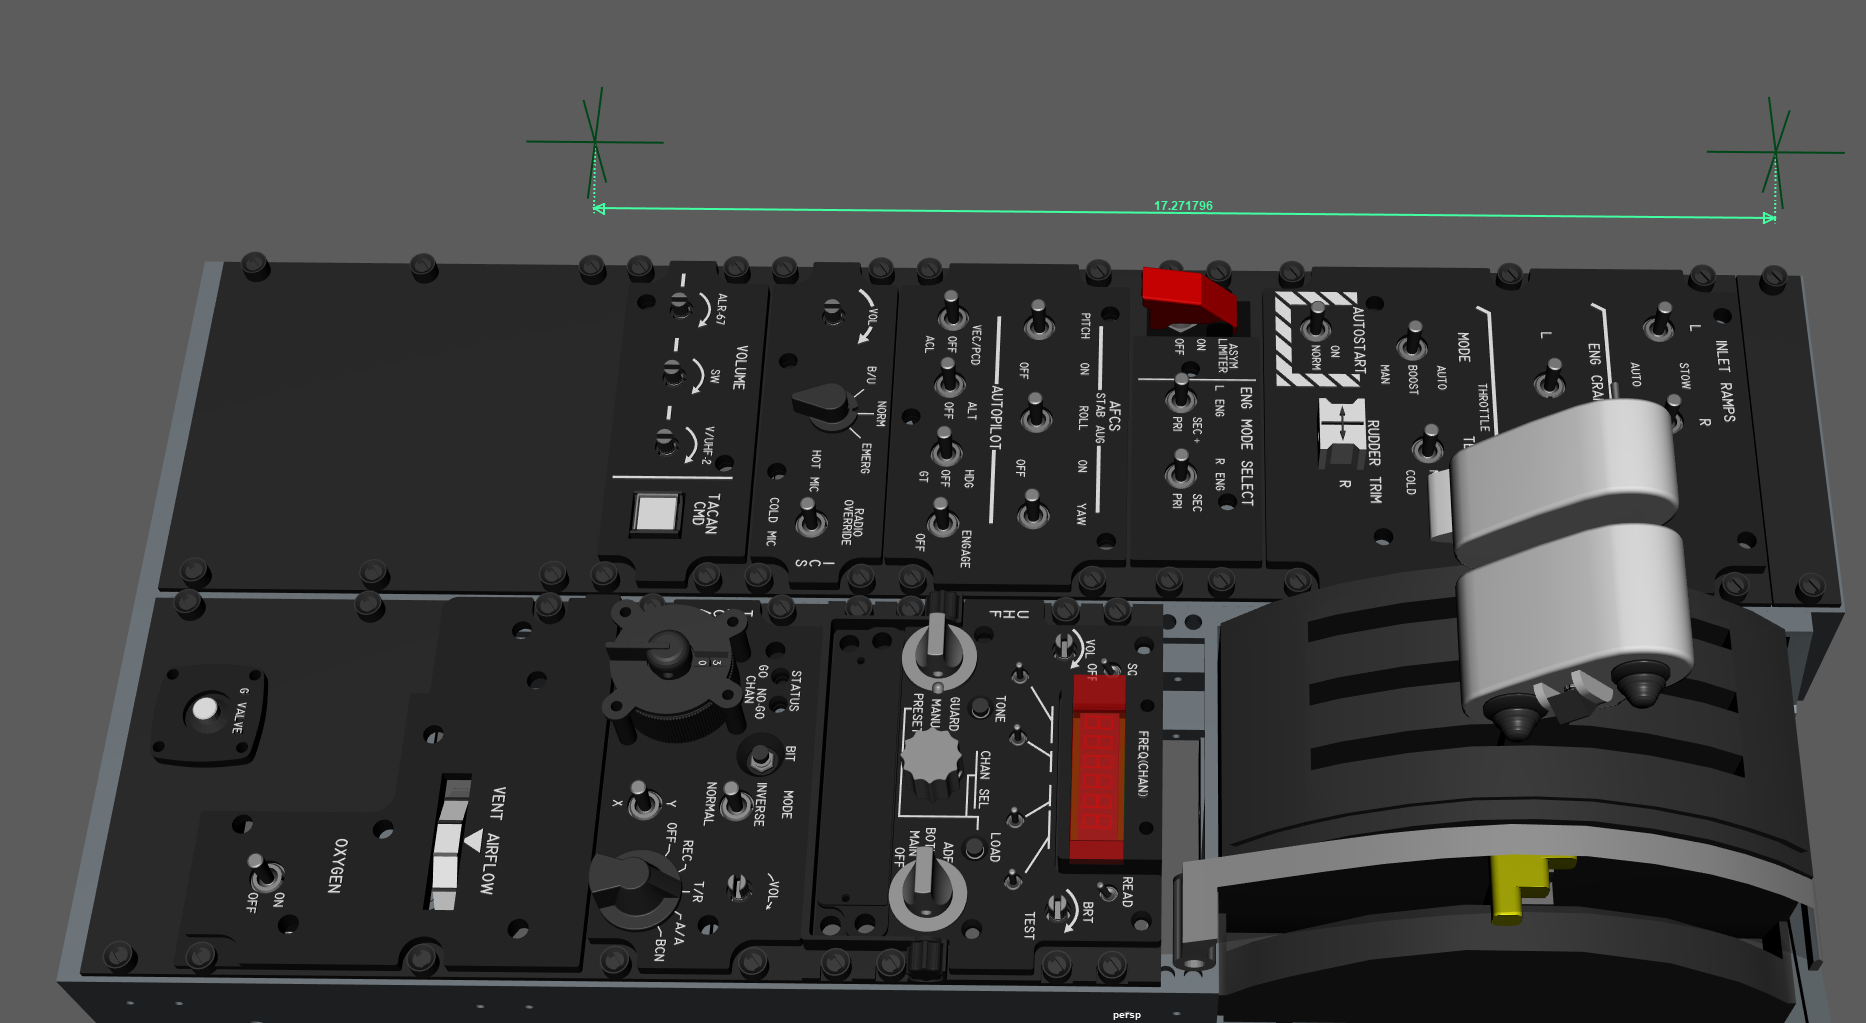
Each NATO panel width is 5.75" Sent from my Samsung Chromebook Plus using Tapatalk
-
These are in inches
-
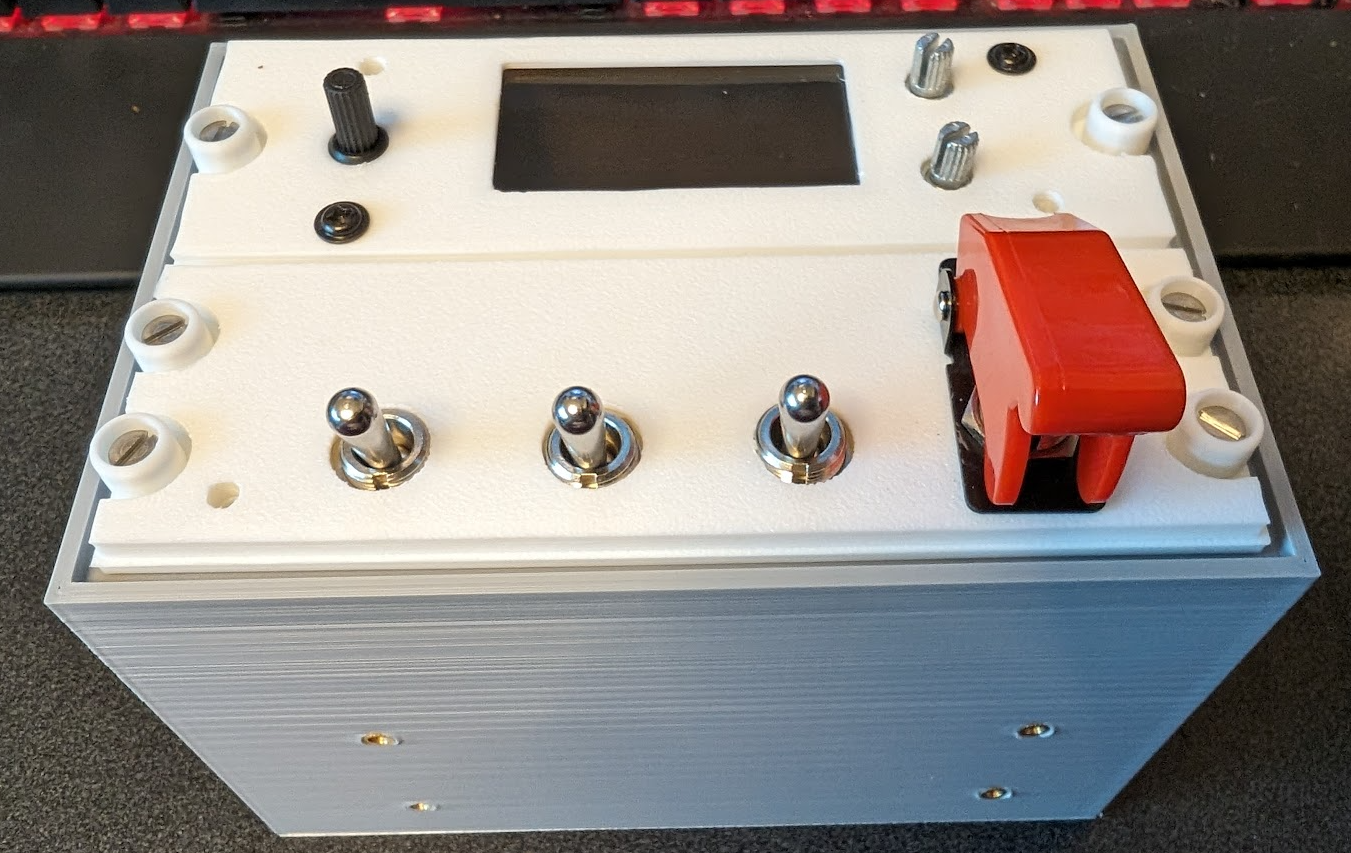
3d printed PLA, I used some fake stone texture to give it the bumpy look, but i'm not real happy with it, I think I may sand it down a little and repaint
-
Counter Measures Panel and Box
-
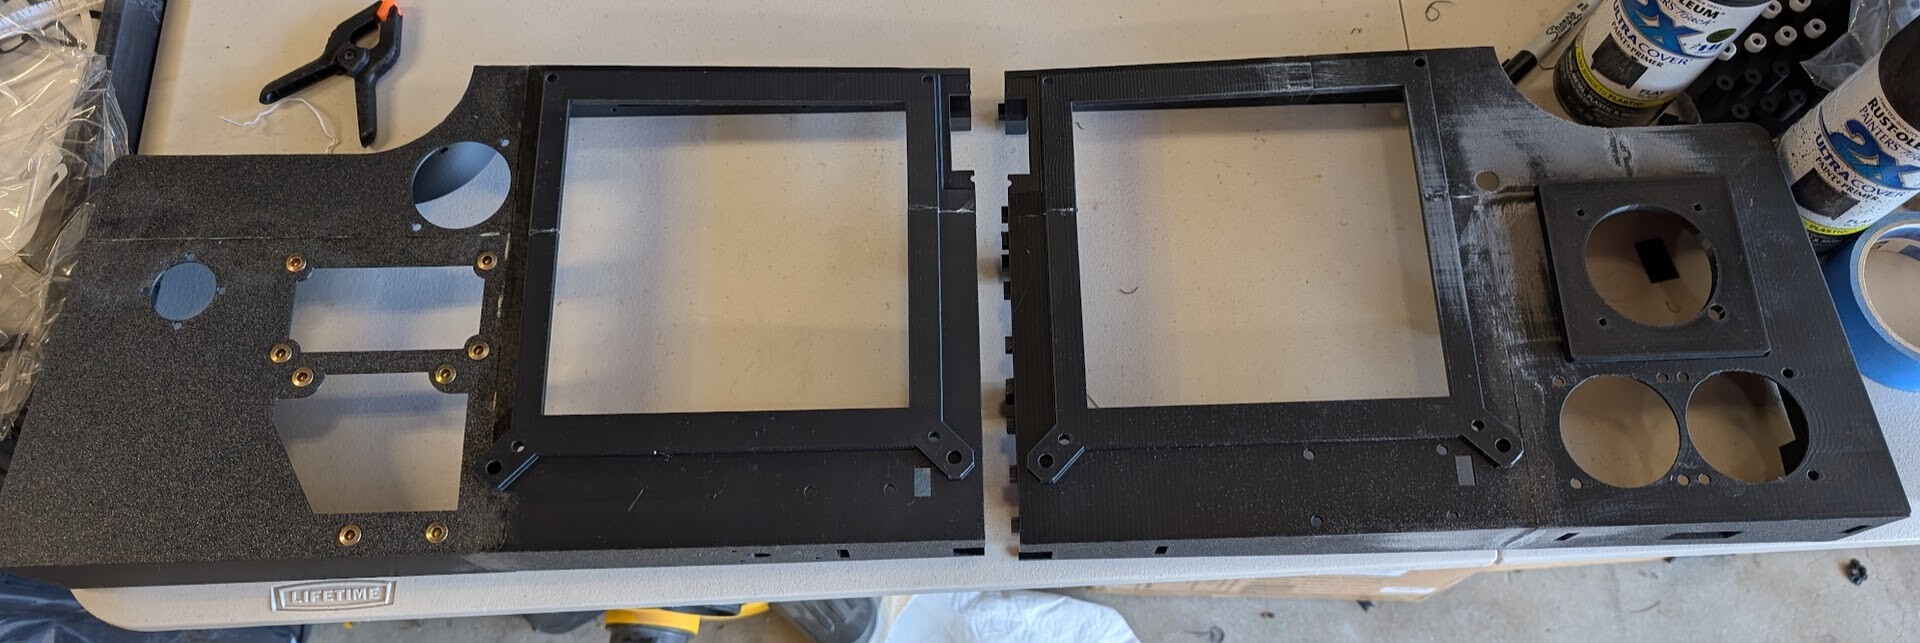
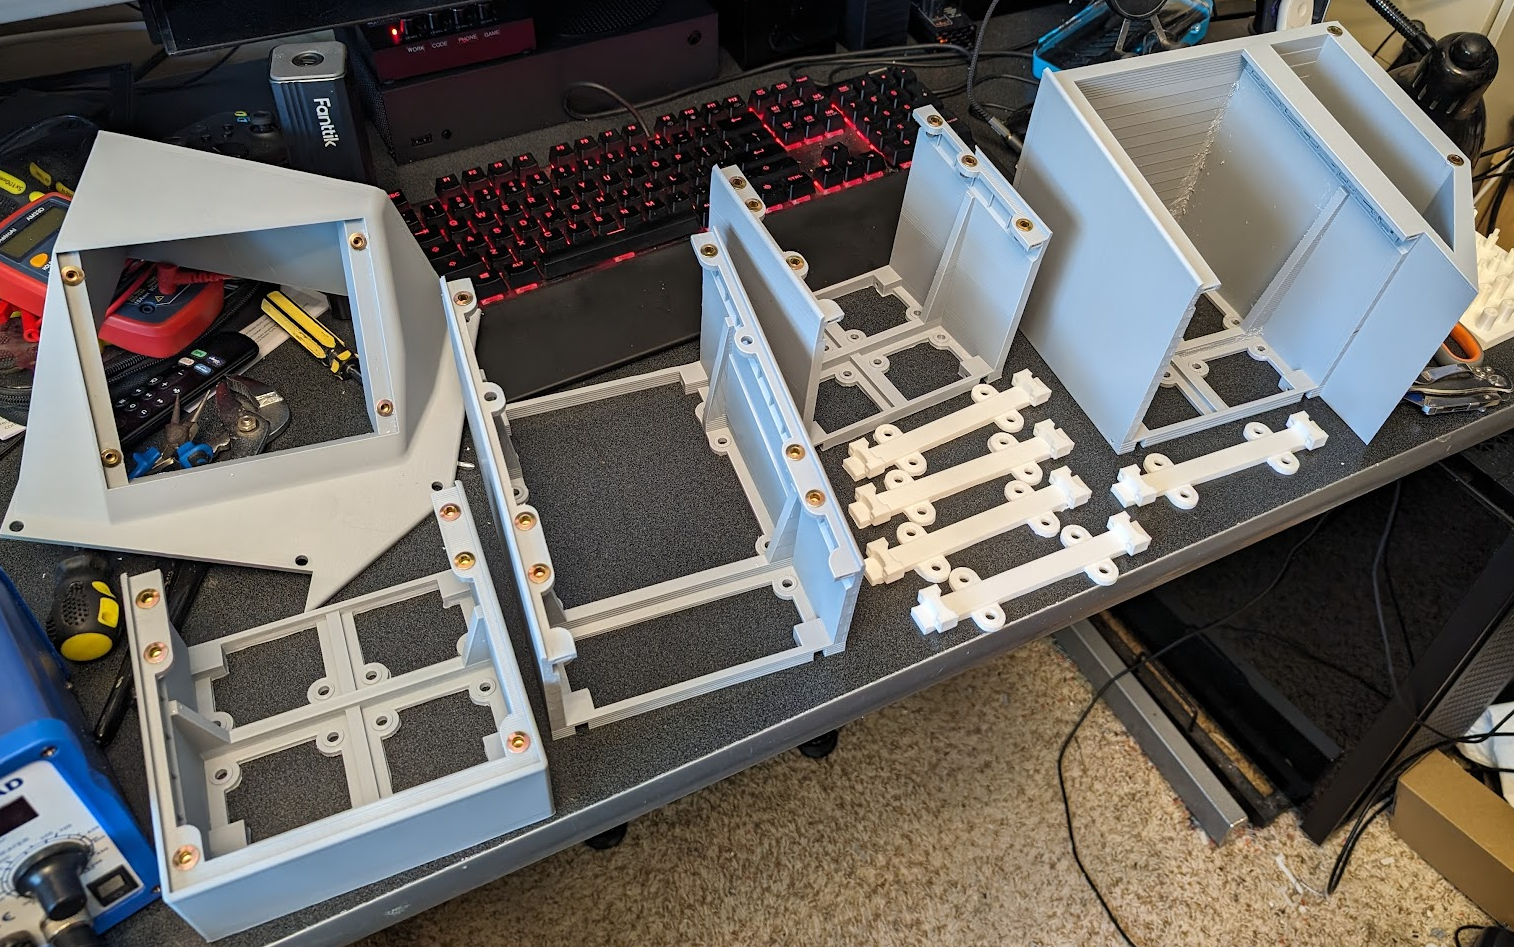
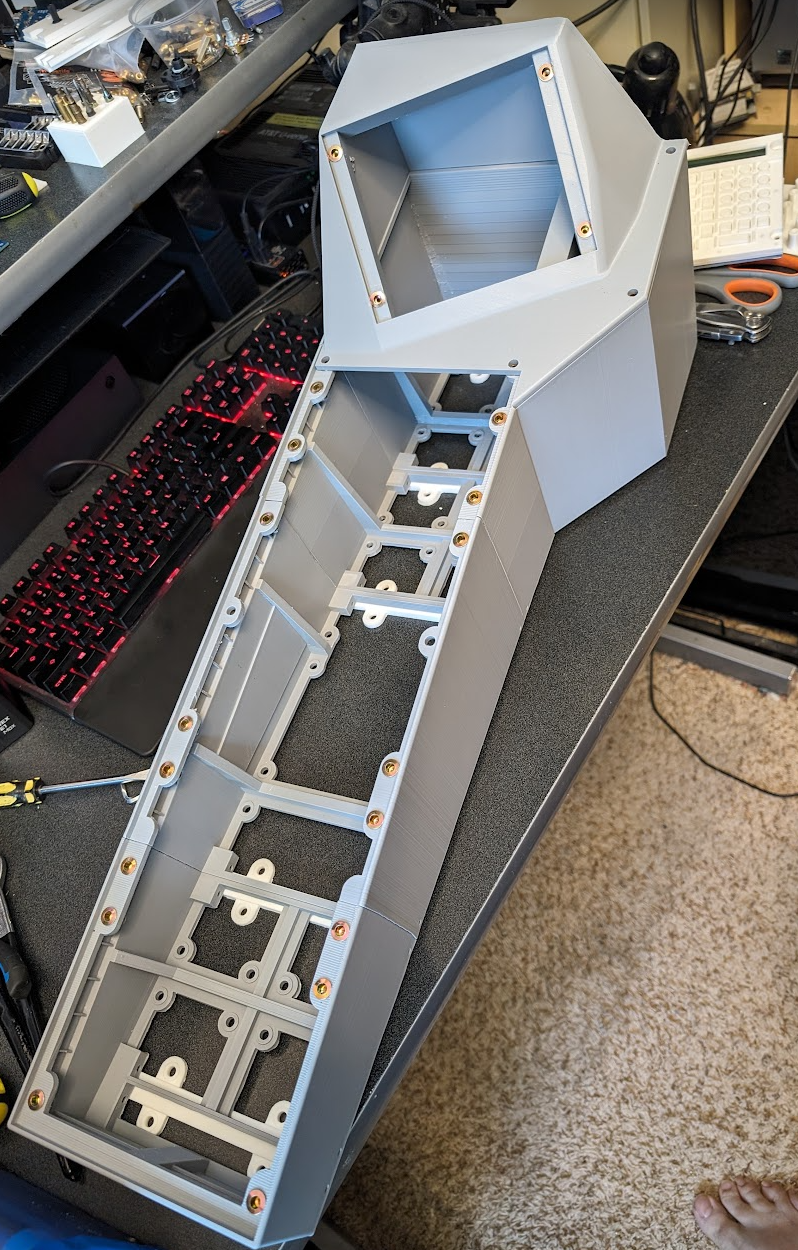
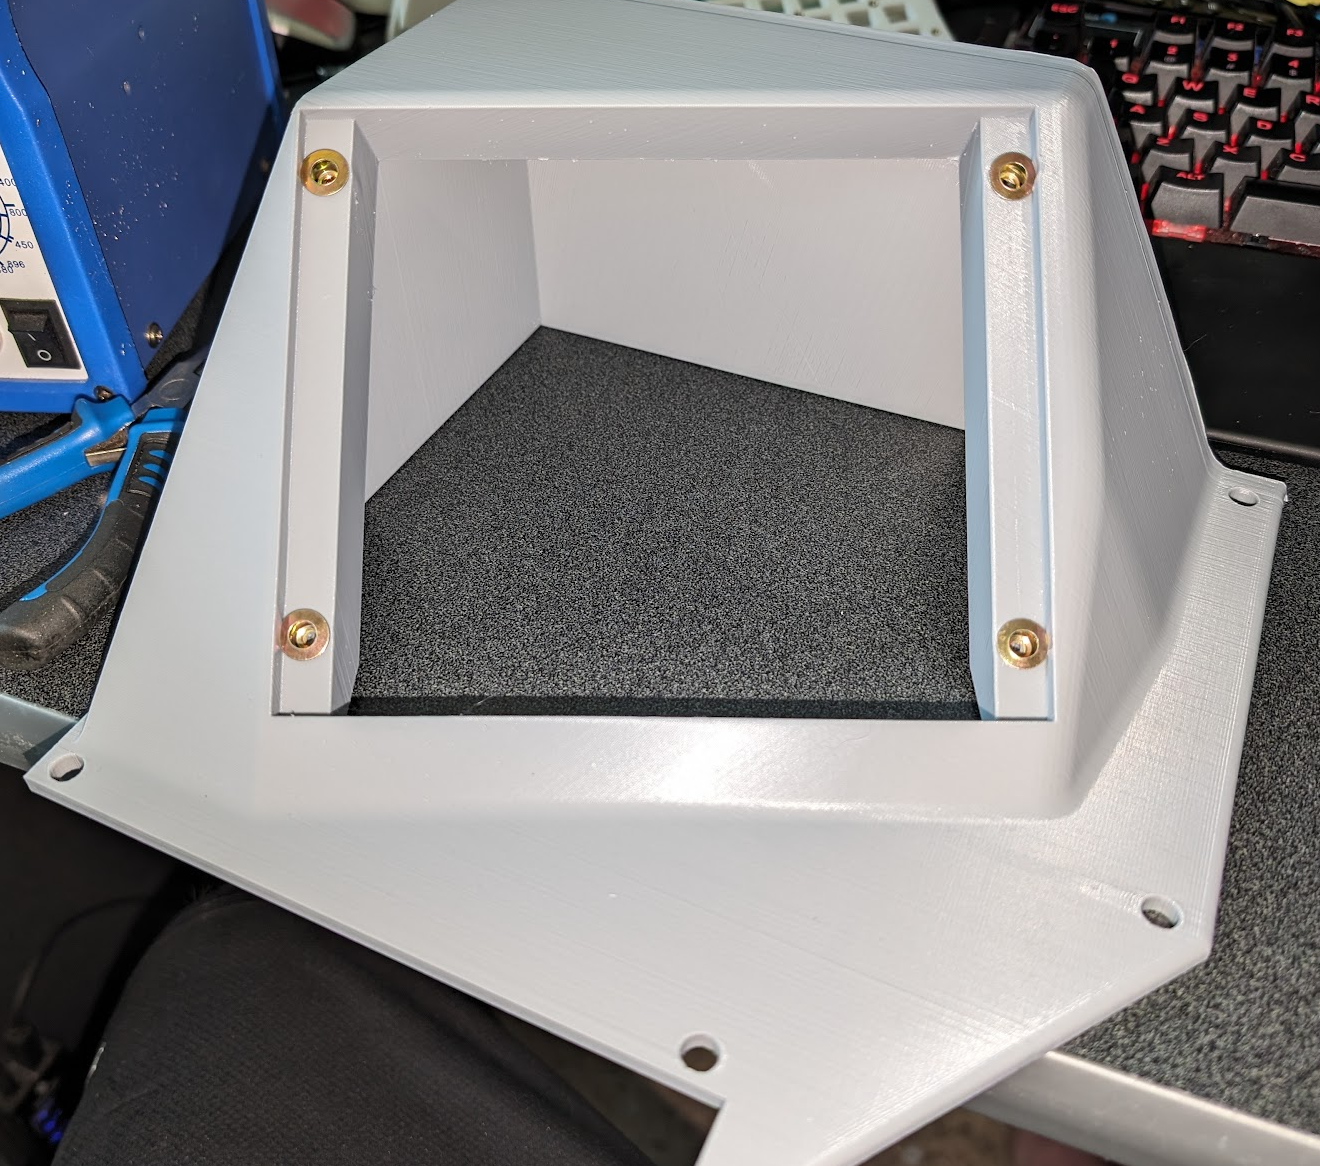
couple several day prints over 2 printers, but the base console mount is printed, and all the panels fit as expected. Because I have smaller print beds I had to break it up into several parts and will glue and screw it all together before putty, prime and sand.
-
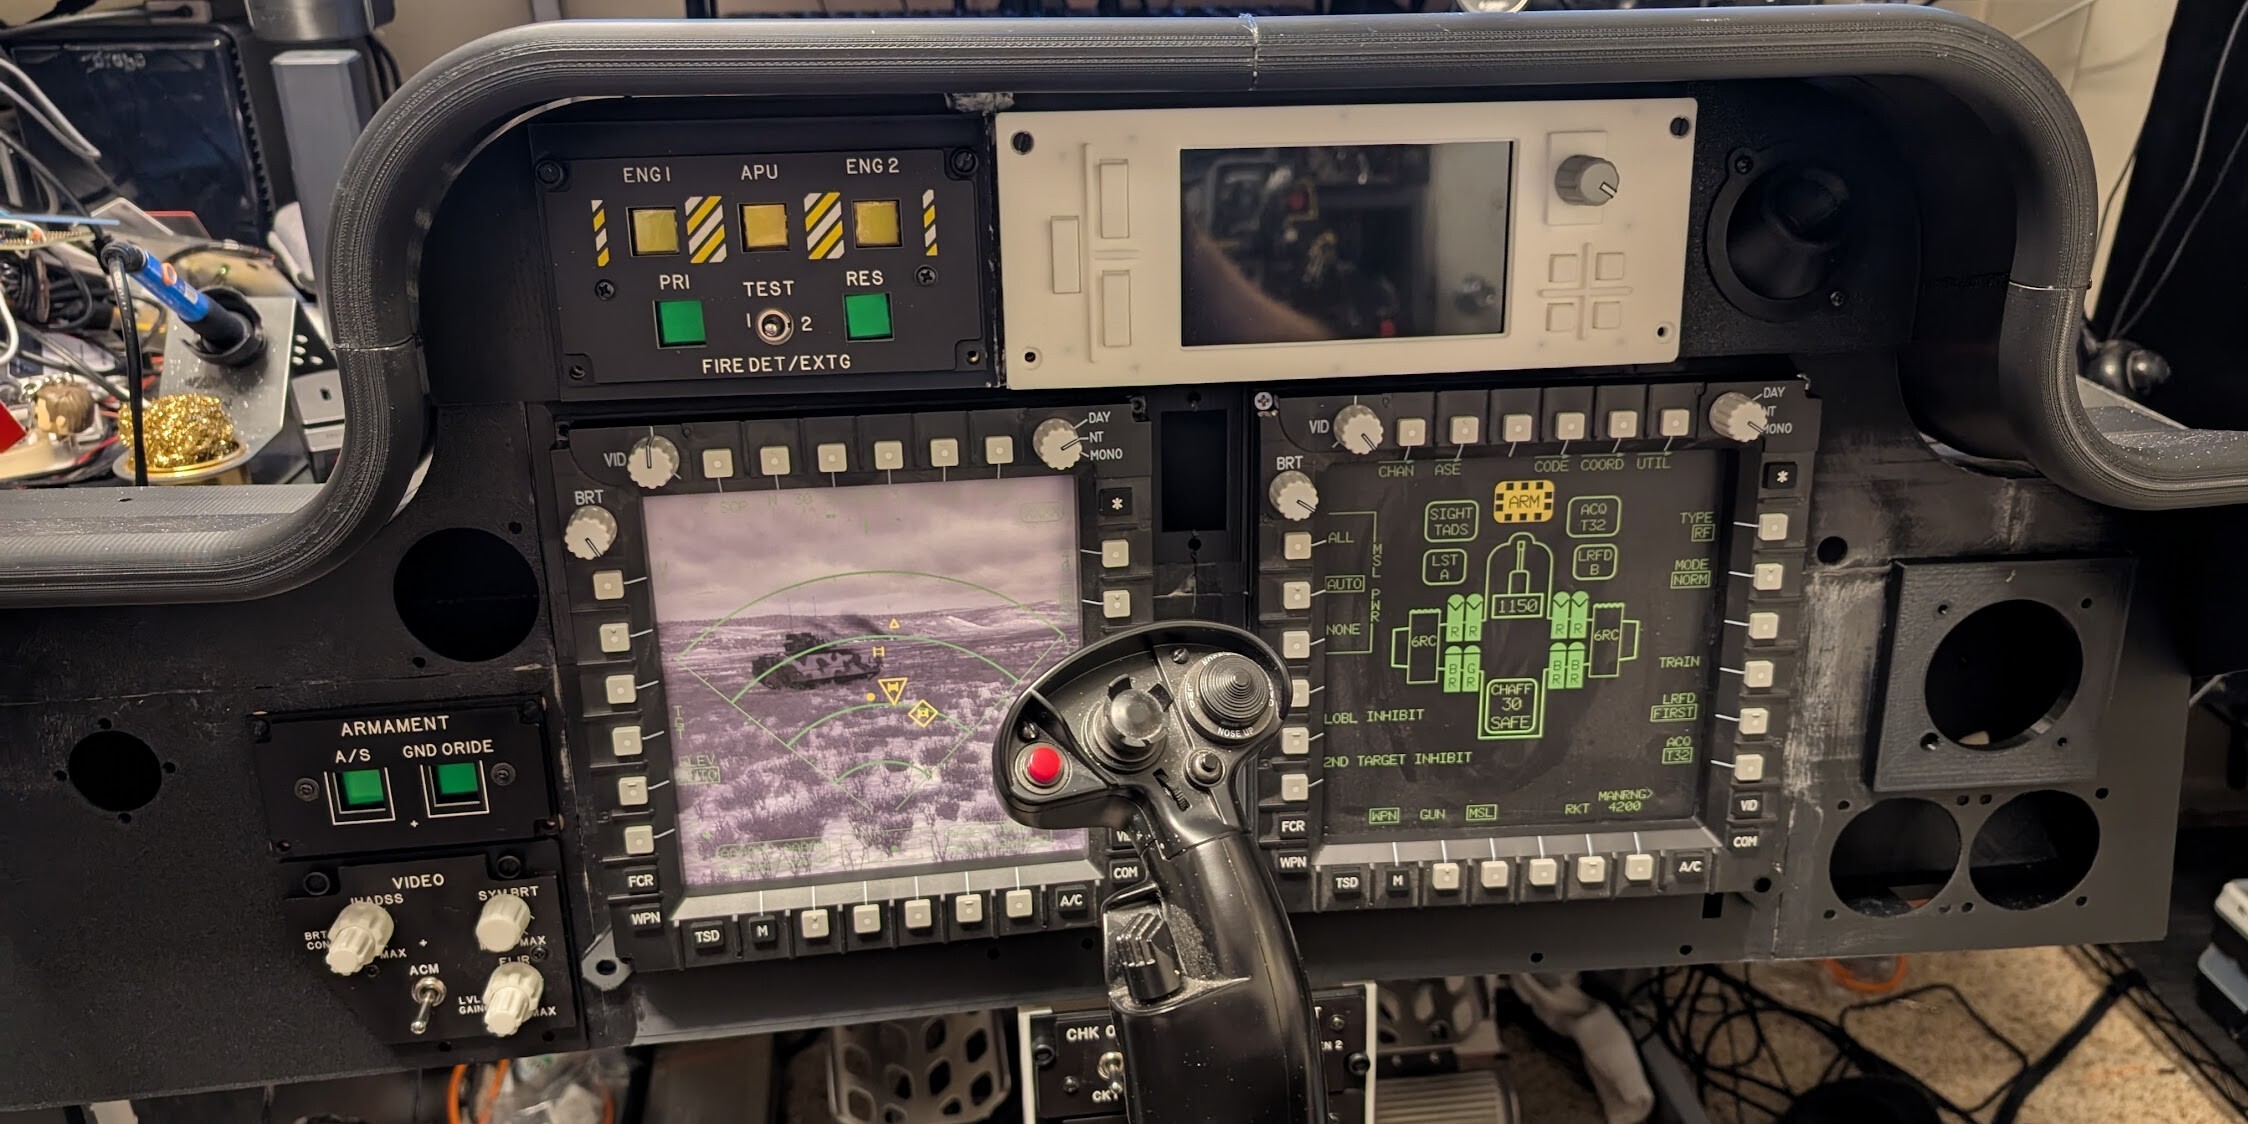
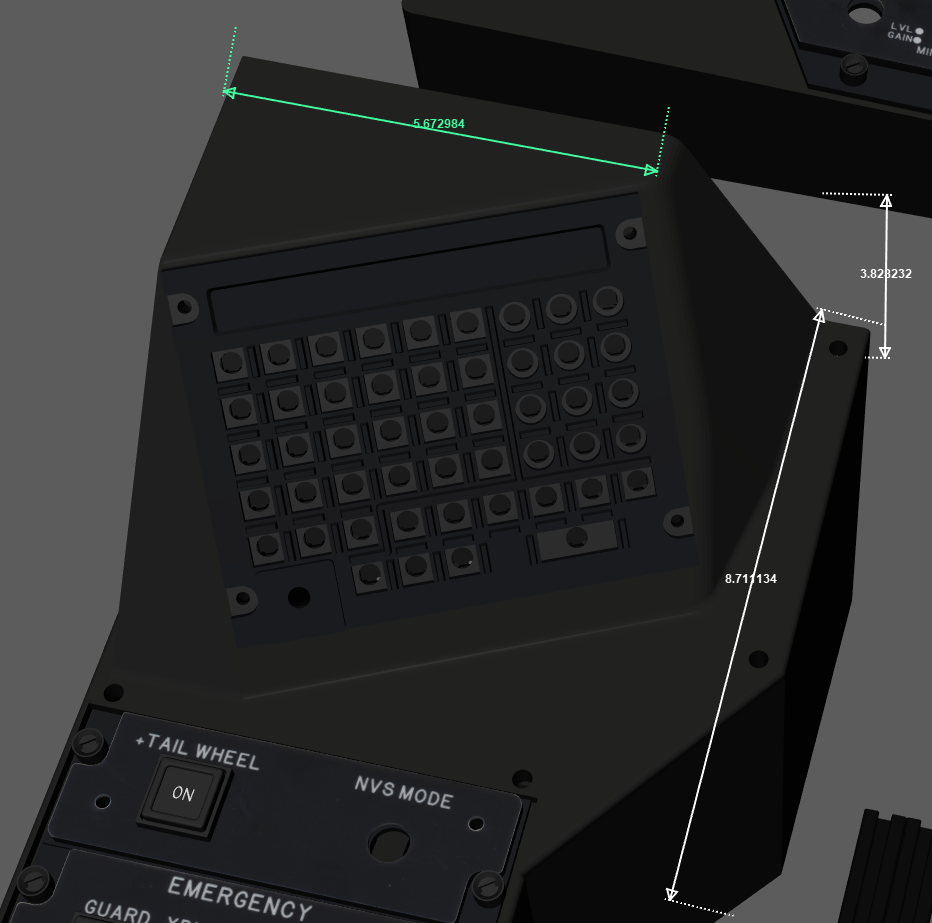
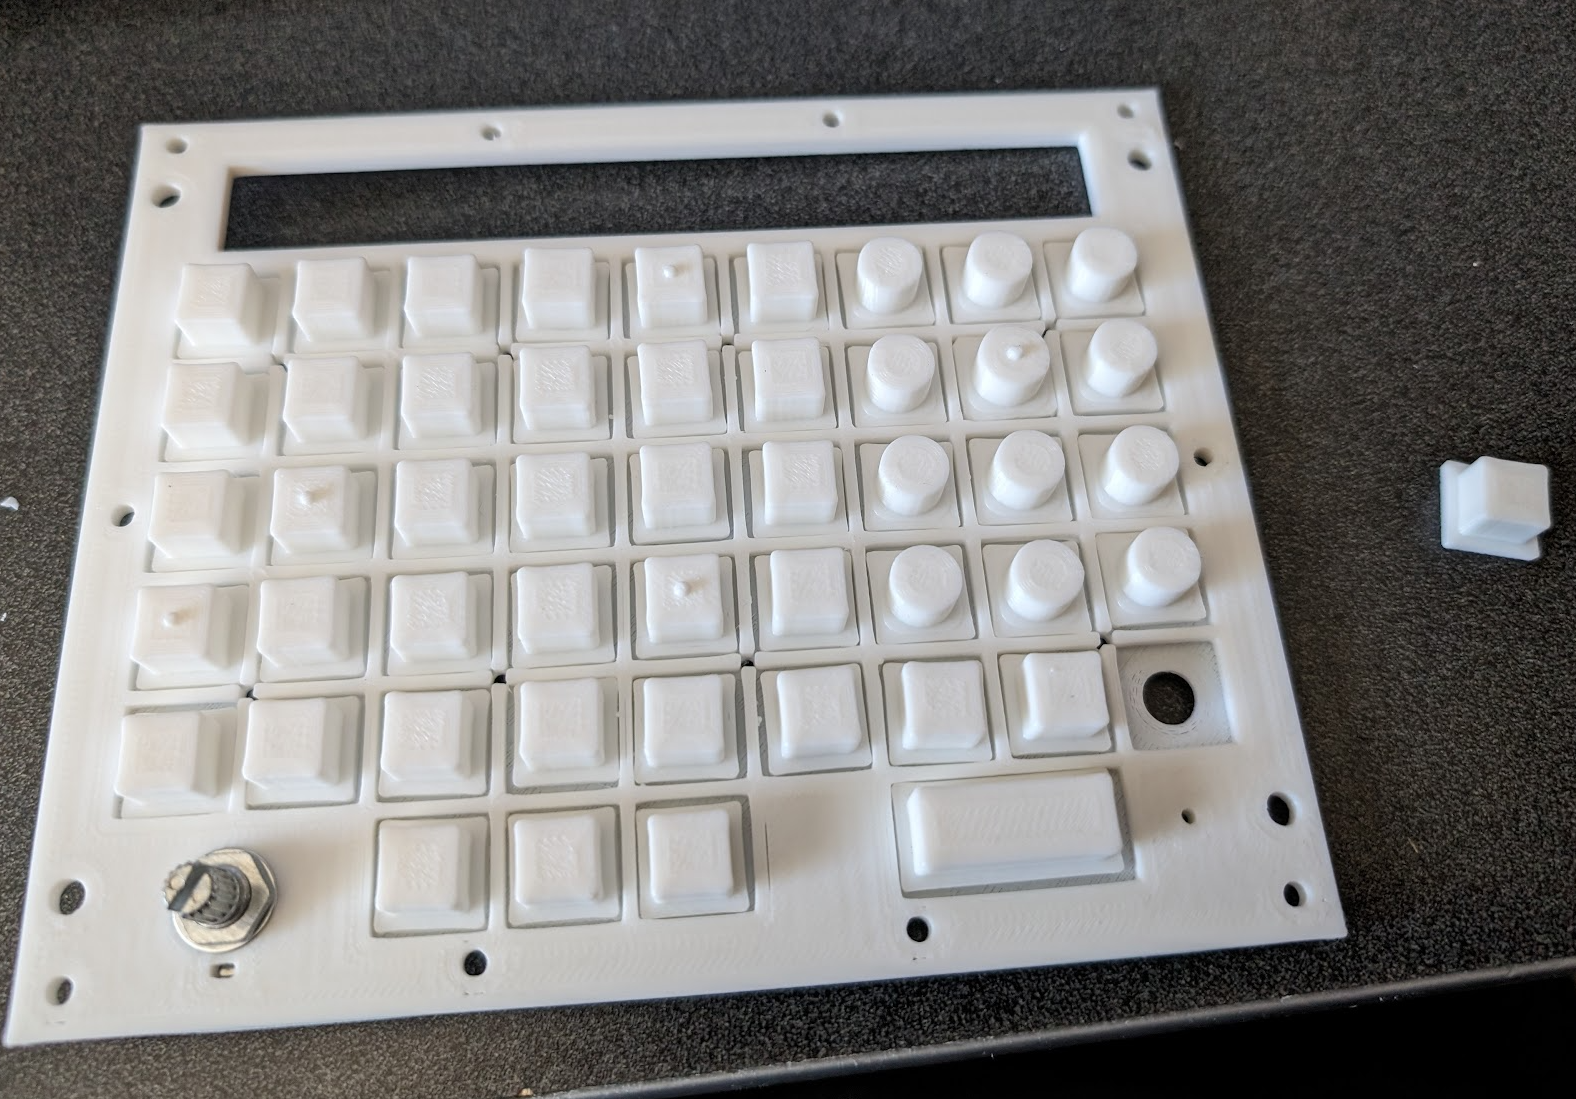
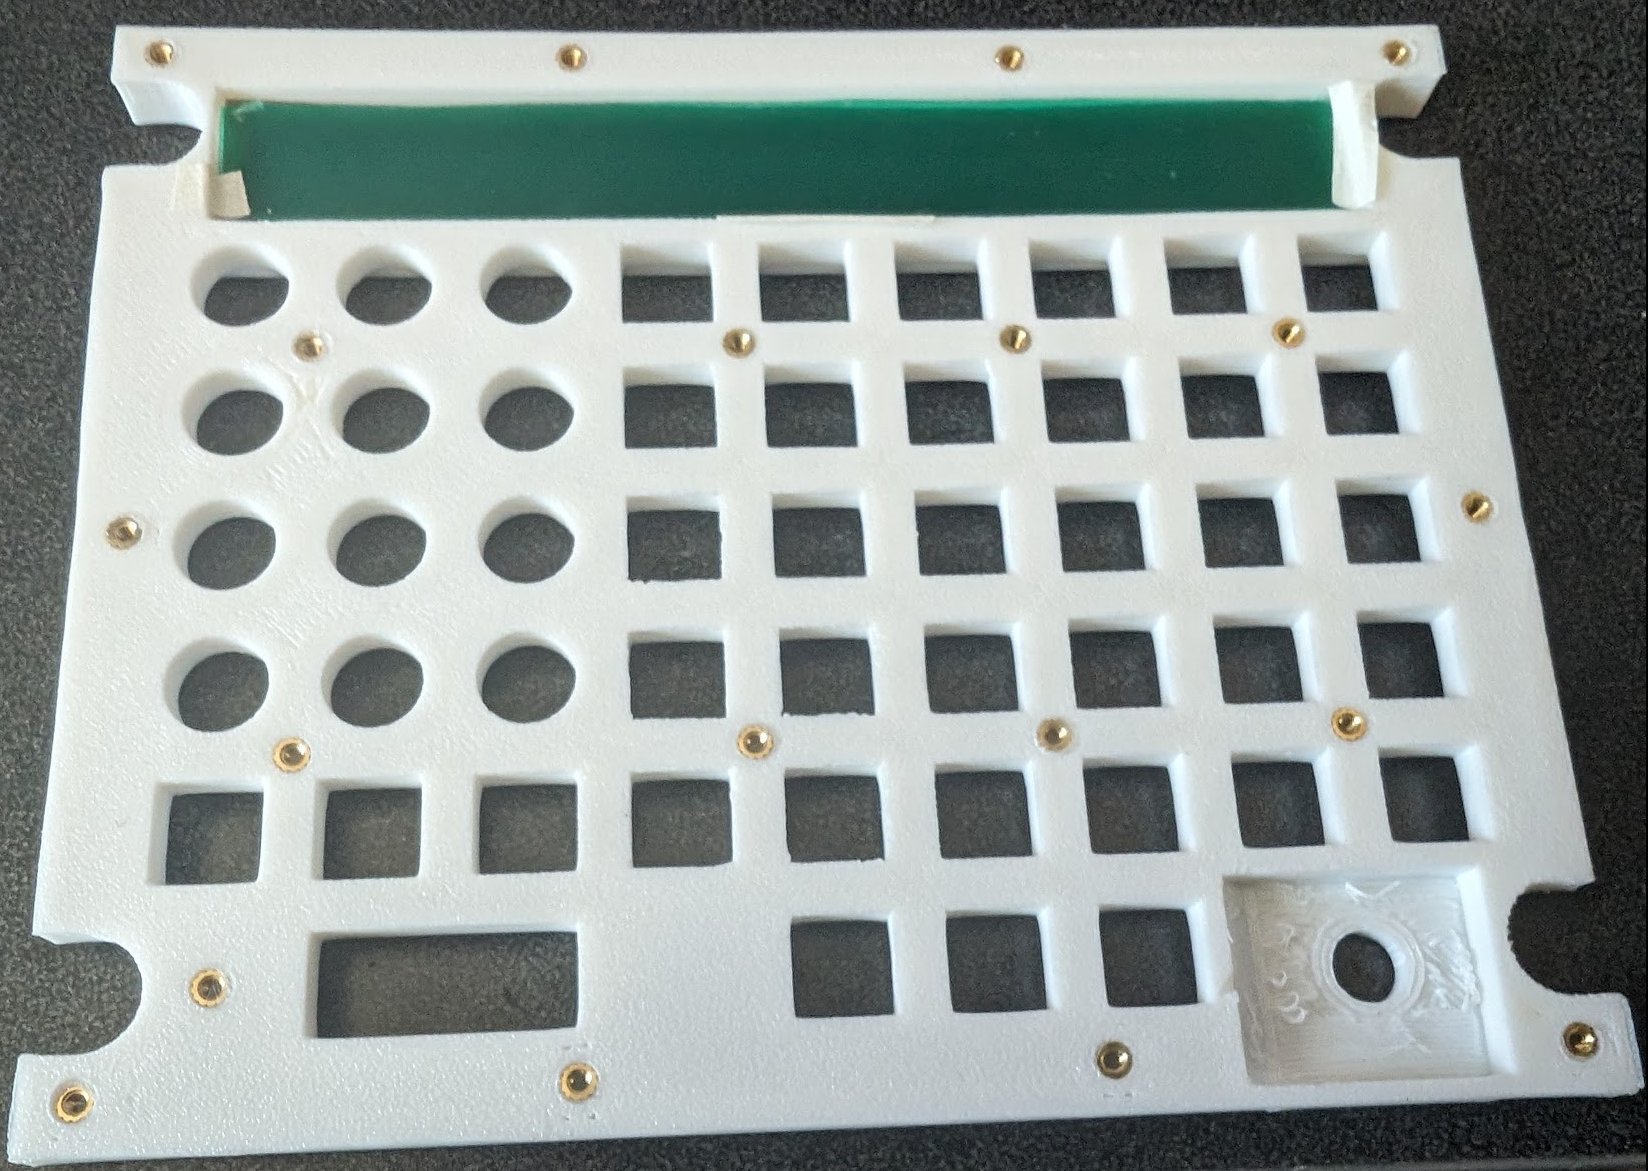
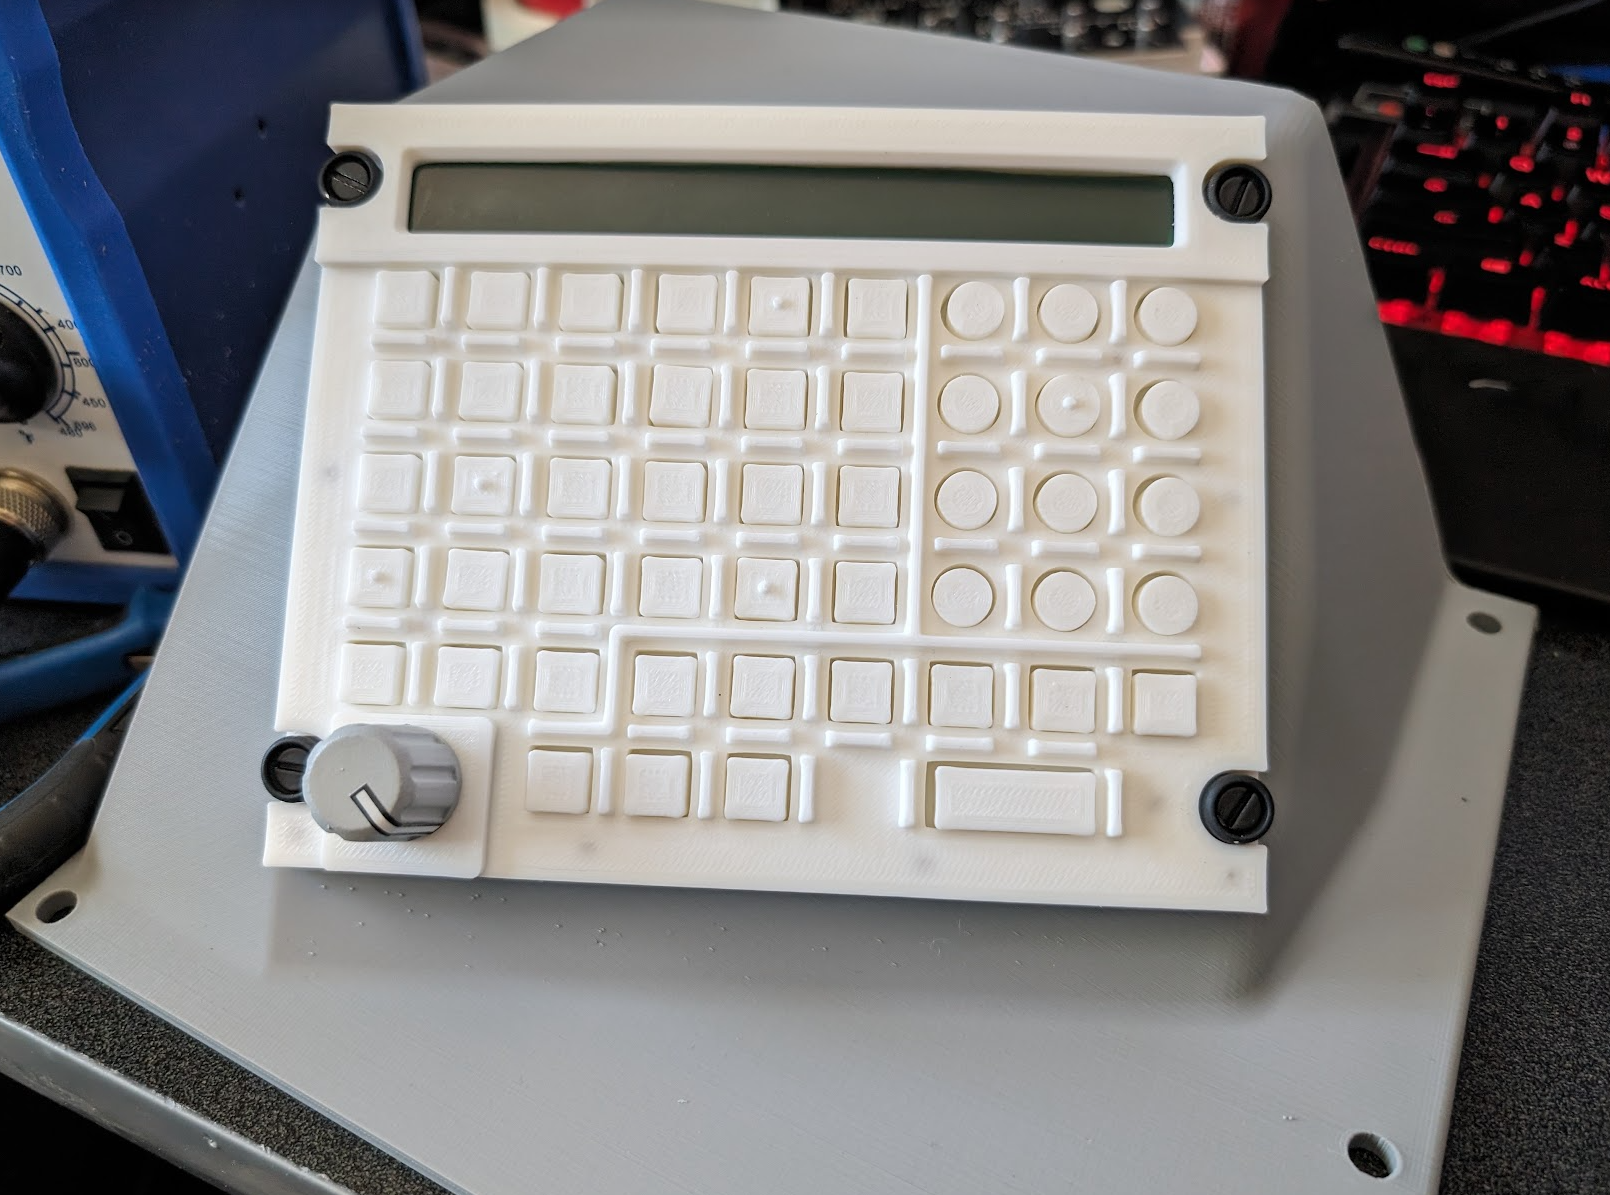
As I wind down on the F-14, I decided it was time to get back to the cockpit I started before that. Before I got my 3D printer I bought a bunch of AH-64 panels from TekCreations, but after getting my 1st 3D printer I took a several year detour to working on the Tomcat. It's time to go back to the Apache one and use all those panels I bought. But I obviously have to fill in the gaps on the parts I don't have. I thought I would start with the trickiest one which is the Keyboard unit and how it mounts to the controls. I'm still having issues with some of the buttons not contacting the microswitches cleanly so I'm going to try 6mm length switches instead of the 5mm I'm currently using. My plan is to build a purpose built console for the panels instead of the modular boxes I used on the tomcat. It will sit on an 2020 extrusion box like the Tomcat cockpit so I can move them out of the way when I need to use the desk. Storage is becoming an issue, so I don't know what I'm going to do about that. Here's the current state of the keyboard unit. No plans to put an LCD in. As it's hard to source a single line LCD that's about 4" long. If anyone knows of one let me know. I tried the 40x2 that some people are using but the dimensions are off. Same for the 24x2. So for now, an empty hole with some light gels taped in
-
Fixed and final
-

Running request - Bindable Button / Axis options
LASooner replied to maverickturner's topic in Bugs and Problems
Has anyone been able to get the covered switches to bind to a single switch position? I was able to get the inboard and outboard SPOILER ORIDE switches to work correctly setting the pressed to open the cover and the down to put the switch in ORIDE, And close when switching back to normal. But using the same function with the other covers, I'm not able to get it to work with the asymetric limiter, the hydraulic transfer, emergency gen reset and the hydraulic tests. The cover opens, but the switch doesn't move, like it needs a delay from when the cover opens to when the switch is thrown. Sent from my Samsung Chromebook Plus using Tapatalk -
I thought I was done with this one, then I realized I made a typo Need an up and a dn Sigh.... one day this war will end.