Crashmo
-
Posts
130 -
Joined
-
Last visited
Content Type
Profiles
Forums
Events
Everything posted by Crashmo
-
This is a good historical perspective. https://www.youtube.com/watch?v=MSvN2os2djM
-
:thumbup: Files to upload, please. Gotta fly it. :joystick:
-
[DCS World: BS2] Ricardo's Upgraded HD Cockpit Mods
Crashmo replied to Devrim's topic in Utility/Program Mods for DCS World
New to modding and skinning Devrim, both you and Ricardo are doing a fantastic job. They are works of art. I am new to the hobby of making all sorts of adjustments to these files. So my question may have been answered already. I have only spent hours searching these threads, not months. When you make mods to pits, instruments, systems, mirrors, etc., do you start with a layered file like .psd for Photoshop? If so, where do you find those? The only thing available are the skins templates that cover the major exterior. I know all of the .bmp and .dds files are in the program, but these are a single layer and cannot be extruded into their once original layered properties. Do you convert the .dds files into a .bmp and then work on top of them, building your own layers in Photoshop? Thanks for any help/advise. Keep modeling. :pilotfly: -
This Side Up That shit is funny! I'm getting queezy. As long as we keep supporting each other in these little endeavors, it's all good. I too, find myself noticing little things and constantly revising. happy modeling :pilotfly:
-
Model Viewer I have it working now. It's slick (pun intended). Marker-- So I have to assume you got the stand alone ed Modelviewer up and running? Just for edification, DCS has the Model Viewer imbedded in the program. Upuaut showed me how to merge the 2 of them and it works very well. I will try to make this thorough so others can follow also. First, go the the path on your computer where you installed the Model Viewer. Mine happens to be C:\programs\edmodelviewer. You will see this: There are a bunch of free files, not in a folder, below the Luaserializer folder. Copy all of those. Go to your DCS World folder and copy them right there, they will show up below all of the other game folders. As you can see in the top, mine happens to be in the C:\program files\eagle dynamics\DCS World folder. Now, in those files there happens to be an executable file called modelviewer. It is an app file. We will NOT be using that one. Go into your DCS World\bin folder and voila, a ModelViewer app file. Make a shortcut to this and put it on your desktop. Next, open the program, you should see this: Now, at the top, open the View menu, navigate to the Dialogs and click the sub menu Show Folder Browser. Click (check) that menu. You should get this: While we're there, click on the Liveries sub menu to check that also. Now you have both of these boxes open. In the Folder Browser box, find your way to the DCS World\bazar\world\shapes folder. This is where the base model for all the aircraft, weapons, trucks, etc. live. They are .edm files. When you call up the model of aircraft that you want (Ka-50, Uh-1h {which is actually ab-212.edm, maybe because a version of the helo is a Bell 212?} you may get the orange warning no skin shape, or a generic army type like this. Notice the ab-212.edm is selected in the Folder Browser box and it automatically generated some database types on the left side of the liveries box. So I then chose the uh-1 from the bottom of the liveries box and it then generated all of those available in the right hand box. Naturally, I chose one that I had been working on, the Brazilian Air Force. And then it paints the model: Use your left mouse button, click and drag, to move around the model: Click and drag your right mouse button to zoom in and out: On the right side of the screen are Rain and Sun sliders. Once you click on and use one of them, the mouse wheel will be able to sub for that action until you choose the other. Here I slid the sun button and then used the mouse wheel from that point onward to make it light and dark. When you make changes to your paint, etc. and install them into the liveries folder in DCS World, just like before. Now below the menu bar, third button to the right is called Convert on the Fly, click that and reload your livery and changes should show up instantly. 2 button clicks and your new model is viewable. Much better than what we were doing before--loading it and starting a game, mission editor, blah blah blah. That was a pain in the back side. I sure hope I didn't screw this up--it did work for me very well. That said: USE AT YOUR OWN RISK. Link to the update skin 07/02/13 http://www58.zippyshare.com/v/25082496/file.html Model on, :pilotfly: Crashmo
-
Thanks, even that took some practice. I'm new to this, so everything = 2 hours of work. I had downloaded model viewer and didn't even know it is imbedded into the DCS program. I finally got it and have been playing with it for a while. :thumbup:
-
So, upuaut, I now have model viewer installed and working, but new guys have no guidance. How do we get new skins/models to show up here? They only seem to accept edm and lods files. If you know of a user manual anywhere, I'd sure appreciate guidance. Thanks.
-
I ran into problems launching today too. I finally ended up downloading about 5 different versions going back 1 year from the post on this thread: http://forums.eagle.ru/showthread.php?t=86205 Or, more directly, from here: ftp://ftp3.files.eagle.ru/mods/model_viewer/ At first, I got error messages, msvcrt.110 not installed. So I went to MS and downloaded C++visual 2010. (msvcrt 100) While there I also loaded the 2012 version too. (msvrct.110) Installing both will not hurt anything. Then I got a message: effects.dll missing. I figured out that effects is for PS CS6--I have CS5. So I just backed up a few months, knowing that CS6 would not have been out yet, and downloaded one that is compatible for CS5. It was ver. 69161 from January of this year. This is how I got it installed. Now it works for me, I just don't know how to use it yet as there seems to be no user manual. Hope this was a bit helpful.:thumbup:
-
Again, does modelviewer REQUIRE 3d studio max? For $3500.00? Seriously? That just stopped me in my tracks. I didn't read any farther.
-
3d modeling Are you talking about the ed modelviewer? At the bottom of the first post I found a link to this pdf file. http://forums.eagle.ru/showthread.php?t=86205 Is that what you were looking for?
-
Skinning the hard way So I discovered that I like sitting here and painting skins--learning the programs. I paint everything from scratch, constantly going into DCS and running a mission to take screenshots and see alignments of colors and what I've missed. Am I doing this in the slow DOS kind of method, or is there a much faster way of cutting and pasting or somehow pasting colors on all lined up? I'm willing to work at this, but it takes me 1-2 days to skin something and you guys are cranking them out in an hour or 2. What am I missing?
-
ED Modelviewer I'm afraid to ask this question in the 3D thread. I just downloaded edmodelviewer and the instruction pdf. It says a requirement is 3d max studio. I went to their site. It's $3500.00! Seriously! Did you guys spend that money on that program?
-
We can download the skins templates in .psd for almost all of the aircraft. Those only are available in Fuselage and Tails. Mostly. How can we extract or get ahold of other templates in layered or .psd format? I would like to paint helmets, rocket tubes, etc. I can get files and convert them to .bmp, but that doesn't allow me to adjust layers. Any ideas? Thanks:helpsmilie:
-
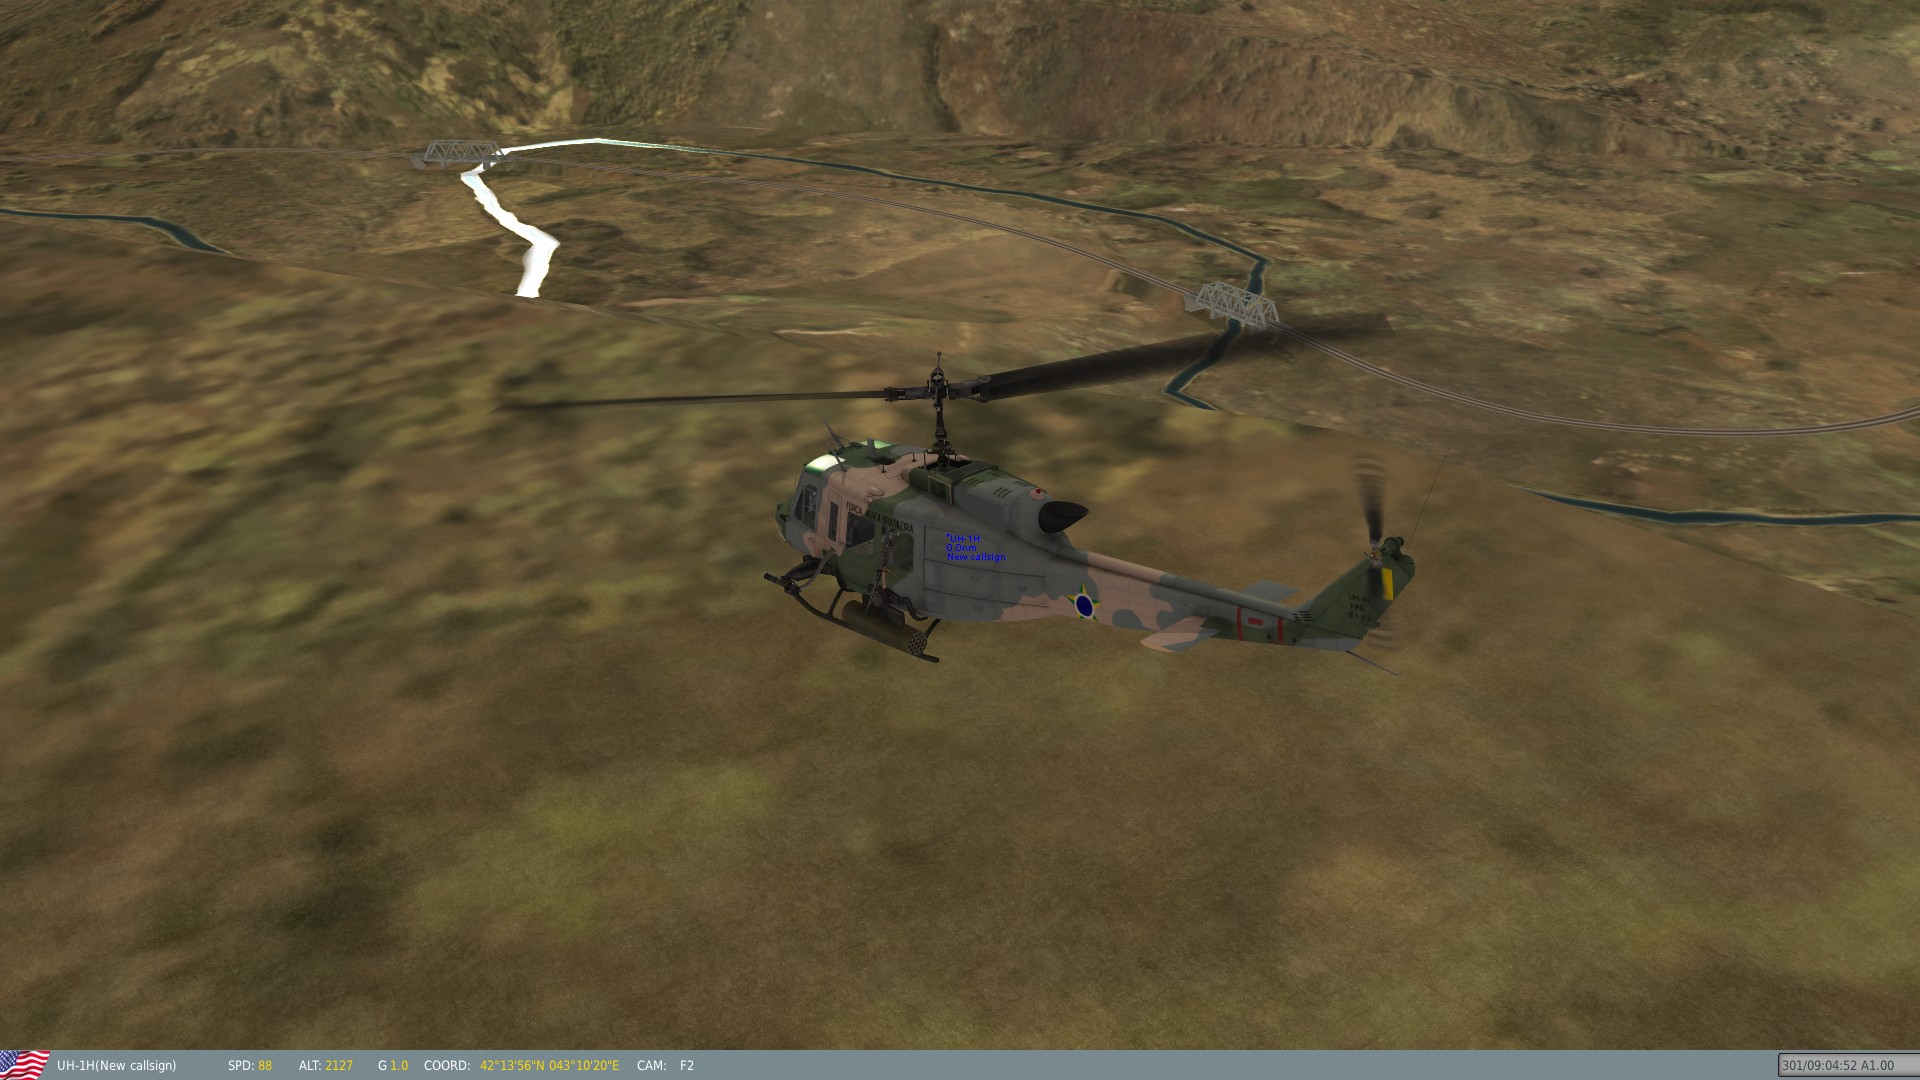
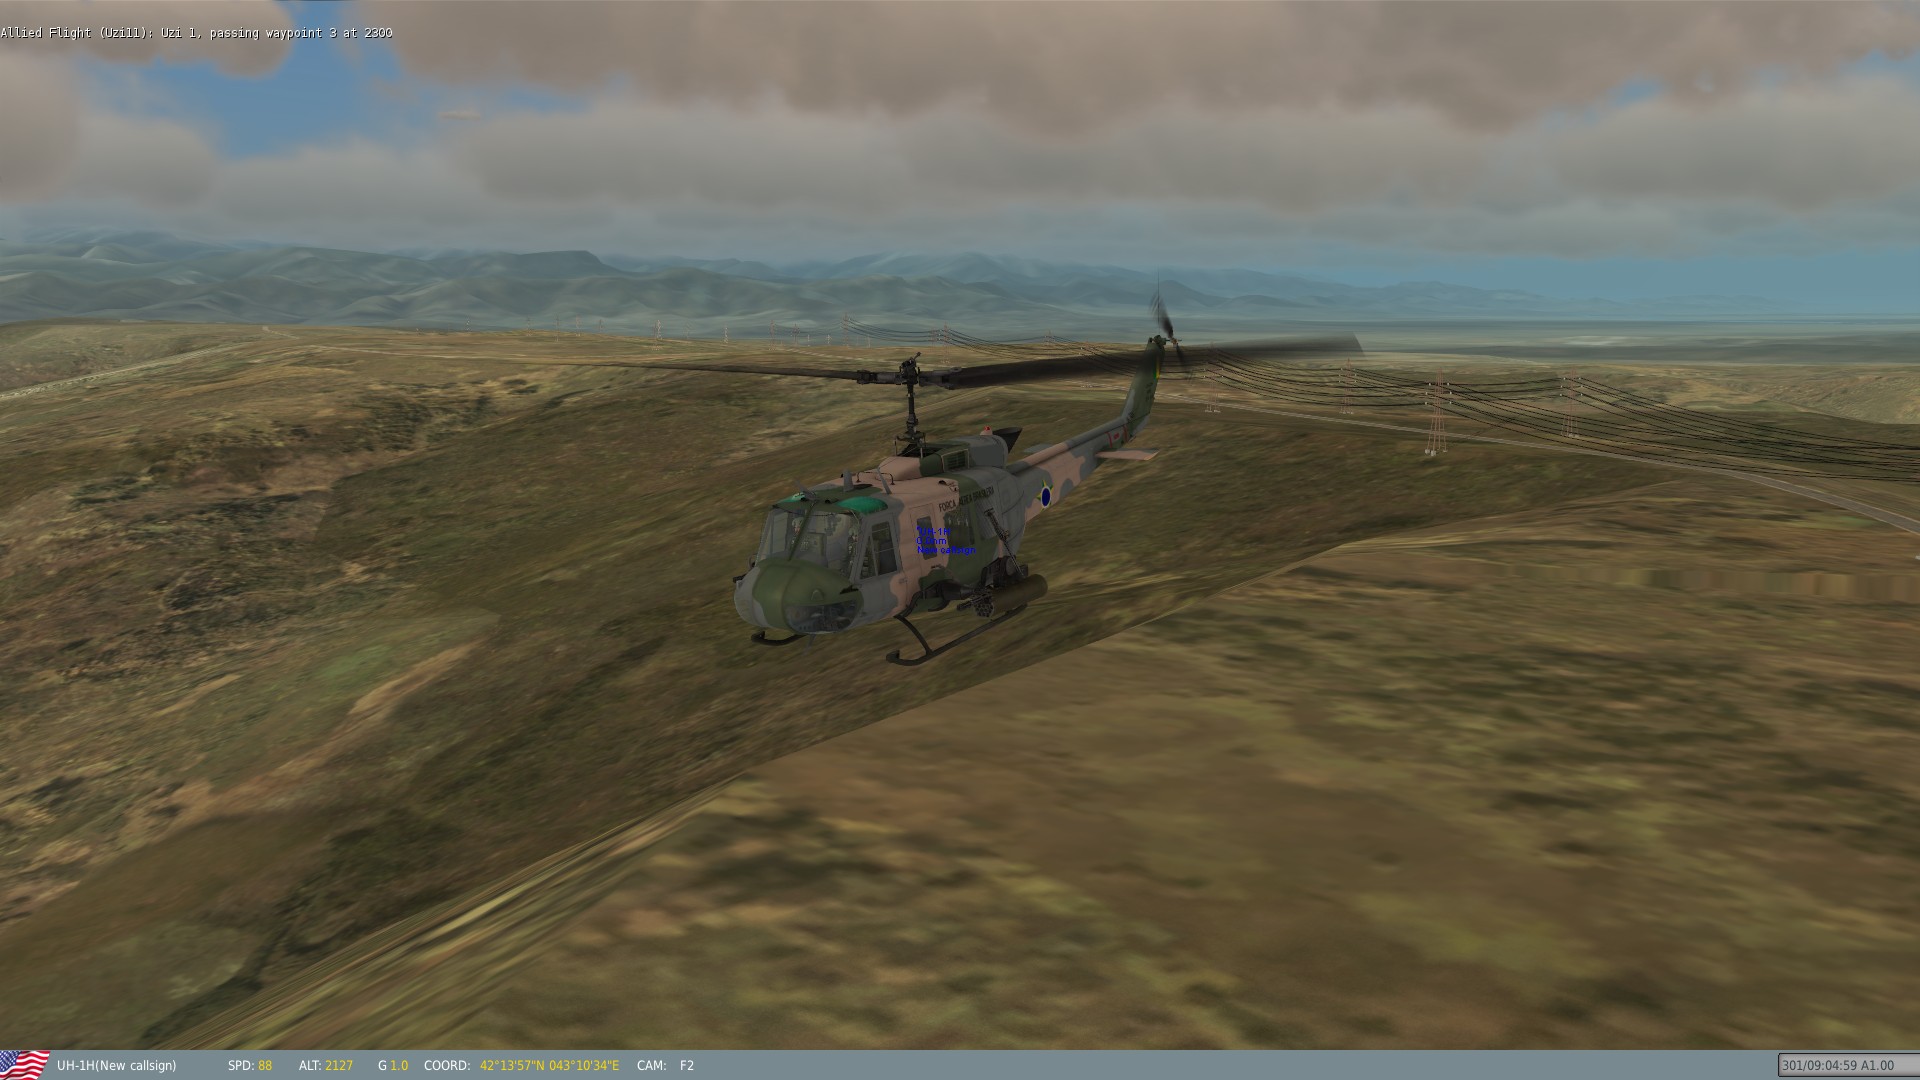
These are my first 2 attempts at doing this. I've since put up a Huey skin in Brazilian Air Force too. Learning a lot about Photoshop and .lua files. The first one is the goof off, learn how to do this. The Blue one is a work in progress. As it gets more refined I will post the link here as I update. Cheers http://www15.zippyshare.com/v/87499314/file.html http://www58.zippyshare.com/v/54513727/file.html
-
I cannot find this menu in Photoshop CS5--can you please guide me to it. I have spent time looking.
-
Outstanding. Now for more color. How do you get smaller than 6 pt font in Photoshop? I googled a lot and found nothing.
-
Thanks for the explanation. All of my fonts only go down to 6 pt. Not small enough for the Perigo to fit on the red arrow. The "handles" are VOR antennas. And you're right, no visible template so my red danger stripe just painted over those too. RCN_Moose did a great tutorial for older skins, but the Ka-50 has a great base template that he showed in a .pdf file in broken order. It was easy to find parts that way.
-
311Gryphon: Can you explain how you get the text on the skins? Or is that a lengthy exercise? I couldn't get fonts small enough in some areas. "Perigo" on the red arrows. Also--where the hell is the rotating beacon base. I'm sure I painted it because it comes out my base color, but I want it another color and cannot find it on the template. Thanks. pm me if you want.
-
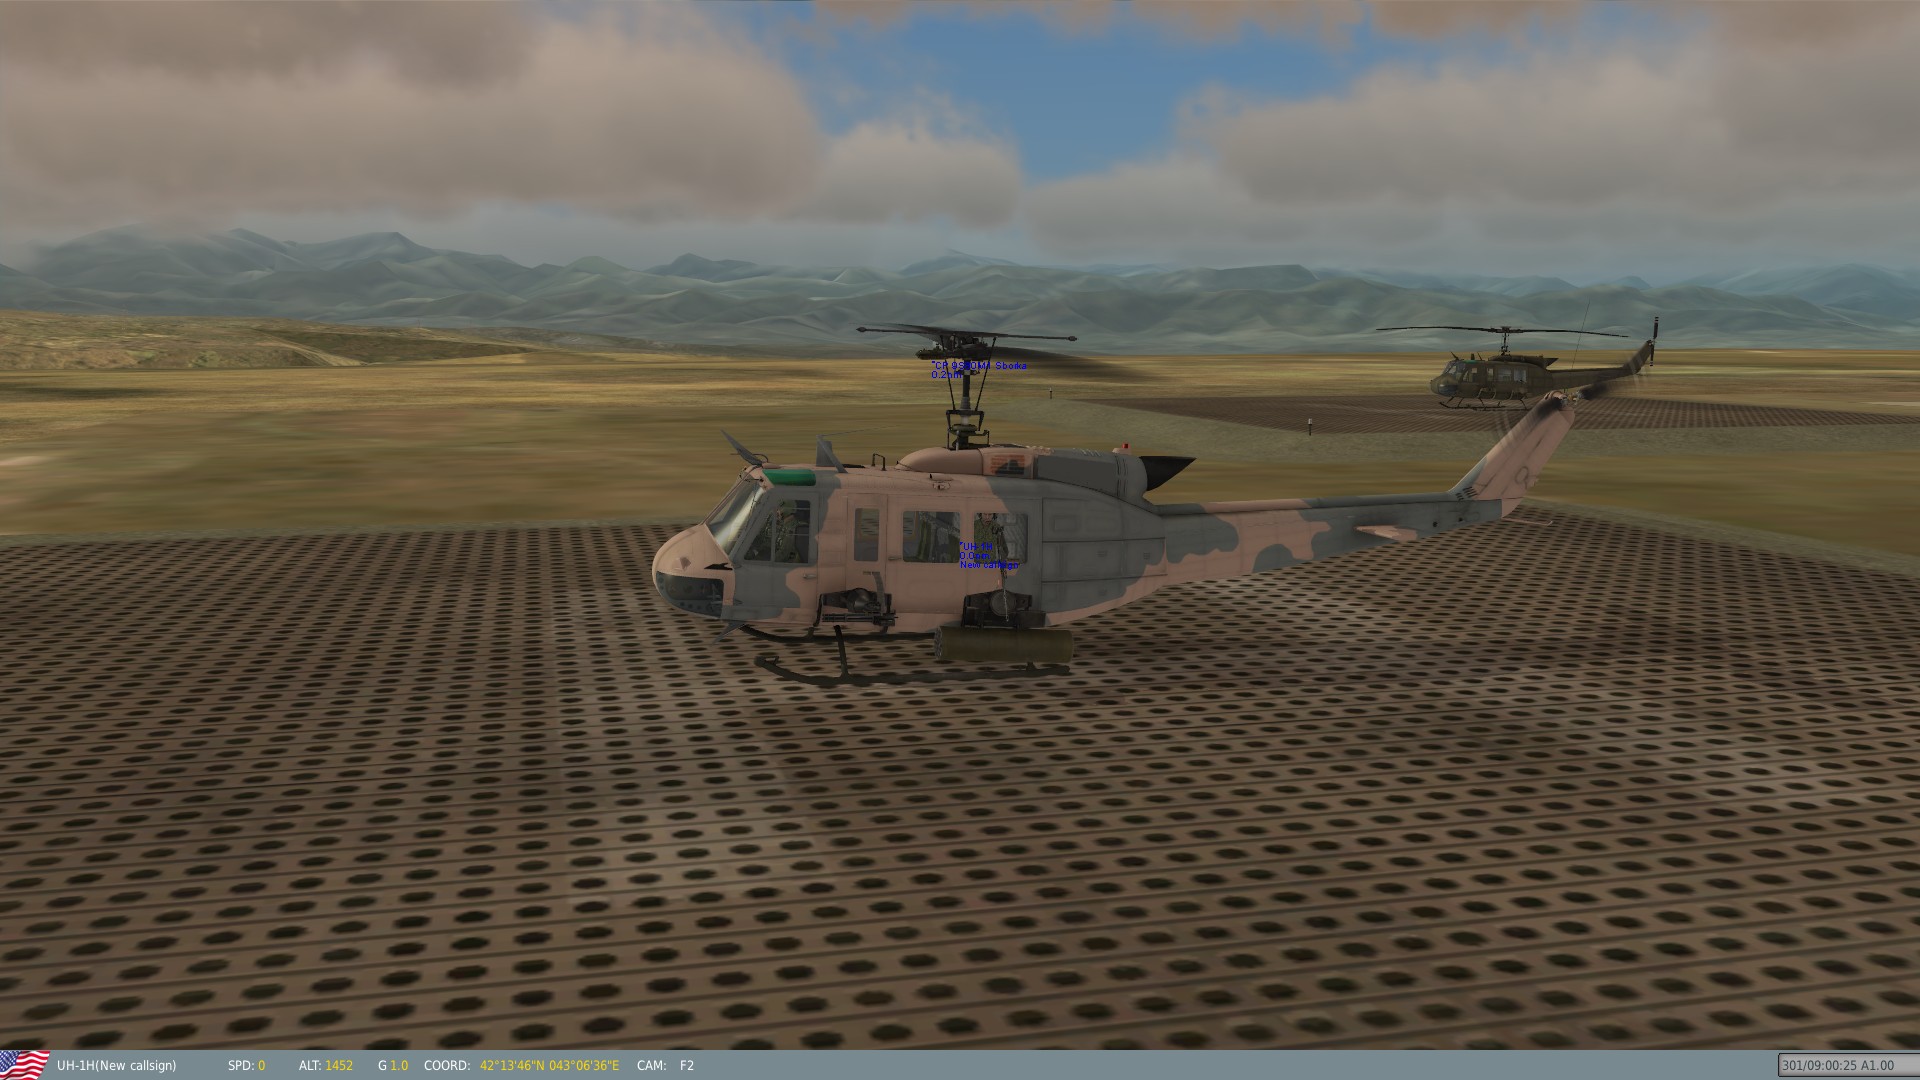
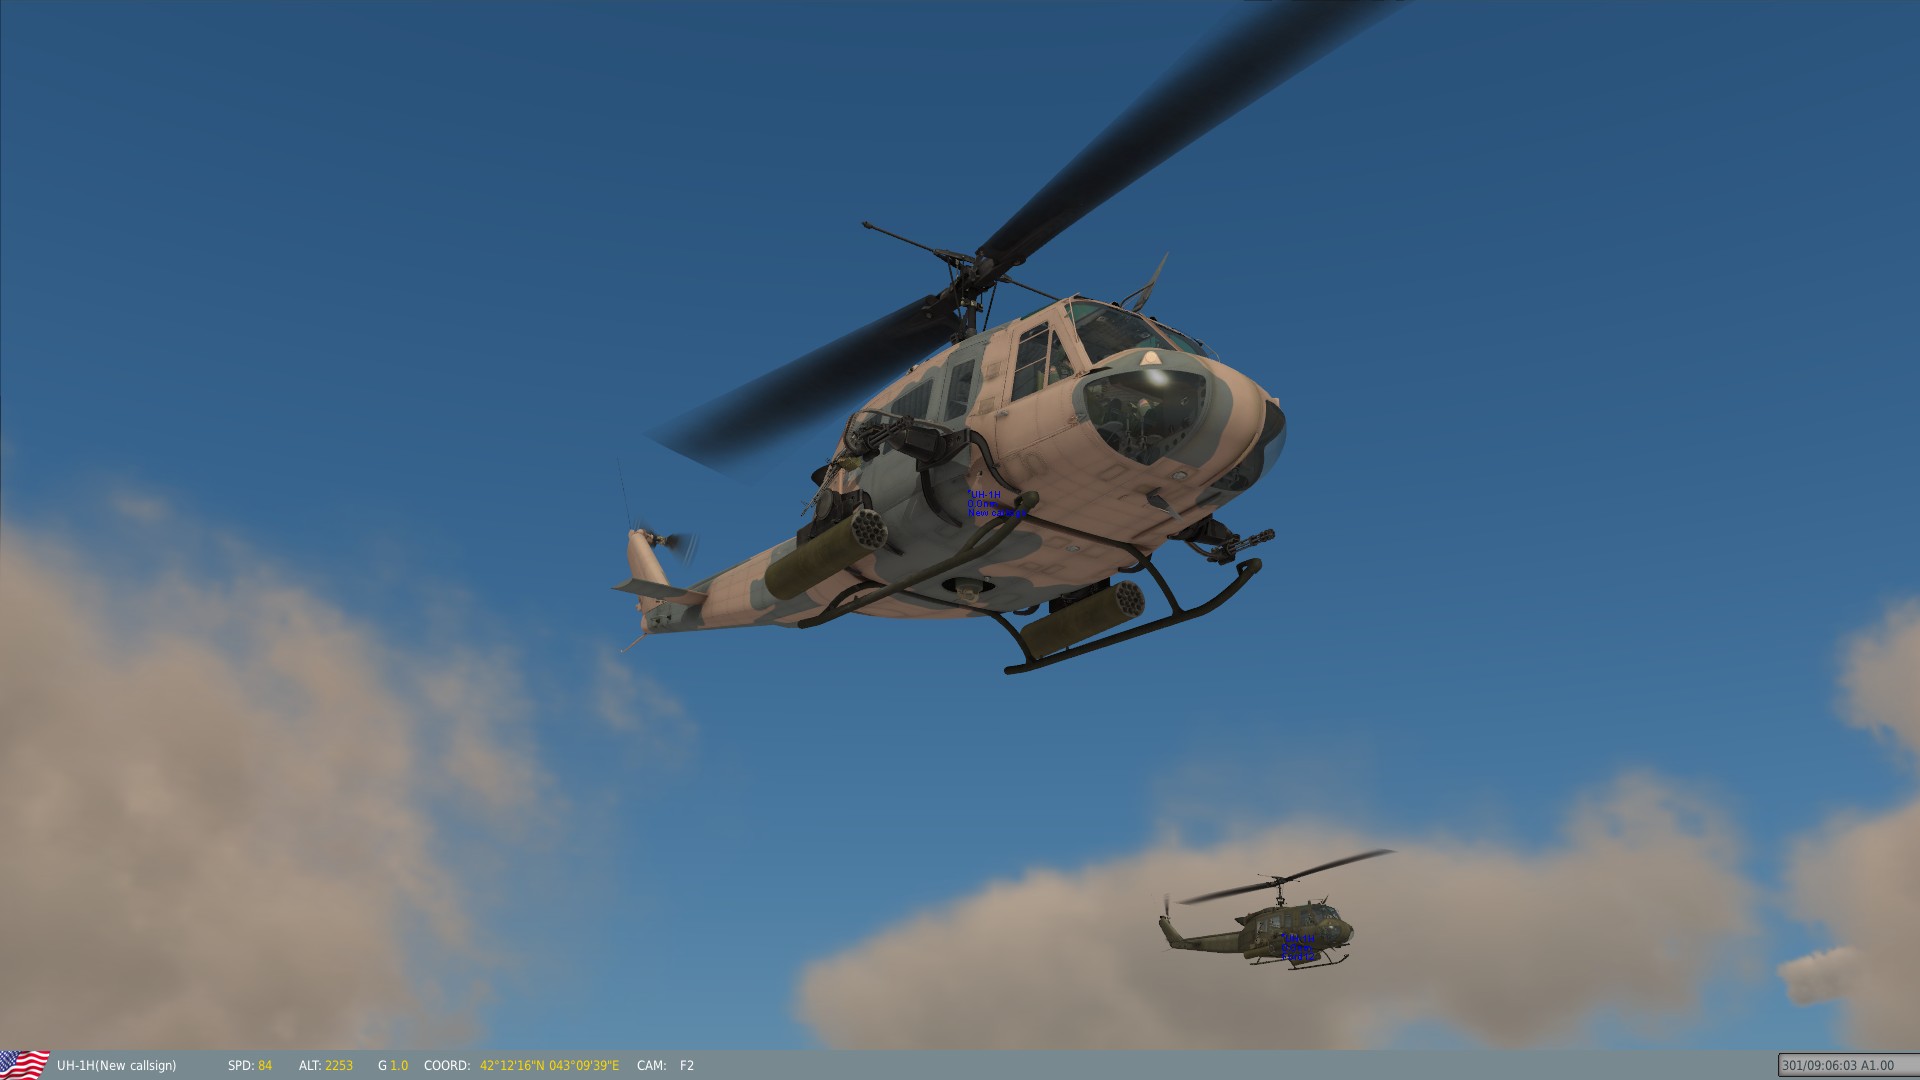
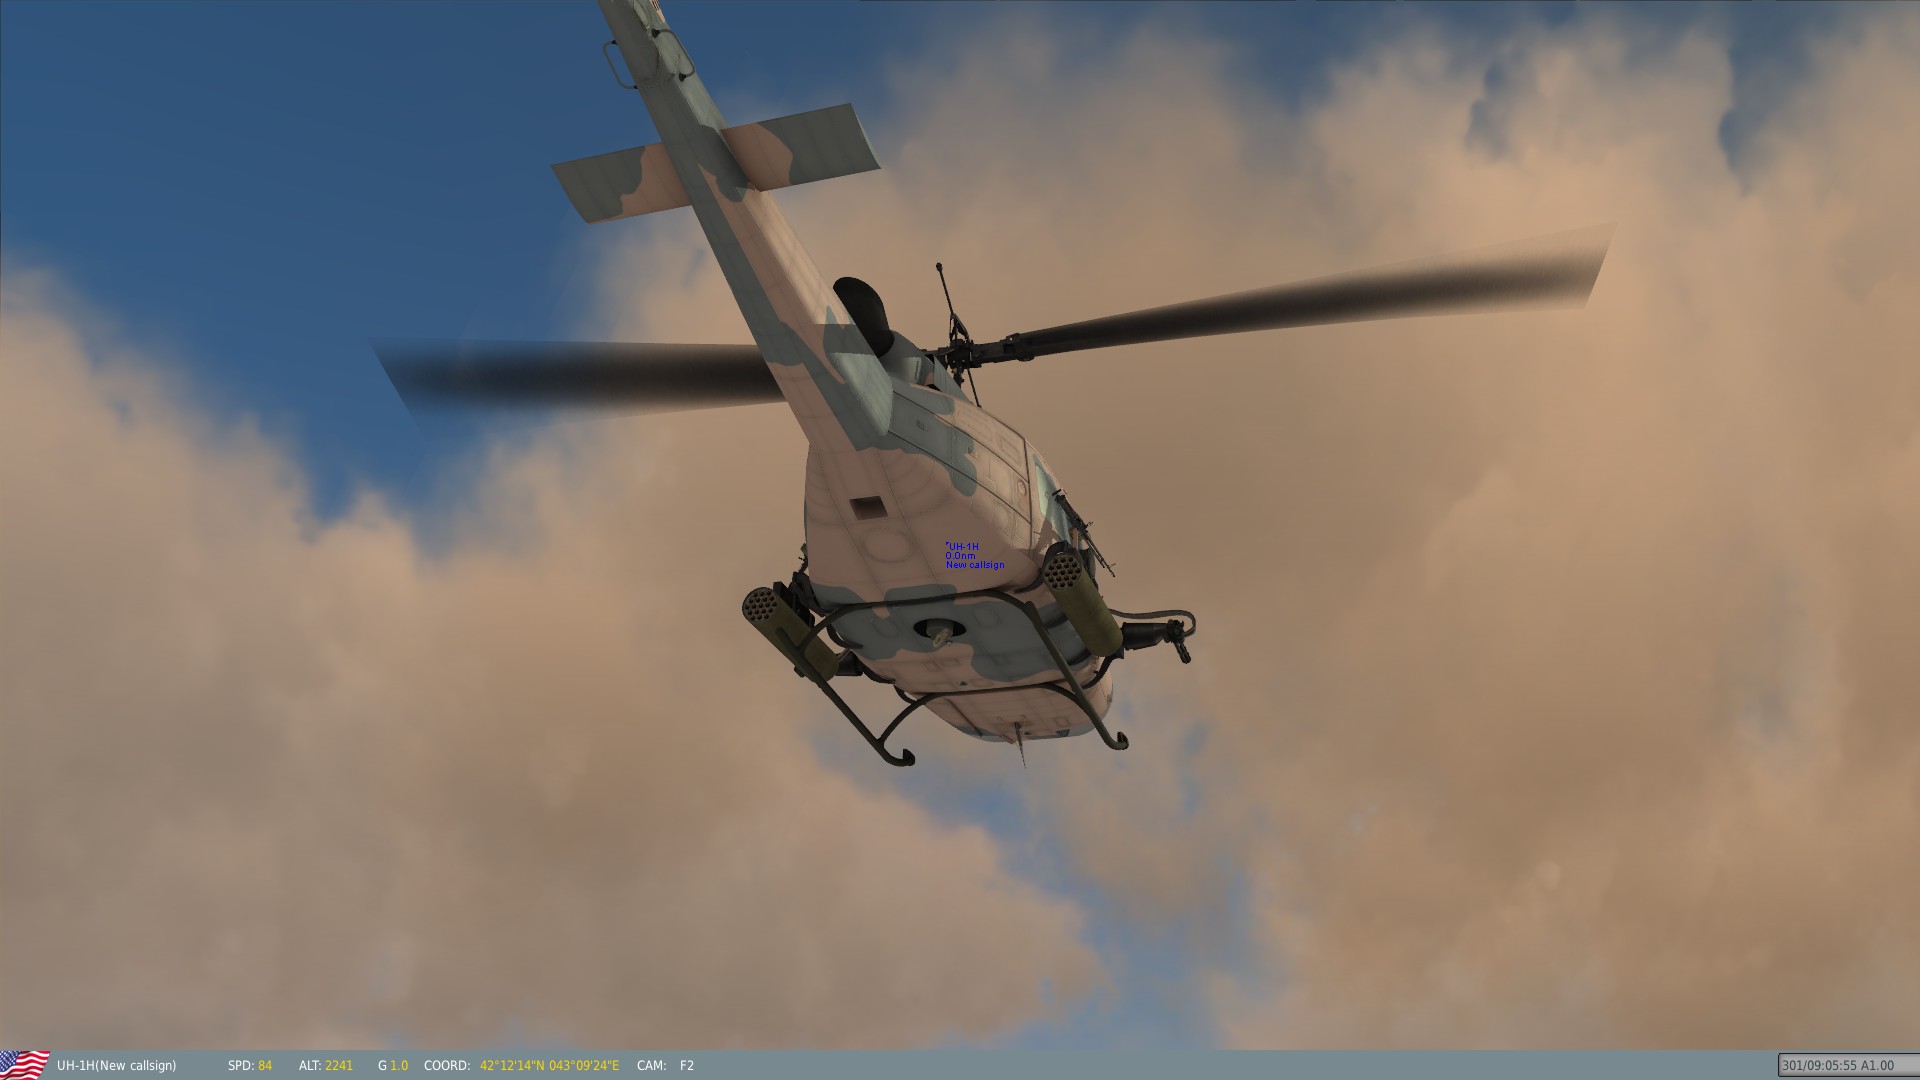
Done--With a few minor mistakes Ukhtral: Good on you, Mate! I've been flying since I was 17--34 years now--you do the math. I still remember the great feeling when I finished my pvt pilot exam. This has been a great tool for learning Photoshop and lots of other things. Good brain candy. Here are some shots and I have it all stuffed in a .rar file for you as soon as I learn how to link to that. SEE BELOW Here is the link to the skin: http://www70.zippyshare.com/v/43505428/file.html Updated 07/02/2013 Let me know what you think.
-
Solution and Success Thanks for everyone's input. Cheers. The .lua file and all of it's contents were not the problem. PS CS5 spit out a bad file in the beginning. I've been working it again all day and no further problems. I use DXTbmp as well to convert. I tried .tga files, but they imparted a newsprint like shadow all over the skins. I went back to .bmp 24 bit and it worked fine. Here's the almost finished sample:

-
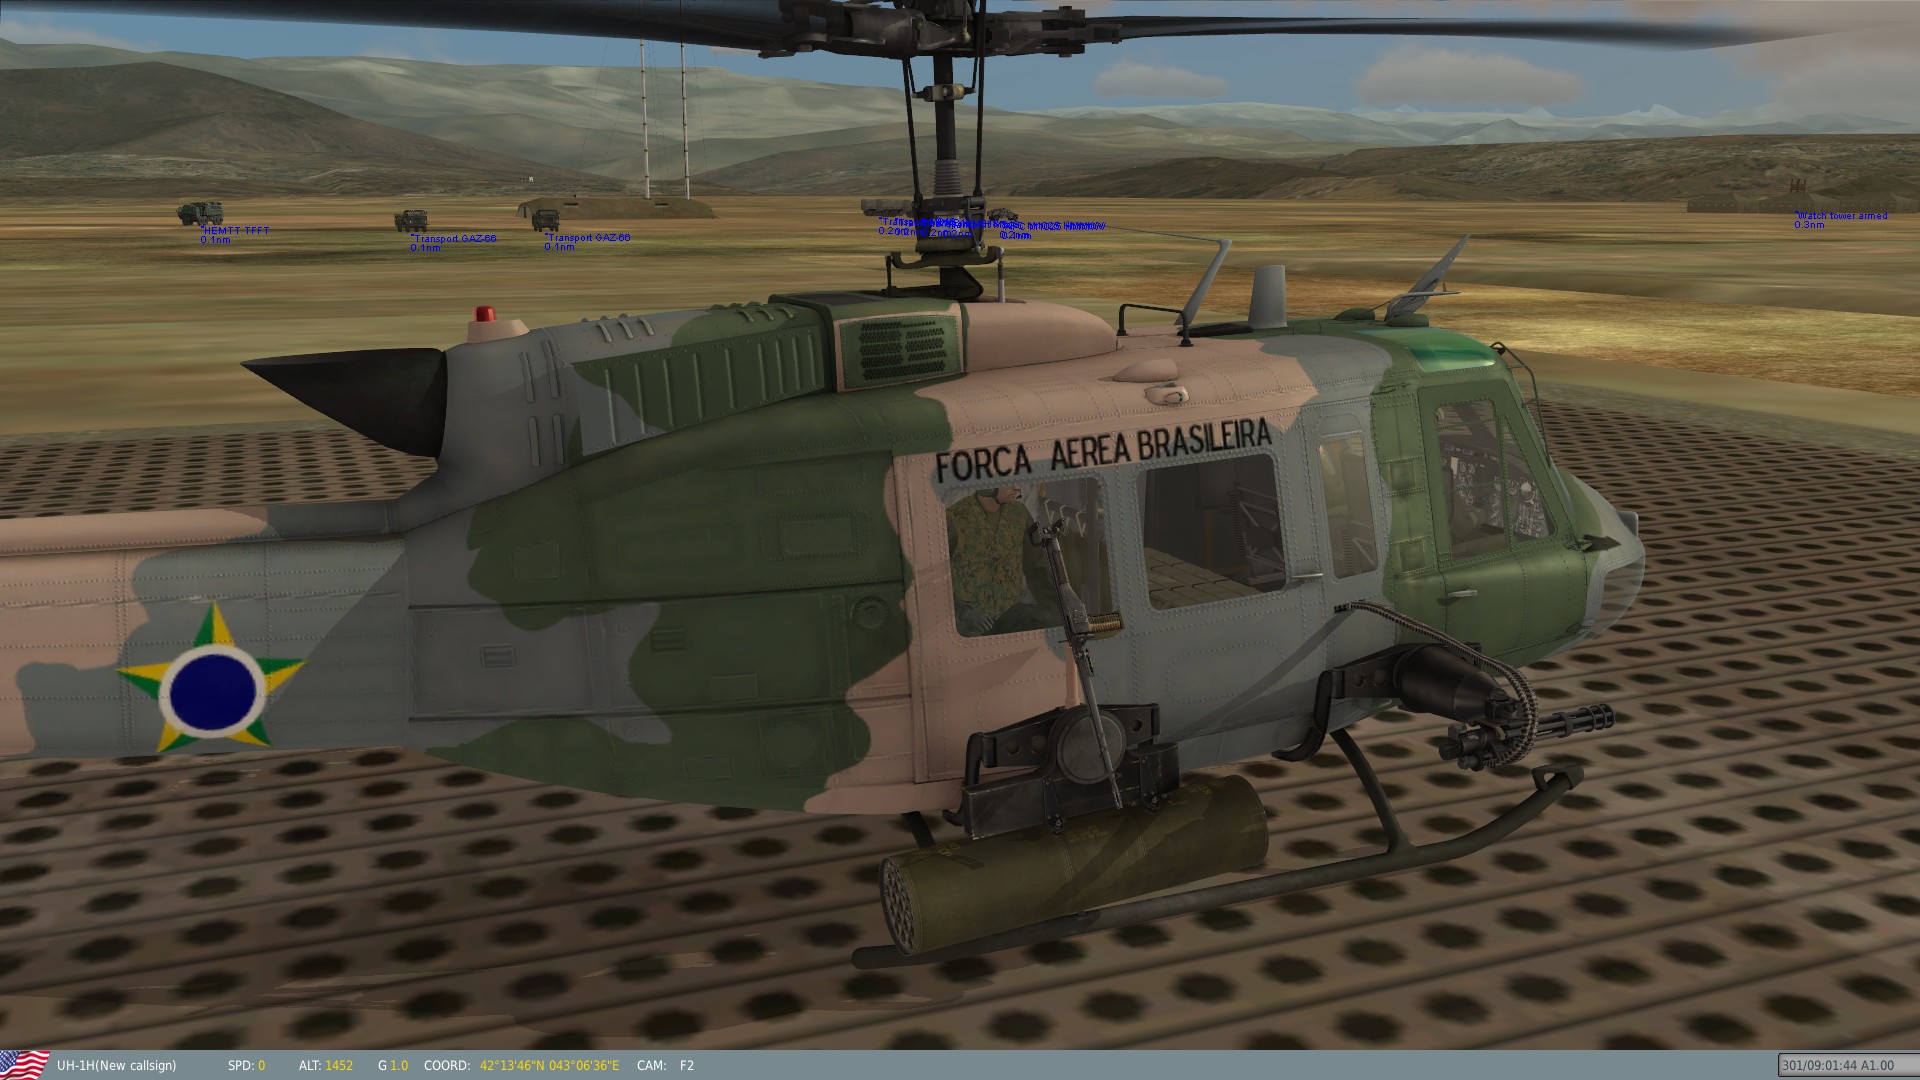
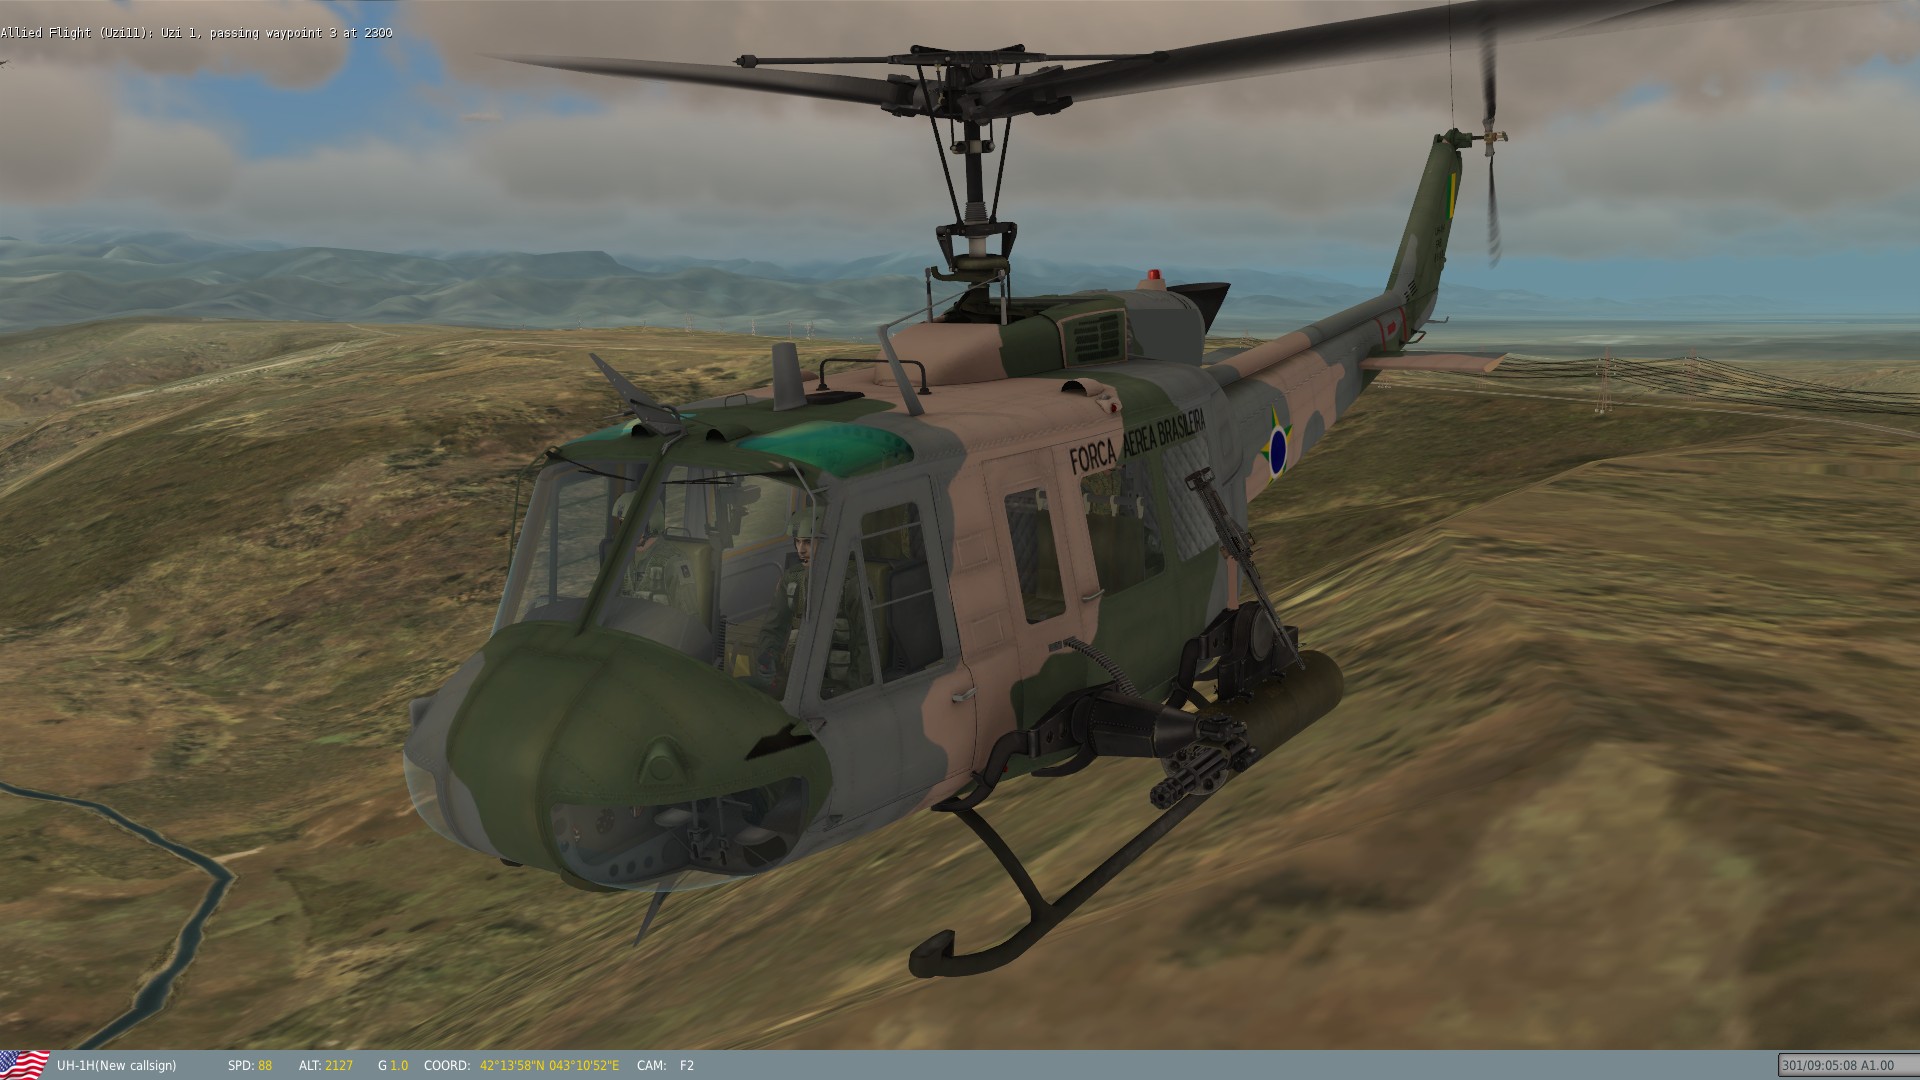
Almost Finished Just a few clean up items--look closely, you'll notice them. The camo really blends with the landscape well. I should have it finished tomorrow and ready for upload. Cheers
-
Work in Progress I ran into difficulty with a Photoshop file that crapped out on me. Marker and Aussieboy helped me fix it. Here are the beginnings of it with the tan base and gray. I need to clean up the gray and smooth the panel changes with that color, but here is so far. By the way--very nice job, Upuaut. Where did you get the Brazilian markings to paste?
-
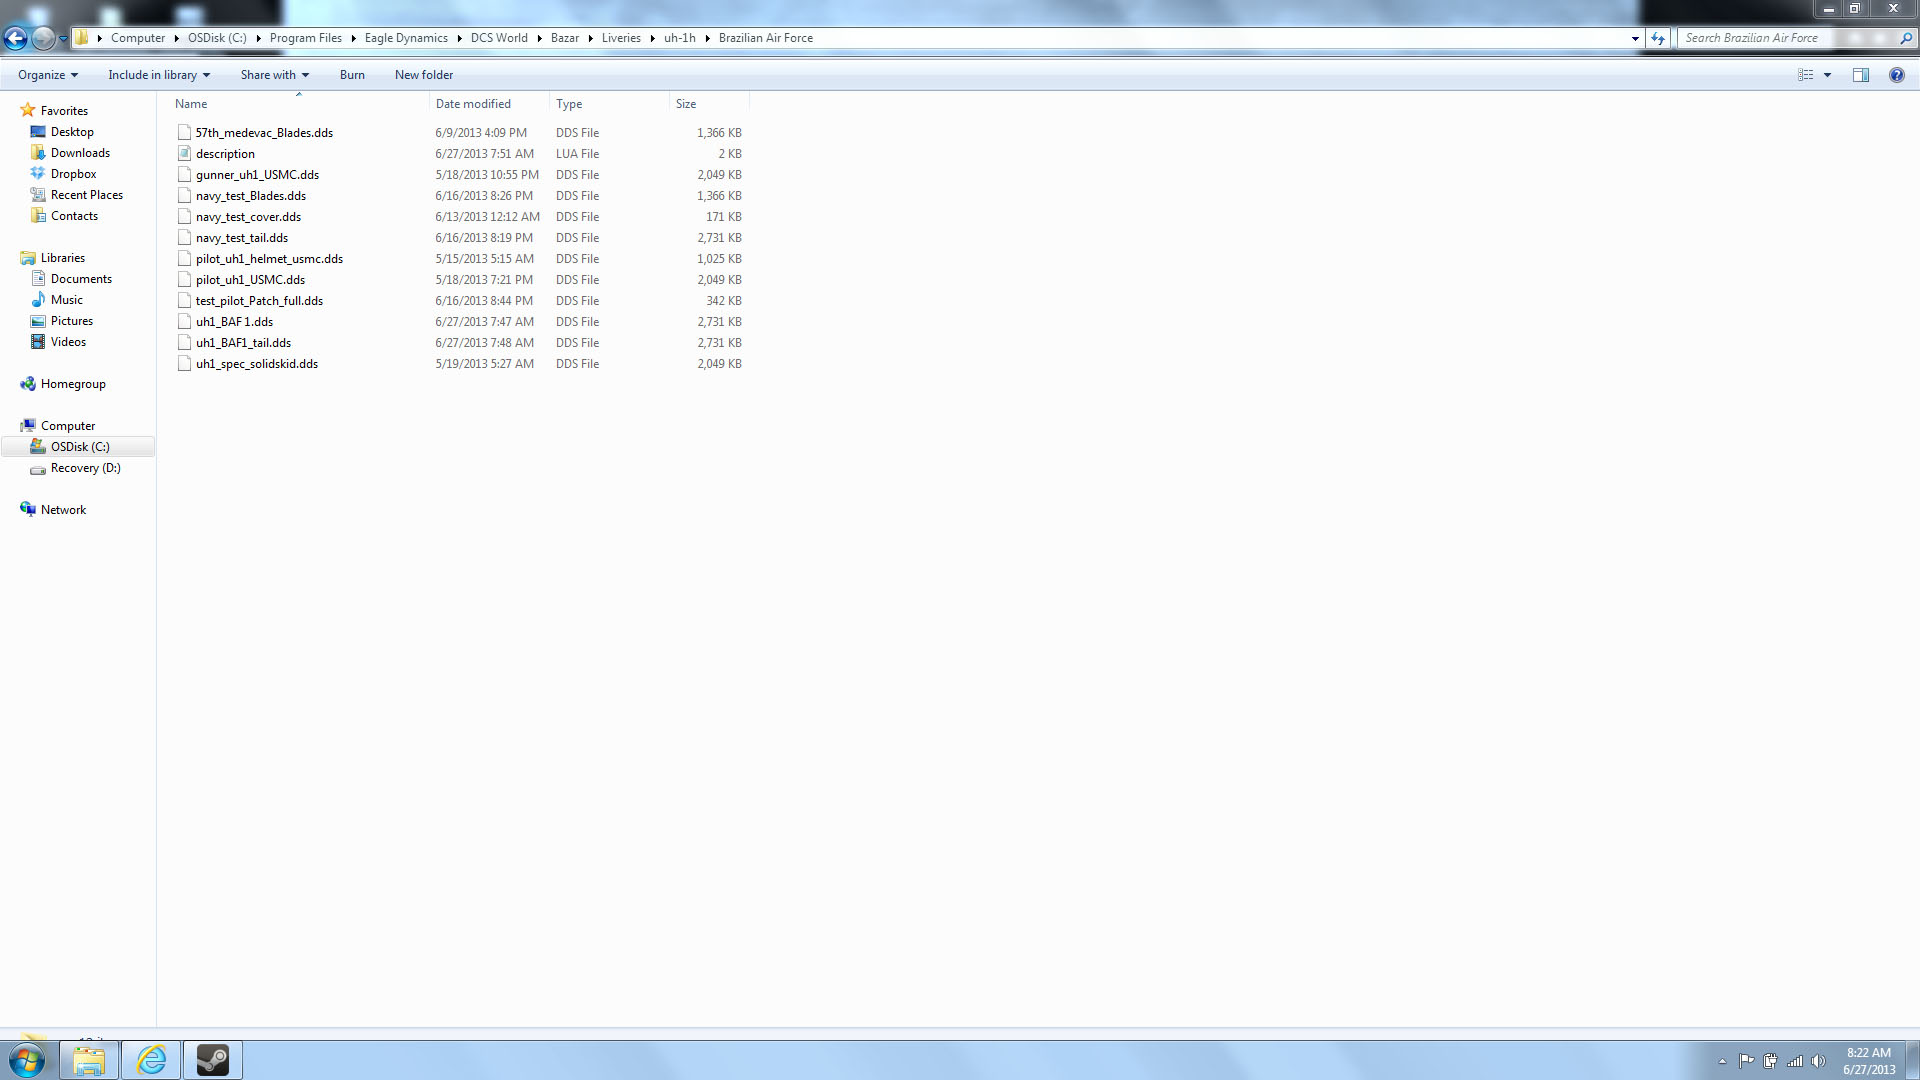
Semi Solution I am using Photoshop CS5. I have heard the term mip-map before, but I don't know what it is. Update: I have been working only on the fuselage, not the tail. Last night I started the tail. I put them both into my Brazilian Air Force file and adjusted the description.lua file accordingly. Now the tail shows up but I still get no skin for the fuse. That answered questions. I will go through and rework the fuse again to see if I did something wrong with PS or saving that file. By the way, I did convert both PS files to targa 24 bit and then converted them to DXT1 files before the latest attempt. Here are the files, I'm doing a screen shot of the Brazilian Air Force folder so you can see the files available. livery = { {"uh1_main_dam", 0, "uh1_BAF1", false}; {"uh1_main_dam", 2, "uh1_spec_solidskid", false}; {"uh1_tail_dam", 0, "uh1_BAF1_tail", false}; {"uh1_tail_dam", 2, "uh1_tail_spec", true}; {"uh1_main", 0, "uh1_BAF1", false}; {"uh1_main", 2, "uh1_spec_solidskid", false}; {"uh1_tail", 0, "uh1_BAF1_tail", false}; {"uh1_tail", 2, "uh1_tail_spec", true}; {"uh1_weapon", 0, "uh1_weapon_blk", true}; {"pilot_UH1", 0, "pilot_UH1_usmc", false}; {"pilot_UH1_helmet", 0, "pilot_UH1_helmet_usmc", false}; {"pilot_UH1_patch", 0, "test_pilot_Patch_full", false}; {"Gunner_UH1", 0, "gunner_uh1_usmc", false}; {"uh1_cov", 0, "navy_test_cover", false}; {"UH1-cpt-door", 0 ,"UH1_door_c",true}; {"UH1-cpt_karkas", 0 ,"UH1_karkas_c",true}; {"UH1-cpt_karkas2", 0 ,"UH1_karkas2_c",true}; {"UH1-cpt_panel", 0 ,"UH1_panel_c",true}; {"UH1-cpt_central_box", 0 ,"UH1_boxs_c",true}; {"UH1-cpt_dev2", 0 ,"UH1_dev_2",true}; {"SPH-4B", 0, "pilot_UH1_helmet_usmc", false}; --gunner helmet {"uh1_rotor_alfa", 0, "navy_test_Blades",false}; } name = "Brazilian Air Force" countries = {"USA"} Semi-solution: I just made a quick adjustment to another fuse paint, removed some emblems and quick color change. I loaded that and it worked. So somewhere Photoshop messed up a file or I messed one up in Photoshop. Back to the drawing board. Thanks for everyone's help here. It brought my blood pressure down slightly.
-
Marker, I did pilfer your files, since I tried the navy test school first and it worked well--thanks. I tried another first and when that didn't work I tried yours as my trial and error diagnostic. I saved the files as 24 bit bmp files just like I did with BS2 skins. Then converted to DXT5 files. I have tried DXT1 as well. Neither worked. The file extension is .bmp.dds Yes the file is BAF1.bmp.dds. since the others did not include the .bmp I did not write it that way in the description.lua. I did originally try adding the .bmp to the .lua, that didn't work either. I will try saving as a .tga and converting to DXT1 now and see if that works.
-
Thanks for the reply. Now I know what the _spec files are for. I left those alone and only substituted the main fuse files. It is my attempt to make a camo Brazilian Air Force skin. So I only subbed that main fuse file under the _dam and main. And yet, the game shows no skin. Any ideas there?