Ryan Barnes
-
Posts
126 -
Joined
-
Last visited
-
Days Won
1
Content Type
Profiles
Forums
Events
Everything posted by Ryan Barnes
-
[photos] Weathered A-10C in progress
Ryan Barnes replied to Ryan Barnes's topic in Utility/Program Mods for DCS World
Here you can see what a difference some subtle shading makes. Compare the intake of the left engine with the original on the right. And both done... The interior on the exhaust I thought was too illuminated... A little darker... Fixed the inside of the landing gear bays as well... BEFORE AFTER It's lots of small changes like this that trick your brain into imagining more realism. -
[photos] Weathered A-10C in progress
Ryan Barnes replied to Ryan Barnes's topic in Utility/Program Mods for DCS World
I got some more work on the wing done. I weathered the flaps and ailerons, as well as the rest of the rivets. The left wing is nearly finished now. Some tweaking left to do. ORIGINAL WEATHERED I also completed some work to the gun, nose, and fuselage concerning accumulation of grit from the GAU. BEFORE AFTER BEFORE AFTER -
[Q] Where are the magnetic switches in the A10
Ryan Barnes replied to bnepethomas's topic in Home Cockpits
Pull the parking brake and watch the anti-skid switch flip. -
[photos] Weathered A-10C in progress
Ryan Barnes replied to Ryan Barnes's topic in Utility/Program Mods for DCS World
You're right, it is a global setting. It's got to be in a lua file somewhere we can edit. -
[photos] Weathered A-10C in progress
Ryan Barnes replied to Ryan Barnes's topic in Utility/Program Mods for DCS World
I'm plugging away at it as I have time, but there must be 10,000 rivets in this thing. Everywhere I look there seems to be an opportunity to add some texture, so it's getting quite involved. Like the more detailed you try to make it, the more the less detailed parts stand out so I have a lot of work left. When it's done I'll make it available for download. Hopefully soon. -
[photos] Weathered A-10C in progress
Ryan Barnes replied to Ryan Barnes's topic in Utility/Program Mods for DCS World
I haven't worked on the engines yet, I'll see what I can do with those. -
UPDATE 6-23-14 Get the HD weathered skin HERE I'm currently working on my own weathered A-10c skin. It features an all gray base with streaks from each fastener as you see on many "dirty" aircraft in real life. I think it really adds to the realism effect. Very time consuming process to airbrush each and every rivet and screw! Here you can see the difference between the stock wing and my weathered wing and fuselage.
-
Latest part...
-
I'm not sure of the particular components electrically you made need, but certainly lowering the gear ratio would help if you could do it.
-
Looking forward to seeing what we can both come up with.
-
I did these in Solidworks. They are sized to the actual A-10c bezels, but I haven't sized the holes for the buttons yet. After I buy the Thrustmaster MFDs I'll determine how difficult it will be to transplant the guts into the correctly sized bezels. I have a CNC router so I could cut these from ABS if it came down to it. It will take some experimenting.
-
I'm working on it...
-
I noticed that too but didn't make mention of it. Might have to get a second set to experiment with and have extra buttons.
-
So I've been looking at the Thrustmaster MFD's and I just can't shake my OCD. They are 70mm too short and about 30mm too narrow. I'm thinking I'll buy the MFD's and reuse the buttons in a new frame of the correct size. I'm designing a new bezel now.
-
That's why I got a 1TB SSD. People told me I was wasting my money and I only needed a 120 for gaming. I'm glad now I doubted that.
-
I'm planning on triple 55's
-
Could look good if done correctly... see around 3:00 mark
-
LED TV vs. Monitor But I'd rather have three 50" screens than three 24" screens even at the same resolution. The pixel density isn't going to be as high but the immersion factor would be off the charts.
-
How do you debezel without breaking something? Are certain TVs more hackable than others?
-
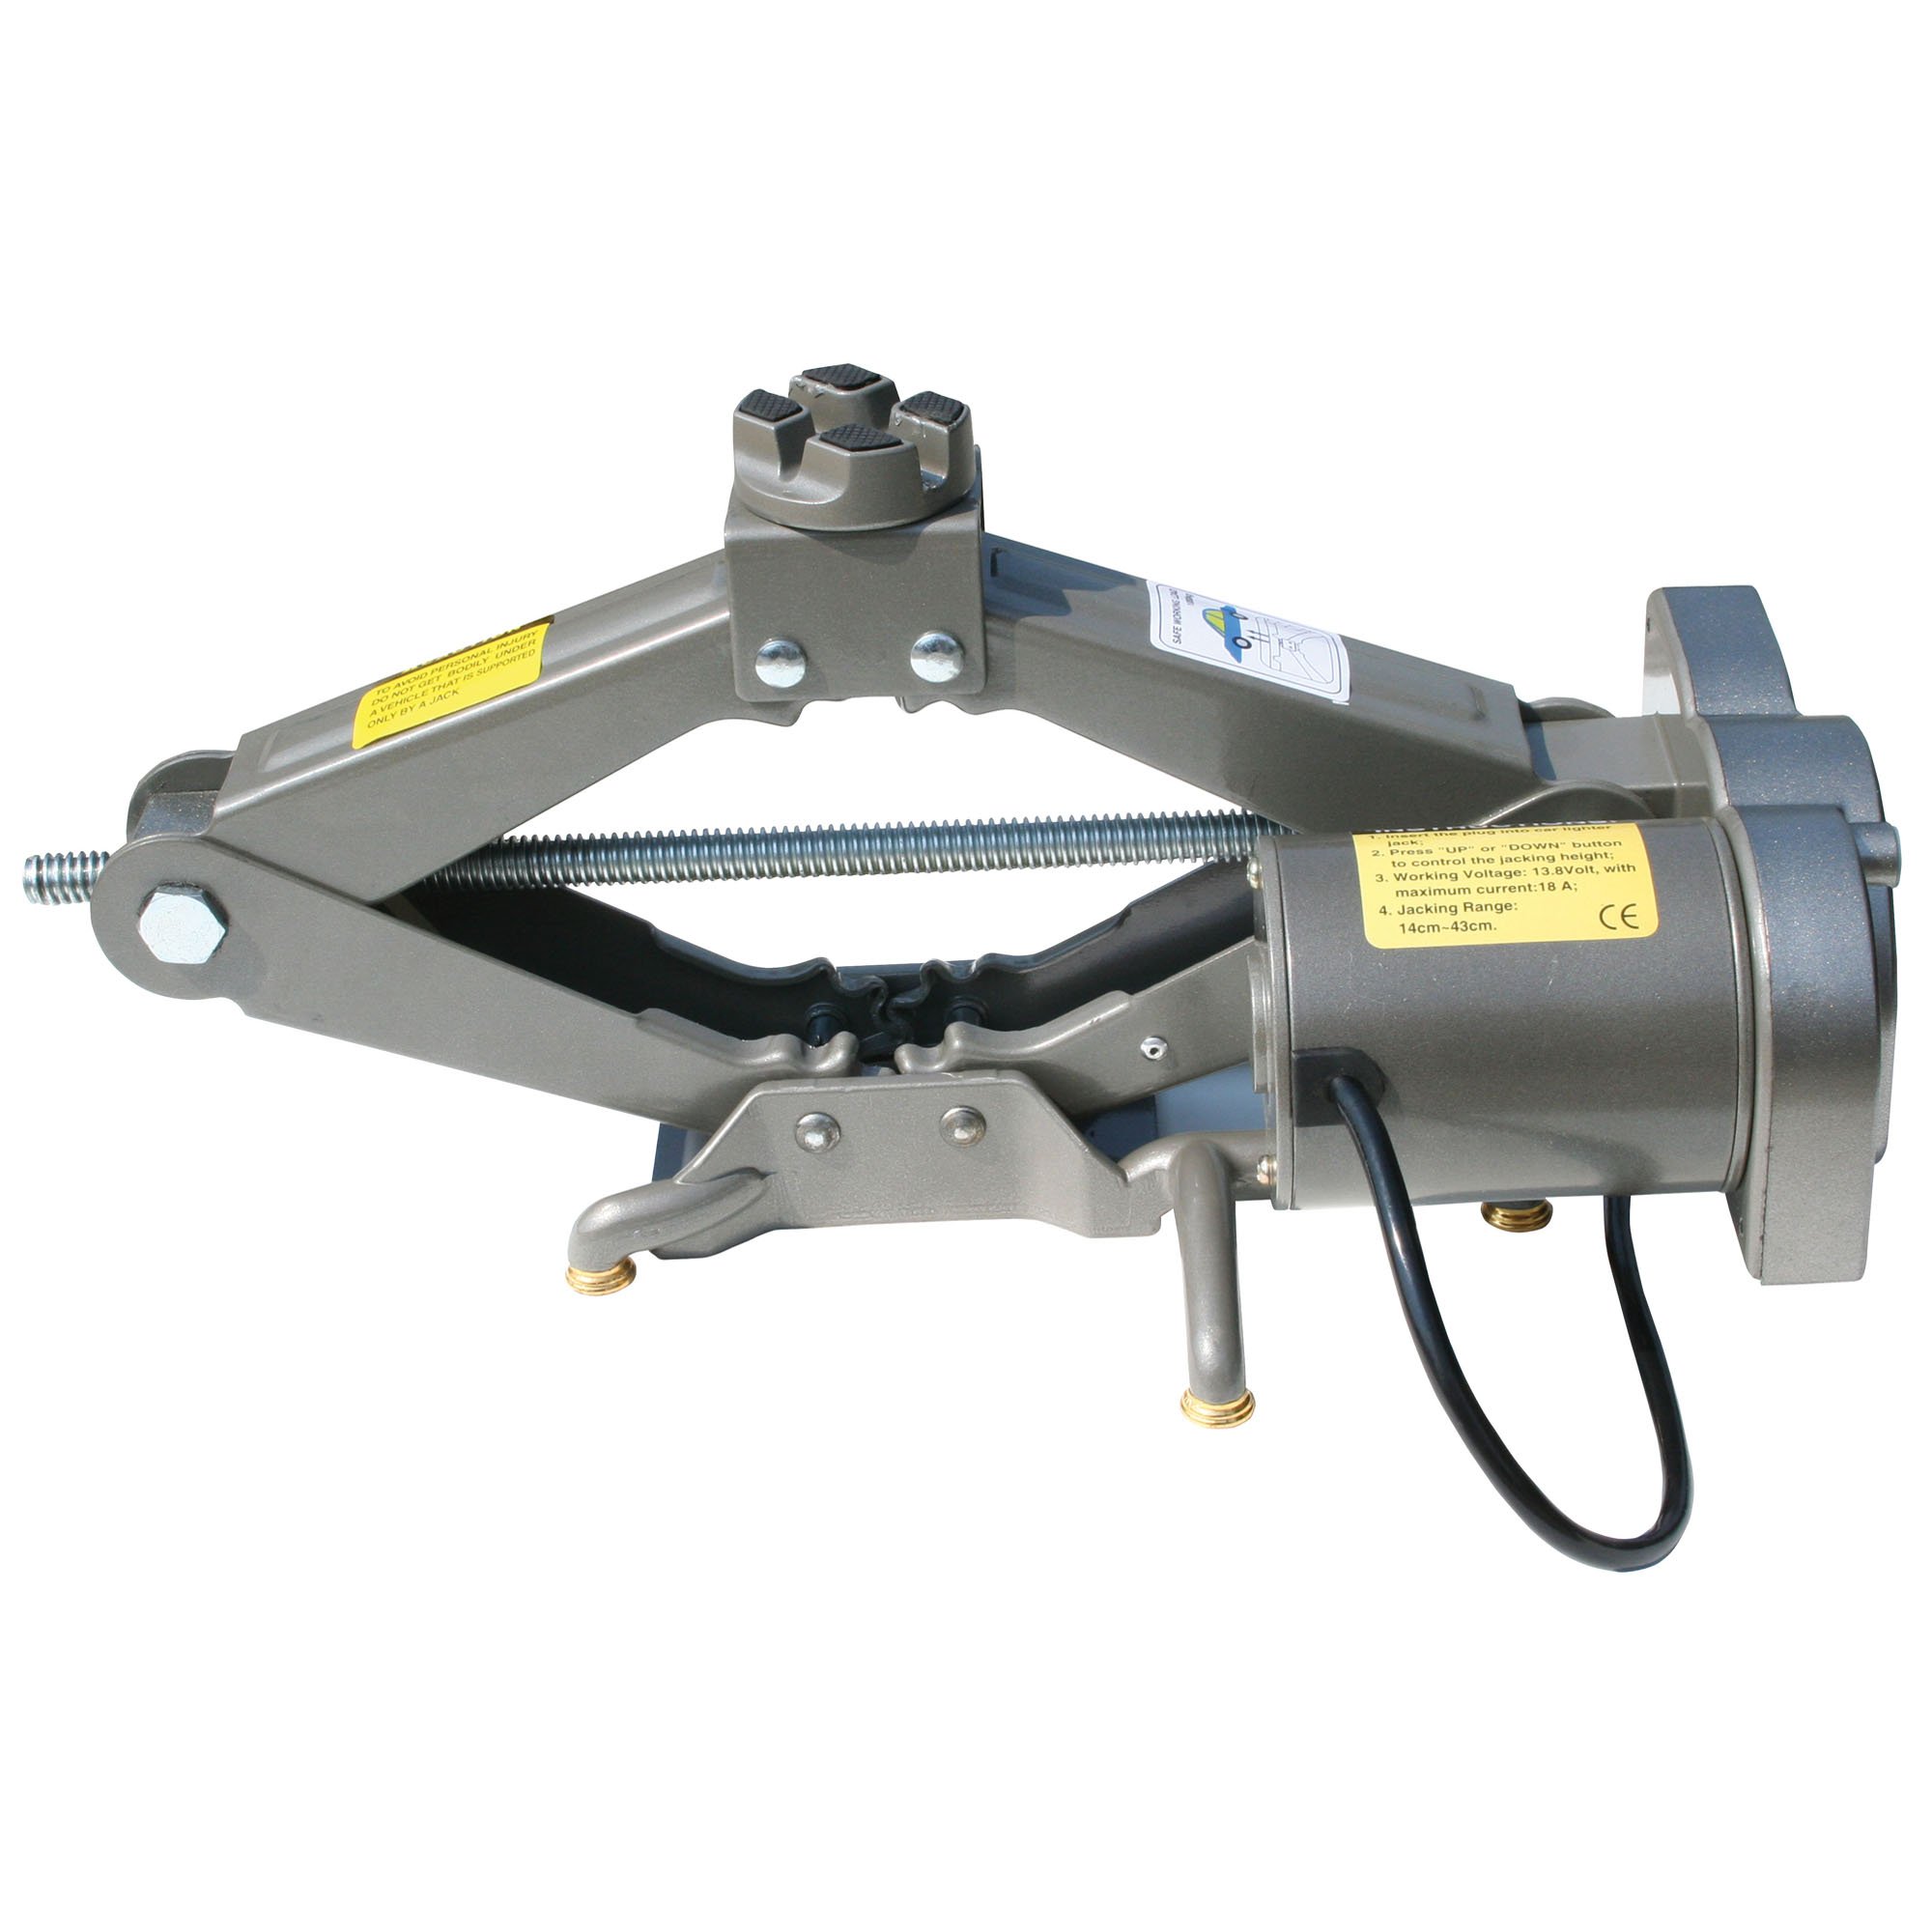
Seems strange, since it's made to lift a corner of a vehicle. I think it comes down to how many amps you can feed it from a 12v power supply. But with your solution its a non-issue.
-
The fabrication looks awesome. Just curious, has anyone thought about just using this with some additional parts?

-
Bitspower
-
Installed the PS, motherboard, DVD, and ran some cables. Did some cable management on the back side as well.
-
Yes, but I took it out so I could install more radiators. :)
-
Great resource, thanks!