Kornskydiver
-
Posts
156 -
Joined
-
Last visited
Content Type
Profiles
Forums
Events
Everything posted by Kornskydiver
-
I know right! :lol: The Oculus is a HUGE game changer! Still blown away by the experience :helpsmilie::helpsmilie:
-
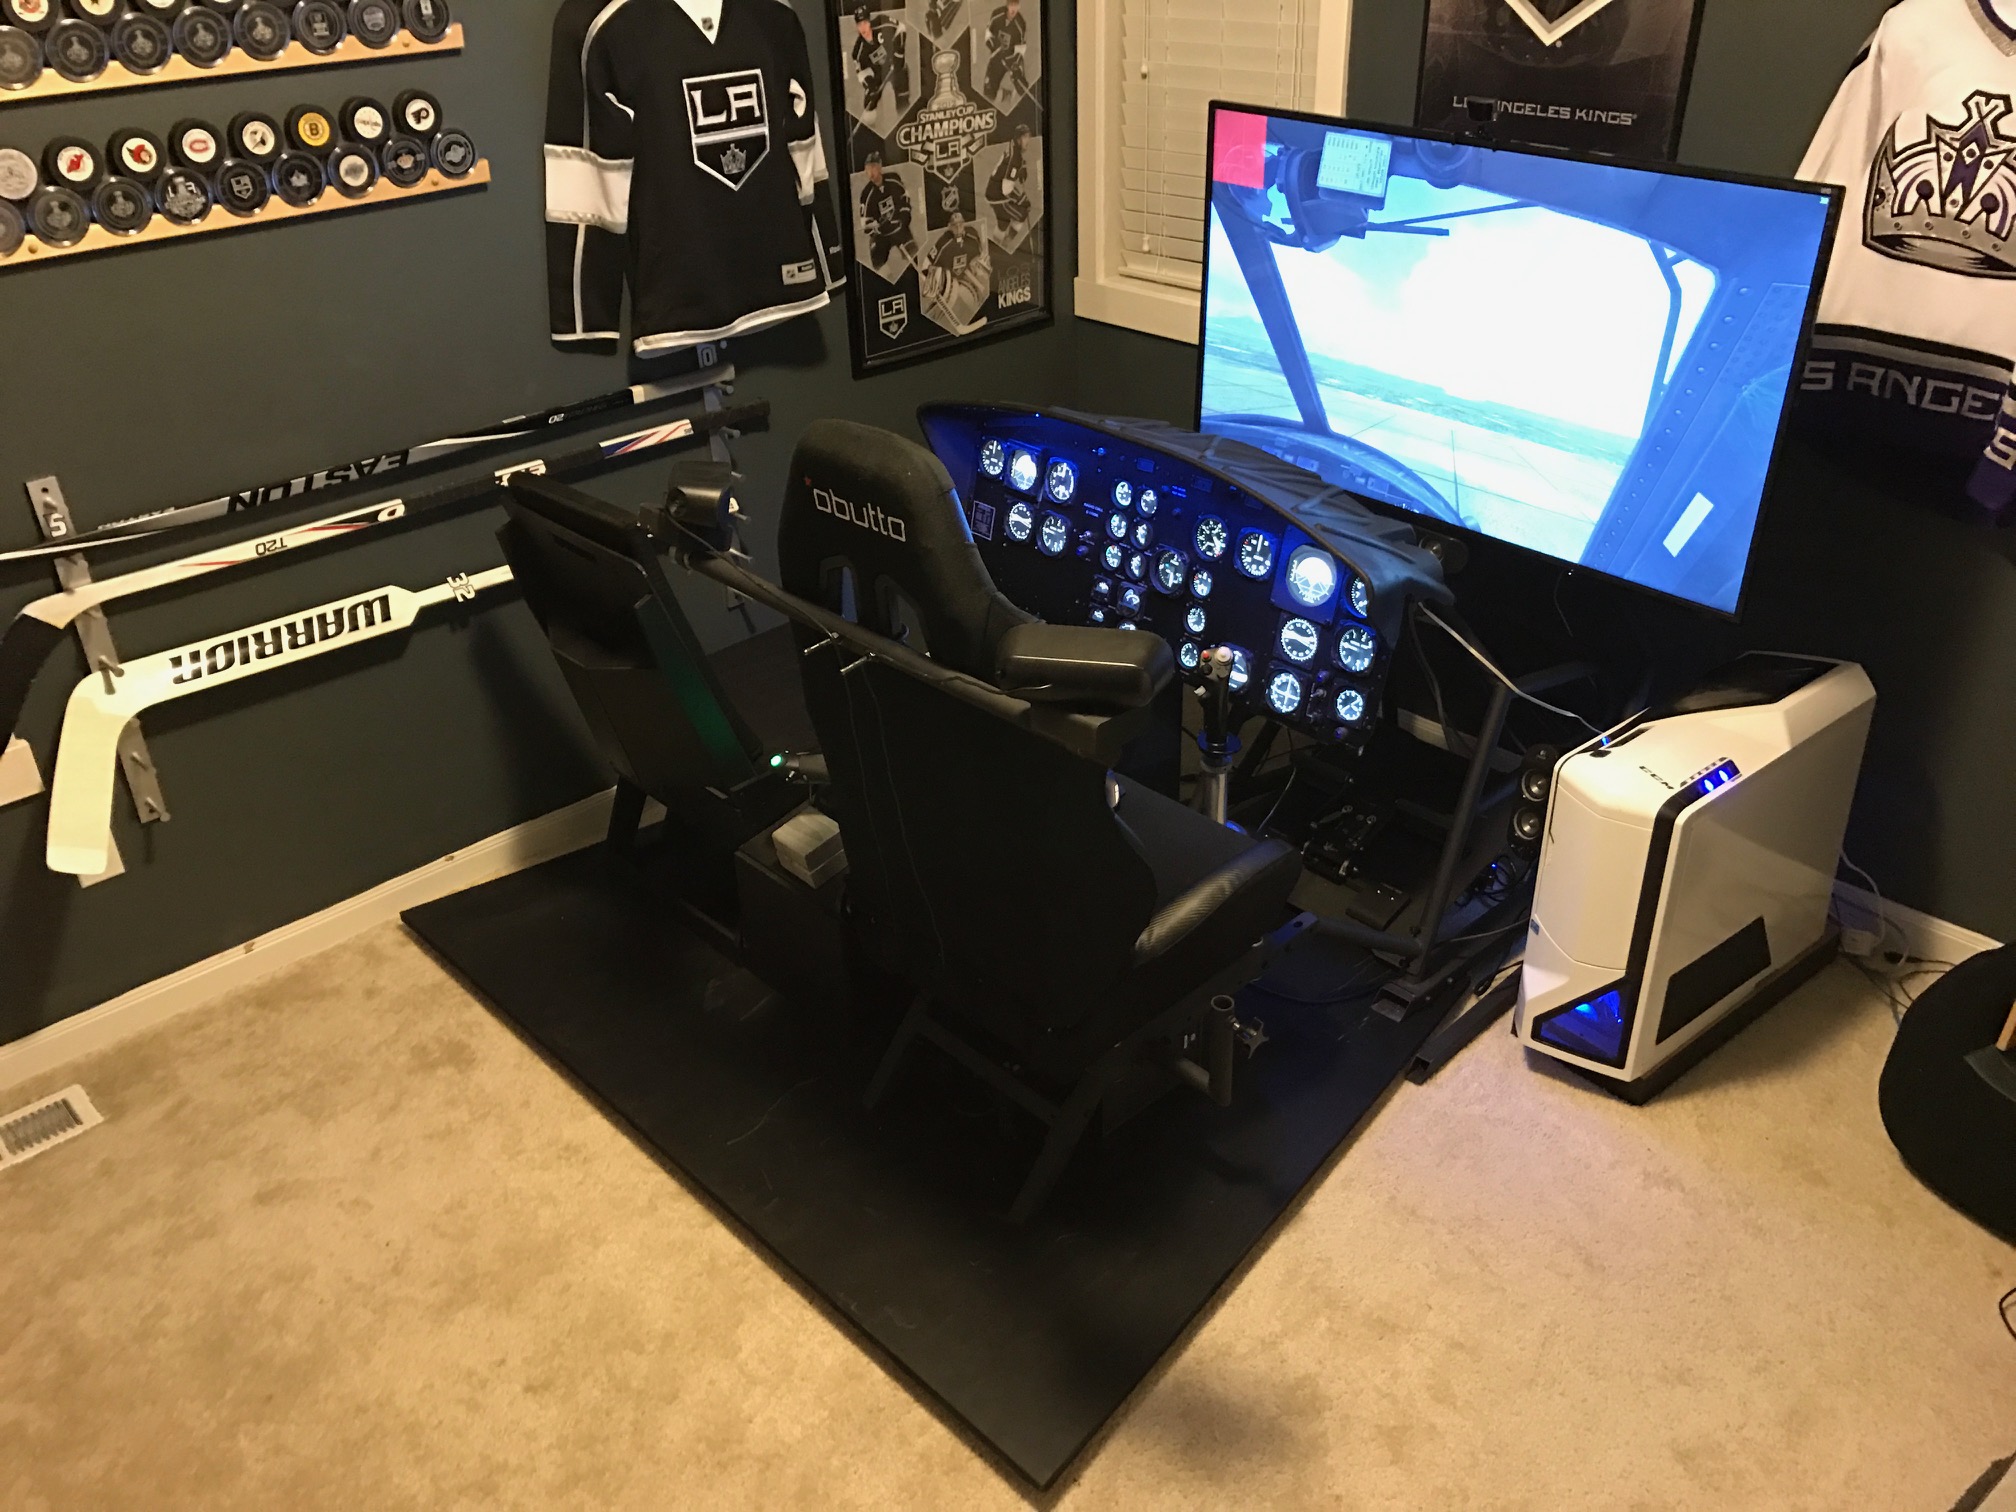
Finally got the platform finished. It was a real pain in the a@@ trying to work around the obutto rig this time but it ended working out. I used 3/4" MDF and mounted it ontop of a frame of 2x2"s. It rides lower than what I would have liked but maybe later down the road I can redo the frame using 4x4's to bring it more off the ground. A few things still planed for the platform is adding a rubber a mat and some LED light strips underneath the MDF for some added flare. I also added a Huey seat that a fellow simmer hooked me up with. Its one of the seats flim designed and I have to say it looks real nice! I wouldnt mind picking one up from flim to complete the set but he doesn't seem to be responding to messages these days. Overall things are progressing slowly but nicely. Till next time gents...have a great week!

-
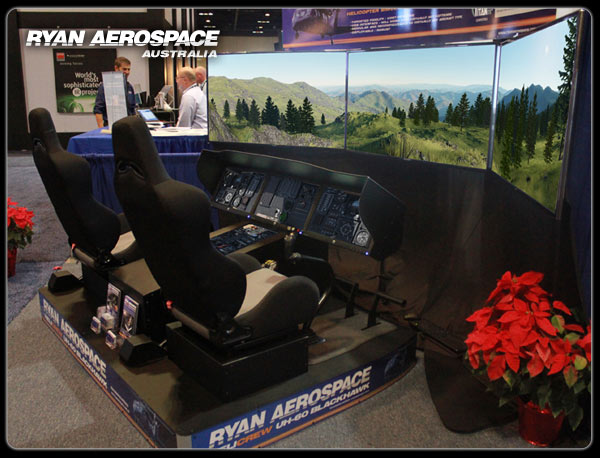
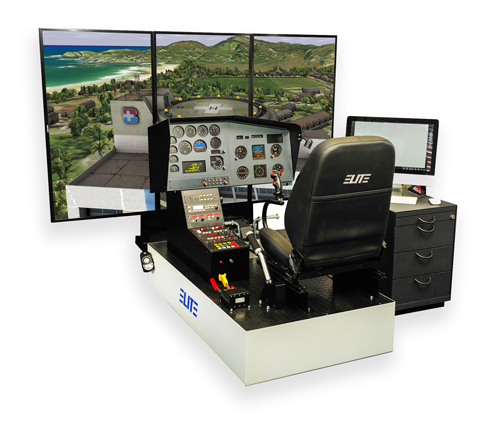
Thanks! I still haven't made a decision on controls yet. Waiting to see what Hegykc comes up with..the collective head he built not too long ago looks amazing. The plan is to put two seats in this rig. Below are a few pics/ideas I came across online. I picked up some mdf today and plan to get the platform started this weekend. I also plan to install some LED light strips underneath the platform to give it some flare. After that, I'll start working on the frame of the cabin.
-
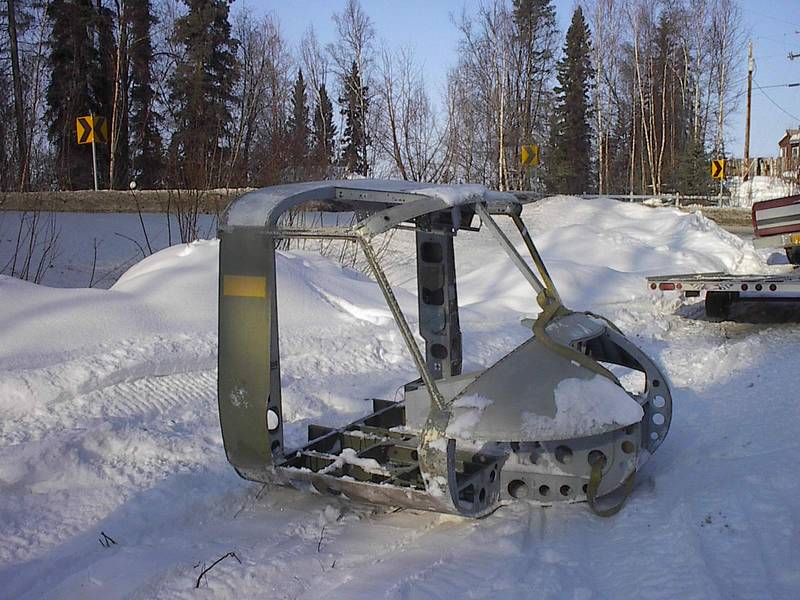
Great work brother! Looks like a blast to fly. Someone just posted this locally here in Washington. He is only asking $250! Not sure how accurate it is but it's a great deal if anyone is interested.
-
Small update today. I was able to push the instrument panel further to the left on the obutto center mount in order for my joystick to lineup correctly with the instrument panel. This allowed me to accurately align my center pedestal to main instrument panel. I also added a temporary copilot seat so that my 5 and 9yr old can fly around as well :). I will probably add one of my saitek joysticks so they can take over control of the aircraft. This week I plan on making a mdf platform for the entire sim to stand on. I've taken floor measurements from our local Huey and will replicate that as best I can :)
-
The hunt for a fuselage has commenced! can't be too hard to find right lol.
-
Lol, that's awesome! I saw someone on shapeways I believe that sold plans for a 3d printed cyclic shifter...it actually looked pretty sweet! I'm actually a MS guy, one of my Soldiers had a cessna 182 that he stored their at the small sierra vista airport. We would fly around on the weekends and I remember flying over those boneyards. The ultimate candy store for simmers!
-
Thanks brother:thumbup:
-
I know right! Lol. I was actually stationed down at fort huachuca, Arizona in 2012...it was only an hour south of Tucson. Back then I had a bell 206 pit so it never really crossed my mind to hit up the boneyards.
-
This might actually work! Thanks for the idea. I can probably use the push button bezel and place it over something like this with the low profile. My instrument panel is right up against the monitors so I might only have a couple mm's if that available. Another option I considered before I started my build was making a panel out of 1" mdf and mounting the actual panel ontop of it. It would have allowed me to make all the switches functional and be able to actually screw on the bezels. A couple reasons why I didn't go that route was because the gauges would have been pushed back killing the authentic look and also the additional weight it would have put on the Obutto's center mount.
-
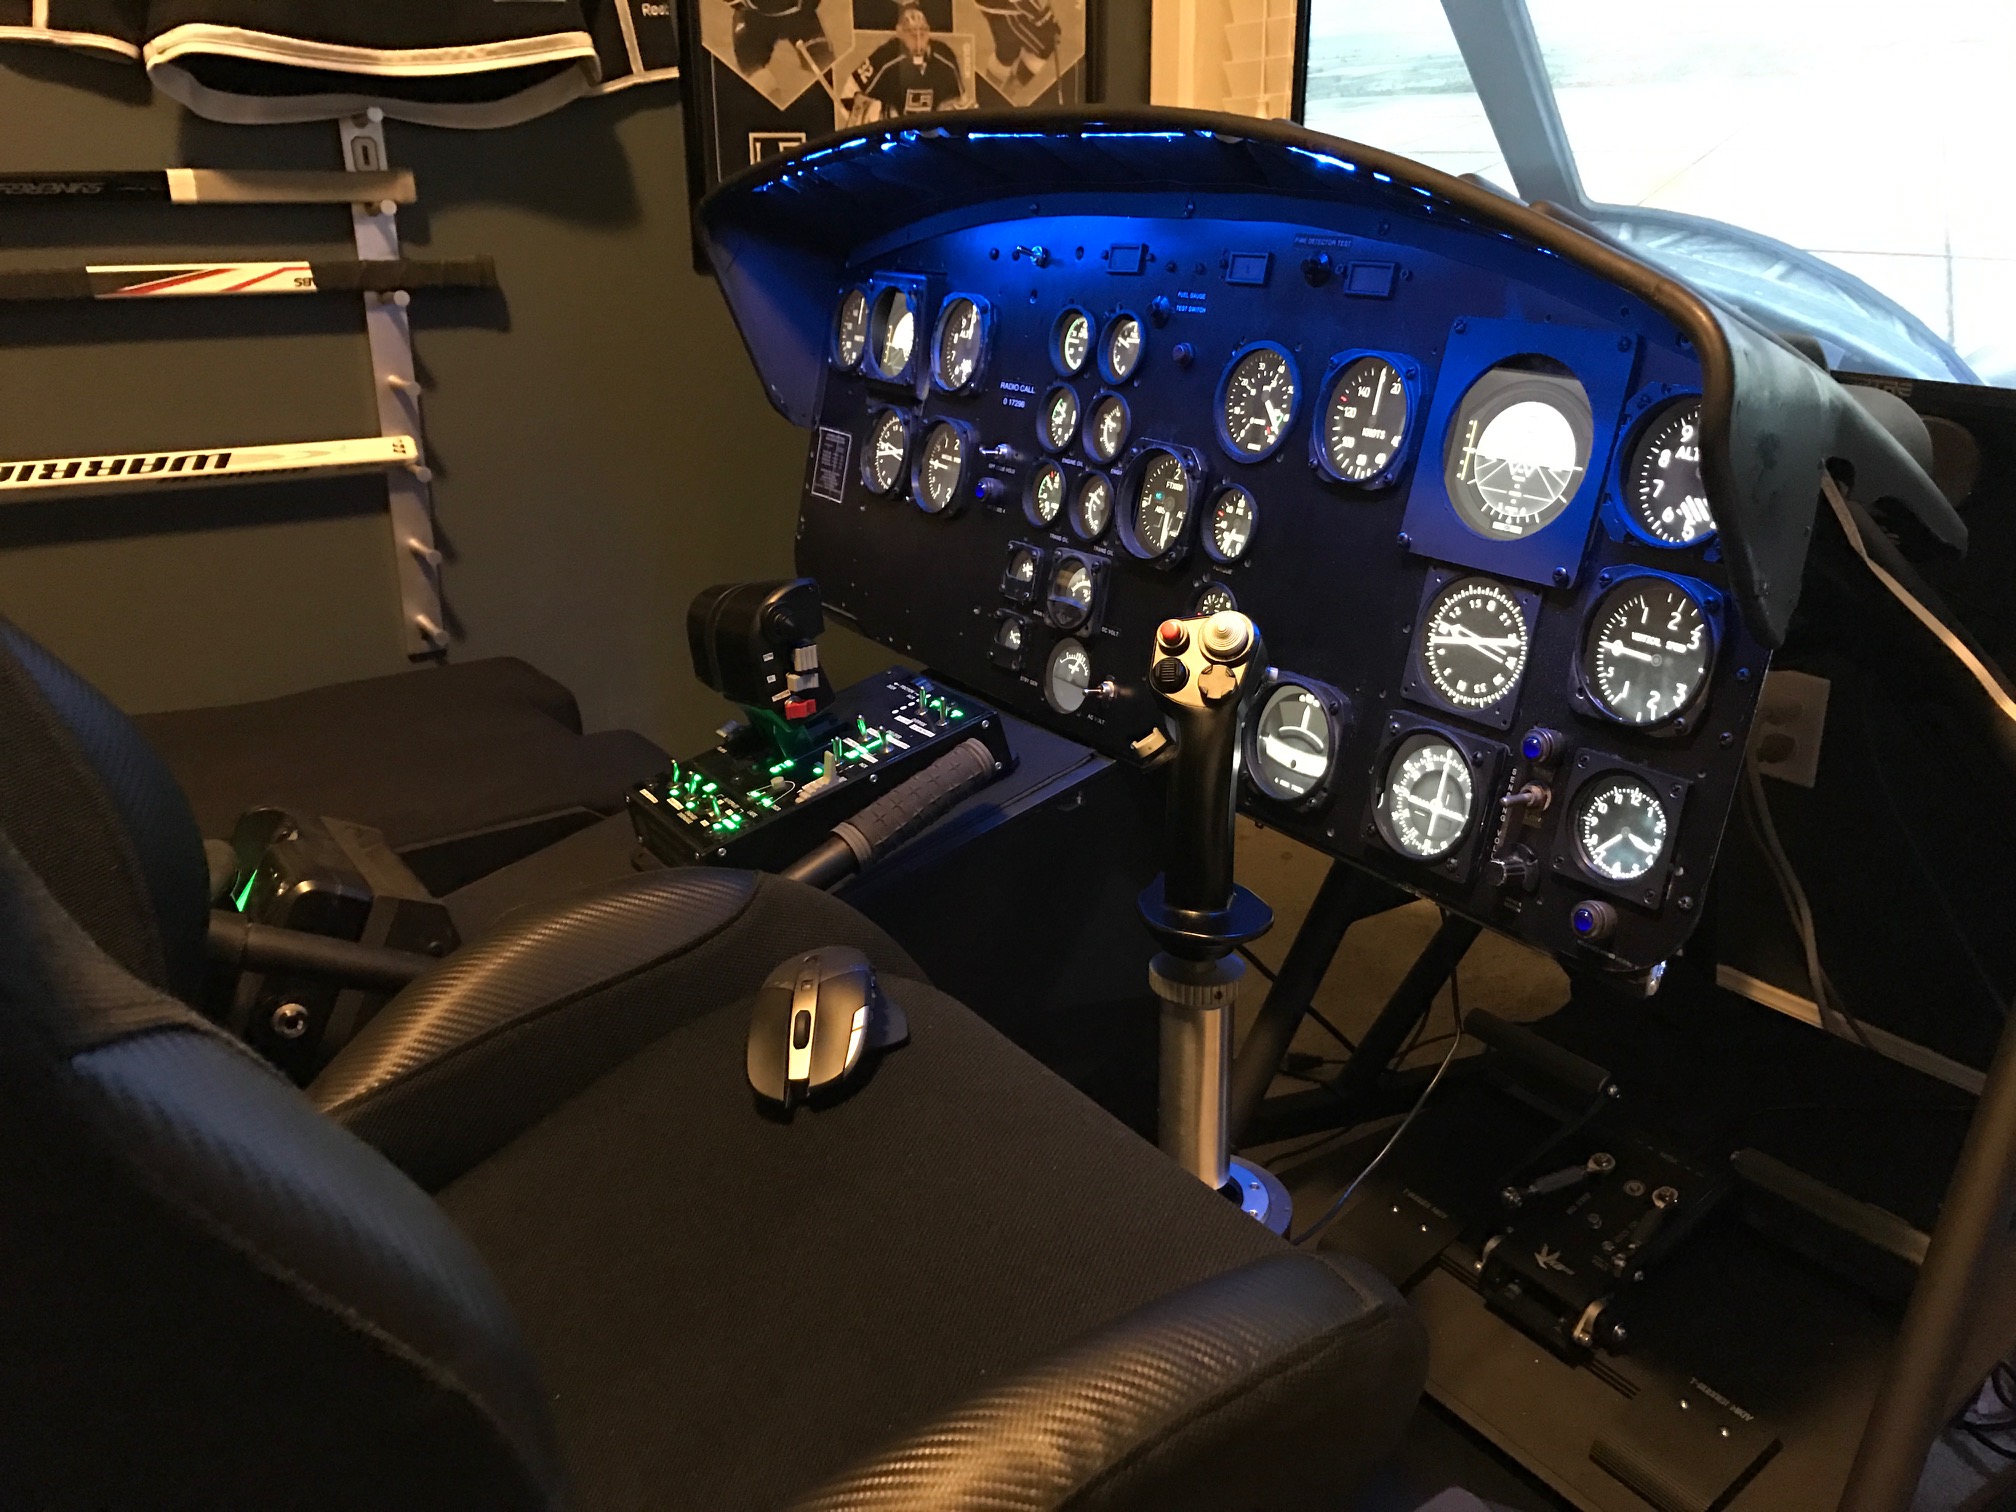
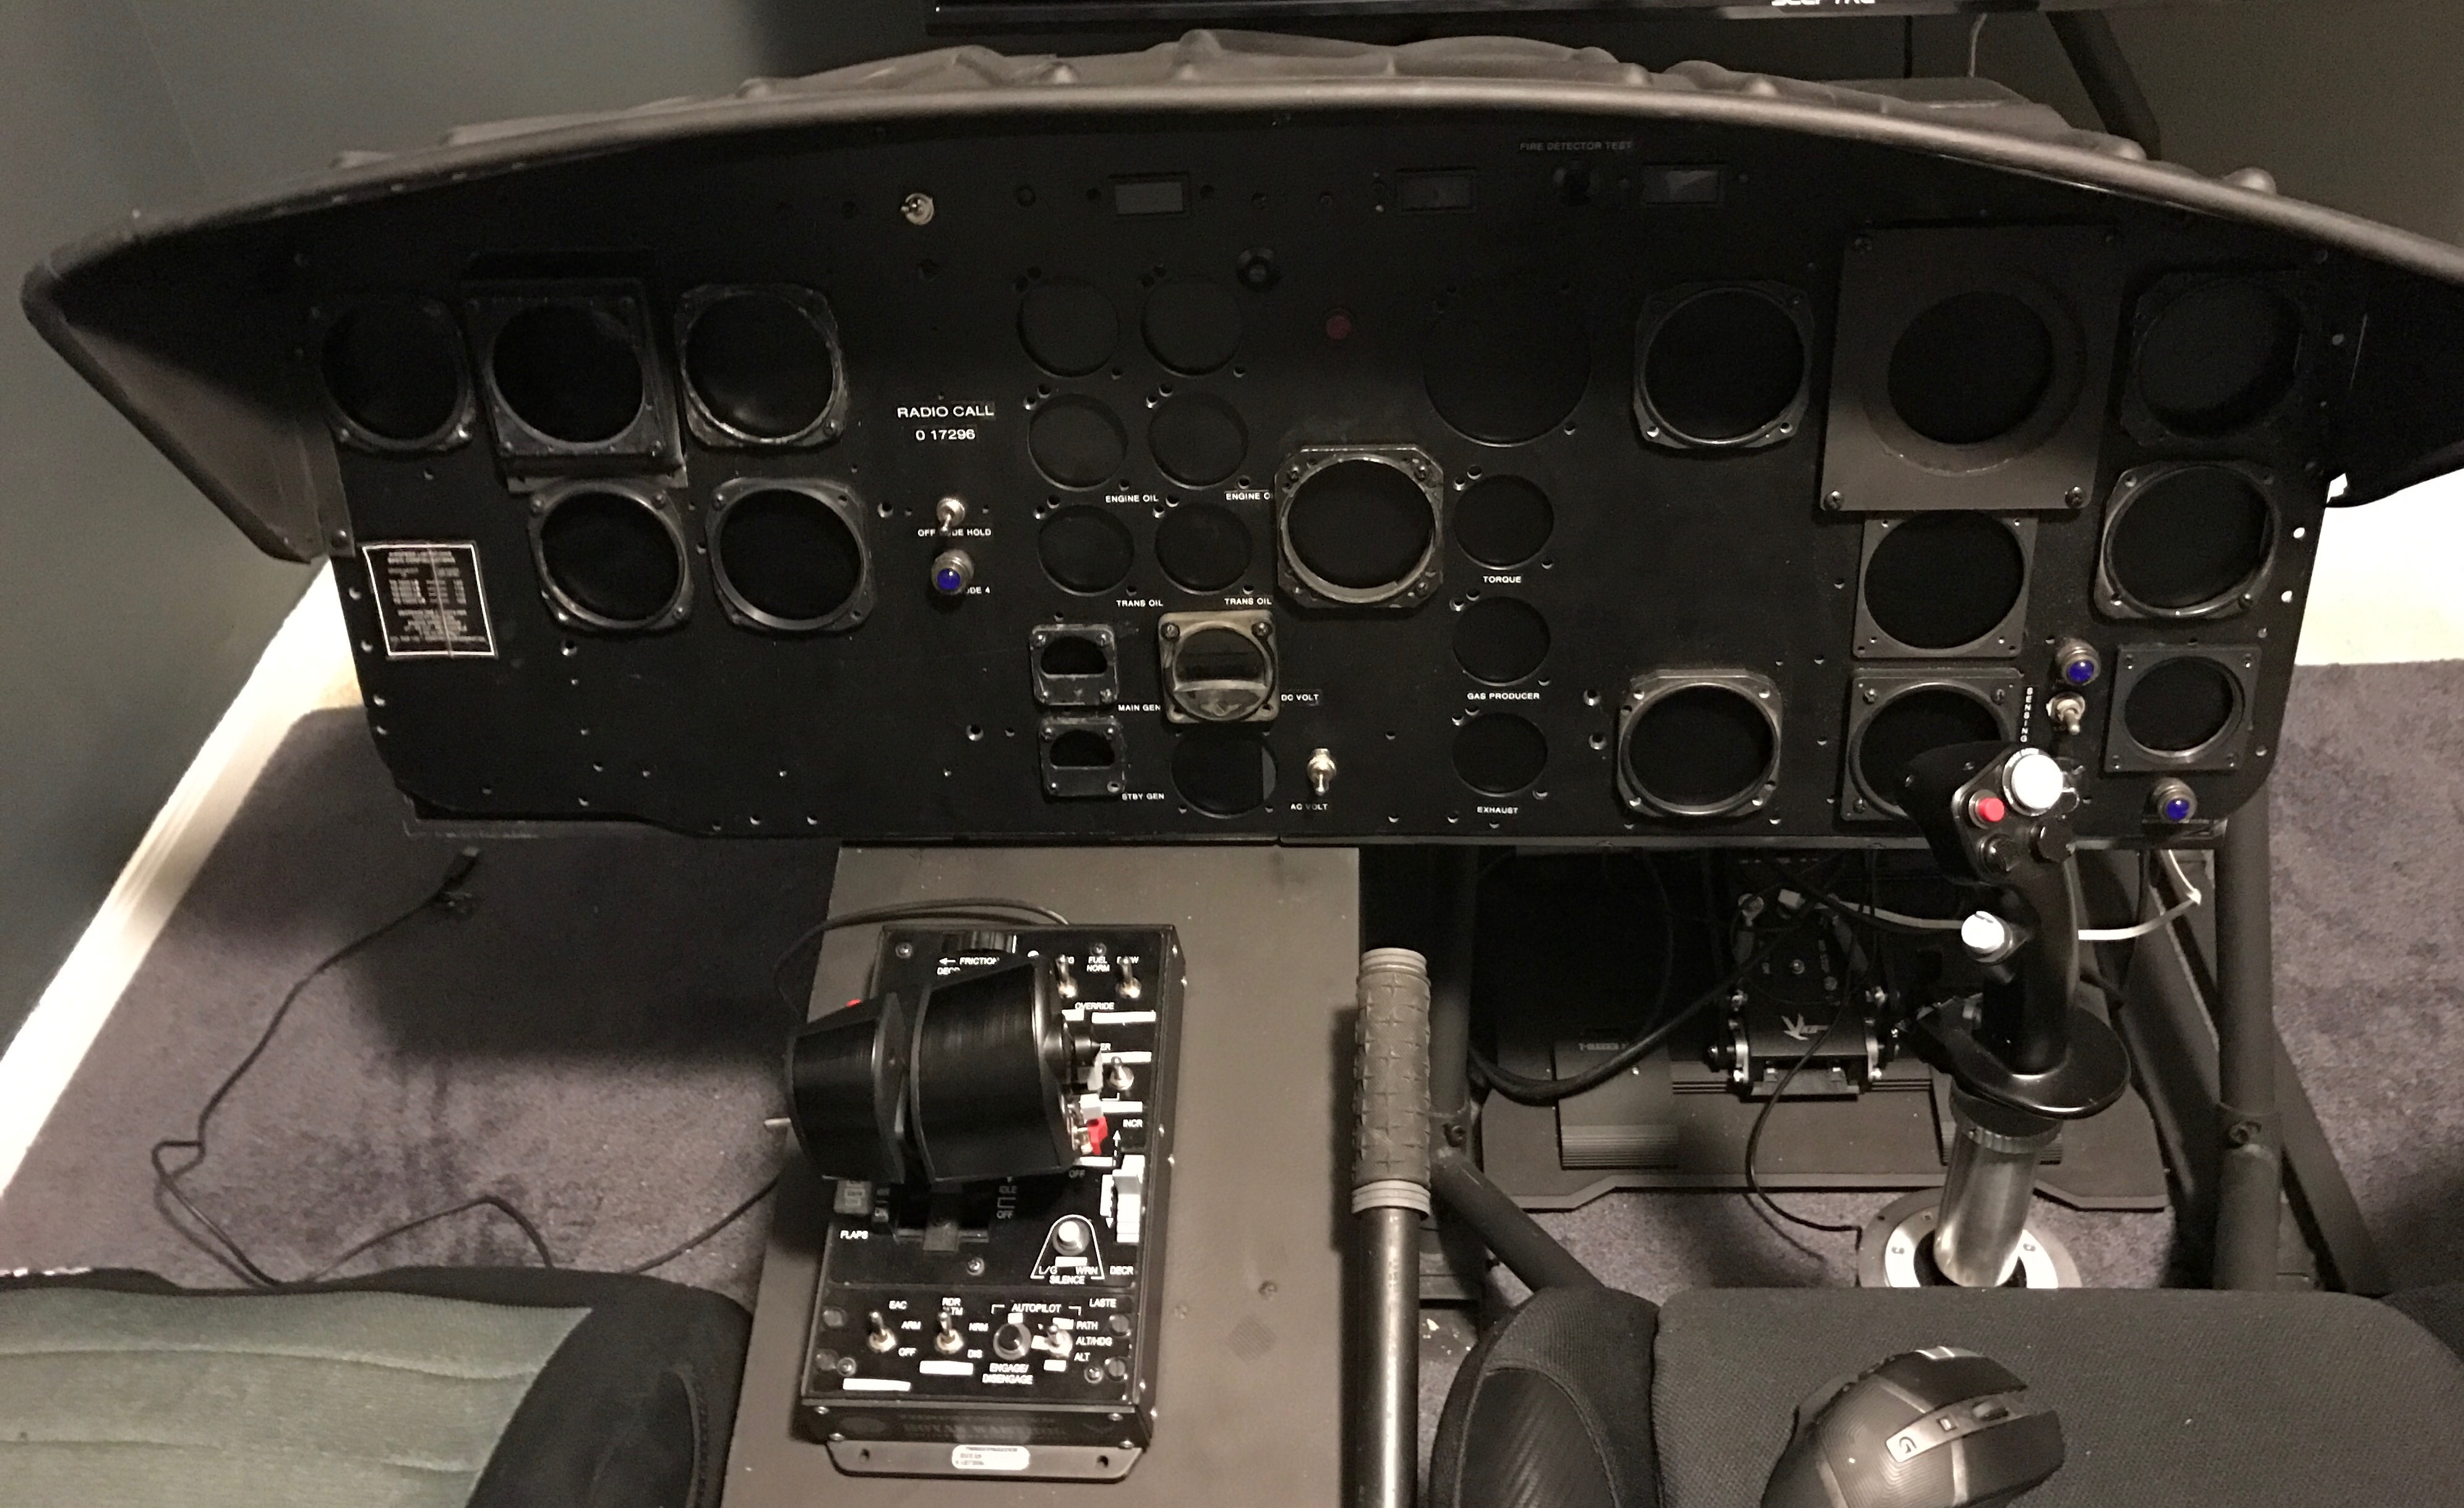
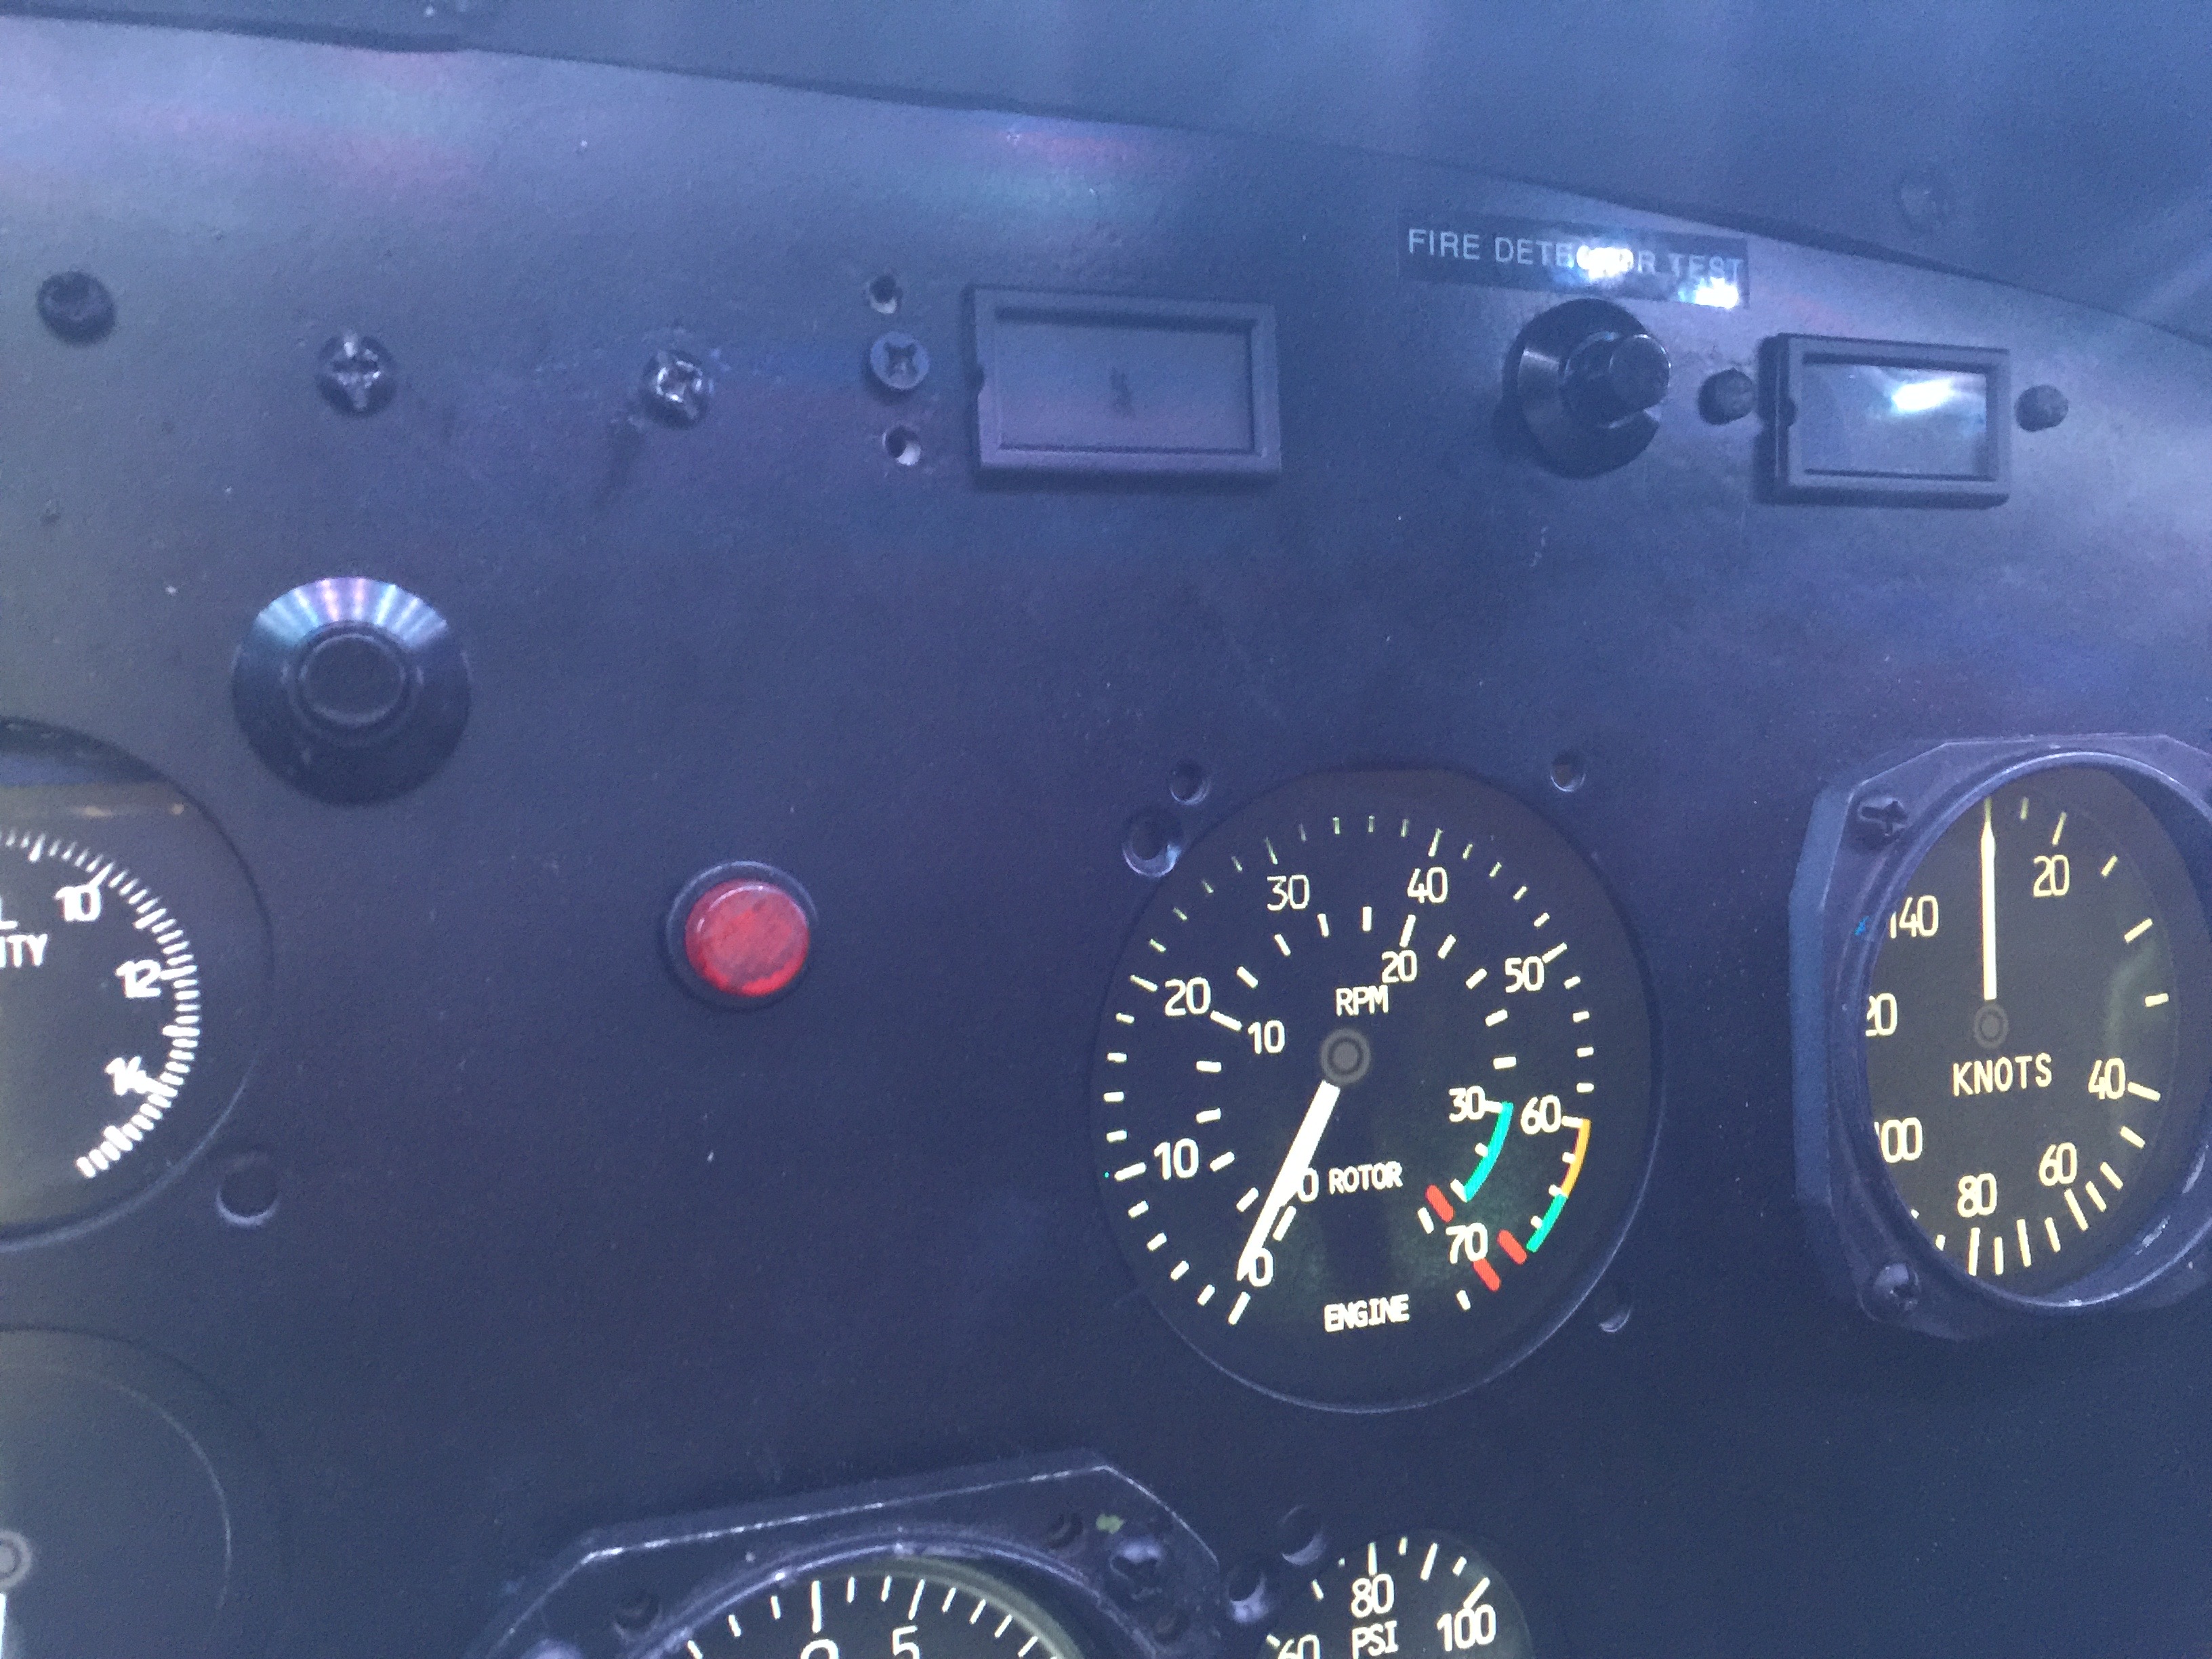
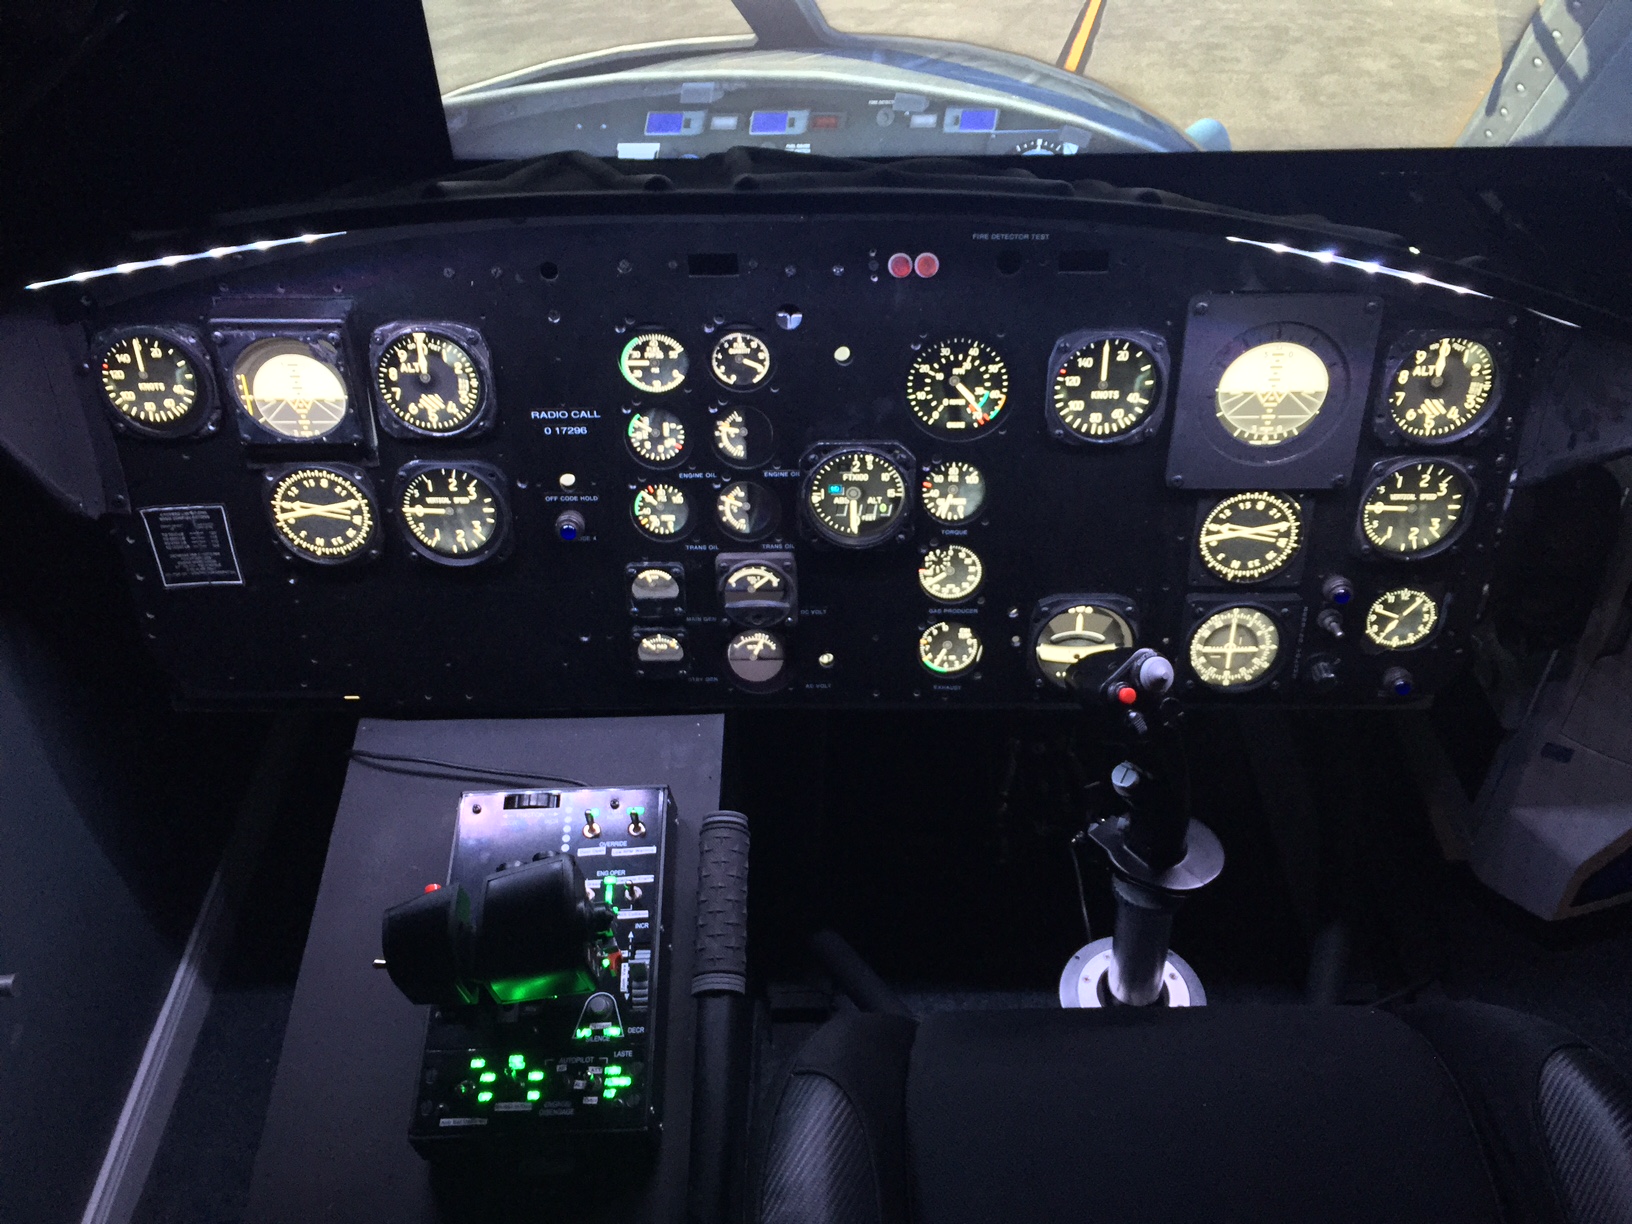
If you look closely at the top indicators next the fuel detector switch, you can see where the top of my monitors are mounted. So any switches or electronics mounted above the monitors can and will be made functional due to the empty space. Anything below unfortunately are purely for looks. So all those switches mounted below were grinded down flush and attached to the panel. That's just the sacrifice I had to make when using a real Huey panel with monitors for gauges.
-
Small update today...I guess some progress is better than no progress :) I got the two push detector switches installed. I plan to make the fire detector switch functional once I can track down an actual light indicator. The fuel test switch on the other hand won't :(. Unfortunately, the monitors are directly behind it so I had to grind down the back of the switch and mount it on the panel....it's there purely for cosmetic purposes and to fill a ugly whole in the panel lol.
-
Awesome! I like what you did to hide that warthog stick cable :thumbup:
-
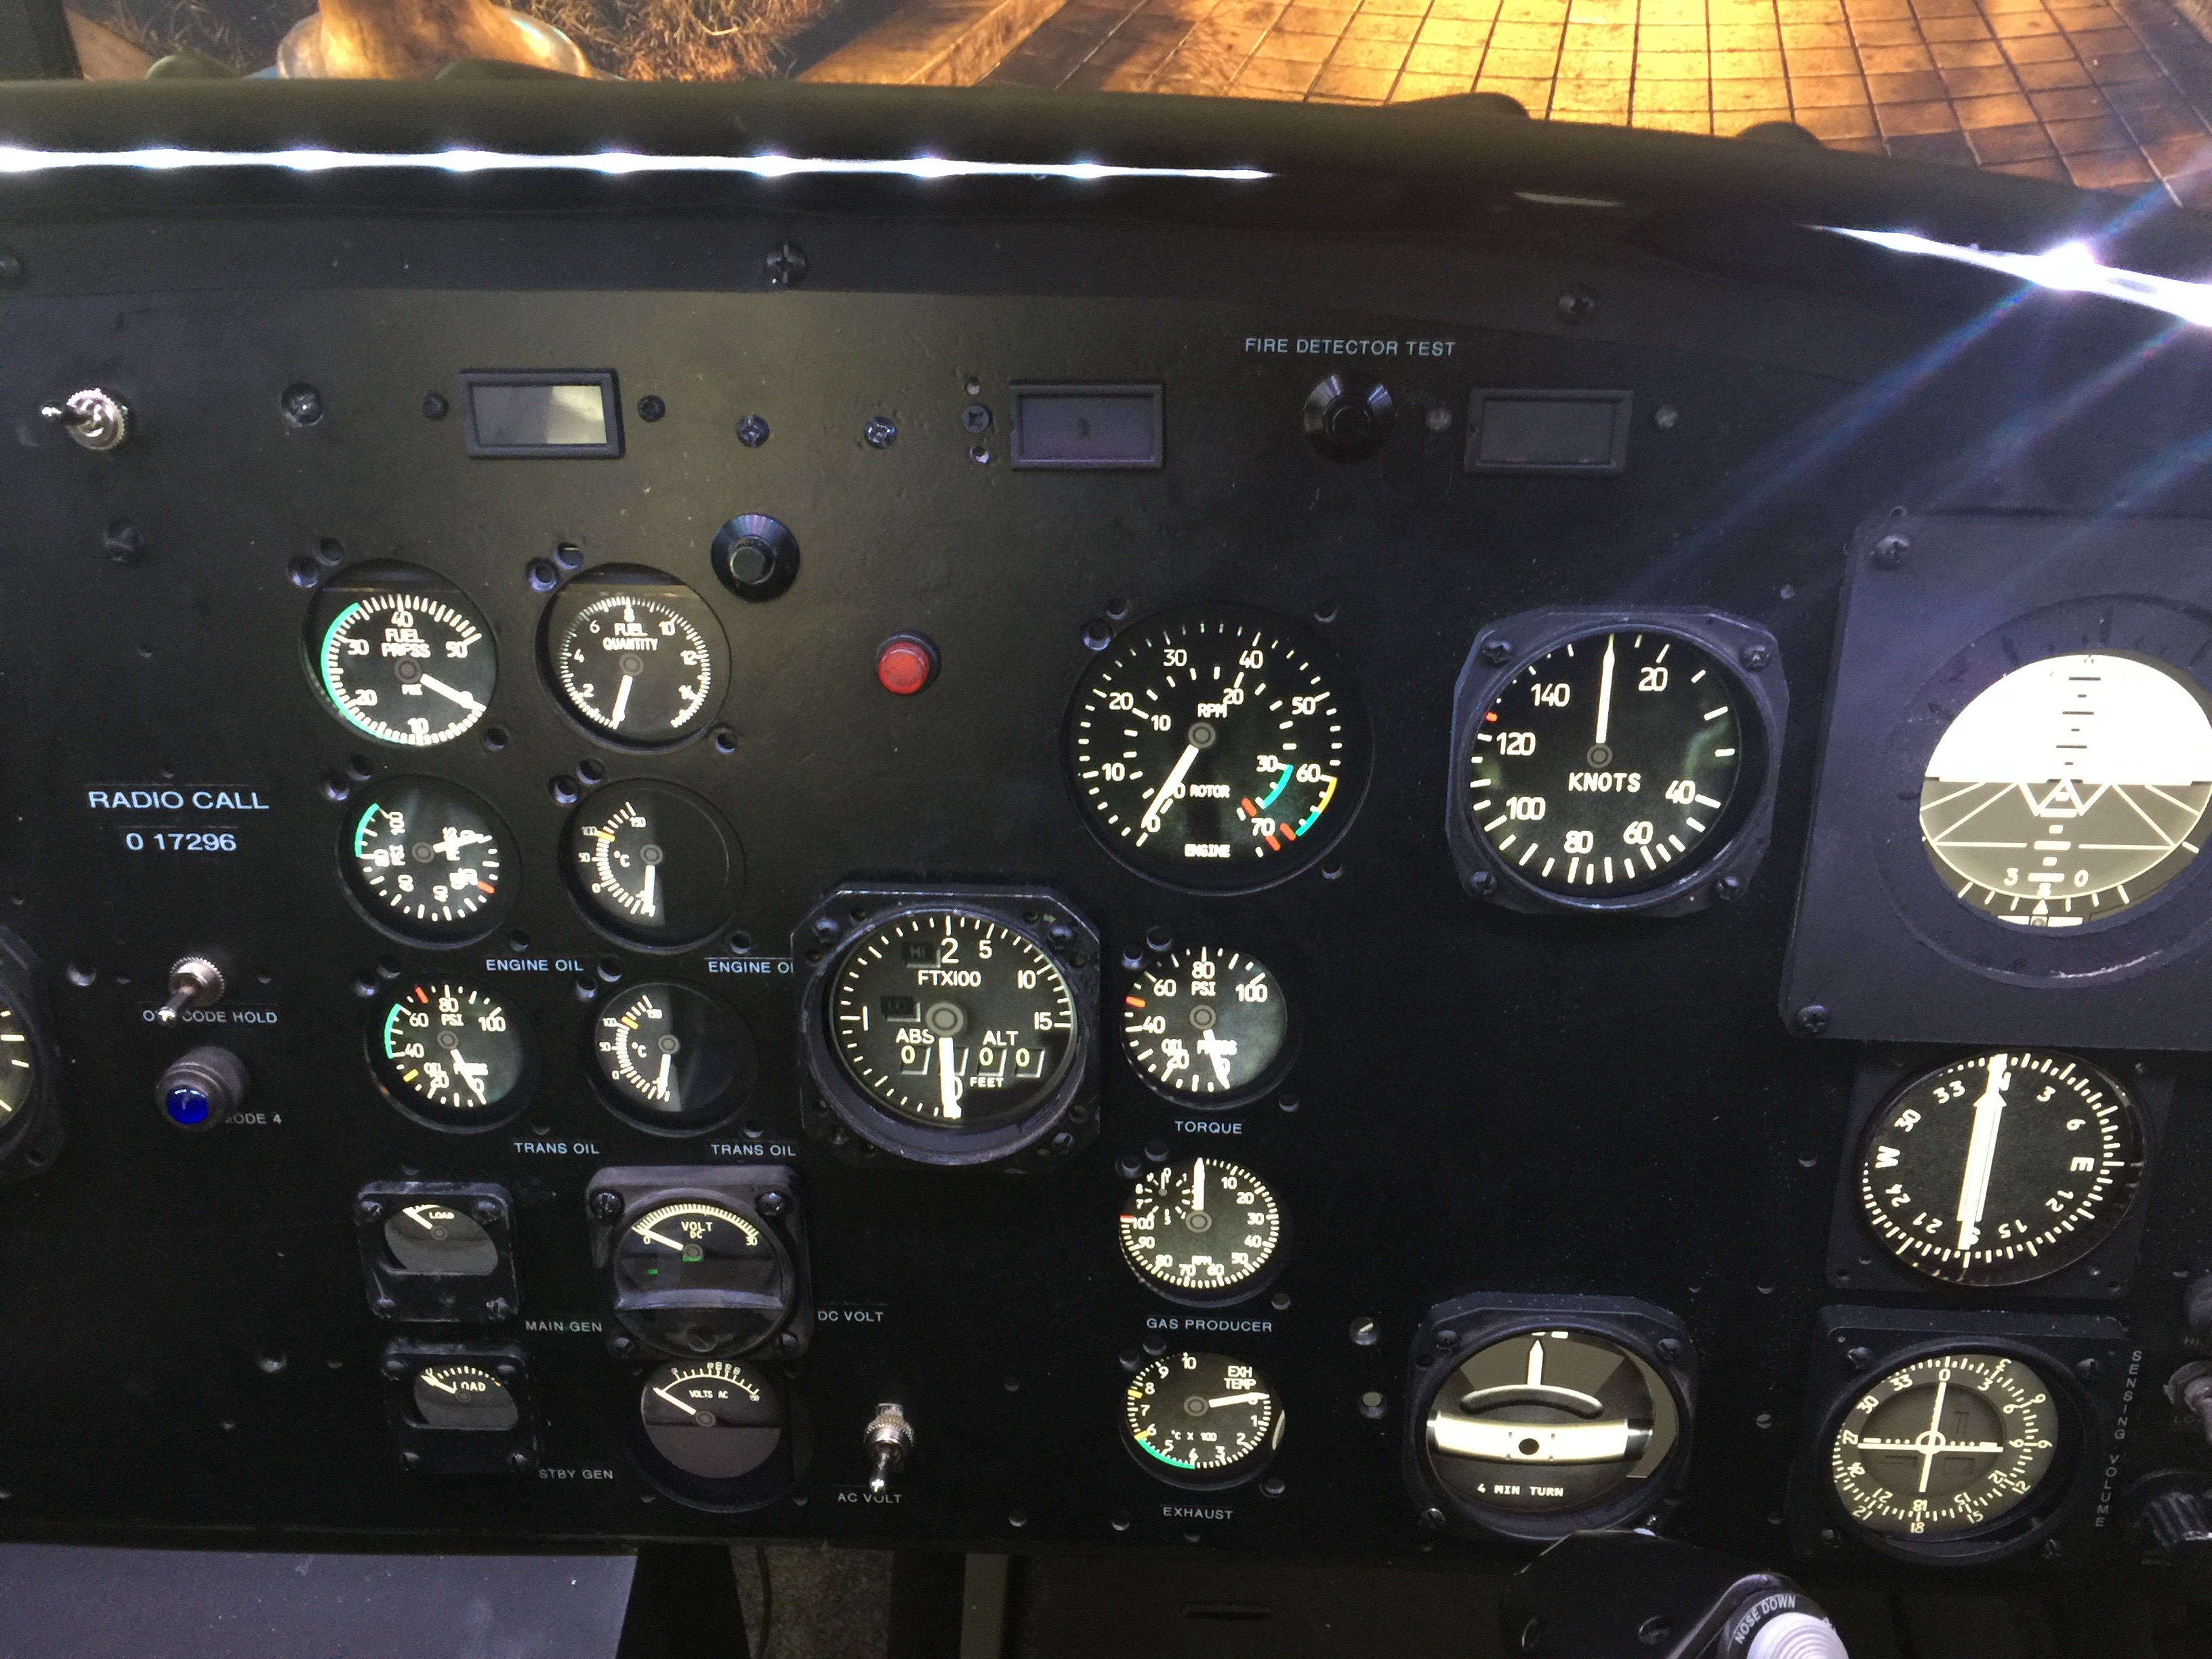
They are two 22" V7 monitors at a 16:10 ratio. I use to run a triple monitor display and one for gauges but recently ditched them for a 50" 4K tv. I had to remove the bezels to make them fit and sit flush with the panel but they did the job quit nicely. I definitely lucked out!
-
For those interested..aircraft spruce sells the momentary push button switches found in the Huey (fire detector test and fuel test). They are $12.95 a piece http://www.aircraftspruce.com/catalog/elpages/p1momswitch.php
-
.....and I made them out of a 3 pack of these for $1.18 :megalol:
-
Today I went to Home Depot to try and find something I can use to make three bezels for the master caution, rpm and fire detector warning lights and this is what I came up with.......please don't laugh but I think it did the job quit nicely lol. Eventually I will get the real lights installed but I needed something to fill the void in my panel....it was my OCD kicking in lol
-
Yes we are:thumbup: I hear it from my wife all the time lol Lol, totally understand brother. If it makes you feel any better I do have a Devils puck in my collection :)
-
Thanks for sharing Ice! If you don't mind me asking, how much did those controls cost you? They look great!
-
Thanks for the kind words gents! Thanks Deadman! I am pretty happy with where it's at right now and it is a blast to fly.... but for some reason I had just as much fun building the pit than i did flying it...lol. Seeing build threads like yours has inspired me and I'm sure others to build their own cockpits. It really is a fun hobby :) I even find enjoyment searching eBay for authentic parts....crazy right? Household 6 seems to think so...haha. I know Lynx and a couple others plan to sell panels for the Huey so I'll probably be waiting for those to hit the market when it comes to building the center console and overhead console. In the meantime I have lots to learn from these forums and maybe one day I can ditch the monitors/Helios and interface real gauges :). What I really would like to work on is building a fuselage or a type of enclosure for my pit. I've seen some awesome examples online and its already got my brain turning :pilotfly:
-
Hey Gents, after a lot of thought..I finally got the nerve to start my own build thread. Seeing some of these amazing build threads can be quit intimidating to say the least...especially for someone who lacks computer or design skills when it comes to 3D renderings and building functional panels with DCS Bios. After months of searching online, I finally came across a Huey instrument panel and a relatively decent shape glareshield. As of now, my pit is built around the obutto revolution rig using the center mount to hold two 22" (16:20) monitors side by side with the bezels removed. Luckily for me, the dimensions were almost the same of the instrument panel. The panel and glareshield literally hang on top of the monitors making this rig very modular and can easily be removed or swapped out when flying different aircraft. I am currently running Helios using the gauges from CPT Zeen's huey profile and so far its been working great! I installed LED Multicolor light strips under the glareshield that really makes the panel look great when all my lights are turned off. Night flights with the green LEDs are very immersive! There is still a few more things do on the main instrument panel before I move onto the center console: -Caution Lens'/Lights (RPM, Caution and Master) -Push to test buttons for Fire and fuel (found these online at $12.95 a piece) -Indicator Bezels (I will be purchasing these from Lynx once he begins producing them in the near future) Hopefully this thread can inspire some more Heli cockpits as they are really hard to come by these days lol. I look forward to keeping you all posted on the progress!
-
Just WOW! It absolutely amazes me what some of you guys can create by simply referencing pictures and some measurements! Great job Dimebug!
-
I plan on starting one soon :)
-
Hey Sporg, I've seen some great reviews on the 229th forums and I plan on picking one up hopefully within the next couple of weeks! I heard they offer different profiles for the various dcs modules which sounds amazing! So I'm really looking forward to it!
-
 I run the warthog stick, throttle and a modified x52pro that I use for a collective with zero issue!