randomguylurking
-
Posts
11 -
Joined
-
Last visited
Content Type
Profiles
Forums
Events
Everything posted by randomguylurking
-
Let me know if you are getting rid of your PointCTRL. I've built my own version, but am still wanting to grab one. I'm in the US.
-
If you change you mind and want to ship to the US, let me know! I'll buy it
-
PointCTRL - Finger Mounted VR Controller
randomguylurking replied to MilesD's topic in PC Hardware and Related Software
If anyone is selling their PointCTRL let me know! I'll buy it. -
Those iOS ones that are cheap and advertised as "page turners" won't work. I bought this and it works just fine, great actually. It's just a little large and clunky for my taste. It works out of the box and wasn't bad as long as you positioned it right on your finger and covered the mouse laser. I used this thing for a little while until I could figure out how to piece and MacGyver the Bluetooth ring together. https://www.amazon.com/gp/product/B075CKYVDW/ref=ppx_yo_dt_b_search_asin_title?ie=UTF8&psc=1
-
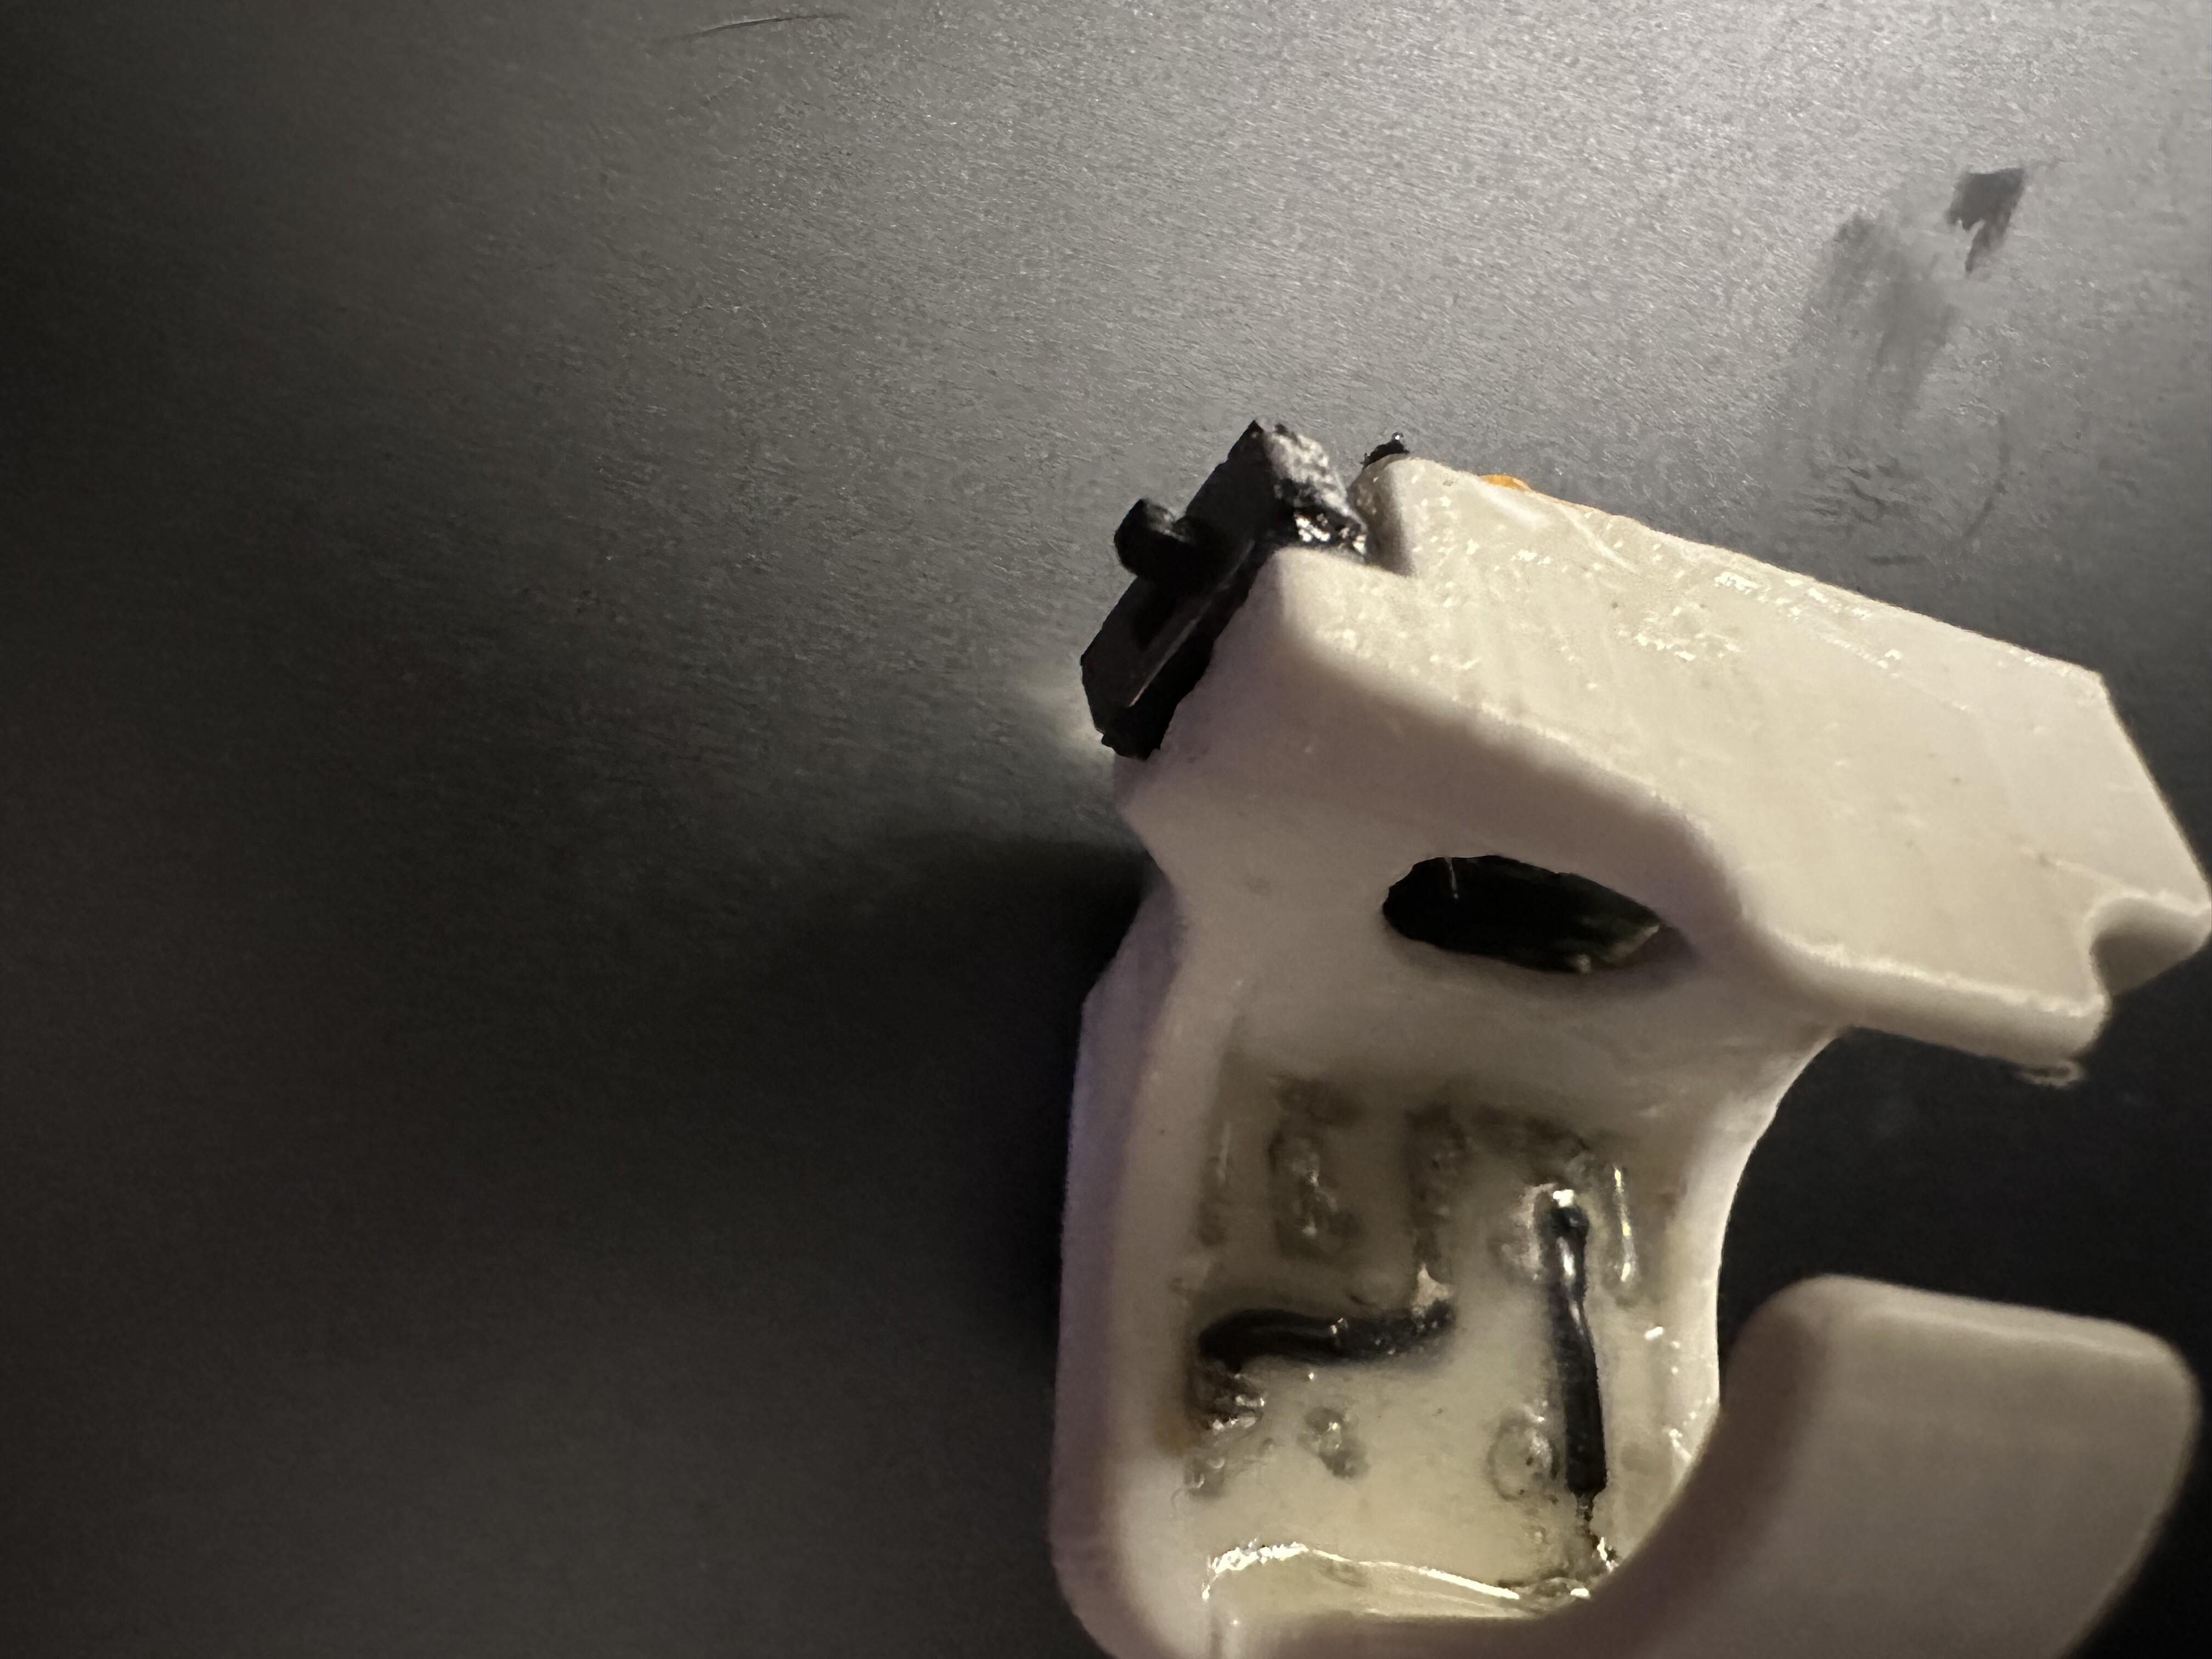
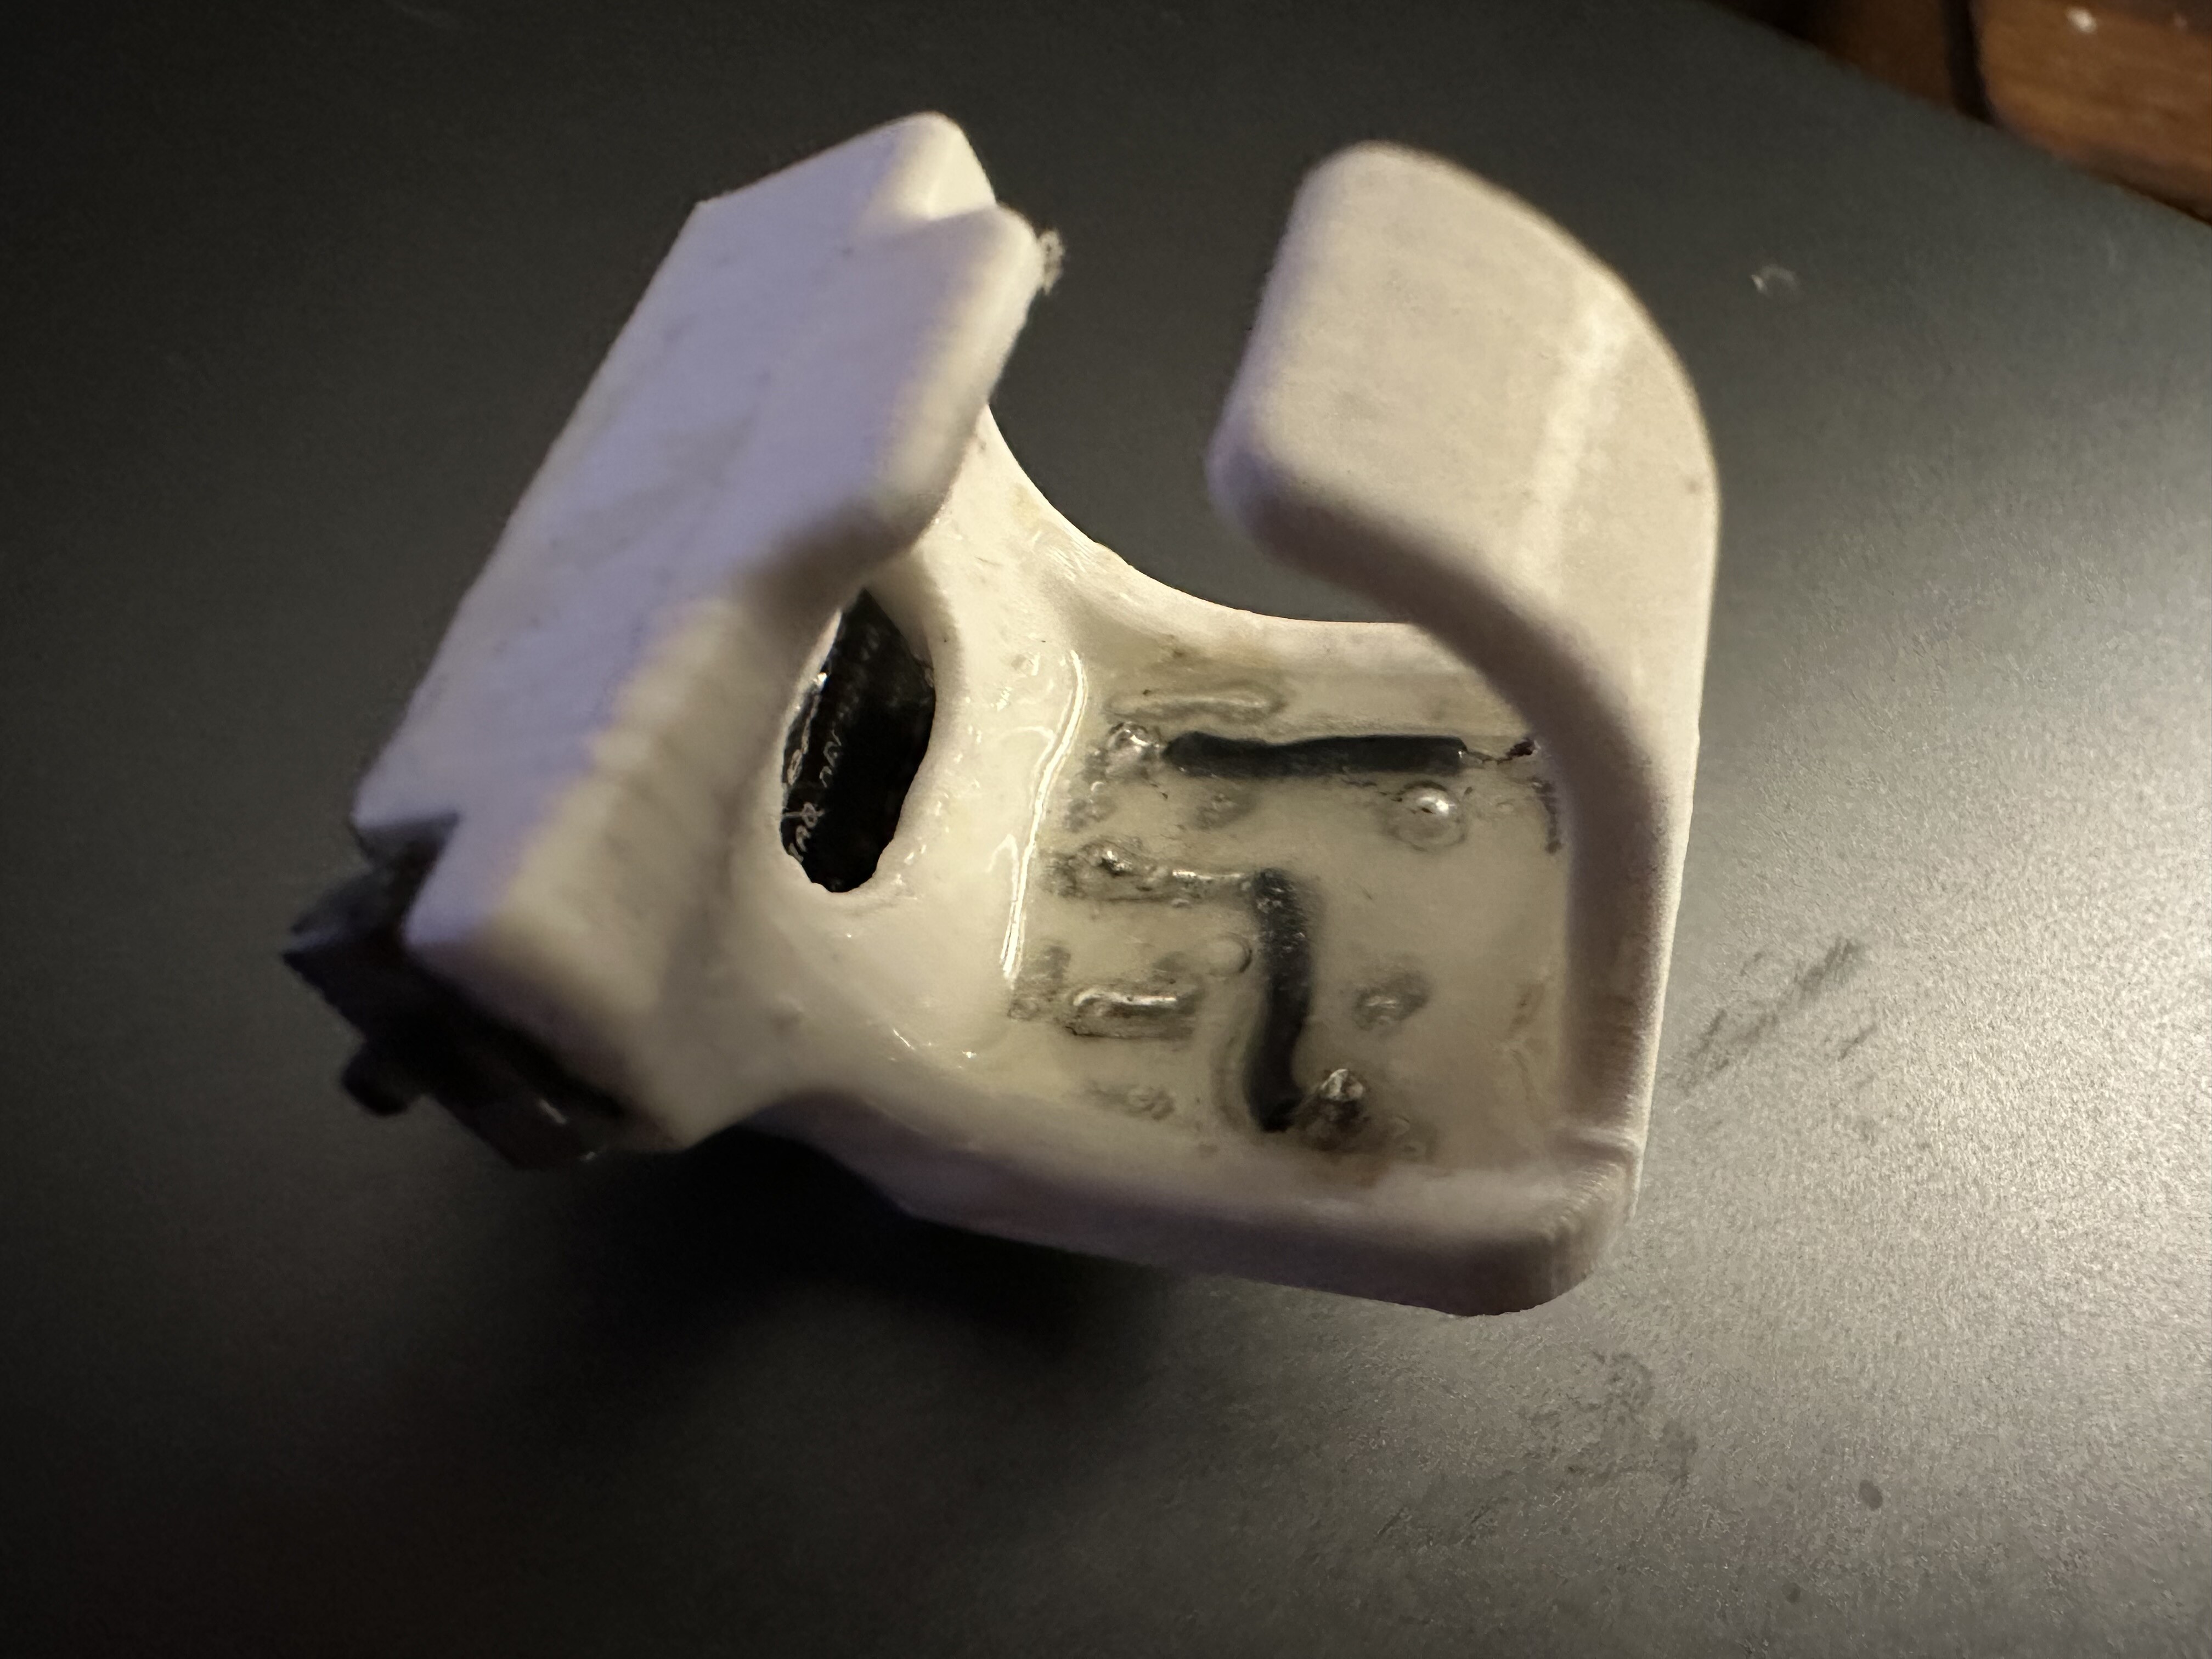
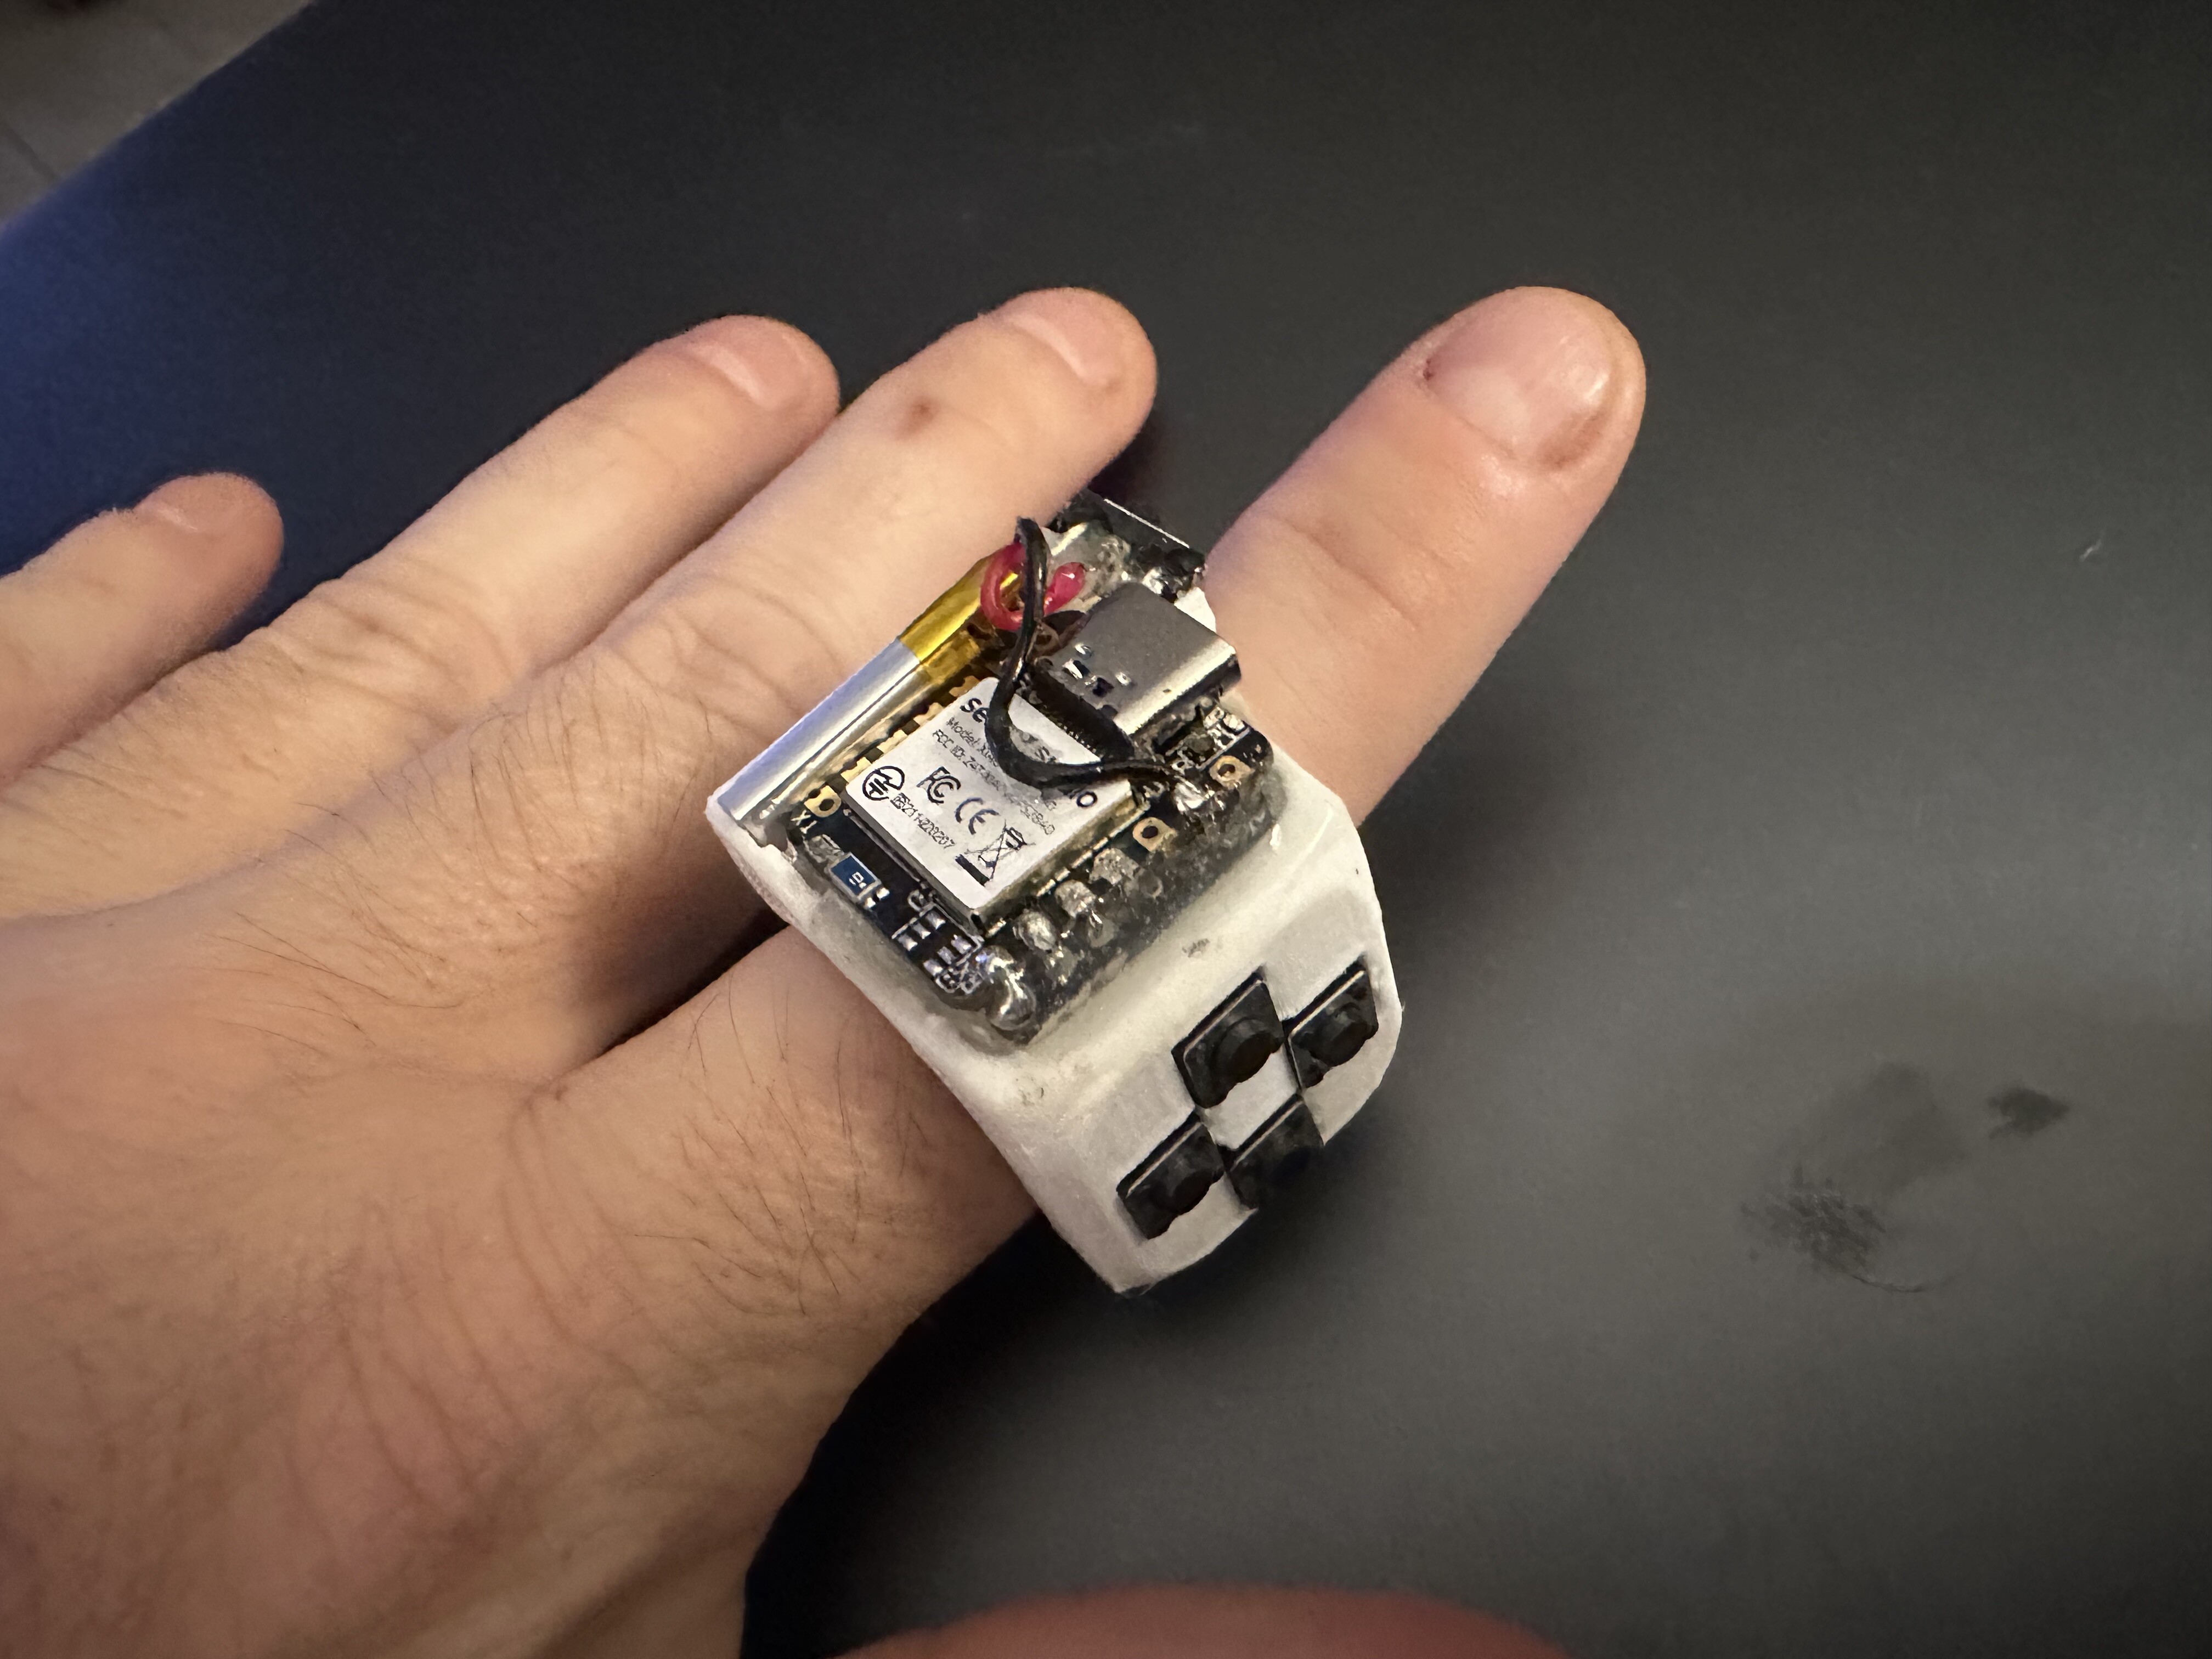
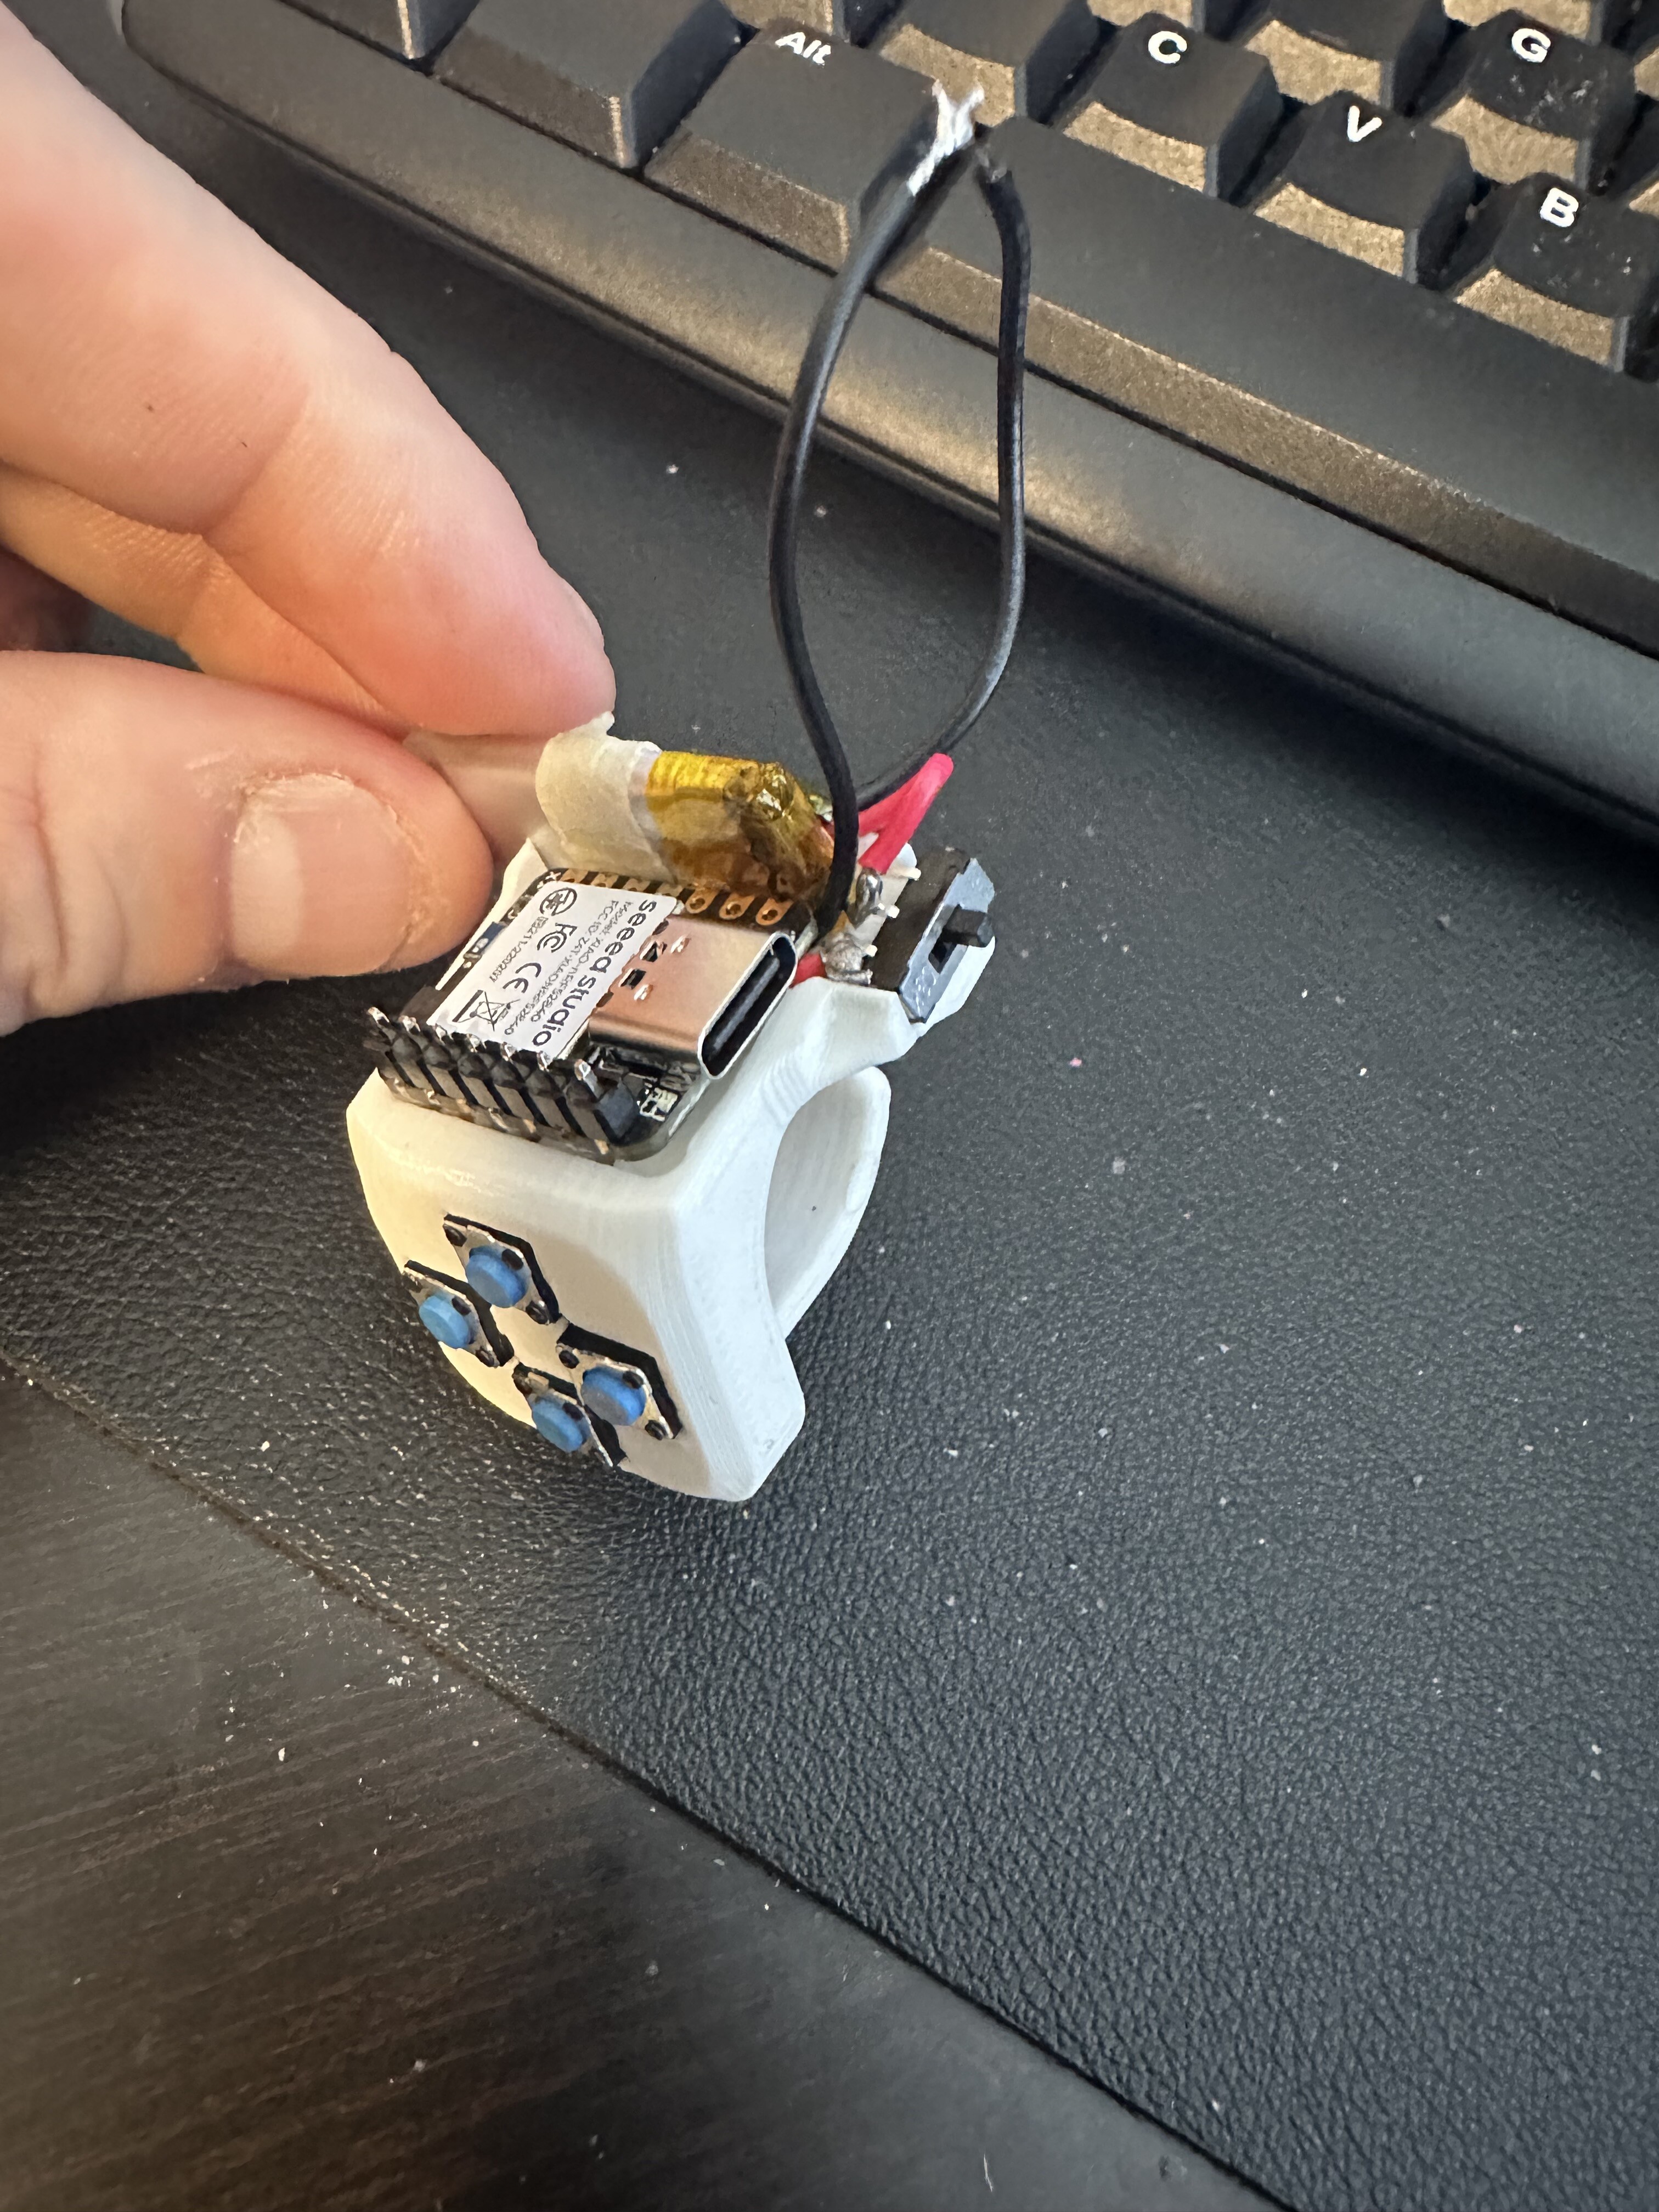
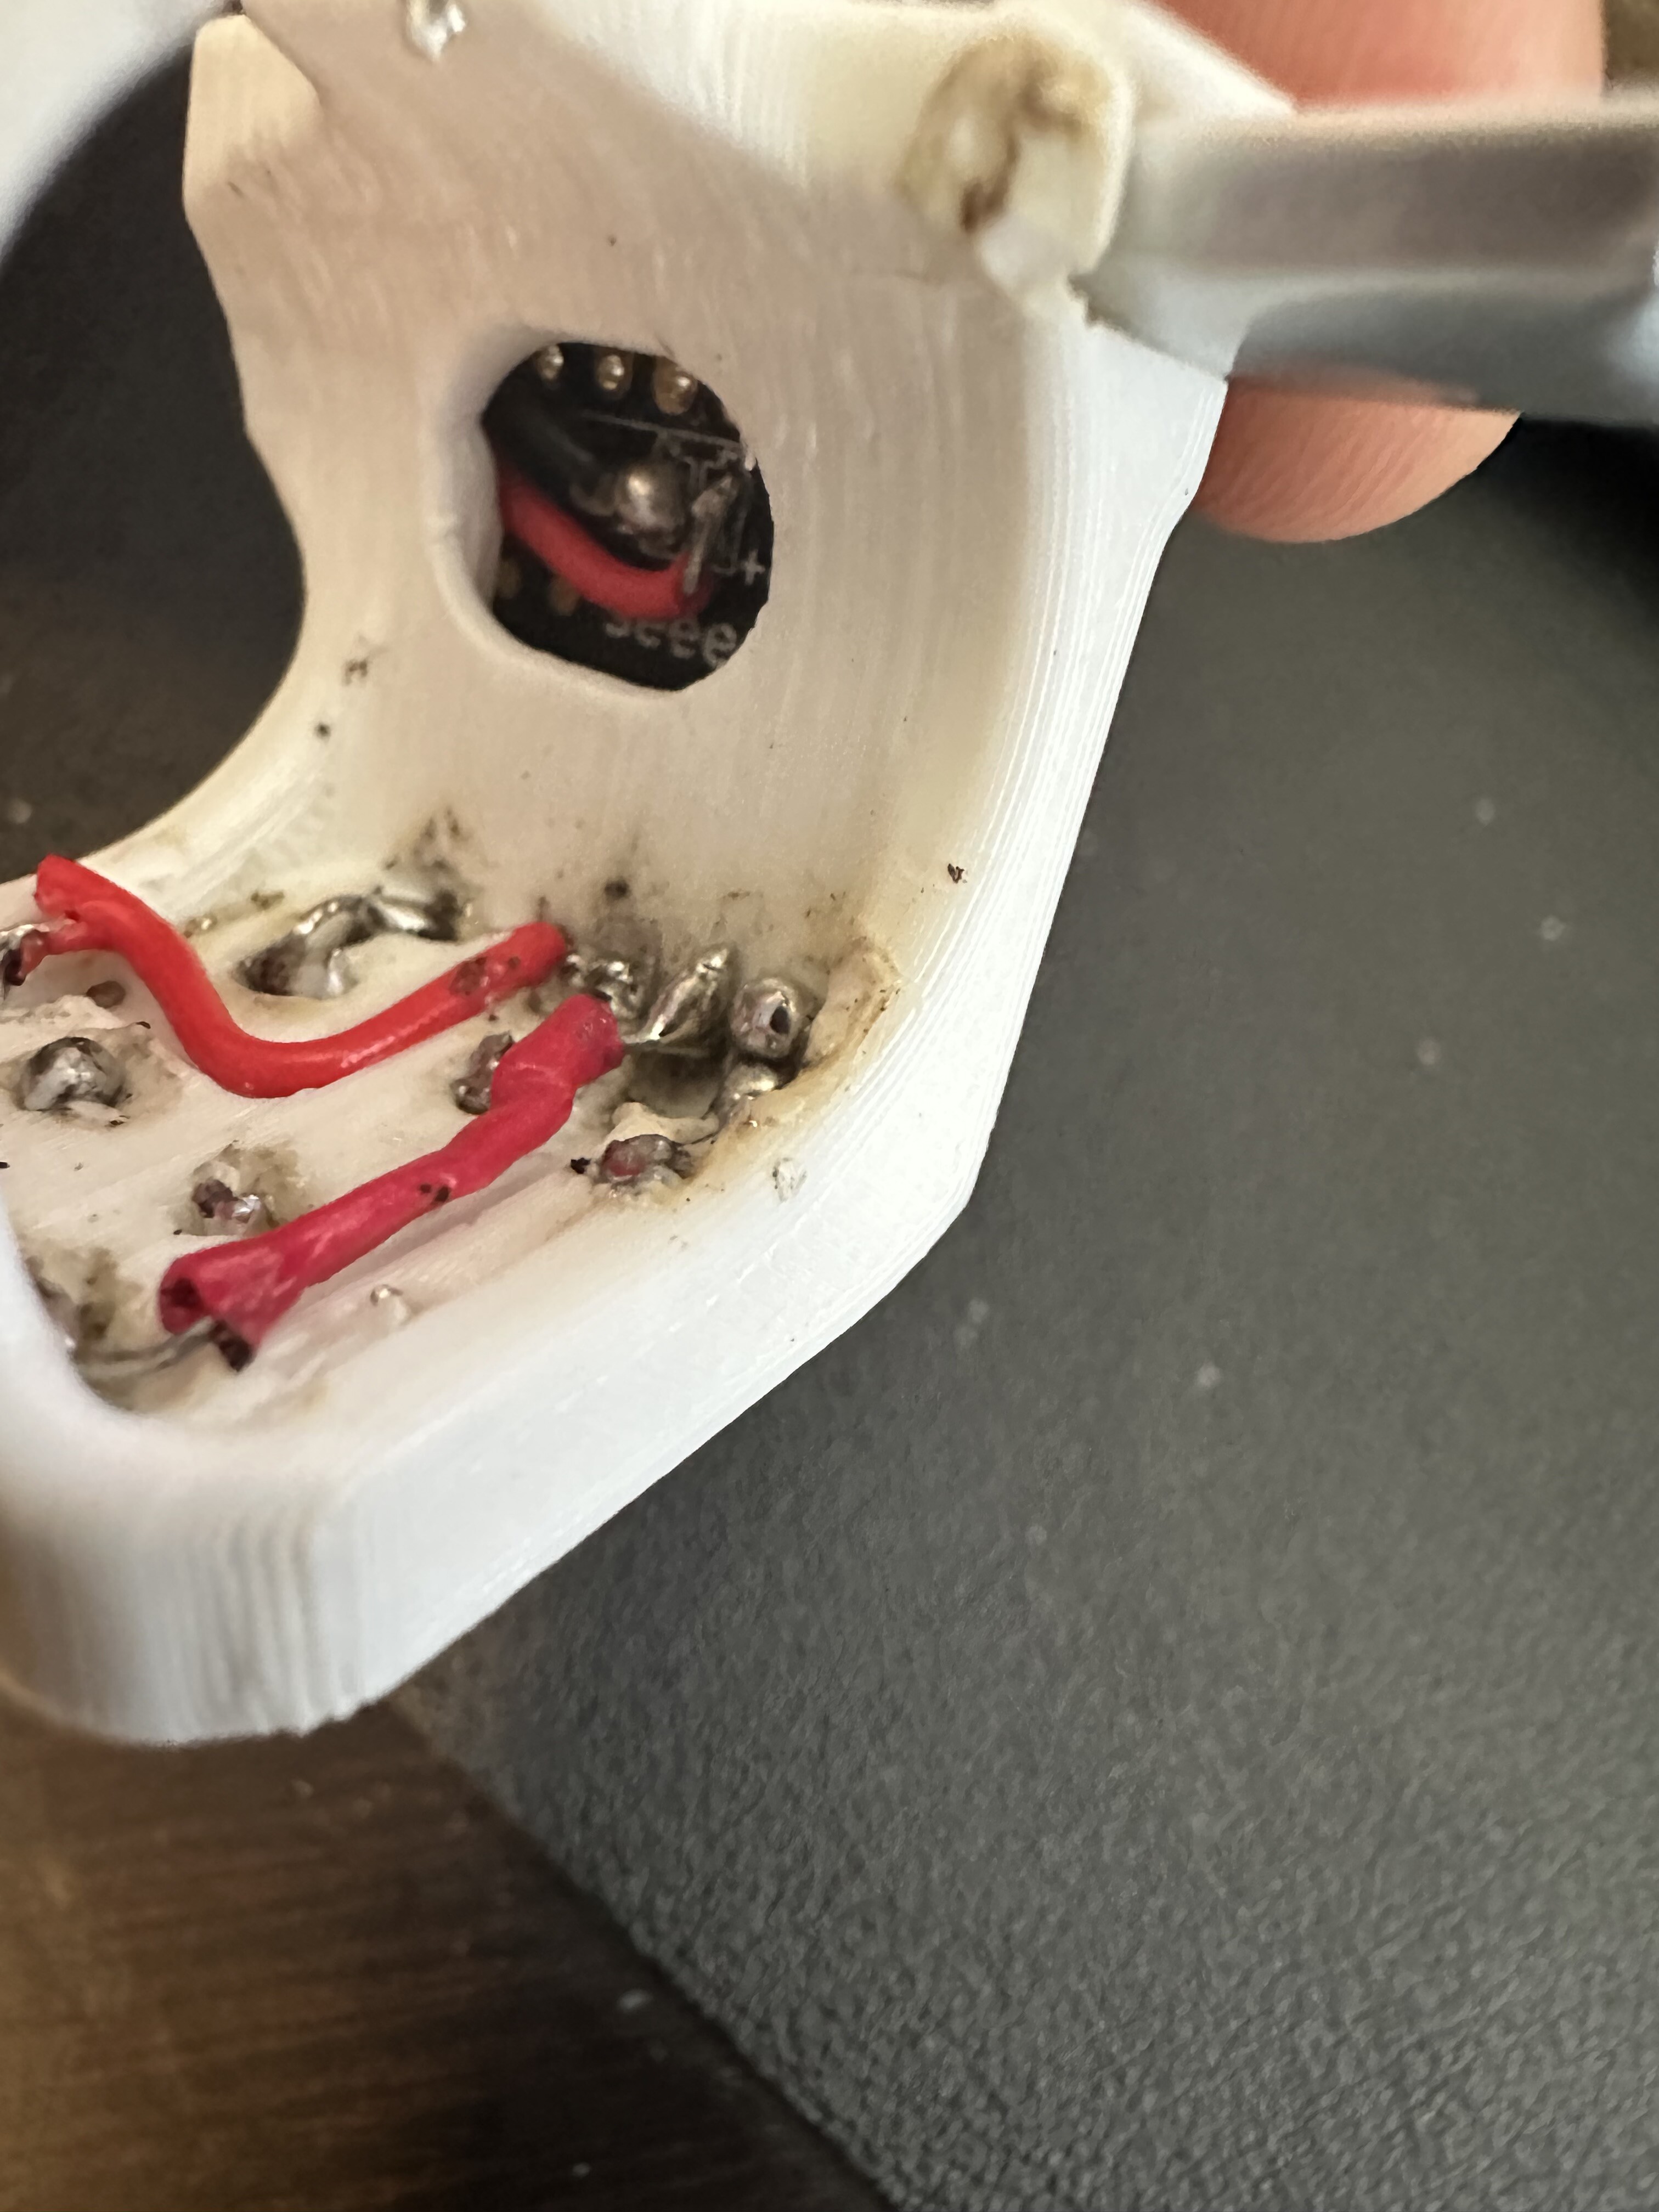
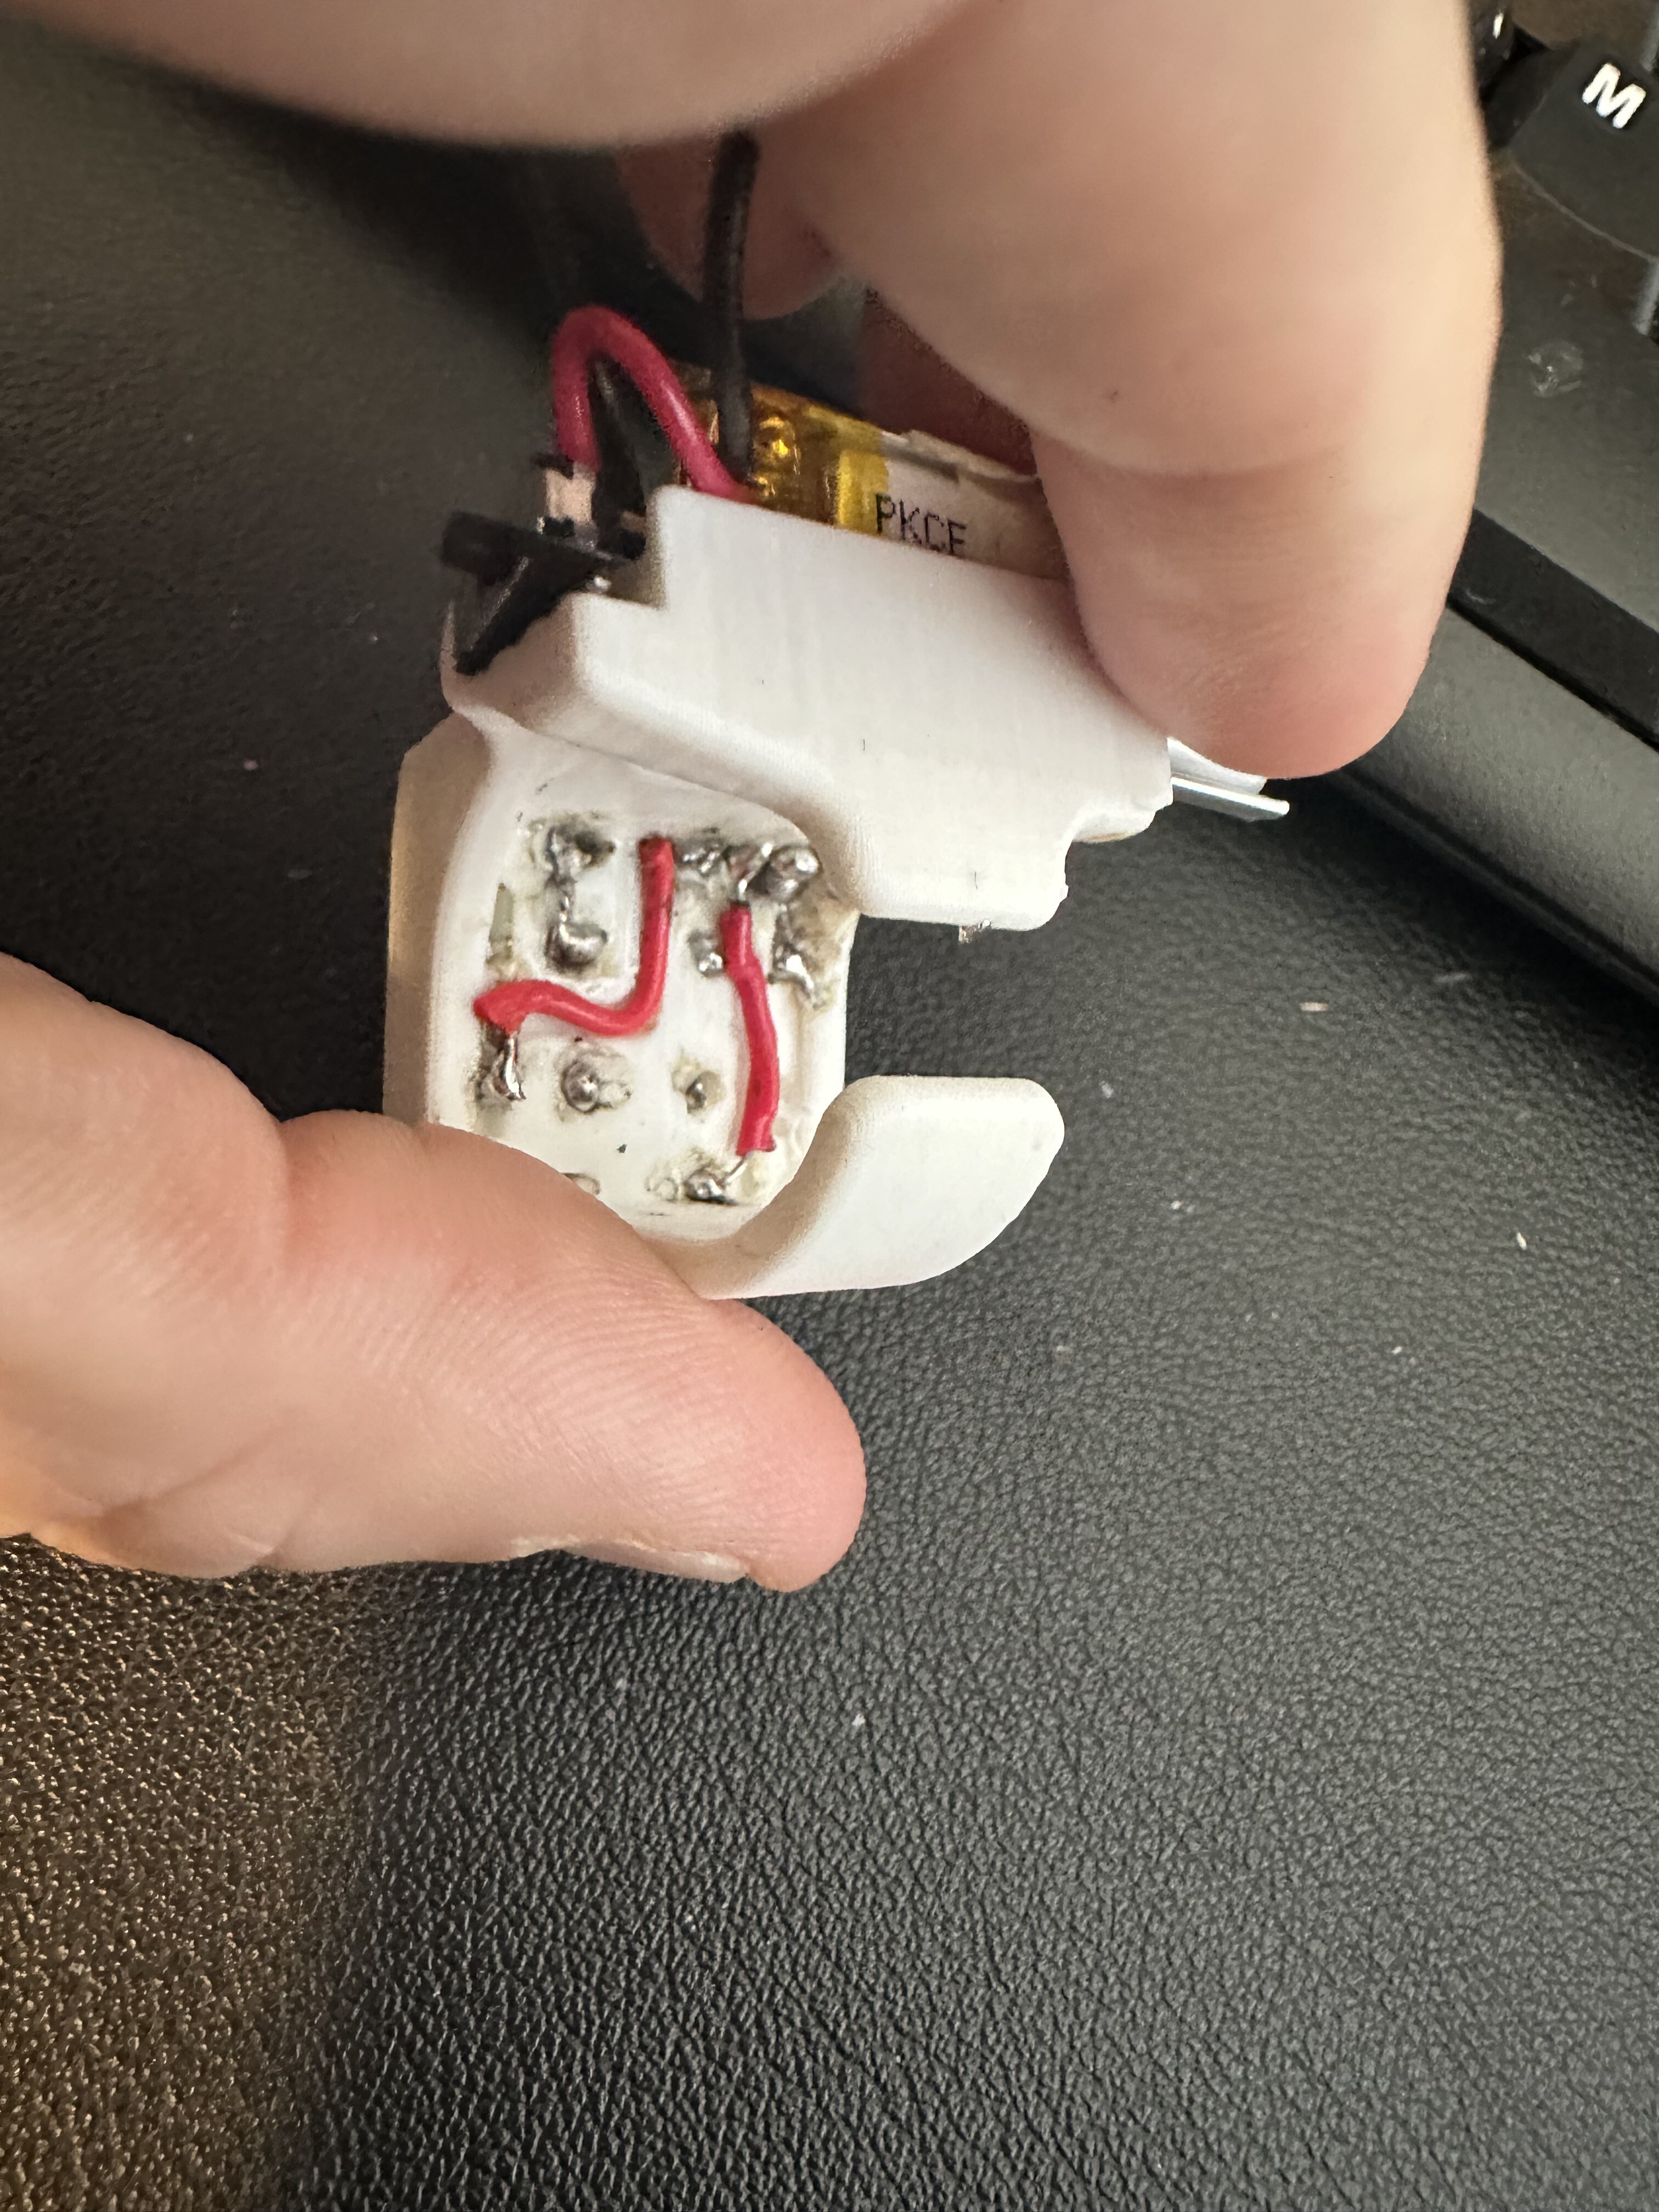
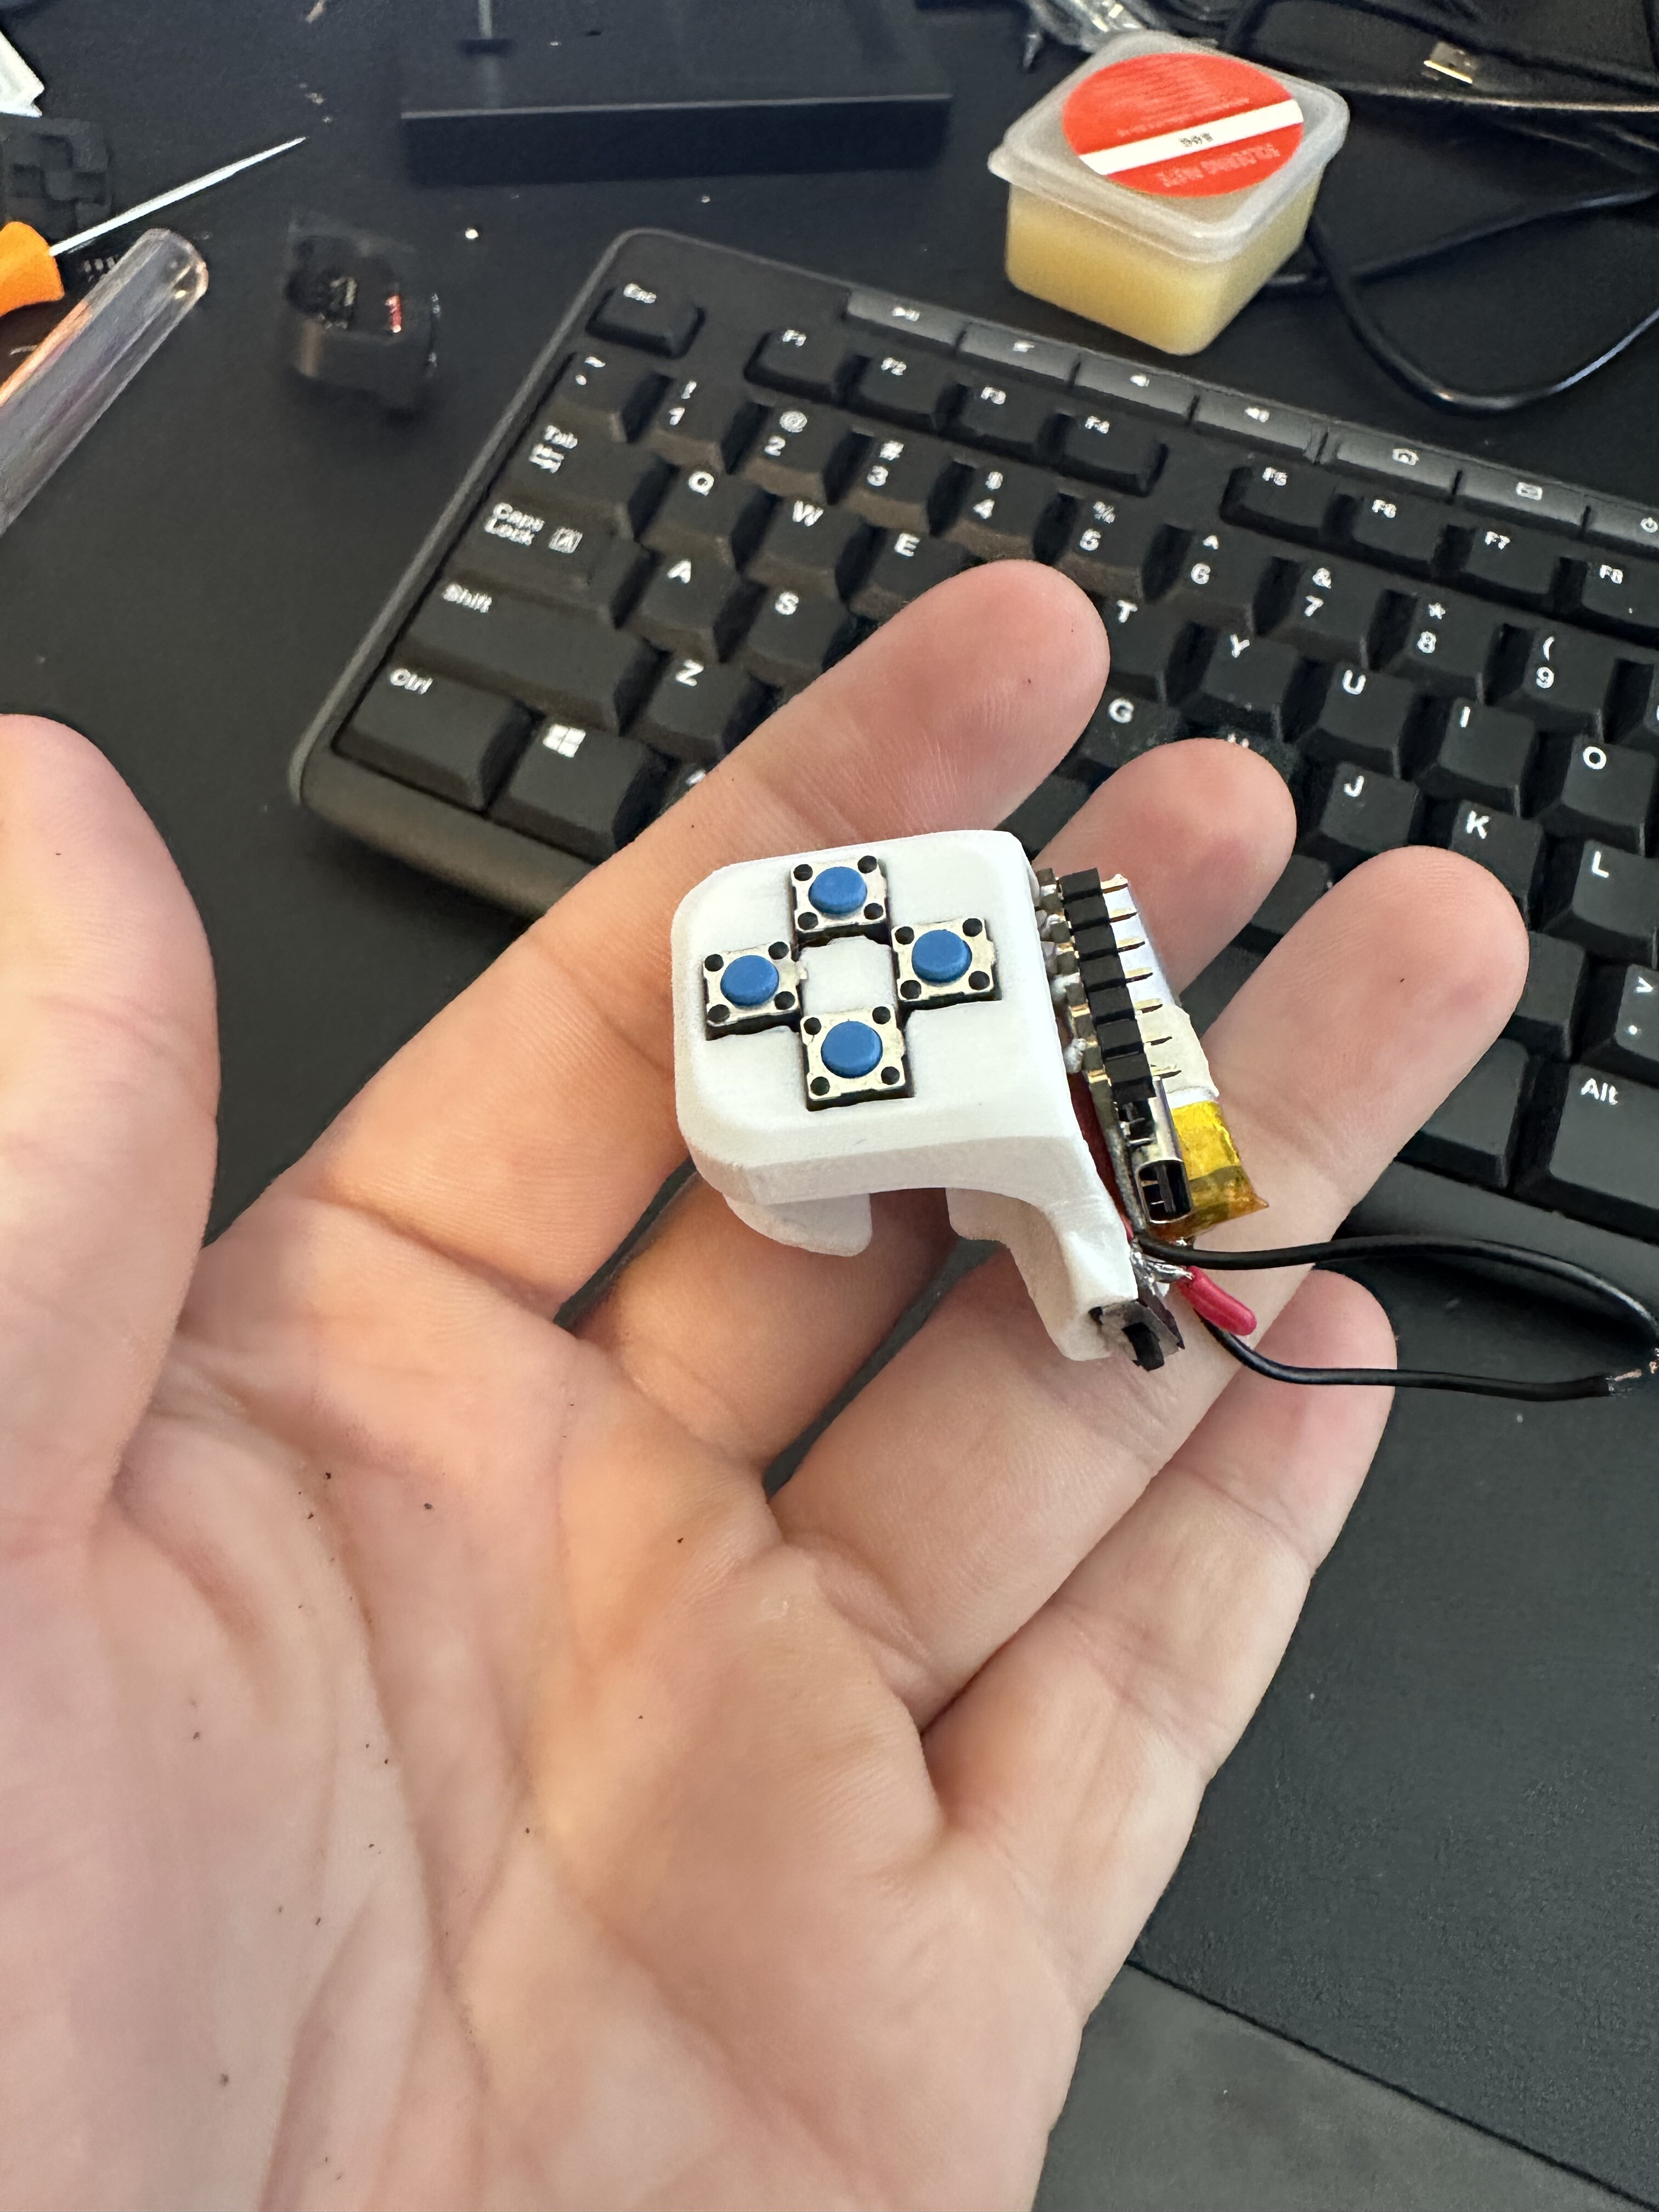
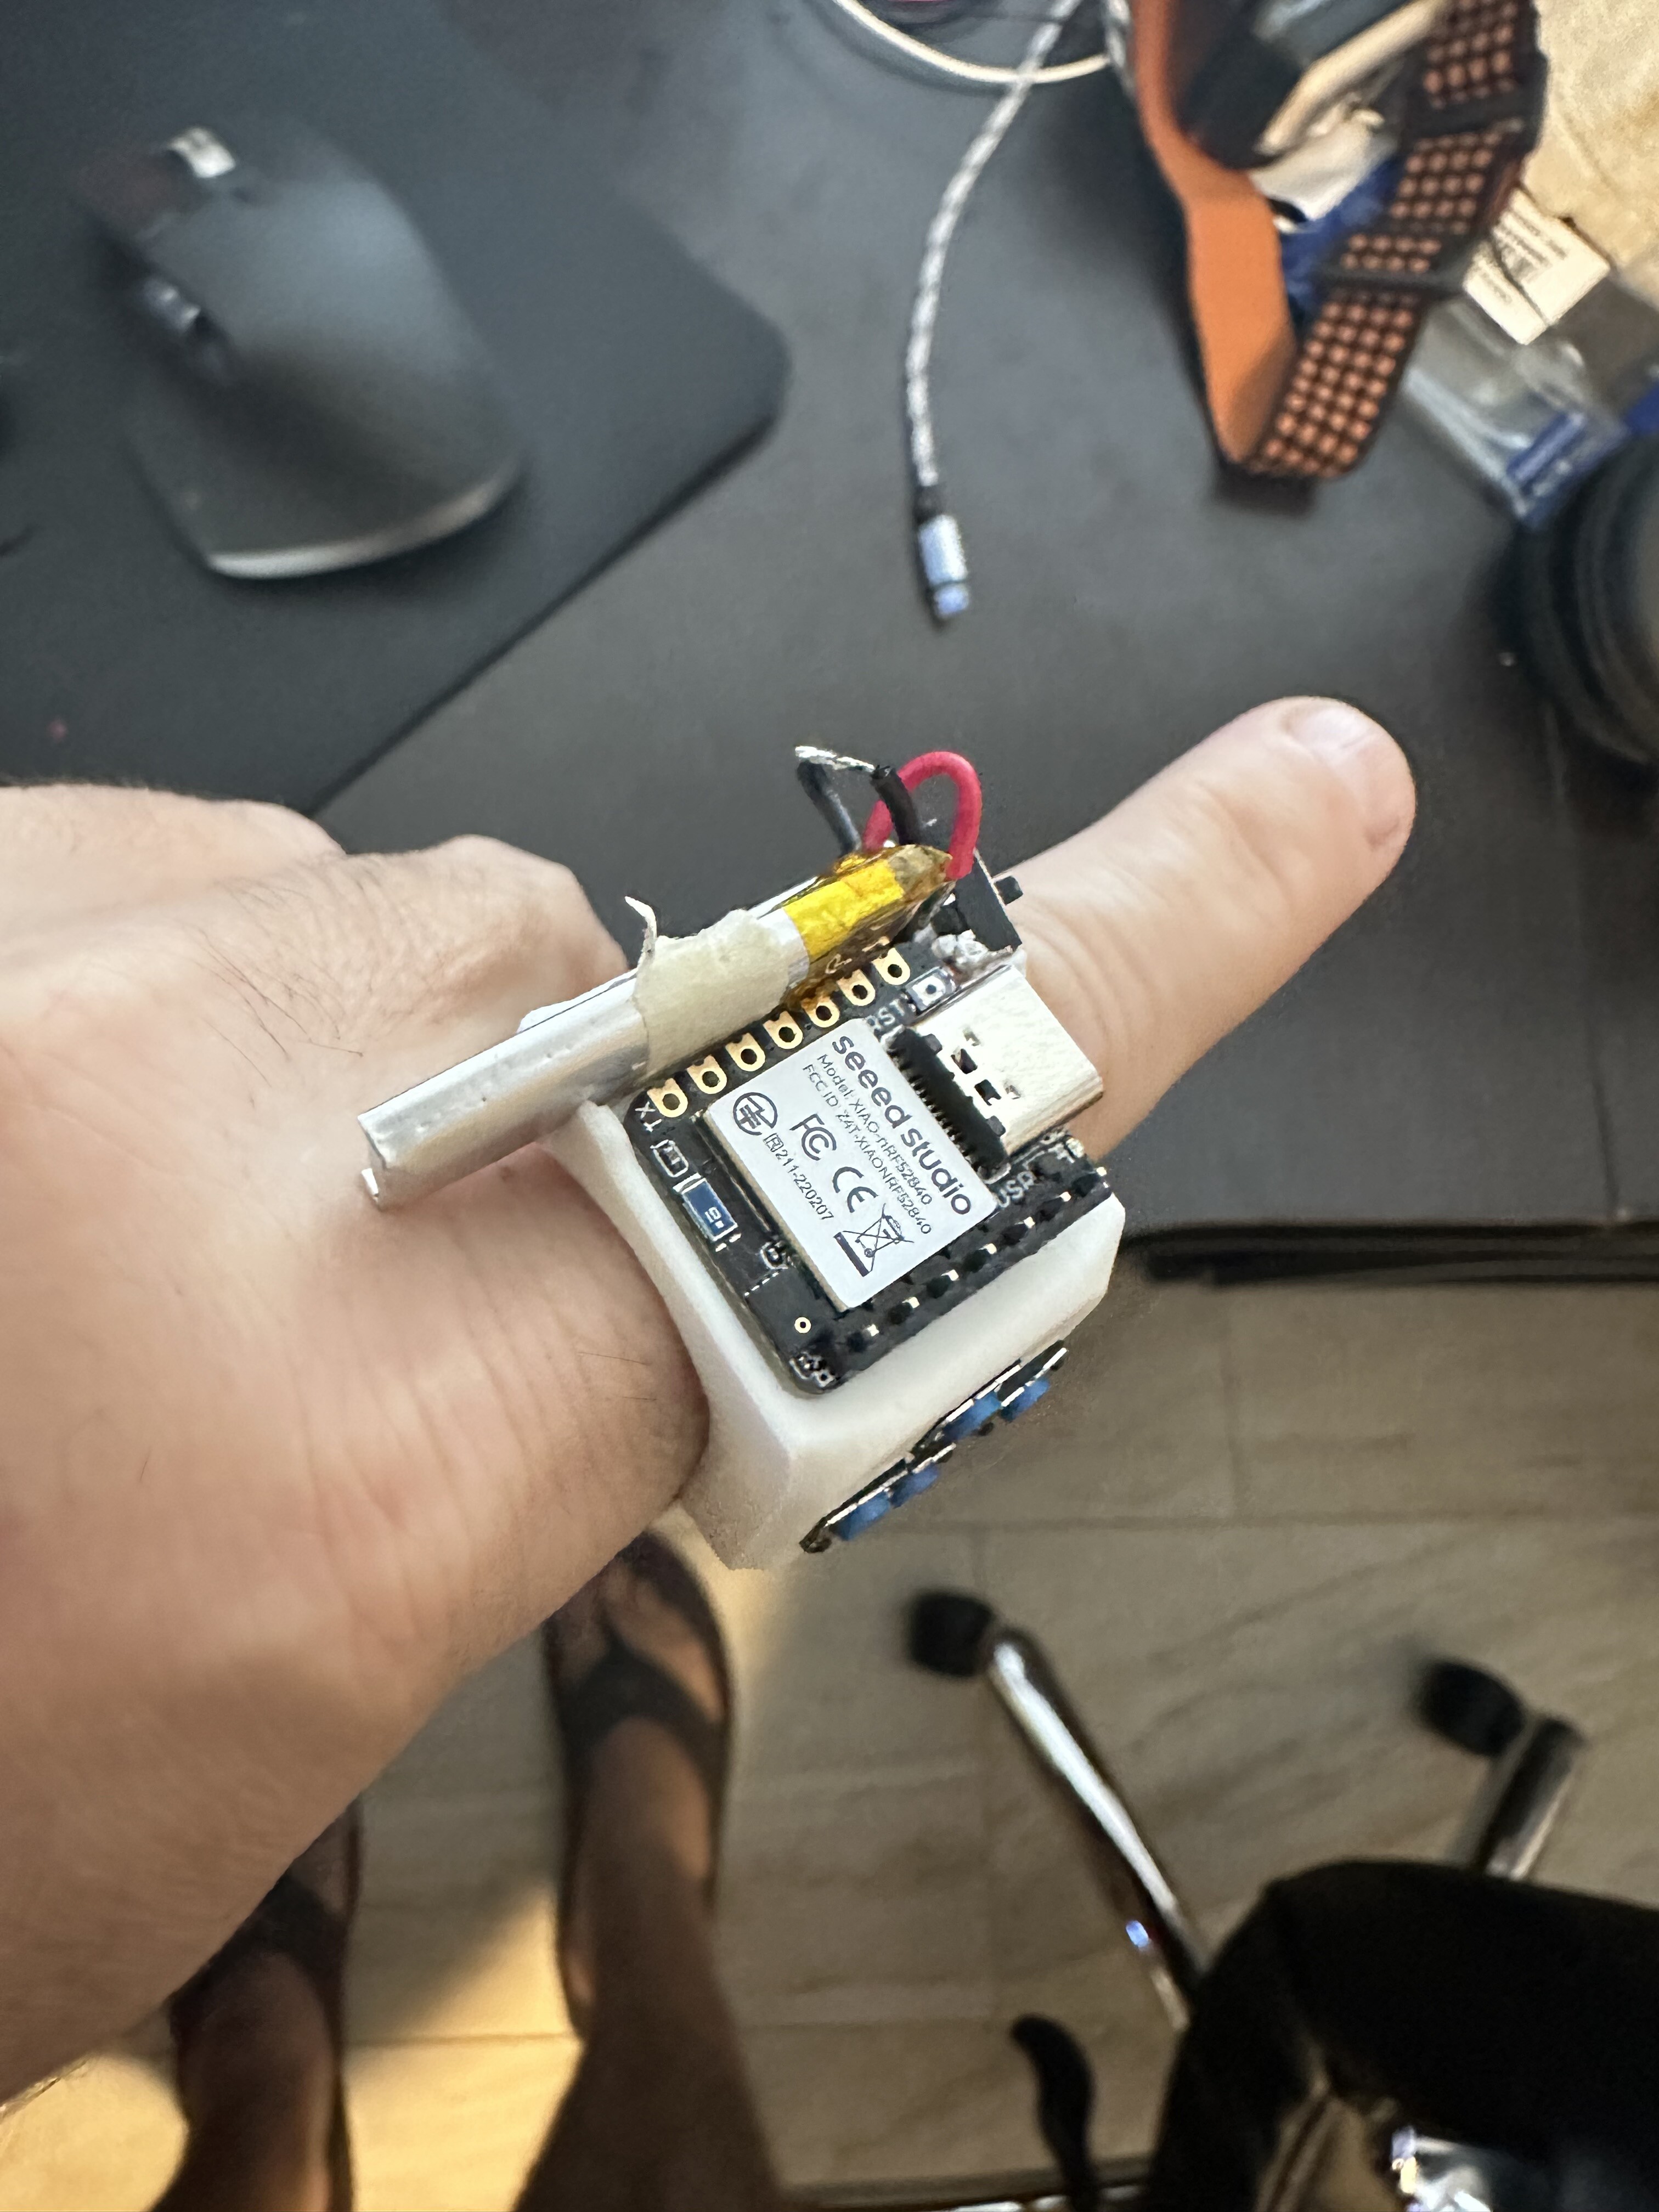
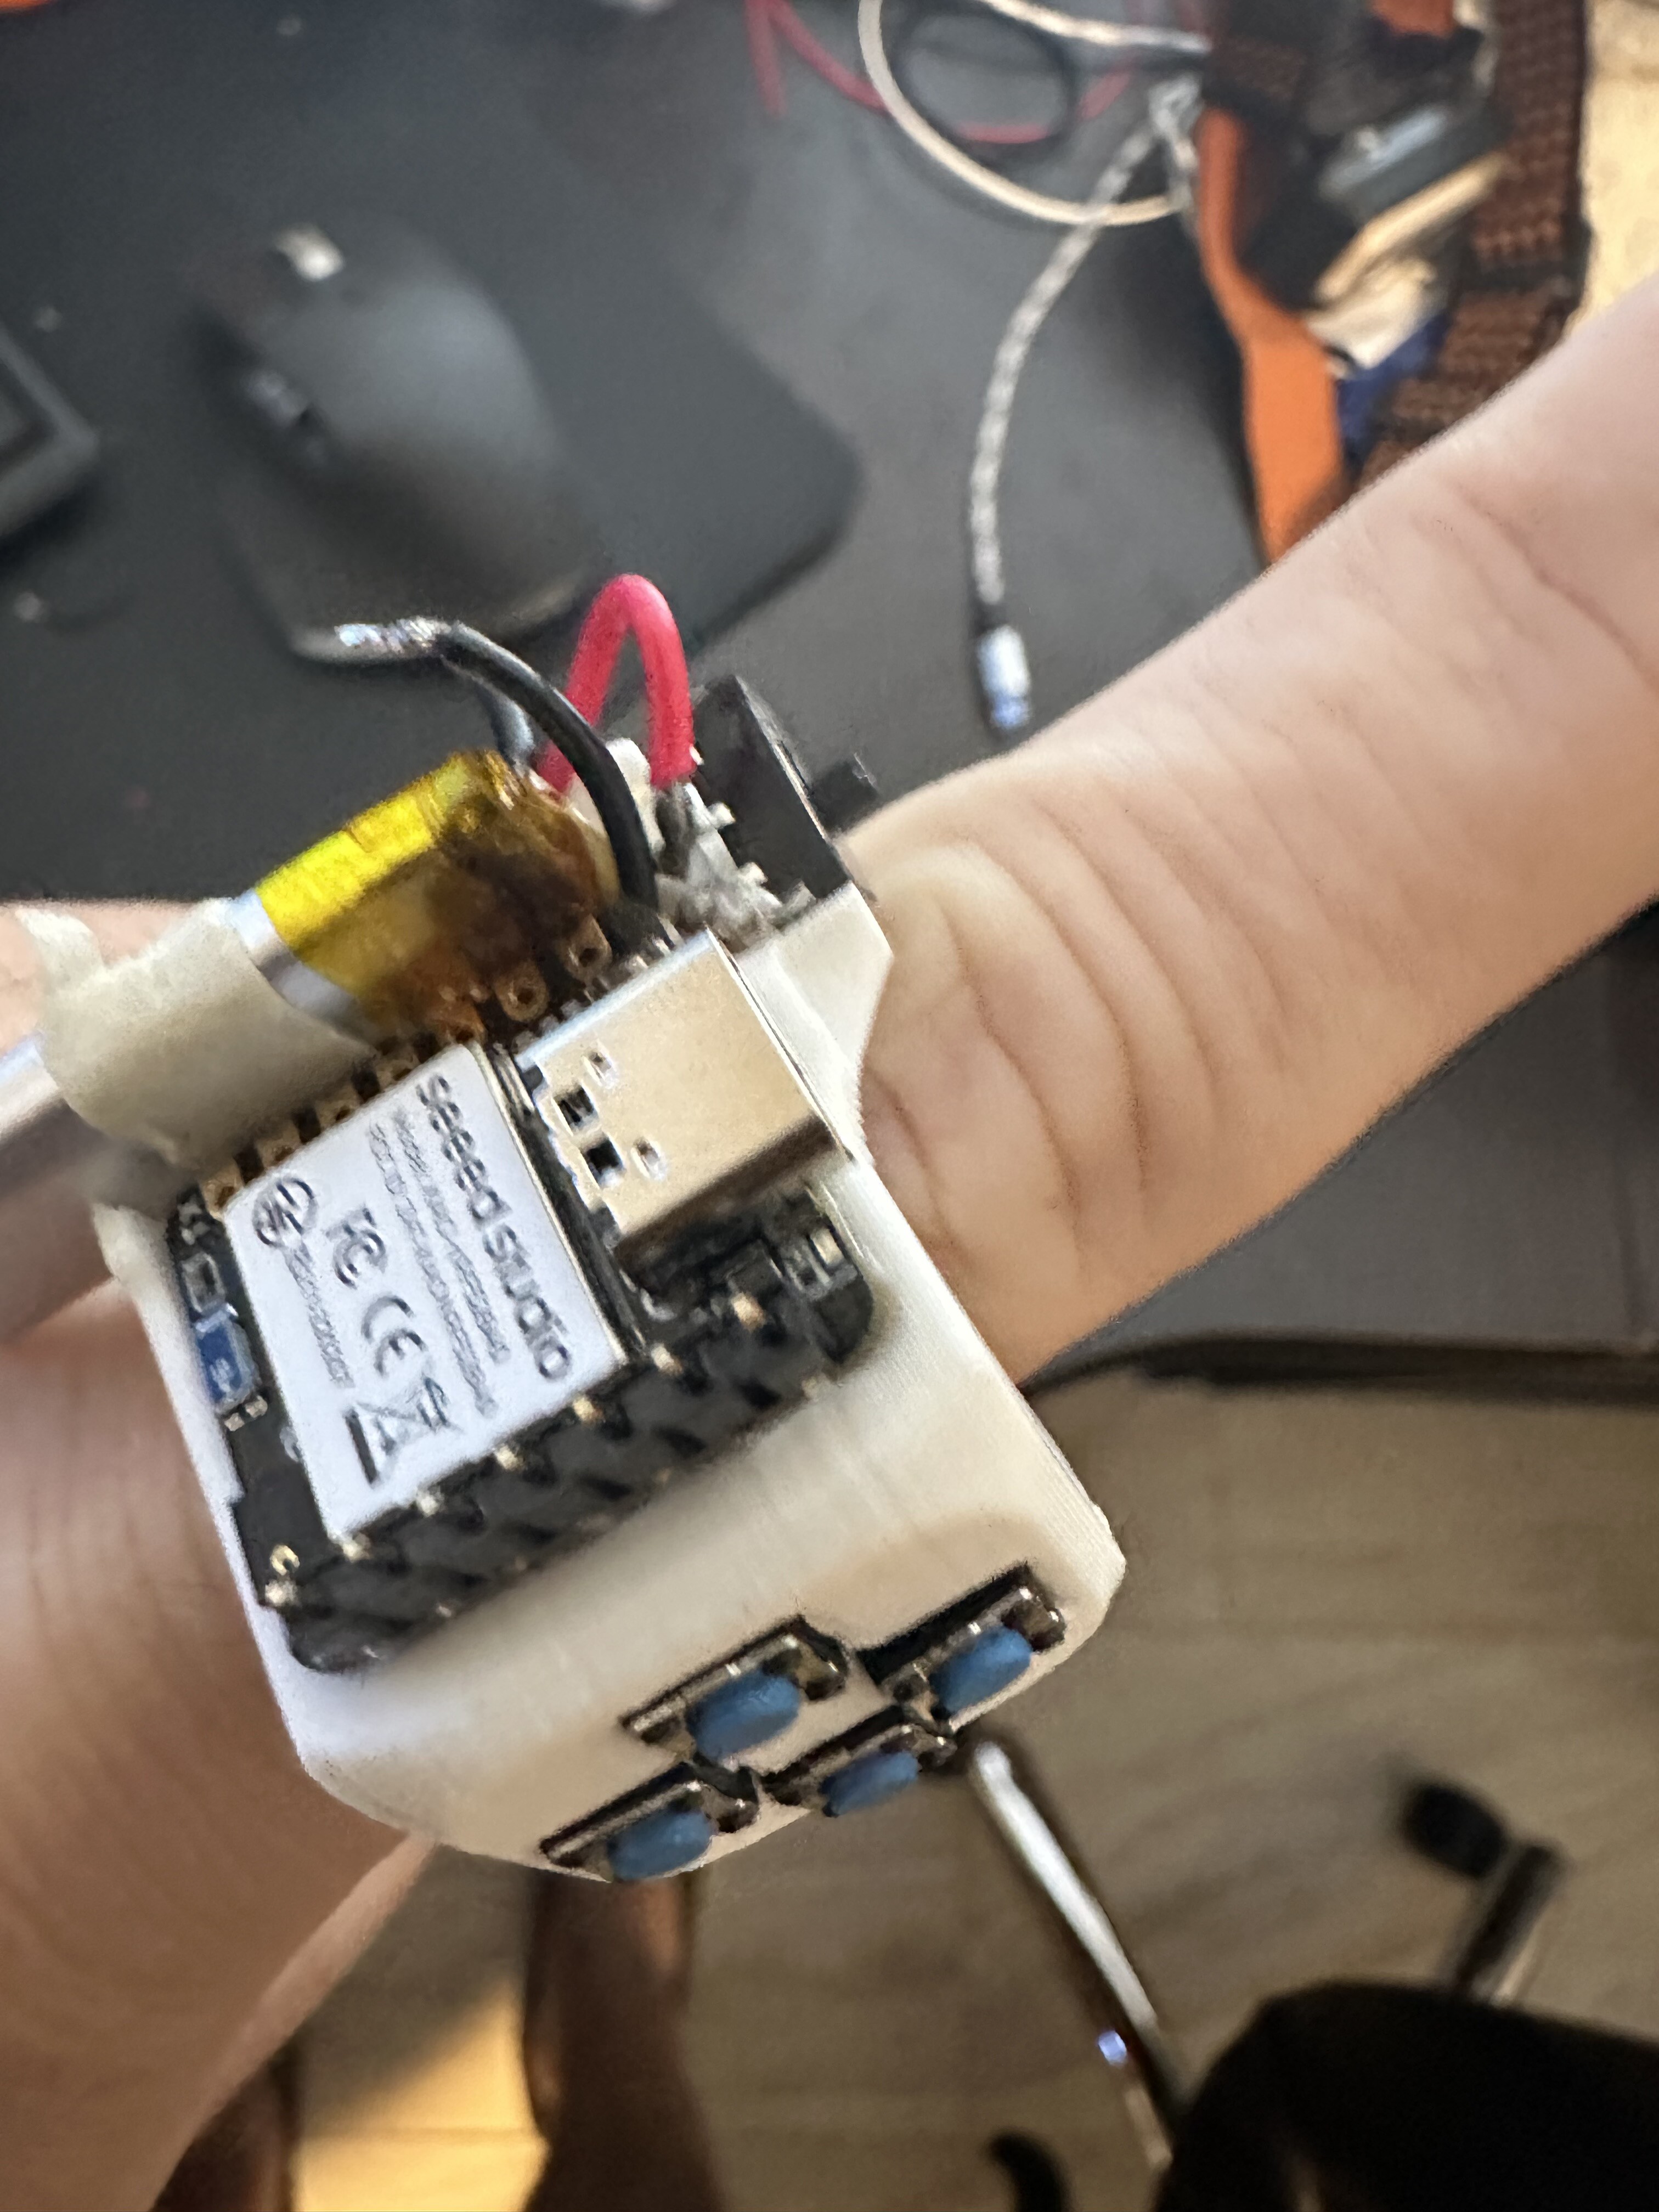
Final iteration/attempt. All buttons are working and copied everything from @rafalg78 Left Ring code/files/LIBS. I changed the wiring in this one and the arrangement of the buttons for wiring purposes. Thinking about changing the code to repurpose the "Up" button mapped to "ESC" rather than "scroll up". Will need to read up on Circuit Python later. All these parts were from either Digikey.com or Amazon. This is the Seeed NRF52480 w/ Sense, some random tactile 6mm buttons from Amazon, a basic power switch and a 40mah battery. I used a 100mah battery on first attempt as that was the smallest one I could find to get here in a reasonable amount of time (not shipping from China). This is the 2nd one I used that I bought from Amazon yesterday, and delivered it same day lol. It fits PERFECTLY in the ring models that are available. I filled in most areas with epoxy to hold the board down and keep any solder joints or wires from getting knocked. I'm very amatuer when it comes to soldering and the gun I was using was TERRIBLE. I would have had much better results without a cheap chinese POS from Amazon. https://www.amazon.com/dp/B07TWHGHW4?psc=1&ref=ppx_yo2ov_dt_b_product_details Would love to hear thoughts and let me know if you have any questions as I spent 2 weeks of LOTS of trial and error. This ring is printed in White PETG, the others were in PLA. I'm having problems printing more with PETG and bed adhesion, but will try another customer version based on files from Rafalg.

-
Well, in all due respect to @rafalg78, the instructions weren't the clearest haha. But the 3d ring file is AWESOME!! So I've basically been doing this through trial and error and on my 2nd iteration. Great starting point and code though! I originally failed with the software because I was using the newest/generic 8.x Circuit Python libraries as outlined in @rafalg78 howto. Unfortunately, those don't seem to work and I learned there was a precompiled version he made with the LIBS he used. And it worked!!! Sort of... Maybe it was the communication in the post I didn't understand, but I assumed all the tactile switches were also positioned in the same way, i.e: Both top contacts go to a positive contact, both bottoms go to a ground, or change this to both left contact, or right contacts. After soldering and playing around I realized one of my solder joints wasn't great on version 2.0 so left/right buttons weren't working unless pressure applied to a joint. OK, next version will fix. But the down button didn't work... Until all of a sudden I realized if I help down the left or right button then clicked down, there was a signal and it worked... So that was the first time the thought crossed my mind that the tactile switches weren't meant to be positioned in the same wiring position. It seems his wiring diagram isn't based on the switches all being in the same "up' or "down" position during placement. Based on solder positions in his original diagram, it's not based on "Positive" being the same on both top contacts, and bottom contacts based on their placement. So i'll have to make a new one that's improved with your Hat switch this time. I should have reverse engineered it from the beginning and analyzed it, but I decided to just go for it. Now time to tinker and dial it in. Se here's my second version that is almost all working. It works fine in game, but I notice fingers app doesn't recognize it, just says "searching". Doesn't really matter though because my system recognizes it as a keyboard/mouse device and clicks work in game. @rafalg78Please chime in with your interations and where I went wrong. Your code is great and i'll figure out where to improve when I try it with a Hat switch next UPDATE 5/29: Just looked at Serial console, and both left and right buttons are registering as a left click. The wiring is definitely backwards in terms of polarity, lol. Will update wiring. The lightning bolts on the diagram @Rafa20670 made are where the positive's should be, but aren't necessarily correlating to my set up. My buttons were placed in a way where either both top pins are positive/neg and or bottom are pos/neg, not left/right. left_ring.zip
-
@rafalg78 I've got everything hardwired, soldered and set up. I've gotten Circuit Python installed, and "dropped" the code.py file into the drive, it reset but then nothing. I'm unable to find it via bluetooth. I've checked in IDE software and I saw in the terminal that BTLE was off, but can't figure out how to turn it on. I was able to run the example codes for "blinking" lights as outlined in the tutorials, but if I try to install anything related to Blue Tooth I get a compiling error about BlueFruit.h being missing. I can't figure out how to install that library/header and think that may be the issue. Any videos or help is appreciated!!! I'm at a standstill now with completely built hardware. Thanks!!!
-
I have a DOF reality H3 Motion rig and during testing it with the Leap Controller on my Pimax 8k, I wasn't getting great results. Algorithms didn't seem to always pick things up. My thought was that the racing wheel base mount in the cockpit area would be an ideal spot for the Leap Controller as it moves with the motion of the rig and is stationary. So I installed it Facing towards me, and in the Leap Motion controller settings you can Select "desktop" or "stand" placement, vs Head Mounted. So I thought this would work and the Leap controller picks up my hands great, except that it's in reverse. No problem... GO to the software, but it's locked. You can't change the controller placement after the game has activated. It looks like OpenXR takes control of it right away and switches it to Head Mounted. So has anyone figured a way to use it facing forward in the settings? I'm not sure why it's getting forced by DCS or OpenXR to go into VR front facing mode.
- 1 reply
-
- 1
-

-
Holy crap.. Mine came today and I jumped in for a few missions after work. It's AMAZING. Whole new level of immersion. I love how you can feel the planes aerodynamics, slip, etc. I only had it on 50%. Anyone have some good tuning profiles for the F/A-18 Hornet? It's working with Sim Shaker Aviation, it detected it right away when you select the model as Force Feel. It will show green on status if it detects almost right away. I had a conflict w/ Sim Racing Studio initially but figured it out and disabled sound card in SRS.