AndyPeacock
-
Posts
38 -
Joined
-
Last visited
Content Type
Profiles
Forums
Events
Everything posted by AndyPeacock
-
I finally got around to getting the parts printed up and they work really well. I made a slight alteration and added a bearing onto the pivot and it works amazingly smoothly now. Thanks for taking the time to make these parts available. Andy

-
Interesting idea, I might experiment with that myself.
-
I'm working on mounting 3 cougars to a 22" monitor and for that I have popped the little rubber screw covers off of each cougar, then over the screen I have a piece of 3mm clear acrylic. The acrylic is laser cut with mounting holes that line up with the mounting holes through the cougars. I will then use a soldering iron to install brass M3 threaded inserts into the holes in the acrylic, and then screw the cougars in place. I'm taking the bezel off the monitor and mounting the acrylic to the bare lcd frame. I'm also planning on removing the back plate of the cougar so they mount more flush to the screen. This might be over the top for your needs, but might give you some ideas.
-
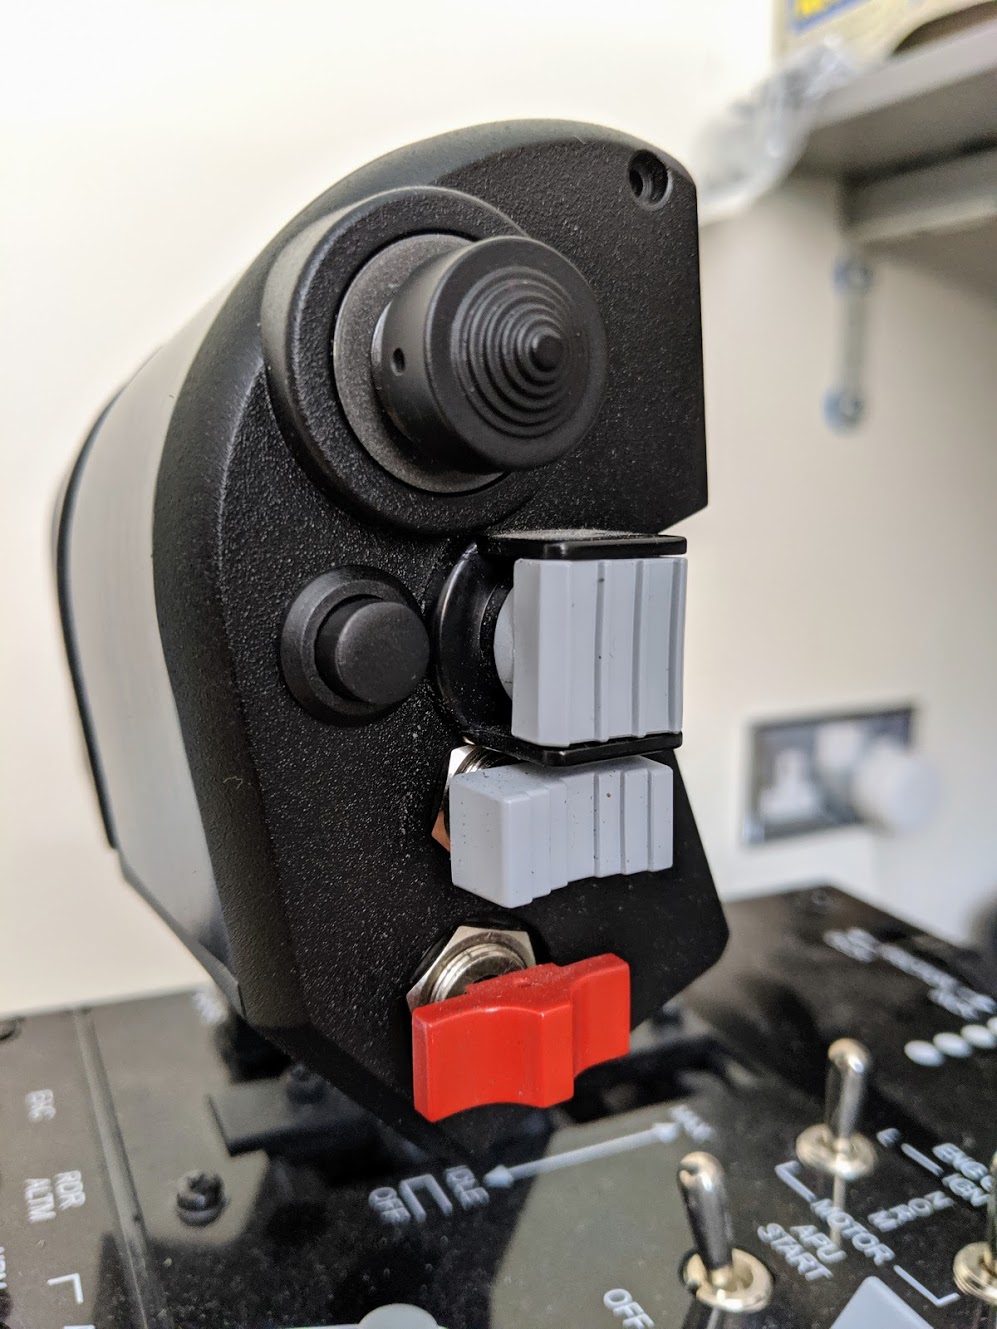
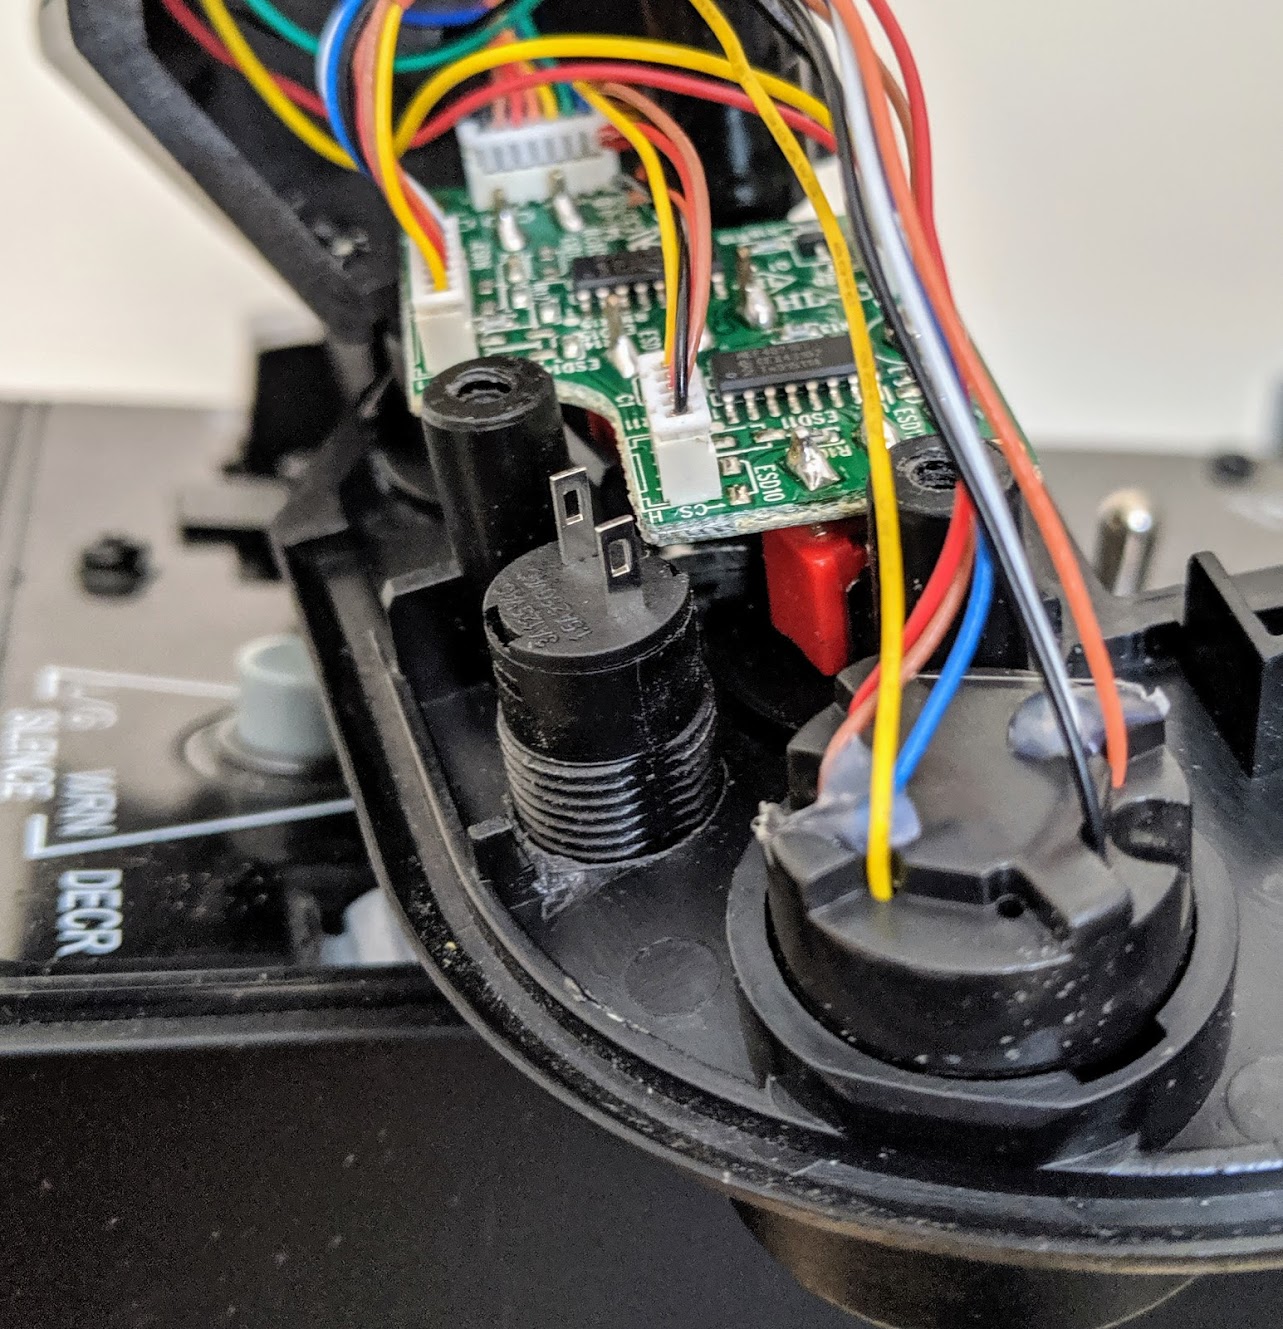
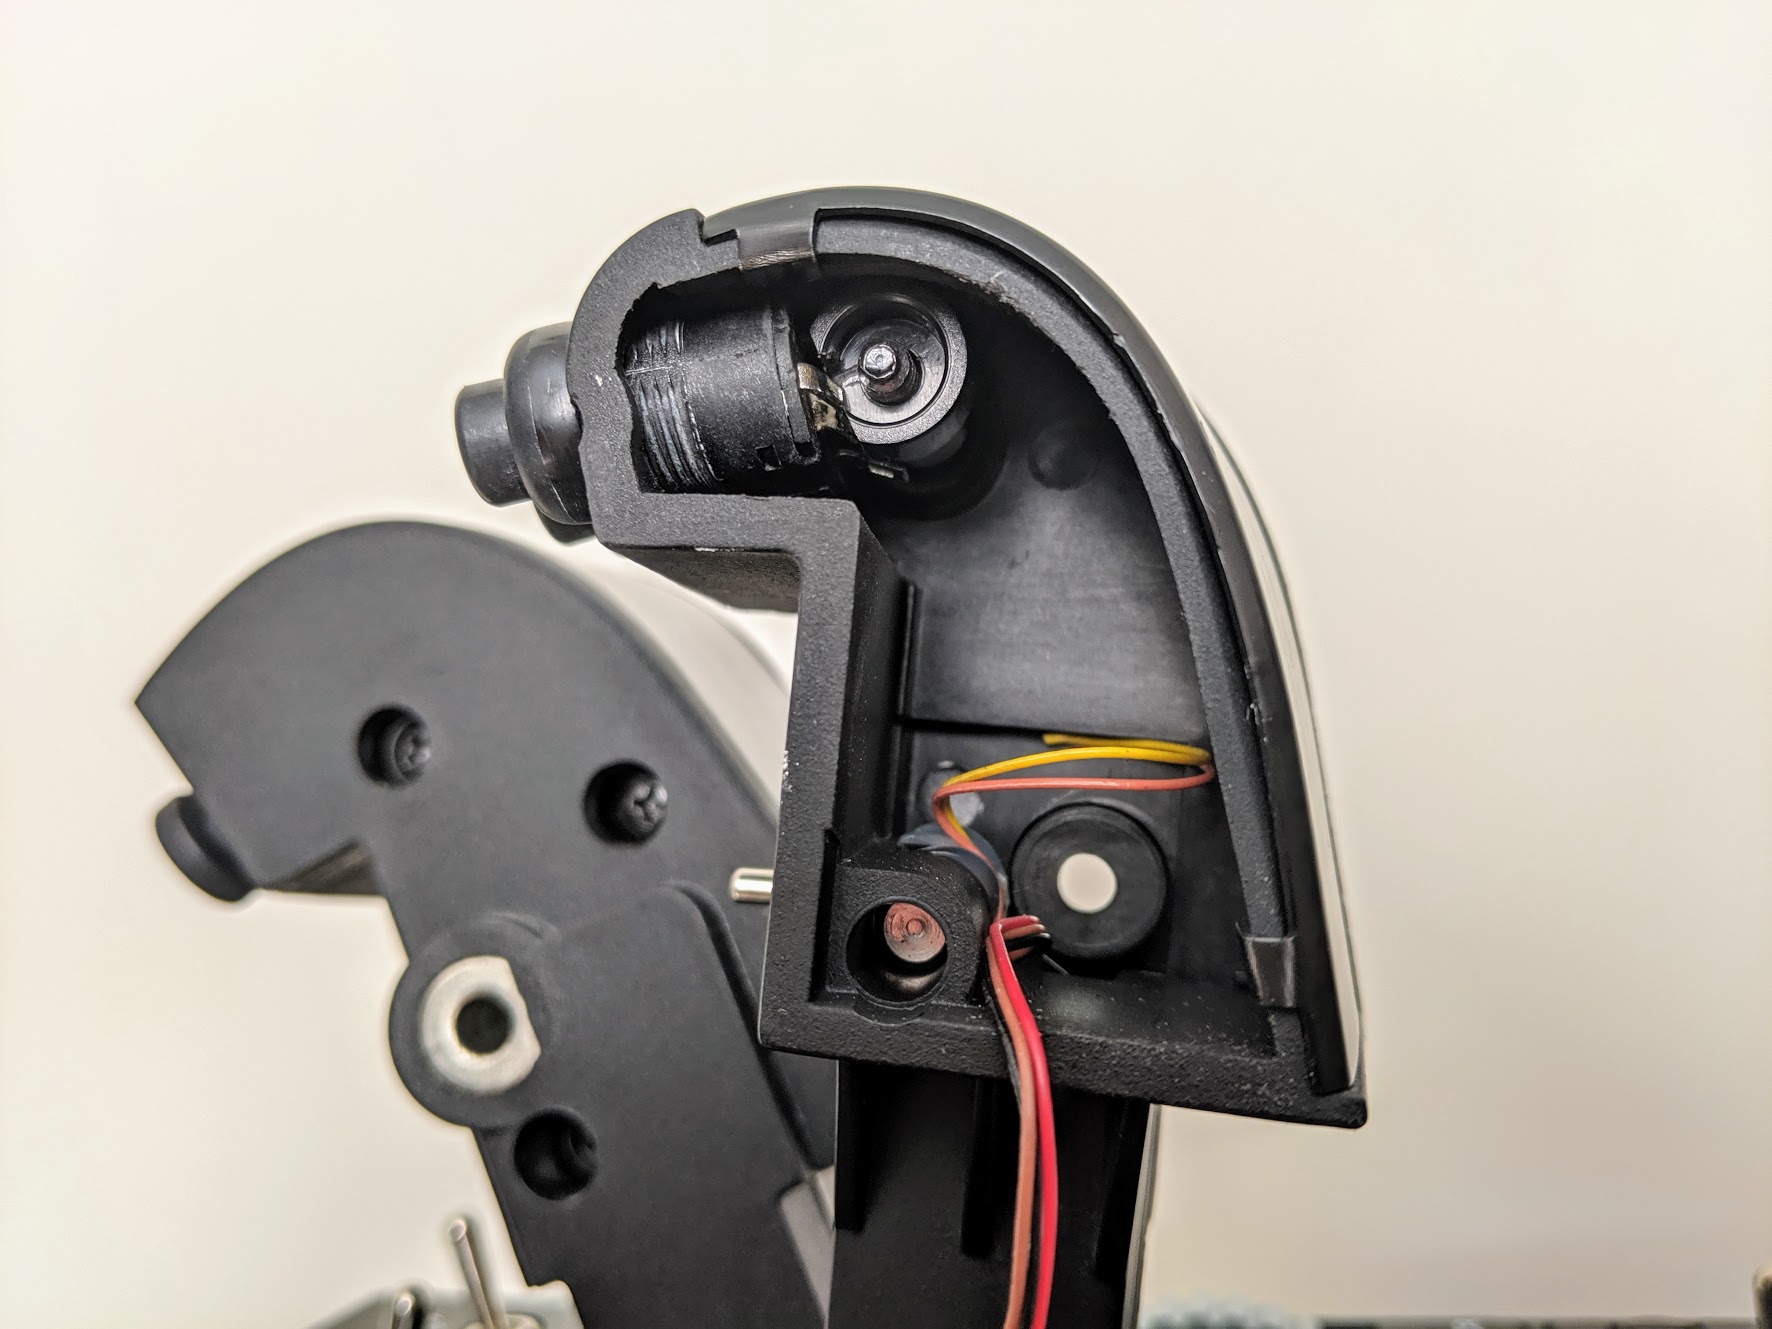
I suppose it would have been a good idea to work out the wiring first, but I just got carried away. The elevation wheel mod I'm using has two tiny tactile switches so will all be digital so three wires down one handle and four in the other. Fingers crossed they'll fit, otherwise I'll have some nice looking buttons and nothing more! :D
-
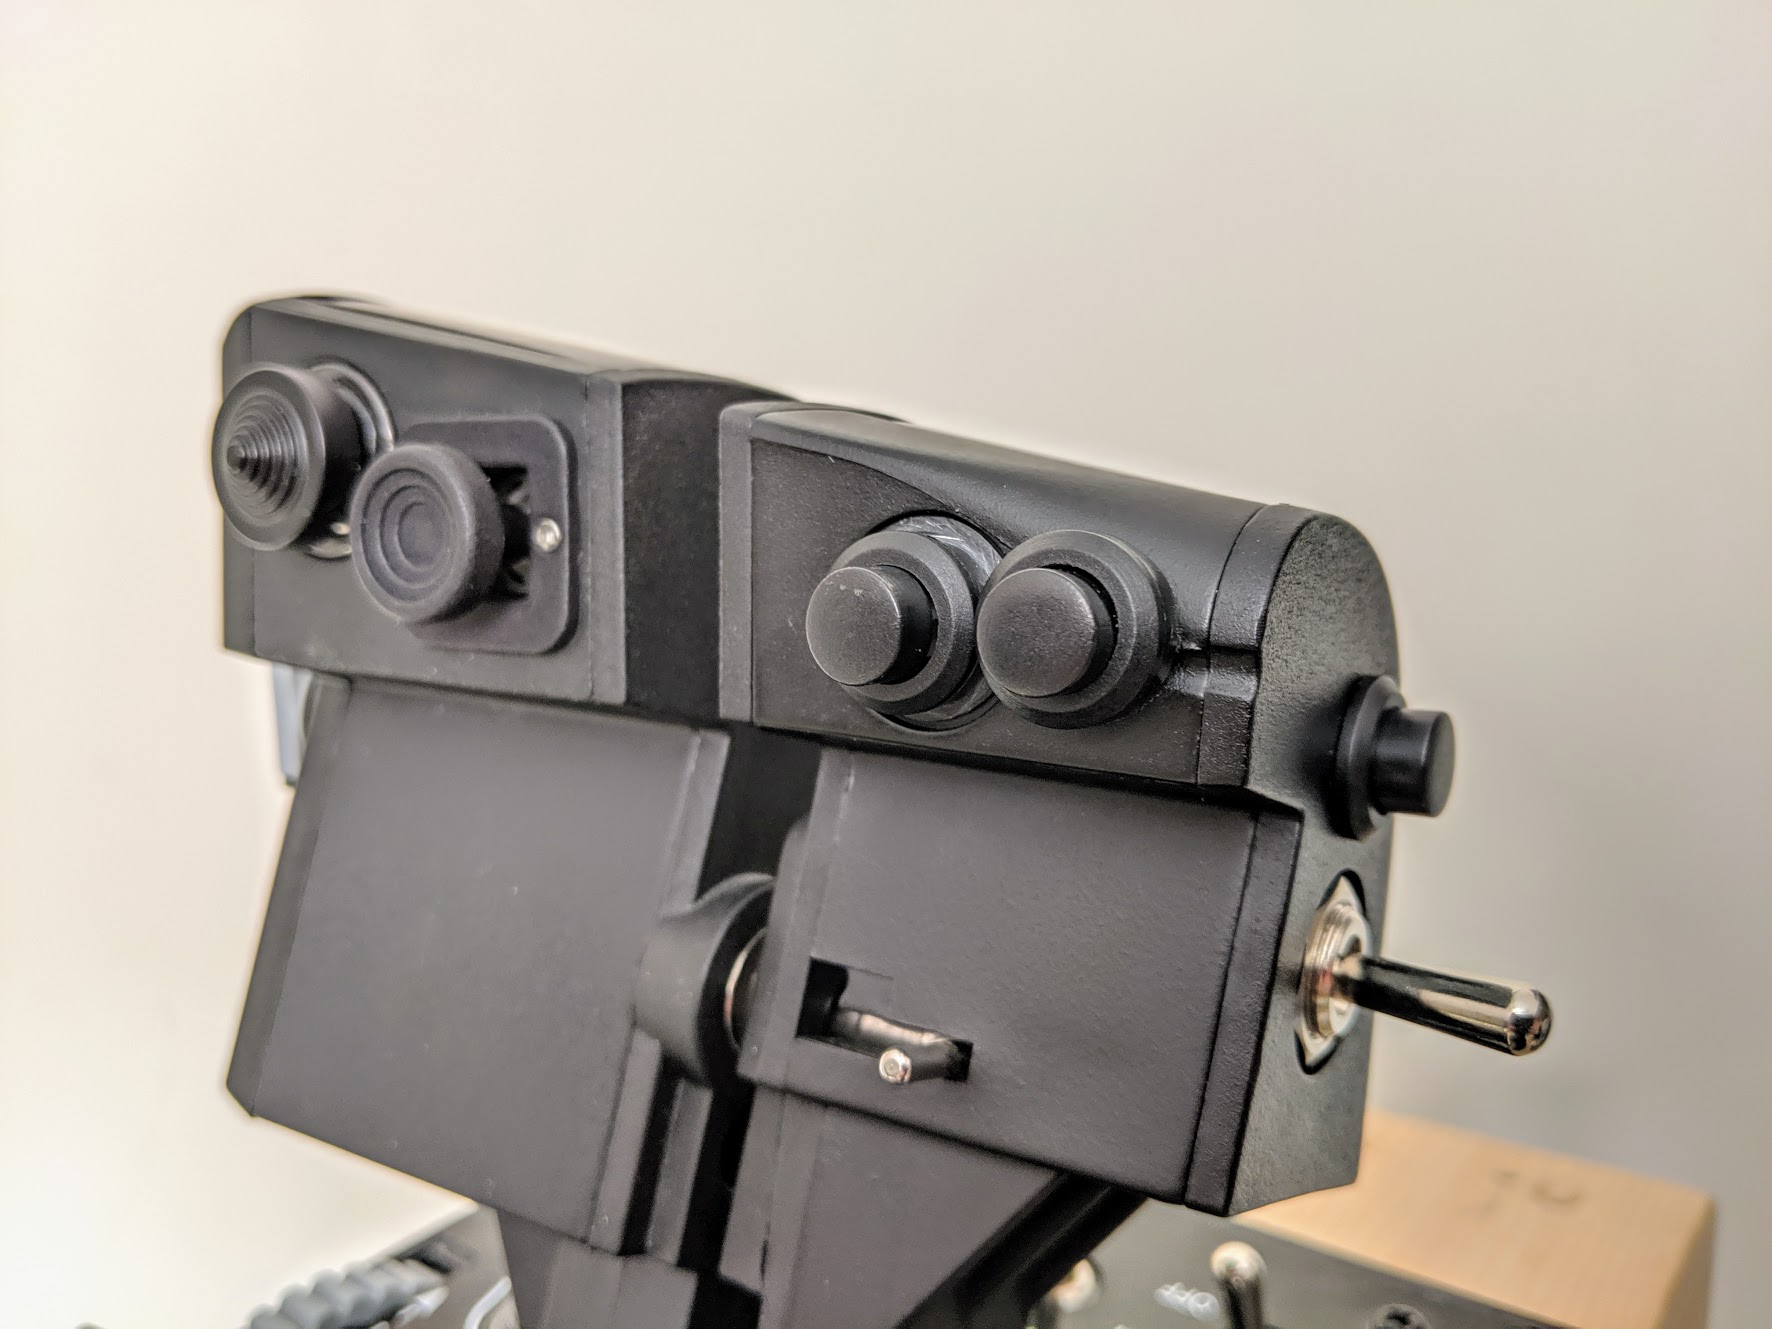
Hi all, Having decided that you can never really have enough buttons, I took the plunge today and drilled into my Warthog throttle. :unsure: The plan is that eventually I will add one of FoxDelta's F18 radar elevations controls between the handles and link all three new buttons, and the buttons of the elevation controller into an arduino running MMJoy2 in a small button box behind the throttle. So far I had installed an additional cage/uncage switch on the right throttle, an new button beside the pinkie switch and replaced the front button (and added an additional) to the left hand throttle. Space is pretty tight on the left side, but a little bit of hacking and it all fitted in. The new buttons feel quite light to activate and don't have a definite click to them but so far feel pretty good.
-
Now that does look super nice when installed on the throttle. Will you be making files available for these? I don't have a 3D printer but I assume I can get them made at ShapeWays or somewhere similar. Thanks for your work on this. Andy
-
I've been waiting for someone to design something like this and it looks awesome. I'd probably run it on an expansion board like others have said, but the design looks really good.
-
My engineering approach to a Hornet pit build project
AndyPeacock replied to Alex_rcpilot's topic in Home Cockpits
Thanks, I'll have a look at those. I assume you'll be 3D printing all the button hardware? That's not something I have looked into before. Might be time to experiment with that a little. Thanks and keep up the amazing work! -
My engineering approach to a Hornet pit build project
AndyPeacock replied to Alex_rcpilot's topic in Home Cockpits
Hi, This is coming on so quickly and looks incredible! I'm in the middle of working out my own "cockpit" using a single 22 inch monitor, 3 cougar screens and some custom PCBs for the UFC. I'm planning on making mine a little more generic with cutouts for the cougars, some areas cutout for the UFC and some for general gauges to be generated using Ikarus. The problem I'm currently battling is how to minimise the height of the PCB and switch/encoders to make cutout for the ODUs not appear too deep. Can I ask what type/brand of switches you are planning to use, and what caps? Are you doing custom stuff for this? Andy -
Hi, I've just started to look at Ikarus as part of a small main panel I'm putting together and wanted to say how brilliant it has been so far. The way the gauges are build seems pretty intuitive and I've started to build my own gauges for the FA18C, starting with the ODU and scratchpad using the correct style of 16 and 7 segment displays. It's been amazingly straight forward to add these in and getting them working. One question I have is the Ikarus seems to always set the size of a gauge by supplying a width in the config and the height is auto calculated. Is there any way to set the height instead and have the width auto calculate? I can't see anything in the code for this, but it would allow me to better size my ODU, scratchpad and radio outputs if I can set the height for these gauges rather than width. I hope that makes sense. Here is a quick preview of my ODU output (I hadn't added support for all characters when this was taken). Thanks again for the great work.
-
Another happy customer! 10 minutes and it was in and calibrated. Very nice to use. A massive improvement.
-
Noob to DCS Bios Hi all, I've just started to play around with DCS Bios with the aim of building my own hybrid semi generic UFC based roughly on the Hornet/AV8B UFC. I've been working for a week or so getting the output for the ODUs to render out to a some OLED panels. It has been working brilliantly for the Hornet so far. Having just discovered the other git repository for what looks like the maintained fork of DCS Bios, and discovered that someone has already created a profile for the AV8B I thought I'd have a go at adding the ODUs as outputs. I've taken a lot of inspiration for how to get the export values from the existing Hornet profile, and have managed to get the correct lines in place for text and cueing of the ODUs sorted and was just about to ask "How to I get the memory address to reference in my Arduino sketch?" when I suddenly noticed that my control reference document had been updated and the addresses were "magically" shown in there. I don't understand half of what I'm doing yet, but in the space of a few hours have managed to get the ODU data out to my OLEDS! Amazing! DCS Bios is an incredible bit of coding.