Ptroinks
-
Posts
185 -
Joined
-
Last visited
-
Days Won
1
Content Type
Profiles
Forums
Events
Everything posted by Ptroinks
-
Touchè :)! I'll have to agree with you on that... The simulation of the A-10 is, as far as I can see, excellent. The outside world, however...
-
I'm sorry, but I don't understand your problem. If you have all the realism options on (for the record, the only thing I leave off, is random failures), what do you feel is missing? With random failures on, you should get plenty of opportunities to adapt to situations where systems fail...
-
Well, I'm not paid to fly the DCS: Warthog, I don't have the time to learn every single emergency procedure, and as most people here, I (sadly) only have so much time available to fly this sim, and I don't want to waste lots of time having to restart missions because something relatively important randomly breaks in the middle of a long mission. This is a hobby meant to entertain, and at the same time provide a realistic representation of the A-10C.
-
Hear, hear! The AI was the reason I stopped playing this sim. I just got too tired of having to hand-hold every AI unit for every mundane task they were given. I don't know how ground units behave after 1.1.1.0, but the last time I tried creating a mission, tanks were pretty much unable to cross railroad tracks. I would call the AI in DCS pre-alpha...
-
 Hehehehe :). Atacama FTW!
 -
:joystick::joystick::pilotfly::pilotfly:
-
Haven't tested it in 1.0.9. Will have to take a look at it! Thanks for the feedback :).
-
Thanks for your comment :). I decided not to put any manpads there because they are very hard to spot (before they launch), and it would be a real pain to finally get rid of all the SAM vehicles and then get shot down by a manpad. A couple of well-placed shilkas or some more ZU-23 emplacements around the base could provide a challenge, though :). The base itself is kind of a reward for players when they have destroyed all of the SAMs.
-
Thanks a lot :D. I have no idea what causes some players to spawn inside the B1s. If anyone think they know, please tell me how to fix it!
-
Oops! Yes, missed that one :wallbash:. Phew!
-
So we will have to fly with those weird shadows all over Georgia until the next patch????
-
Just tested it, and I couldn't find anything wrong. All the A-10s start at the parking spots where I placed them, and were well clear of the B1s and the C-17. I don't know what could have happened when you played it...
-
That's strange. I manually set the parking spots for all the A-10s so there wouldn't be any problems. I'll have a look at it today.
-
Good job! Refueling is damn hard, but extremely satisfying when you manage to do it!
-
"Buddy lasing working"? I never had any problems with buddy lasing or spot search...
-
You know when it's time to take a break from DCS A10-C when..
Ptroinks replied to HAVOC131's topic in DCS: A-10C Warthog
...when driving your car, you desperately try to find the button to set your speedometer as SOI... -
It's already up :)
-
I'm working on a kind of aerial refueling tutorial with tips and advise on what to do/not to do, and what you actually need to learn about the practical aspects of refueling. Don't know when I'll have it ready, though... I had so many facepalms when I learned how to do it (I'm still far from perfect) that I want to help other pilots get through it as pain free as possible.
-
Good idea! I'll do that :). It's really motivating to hear that you guys had fun with my mission!
-
Thanks for your comments, guys! Appreciate it!
-
LOL! Thanks :). Yeah, the AI in this sim doesn't make it easy on us.
-
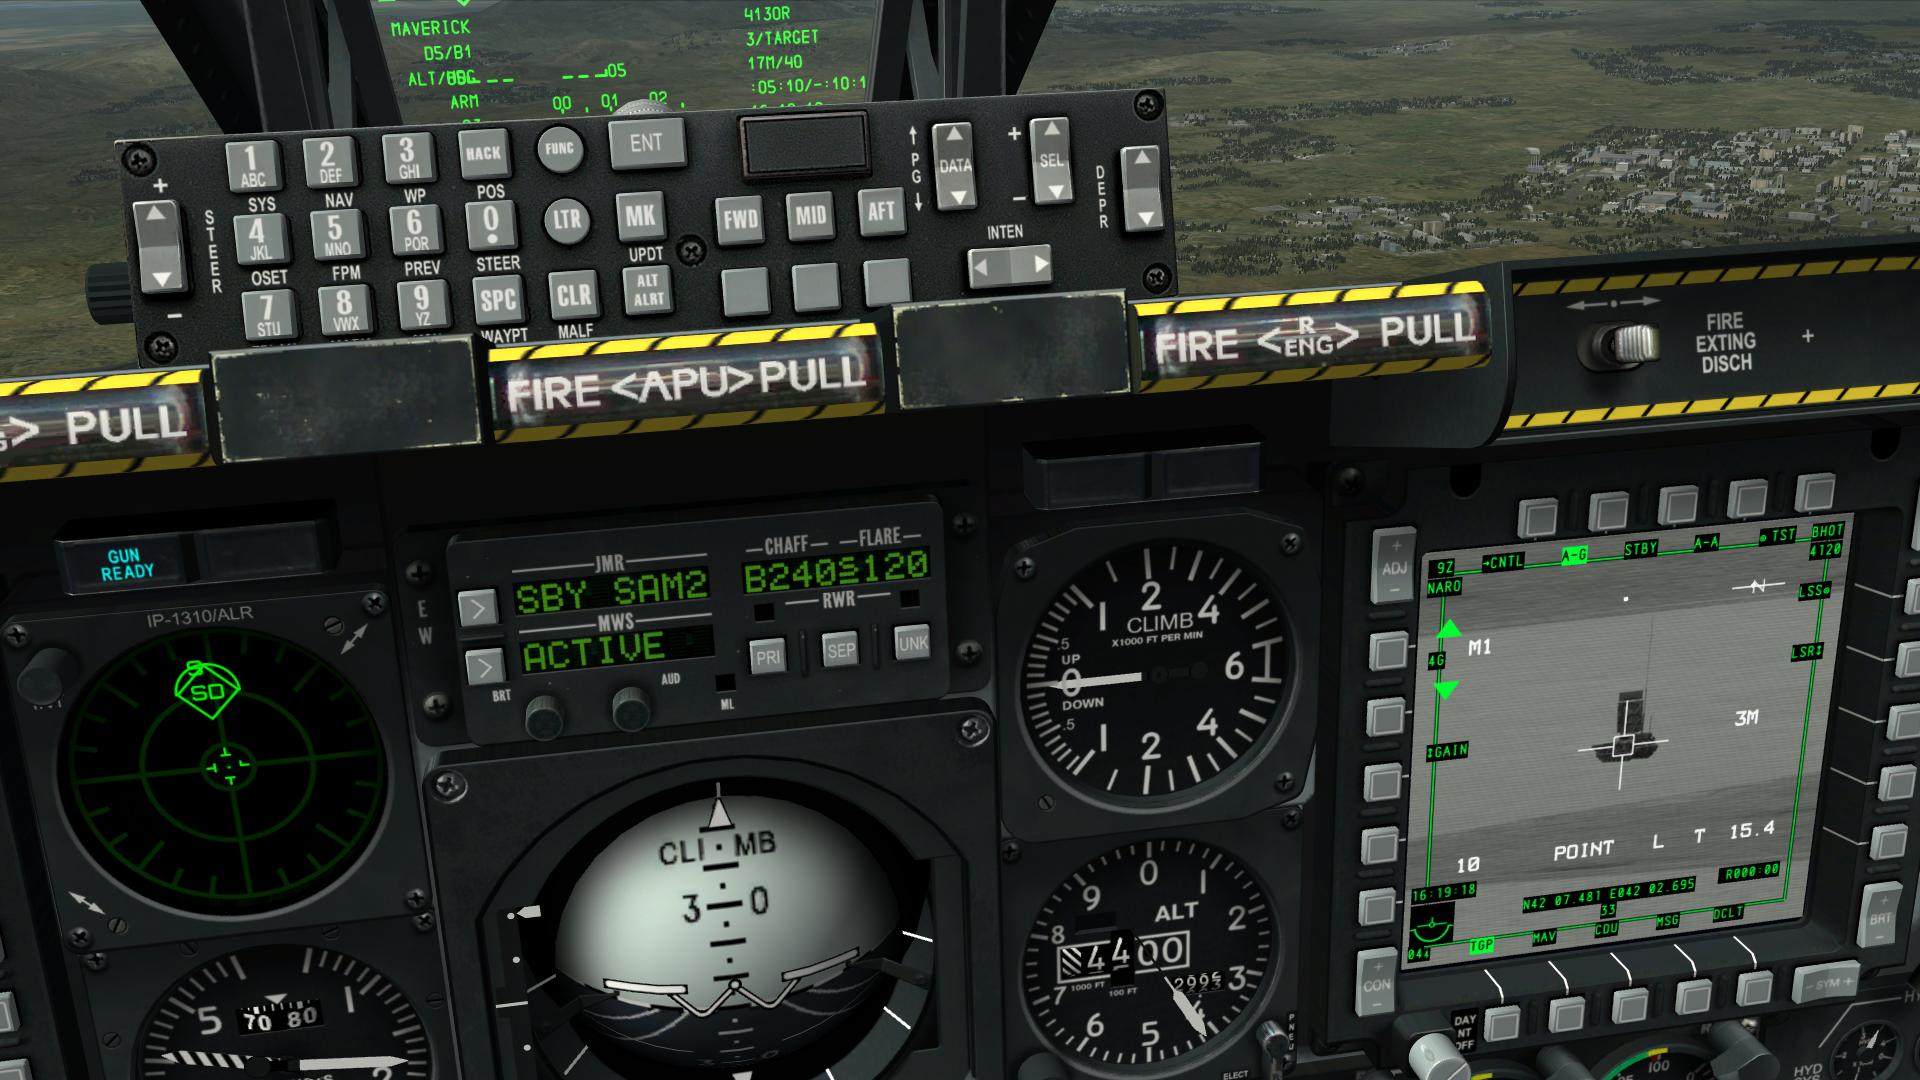
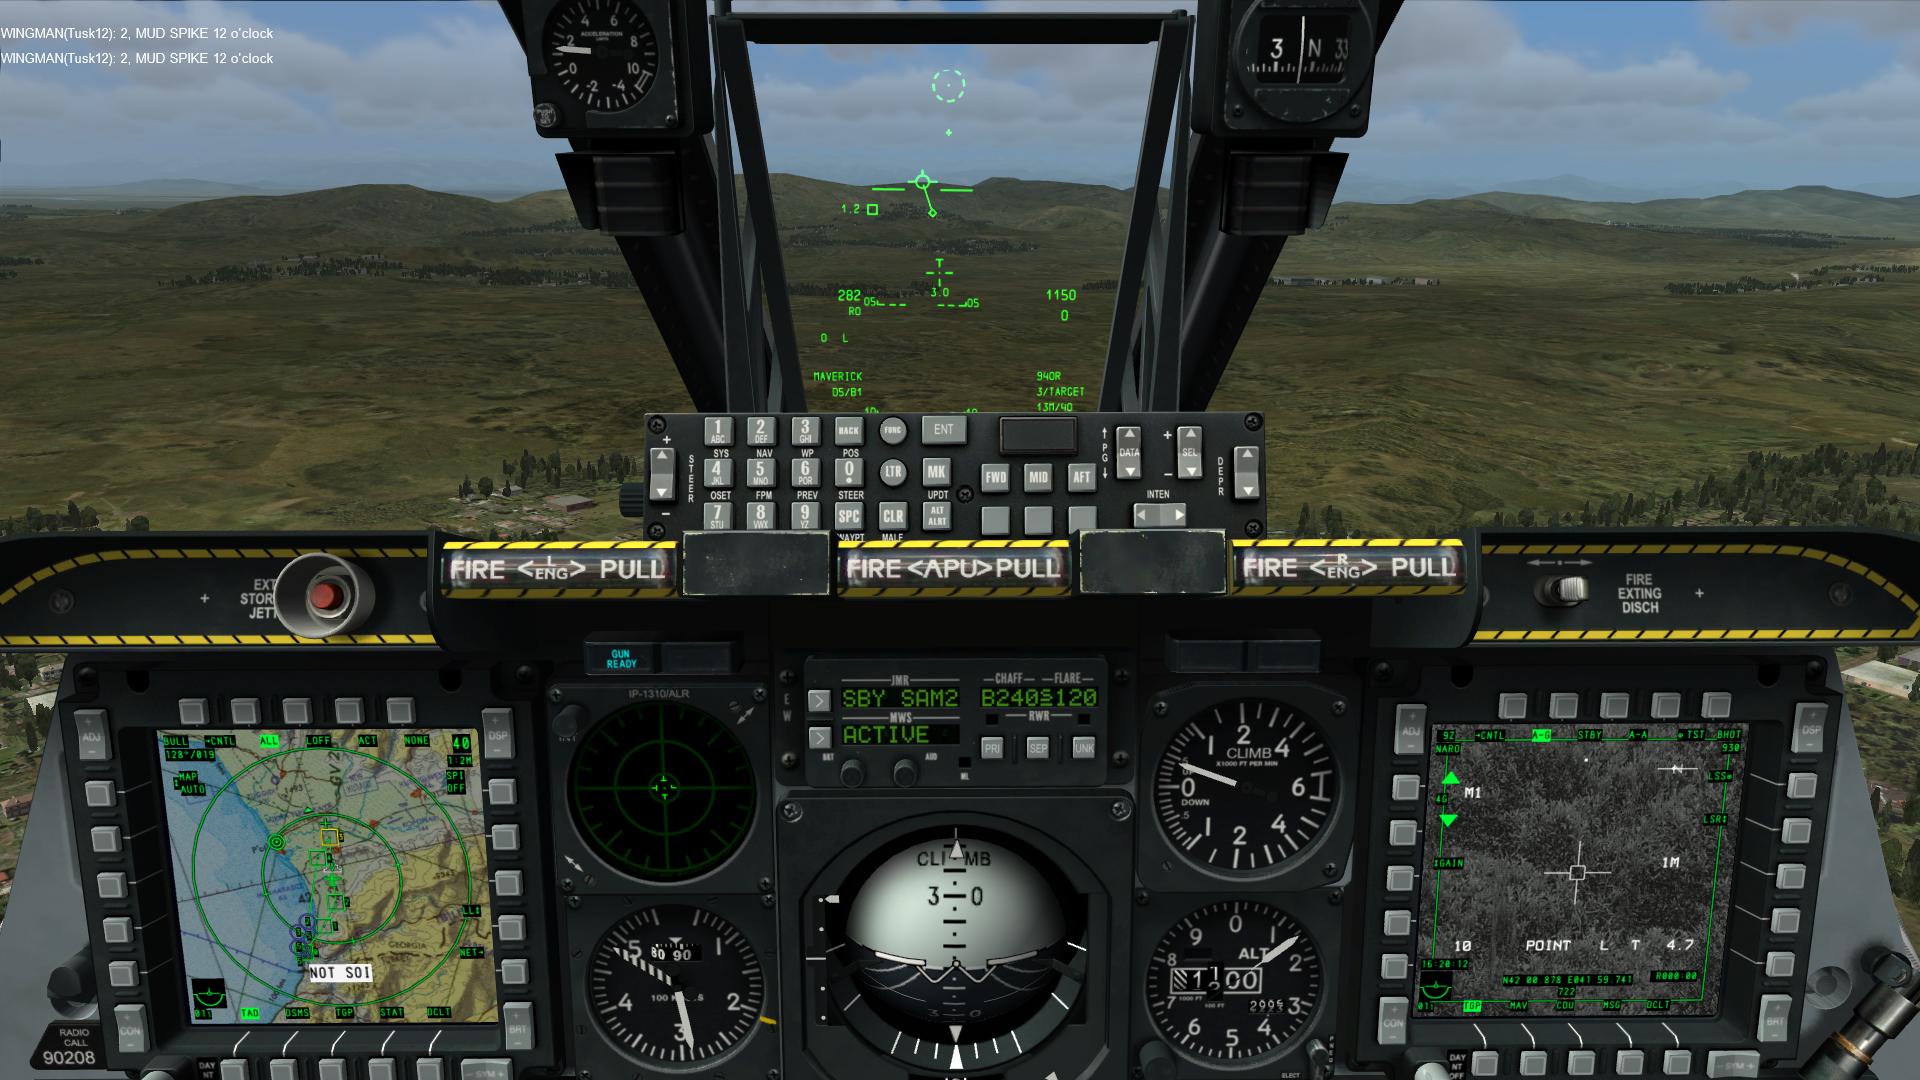
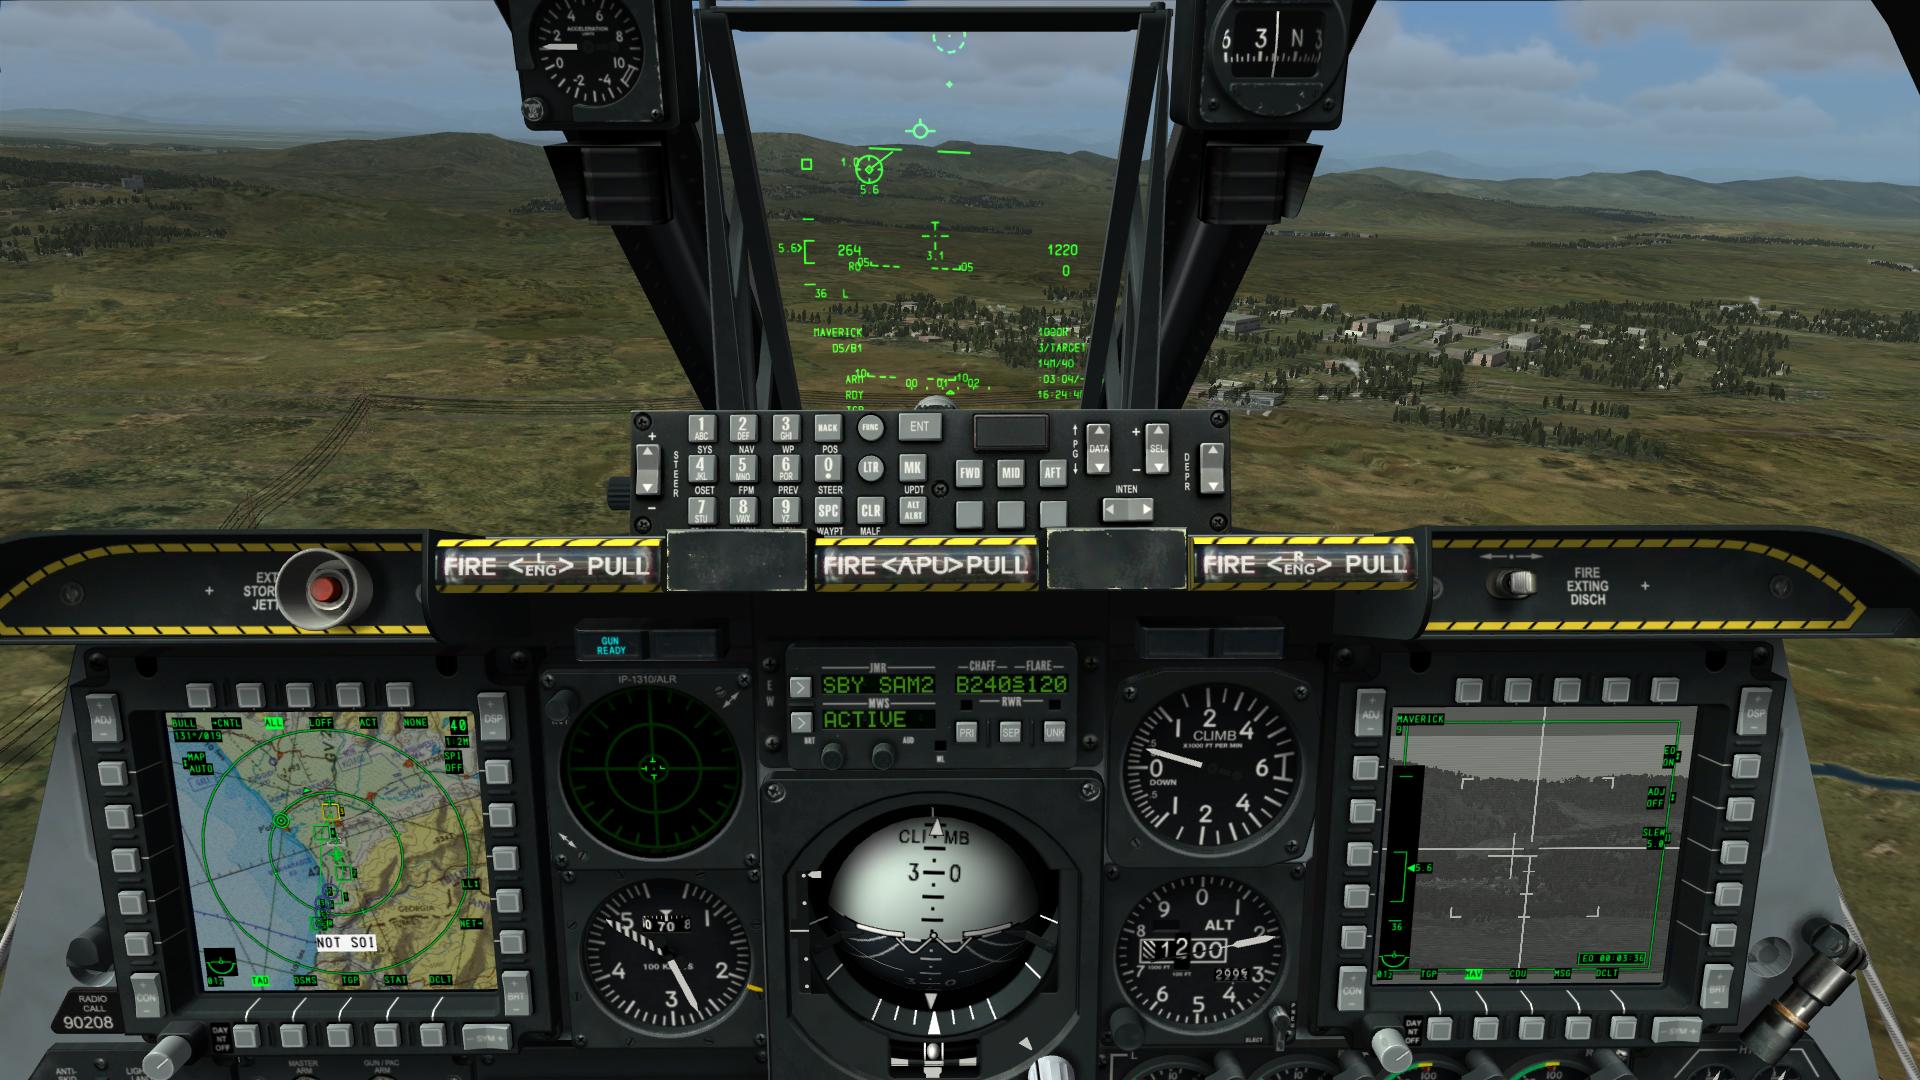
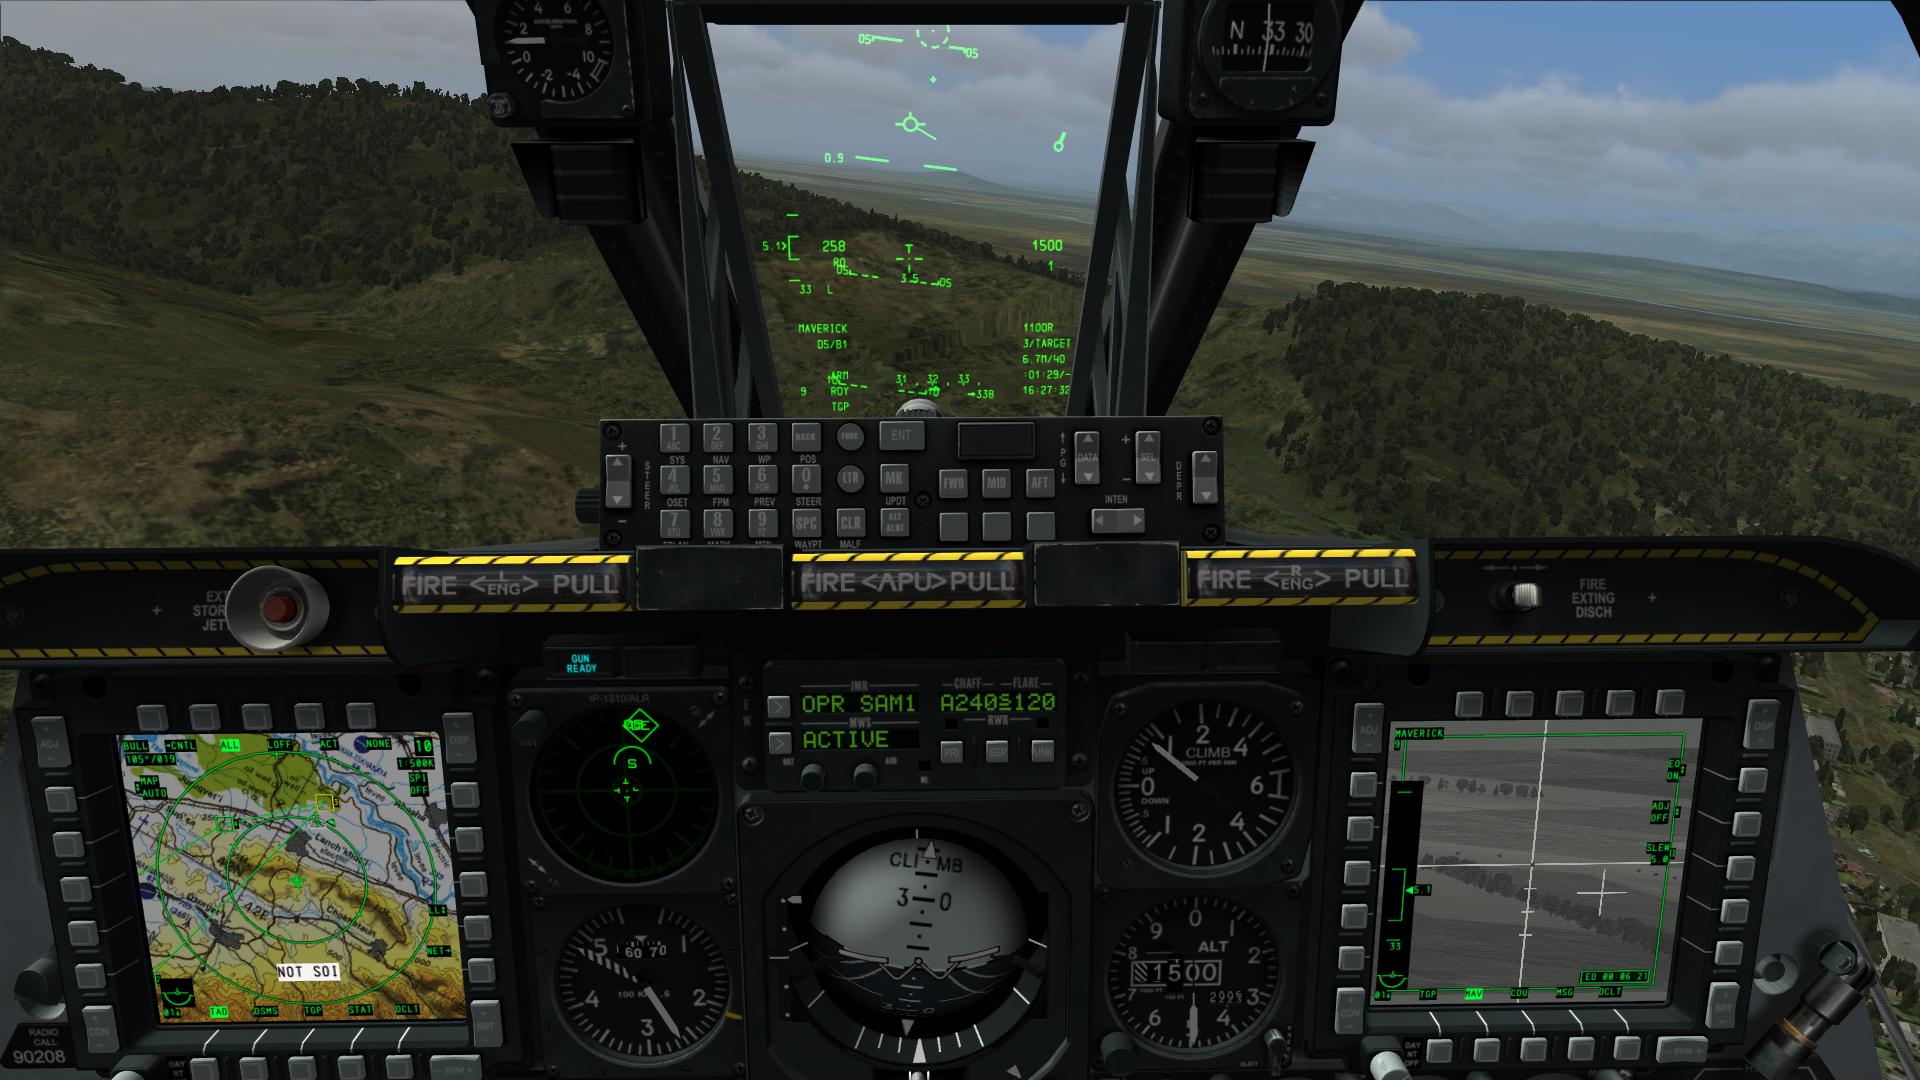
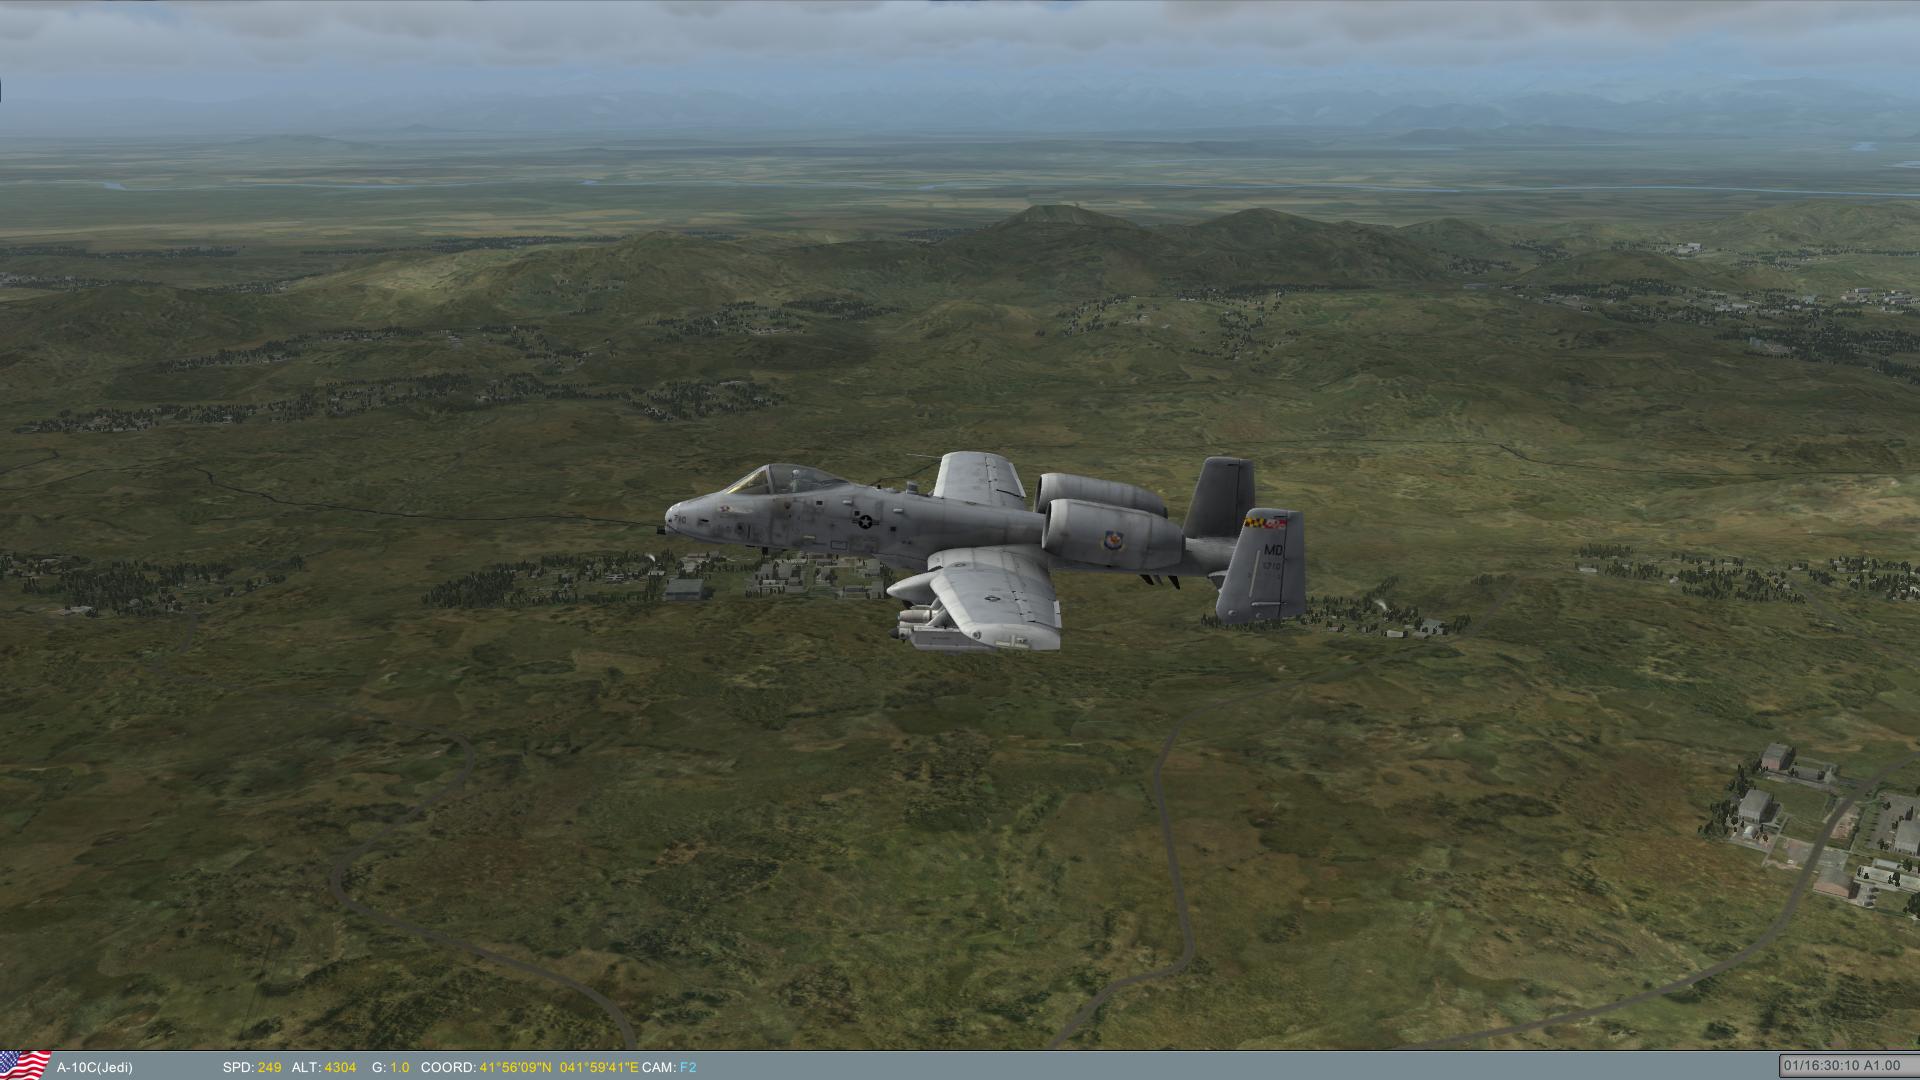
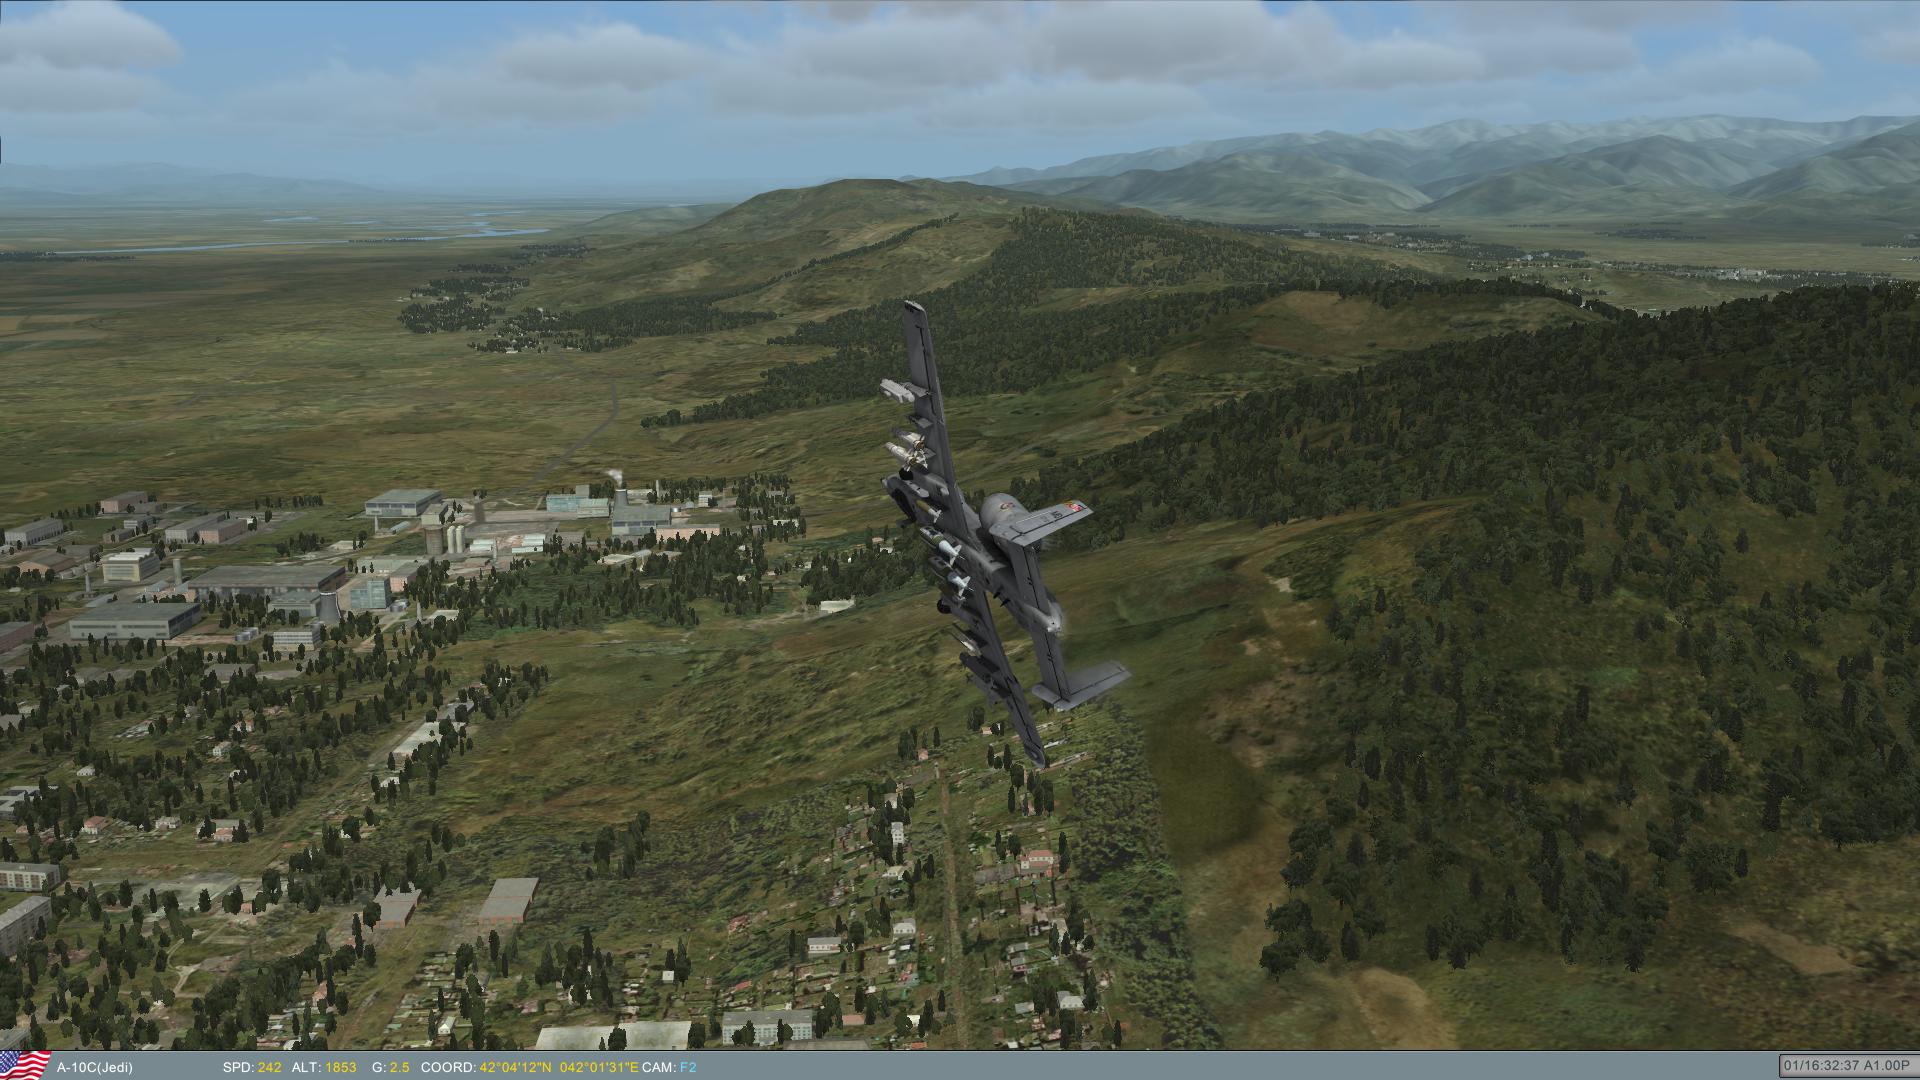
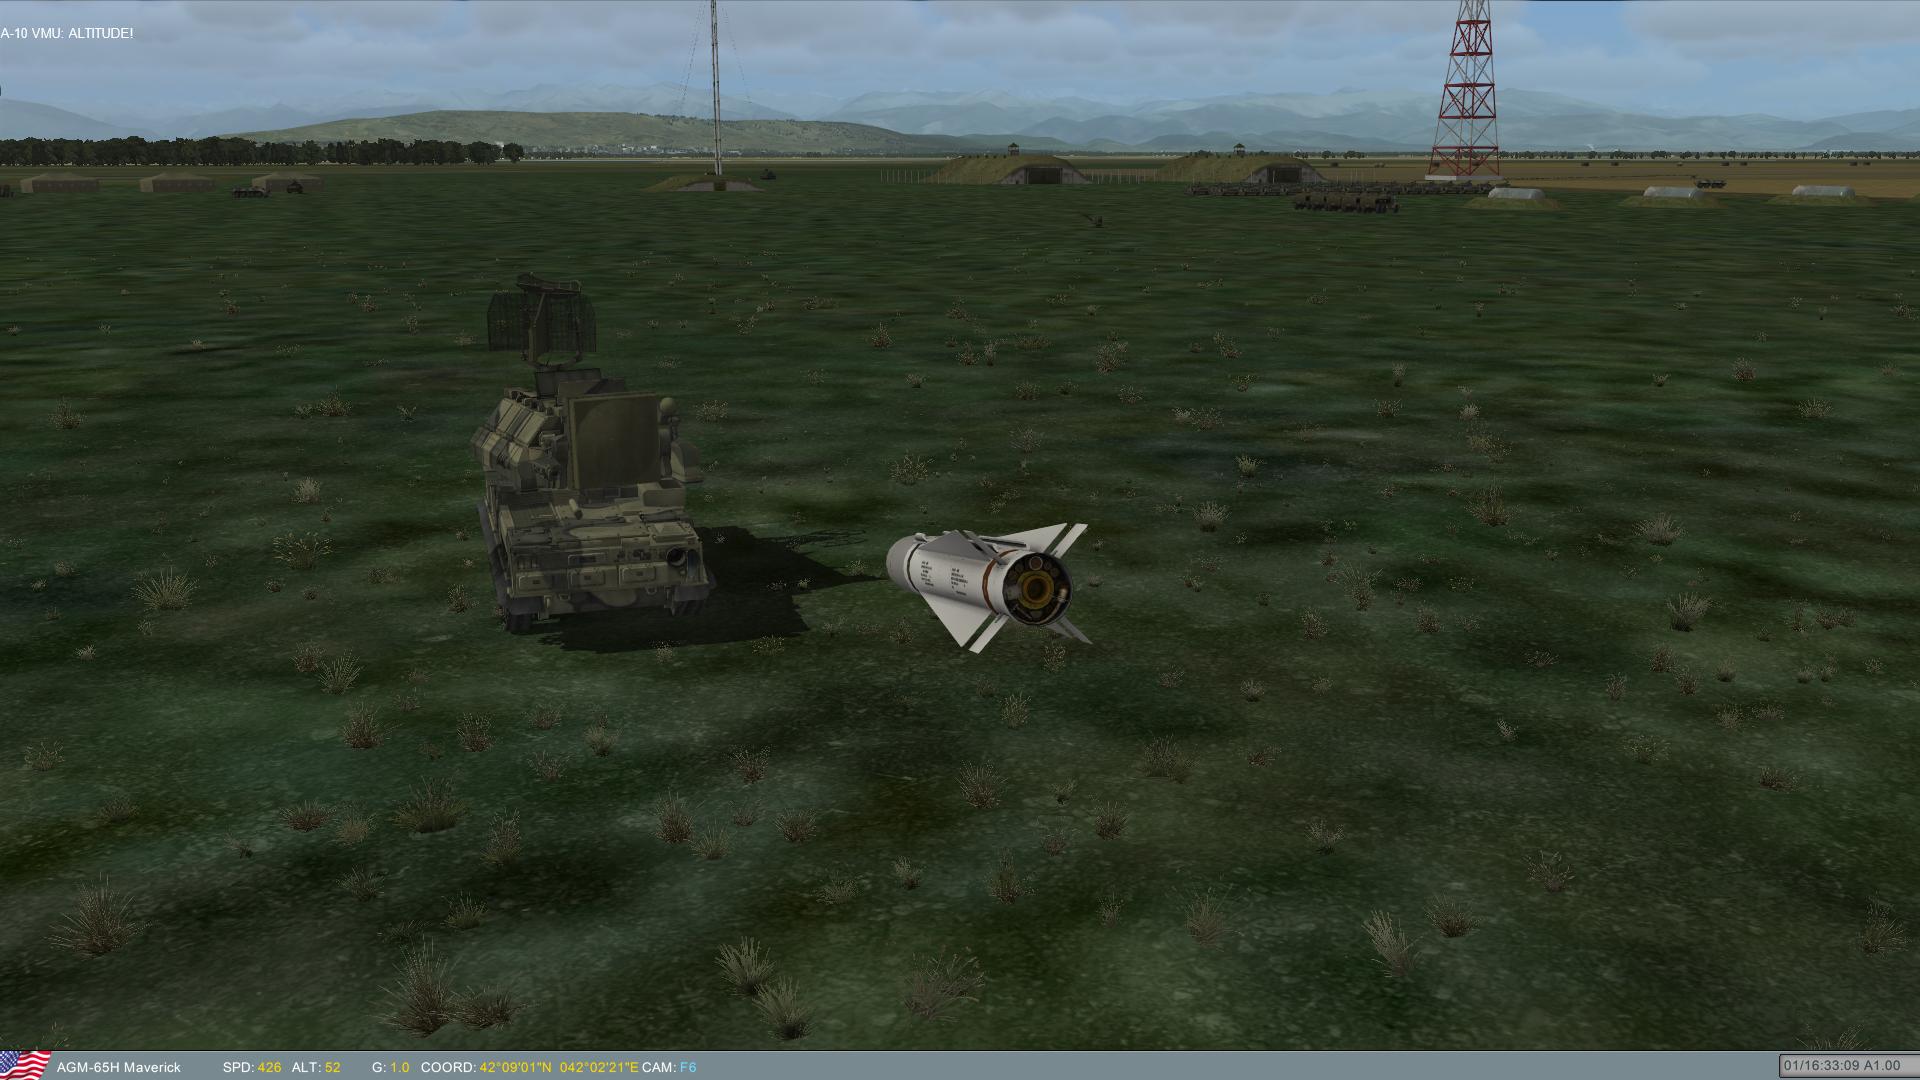
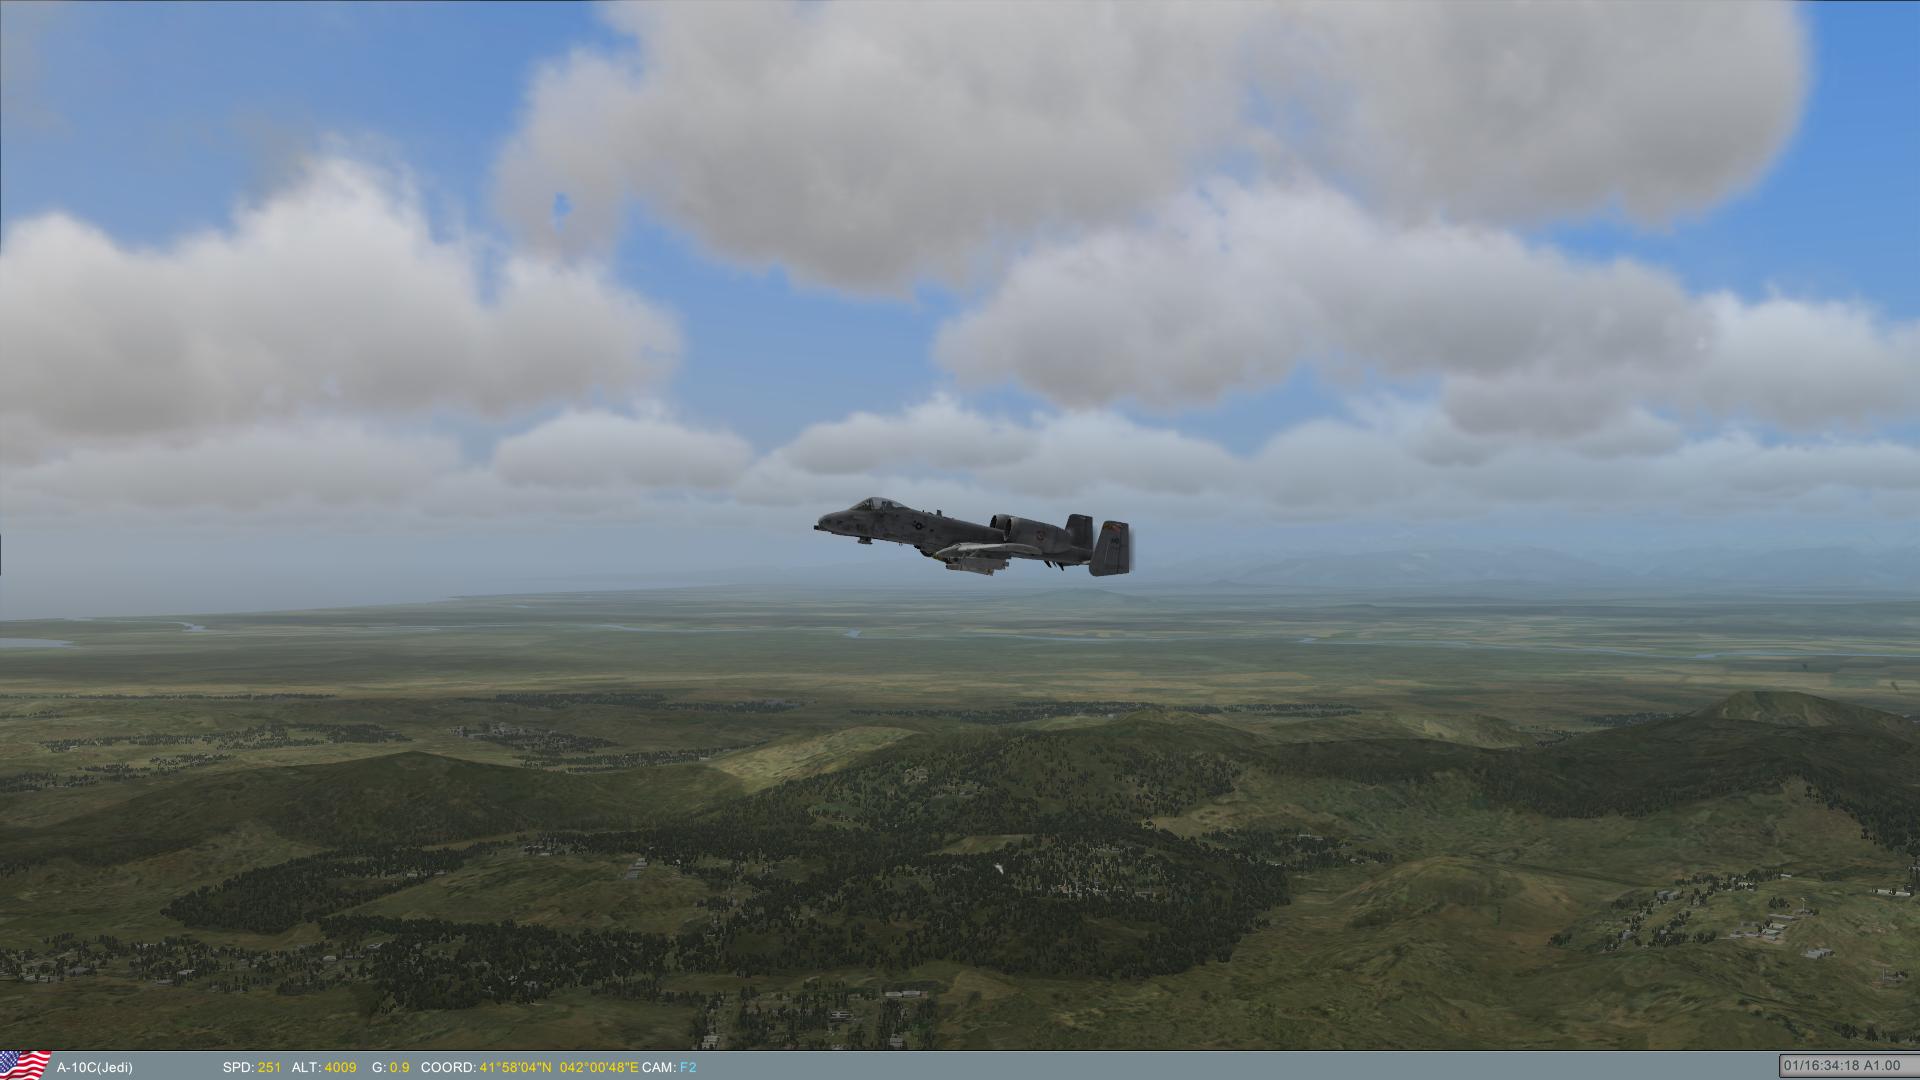
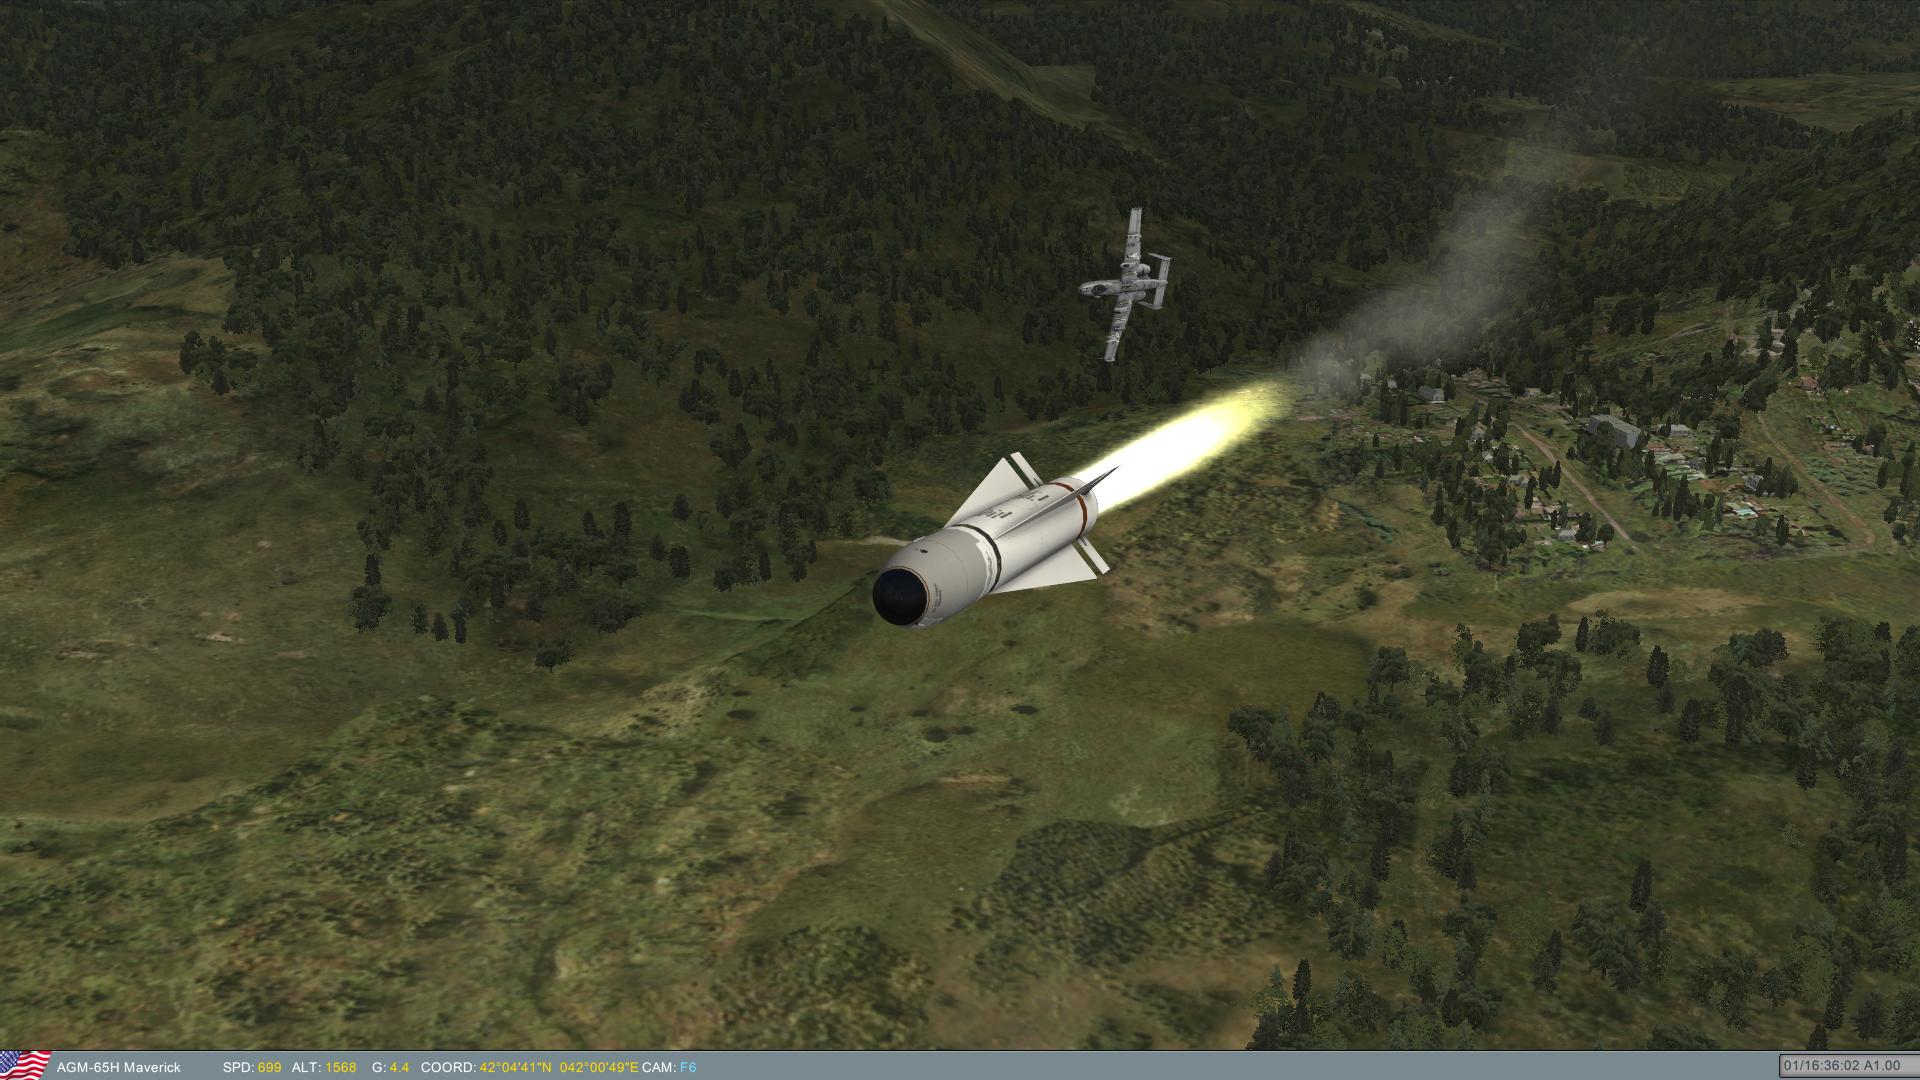
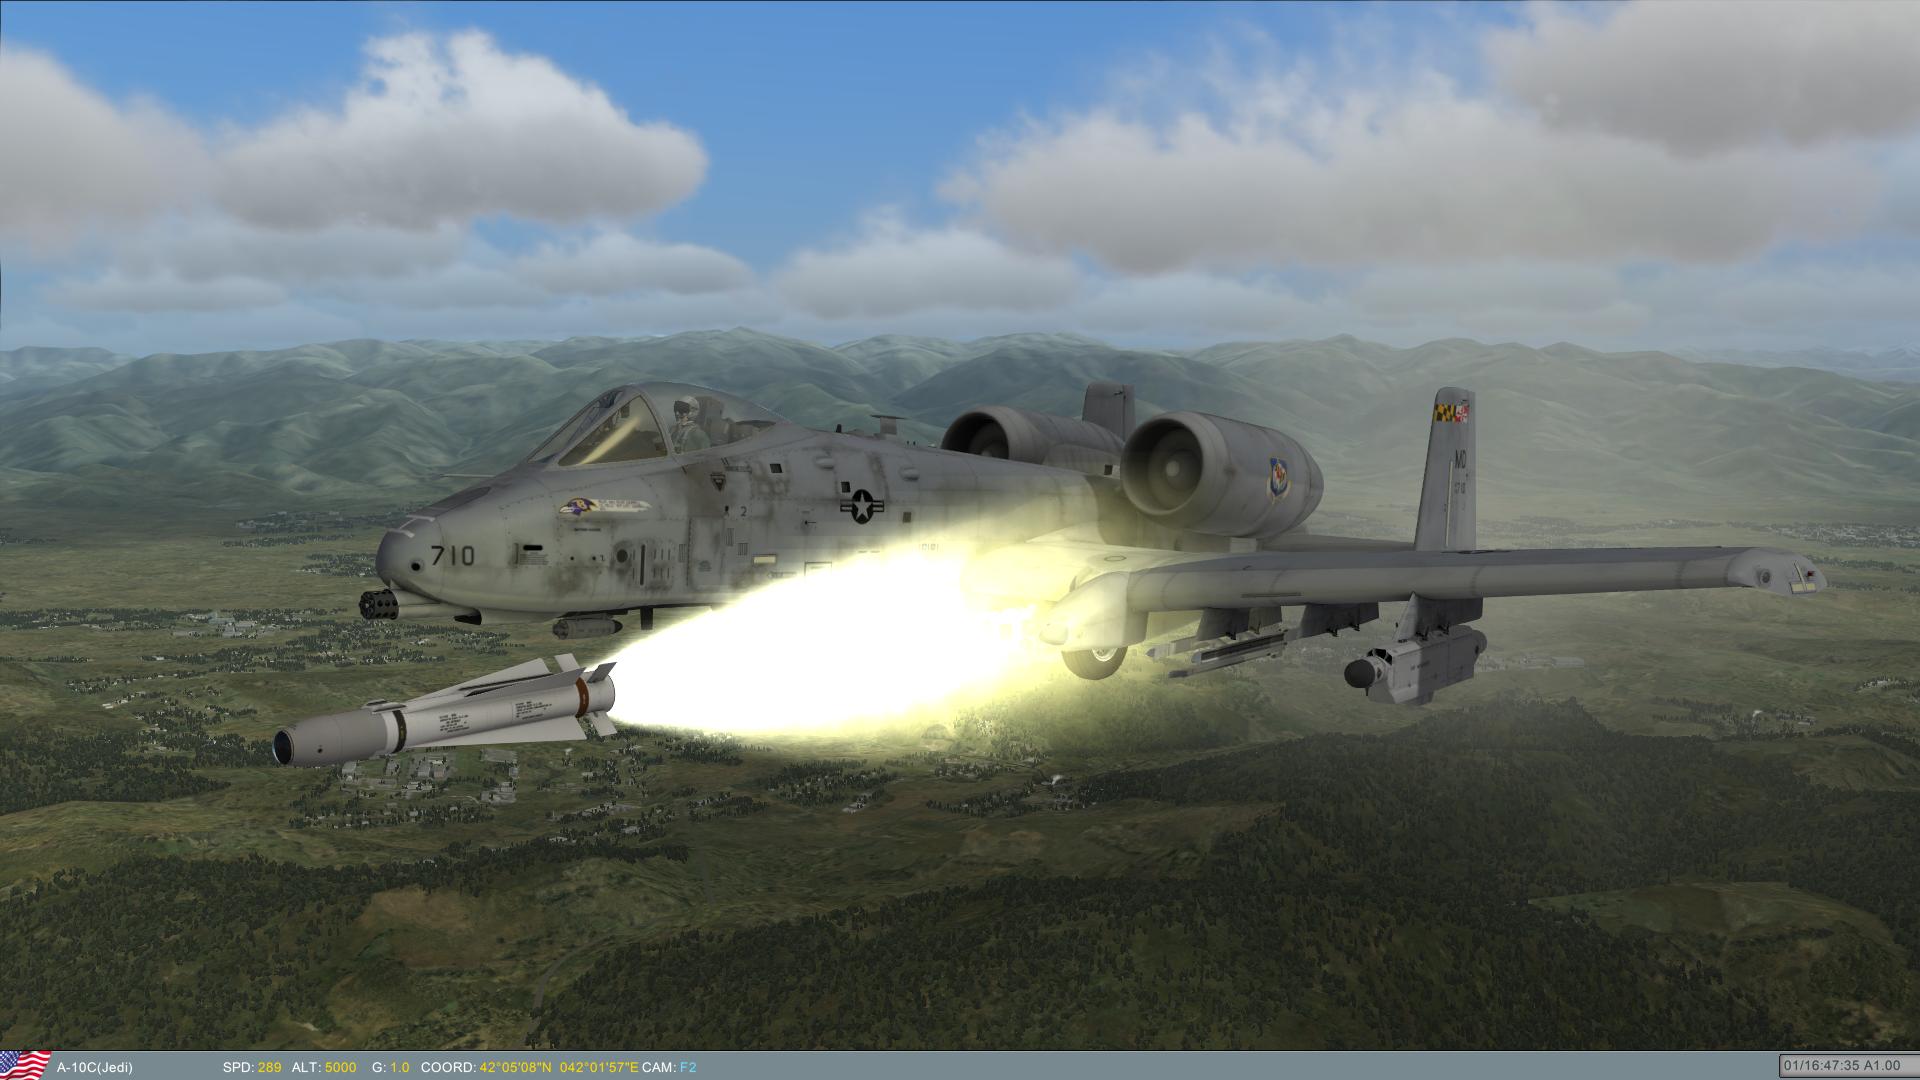
You have to use the "HOTAS CMS Z-axis". Look it up in your settings/controls page. Remember that after engaging the jammer, it will disengage automatically after 10-15 seconds (something like that), and you'll have to re-engage it. The ridge is 10 miles from the target waypoint, but the SA-11 site is a lot closer! Here's a little walkthrough: After getting to the fence waypoint and anchoring the AI flight members, I start looking for the SA-11 radar (cycling to the "target" waypoint and slaving all sensors to SPI with china hat forward long, then searching to the south). When I find the radar (above), I won't be able to get a point lock on it because the range is still to long, so I'll have to get closer. This means getting inside it's weapons engagement zone, so I go low to get cover from the ridge as I close in. Here, I have cover from the SA-11, and I can prepare to pop up and get a solid lock with the TGP (I don't really need this, though. As long as the TGP is already pointing at the radar, the Maverick will slew to that position and be able to lock on to it, but I'm a control freak, so there you go :) ). In the image above, I have already engaged my jammer, and my TGP is looking just above the trees to get a lock on the radar and set a SPI there. There's also still plenty of room between me and the ridge, so even if it launches, I have all the time I need to dive for cover. I have now turned back behind the ridge and prepared for my attack run by selecting my Maverick and slaved it to the SPI I made on the radar. Now, I'm just flying towards my target behind cover and preparing to engage my jammer and pop up over the ridge. Look at my TAD on the image above! As you can see, the ridge has a "gap" in it just to the right of my aircraft. Where I'm at now is a good spot to pop up, and you should be able to find the same spot. Here, I still have some of the ridge in front of me as the Maverick seeker head locks on to the radar. "Rifle", and I break left. One less SAM to worry about :)! With the long range SAM gone, I can extend behind the ridge to get some distance, and climb to get a good view of the target area and look for the other SAMs. My next target is the SA-15. My attack run wasn't as good here, as I crossed the ridge on the far south edge. This made me have to fly farther from cover than if I had chosen the same crossing point as my run on the SA-11. My bad, but with the jammer on, remembering to re-engage it every time it shut down, getting a lock was not a problem (although I was grinding my teeth at this point, hoping that I wasn't too far from the ridge to get back behind it before it was too late :) ). Rifle! As I was breaking right to get back, I got a launch warning from the SA-8 to the left of the SA-15. I made it back behind the ridge with time to spare, though! The SA-15 is out, and again I'm extending back behind the ridge to look for the SA-8. I find it, lock it up, set a SPI on it, and start my attack run. Rifle! And as I turn, I get another missile warning. I hurry back behind the ridge before it reaches me. Same procedure with the Tunguska. After taking out the SA-11, the only reason for flying low, is to stay as close to cover as possible. At this point, I was a little more relaxed, as the SA-8 had been taken out. I hope this explained how you can take out the SAMs without dying in the process :). If you have any more questions, just ask!

-
Hehehehe :)! Use chaff, not flares (at least on the SA-11 and the other radars), and remember to use your jammer (set it to "SAM 2"). Engage the jammer just before the radar gets a clear line of sight to you, and re-engage it when it shuts off. Also, you have to clear the ridge where it's closest to the SA-11 radar. Then, you won't get so far ahead of it that you can't duck behind it after launching your Maverick. What I found out, was that the safest way to attack, was to approach the ridgeline at an angle, so the Maverick FOV was approaching the edge of the screen. You'll still be able to launch when in range, and you won't have to spend that many precious seconds turning back before you can duck behind the ridge. Hope you understood what I meant :). Good luck, and keep trying!
-
The skeets that don't find a target will self-destruct.
-
Thanks a lot :)! The Hinds weren't actually supposed to do that, though. I put them in the mission and set a "landing" waypoint at the russian FARP. They all land ok, but for some reason, they take off again when the player closes in on the FARP or when you take out some of the SAMs. I don't know what triggers them to take off...