Deadman
-
Posts
4698 -
Joined
-
Last visited
-
Days Won
7
Content Type
Profiles
Forums
Events
Everything posted by Deadman
-
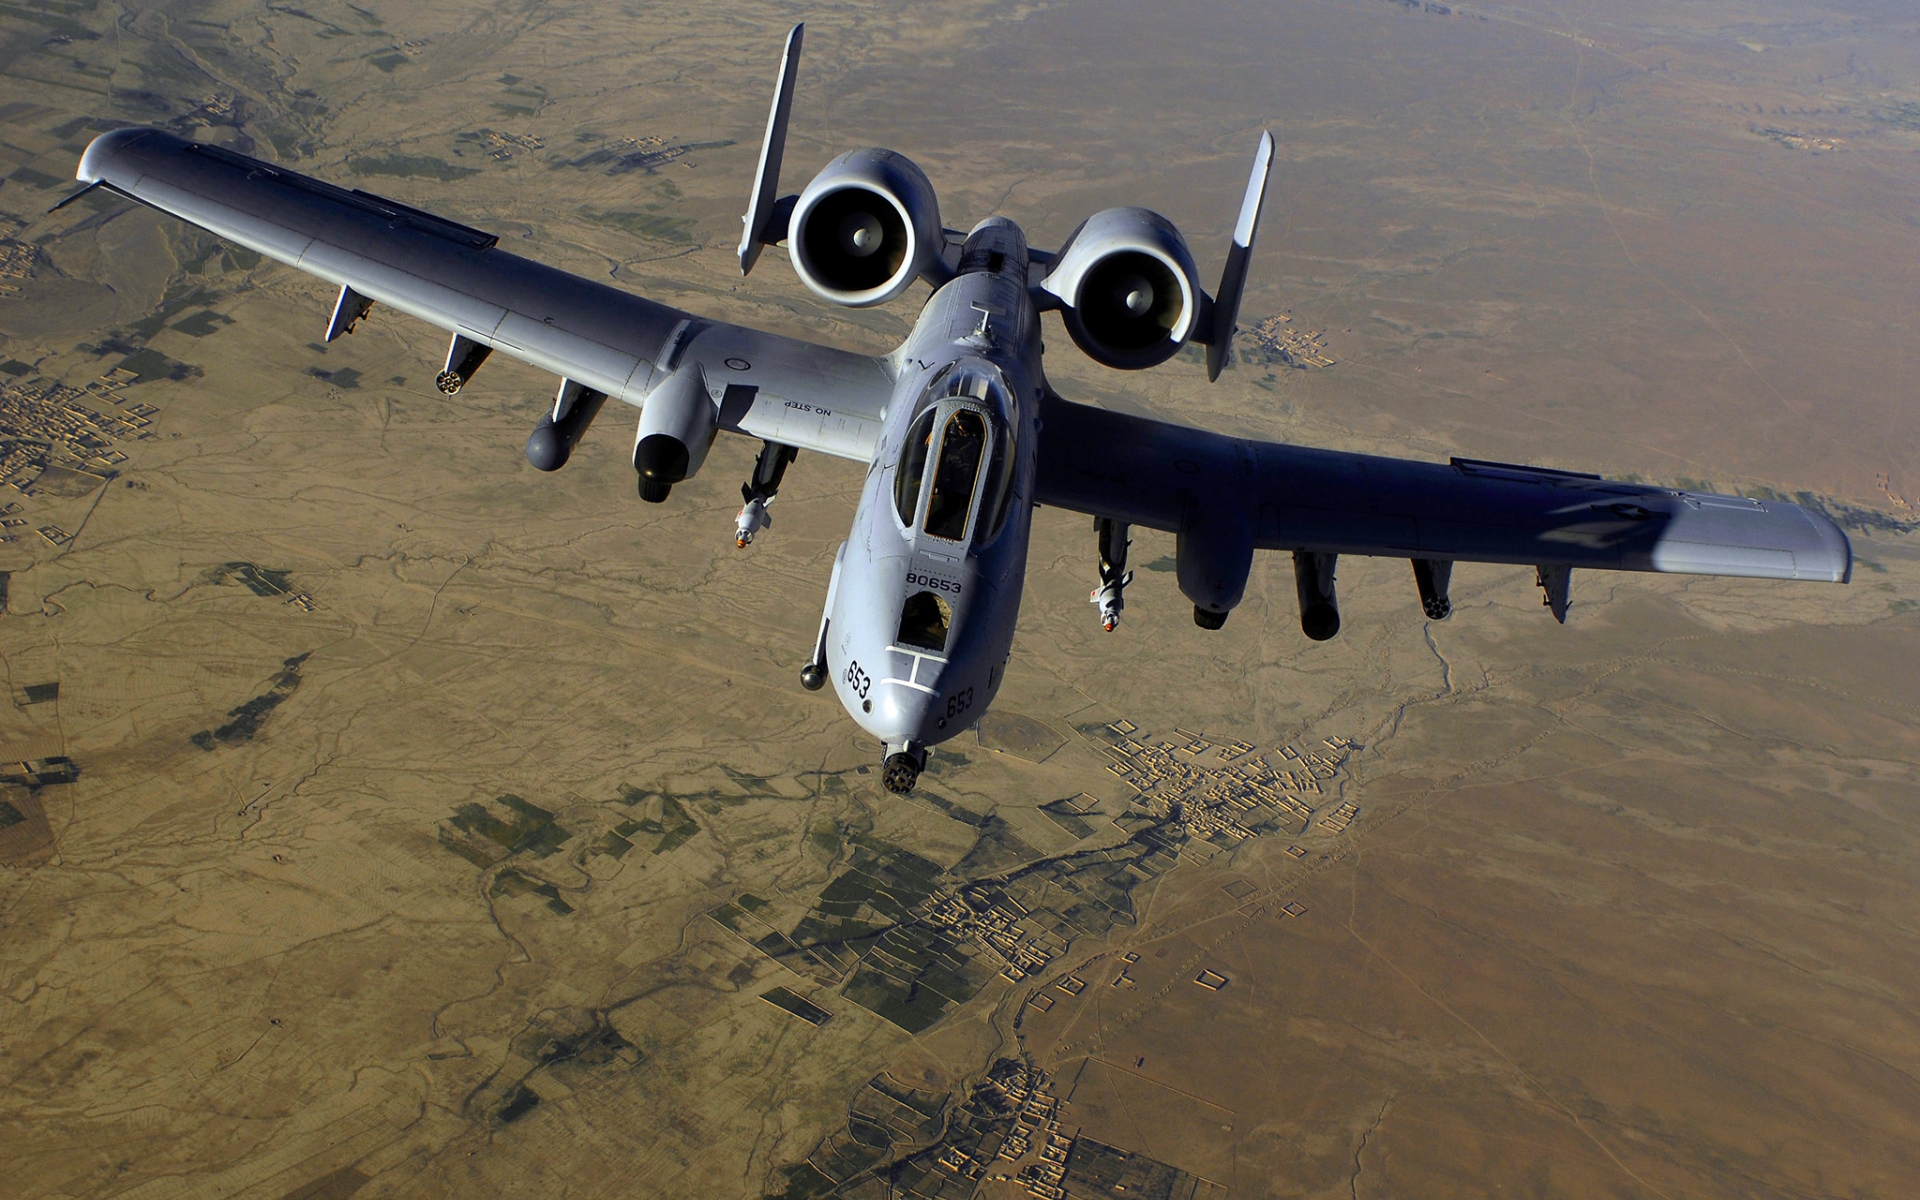
It is short but very good at 38 seconds it does show and old A-10A weapons panel and at 50 sec the MIP is an A-10A but still good footage. https://www.facebook.com/692994540838094/videos/729594690511412/
-
Cripple It is nice of you to complement Hans on his instructions. I think you have not understood the design of the cockpit replica I will try and clarify it for you. First there has never been any earlier draft of the plans published. The original concept for the design was a replica (exact copy) of the A-10 Cockpit with out using CNC and the least expensive cost for materials. There are several other designs that are used for portable pits so there was no need to remake that style of cockpit. I all so wanted to get away from (MDF) Medium Density Fiberboard it has no structural value and it is very heavy. The design presented has been converted from aluminum to less expensive wood. The weight of the cockpit shell in the design is 87 kilo approximately 192 pounds . This does not include MIP ,ACES II, left right counsel and center pedestal, any control heads, wiring, LCD s I can easily see a replica cockpit weighing in the 400 pound range 182 kilos but with options open to each builder it is impossible to say what the finished weight will be. It is really not practical to move a complete replica pit in sections when all of the panel are wired IMHO it makes much more scene to trailer the cockpit if you visit cockpit fest in the U.S. Or in the E.U. You will see most cockpit on or in trailers. [ame] [/ame] A. Parts 23,24 and,28 are cut from ½”-12 mm plywood, Part 17 is from ¾”-18 mm Part 10 is cut from 2” x 8” [45x195mm] Perhaps you were thinking of part 20 that is all so cut from ¾”-18 mm. As you can see there is no way to combine parts of different thickness on to one sheet of plywood. The canopy bow has been laminated out of three complete bows for several reasons. The bow has several curves in it to label each one for some one of perhaps moderate to no carpentry skills would be confusing. Where as having the template printed out at 100% scale would be quite easy for any one with limited skills to print past and cut around. Less cuts equals less time cutting and less chance of error in cutting. In my real training cockpit every one that gets in and out all ways put one hand on the canopy bow. This means make it strong simple and secure or it will fall off in some one's hand. B. the design and load bearing quality may not be obvious with out other parts of the cockpit installed. The design is adequate for the pit. Main Instrument Panel (MIP) vertical beams support both MIP and canopy bow. It all so reinforces the vertical and horizontal canopy bow supports. D. The floor line is established with recessing part 20 level with the floor joist top of part 7 &8 this is important when installing the center pedestal that houses the circuit breaker and TISEL panel. It all so gives the cockpit floor braces their lateral support and the mounting area for the left and right consoles. So not a great idea just to slap it on top of the joist. The spaces between parts 3&7 , parts 4&8 establish the space for the foot wells. The 2x8 floor joist are used to economically create a space under the control stick for what ever type of mechanical support for the approximately 17 inch extension to simulate the real stick. E. Add wheels if you want to move it. Weight has been stated No it will not fit through a door way if you want that get an AB style pit. Your concerns and critique of the plans seam to be based on your not understanding the pit and the parts that will be fallowing. As all ways all views and comments are welcome as long as they are constructive and not considered arrogant or condensing.
-
Mac I did not post the pit plans I have had very little to do with the project form when I closed it down. HMA has released it with my full cooperation and blessing. He has done a fabulous job on the instruction. The ABU 4A you listed is worth about $10 as beat up as it is.
-
Here is a simulator ADI it is not the ARU 2B/A as in the A-10 more likely and ARU 11 but they both have the same face size it will fit in the MIP and it has a great price at the moment. http://www.ebay.com/itm/131705893507?_trksid=p2060353.m1438.l2649&ssPageName=STRK%3AMEBIDX%3AIT
-
Found a few new vidios [ame] [/ame] [ame] [/ame]
-
Your welcome
-
In reply to several questions on the ACES II ejection seat and how it sits in the cockpit. This video shows where my seat is currently located middle of the seat pan with cushion is 15 inches off of the floor. The seat would be in its lowest position in a real cockpit at 0.25 inch off of the floor. The seat has 5 to 6 inches of total height adjustment depending on the reference material. This makes it impossible to use as a refrence for any other measurments in the pit. Unfortunatly I don't have a canopy so i can not use Olie's tip for seat adjustment of one fist tight between helmet and canopy. I miss quoted the height of the rudder pedals off of the floor in the video they are 2 inches off of the floor. The video will clearly show how tight the cockpit is. with both side consoles removed for a clear view. GUYS this is posted for Home builder and not manufactures. The vidio is copy writed material. I hope this answer some of your questions [ame]http://vid236.photobucket.com/albums/ff236/Deadman-722/Seat/Ejection%20seat%20%20height%20edited_zpsxk9fvs2z.mp4[/ame].
-
http://www.ebay.com/itm/121721437291?_trksid=p2060353.m1438.l2649&ssPageName=STRK%3AMEBIDX%3AIT
-
The Aces II ejection seat is adjustable so not a good reference point to base left and right console height off of. For and aft measurement of what? In all honesty all of the measurements I have seen on previously released free and pay for A-10 cockpit plans are wrong.
-
Back of the seat for the A-10/ F-15 is ruffly 15 deg. For the F-16 it is 30 deg if your sitting in an F-16 copy then you will defiantly have shoulder and arm strain if your using a between the leg stick. That and the seat pan difference can add pressure behind the thigh if the seat is not reclined to the 30 deg. Hope this helps but with out any other information on your replica it is kind of hard to say.
-
What am I psychic?OK you have eBay out of the U.S. but you all so have Germany, and UK. Northern EU all so has F-16s so you may check Market platz you may find things there if not well then your SOL .
-
EBay!!
-
Hey Ragtop Pm or post a picture from the side and top of you sitting in your seat it will give me a better Idea of what is putting stress on your back.sorry lost part of this post Are you measuring the angle on the front of the seat or the back do you have an ACES II replica?
-
The top of the seat is 15 inches to the floor the way I have my ACES II set up the bottom of the pedals are 2 inches from the floor. this is comfortable for me at 6'3" and 210 lb.
-
 Thanks guys for putting this together. I had to cut out early. Olie was great to share his knowledge with us please thank him. here is a link to the CAS PDF https://fas.org/irp/doddir/dod/jp3_09_3.pdf
 -
Calling Down A-10 Warthog Fire Calling Down A-10 Warthog [ame] [/ame]
-
Language warning, not safe for young ears.
-
any seats left?
-
what are the over all dimensions for your engine gauge cluster?
-
Or make her the crew chief it works
-
It has been tried and does not work. I can't recall the members name he made printed left and right consoles he reported it failed later. I tried the same repeated printing on film it does not block all of the light.I would suggest purchasing annunciators off of ebay replace the old lens with a green blue shade of glass or acrylic and silk screen the ledged.
-
Working on an RWR I have a couple of real ones but ran in to some simulator models with face for possibly a Greece Electronic Warfare System reference http://www.xflight.de/ The units are CRTs so I figured they more than likely are still functional and can be rotated to make this work. So I am in the process of getting the cables worked out. I remade the bezel for the IP-1310/ ALR and had Shapeways print it up my first model with them and I am very happy with it I could have used a larger font I was not sure if they when from the outside or inside of the font. Inside is how it turned out. I am not sure how I will paint the units just fill the engraved font and arrows or spray with white fill the areas with clay and respray with flat black. Here is a pick with a before and after the new bezel I am really impressed with Shapeways finish and price. The second pic is next to a real bezel. I still need to make a decal of the lens graphic and have several made to finish off the change but I am sure it will work out. You will notice the lay out has been rotated 90 degrees counter clock wise to get the INT knob in the correct orientation. The mounting screws are located where the real arrows go but using black socket screws I don't think it will be noticeable.
-
Checked the Fire pull switches and all work along with the lights for the handles.
-
Found some good videos tonight
-
If there is demand I am sure they will produce the grips or any parts. looks likeF-16 Grips is a parts of http://www.bugeyetech.com/ check the contact us tradcliff@bugeyetech.com These guys supply the military I am sure if you purchased something from them it will be high quality.