
[MVP] Mugga
-
Posts
296 -
Joined
-
Last visited
Content Type
Profiles
Forums
Events
Everything posted by [MVP] Mugga
-
![[MVP] Mugga](https://forum.dcs.world/uploads/monthly_2021_03/MVP.thumb.png.398f5fa5eaf57799a81da76f4cc64fc1.png)
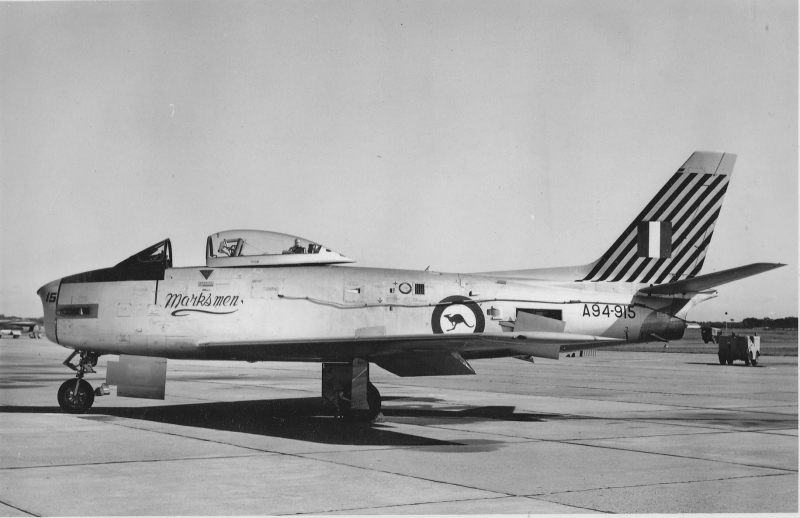
MVP F86 Sabre Sim Pit - Converting an Original ex-RAAF Sabre!
[MVP] Mugga replied to [MVP] Mugga's topic in DCS: F-86F Sabre
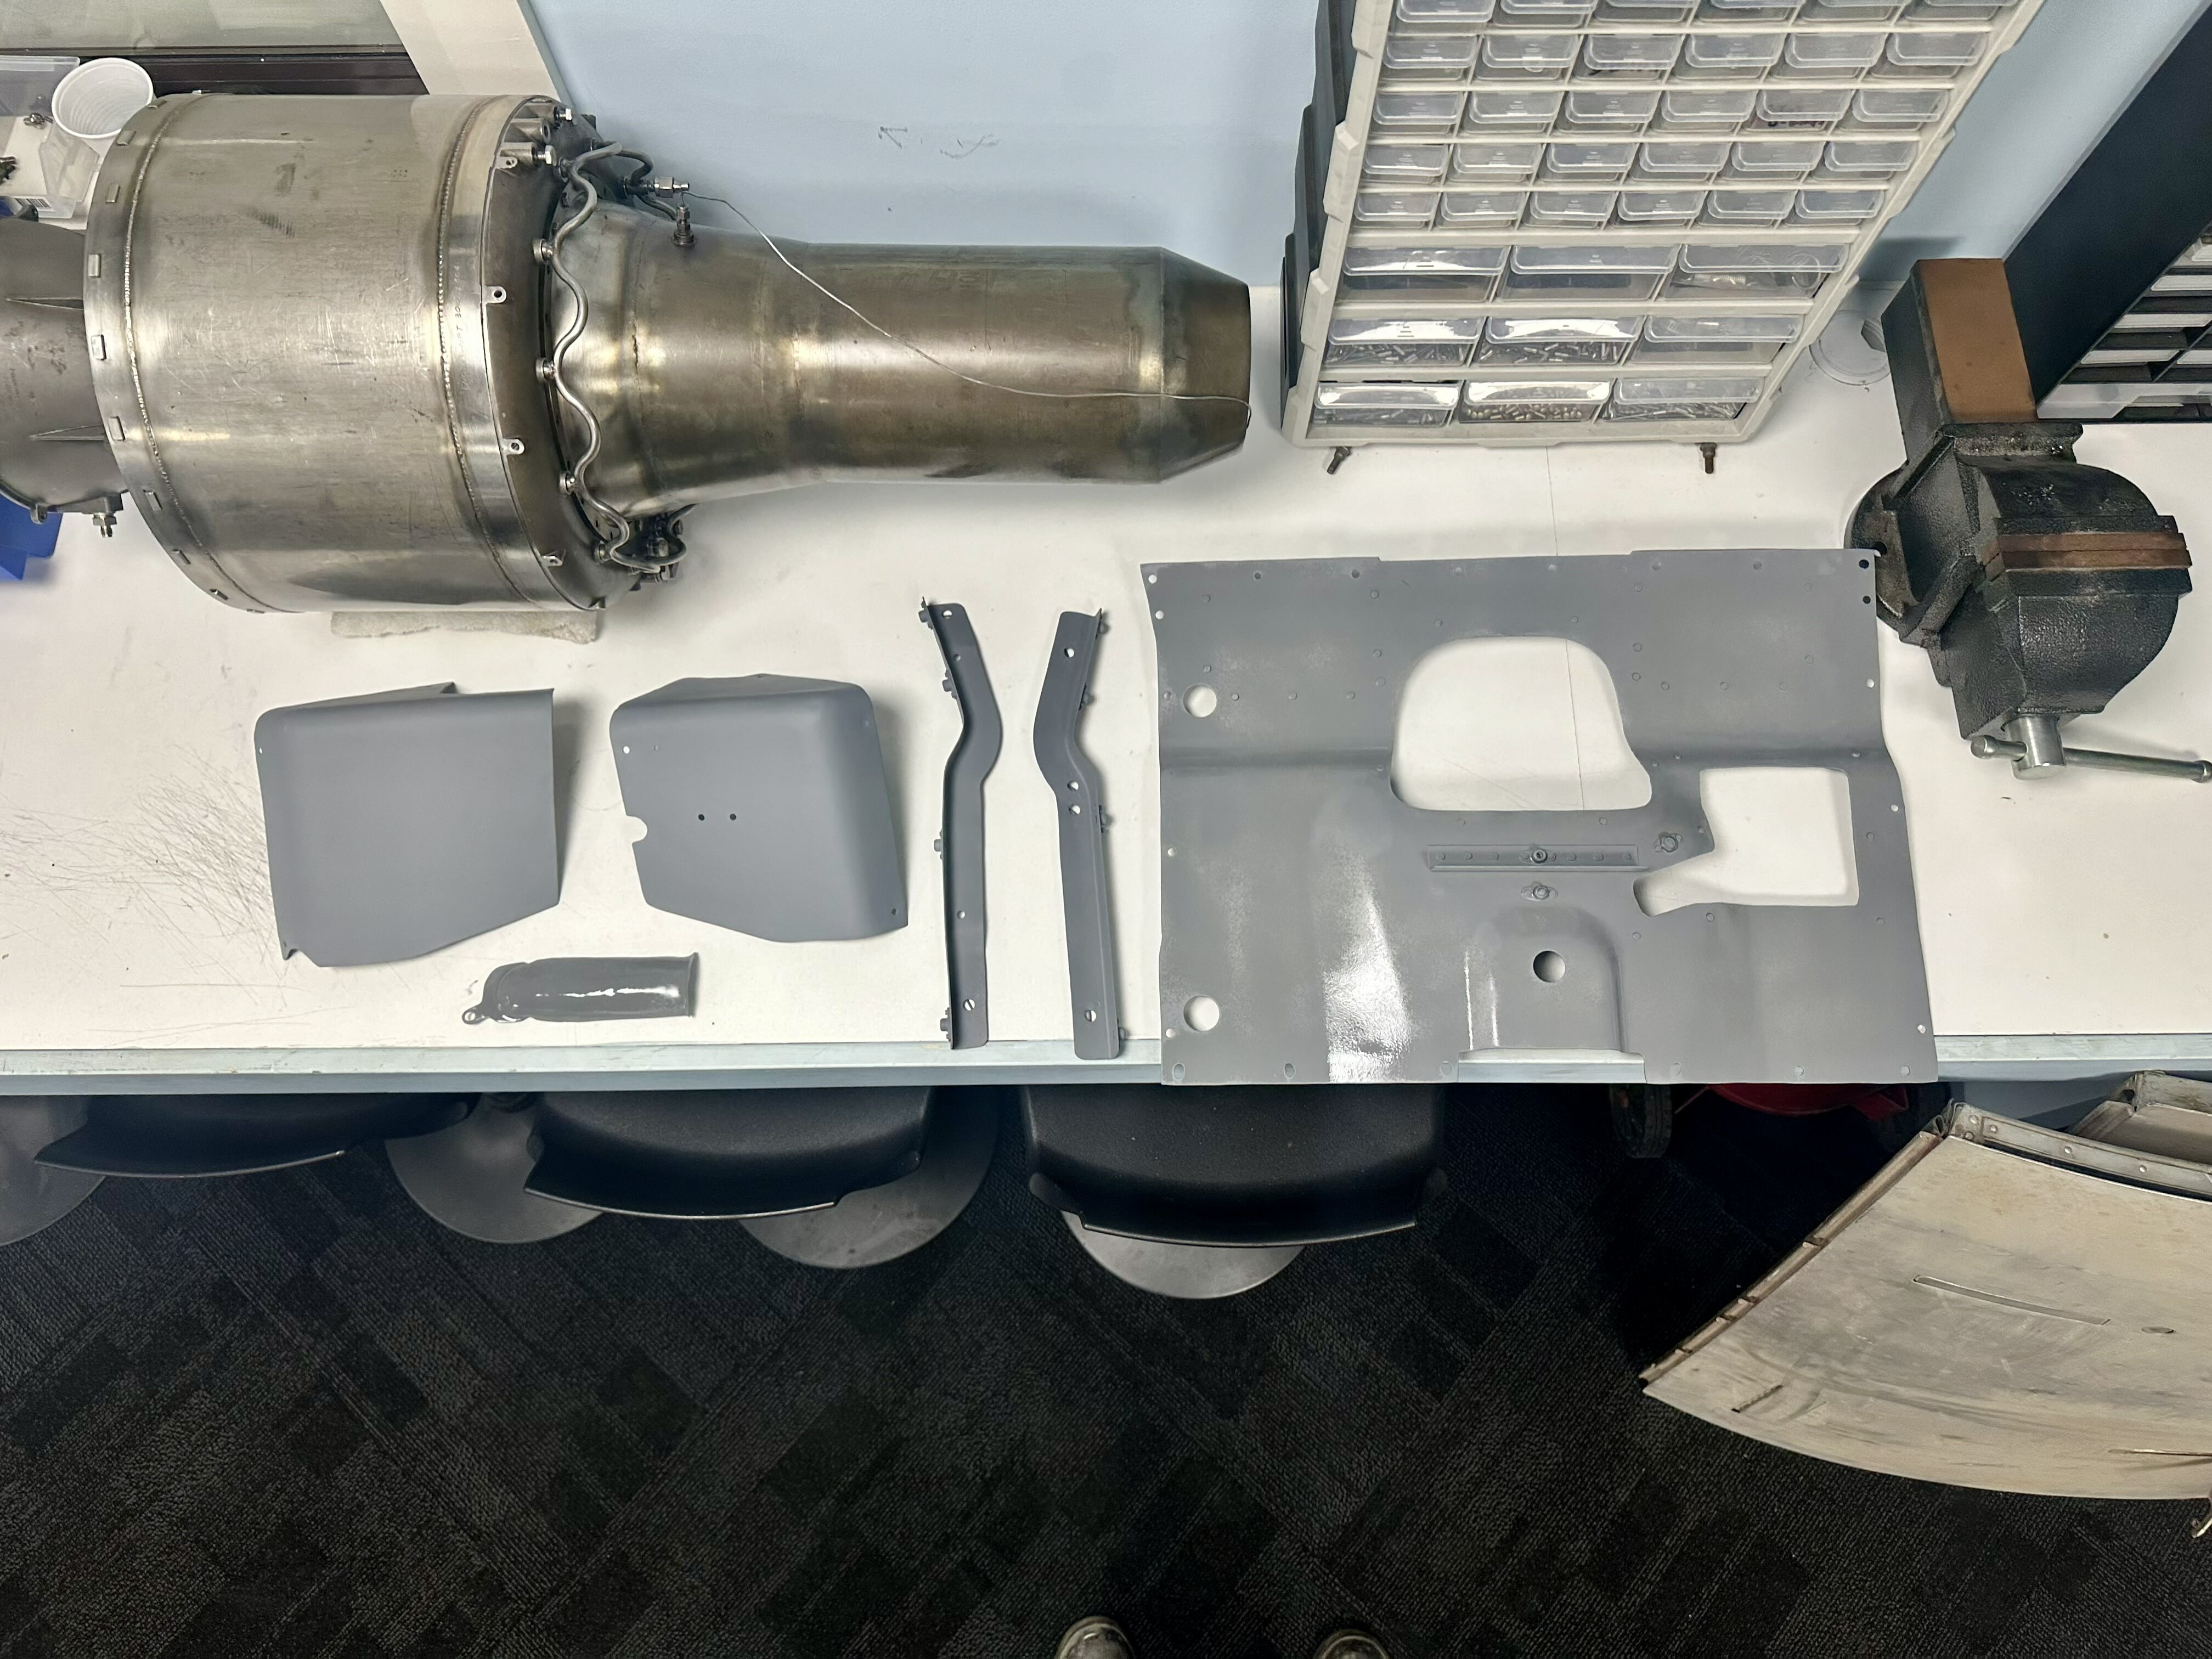
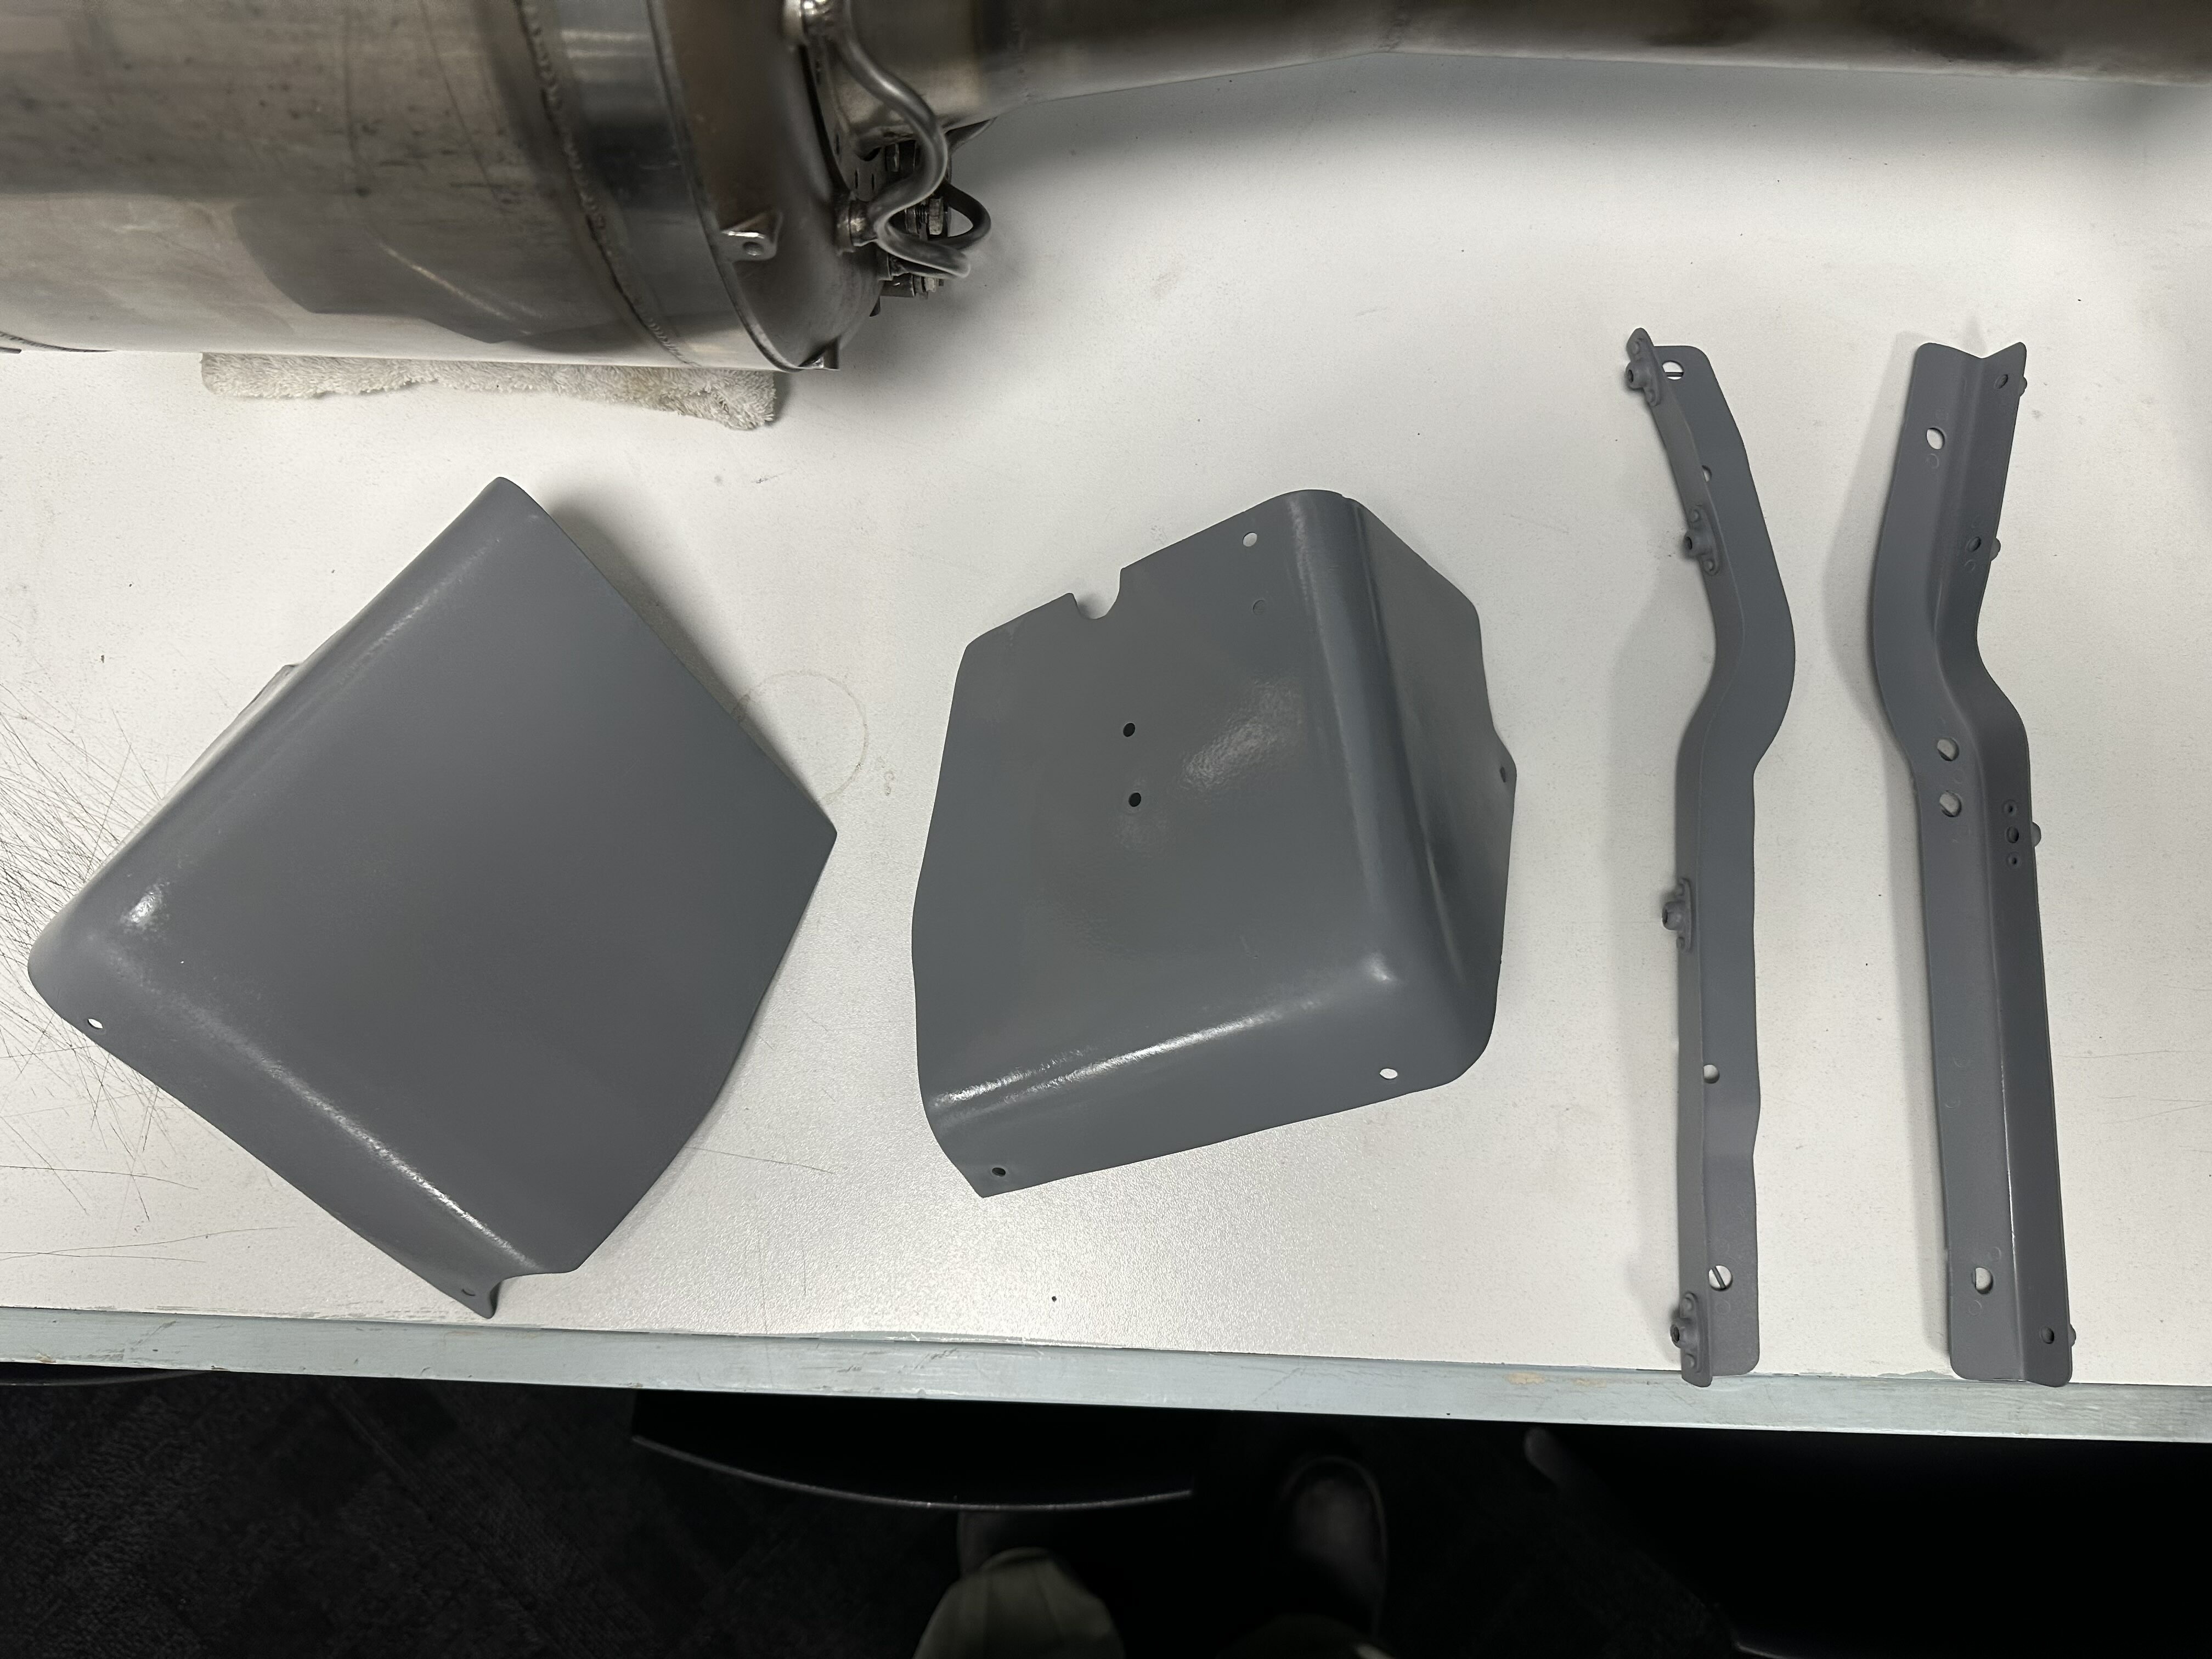
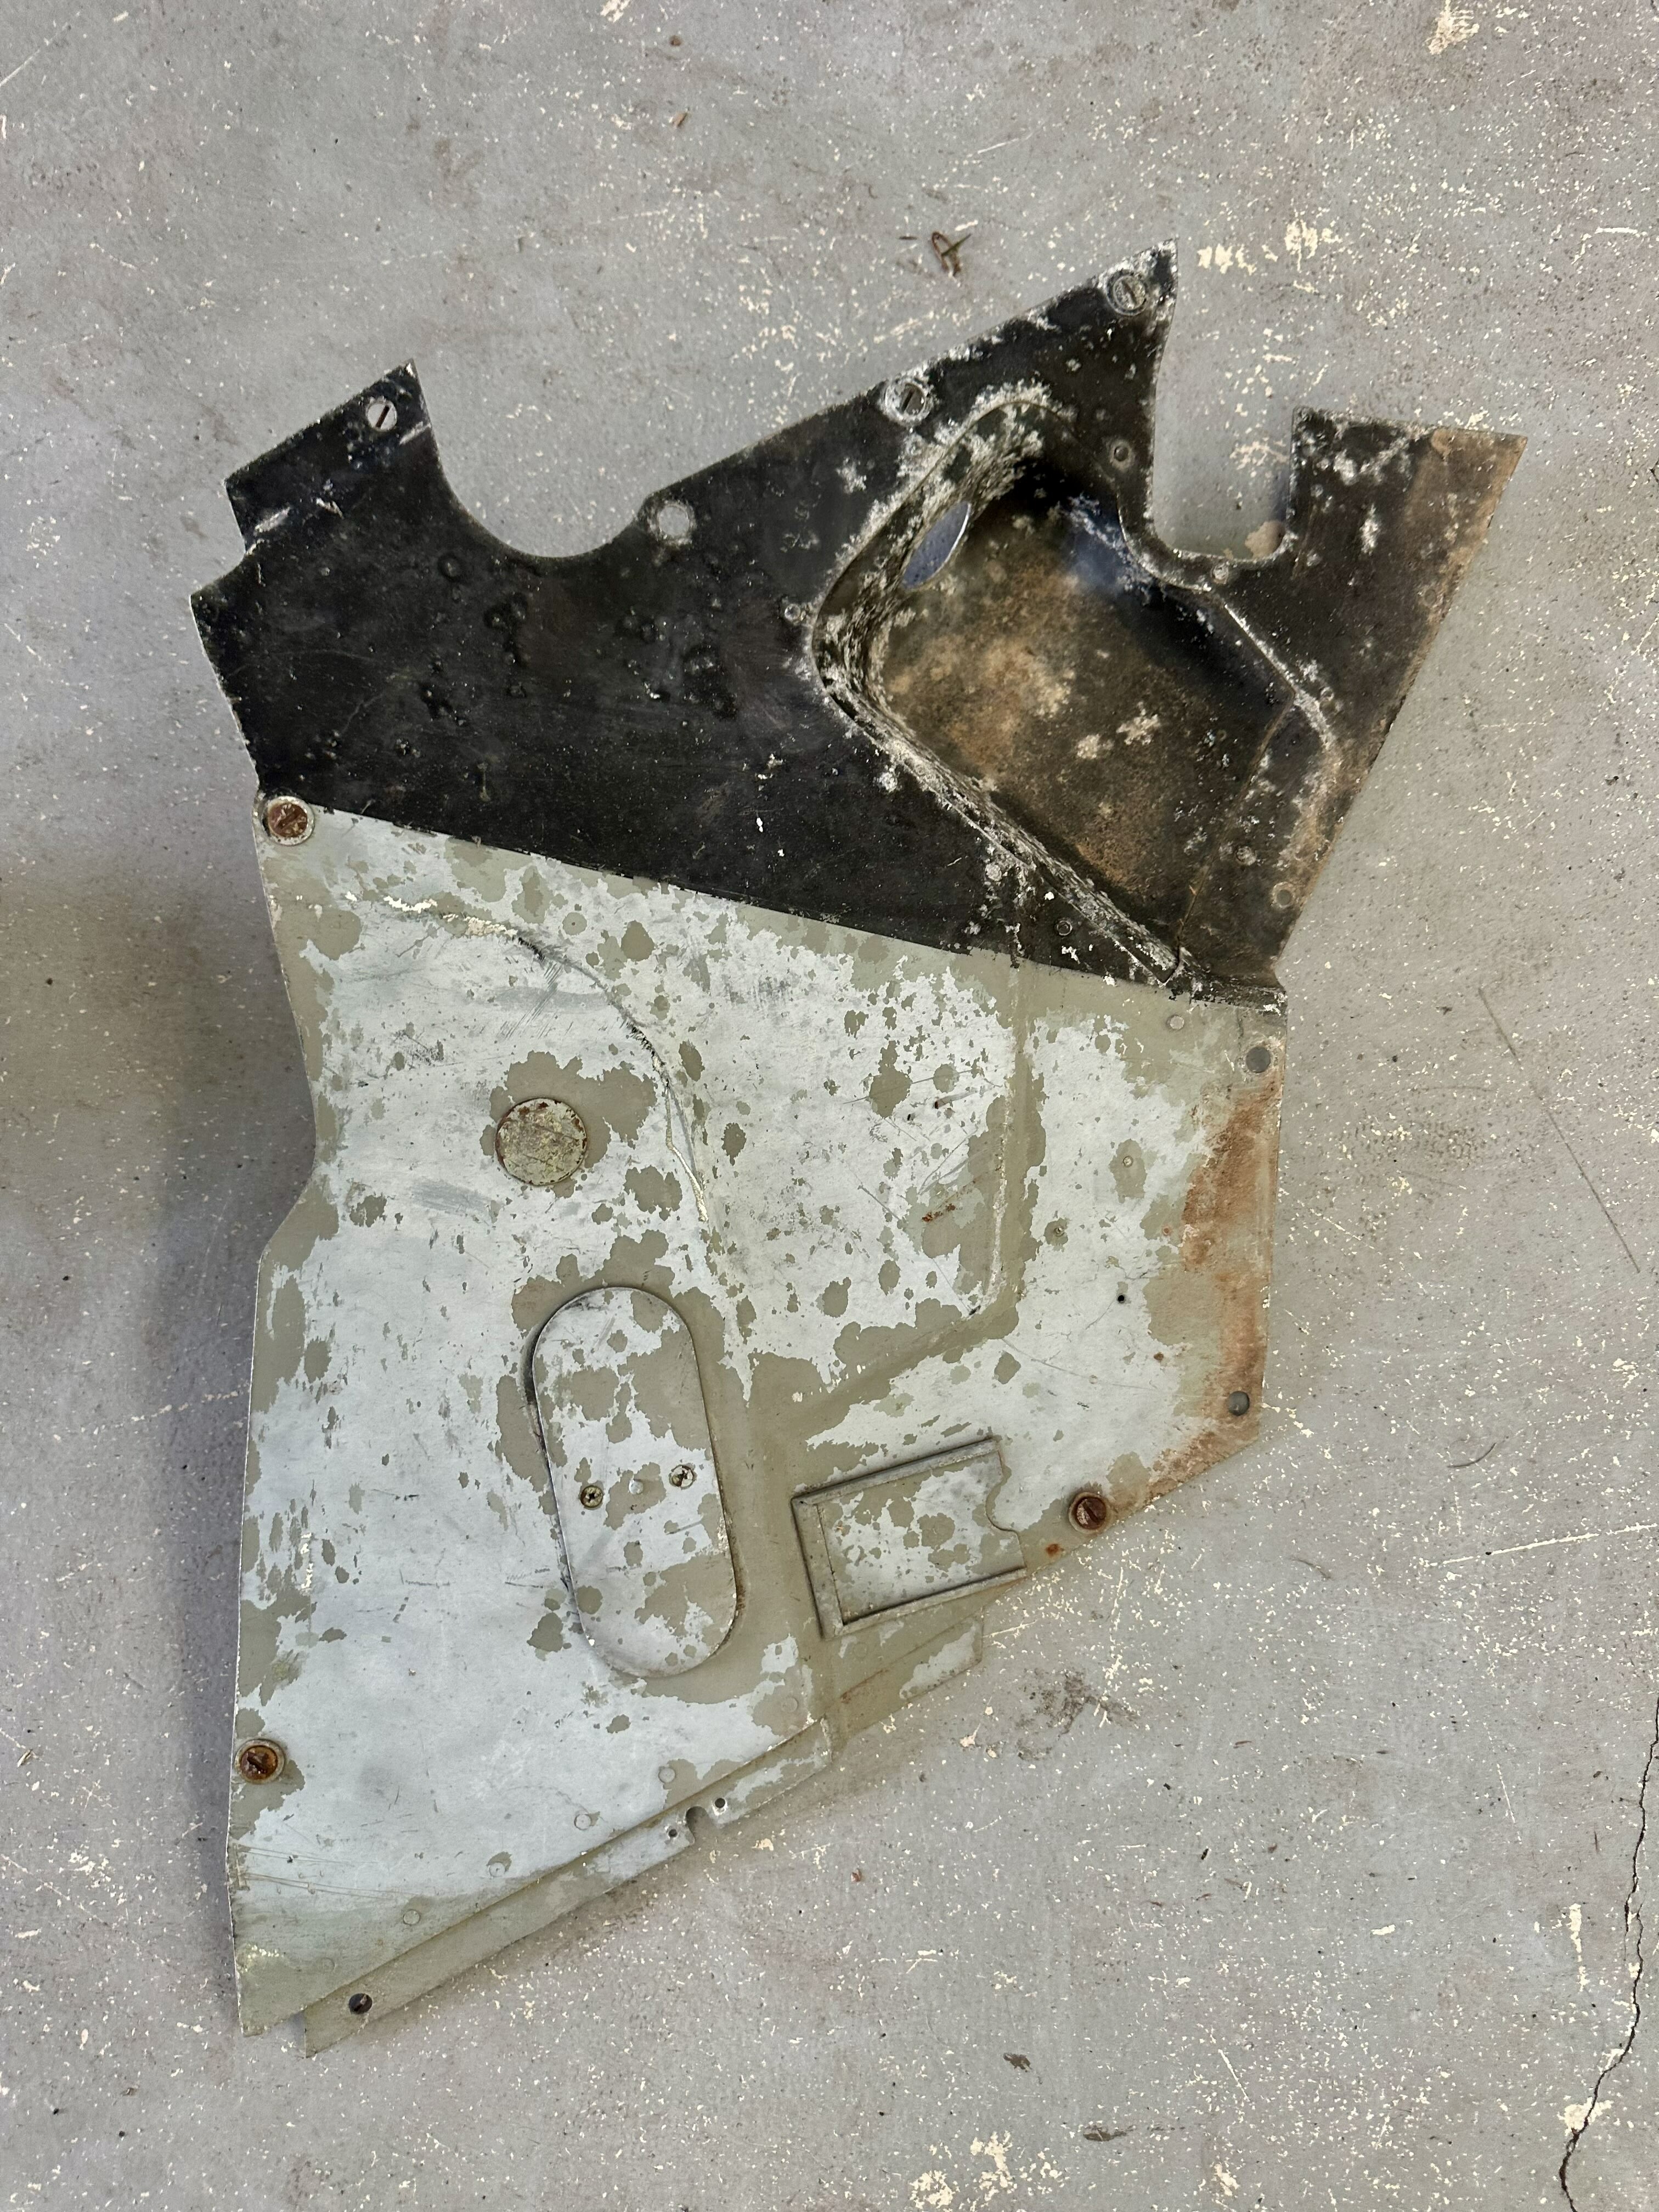
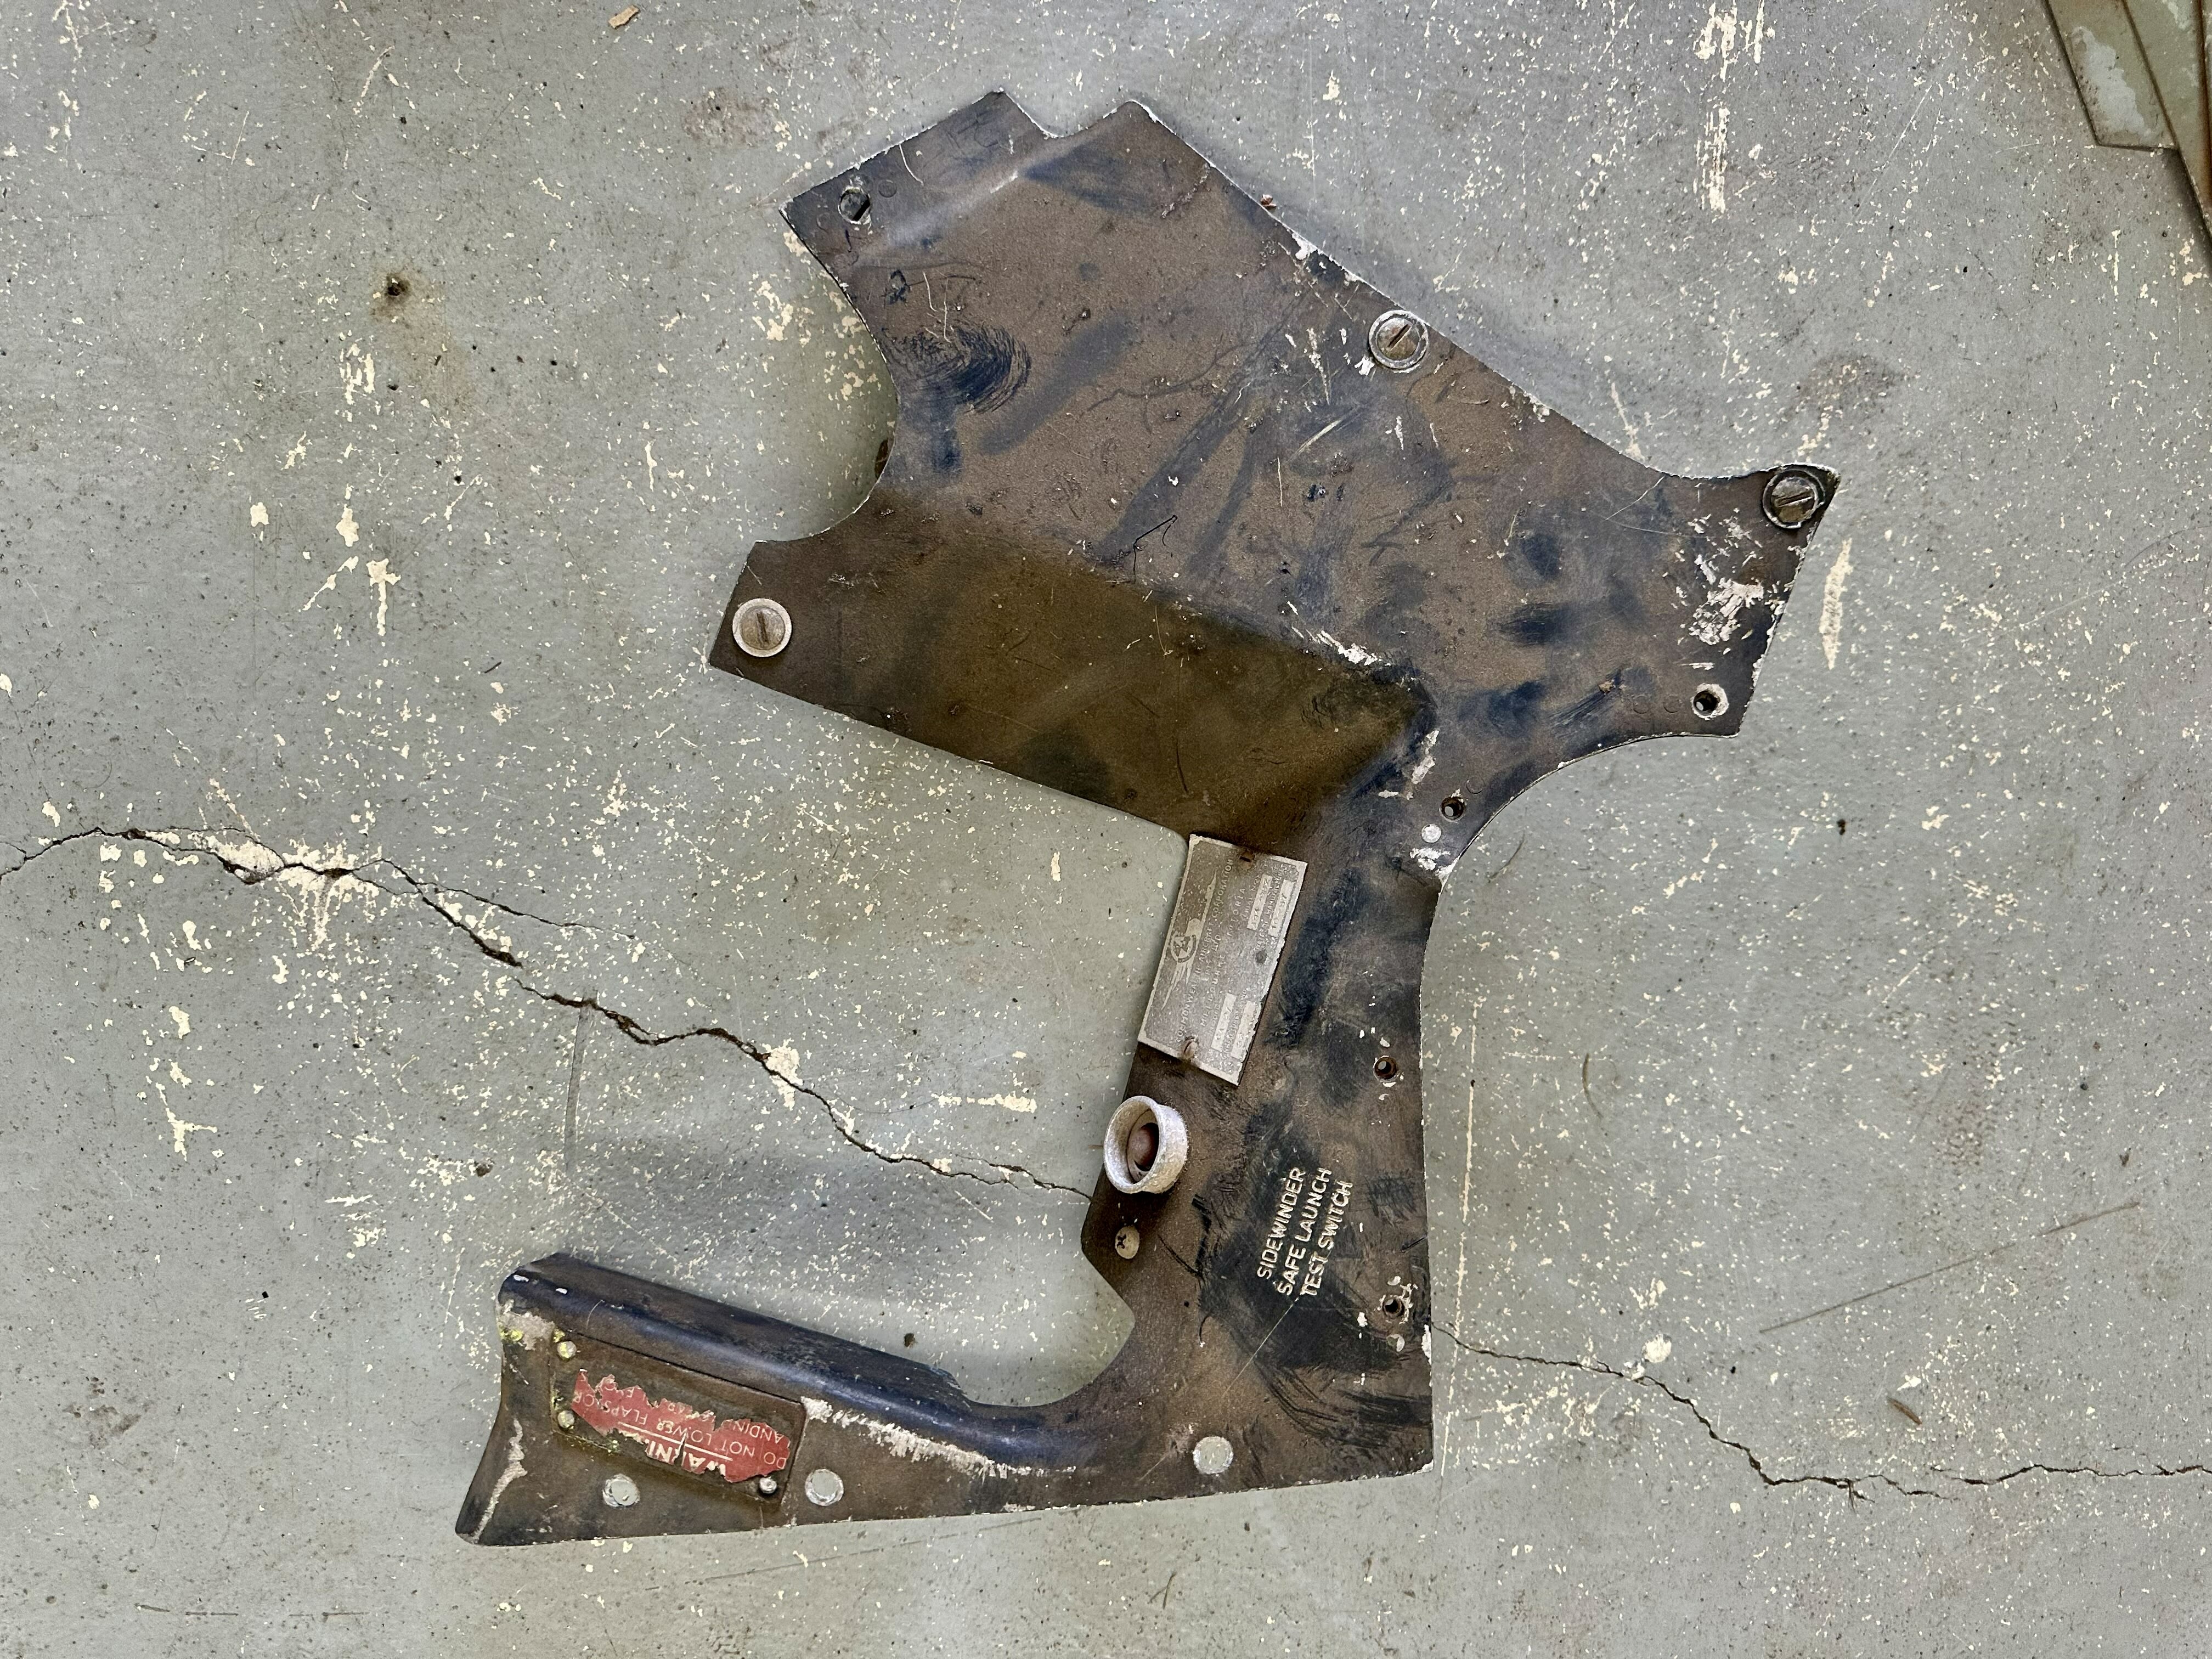
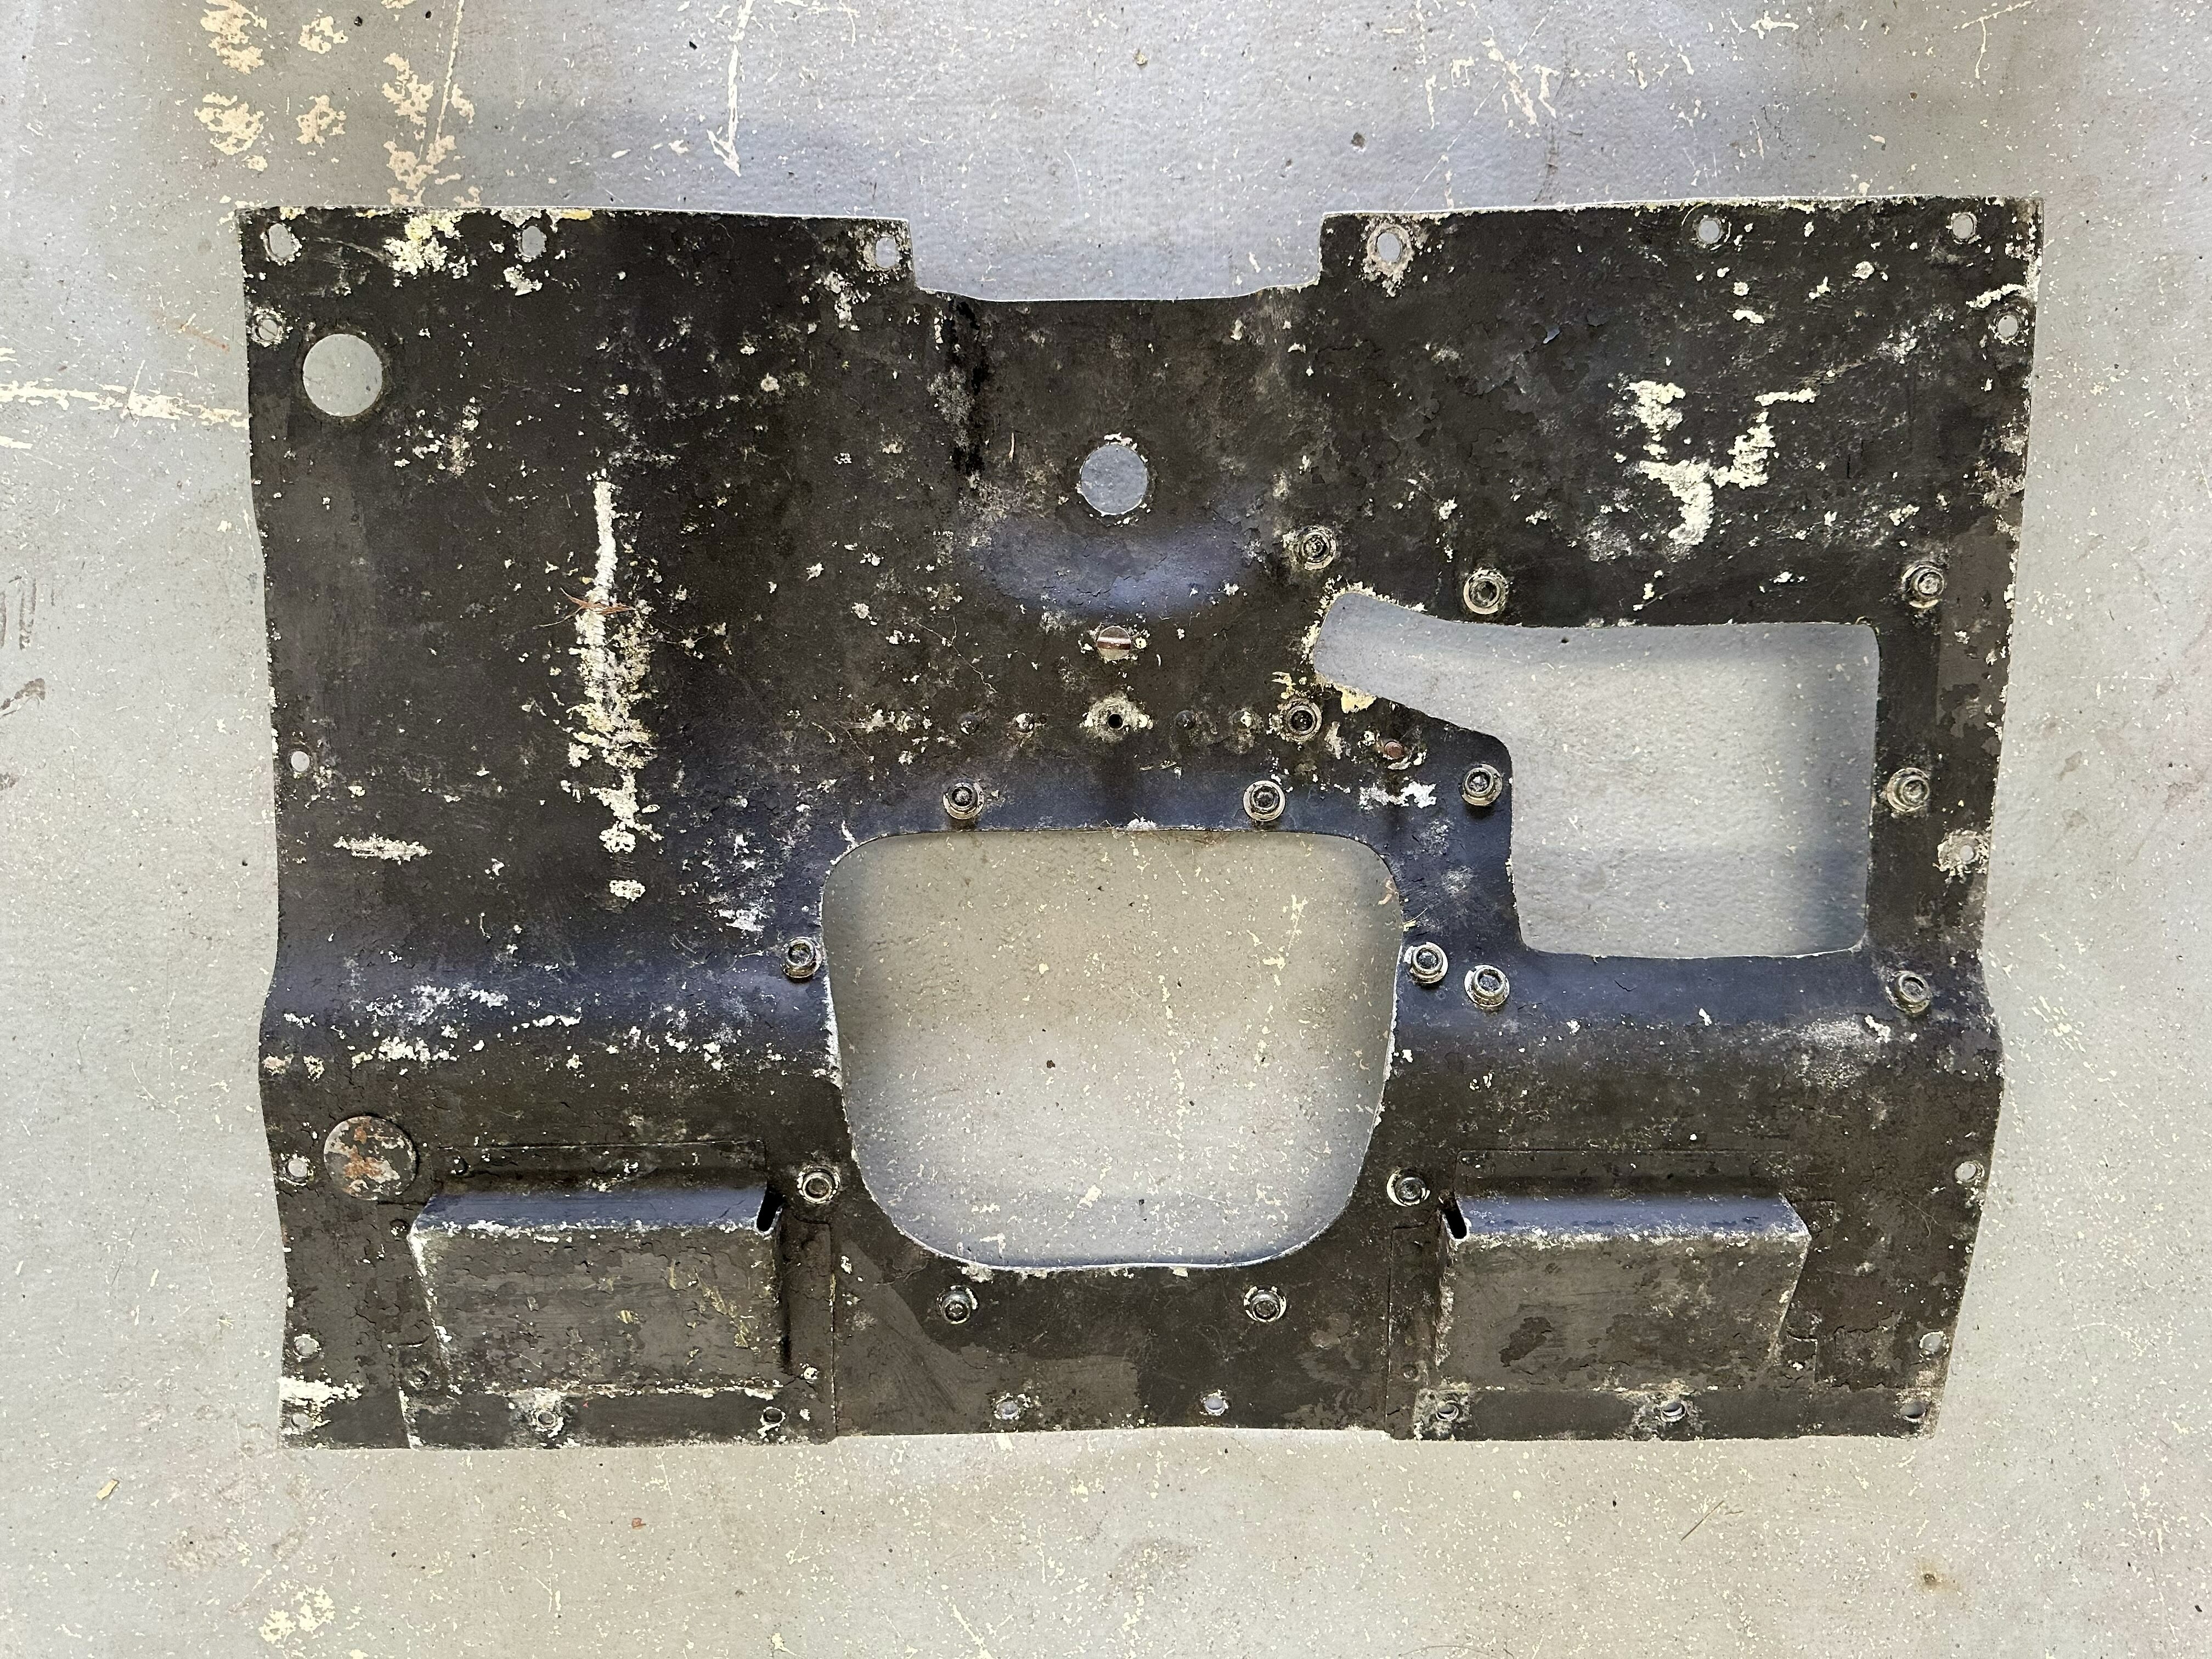
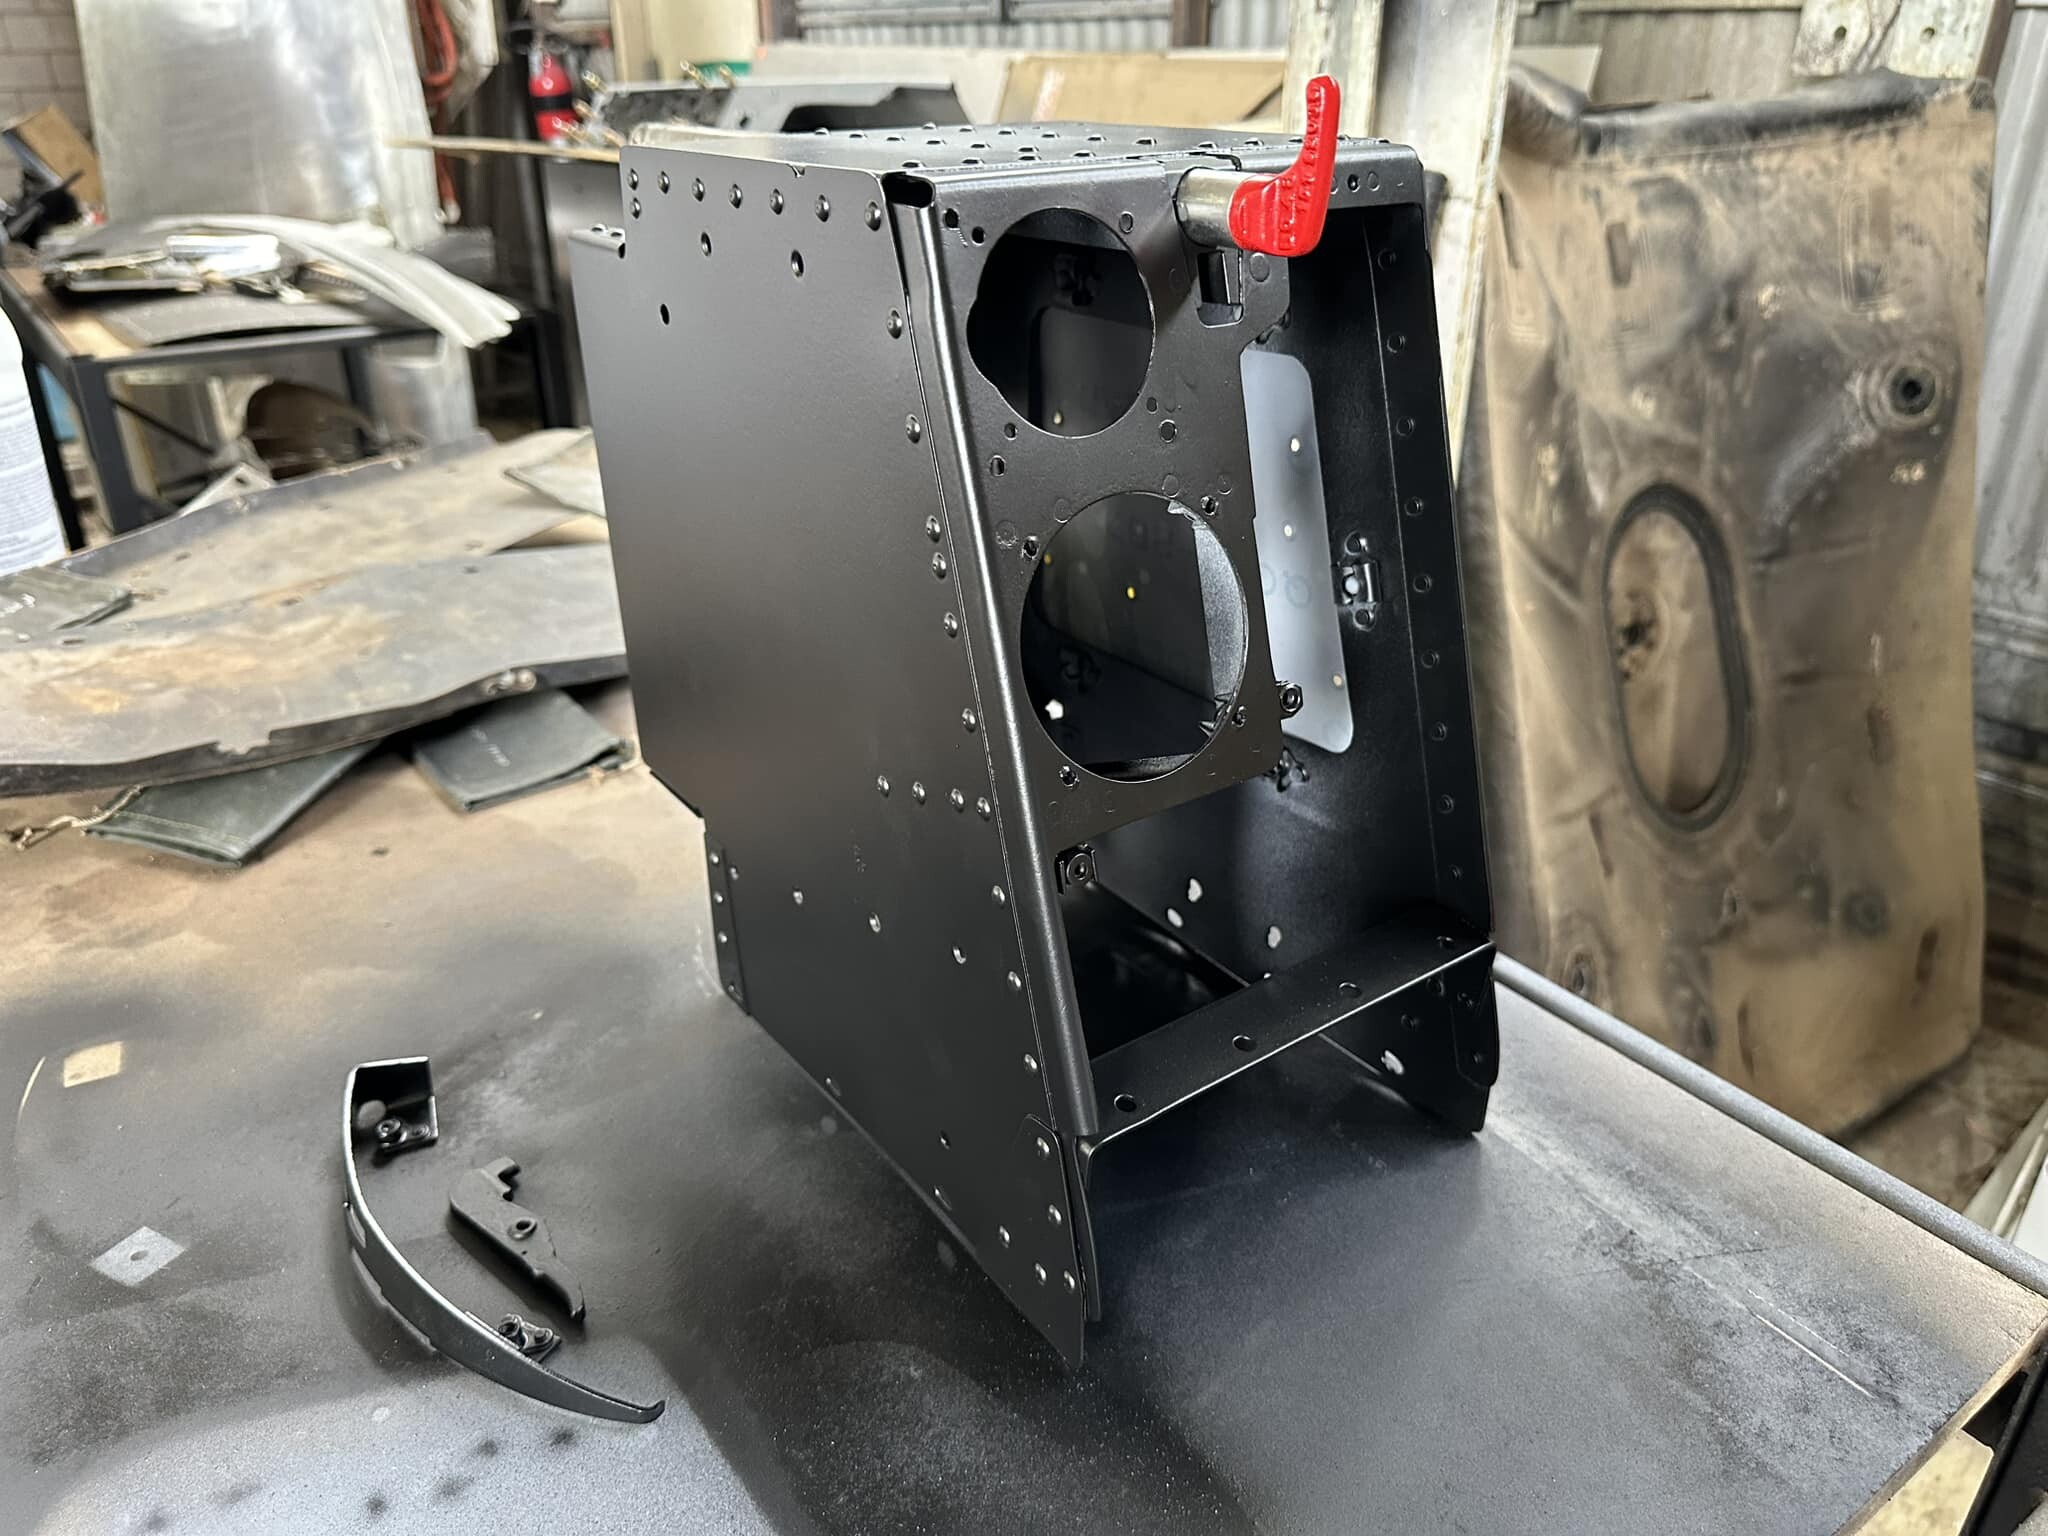
Cockpit parts being refurbished and made ready for the sim build.
-
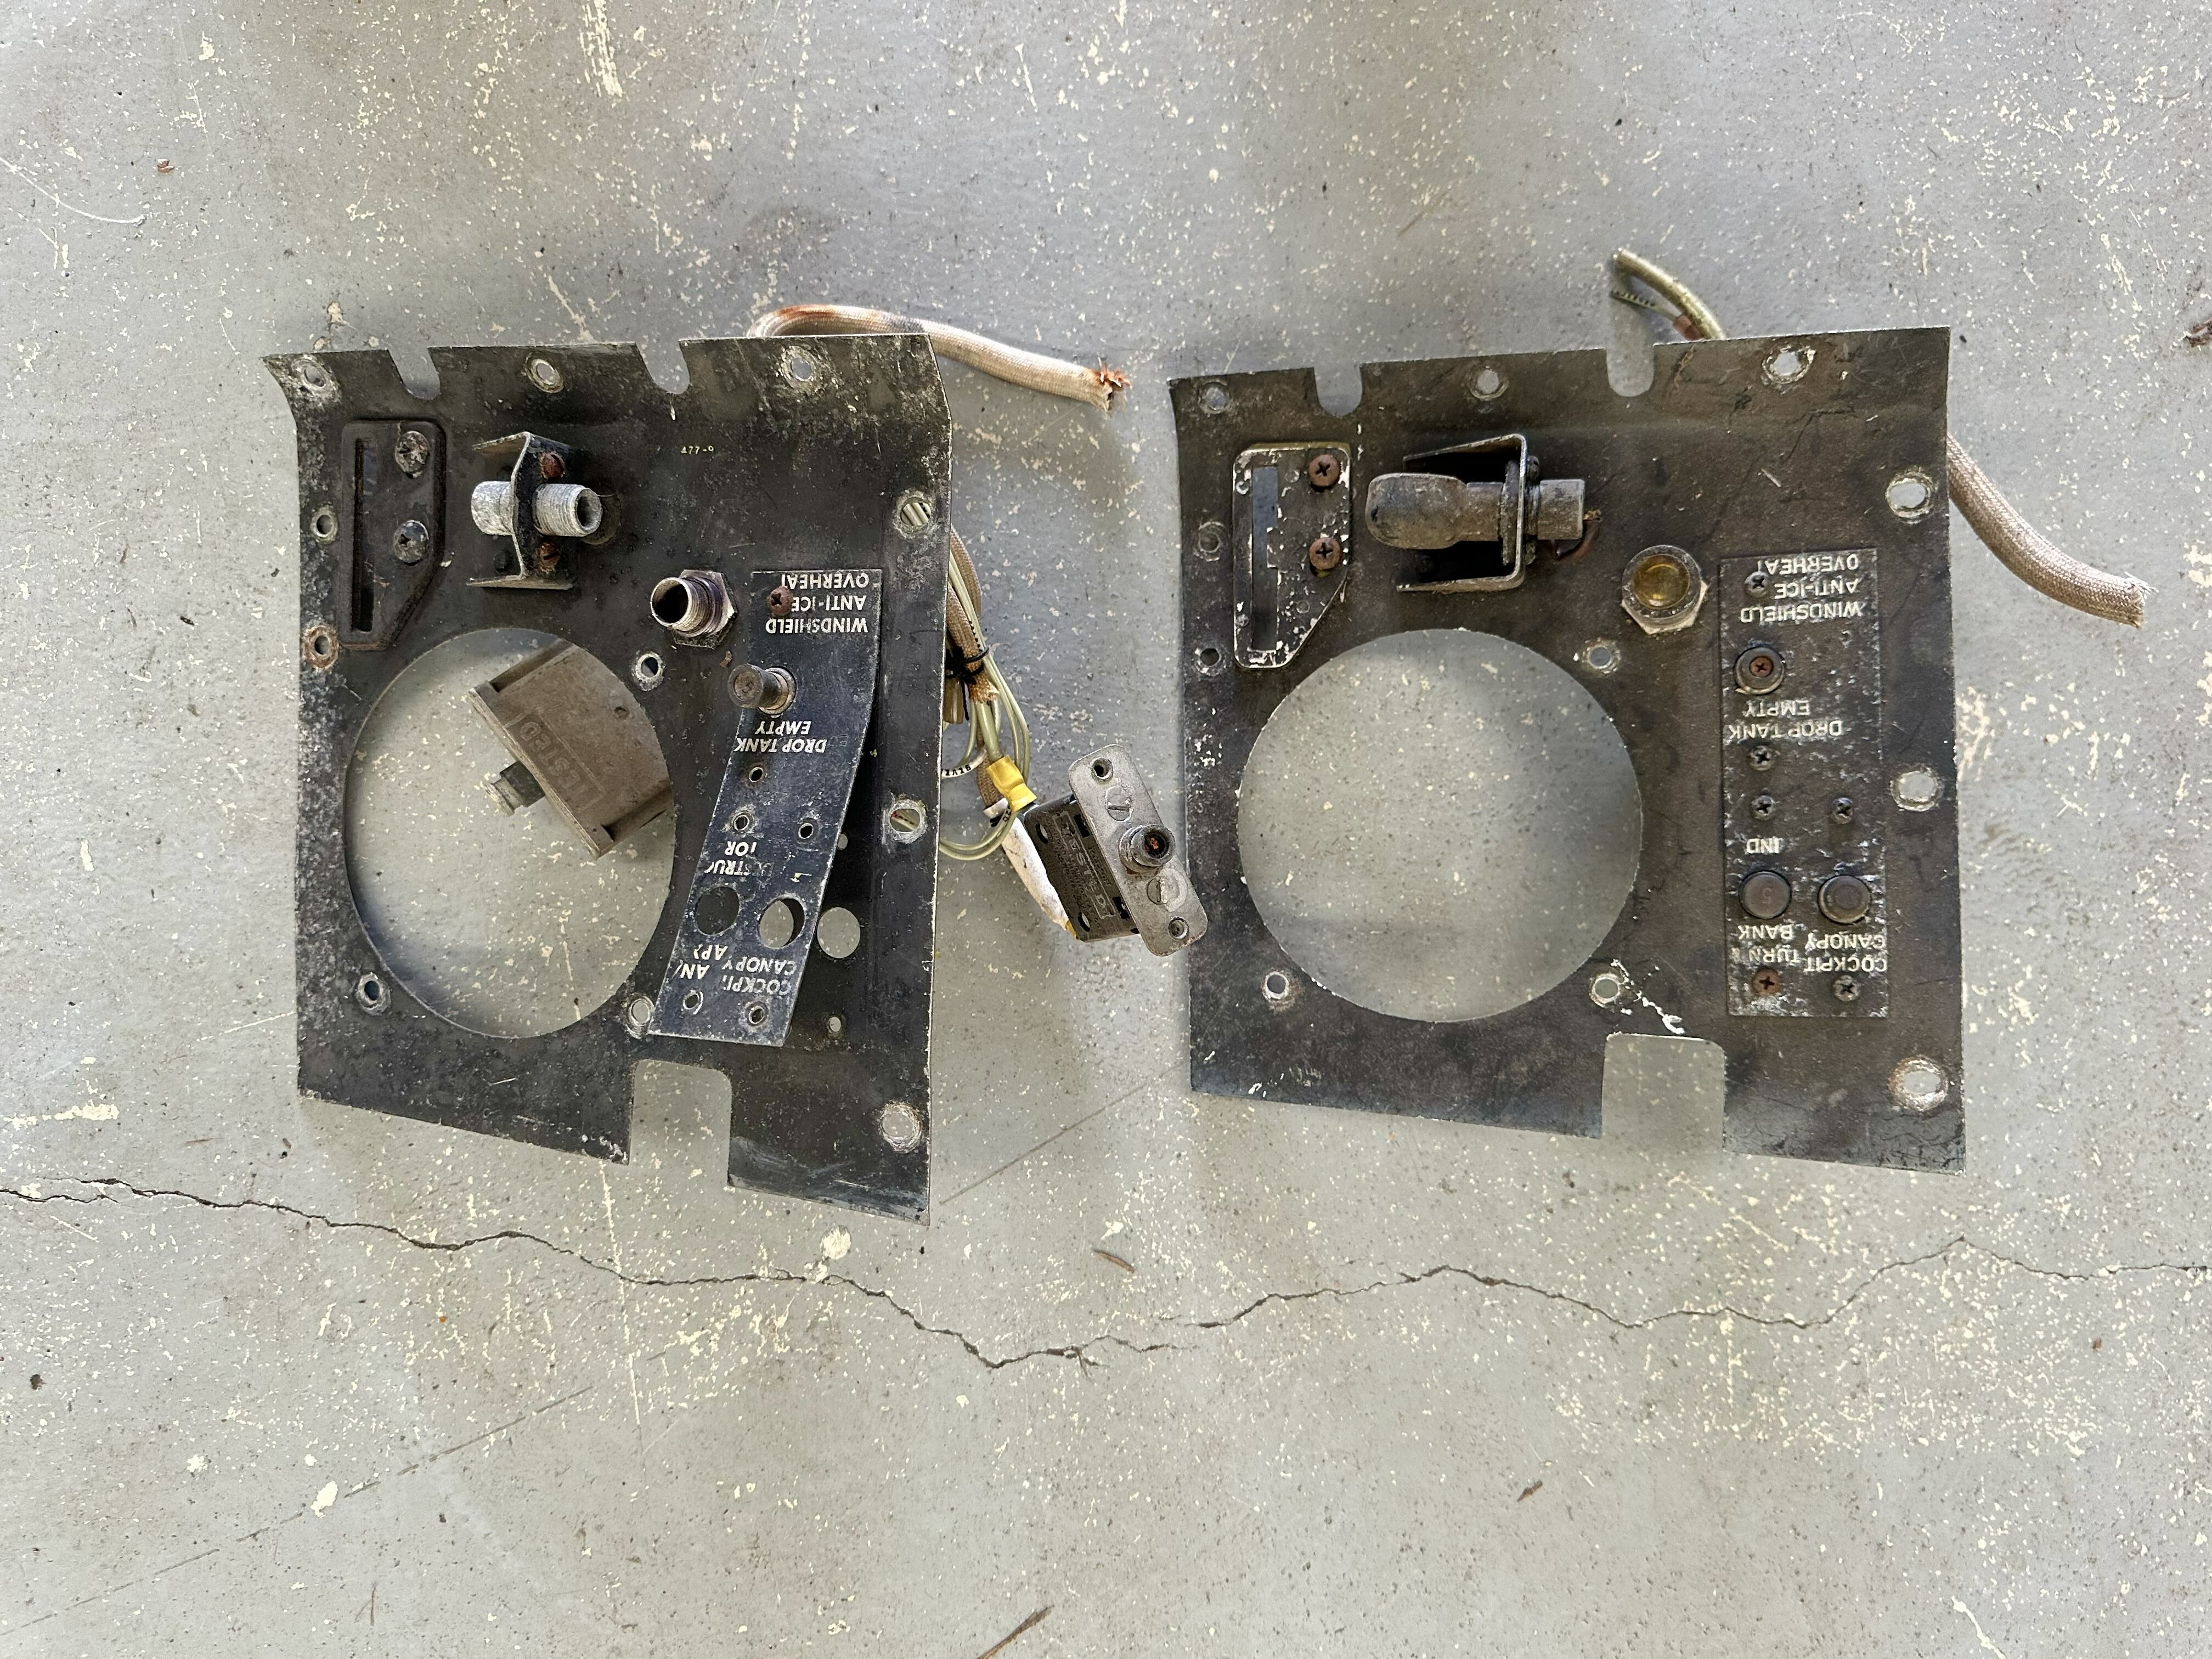
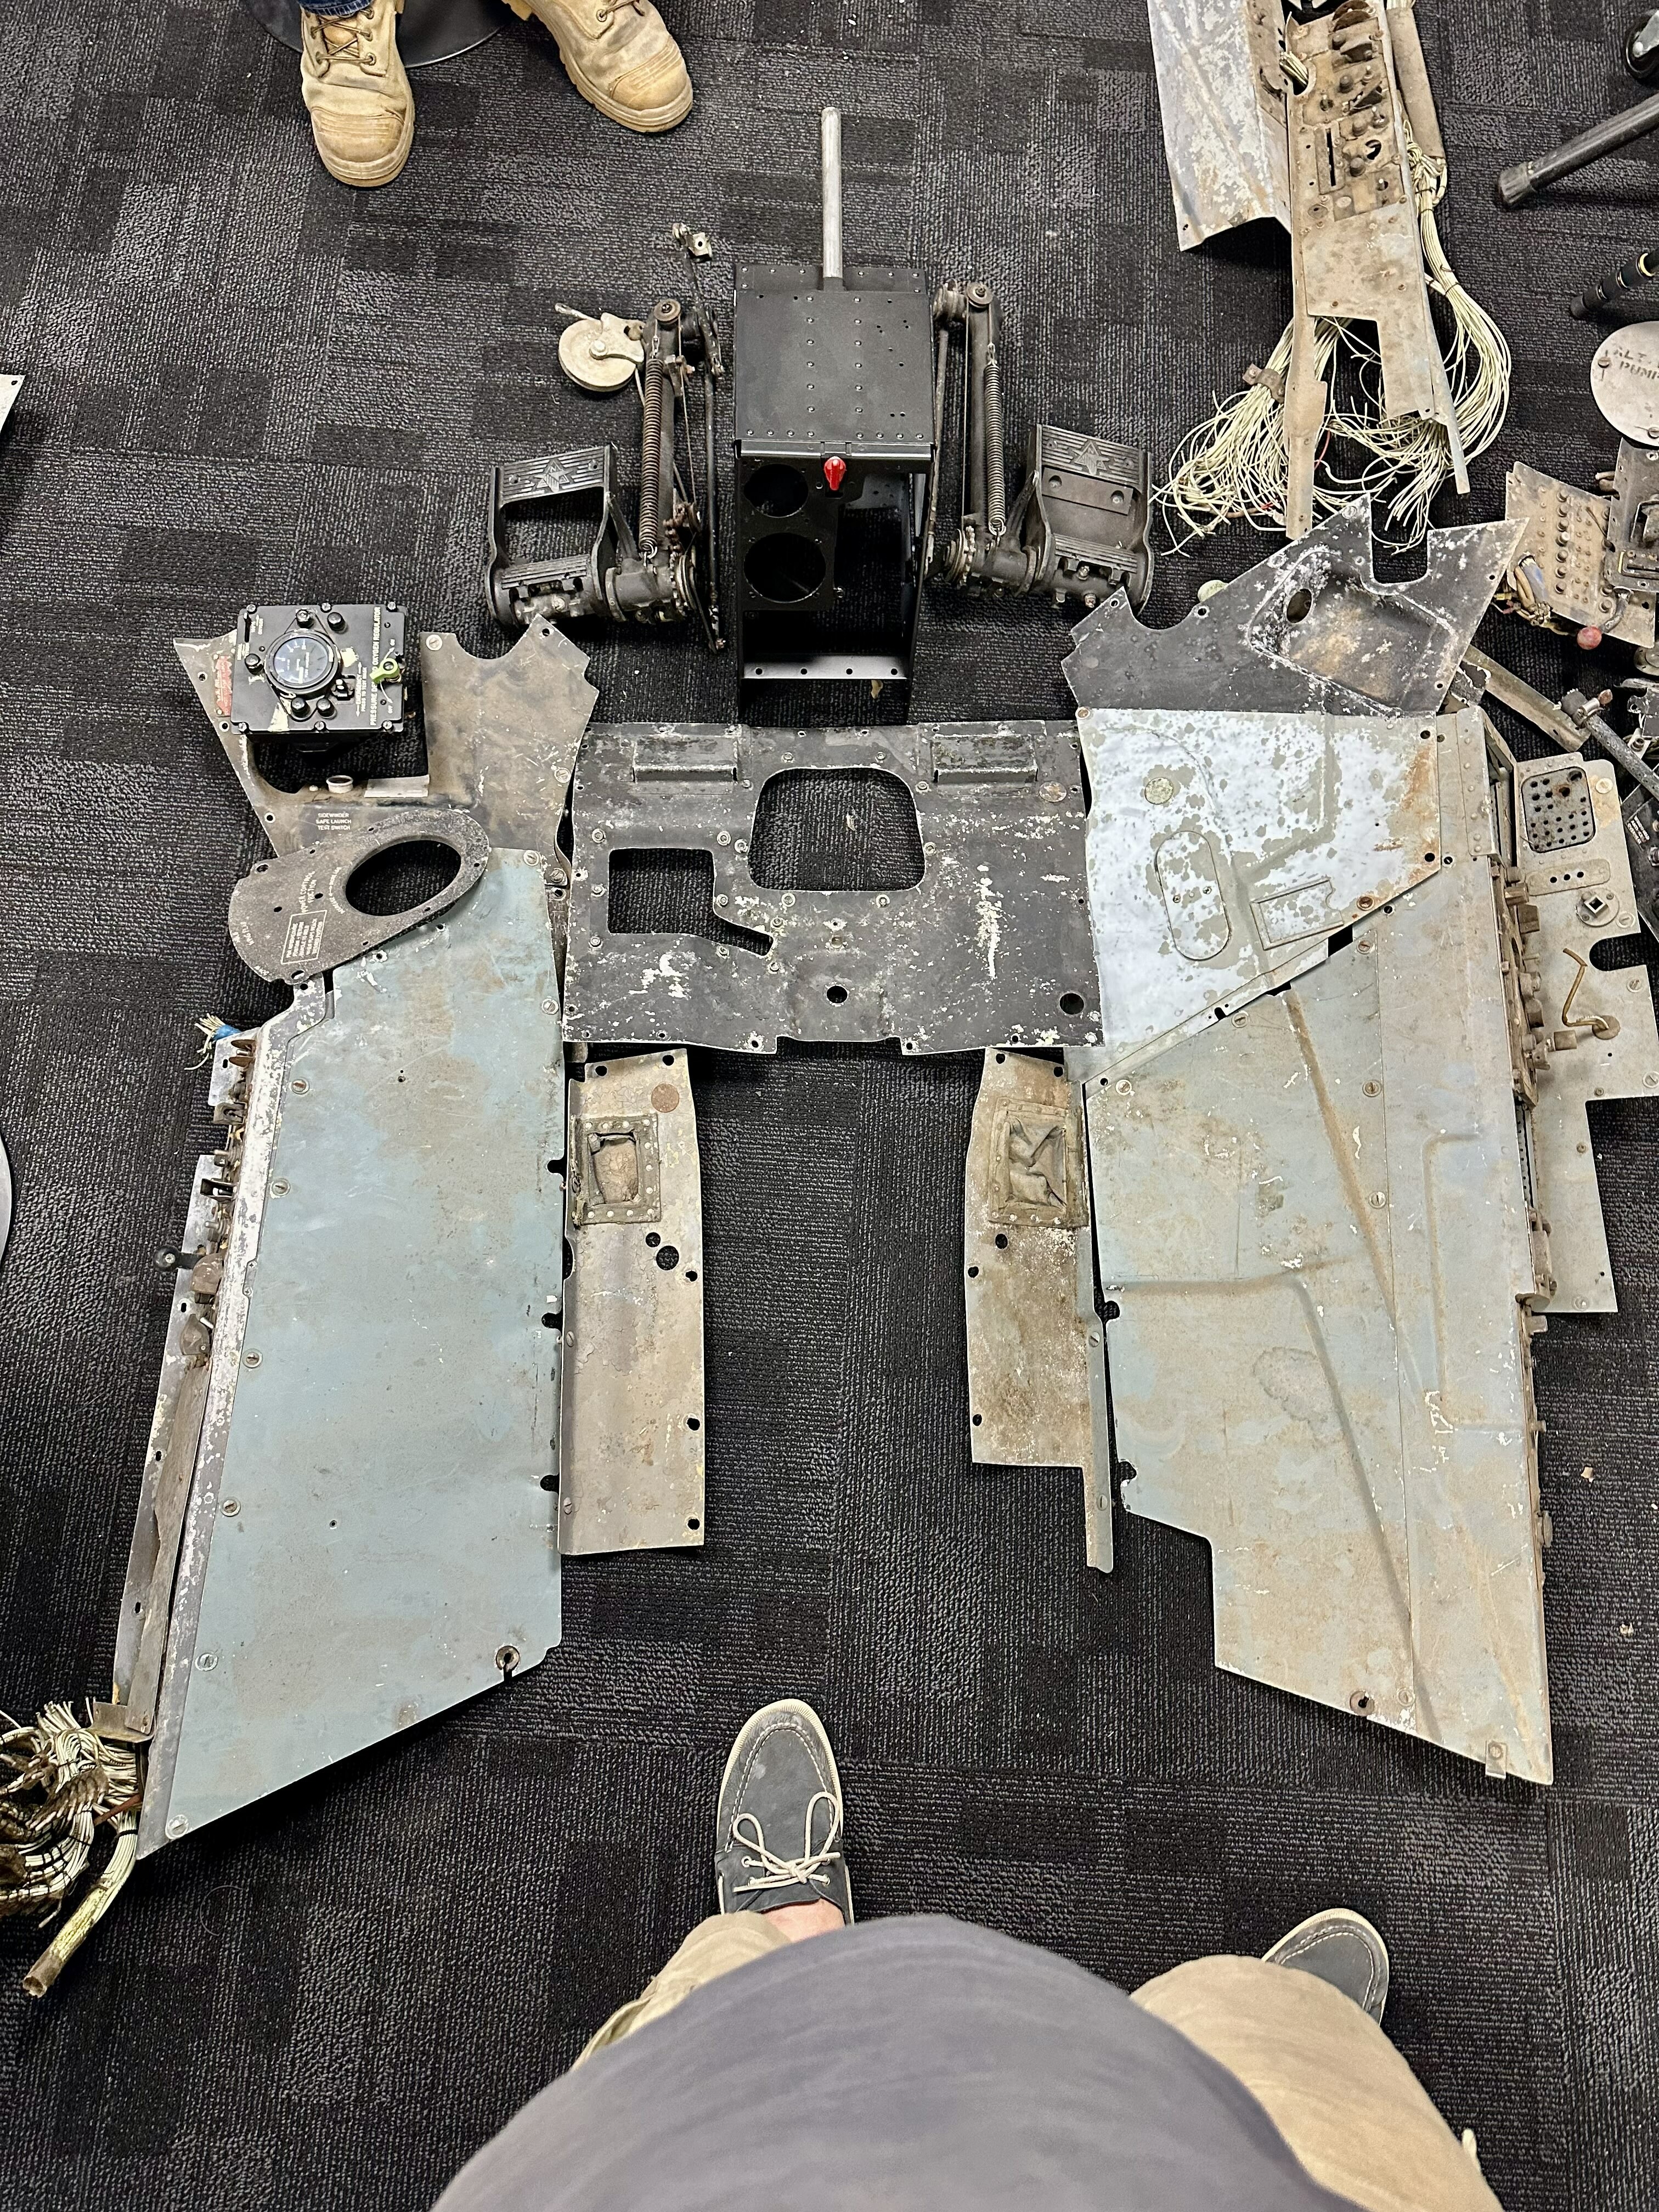
Fired up the media cabinet this evening and cleaned down the centre floor panel and the left and right hand support brackets. Also cleaned down the left and right hand side rear cockpit wiring covers. Everything has been primed and will be ready for satin black and clear coats later this week.
-
MVP F86 Sabre Sim Pit - Converting an Original ex-RAAF Sabre!
[MVP] Mugga replied to [MVP] Mugga's topic in DCS: F-86F Sabre
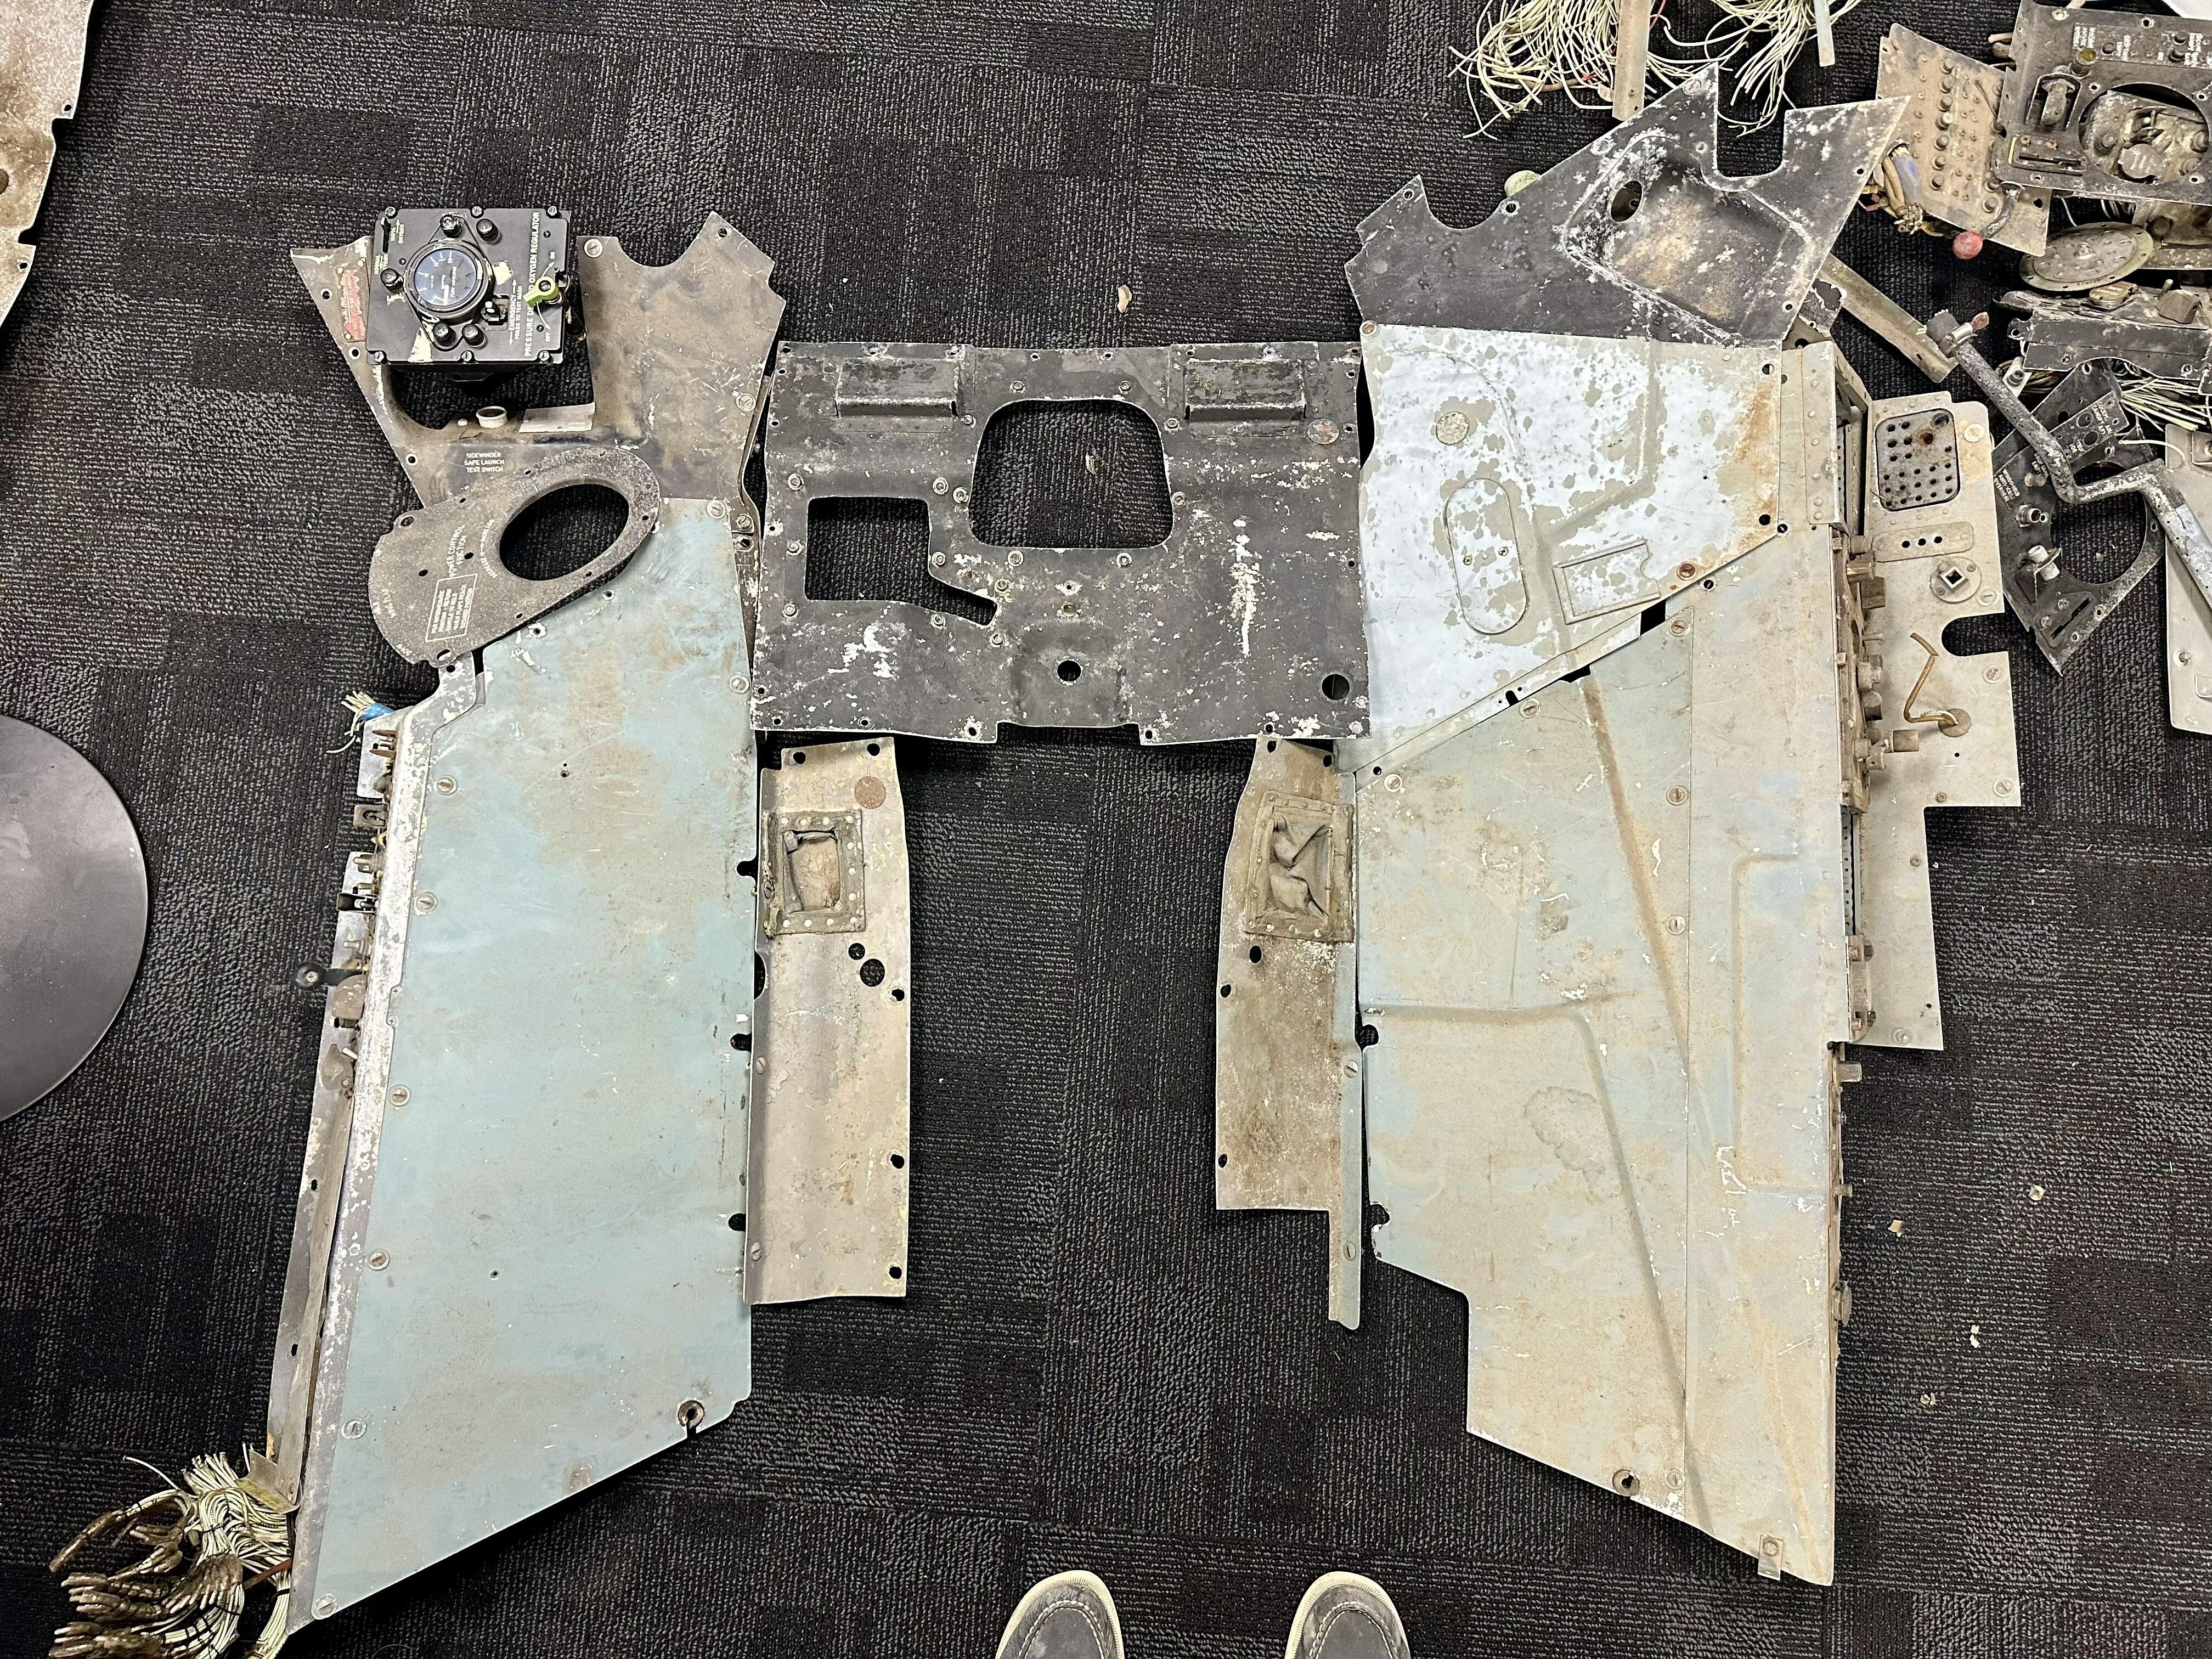
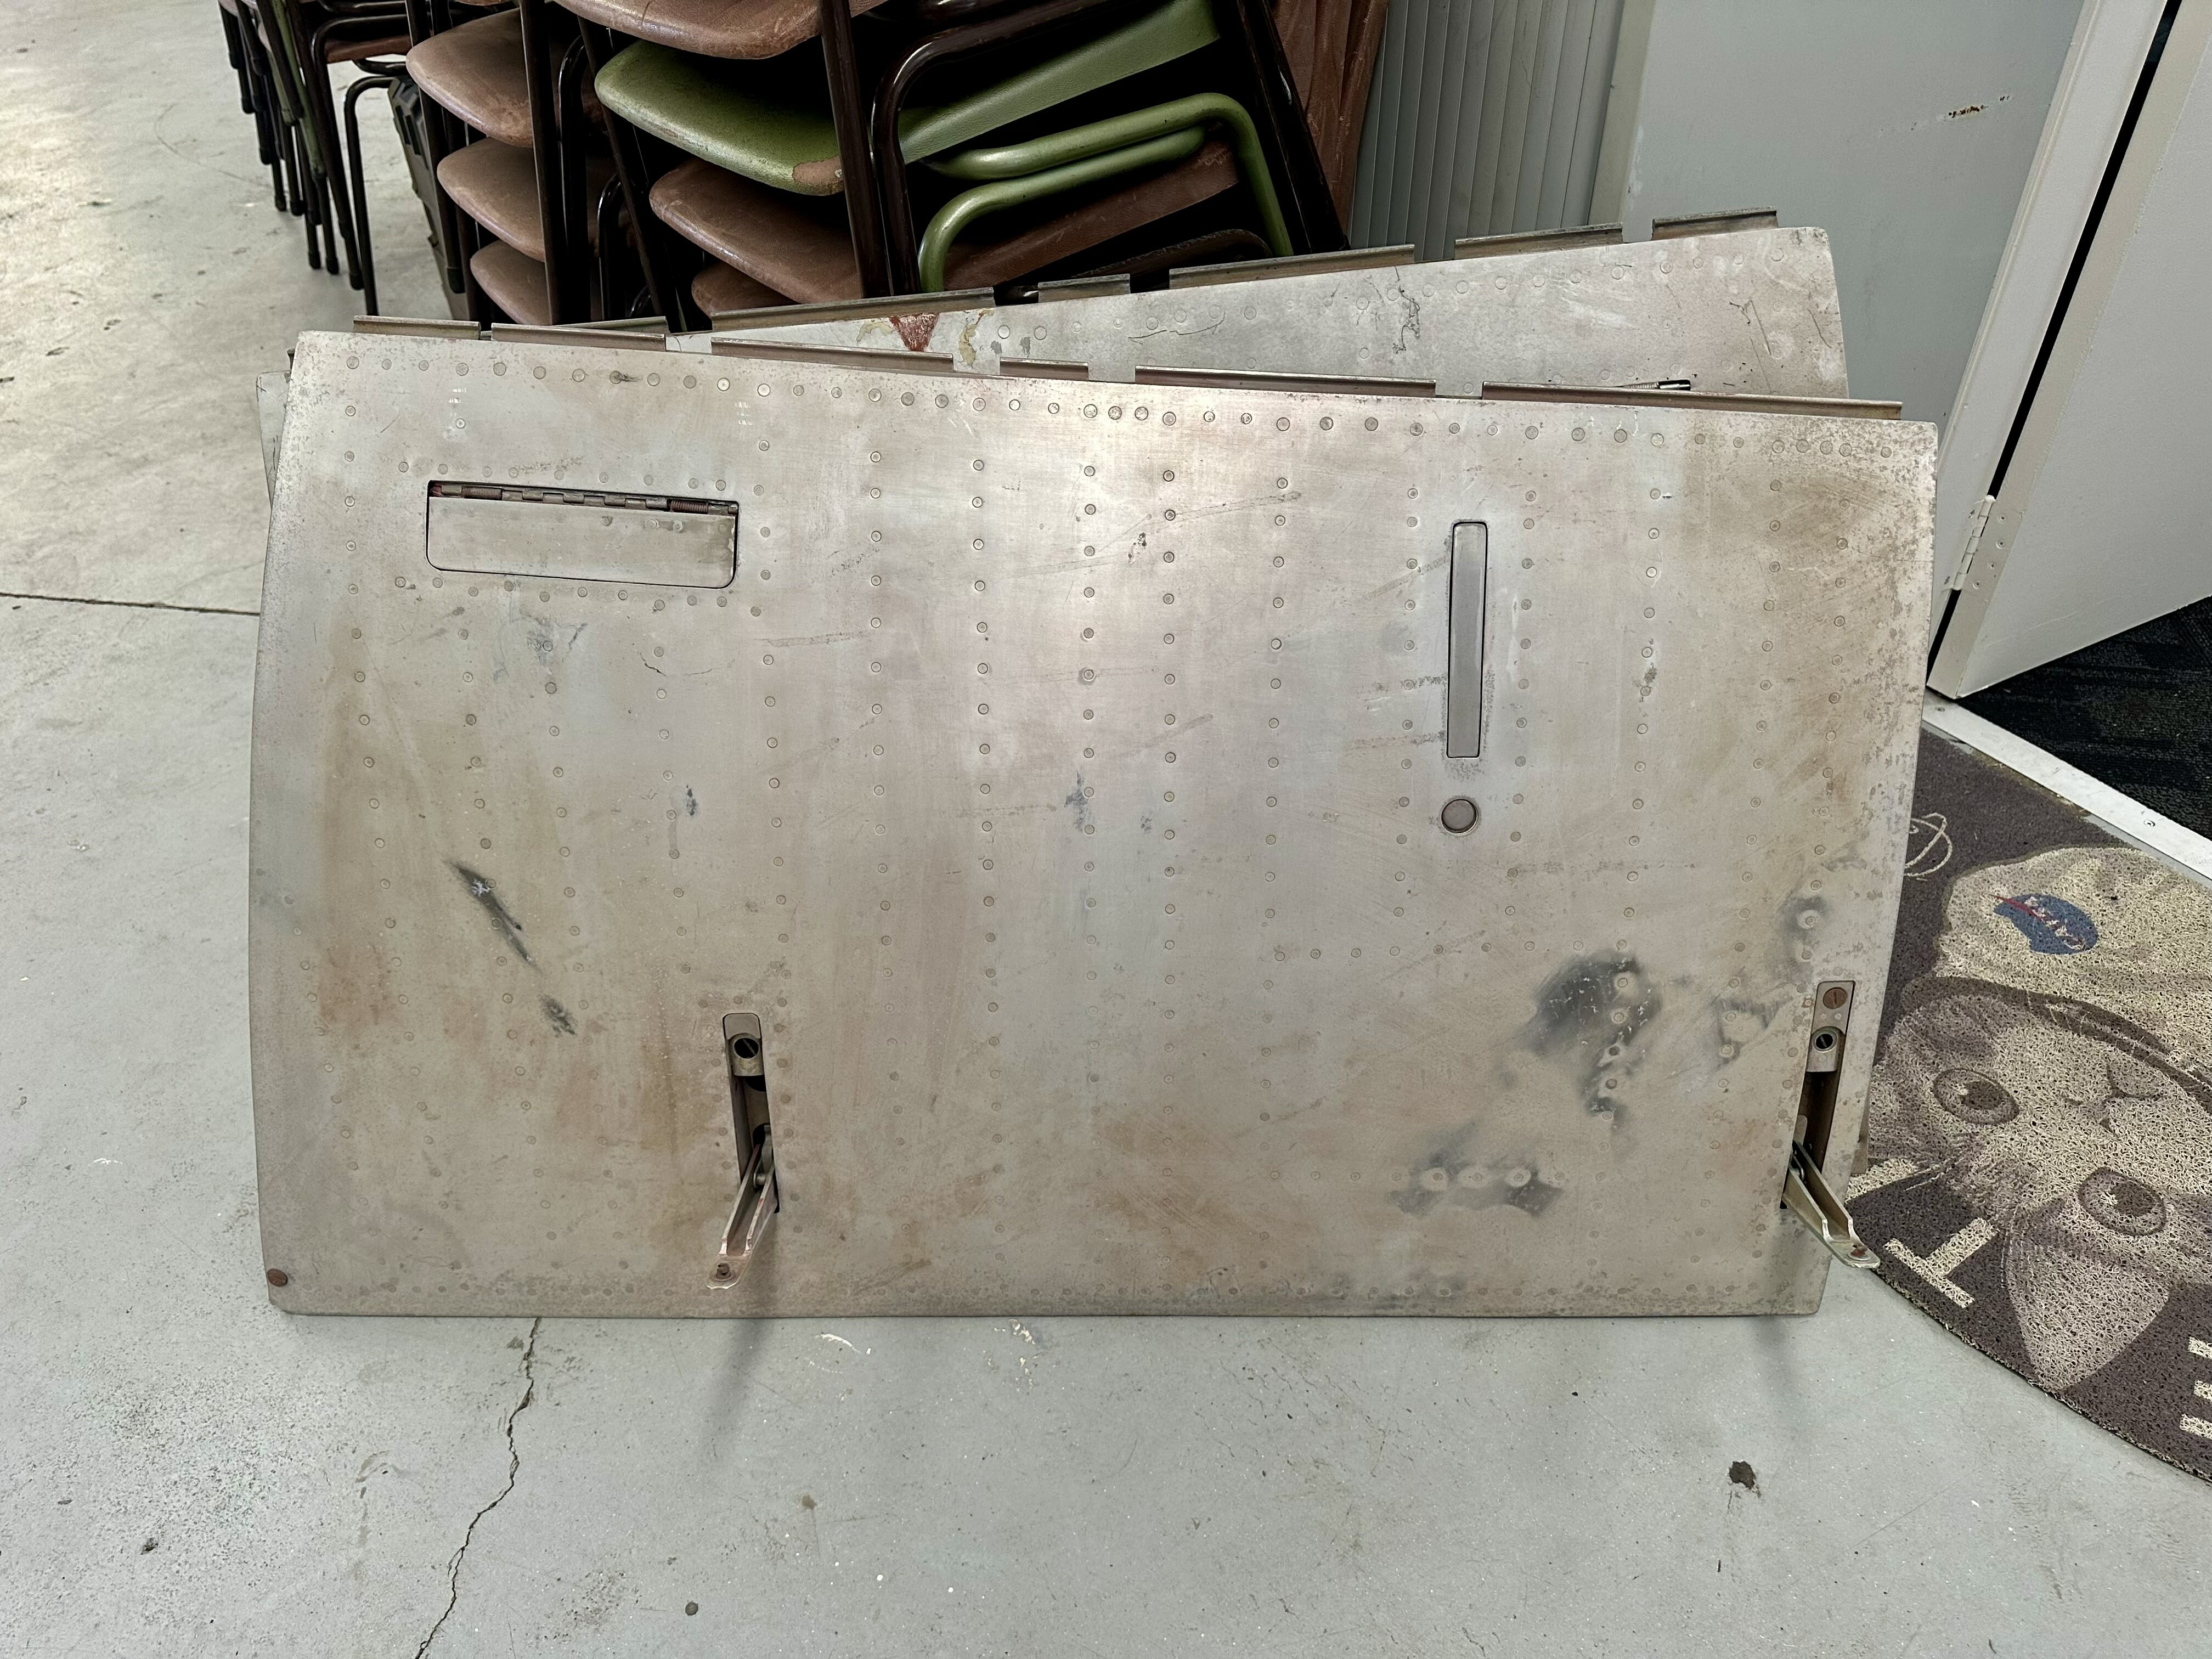
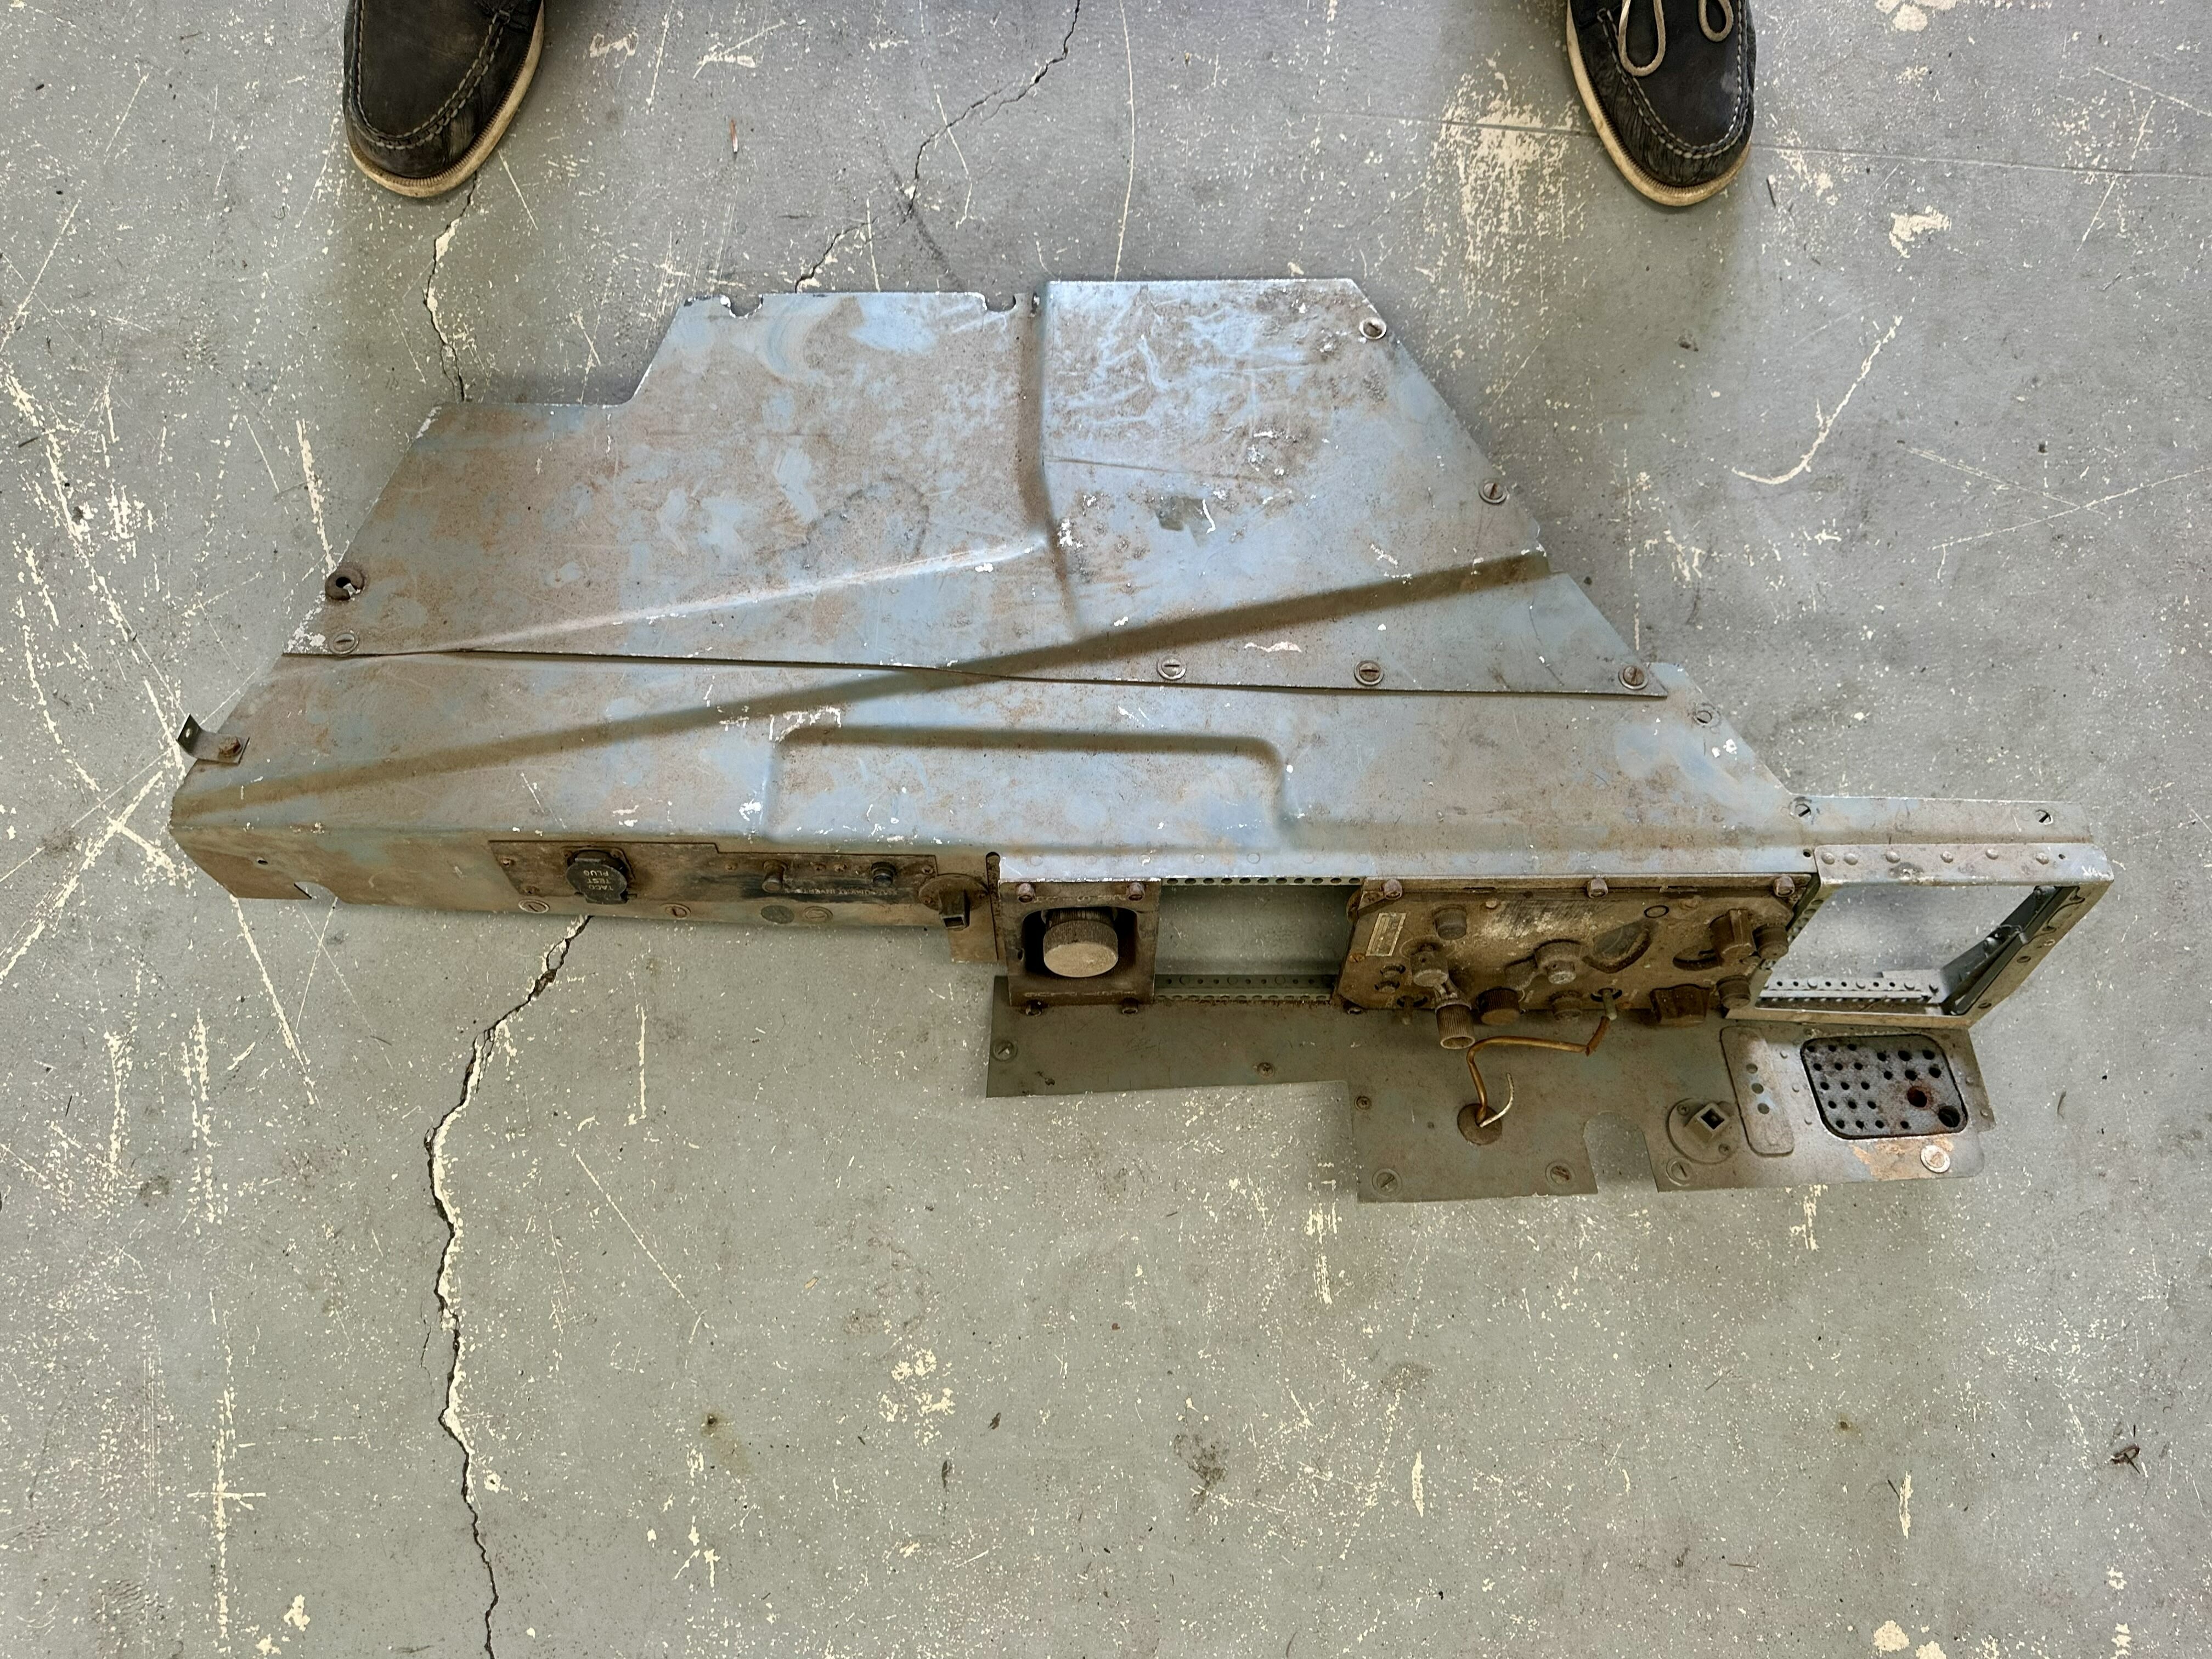
Took delivery of the cockpit internal panels today!
-
Today we were fortunate to receive another large cache of fuselage inspection panels and cockpit consoles and parts which are required to complete the sim build. Everything will be media blasted down over the coming weeks and given fresh paintwork, ready for final installation. We now have a complete cockpit interior panel set, including all of the floor panels etc - and everything is 100% original equipment.
-
MVP F86 Sabre Sim Pit - Converting an Original ex-RAAF Sabre!
[MVP] Mugga replied to [MVP] Mugga's topic in DCS: F-86F Sabre
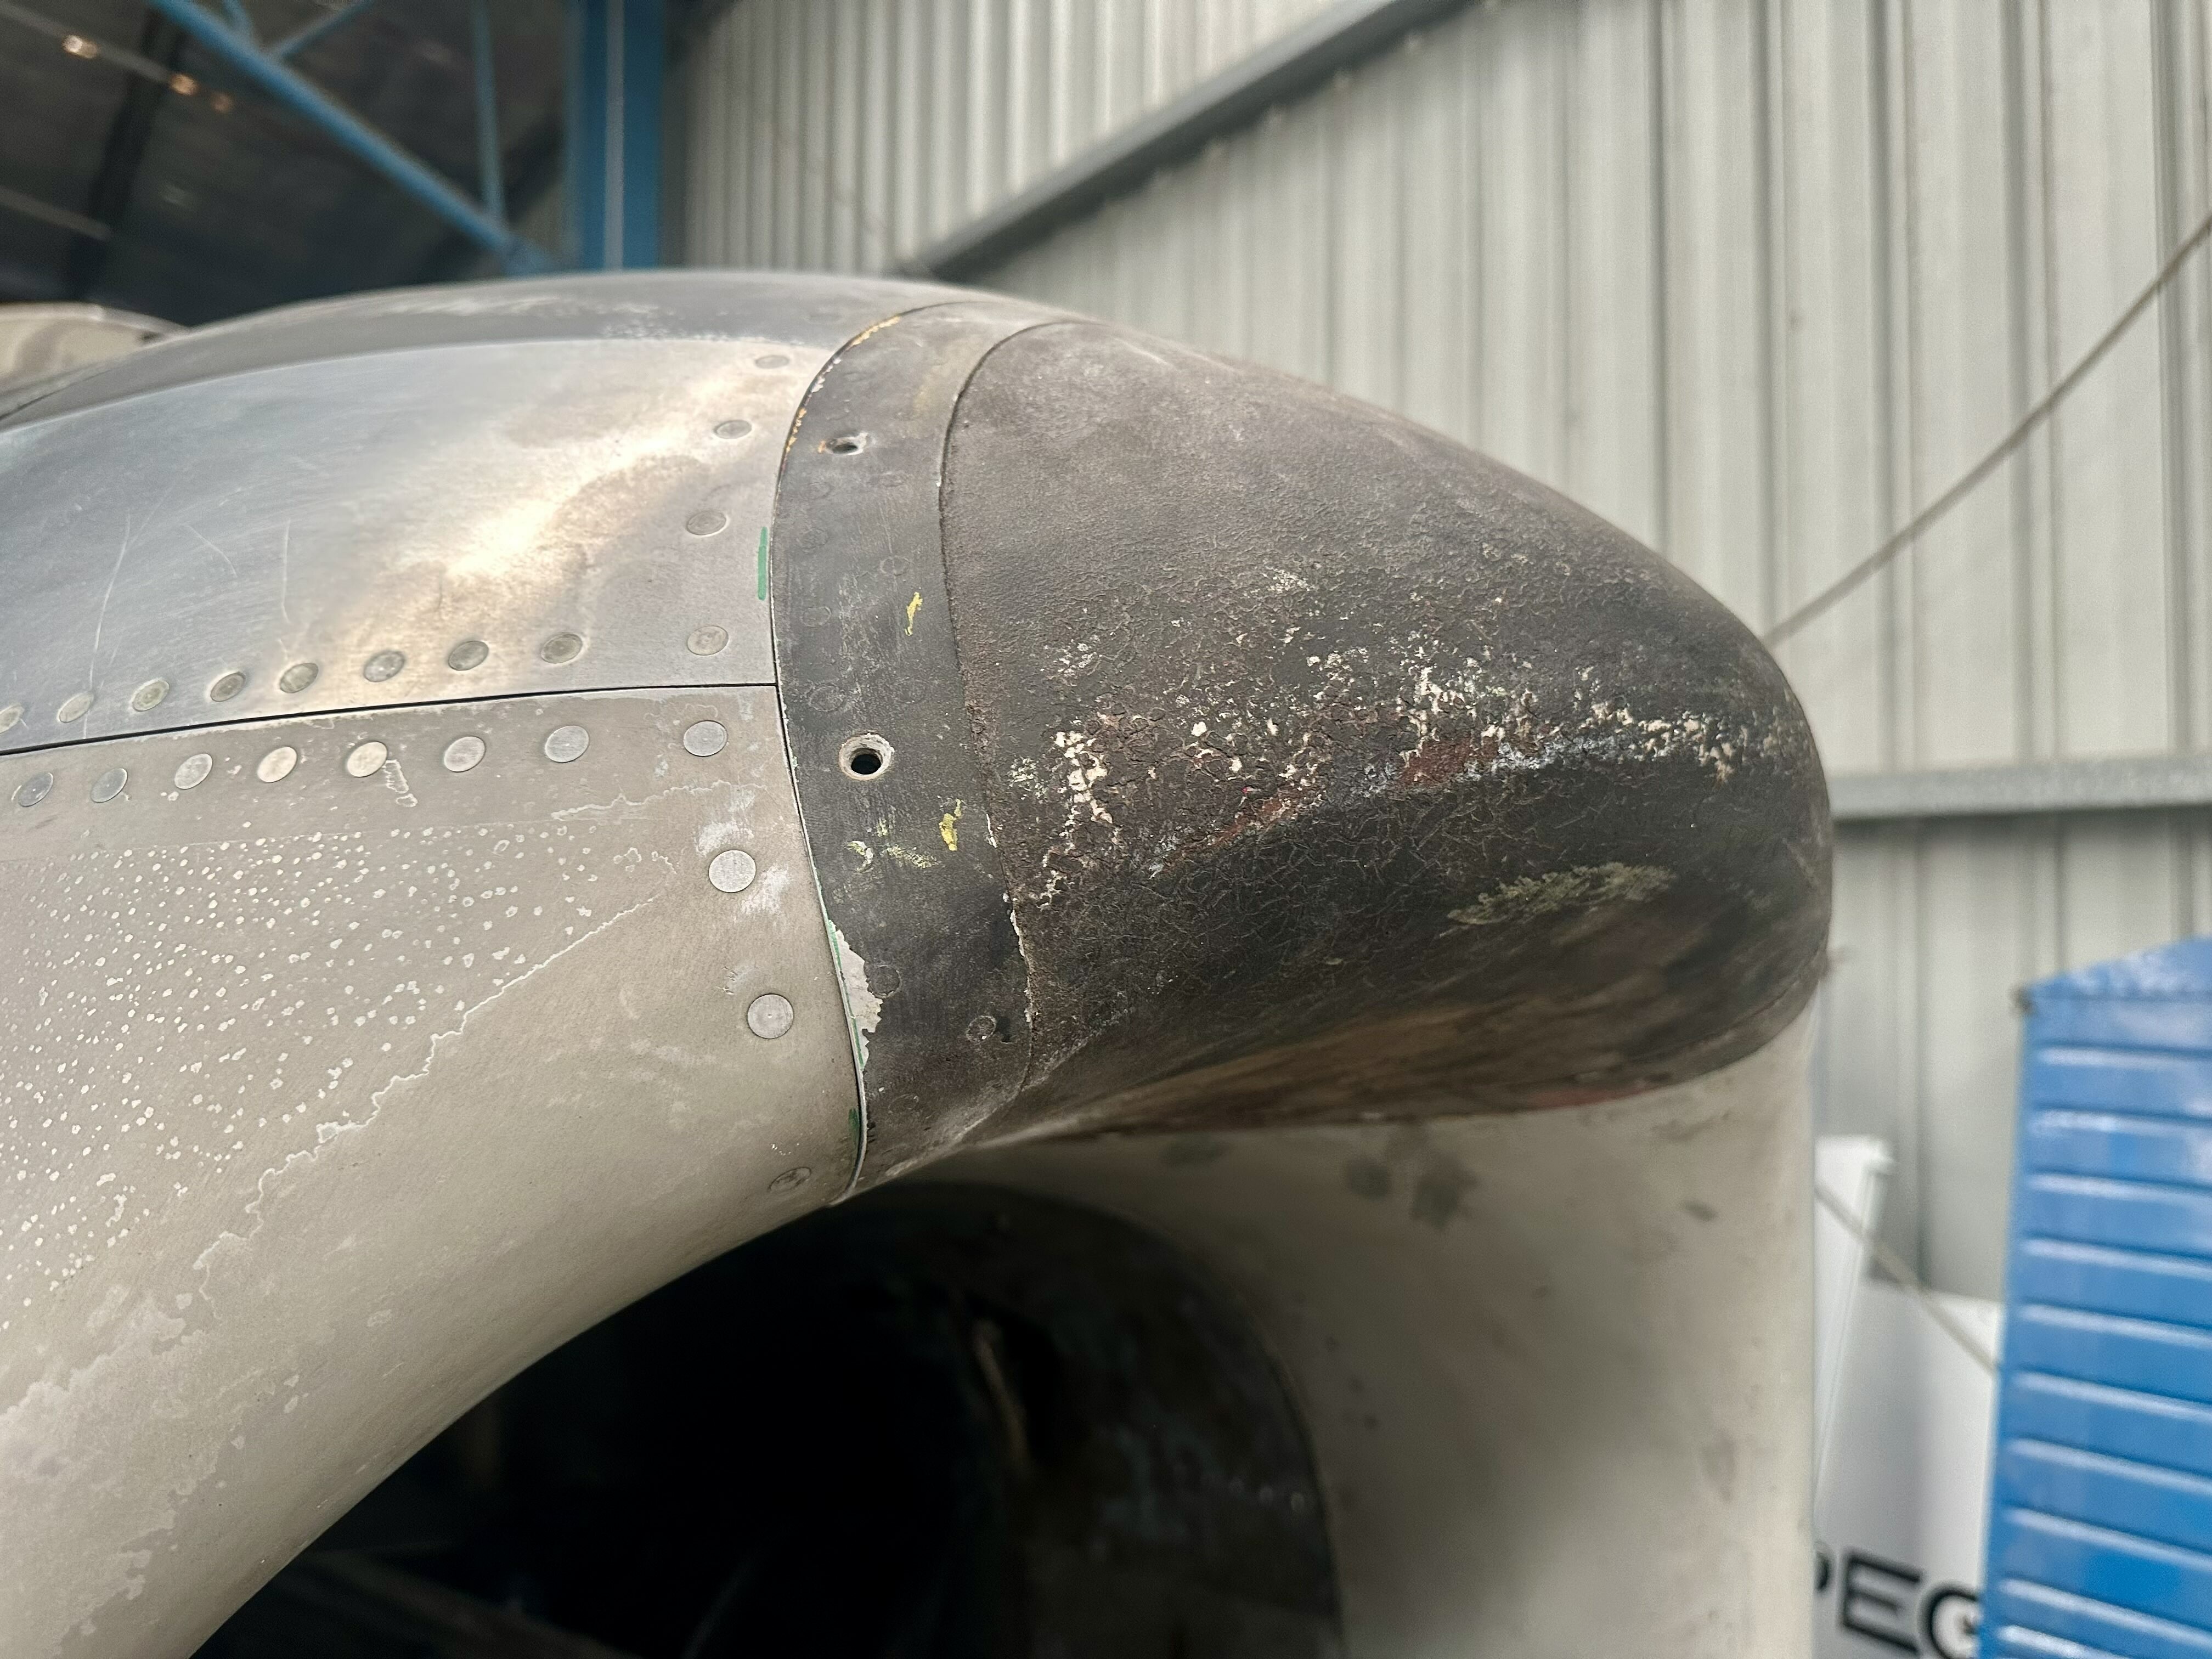
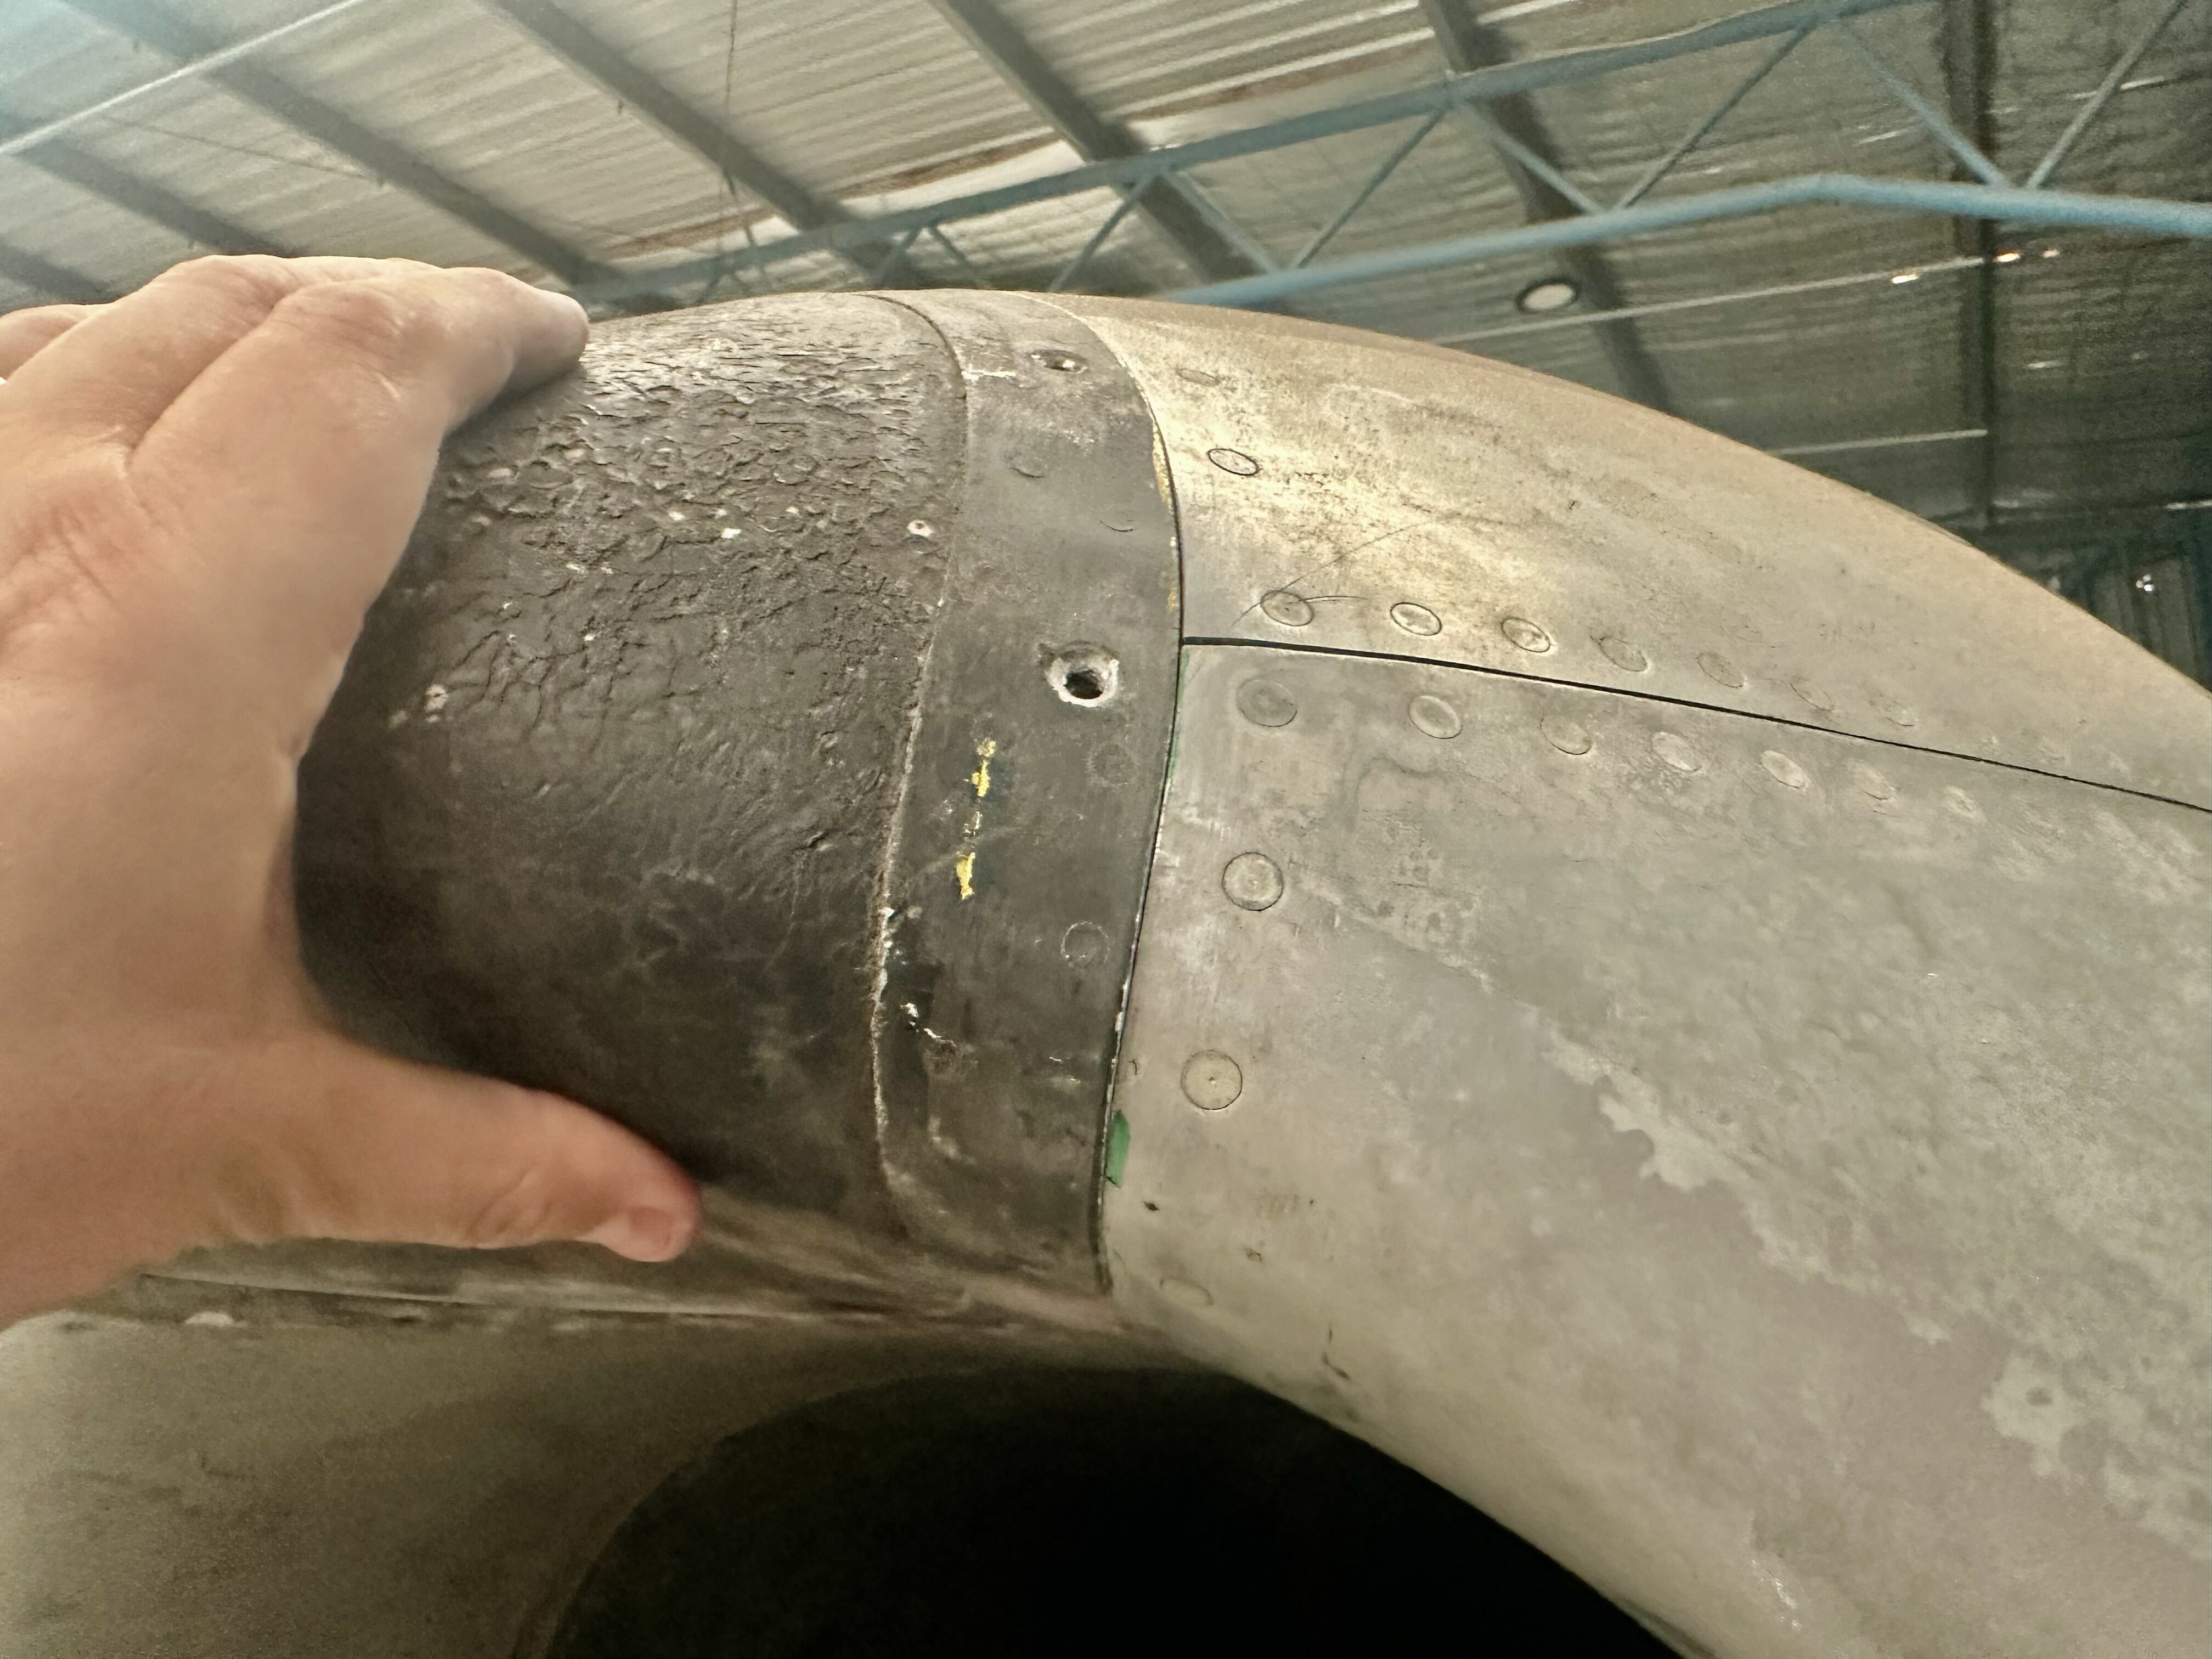
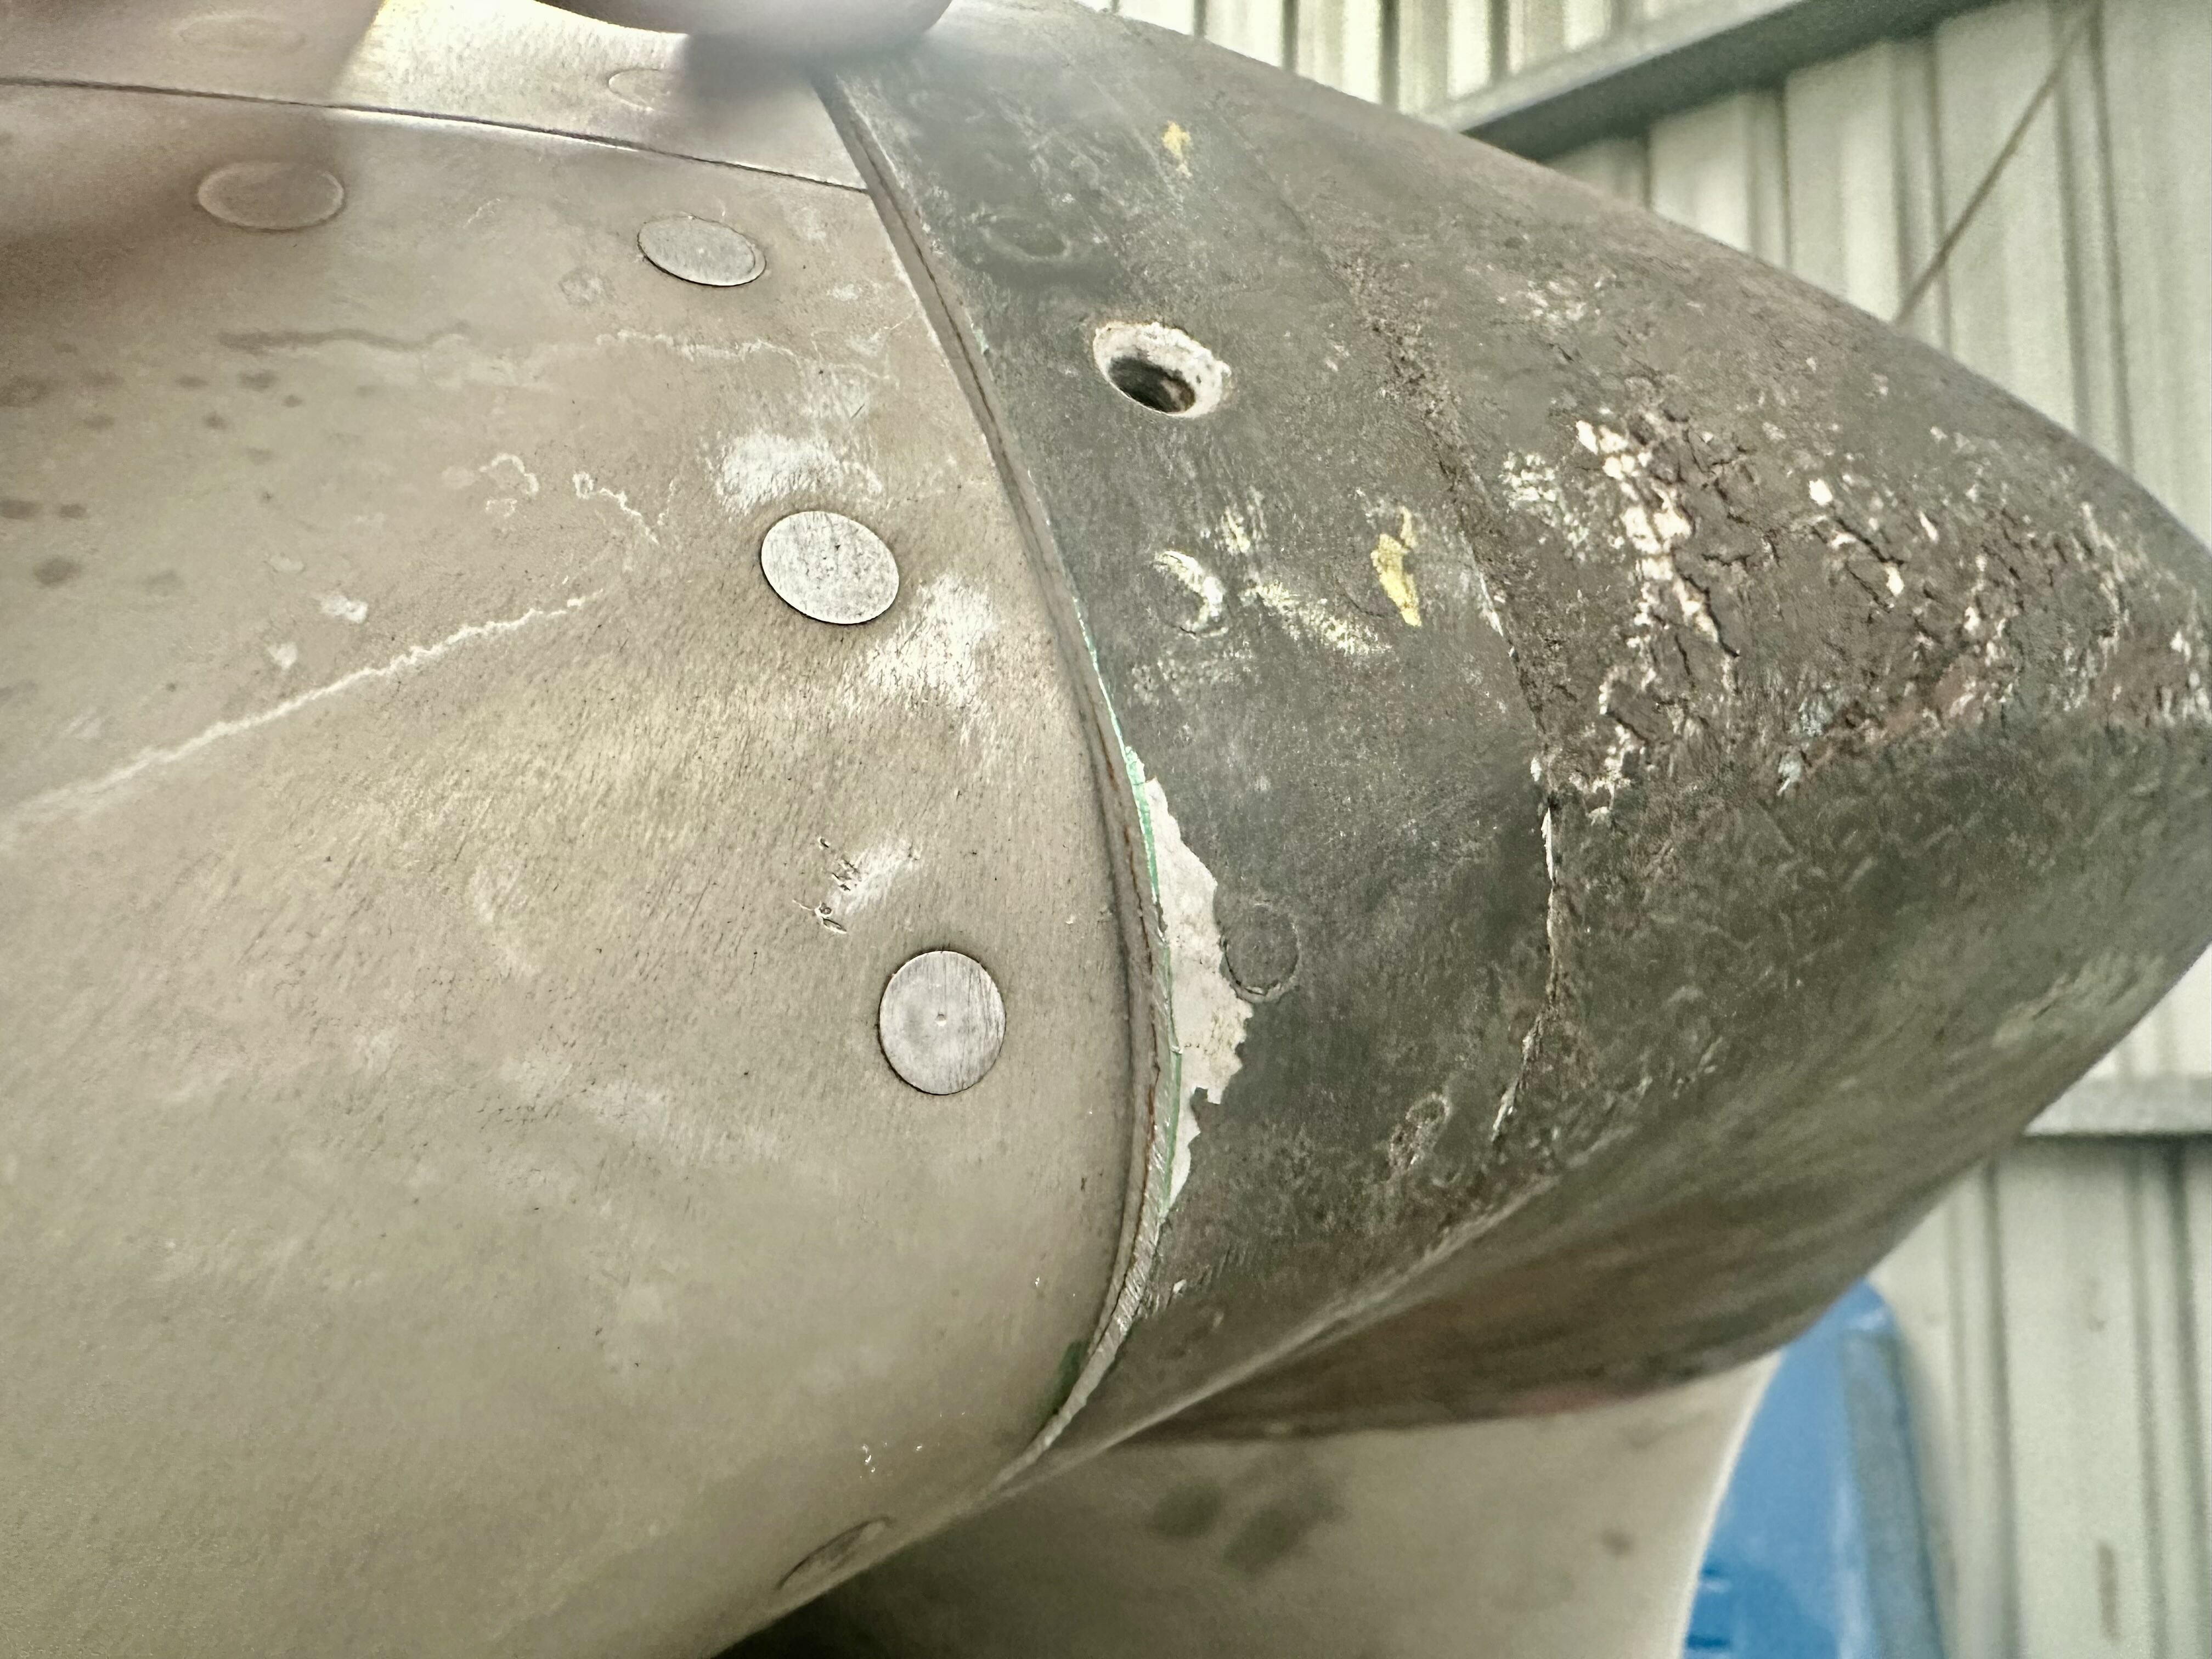
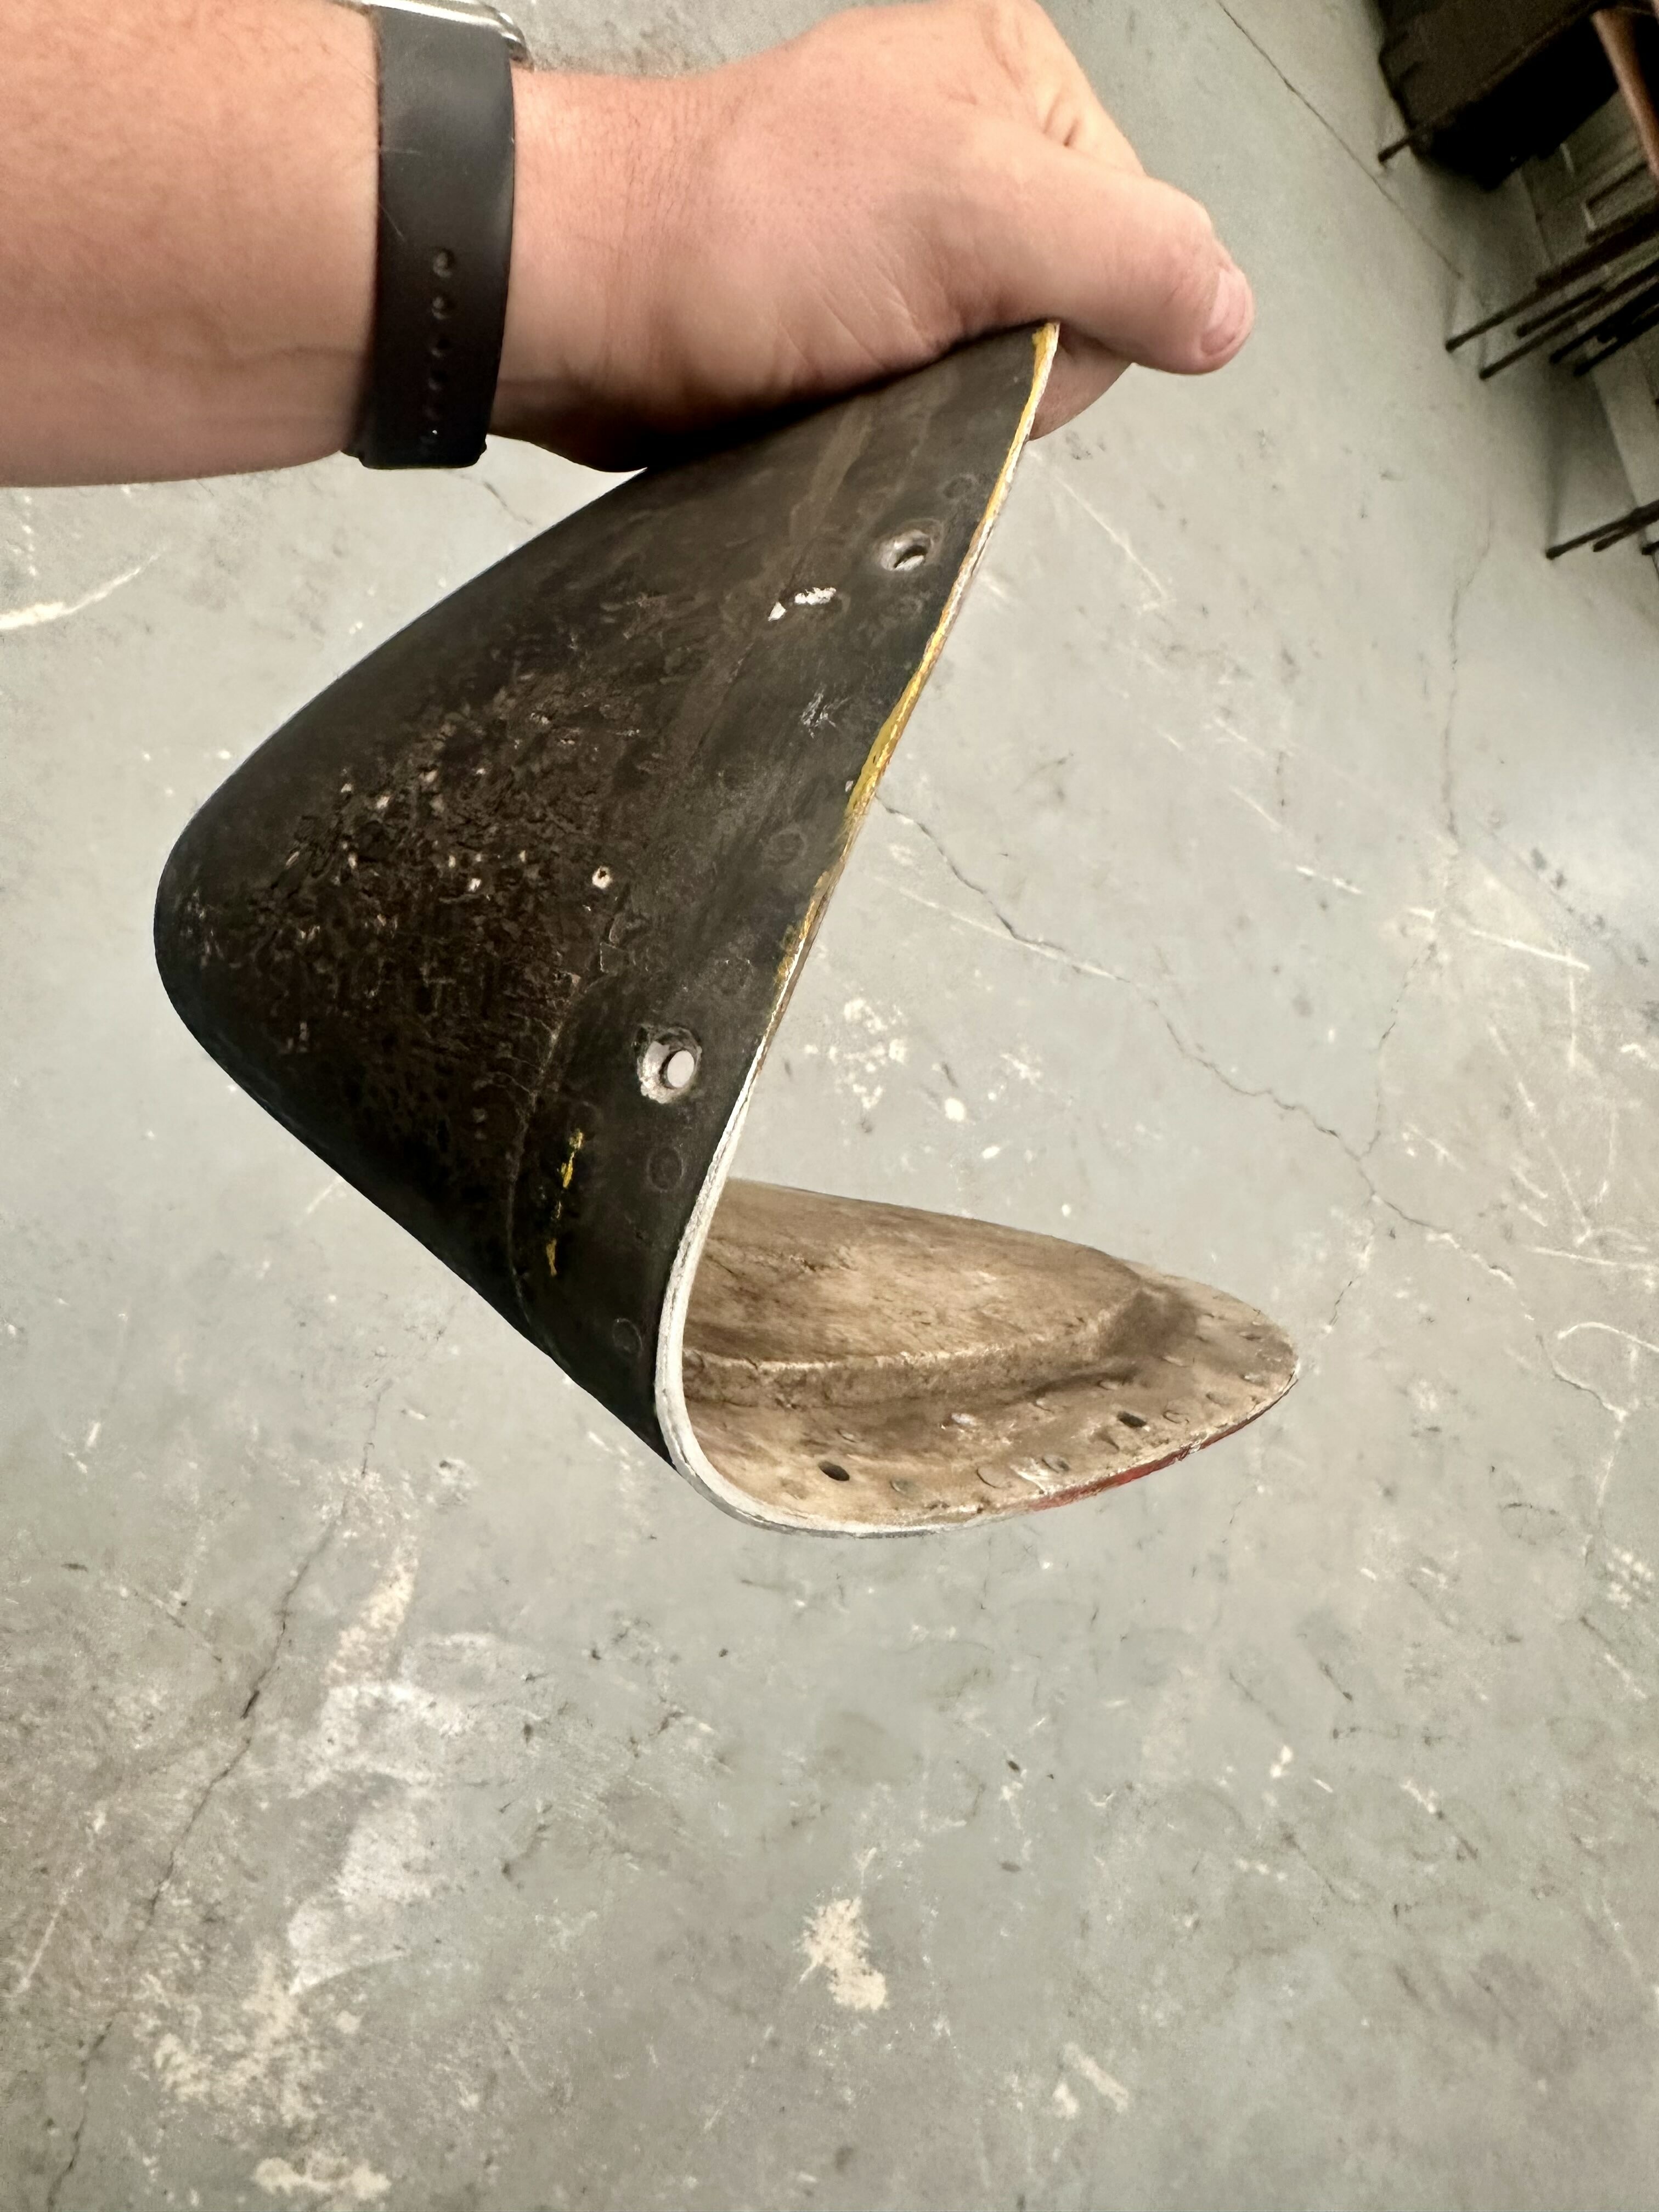
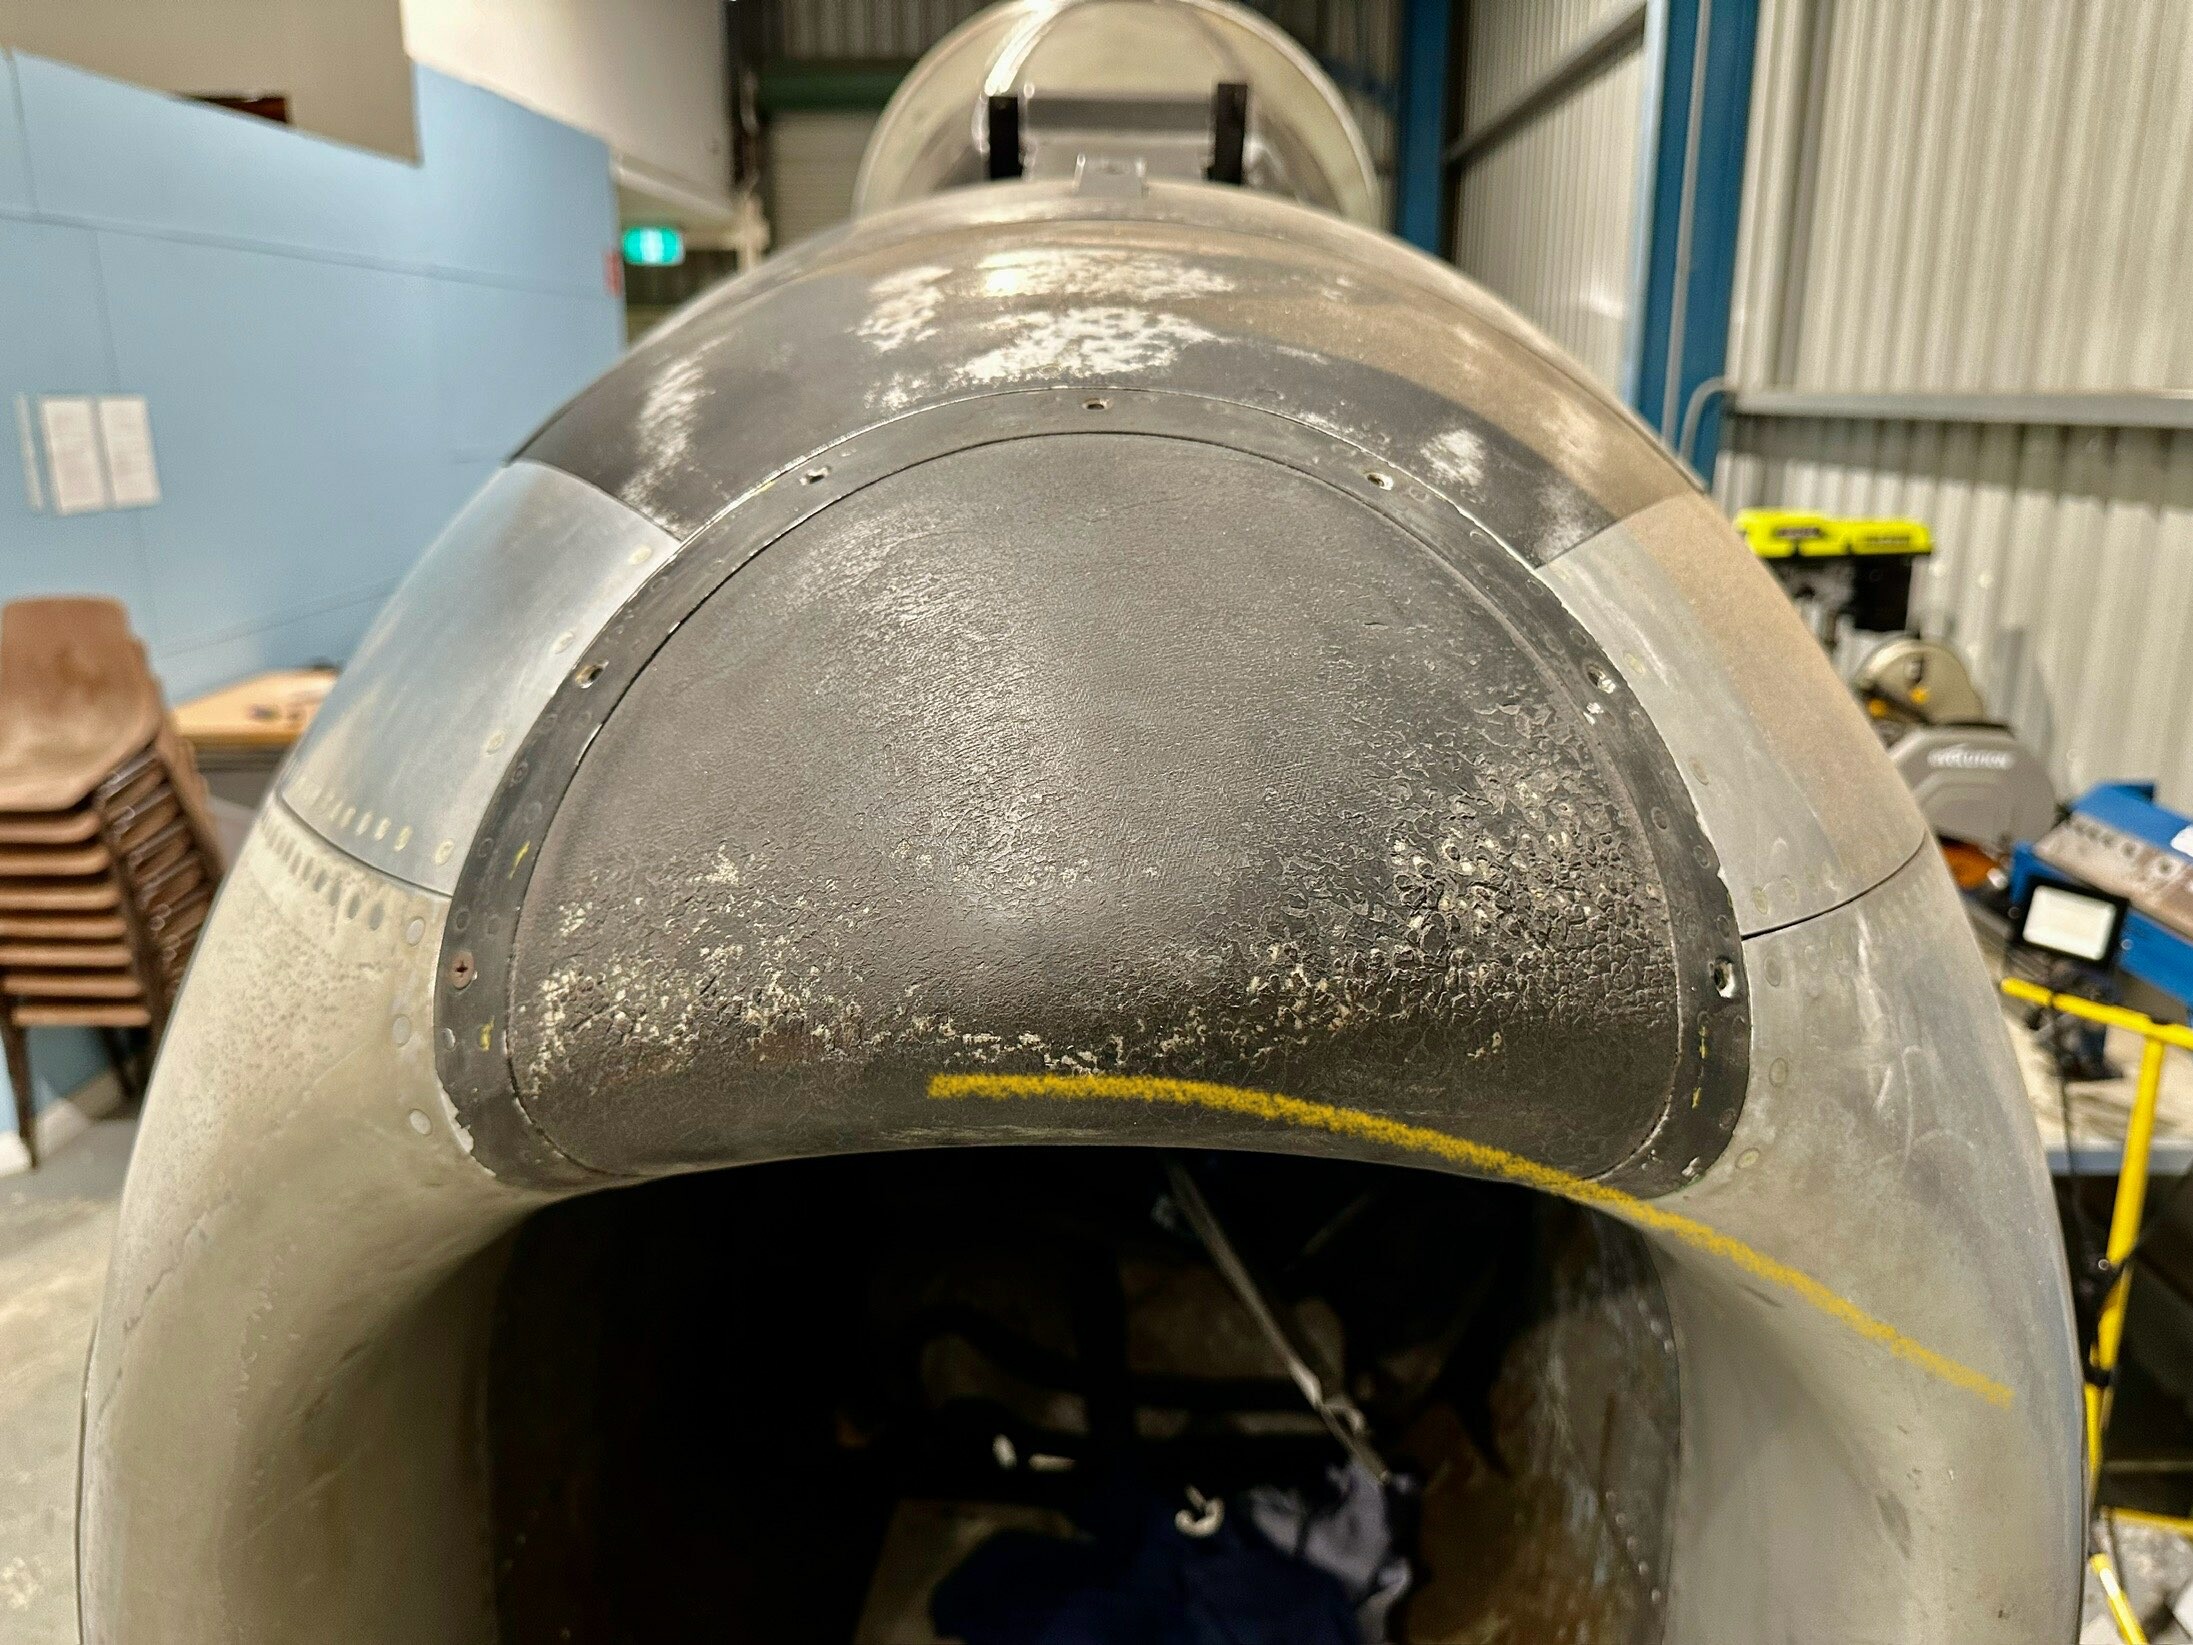
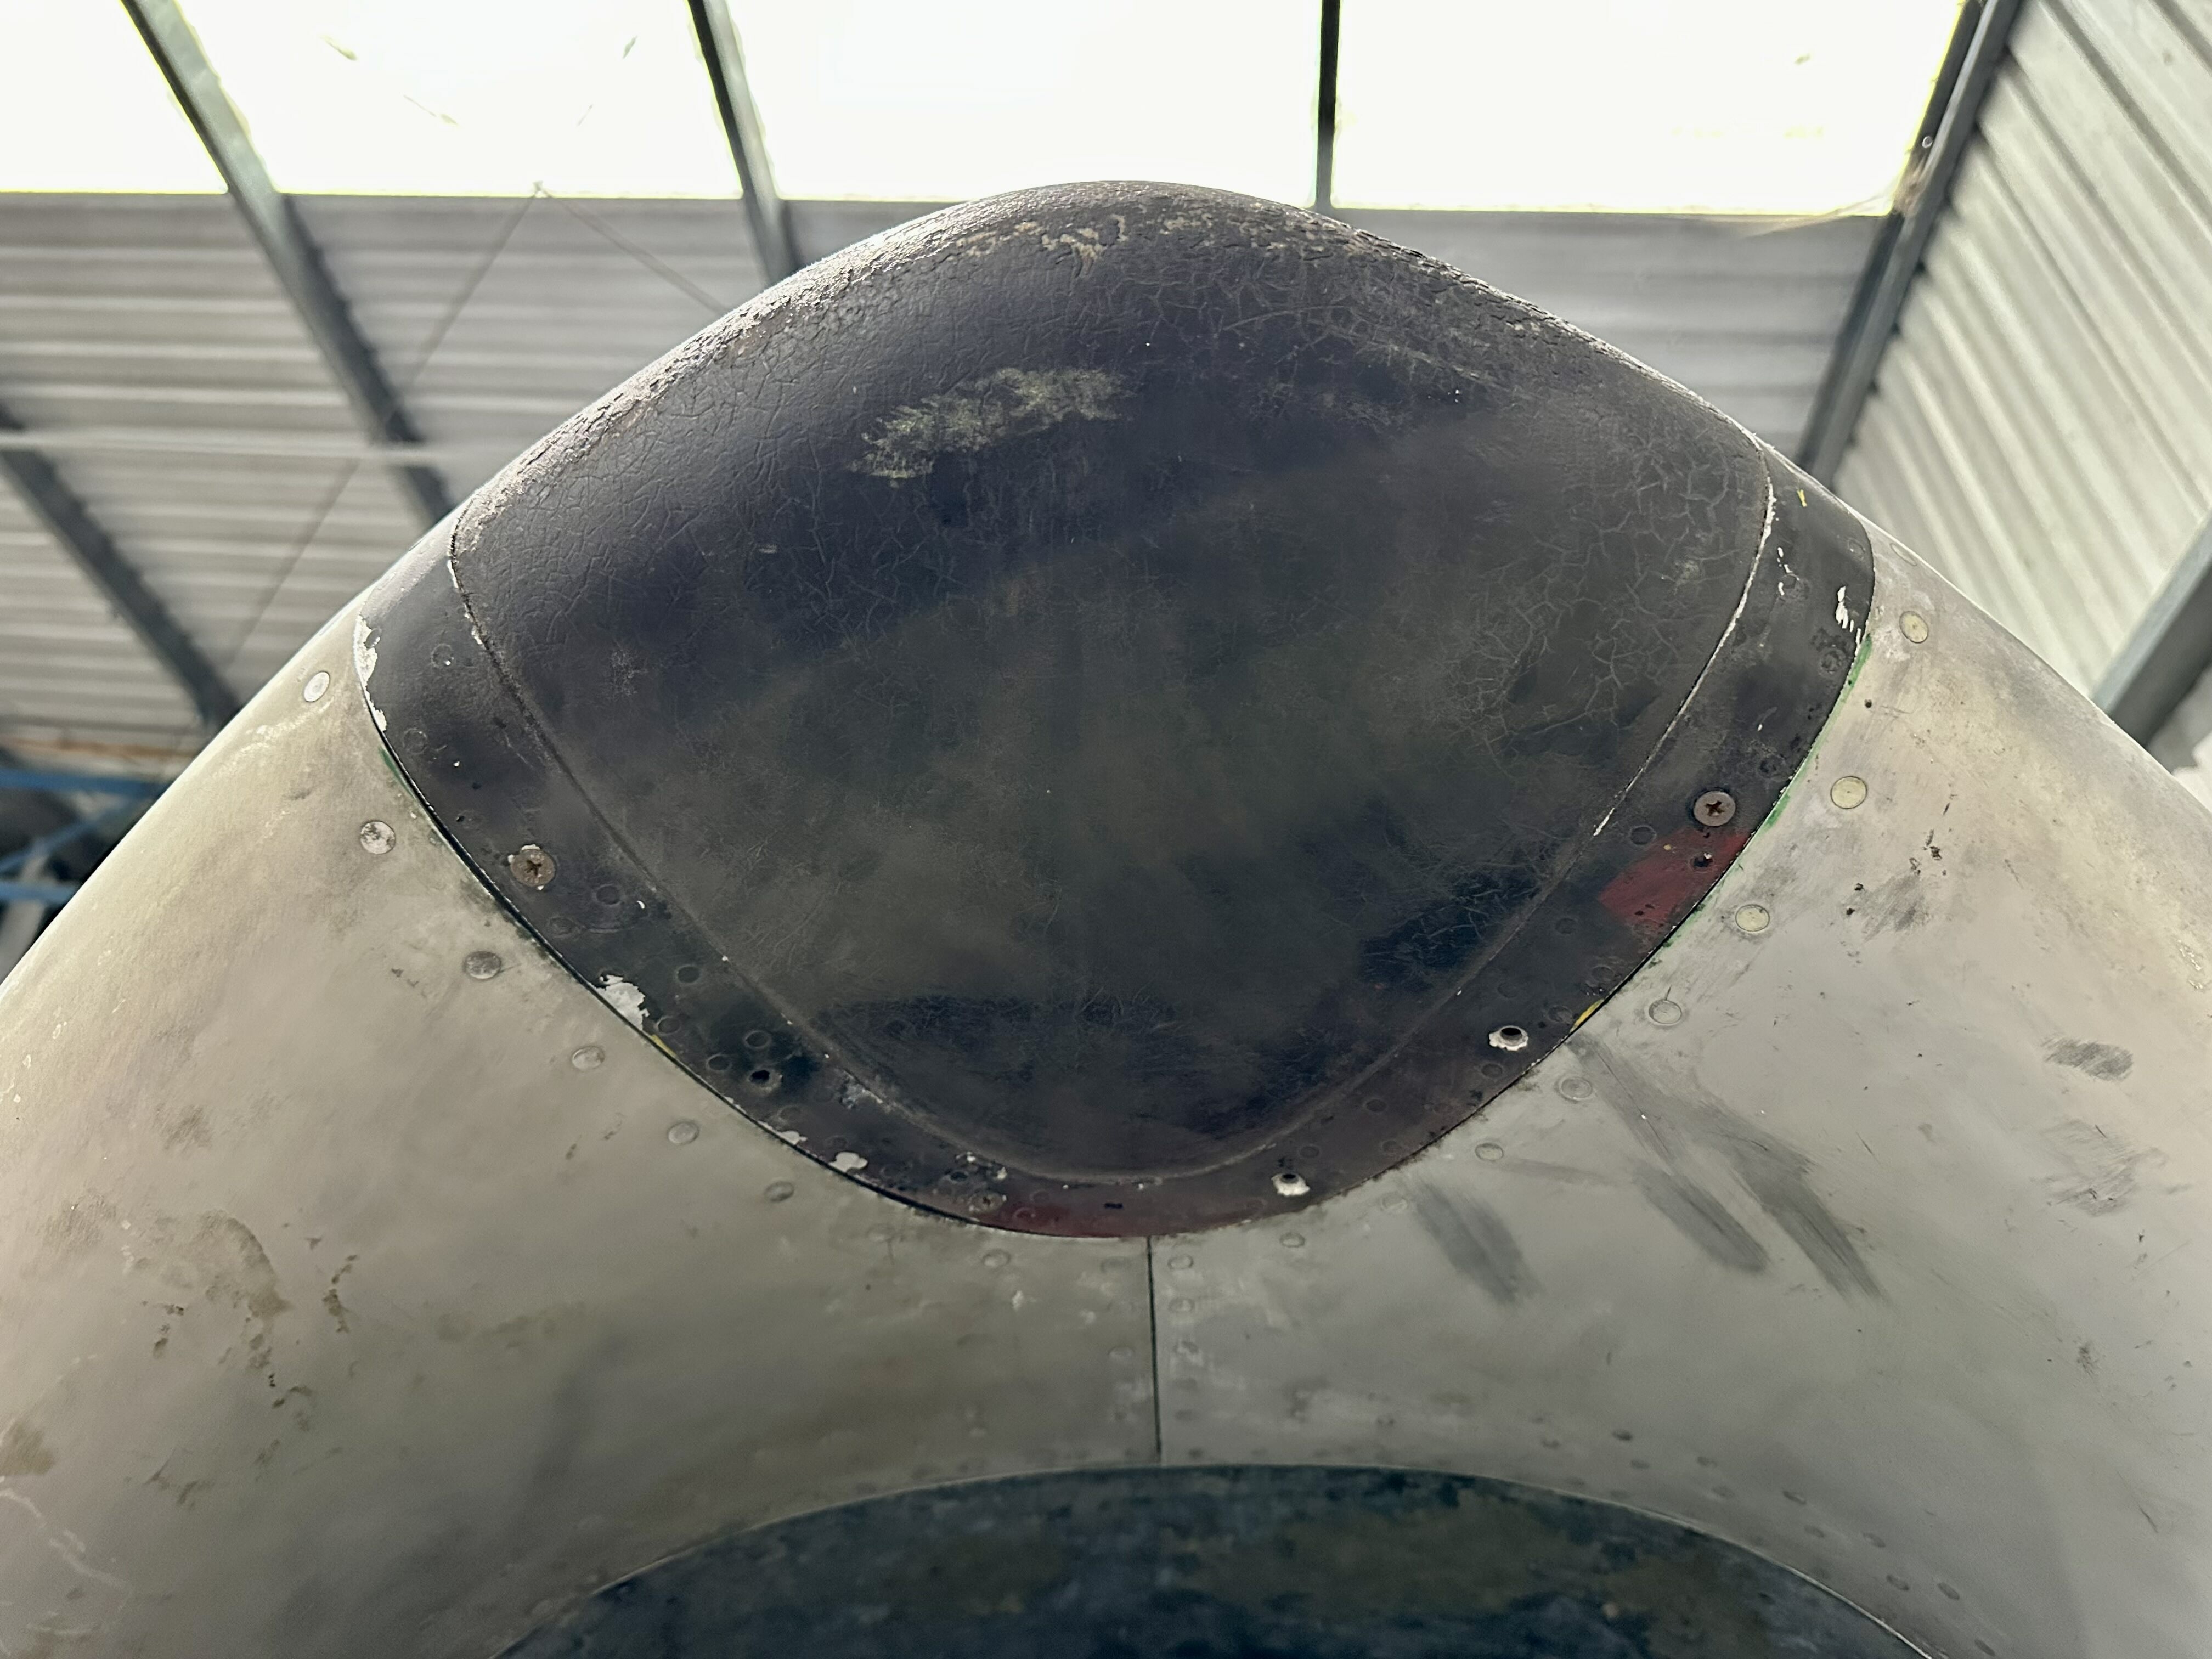
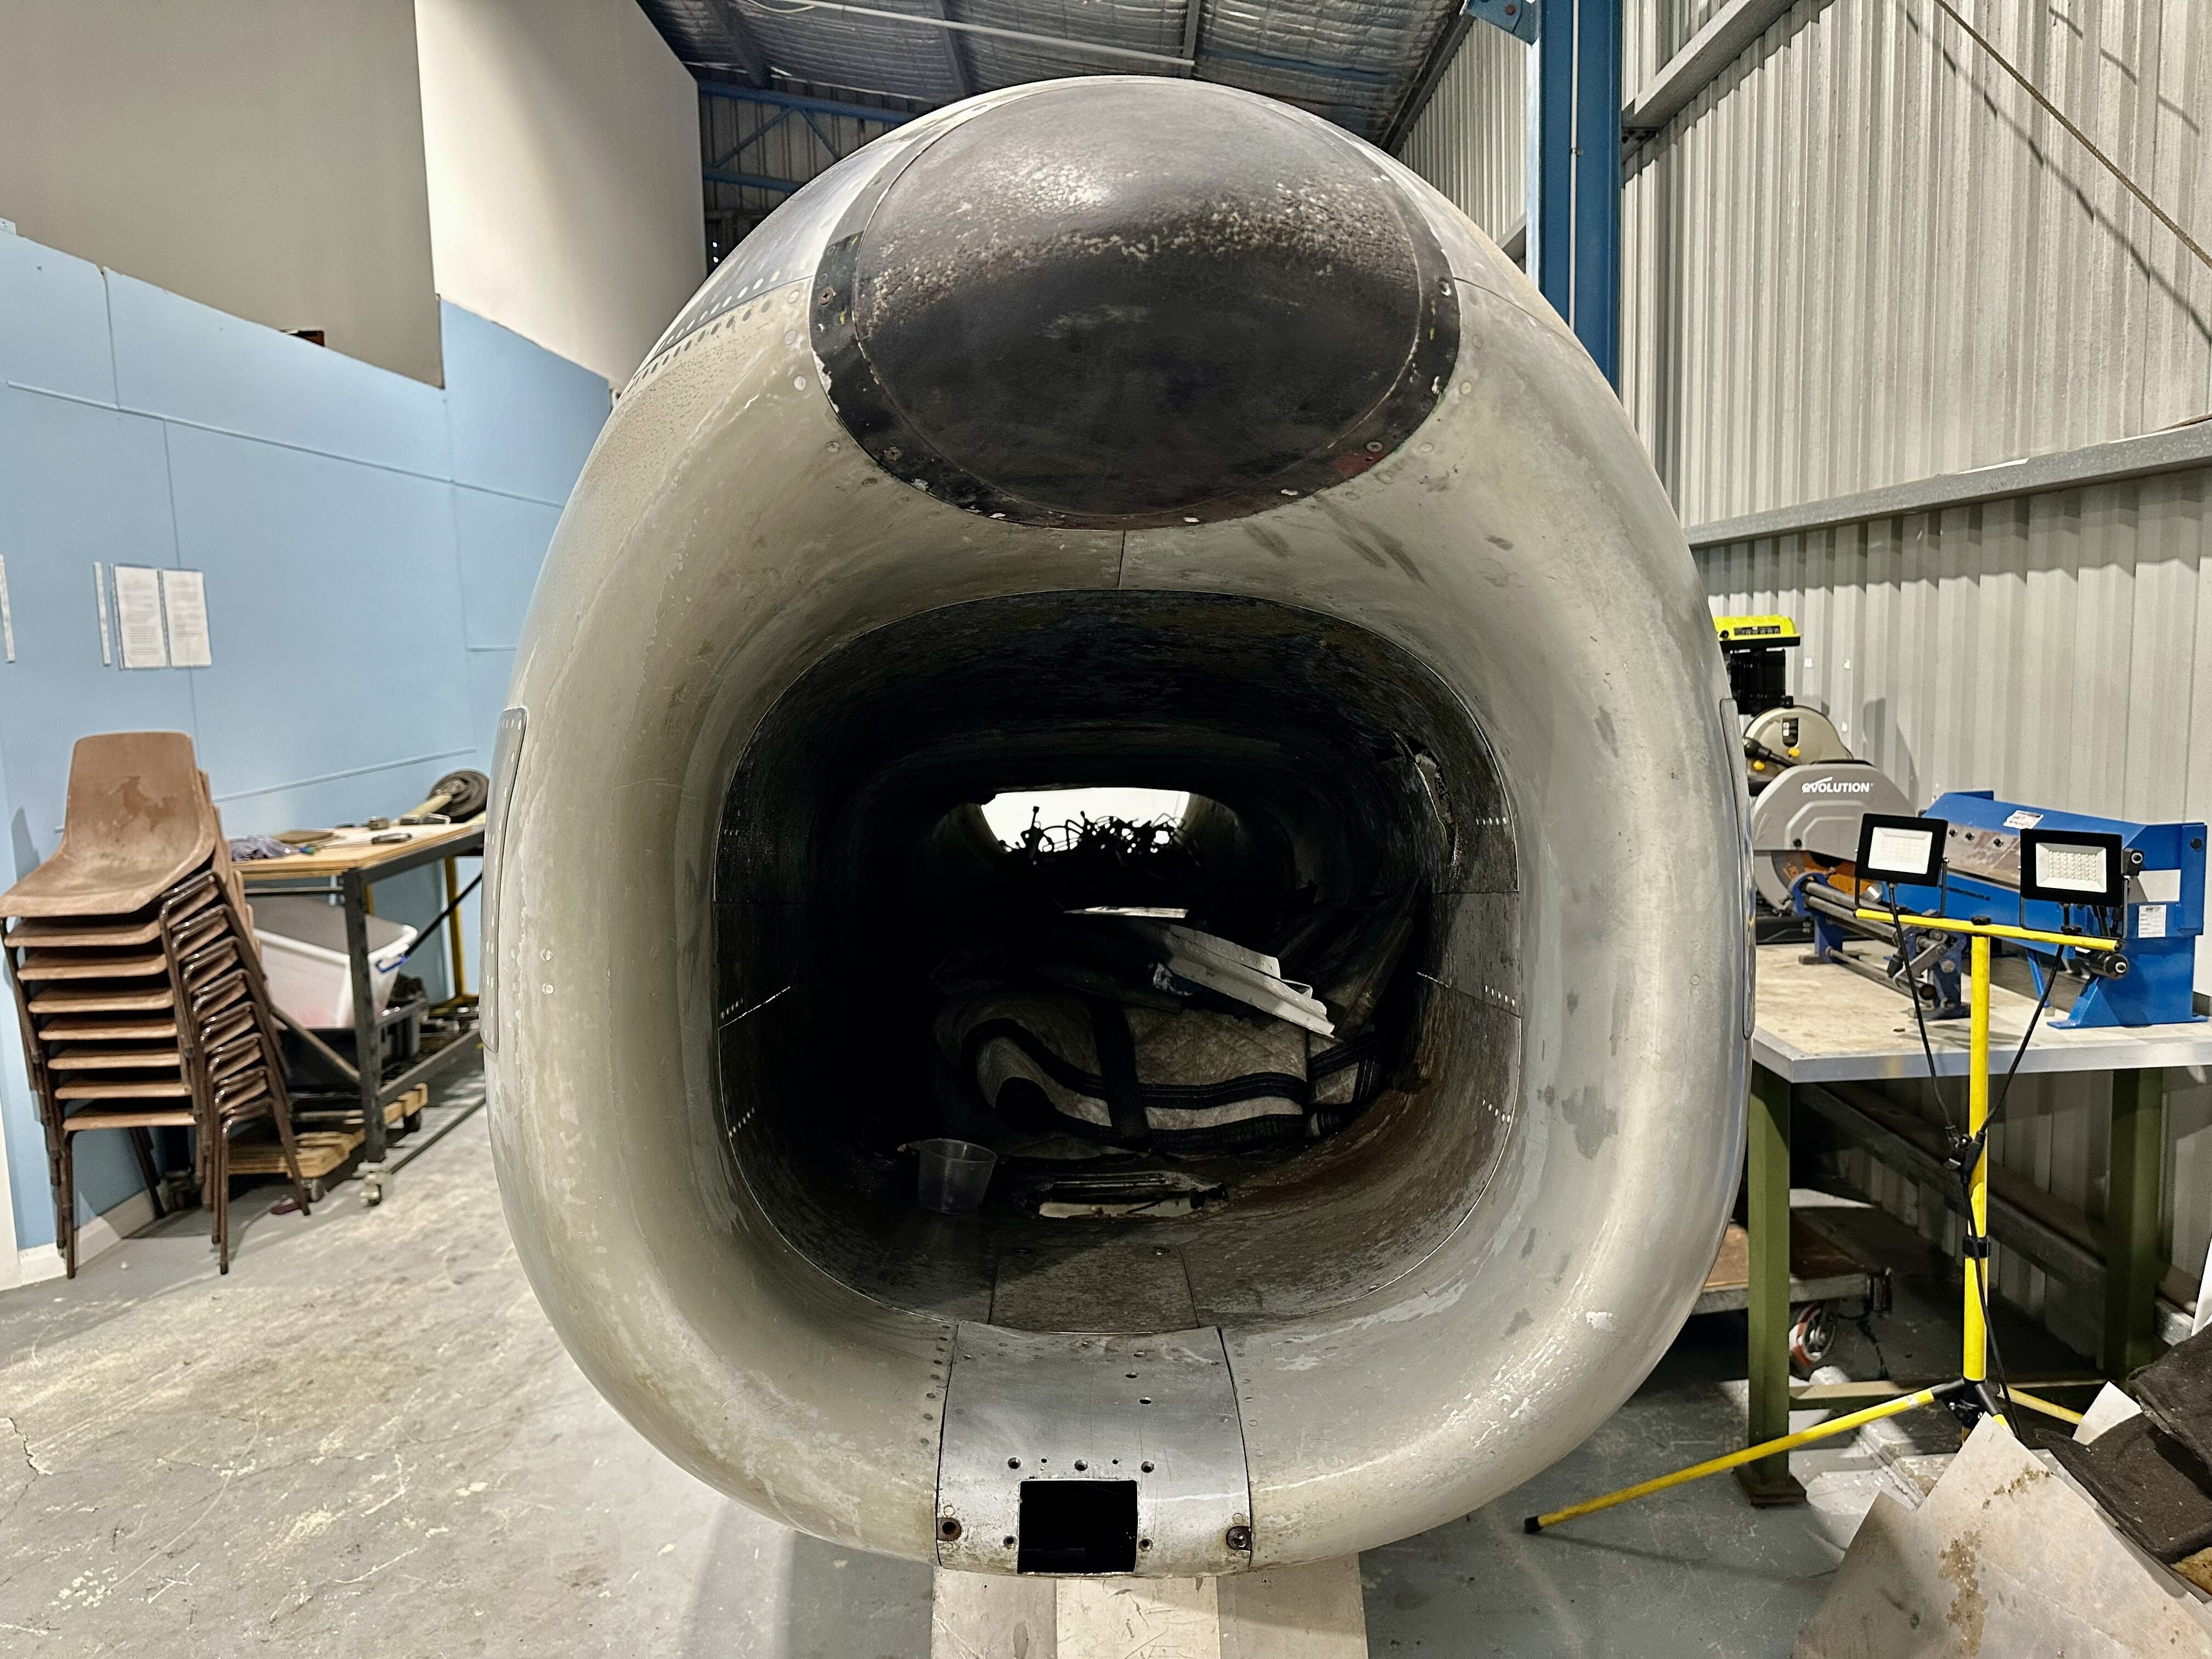
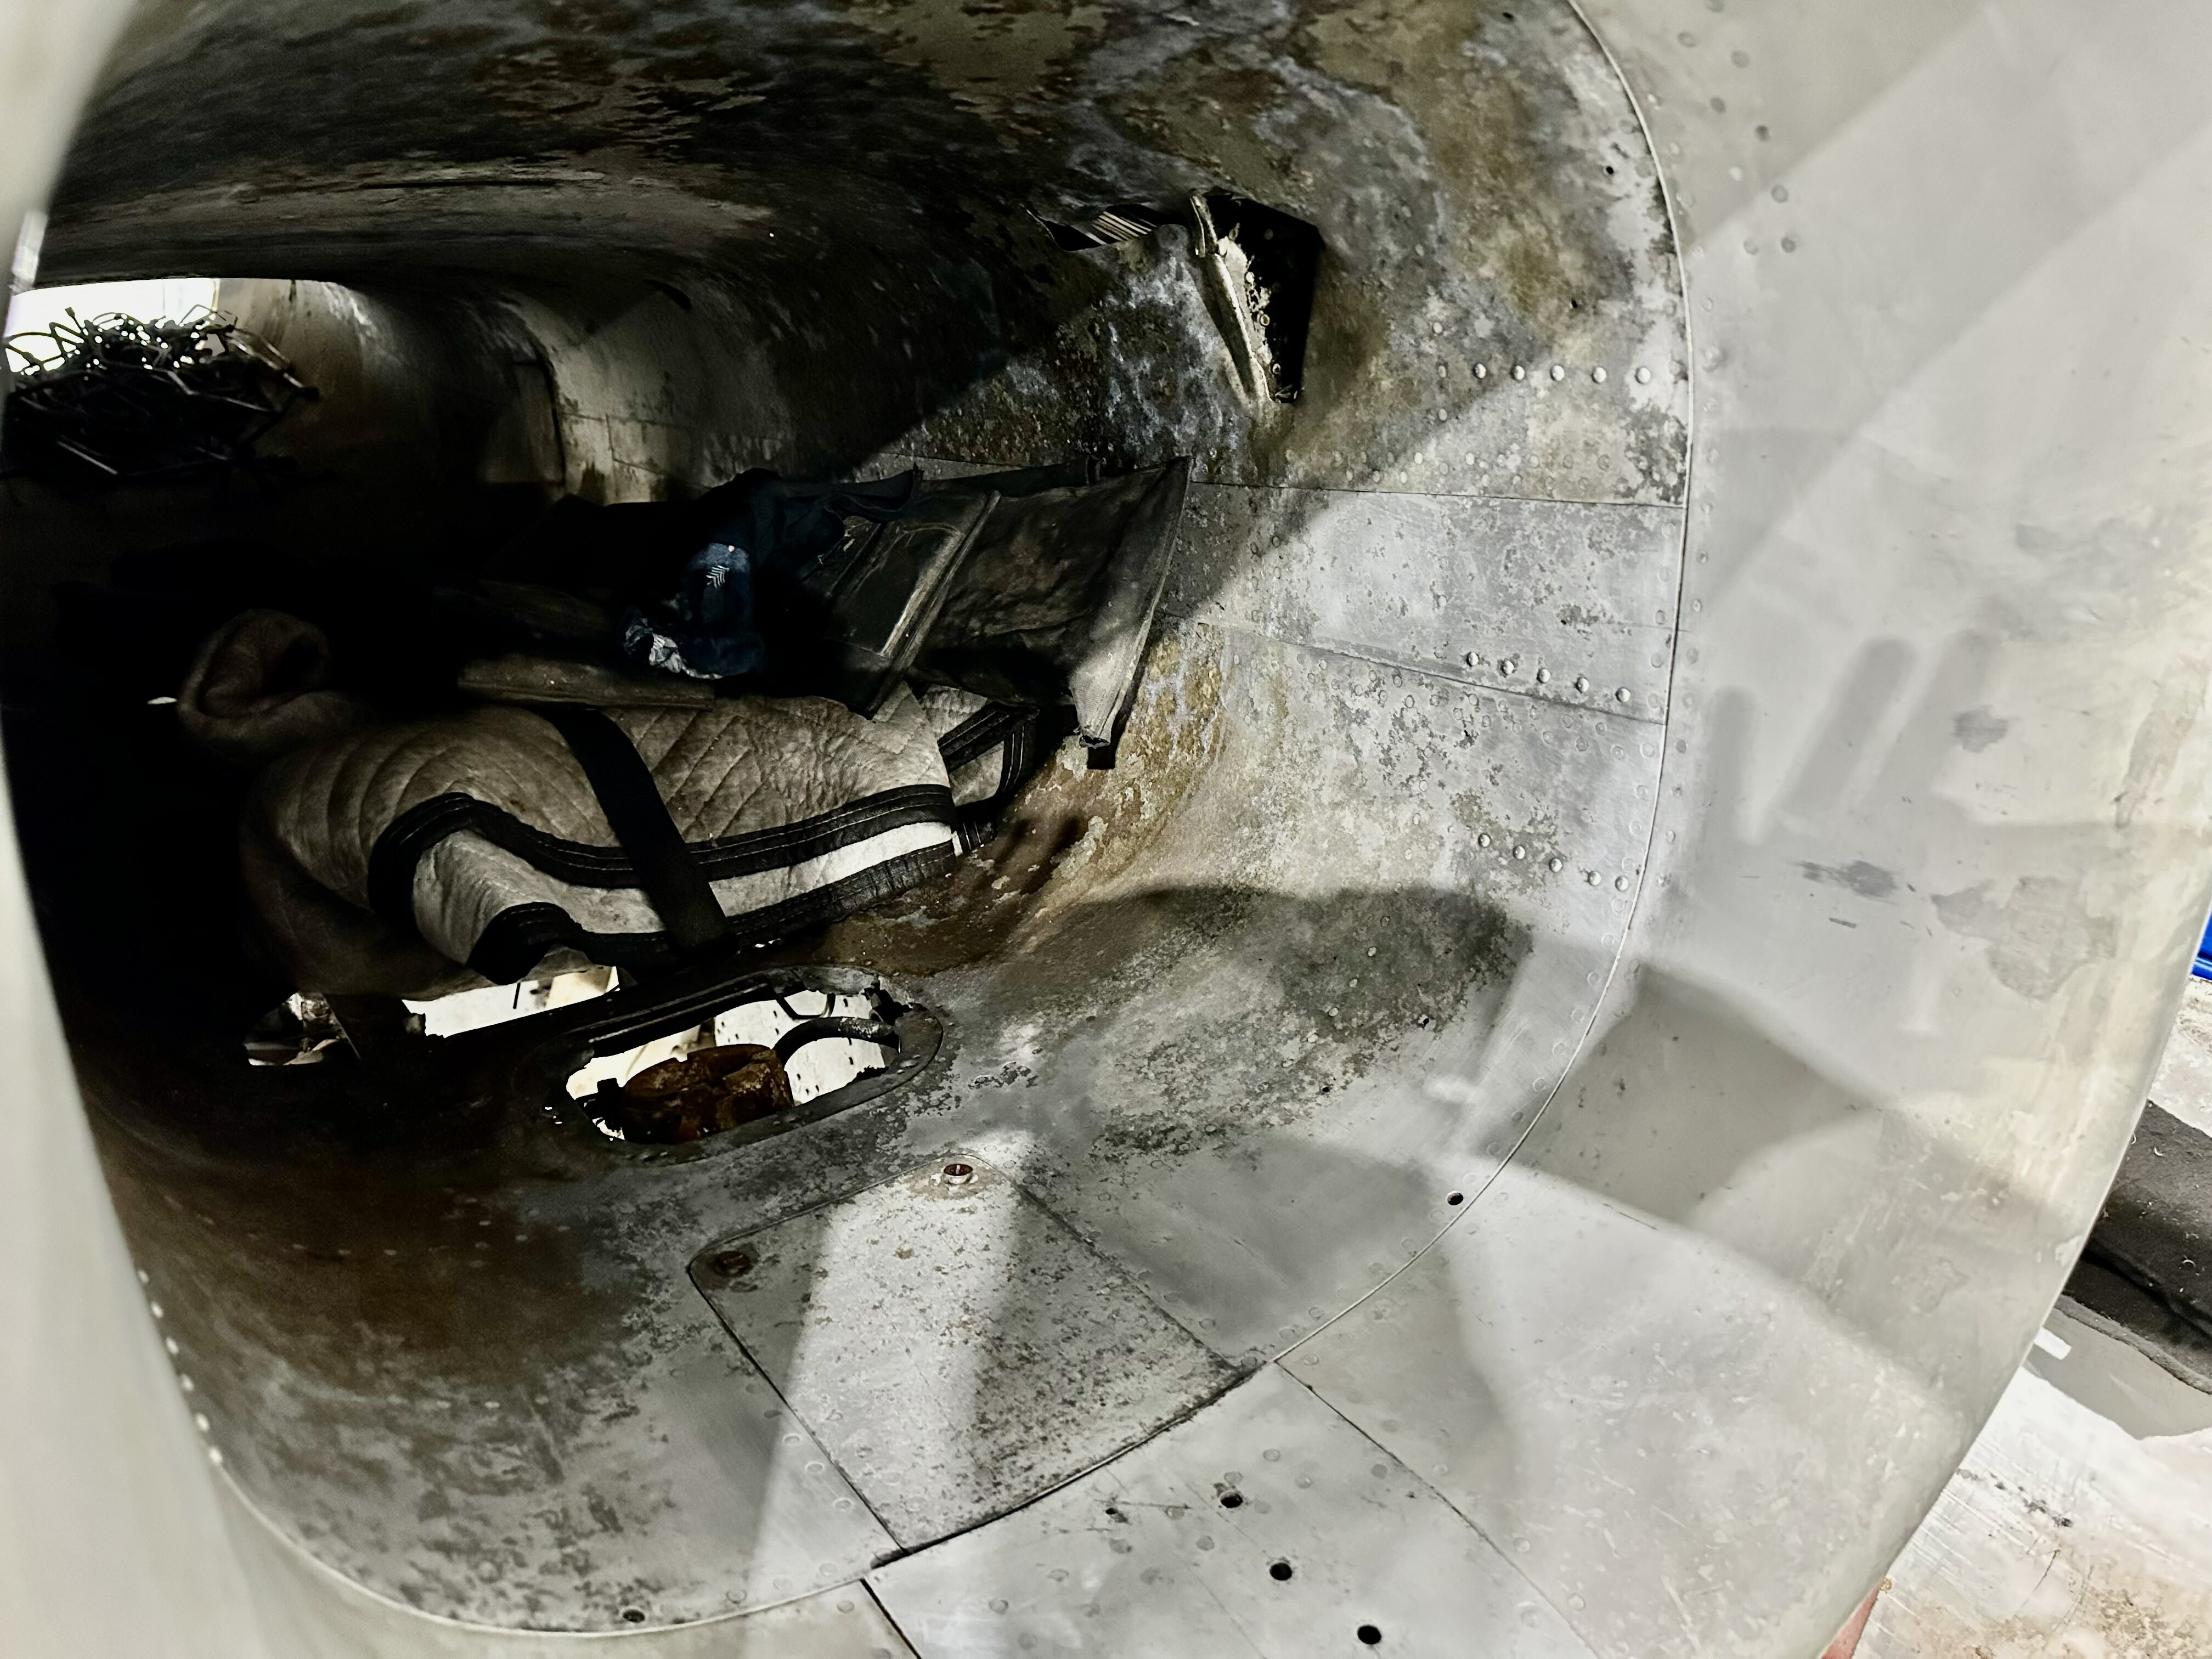
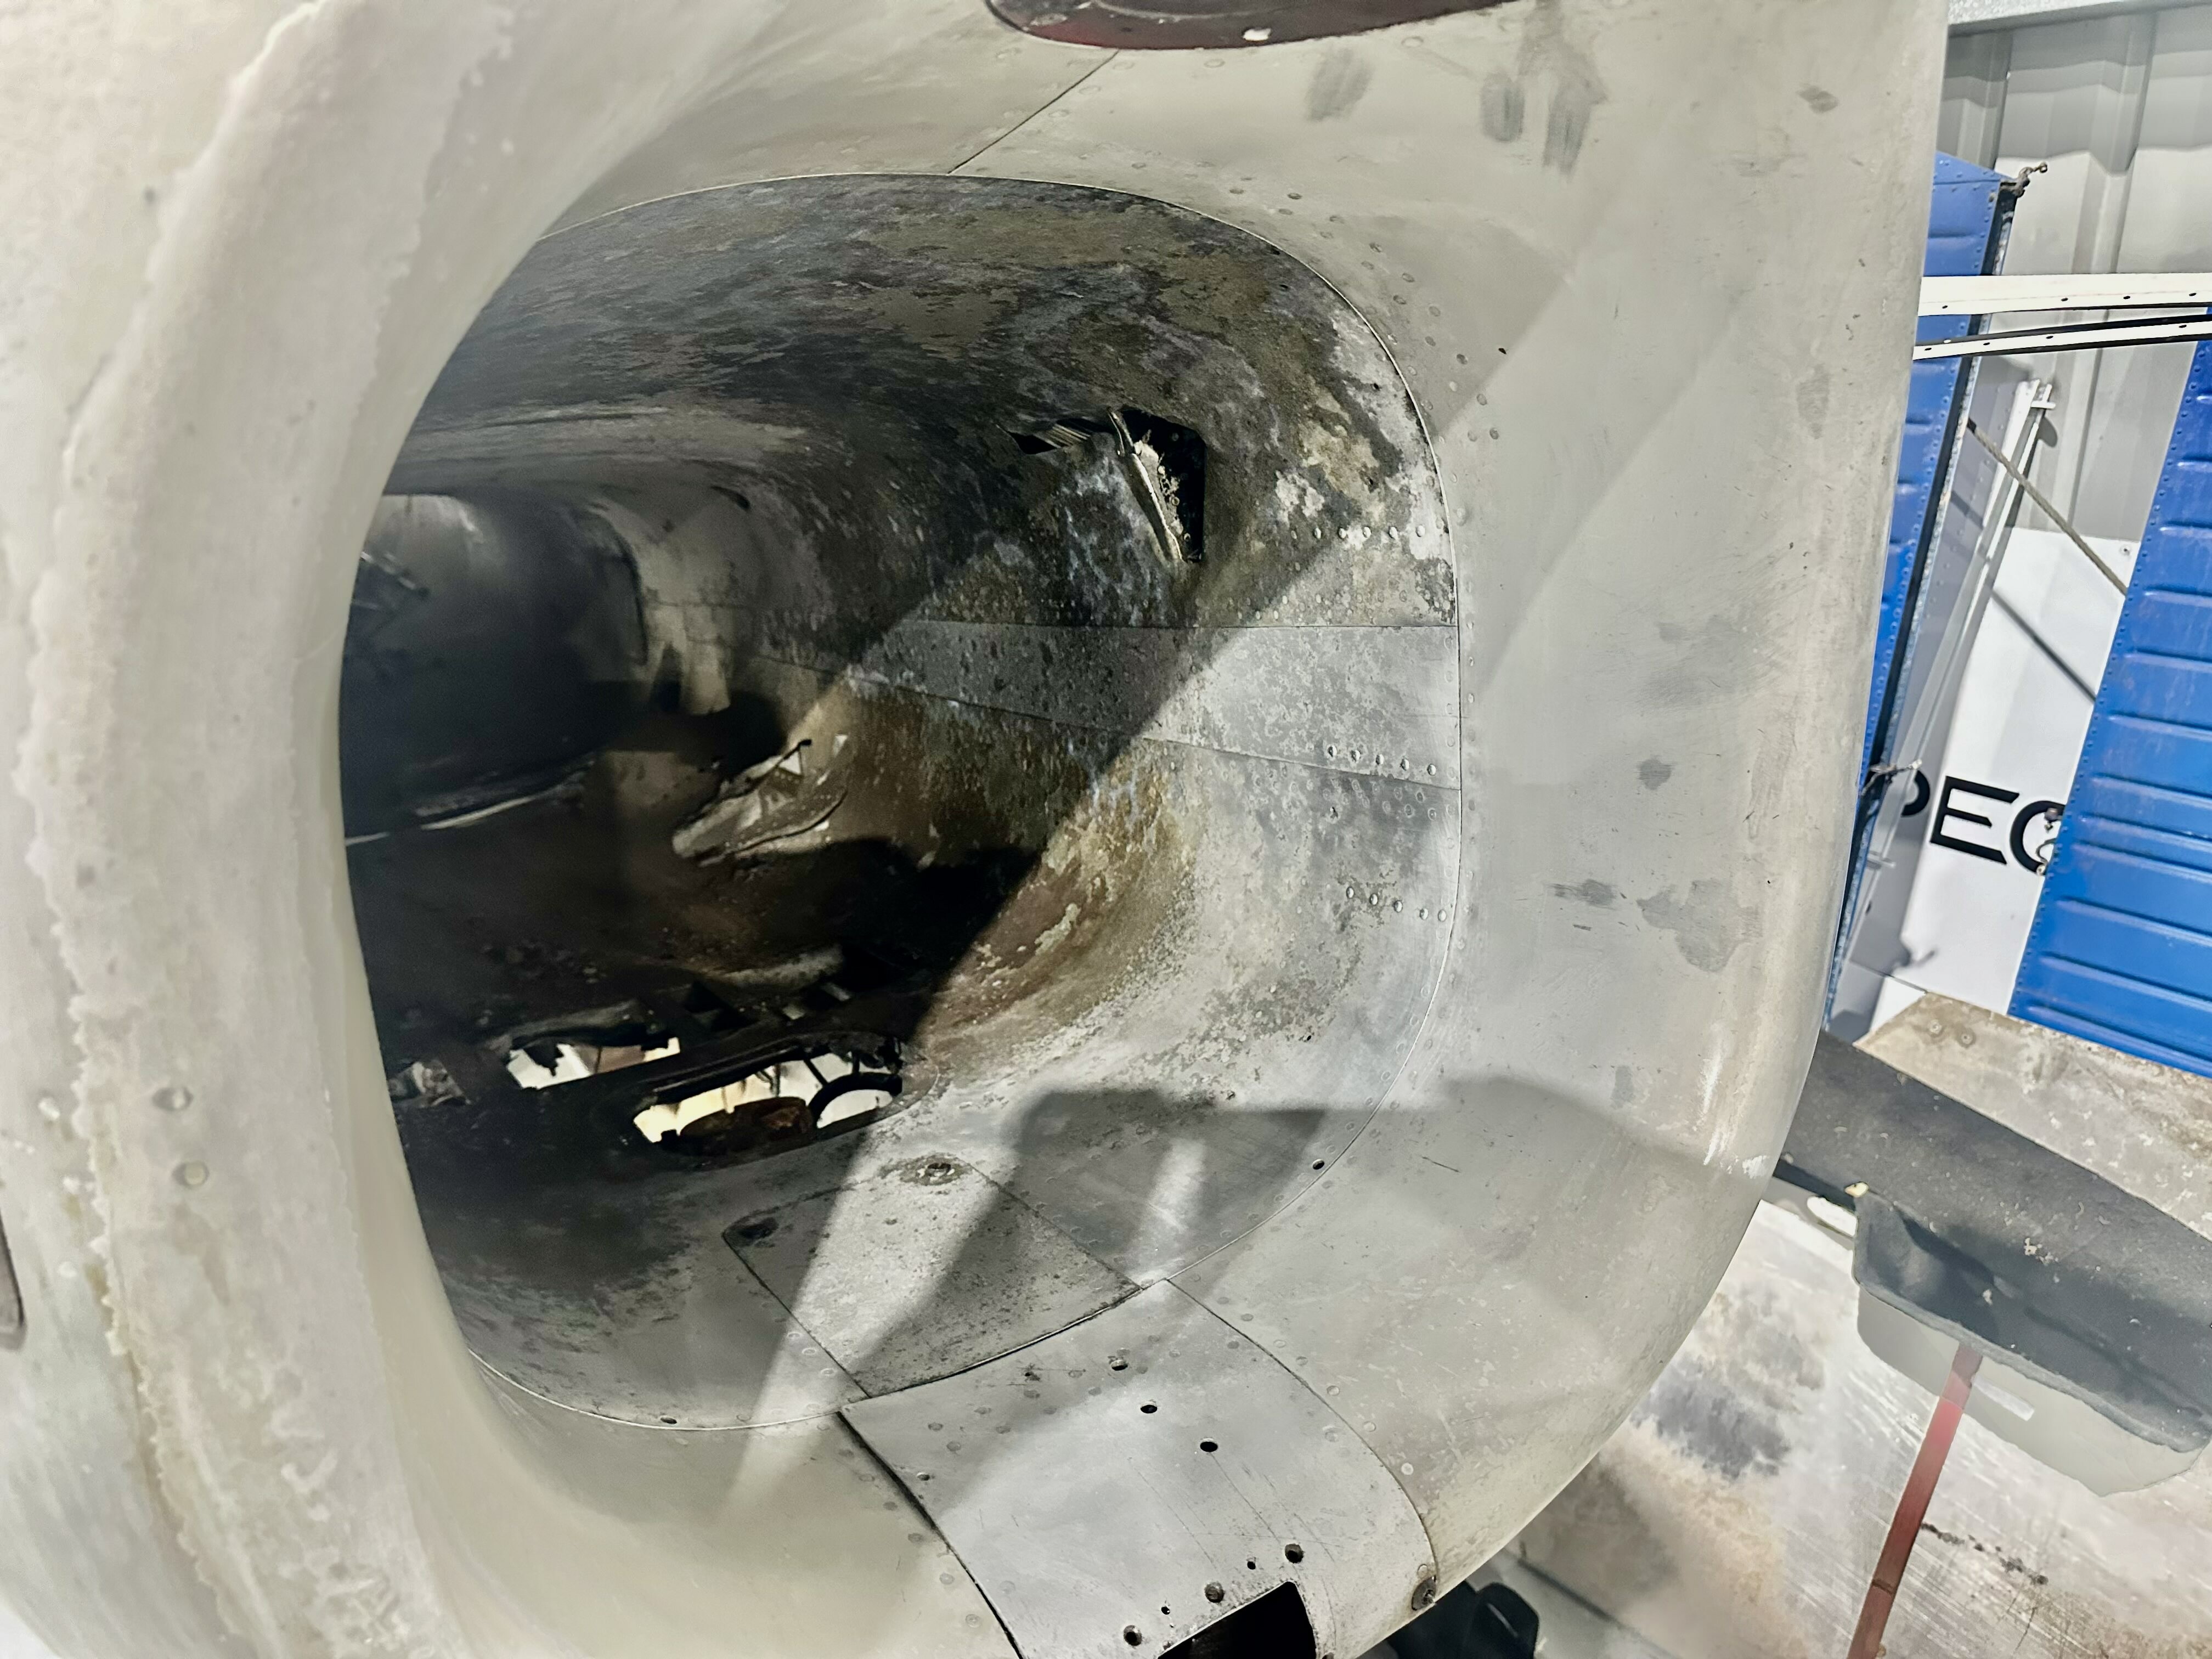
Work continues on the nose radar cover and inlet duct!
-
@Richi absolutely awesome! Would you be able to share some photographs of the cockpit sim and how you have your visuals setup? Managed to get some time in today working on the nose radar cover which did not fit our fuselage properly. These units were hand fit to the frame during original assembly and the radar cover we have is not from our serial number. Some careful filing and shaping now has the unit fitting and aligning with the anchor screw locations. Next week we will paint strip and sand the unit, and apply primer and finish coats. We spent some time also on the nose inlet duct, which is heavily corroded and in need of a major clean up. The skins are badly corroded the full length of the duct and will require extensive acid treatment to pull the bulk of the corrosion out. In addition, the duct skins are badly damaged from small explosives training that was conducted on the airframe during its time at Defence Establishment Orchard Hills. During that time, defence personnel were trained on how to setup and detonate small charges applied to this airframe. Lots of locations throughout the frame where things are torn apart and destroyed. I am not looking forward to crawling up into the duct, anyone want to volunteer?
-
@Flappie @NineLine any update?
-
reported Directional indicator is missing fixed markers
[MVP] Mugga replied to some1's topic in Bugs and Problems
@Flappie@NineLine Any update on this? -
@Flappie @NineLine Is it likely that we are going to get a model update to incorporate some of these fixes?
-
Beautiful restoration!
-
MVP F86 Sabre Sim Pit - Converting an Original ex-RAAF Sabre!
[MVP] Mugga replied to [MVP] Mugga's topic in DCS: F-86F Sabre
More progress! Follow the build at:
-
BROKEN IMAGE LINKS: Apologies for all the broken image links. Not sure what has happened, but all of the images uploaded since we started are no longer showing. Fortunately, we have a full archive on our Discord and Facebook page. When i get time I will go backwards through this forum and re-upload images.
-
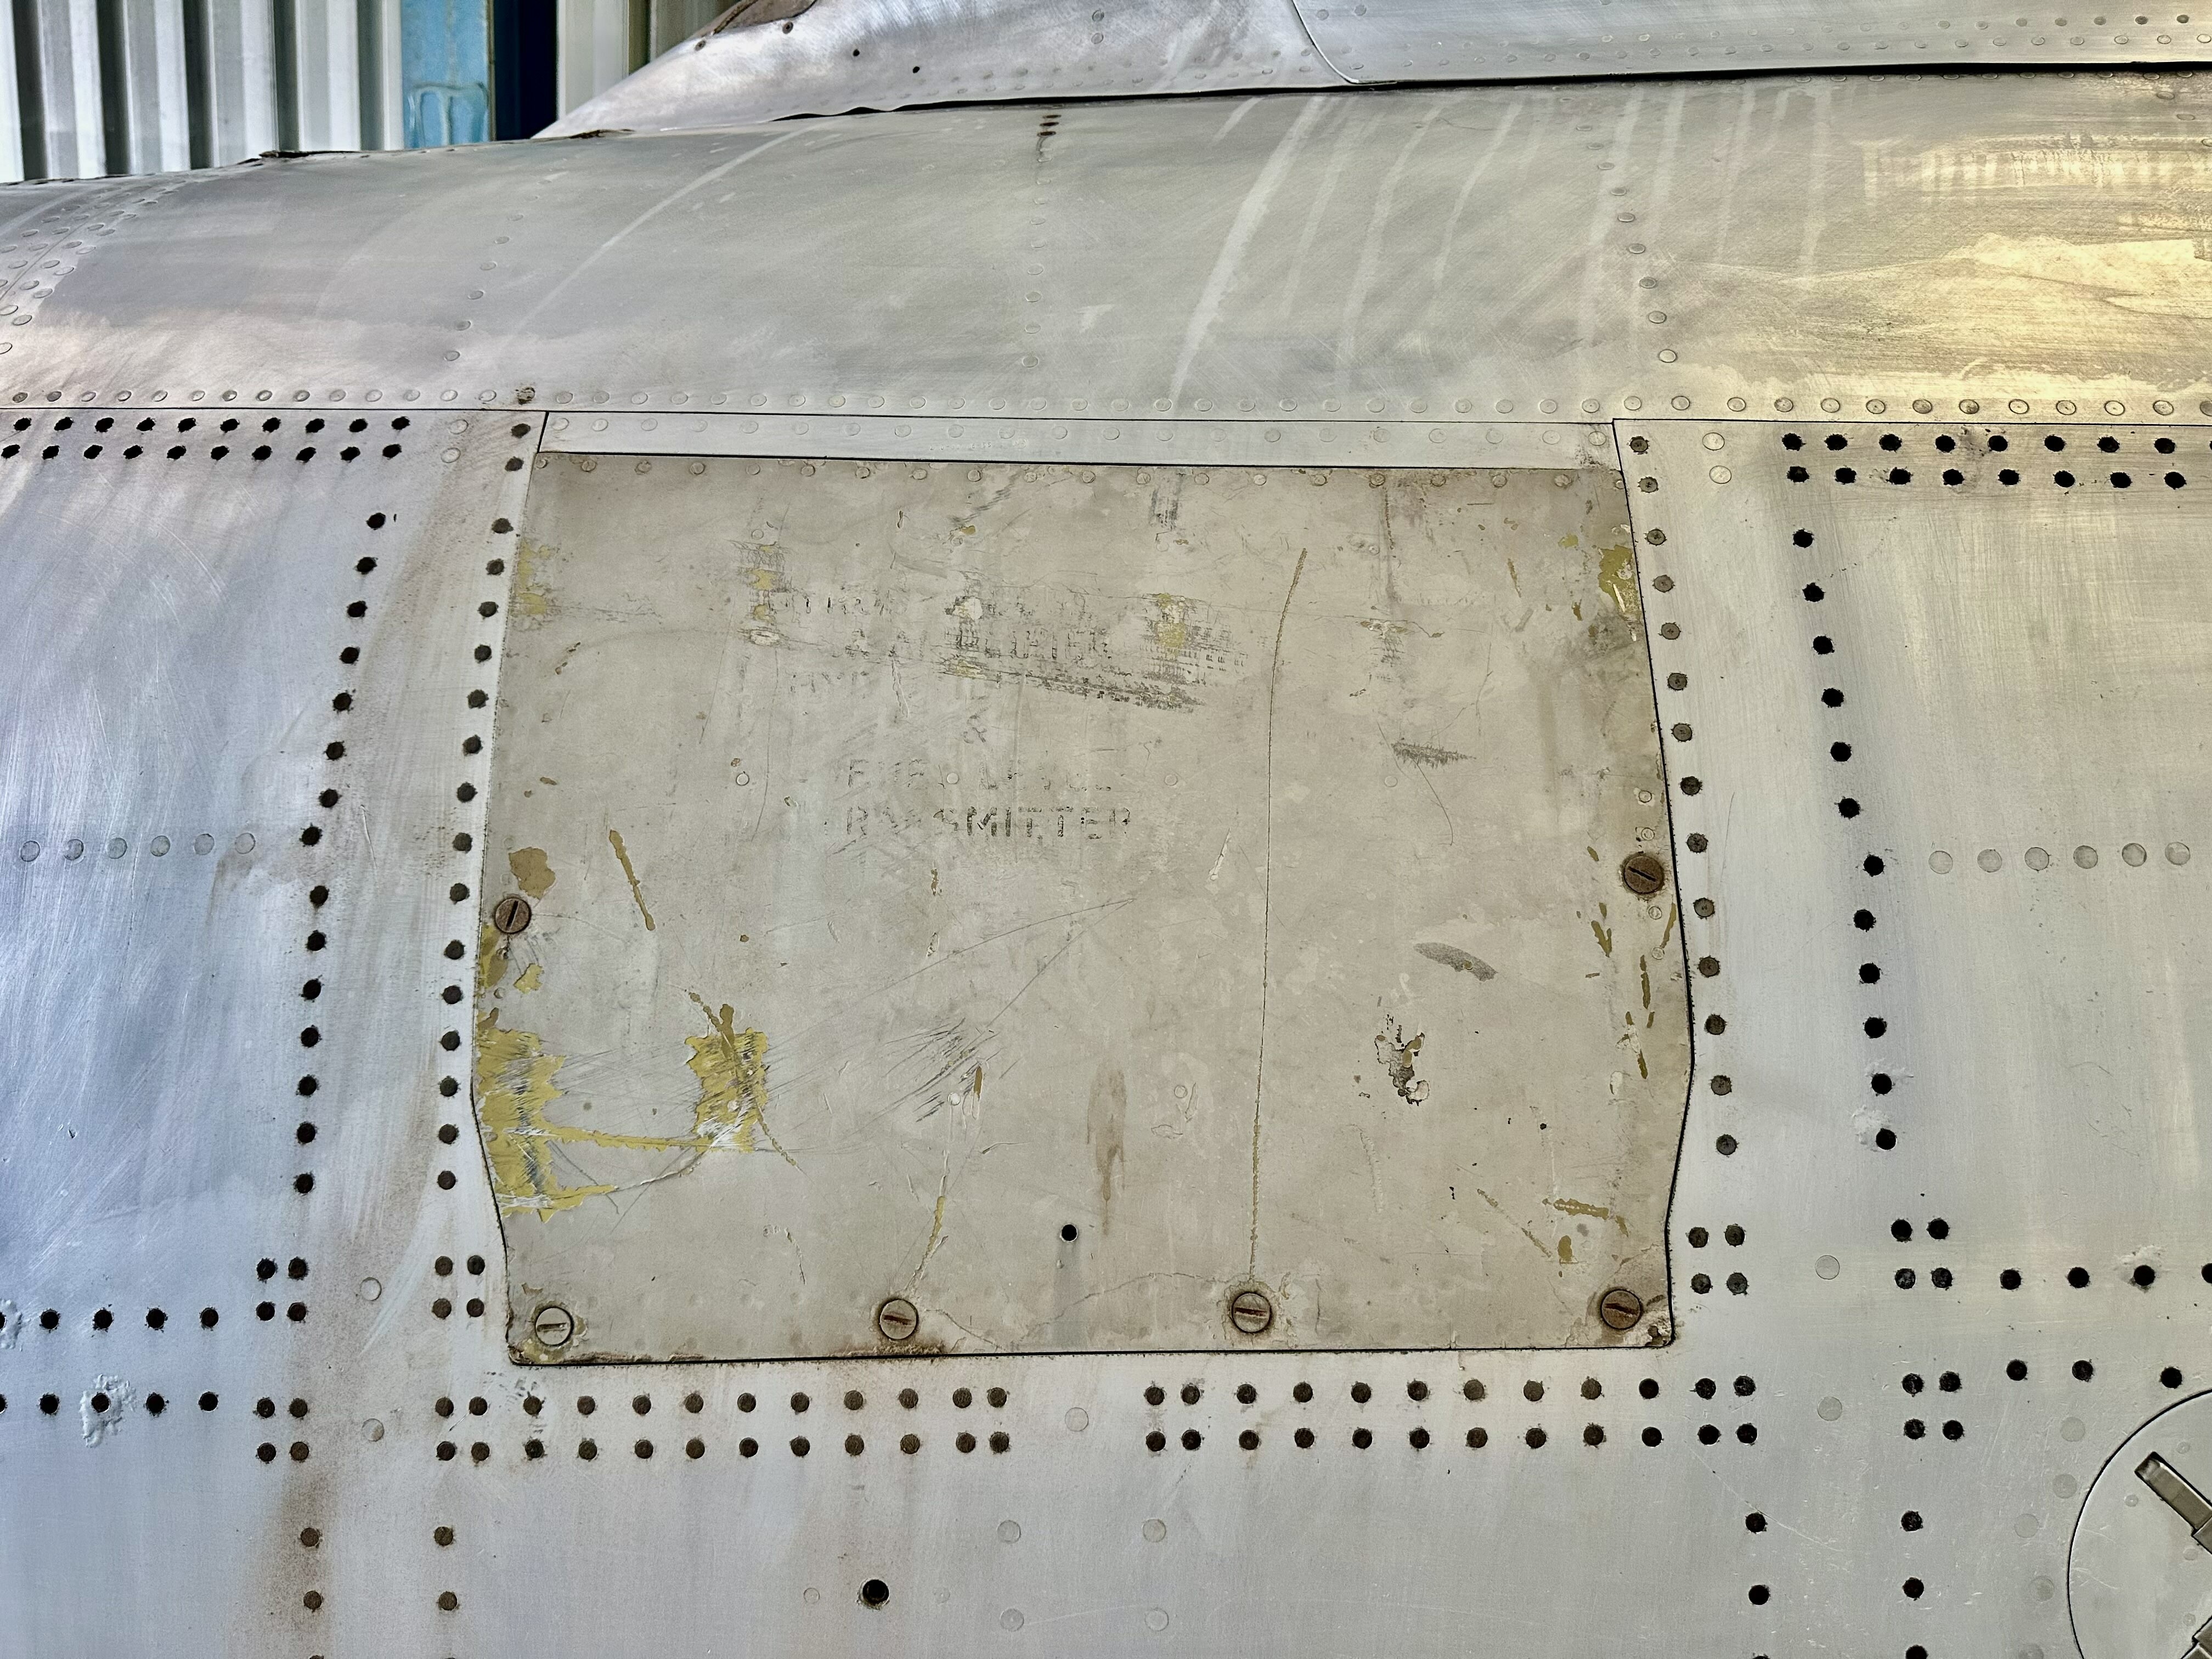
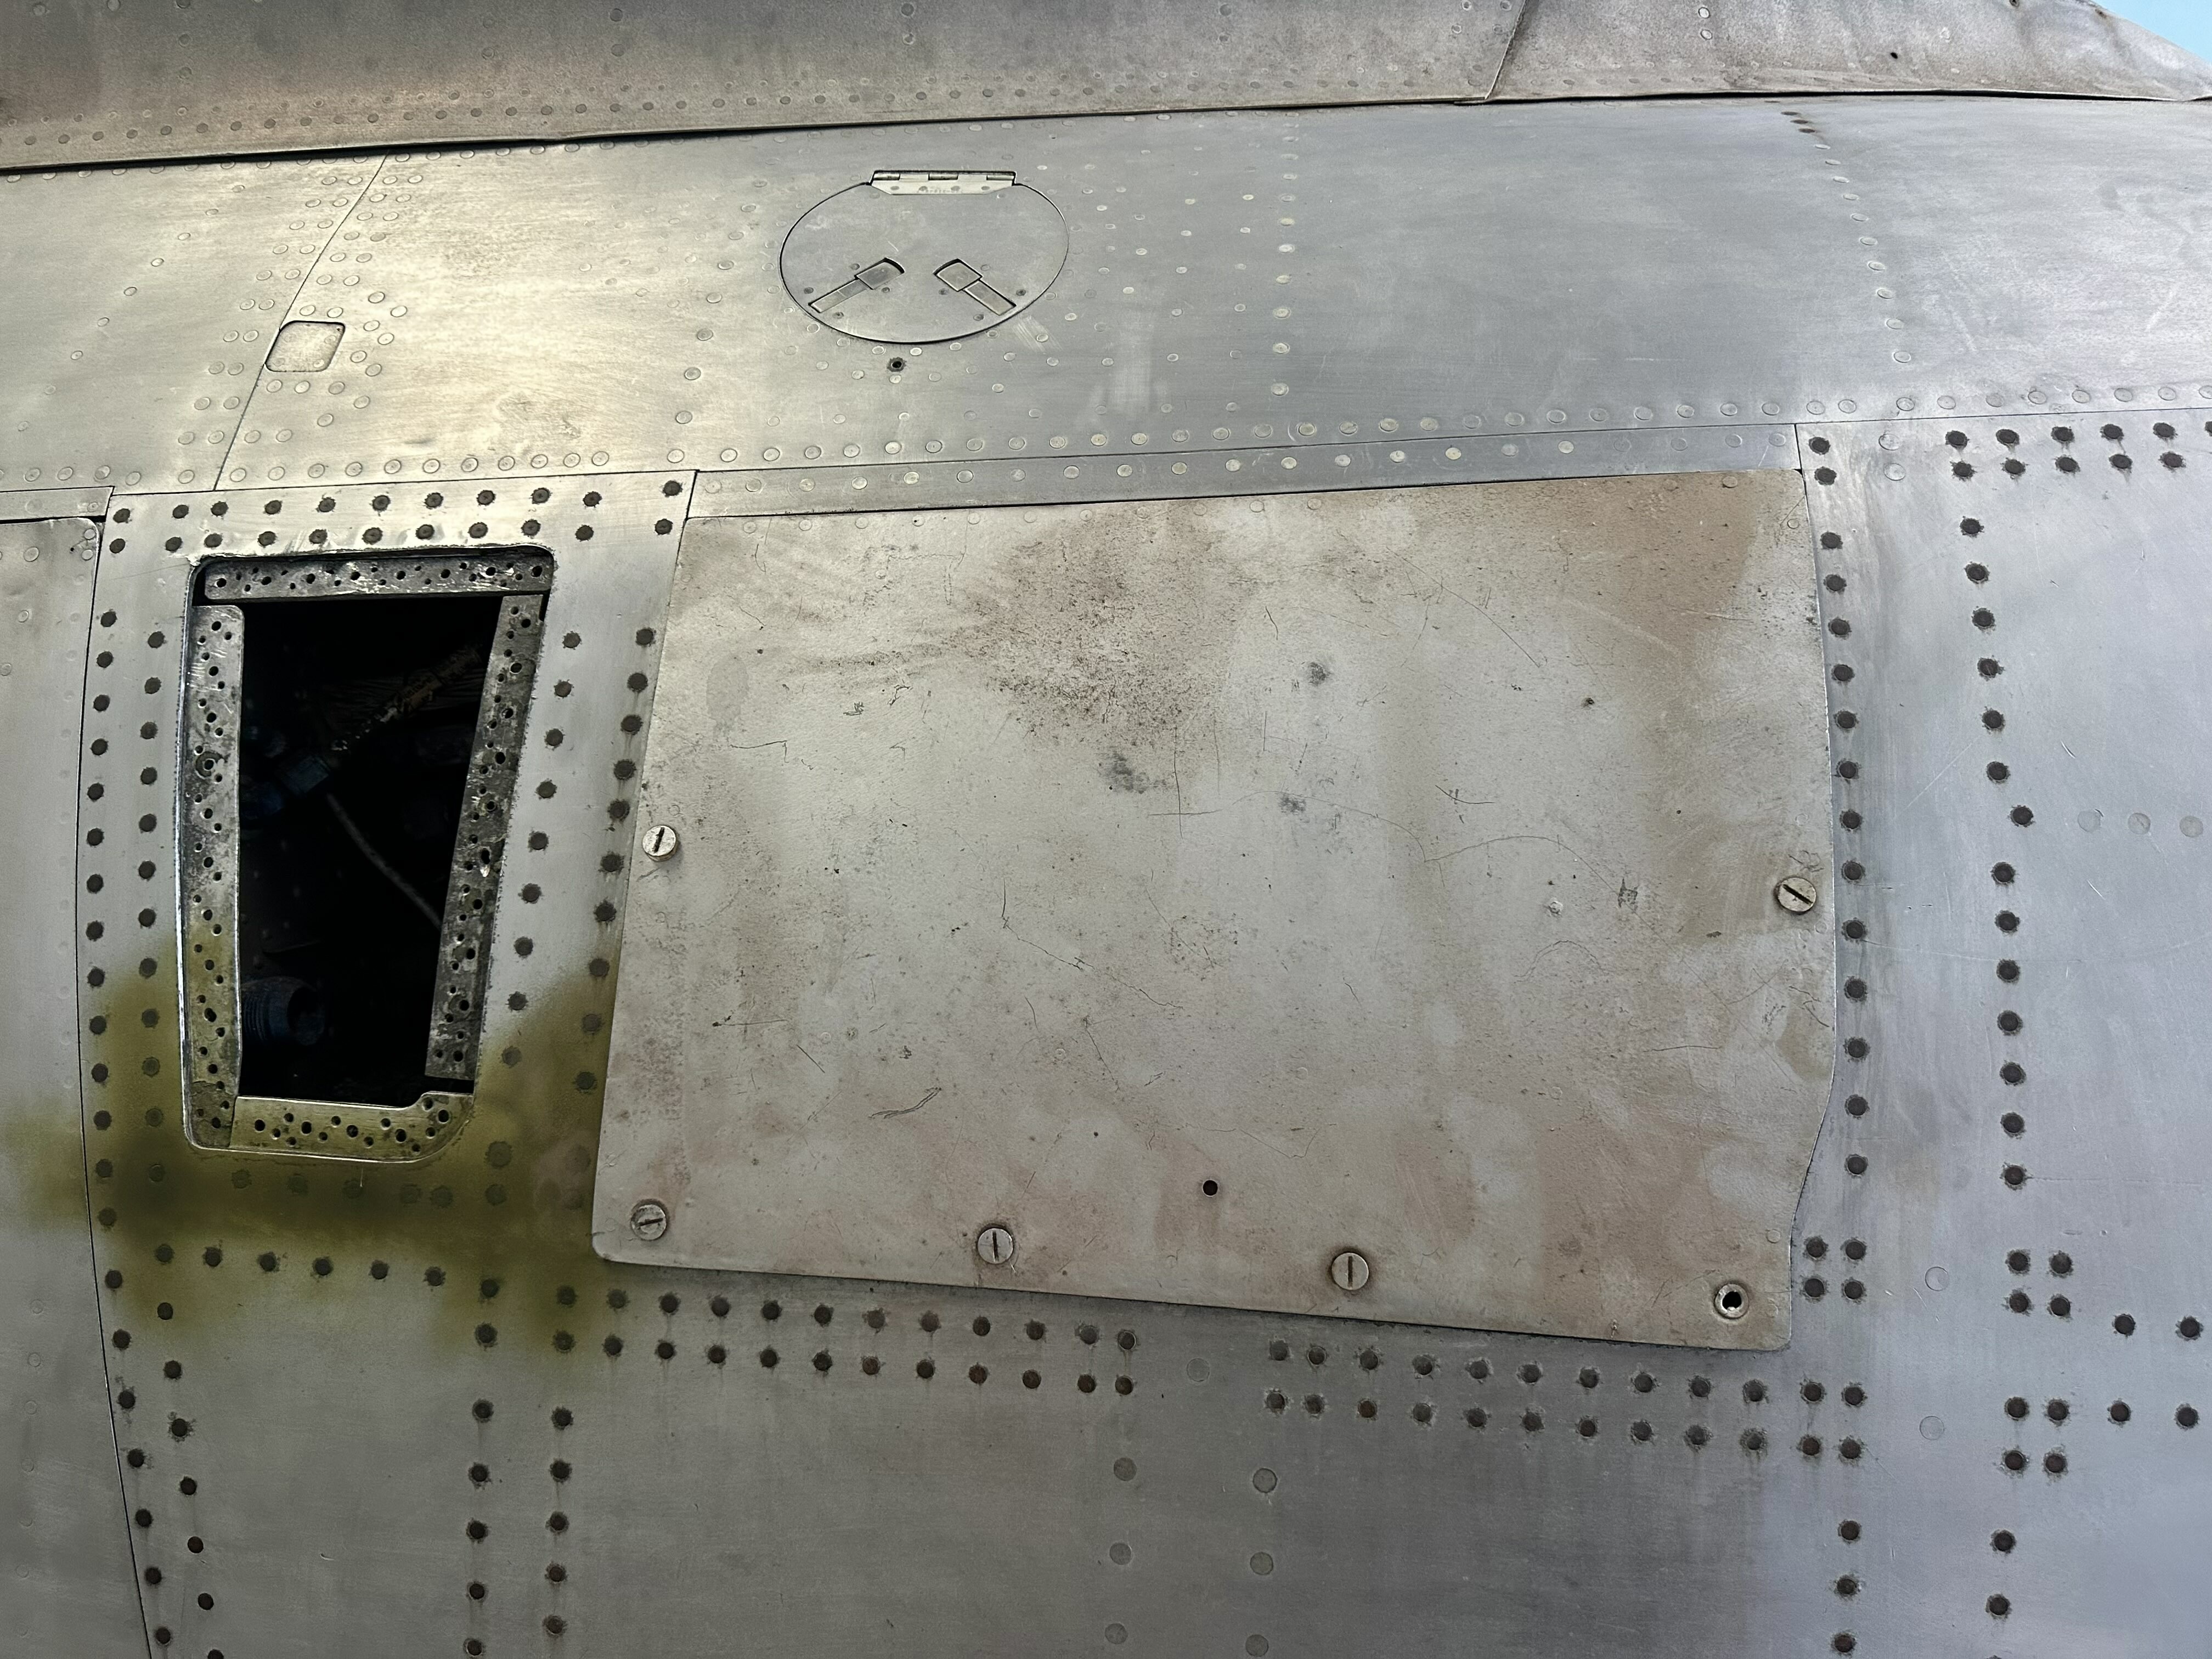
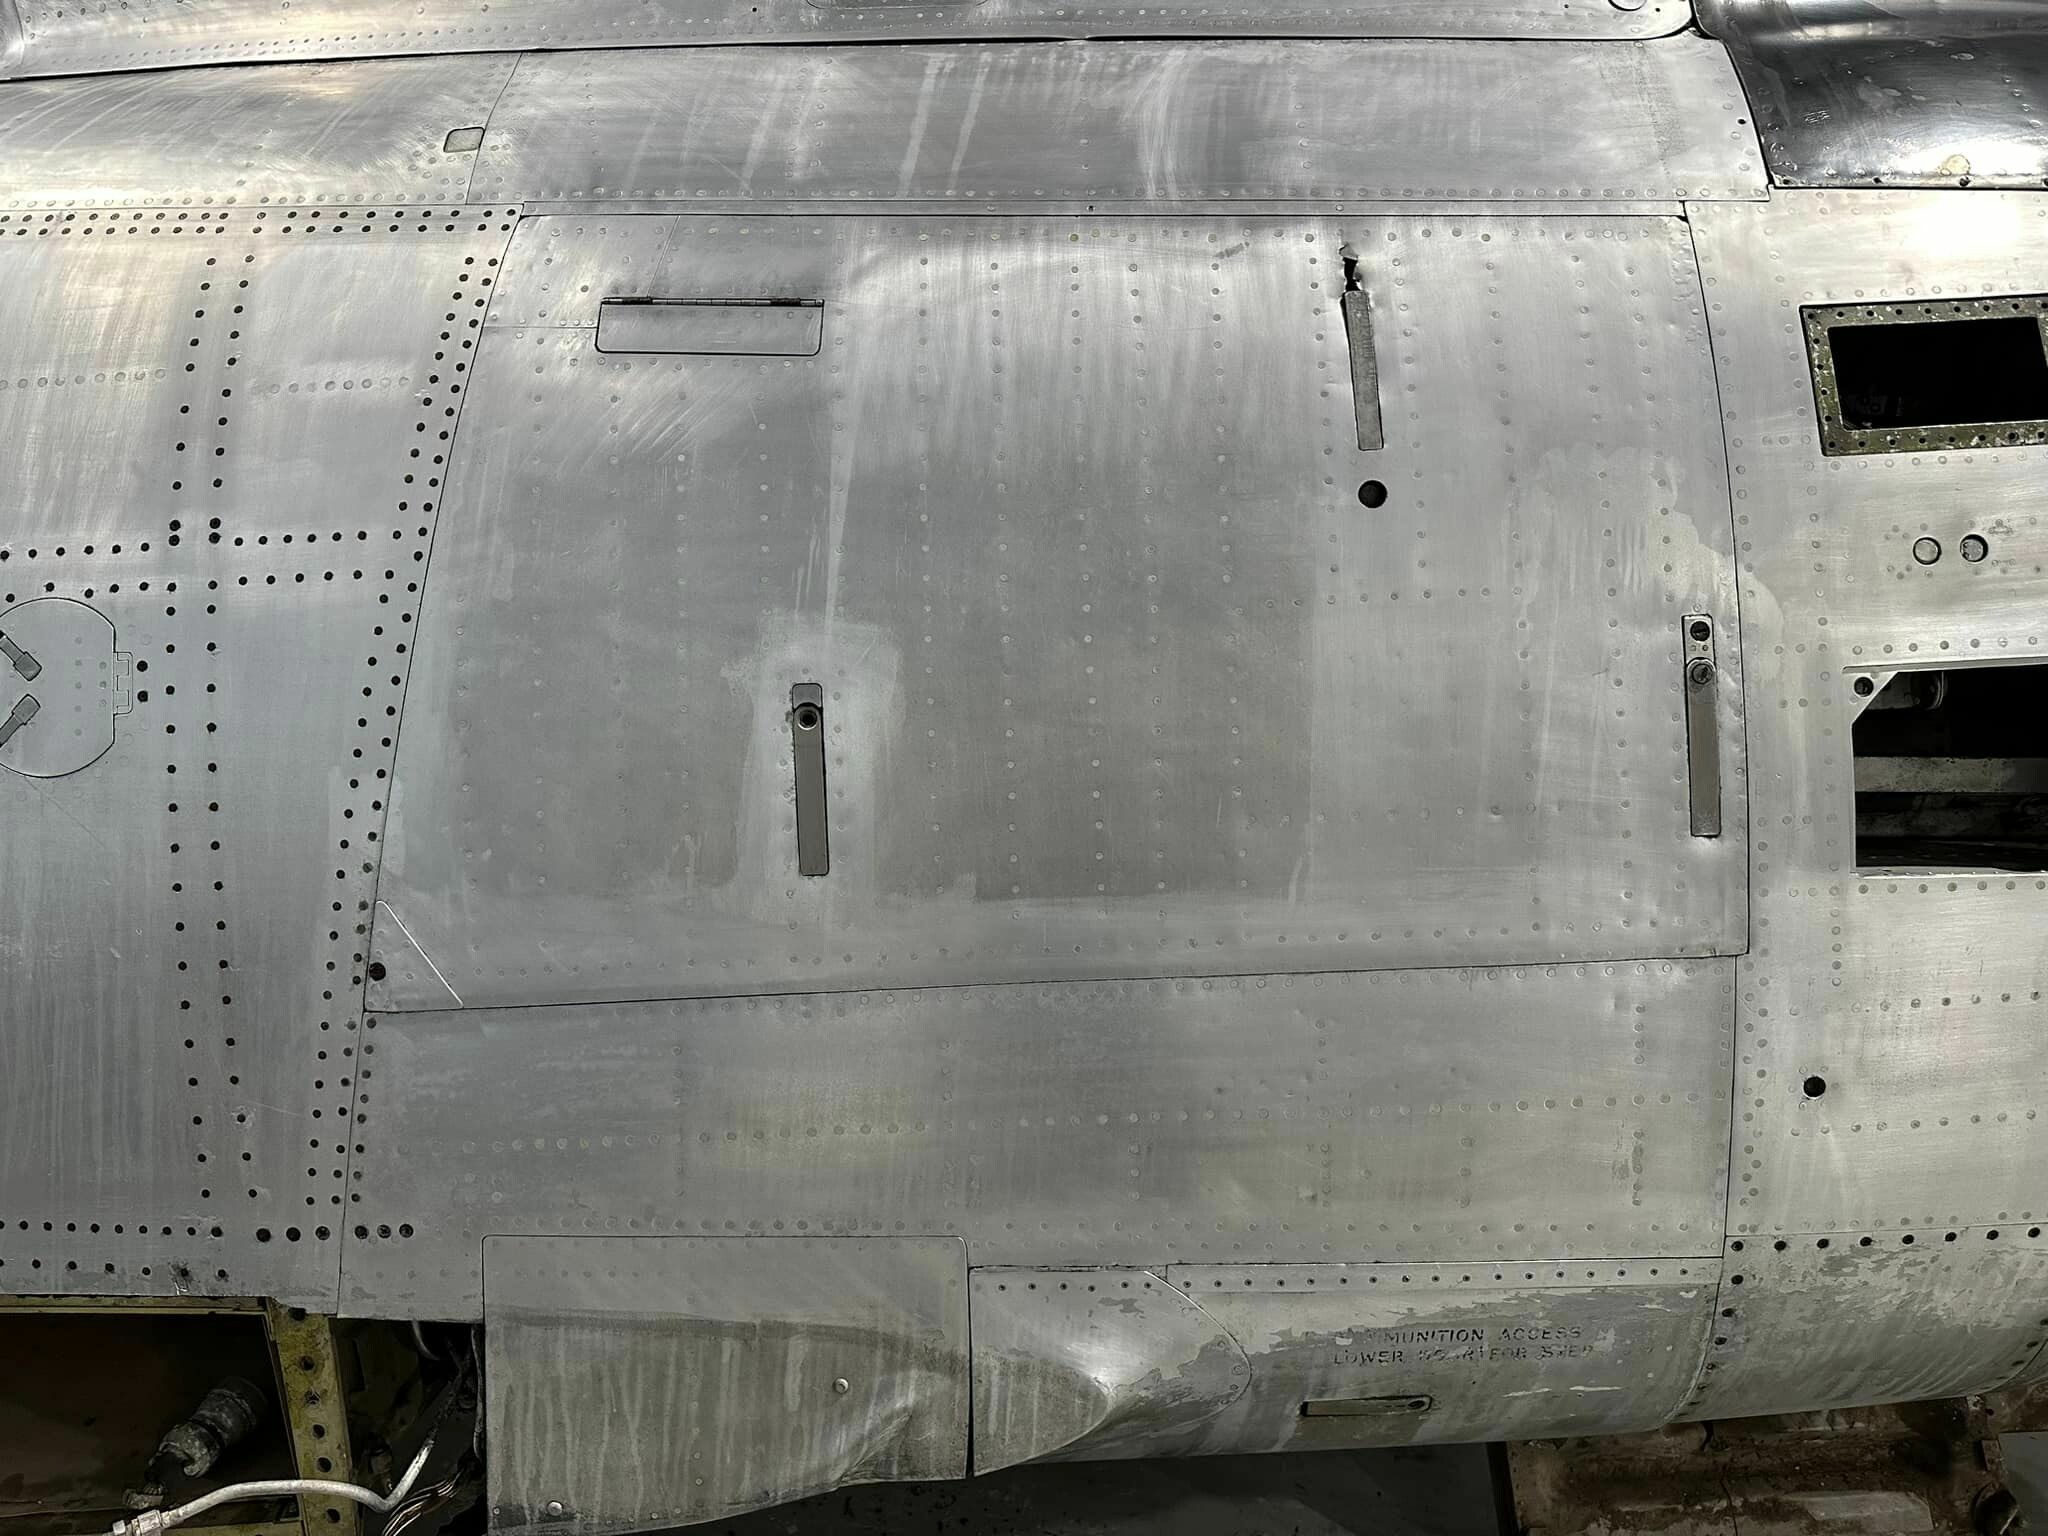
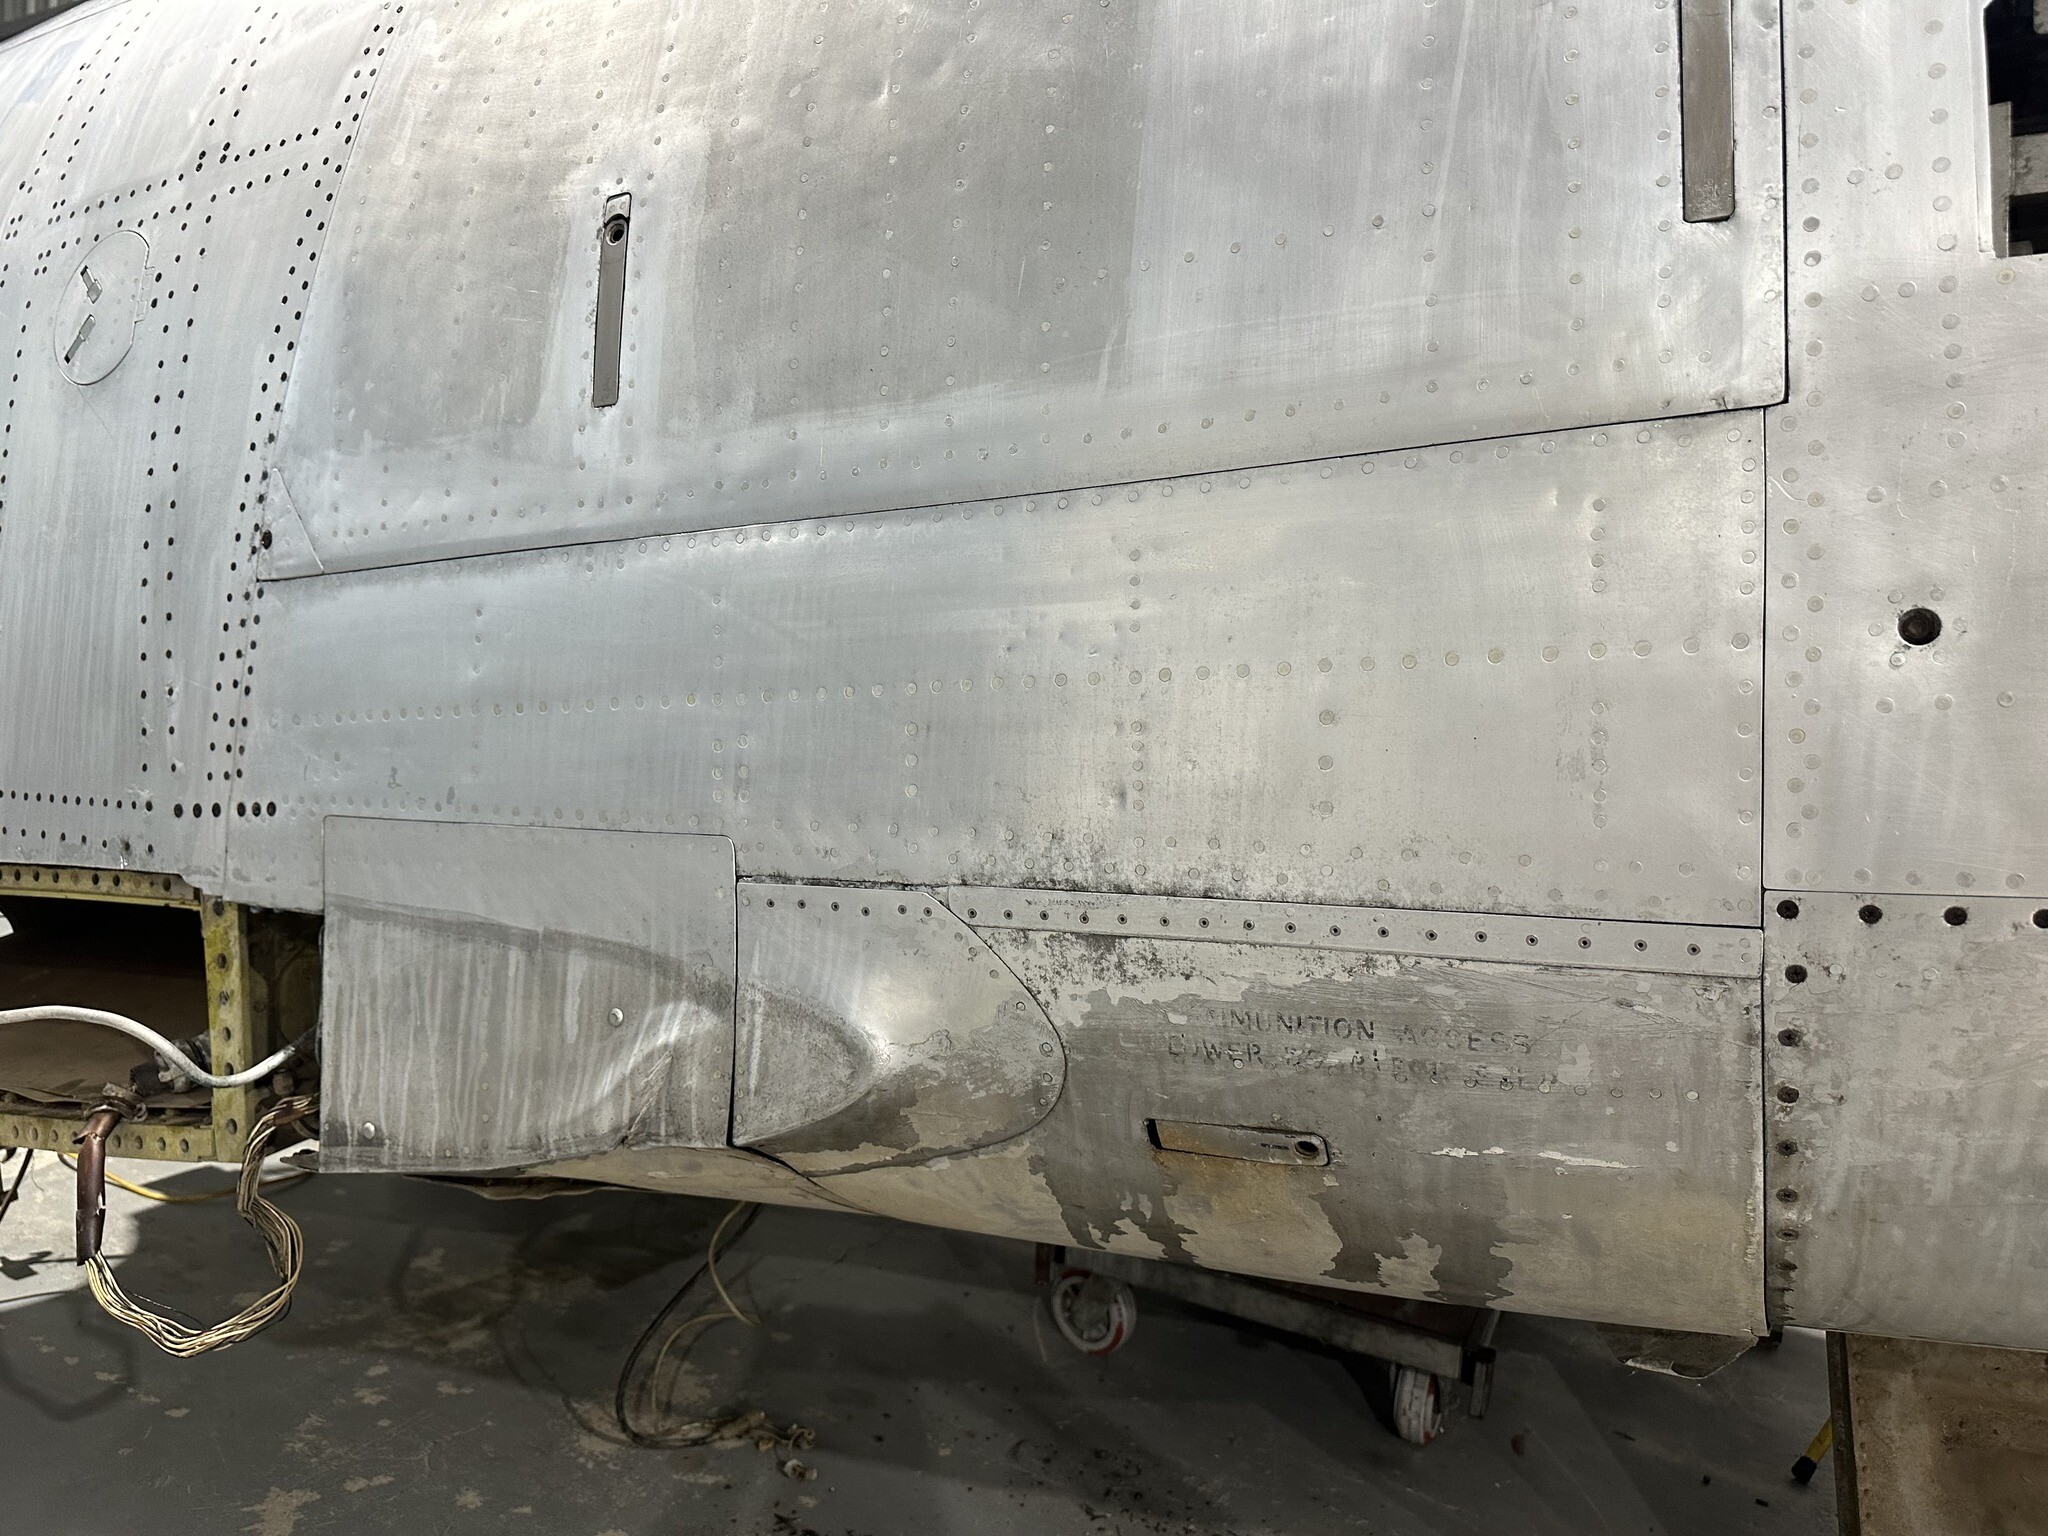
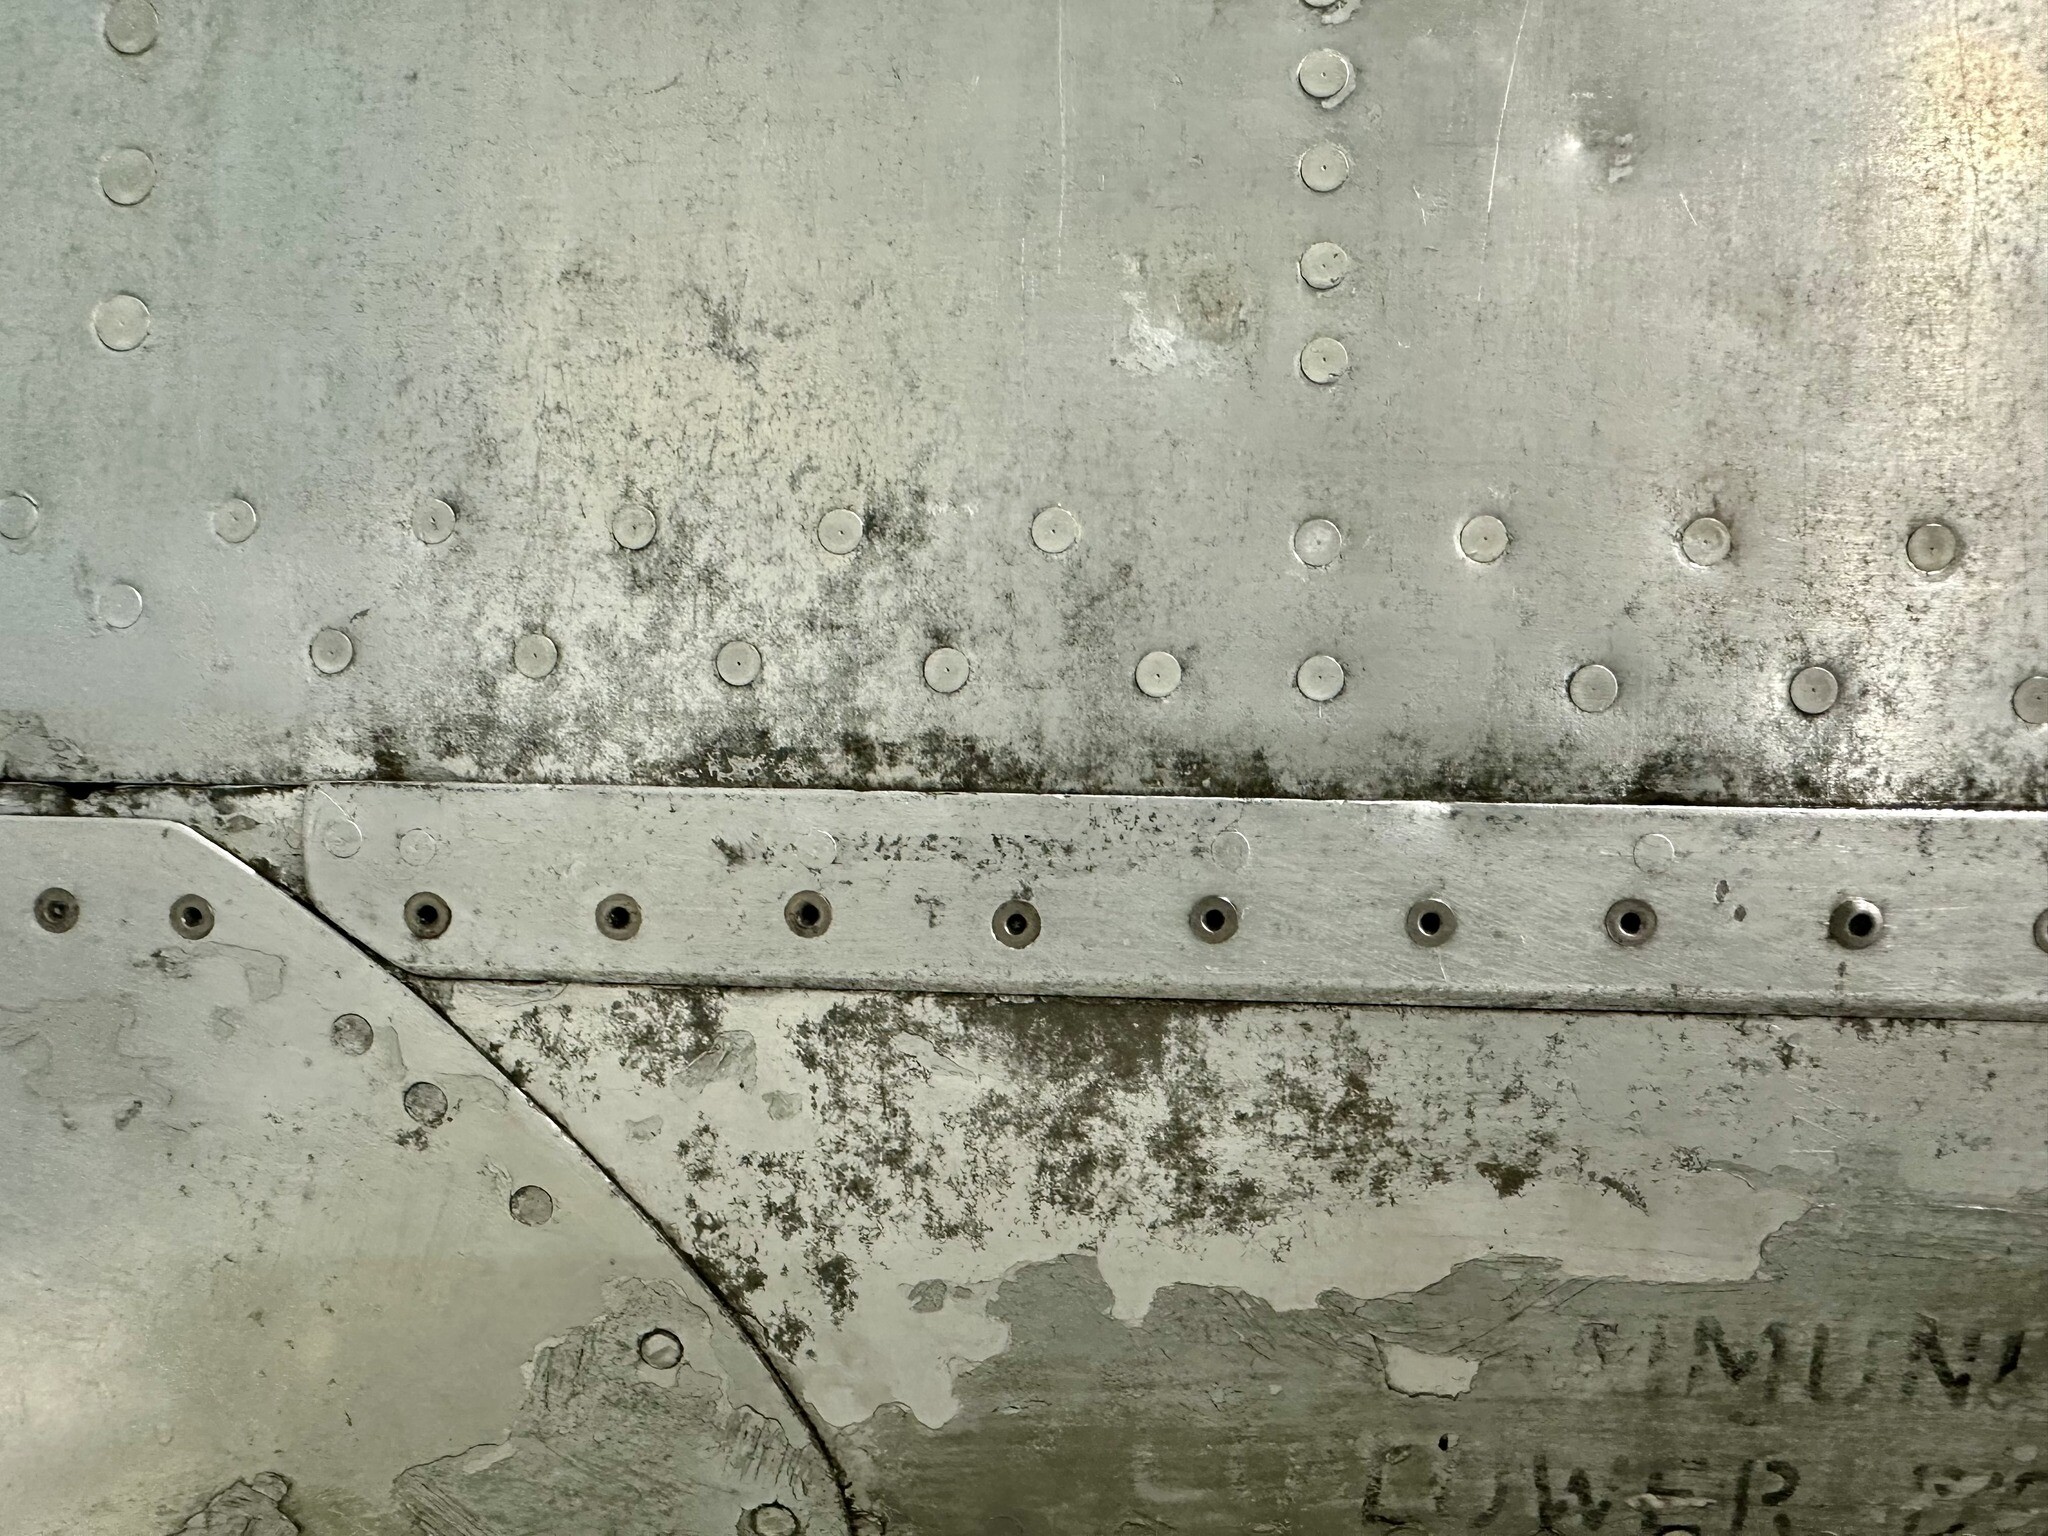
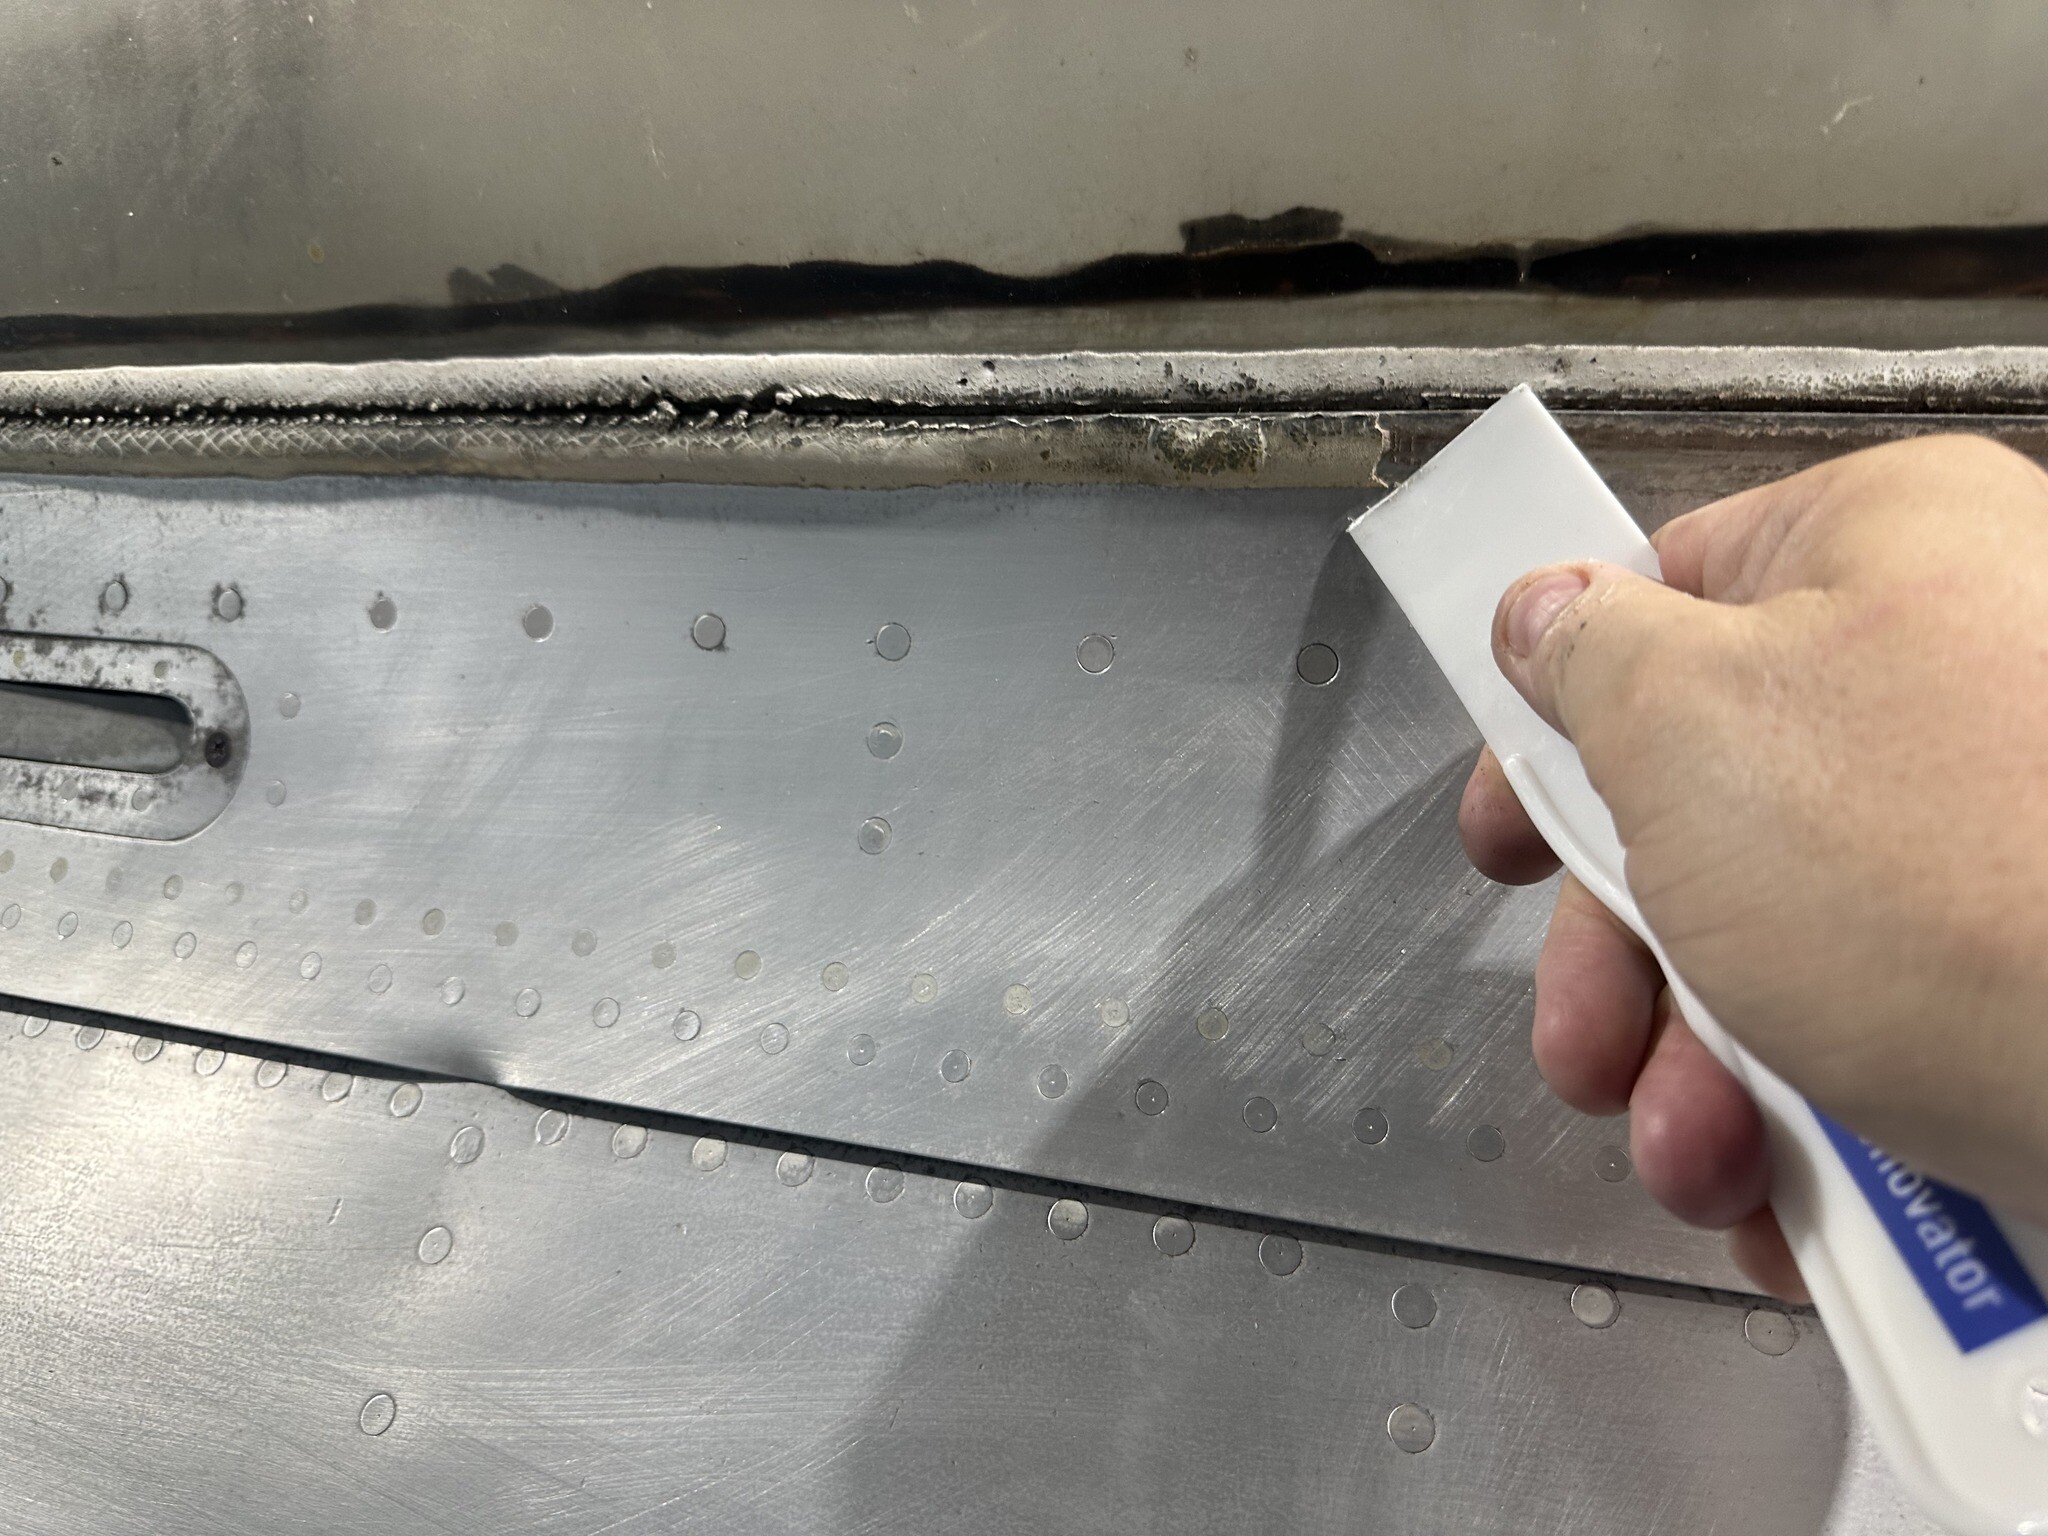
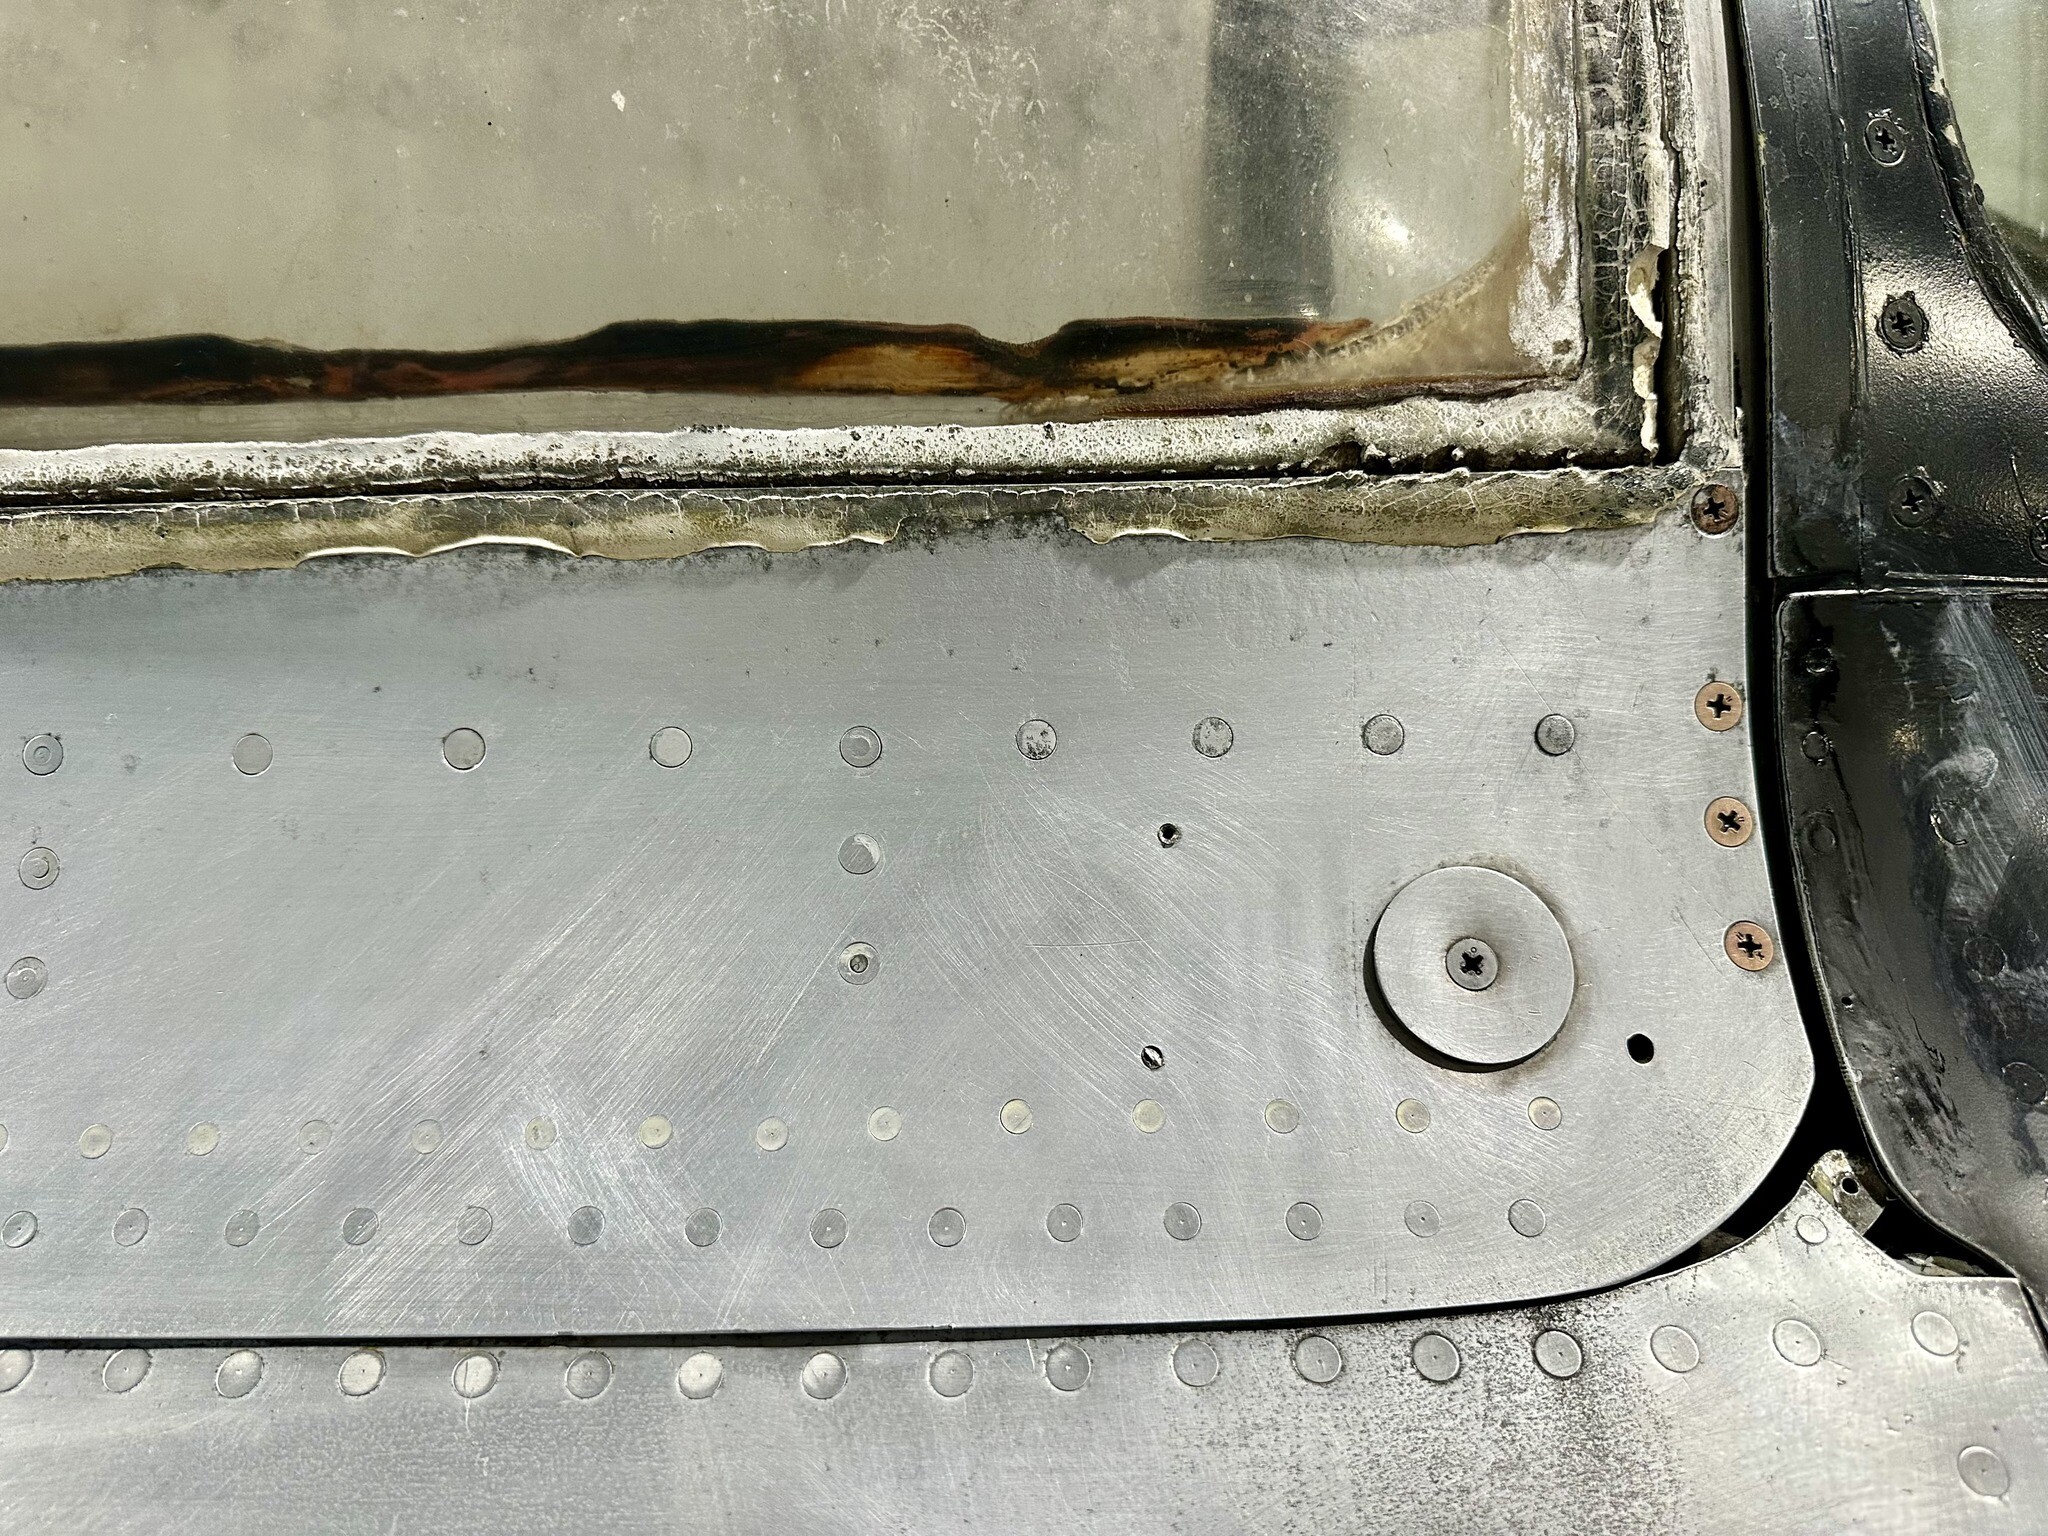
A couple of more photos showing the cockpit fuselage skin corrosion removal - as of today.
-
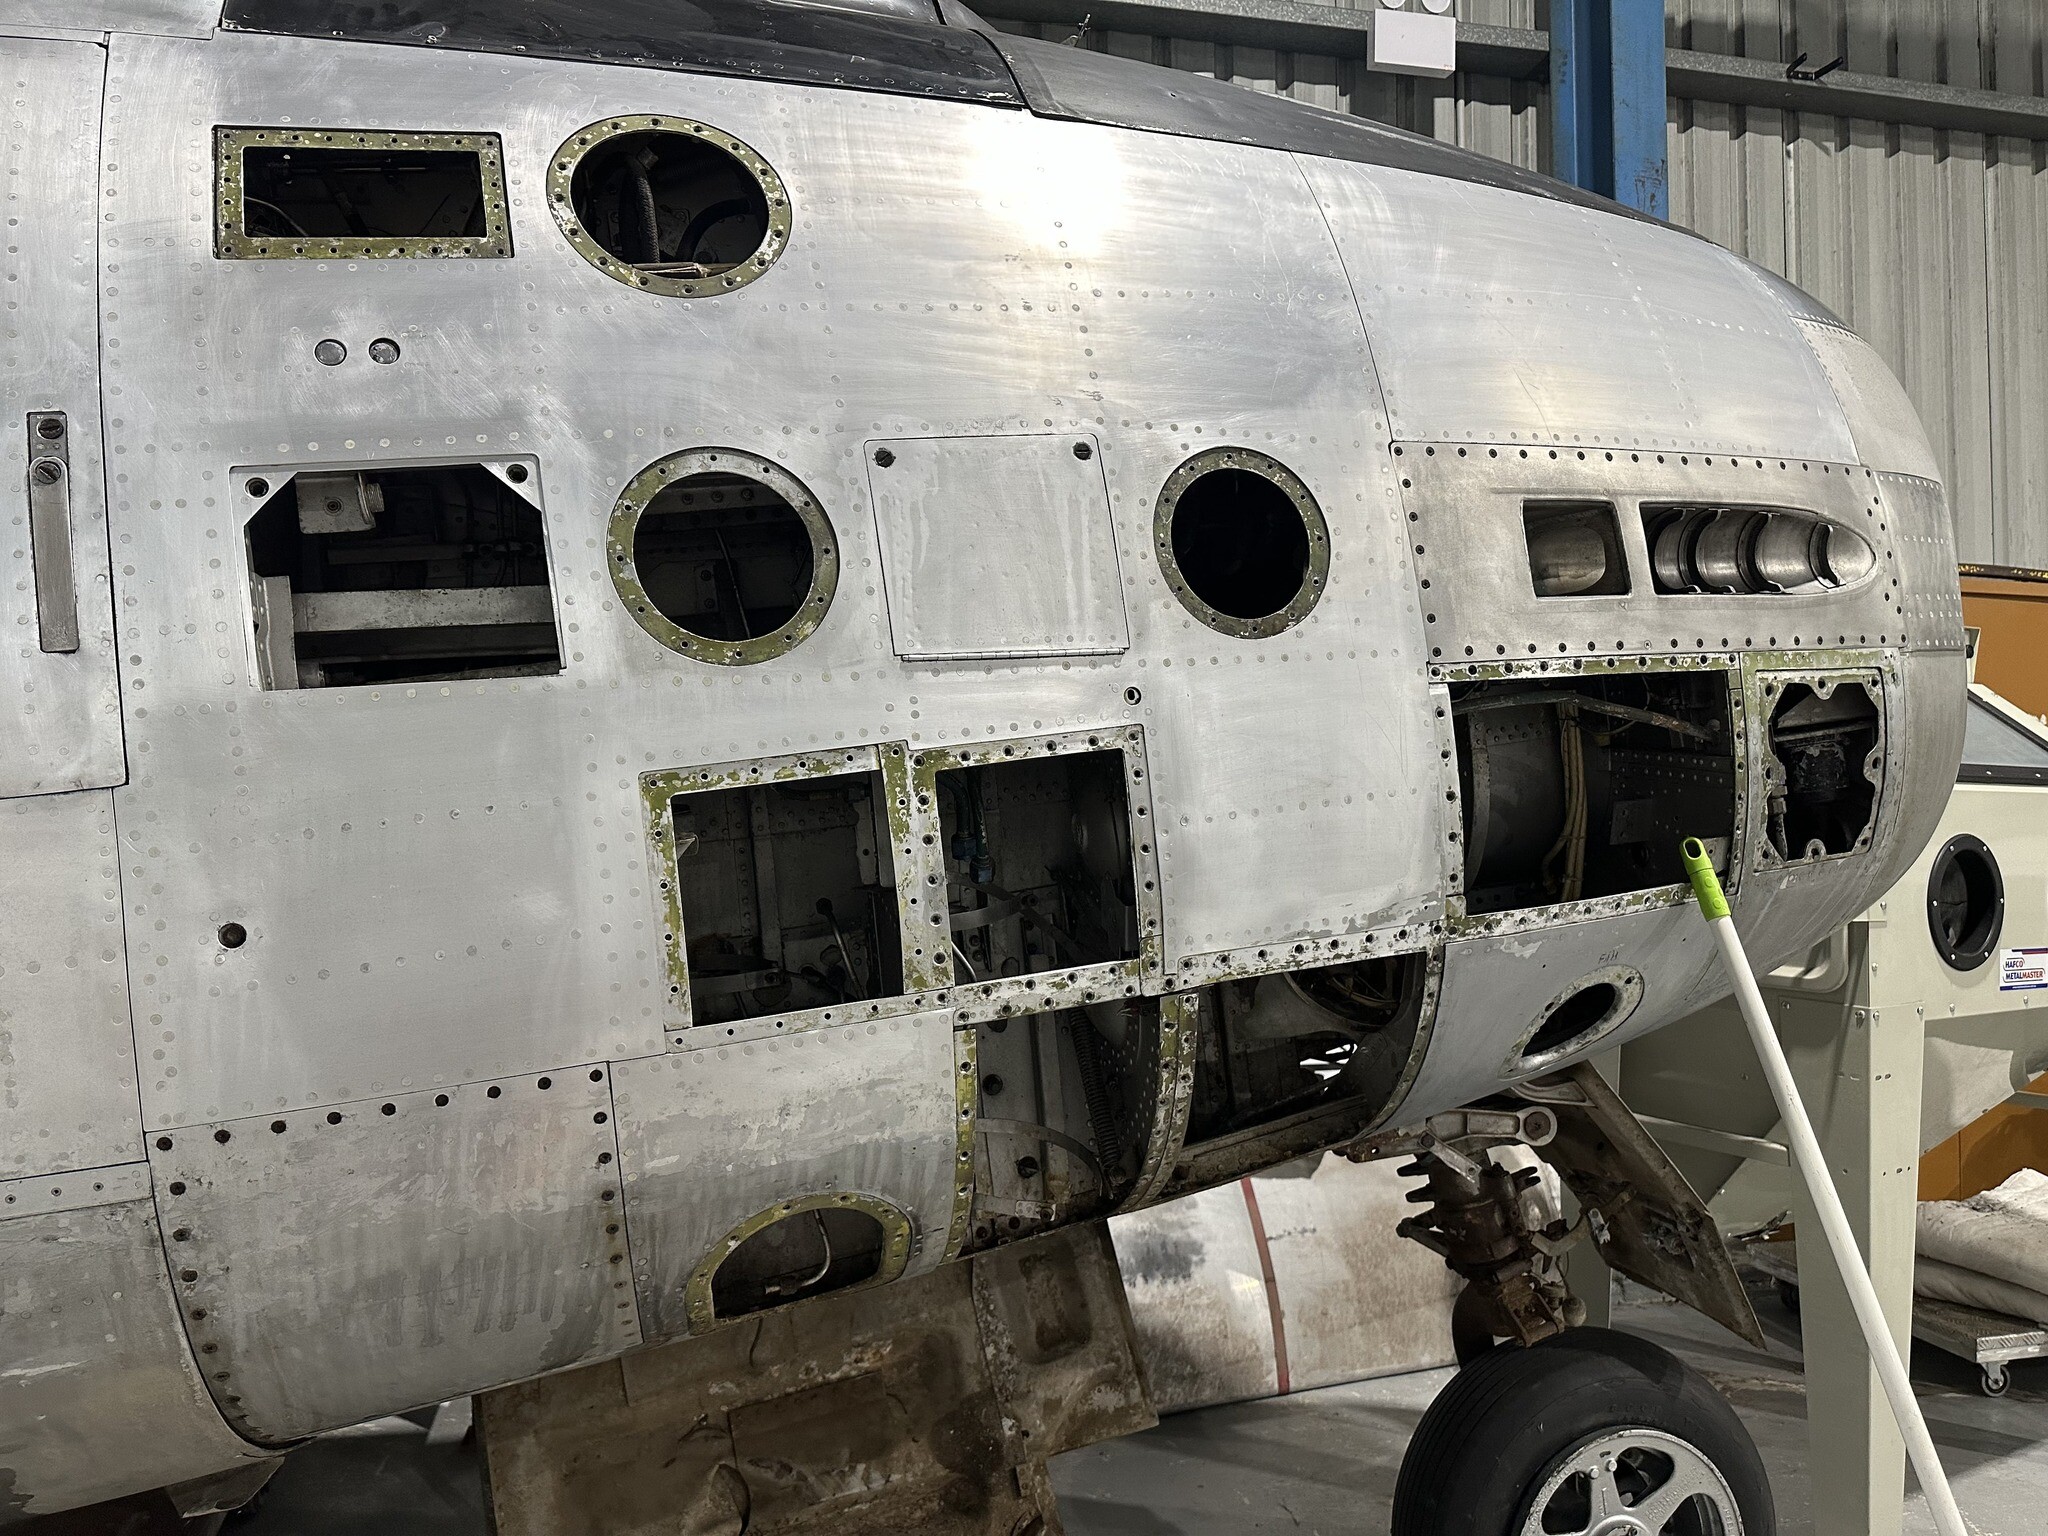
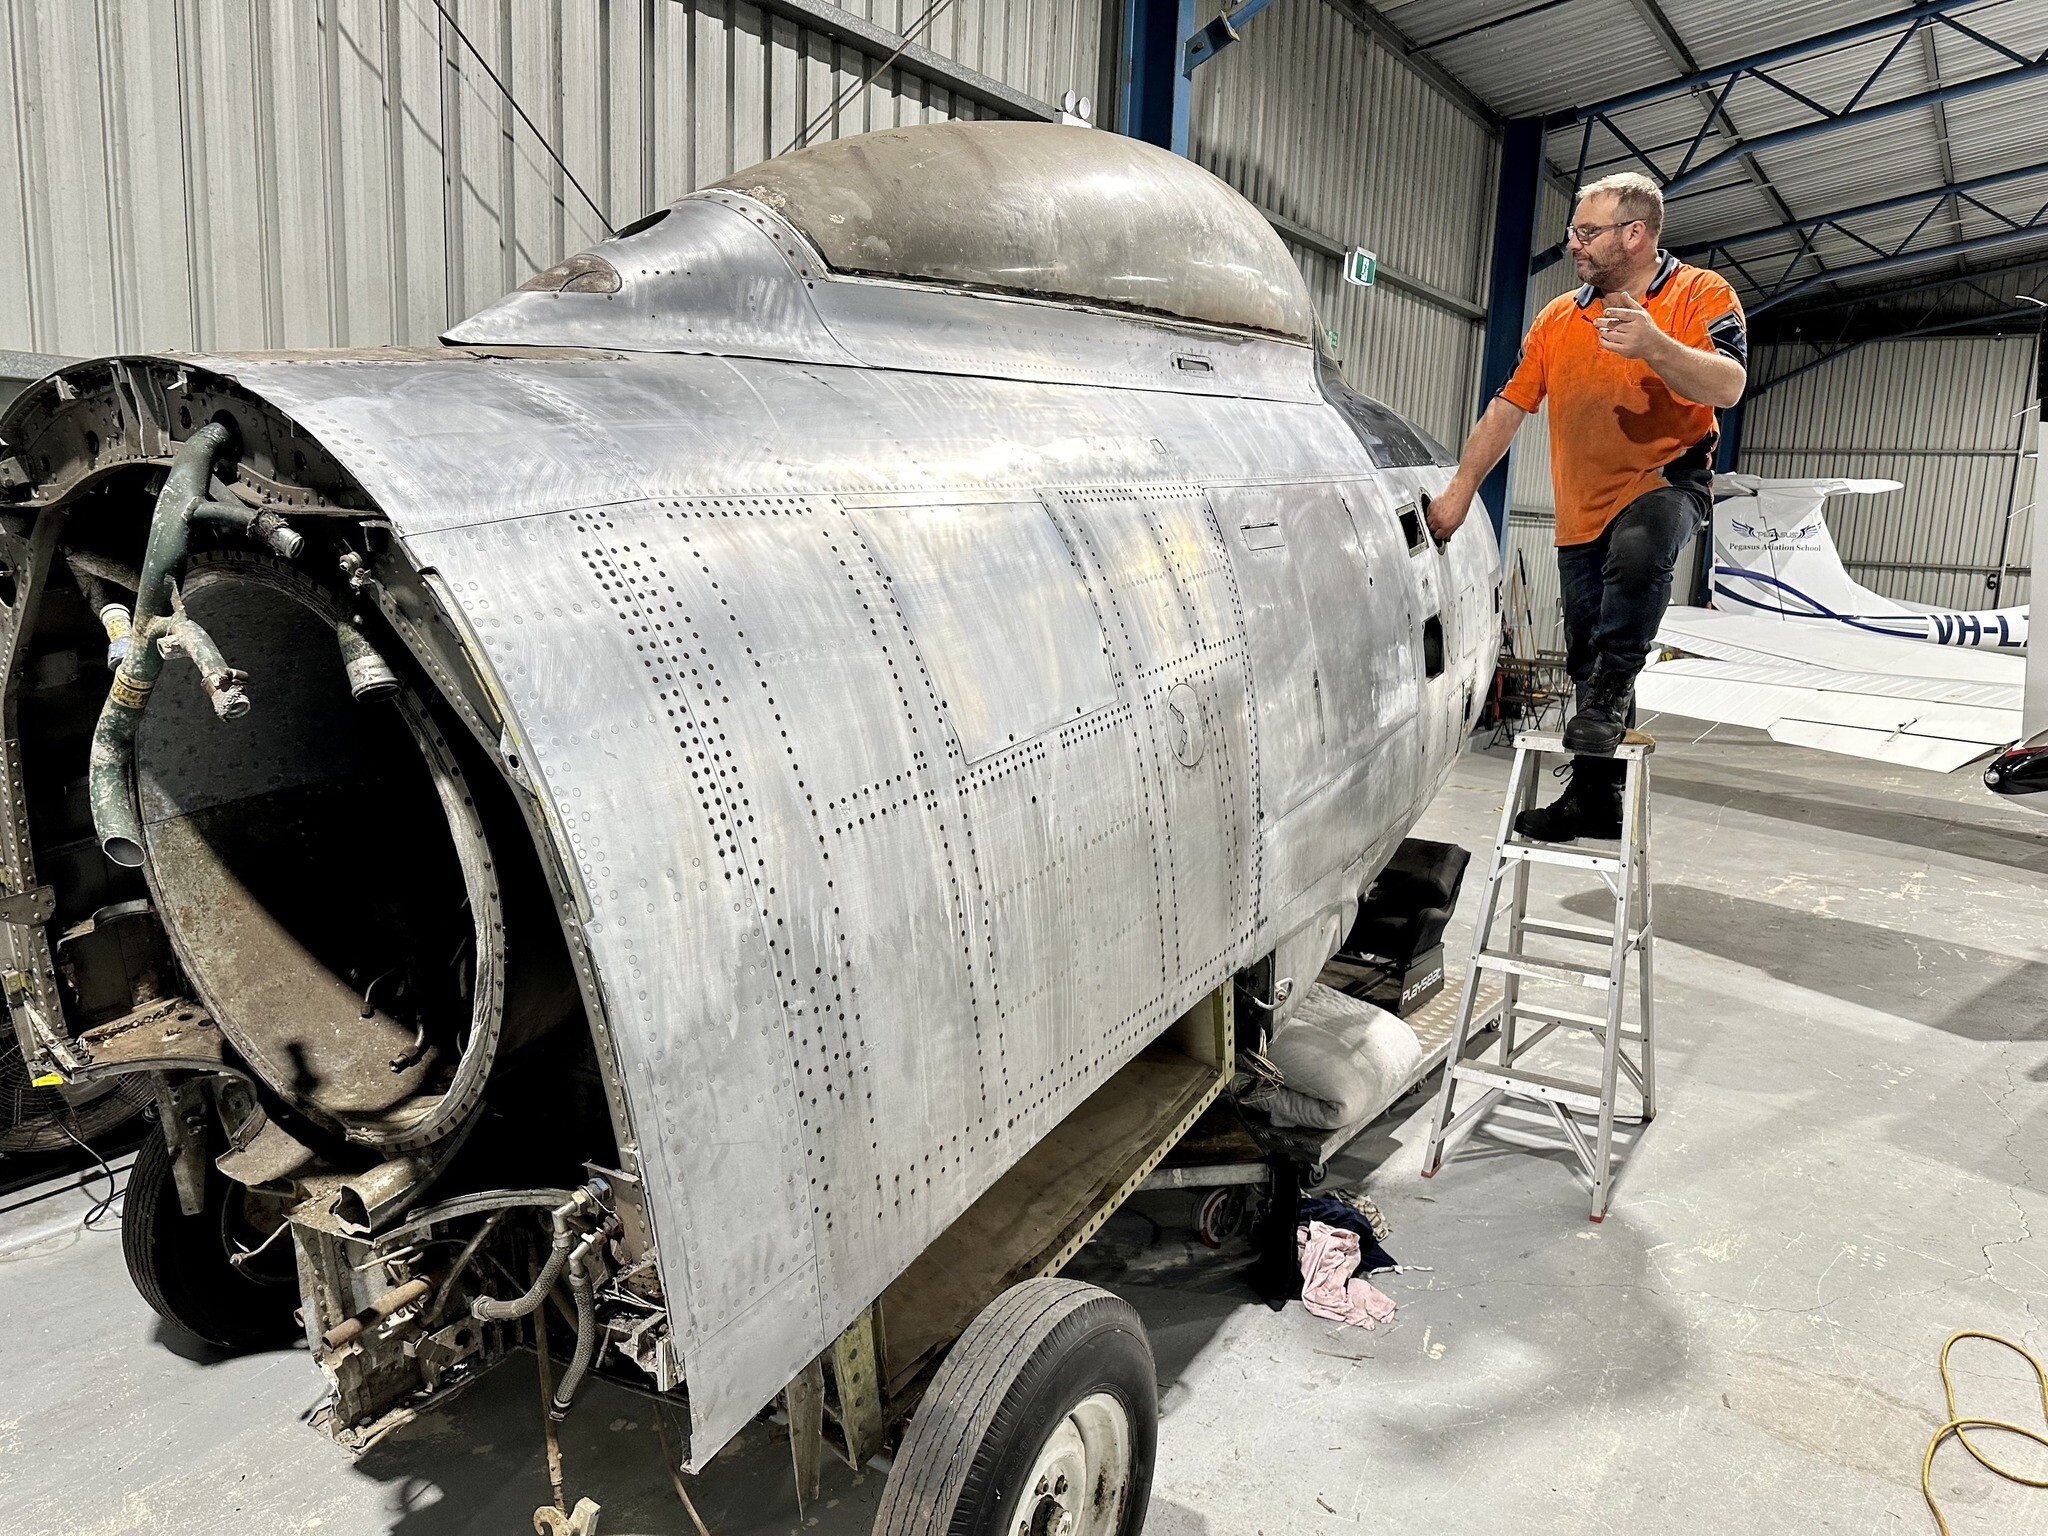
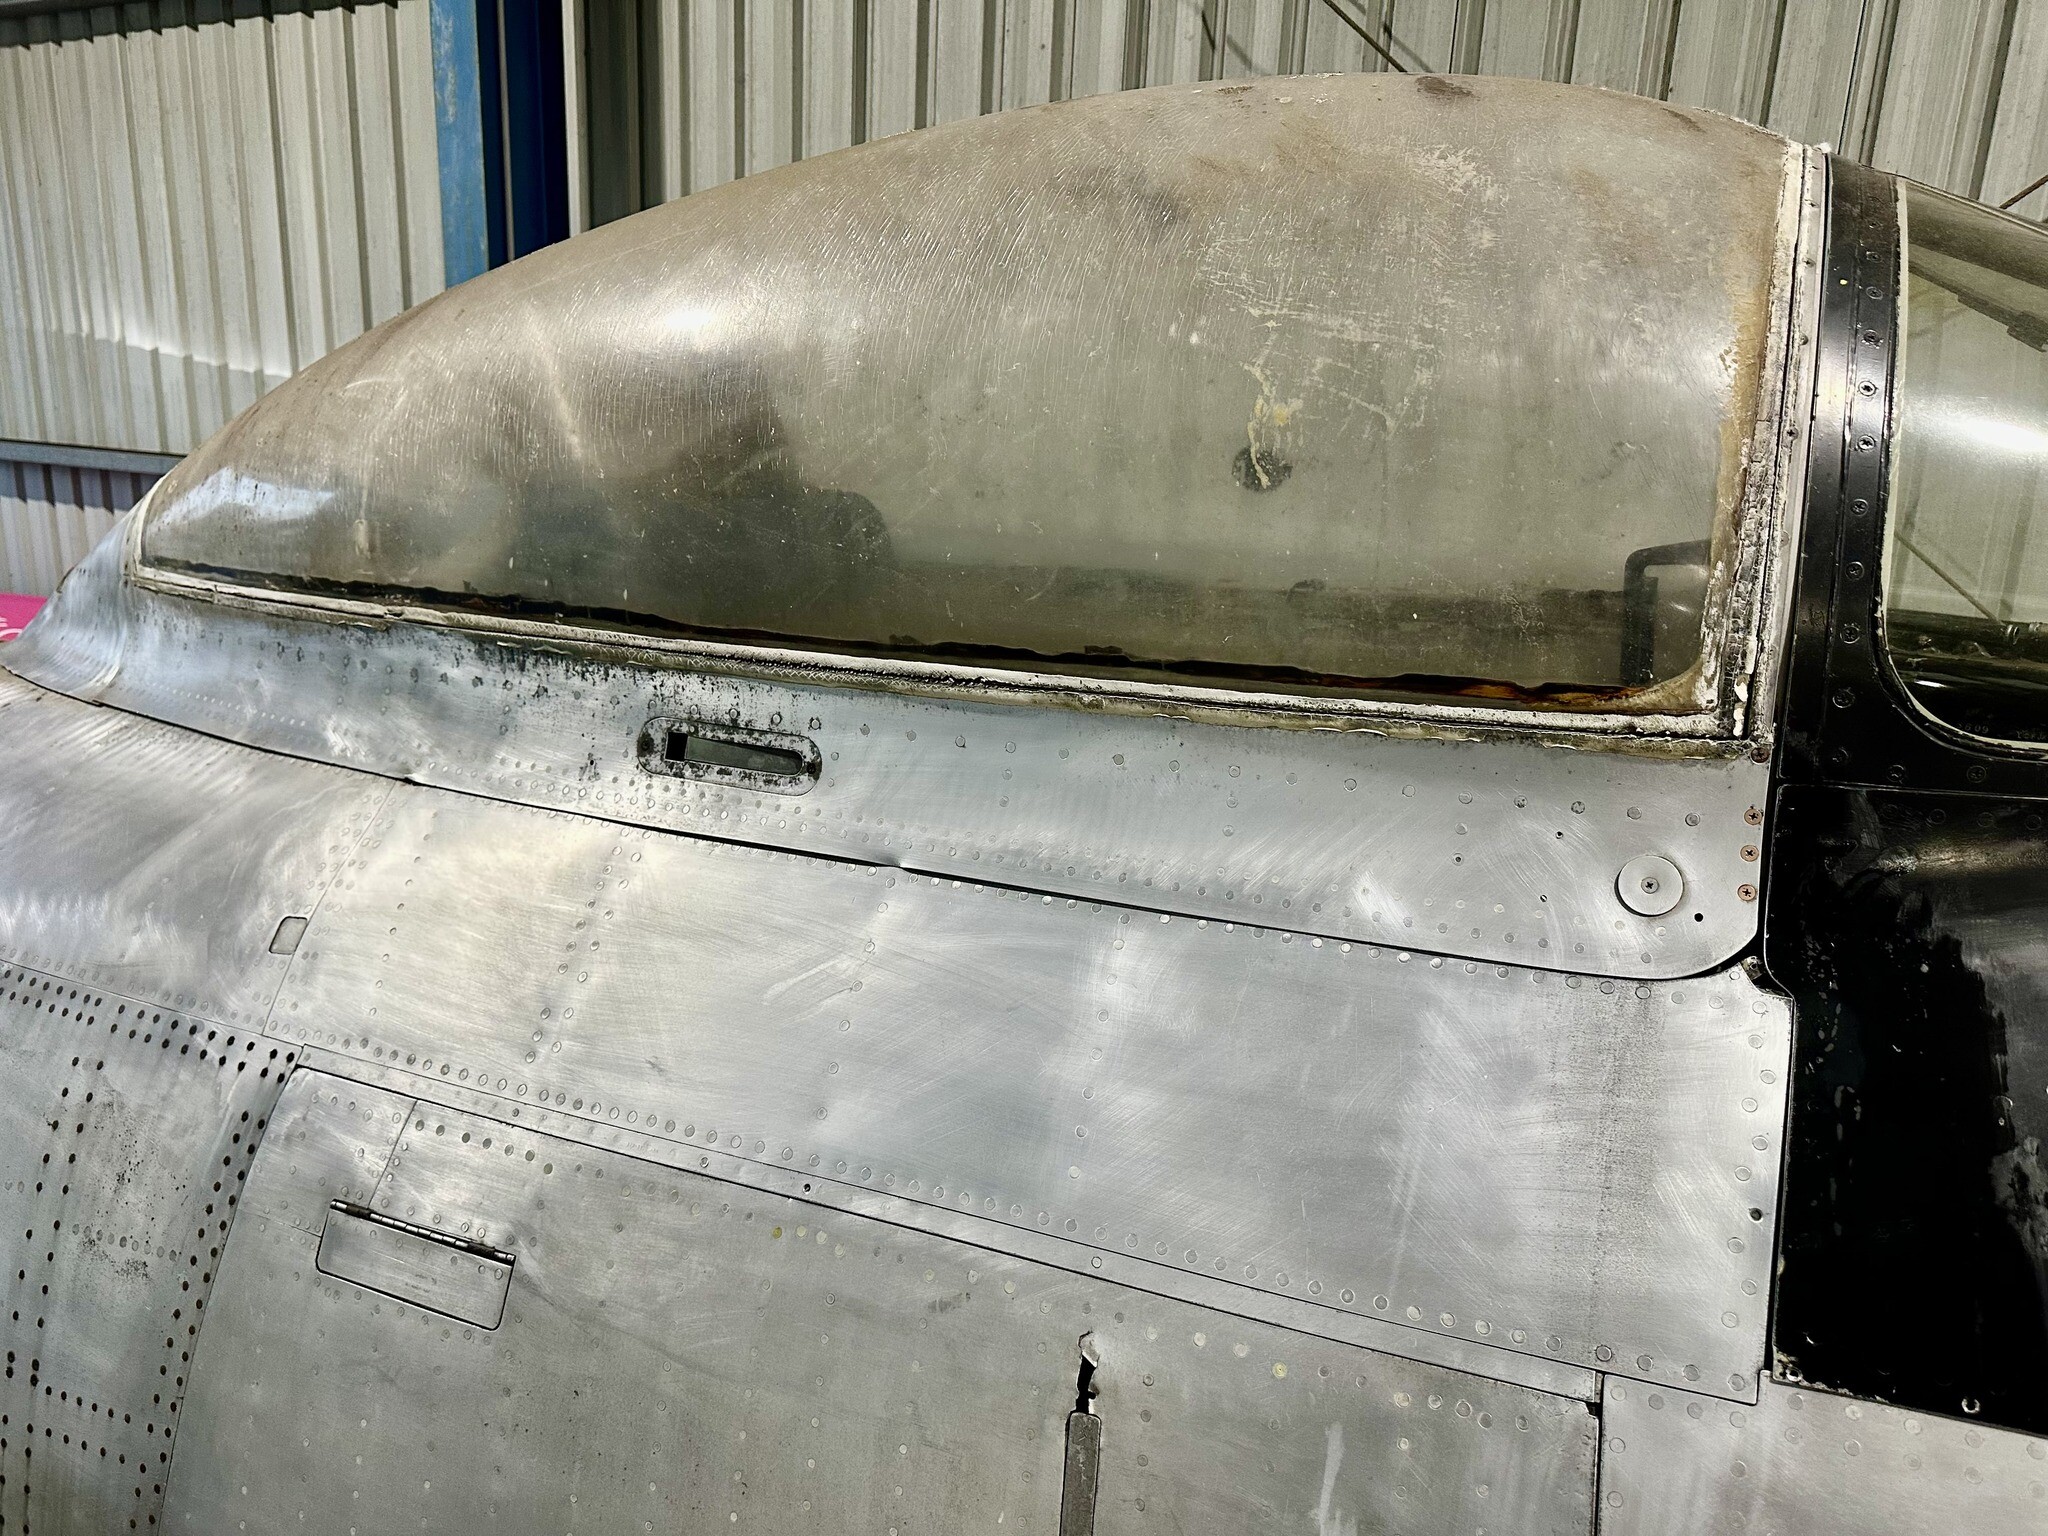
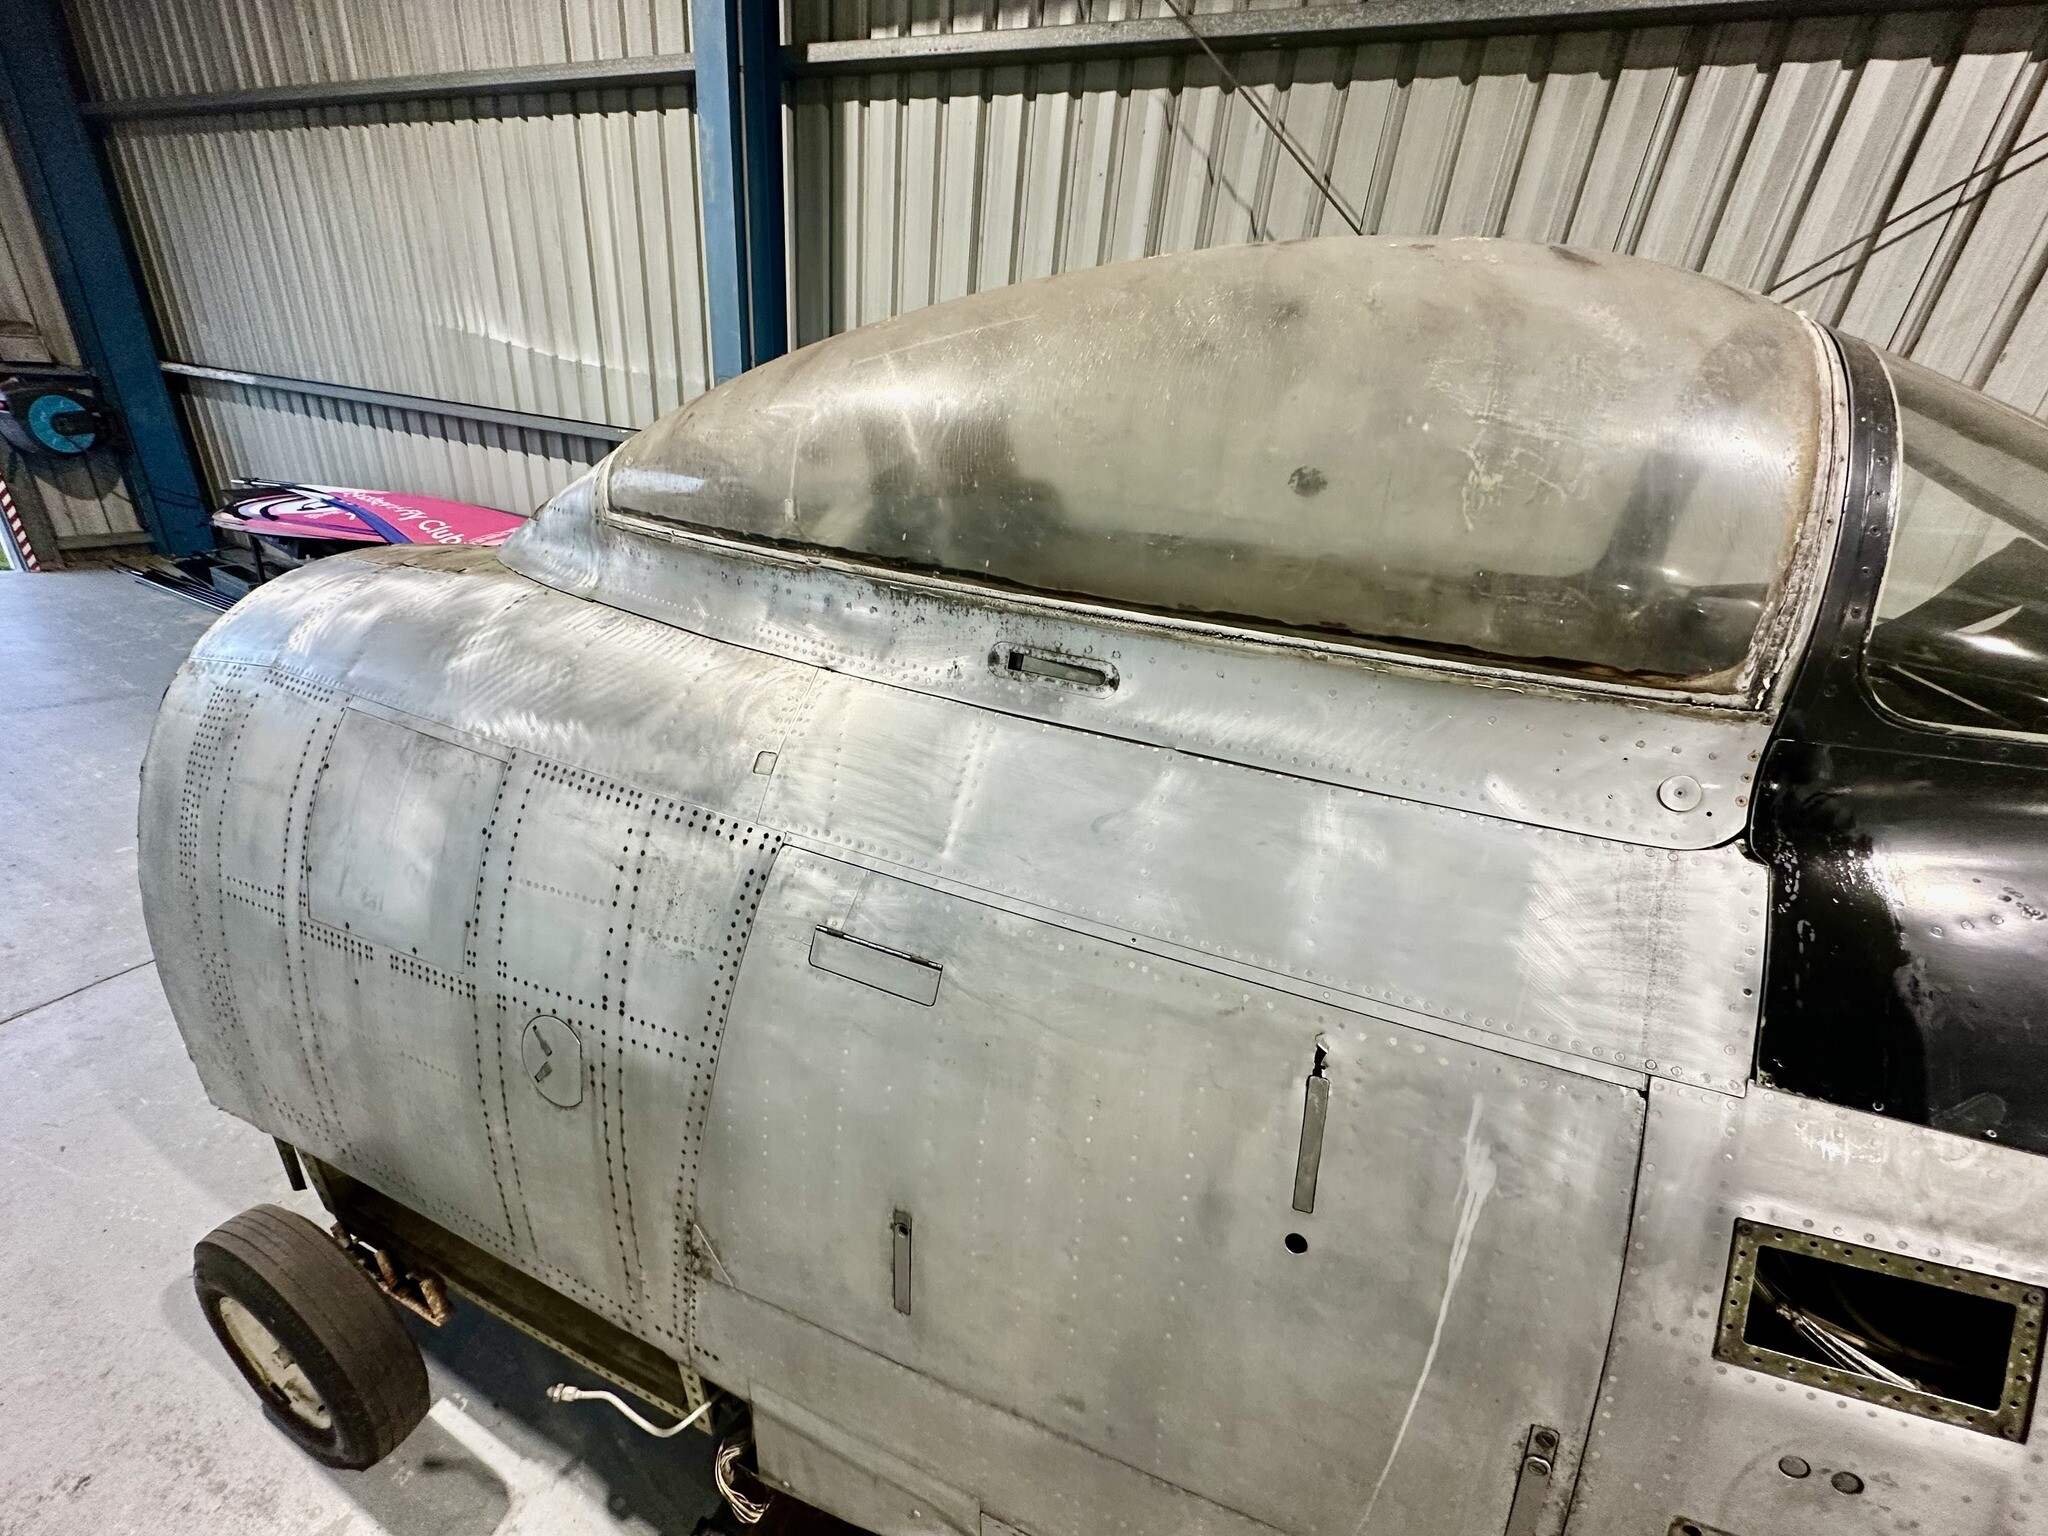
We are making progress... just have to keep reminding ourselves of this! The right hand side cockpit fuselage skins are starting to look much better now they have been scrubbed down with the scotch pads and then acid treated. Before the cockpit section can be painted we have to remove as much corrosion as possible to safeguard against future corrosion damaging the new paintwork. Both mechanical abrasion and chemical treatment does the job, but it all takes time.
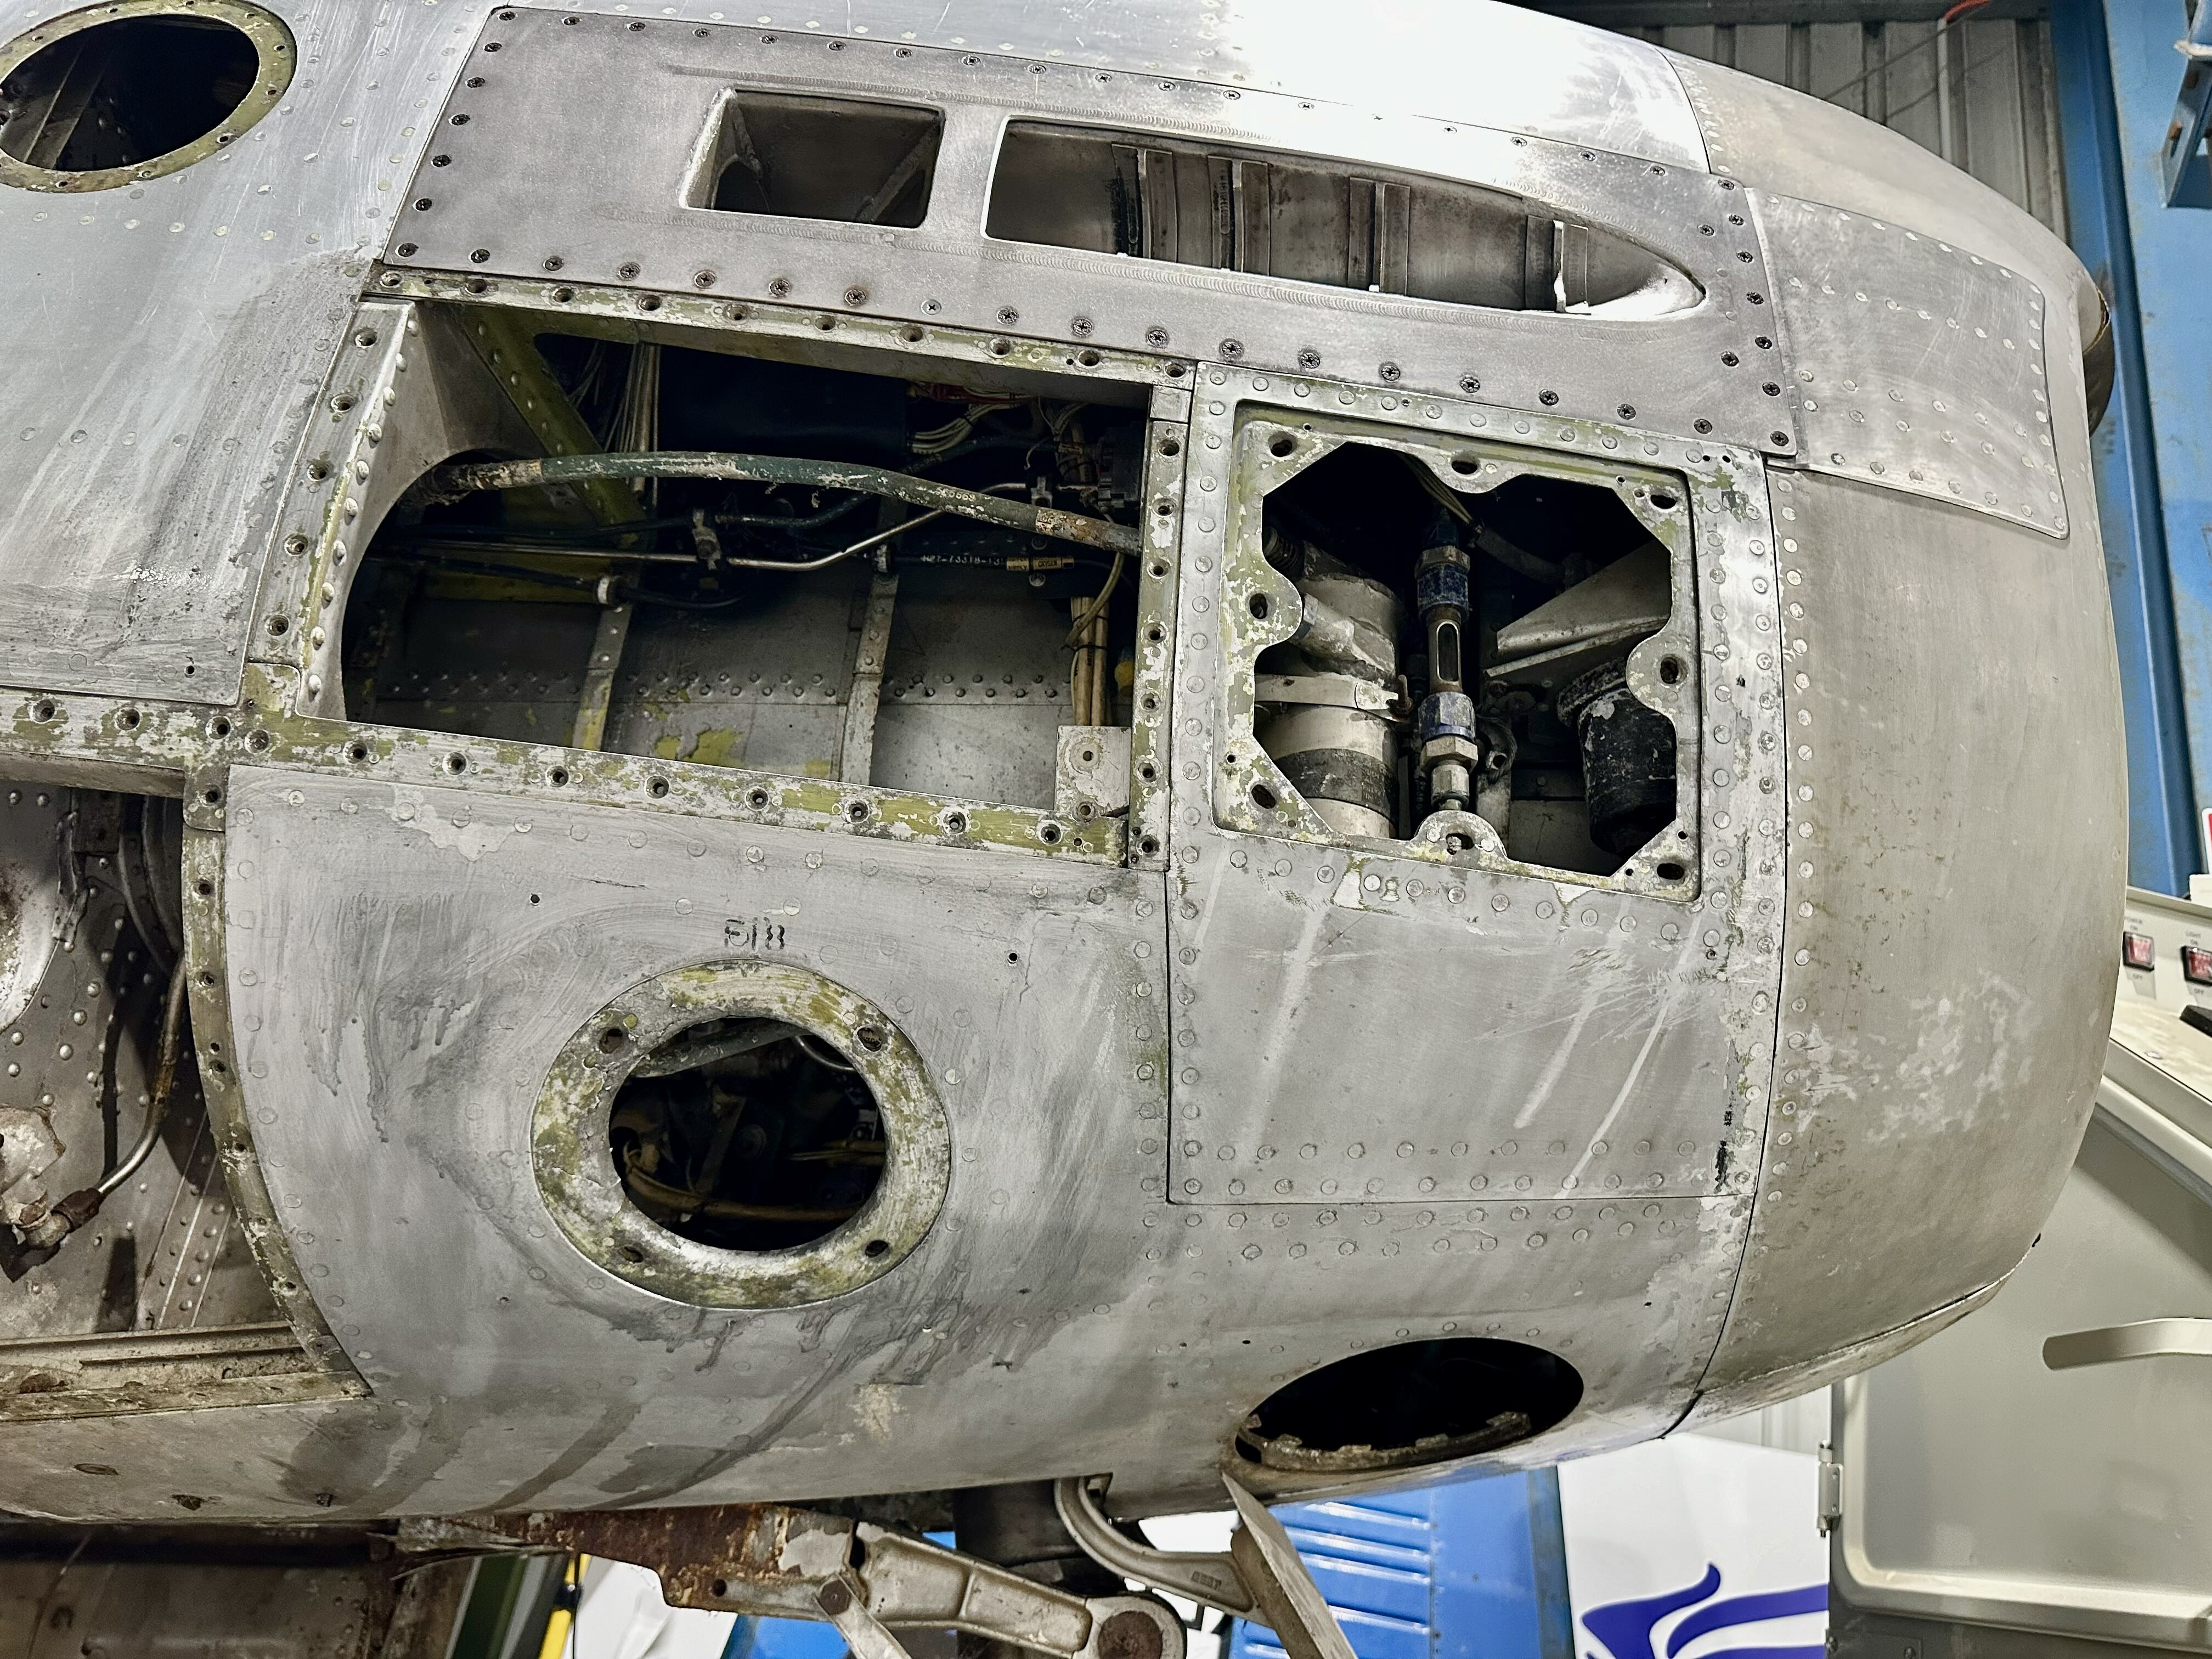
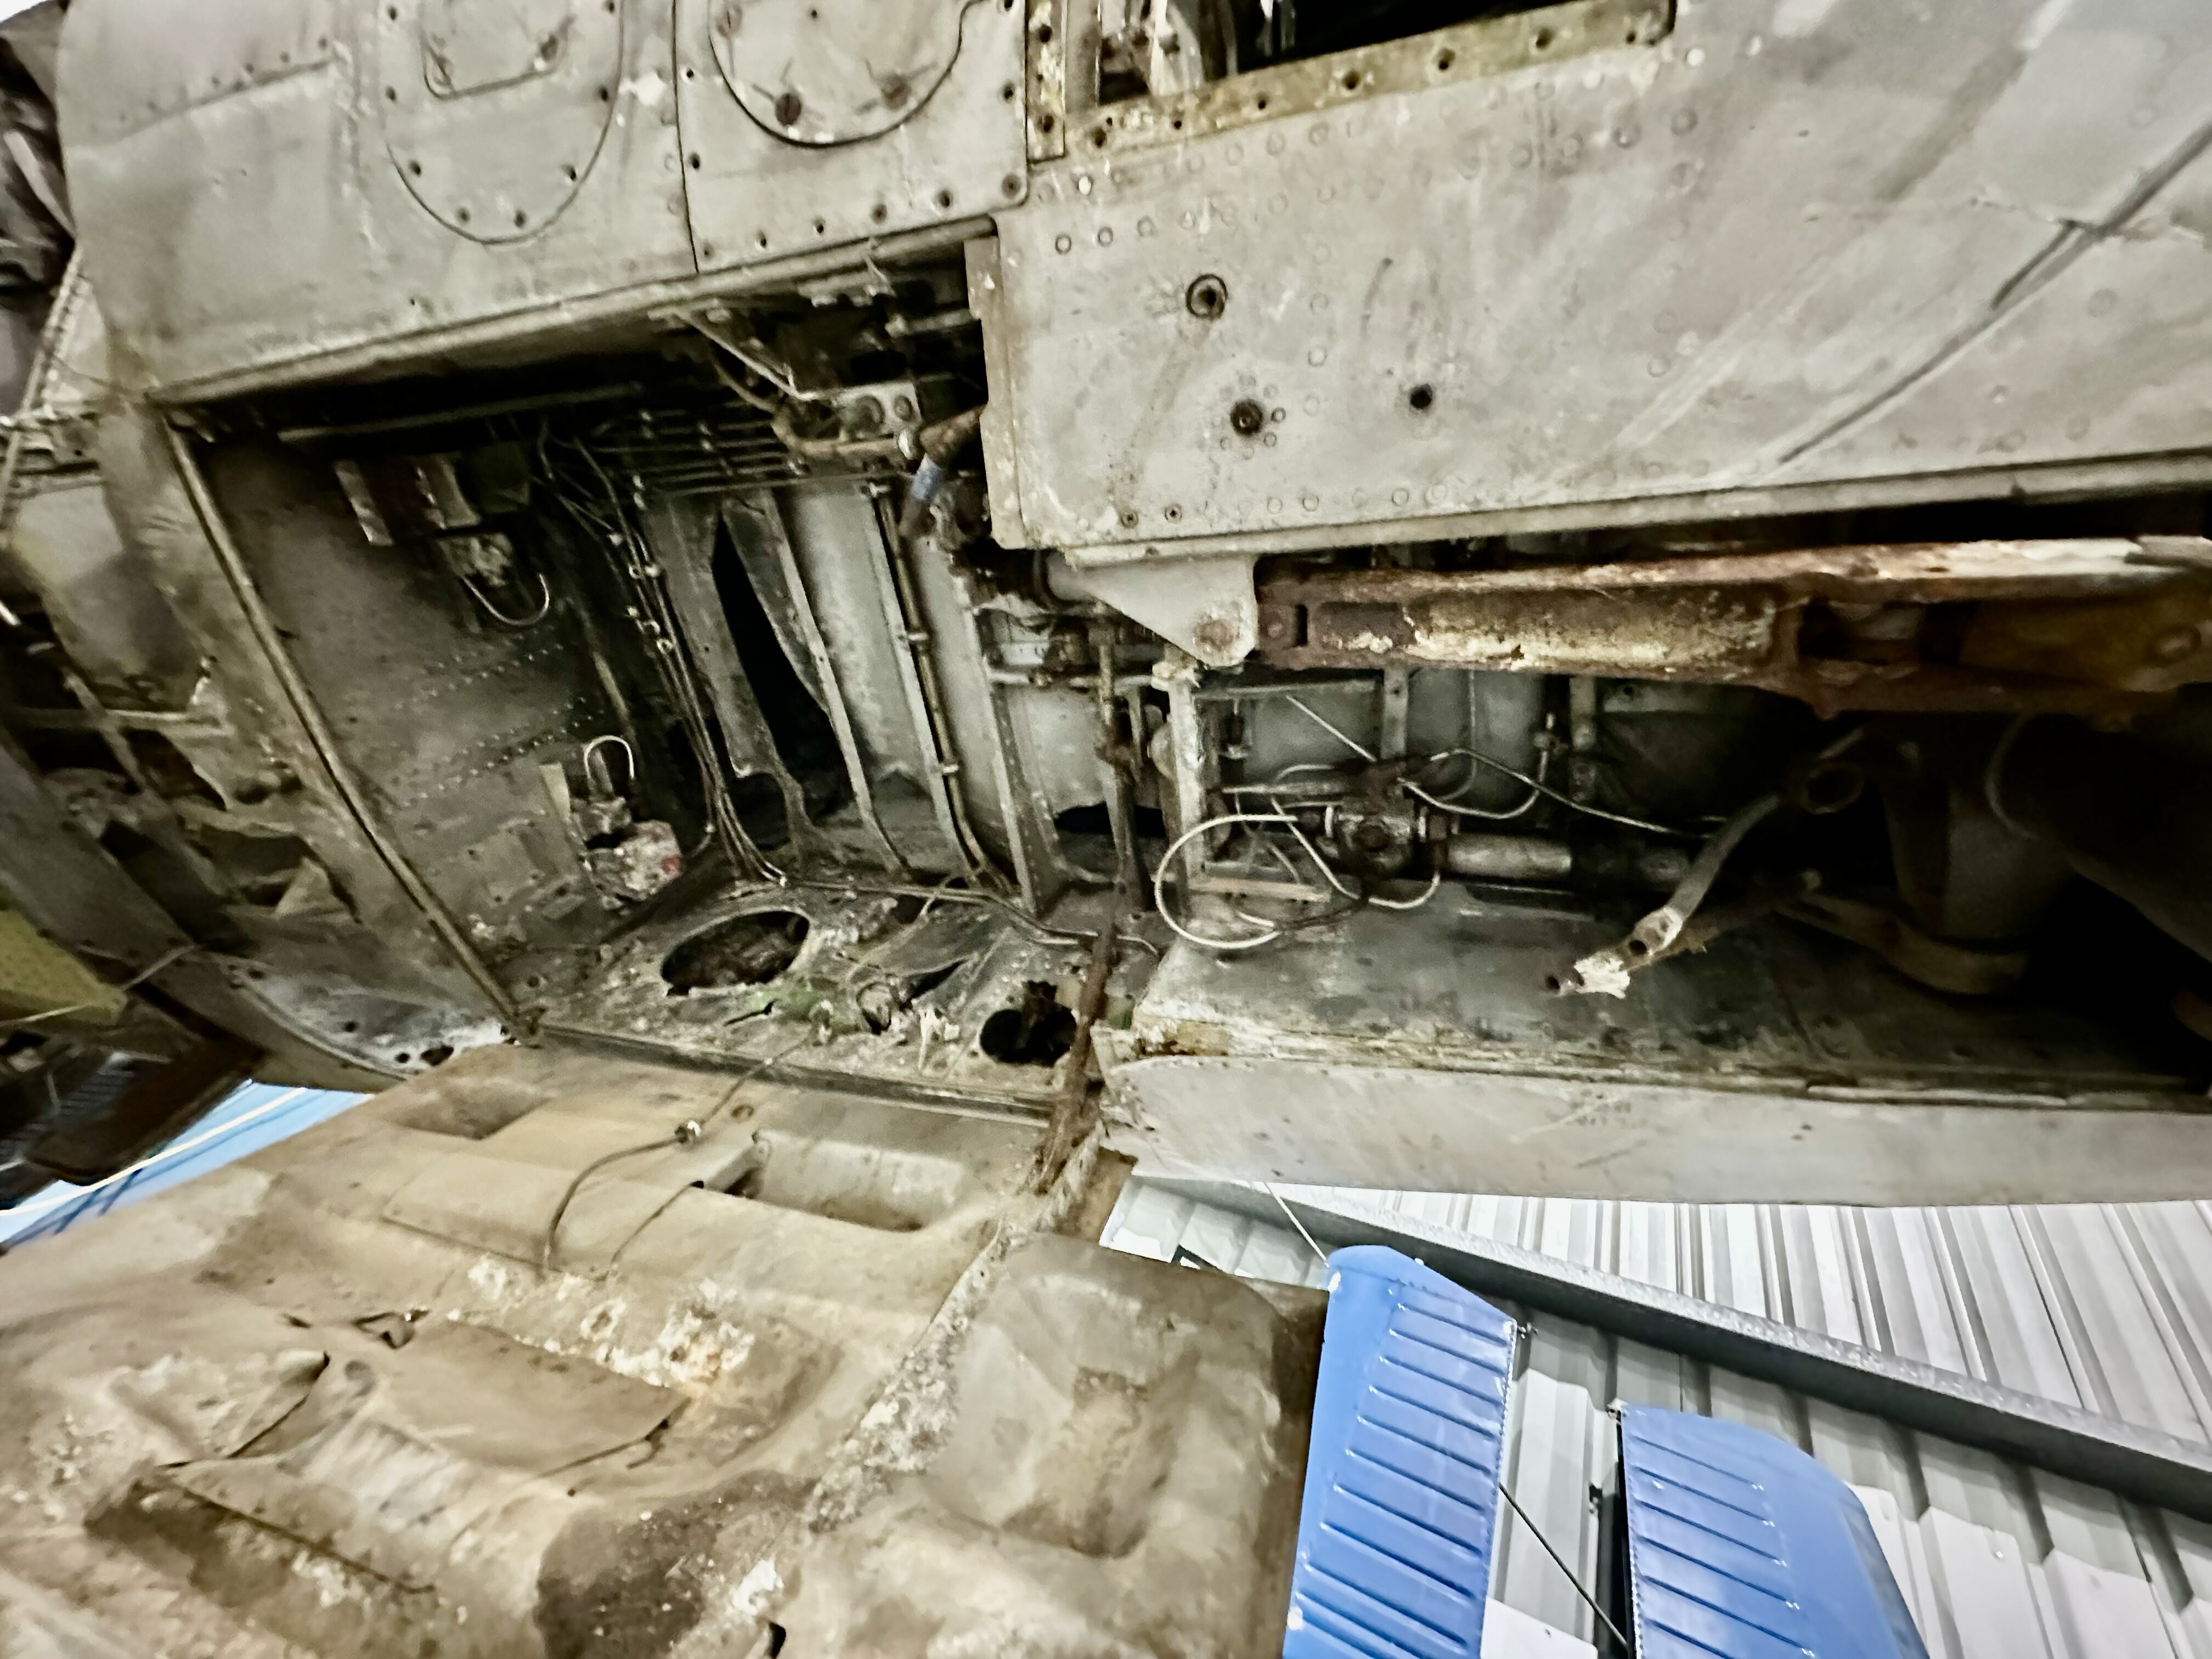
-
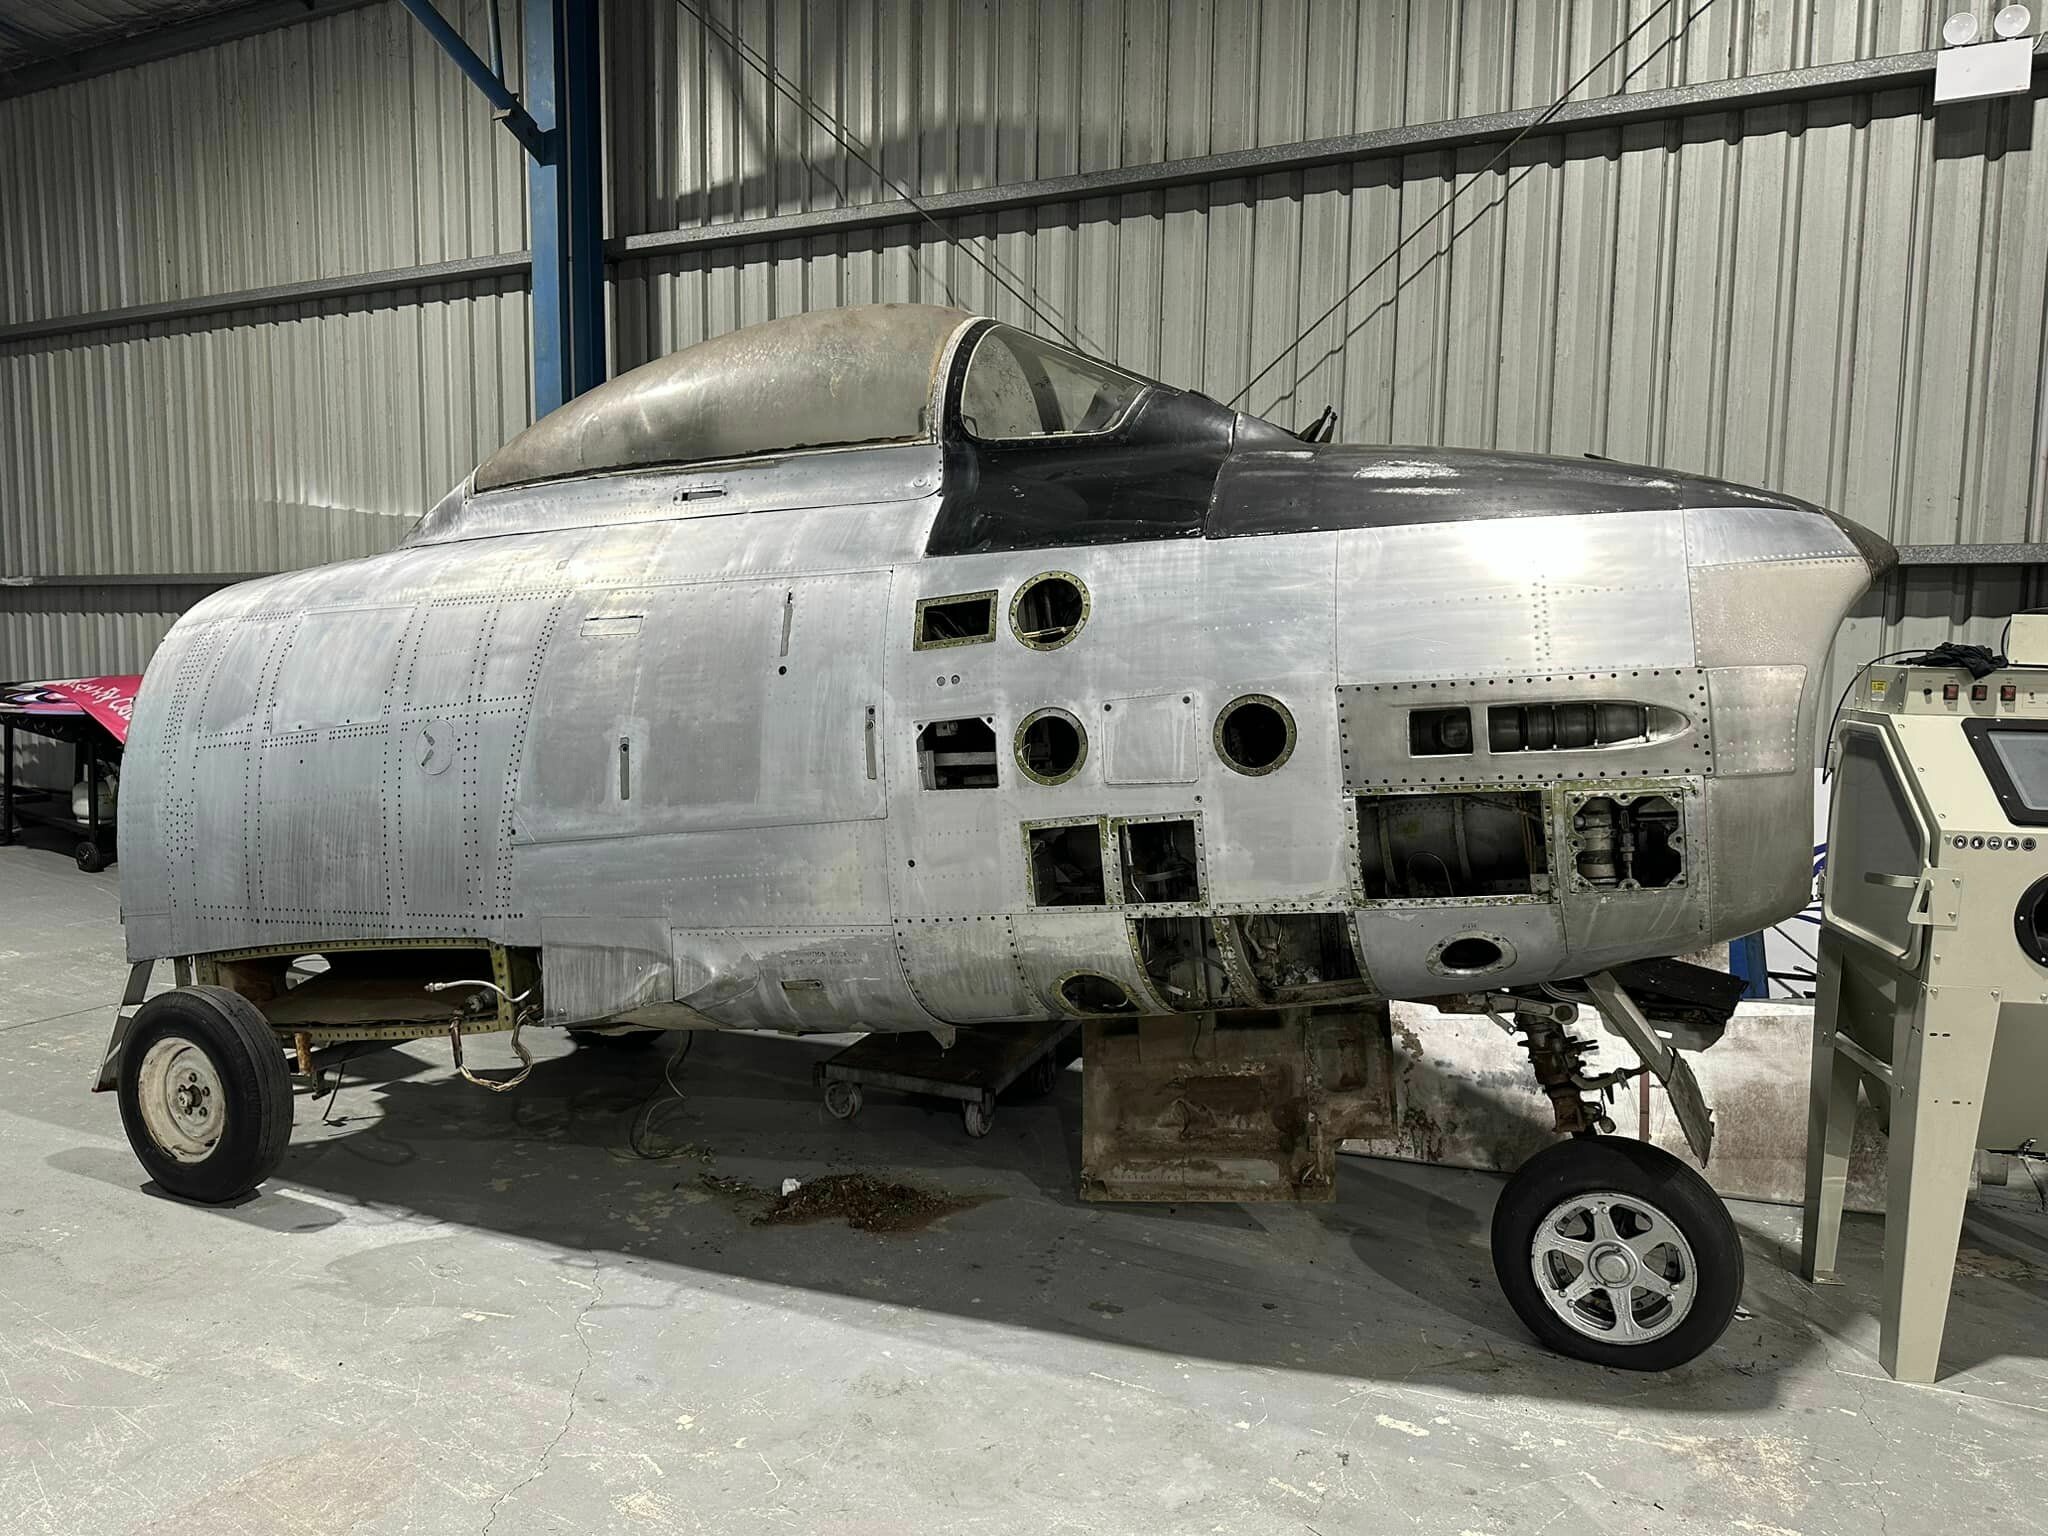
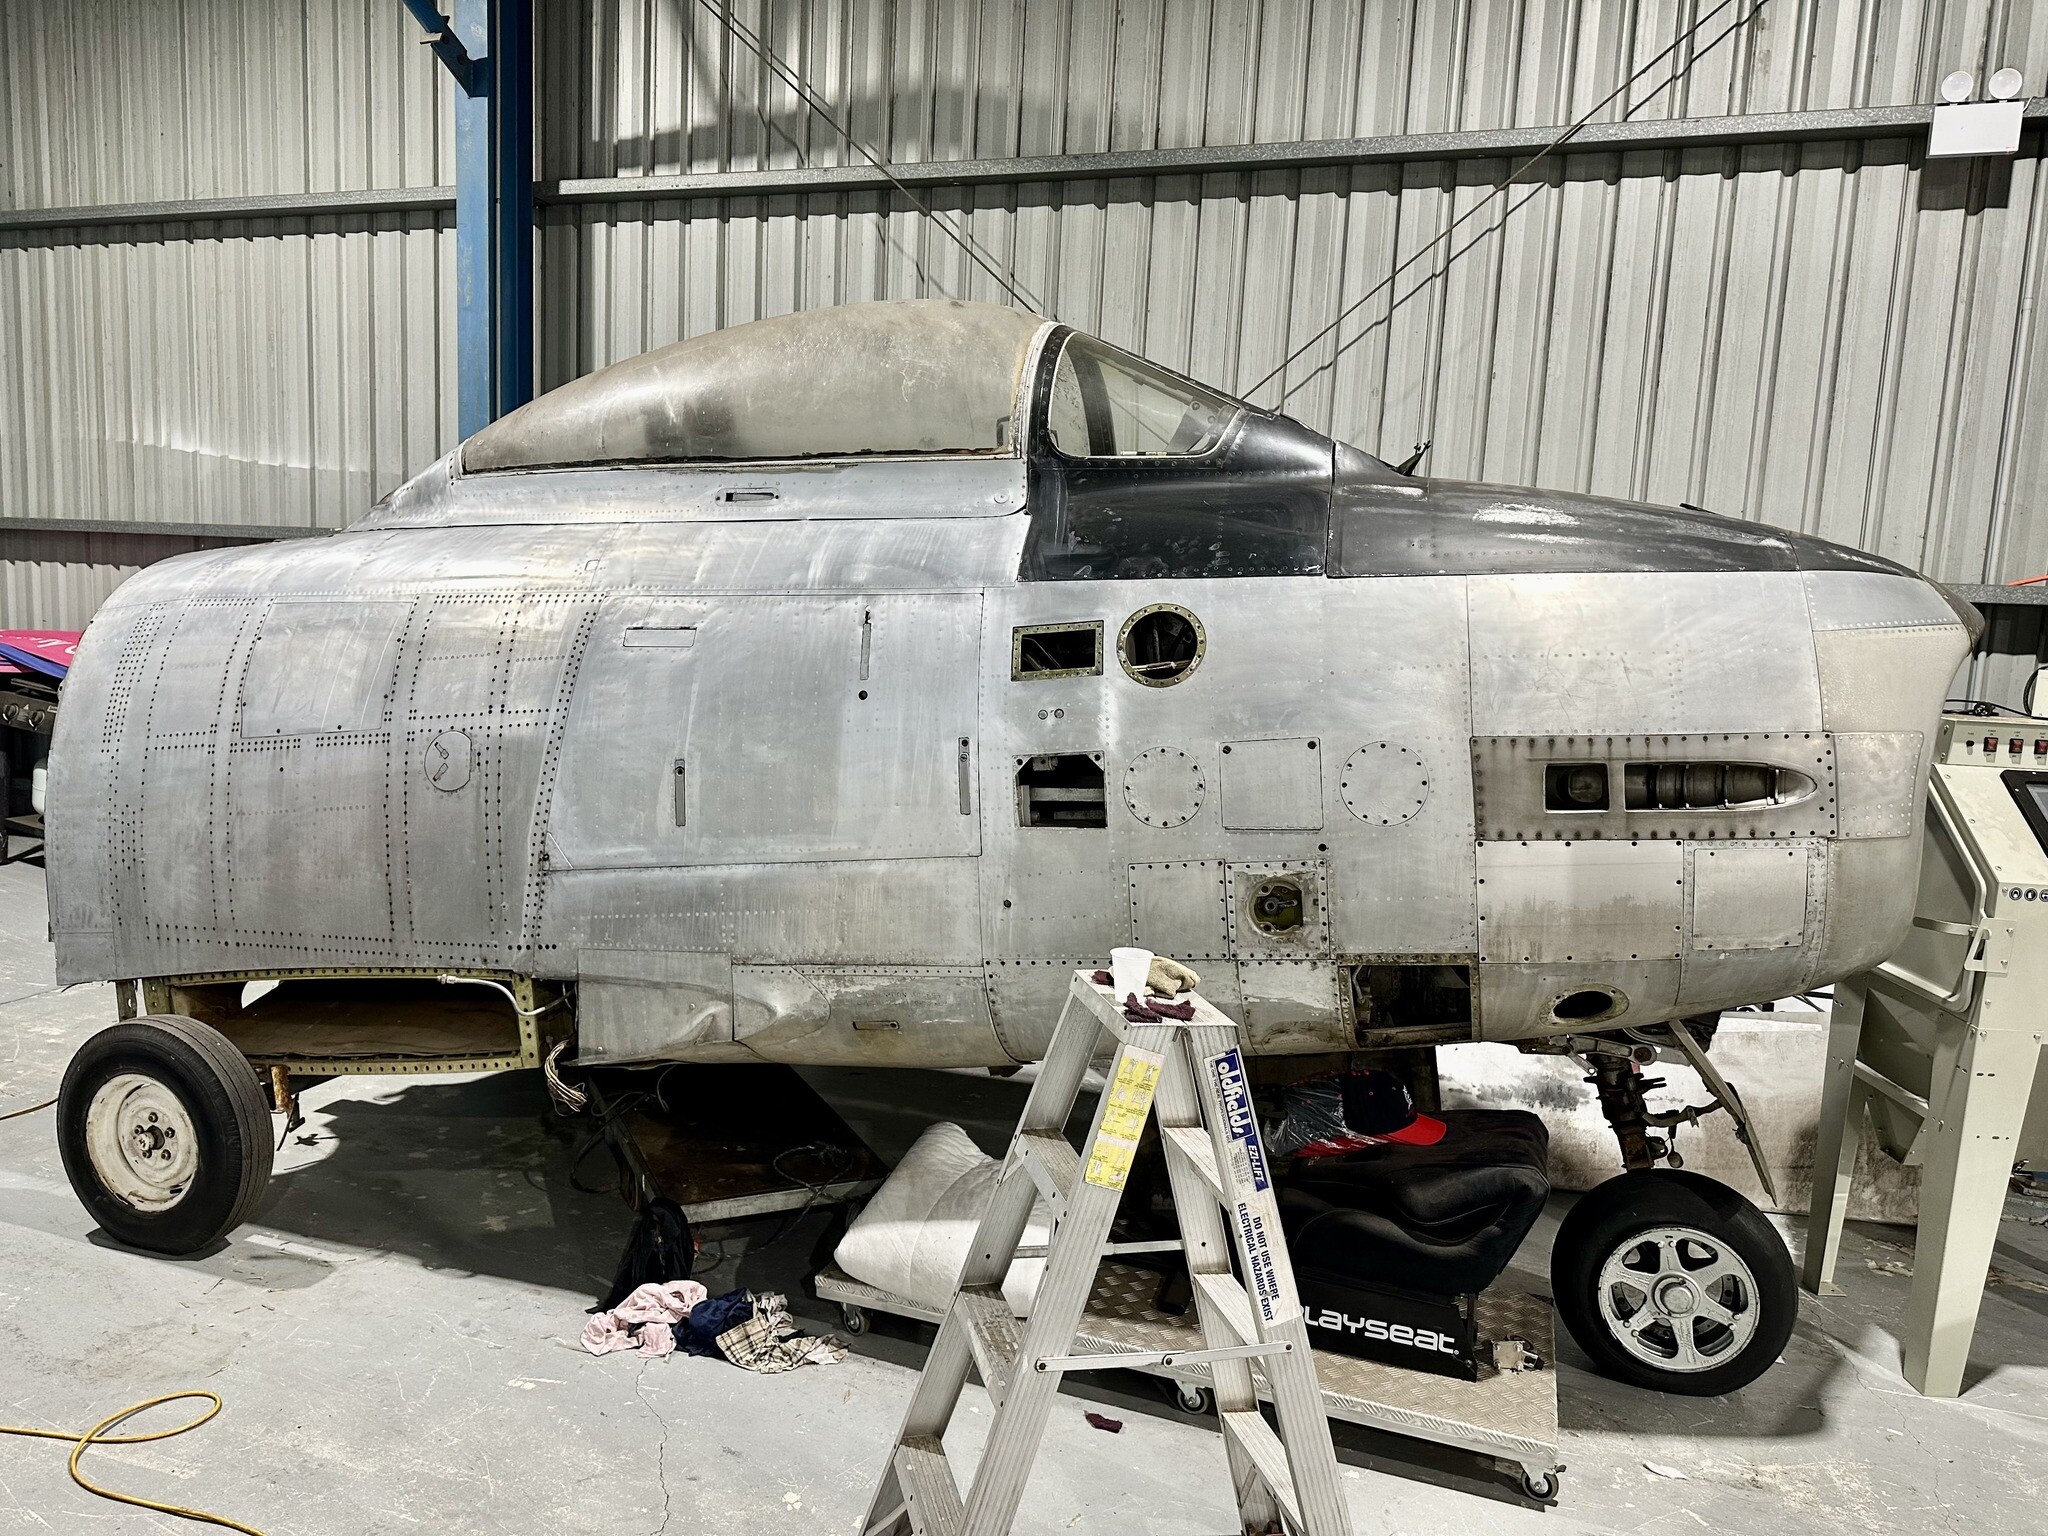
The work continues with the cockpit which has extensive corrosion and physical damage along the bottom of the entire fuselage section. Having spent 45+ years outdoors and 30 of those on the ground on it's belly, it has all taken it's toll. First objective is to get everything cleaned down and all of the old paint removed. We are then focused on removing as much corrosion as we can, before things are primed and painted again.. We have a range of small sheet-metal jobs to complete, including repairs to various panel support frames and fabricating replacement inspection panels. We also have to re-install replacement retractable taxi/landing lights, which we will have working as part of the sim pit! The nose-leg will be removed from the cockpit section - again to save weight - and the gear doors will fixed into the closed position. The cockpit fuselage section will be supported by a frame that will attach to the center section with a forward support. The frame will be designed to accommodate easy transport loading and unloading.
-
Work has re-commenced on the F86 Sabre Pit Build after four months away working on other projects. During the break, we have moved the cockpit section into our new workshop hangar, which is a much cleaner environment than the previous building. The focus at this time is to get the skins cleaned down, corrosion removed, and replacement panels made and fitted. The skins have endured some 45 years outdoors in the weather, with varying states of corrosion as a result. Each skin section needs rubbing back with scotch pads to mechanically remove corrosion, then AlumiPrep acid treatments to remove the corrosion that is a littler more stubborn. Once we have the skins cleaned down, they will be given a light Alodine treatment and will then be ready for primer paint coats. The exterior will receive a hard-wearing 2k metallic silver base, with the markings etc on top. Everything will then be given three solid coats of gloss clear. I mocked up an image of what the sim-pit will look like. BROKEN IMAGES IN FORUM: Not sure what has happened with the forum posts, as the images are not showing.... will have to spend some time over the weekend to reconnect all of the images etc. Apologies to those following.
-
@Flappie apologies I have been away for several months. I have the unit you are asking about and I will shoot a video of how the mechanism works. From memory, the ADF range selector is entirely mechanical and does not require any power to operate. It is fixed to a card system, which rotates. It will make much more sense once I post a video for you.
-
fixed Aim9B/GAR-8 should not uncage like it currently does
[MVP] Mugga replied to Harlikwin's topic in Bugs and Problems
Thank you @Flappie -
Along with the reticle dimmer on the top right hand side of the cockpit glare-shield, you can switch on the secondary sight lamp element, by selecting the bottom right hand switch on the centre console. This will give you maximum sight reticle illumination. Also remember, that the Sabre's electrical system is limited at absolute idle power. You have to increase the throttle slightly to excite the generator, which powers your entire electrical system, including you radios.
-
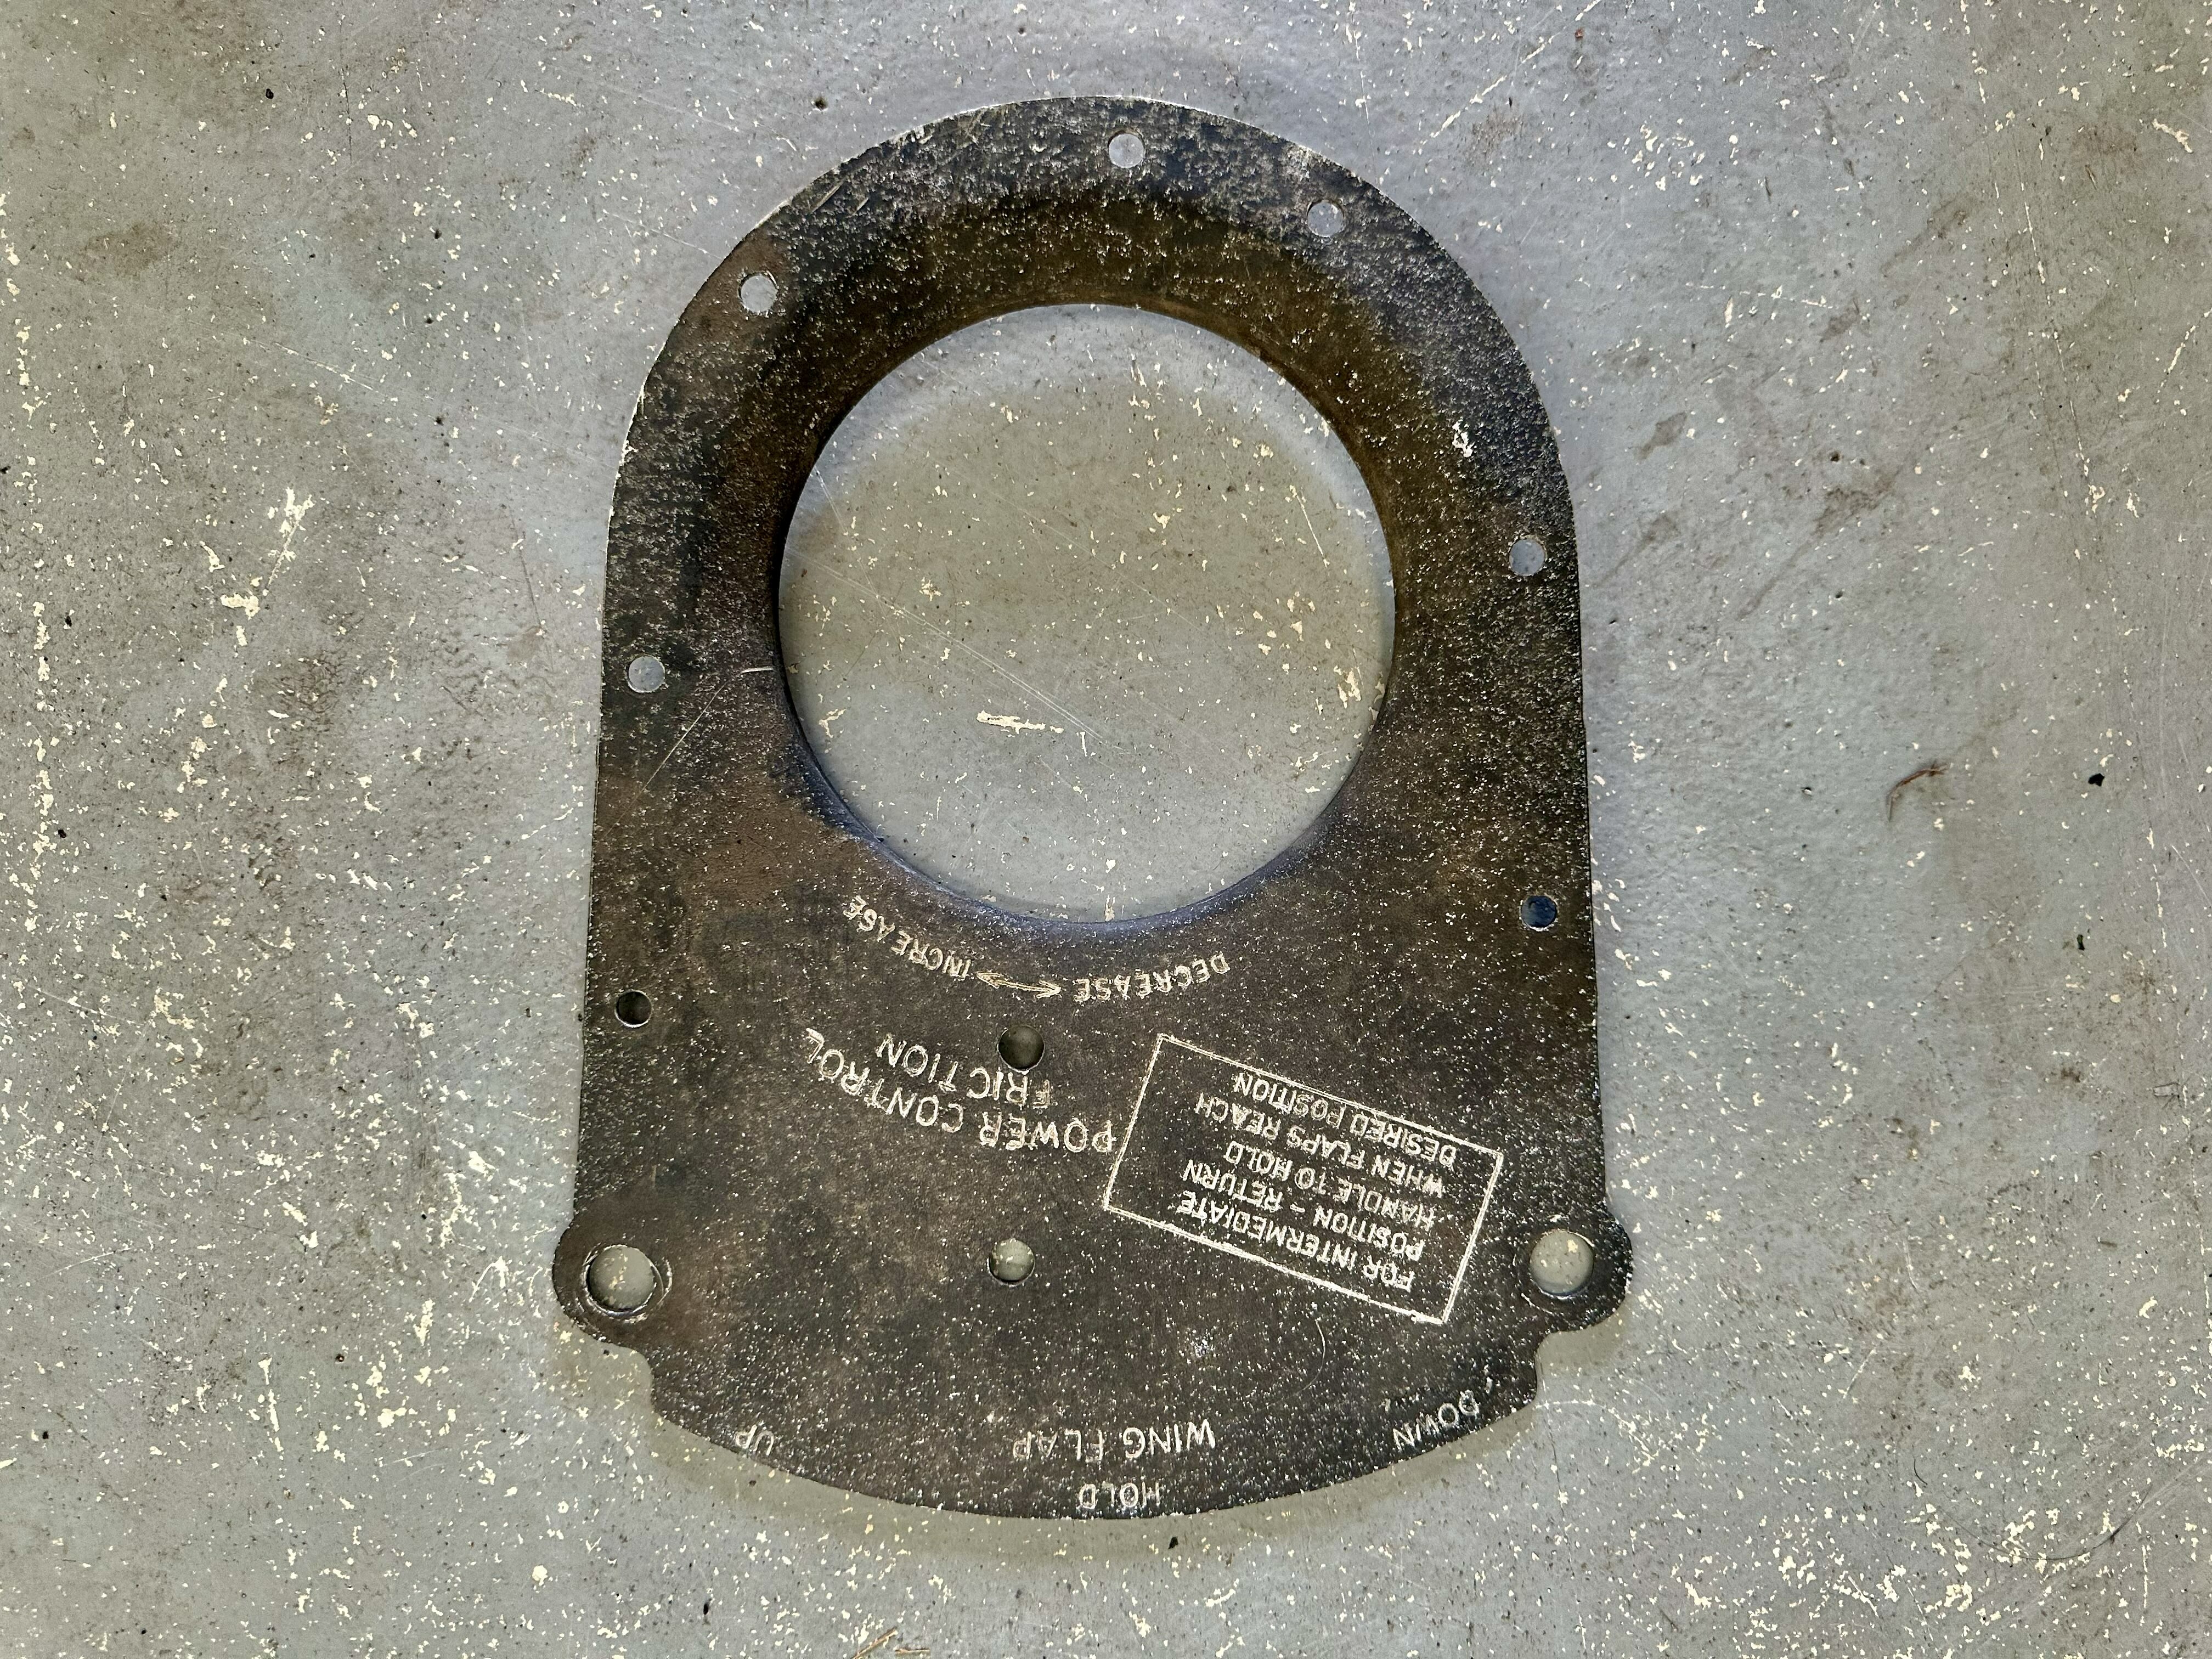
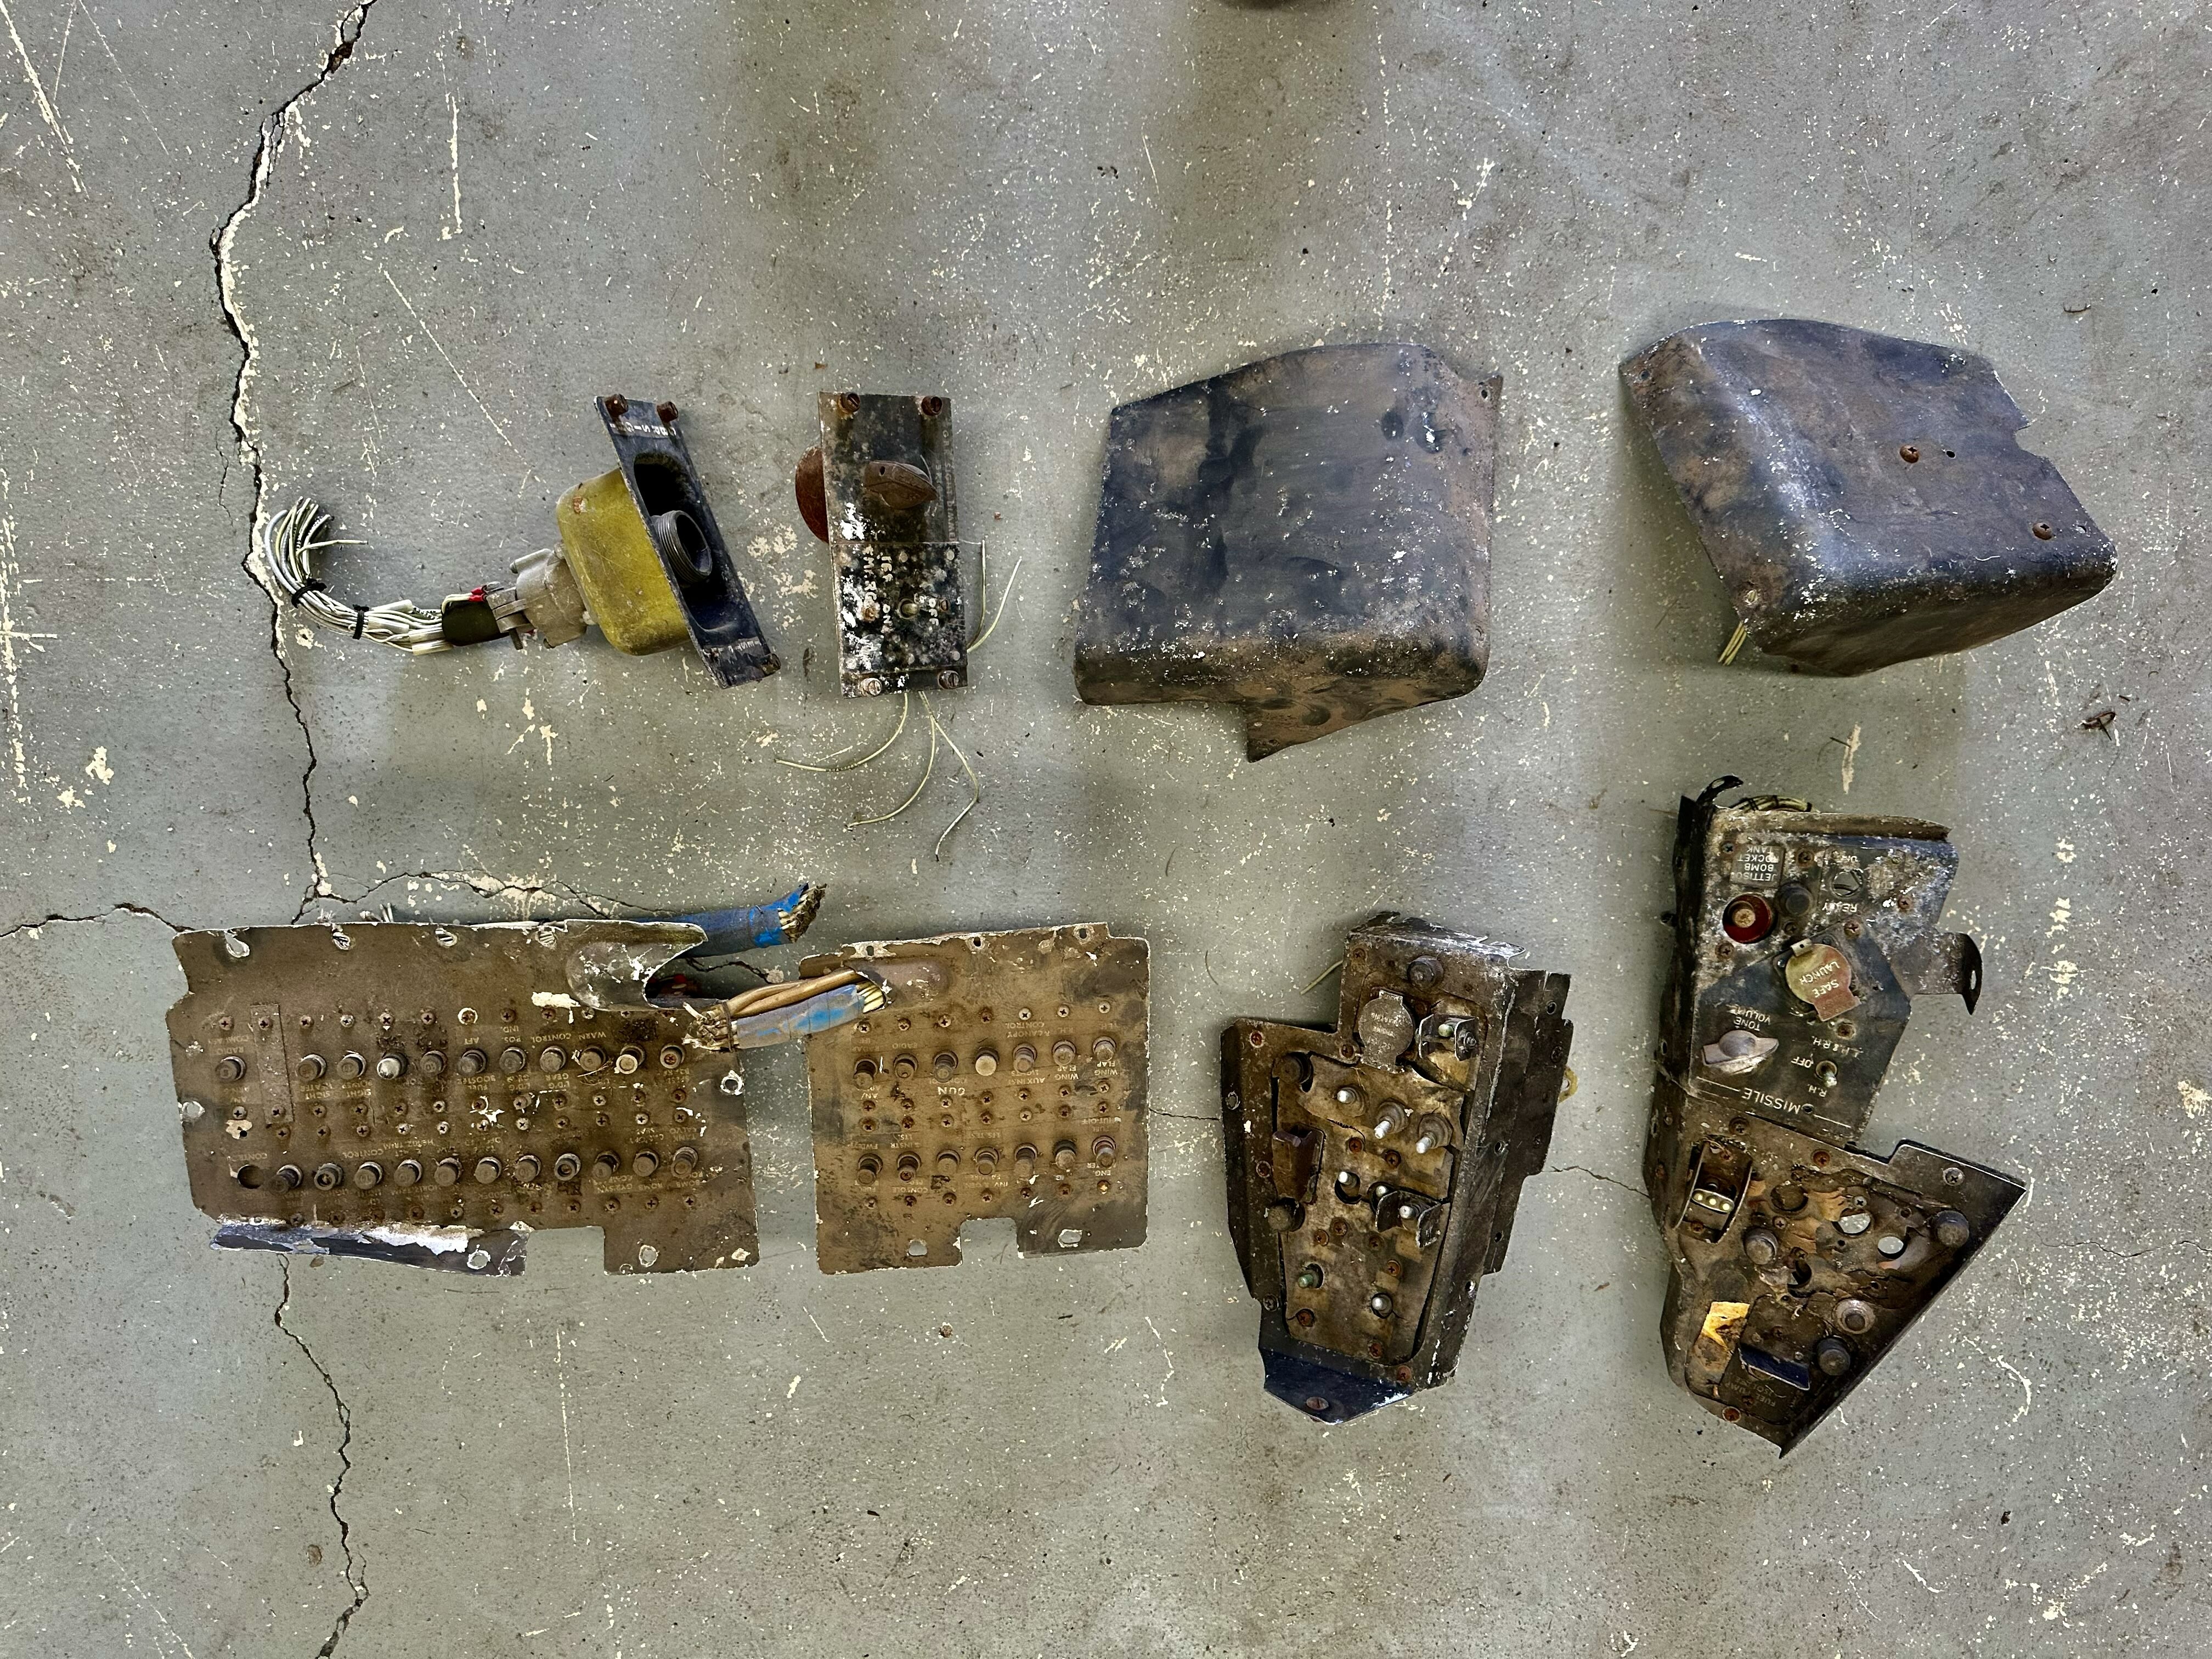
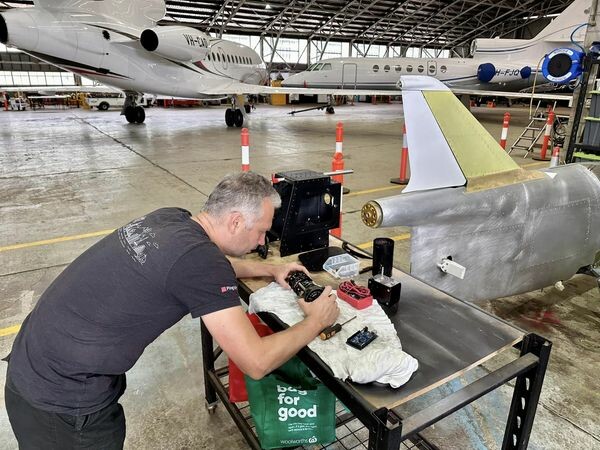
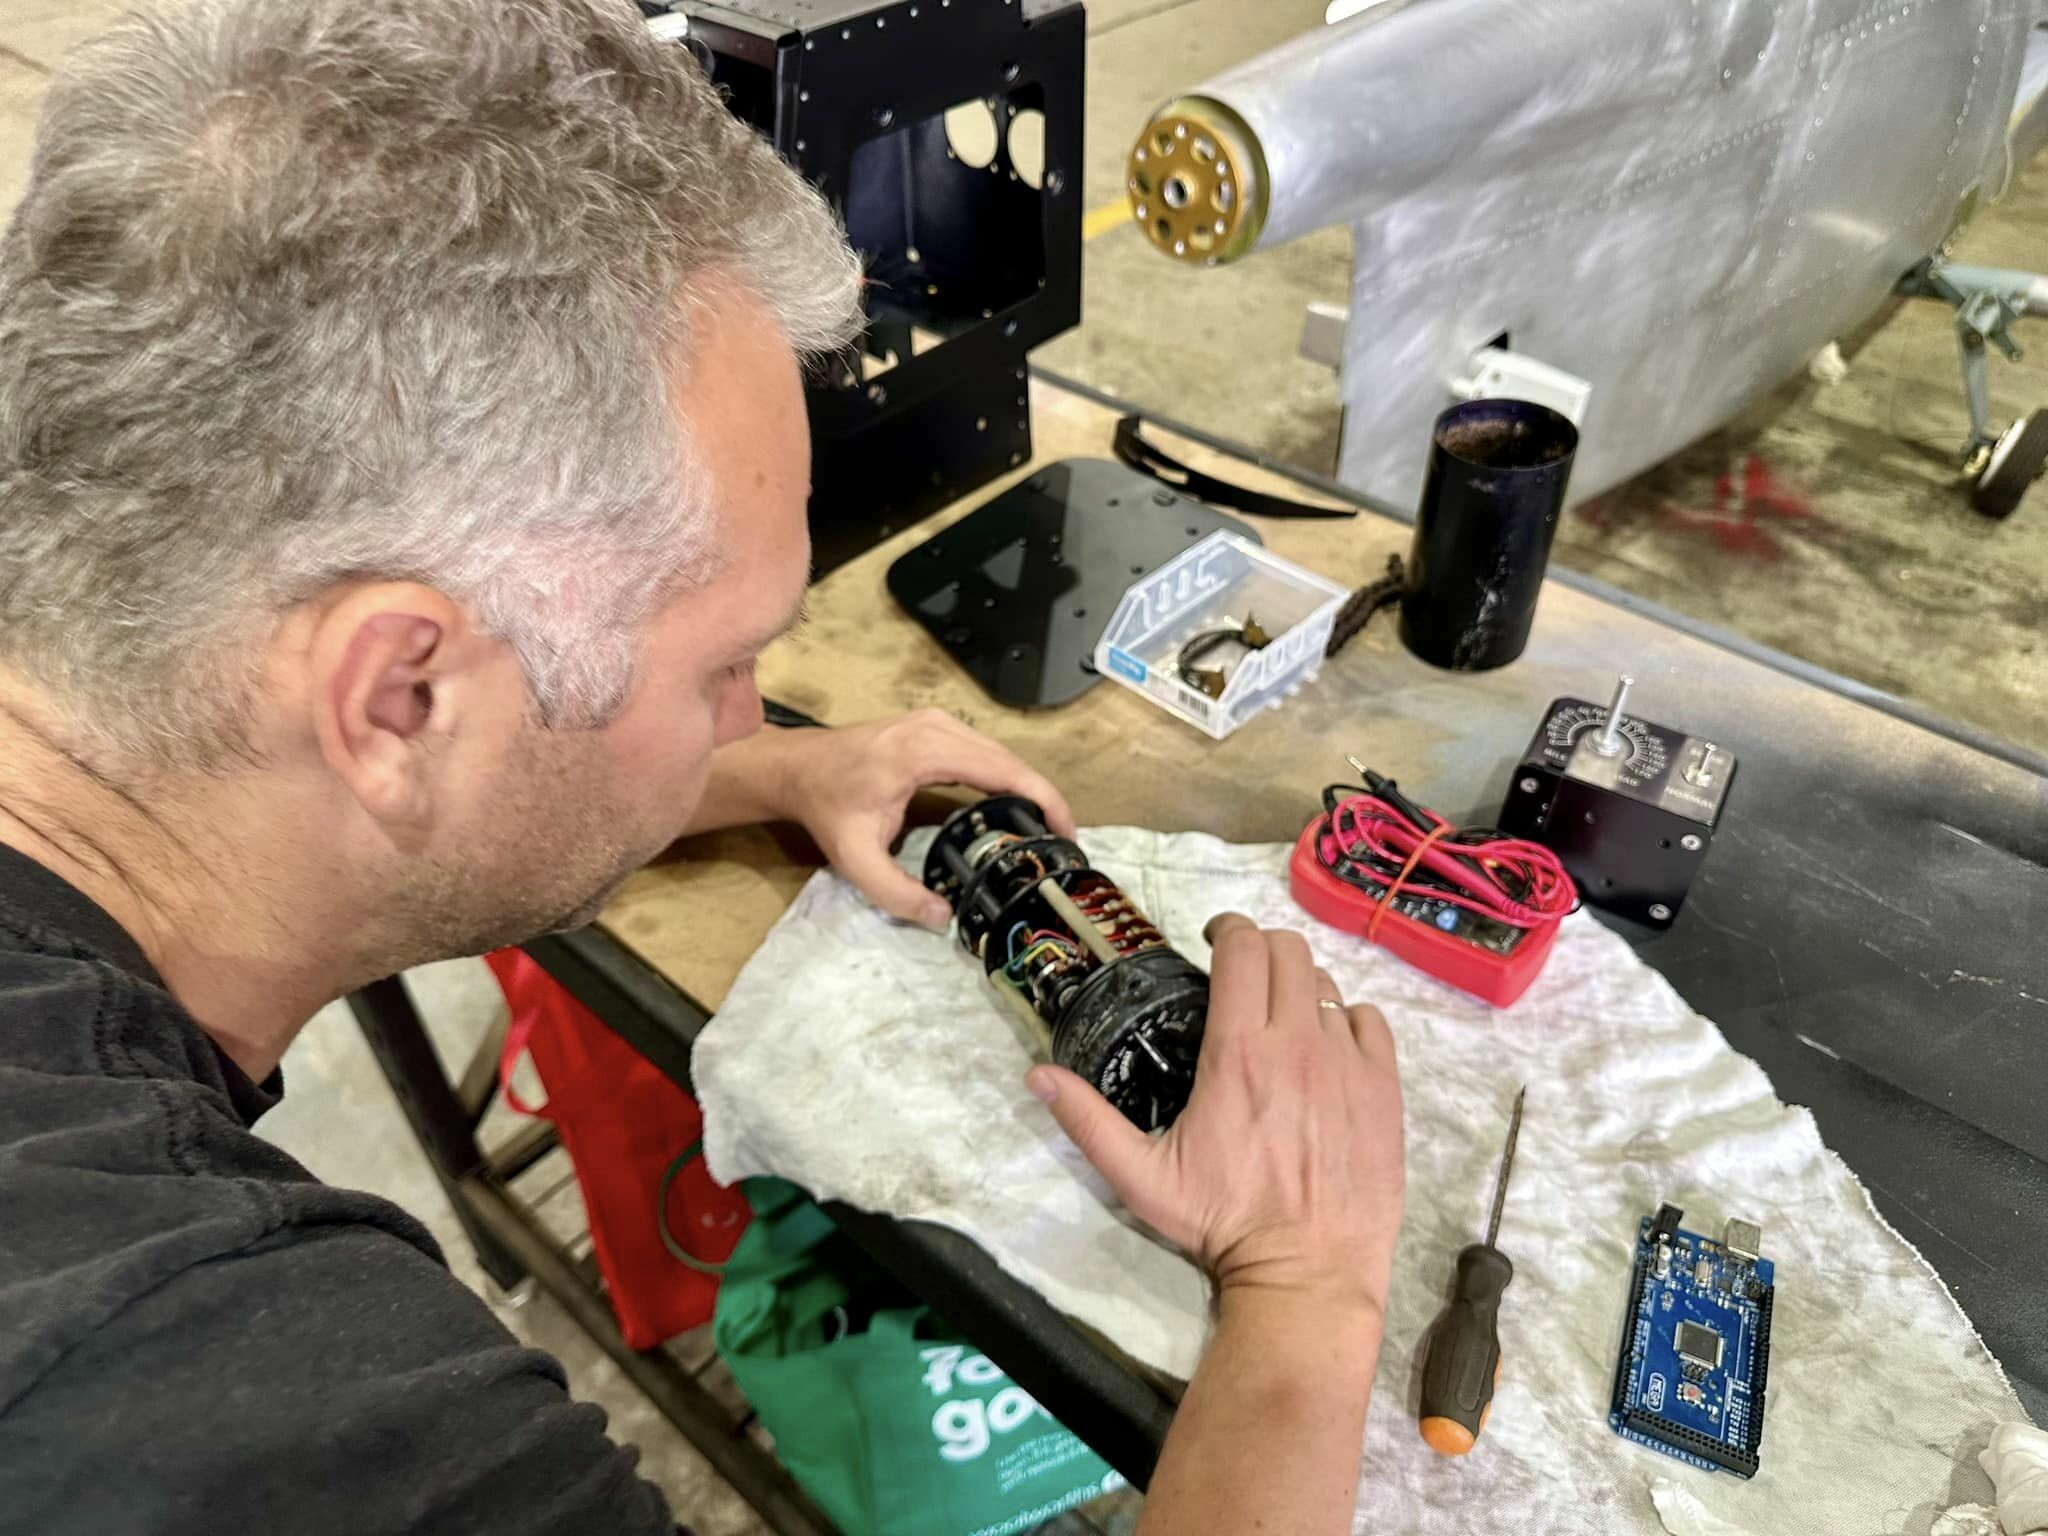
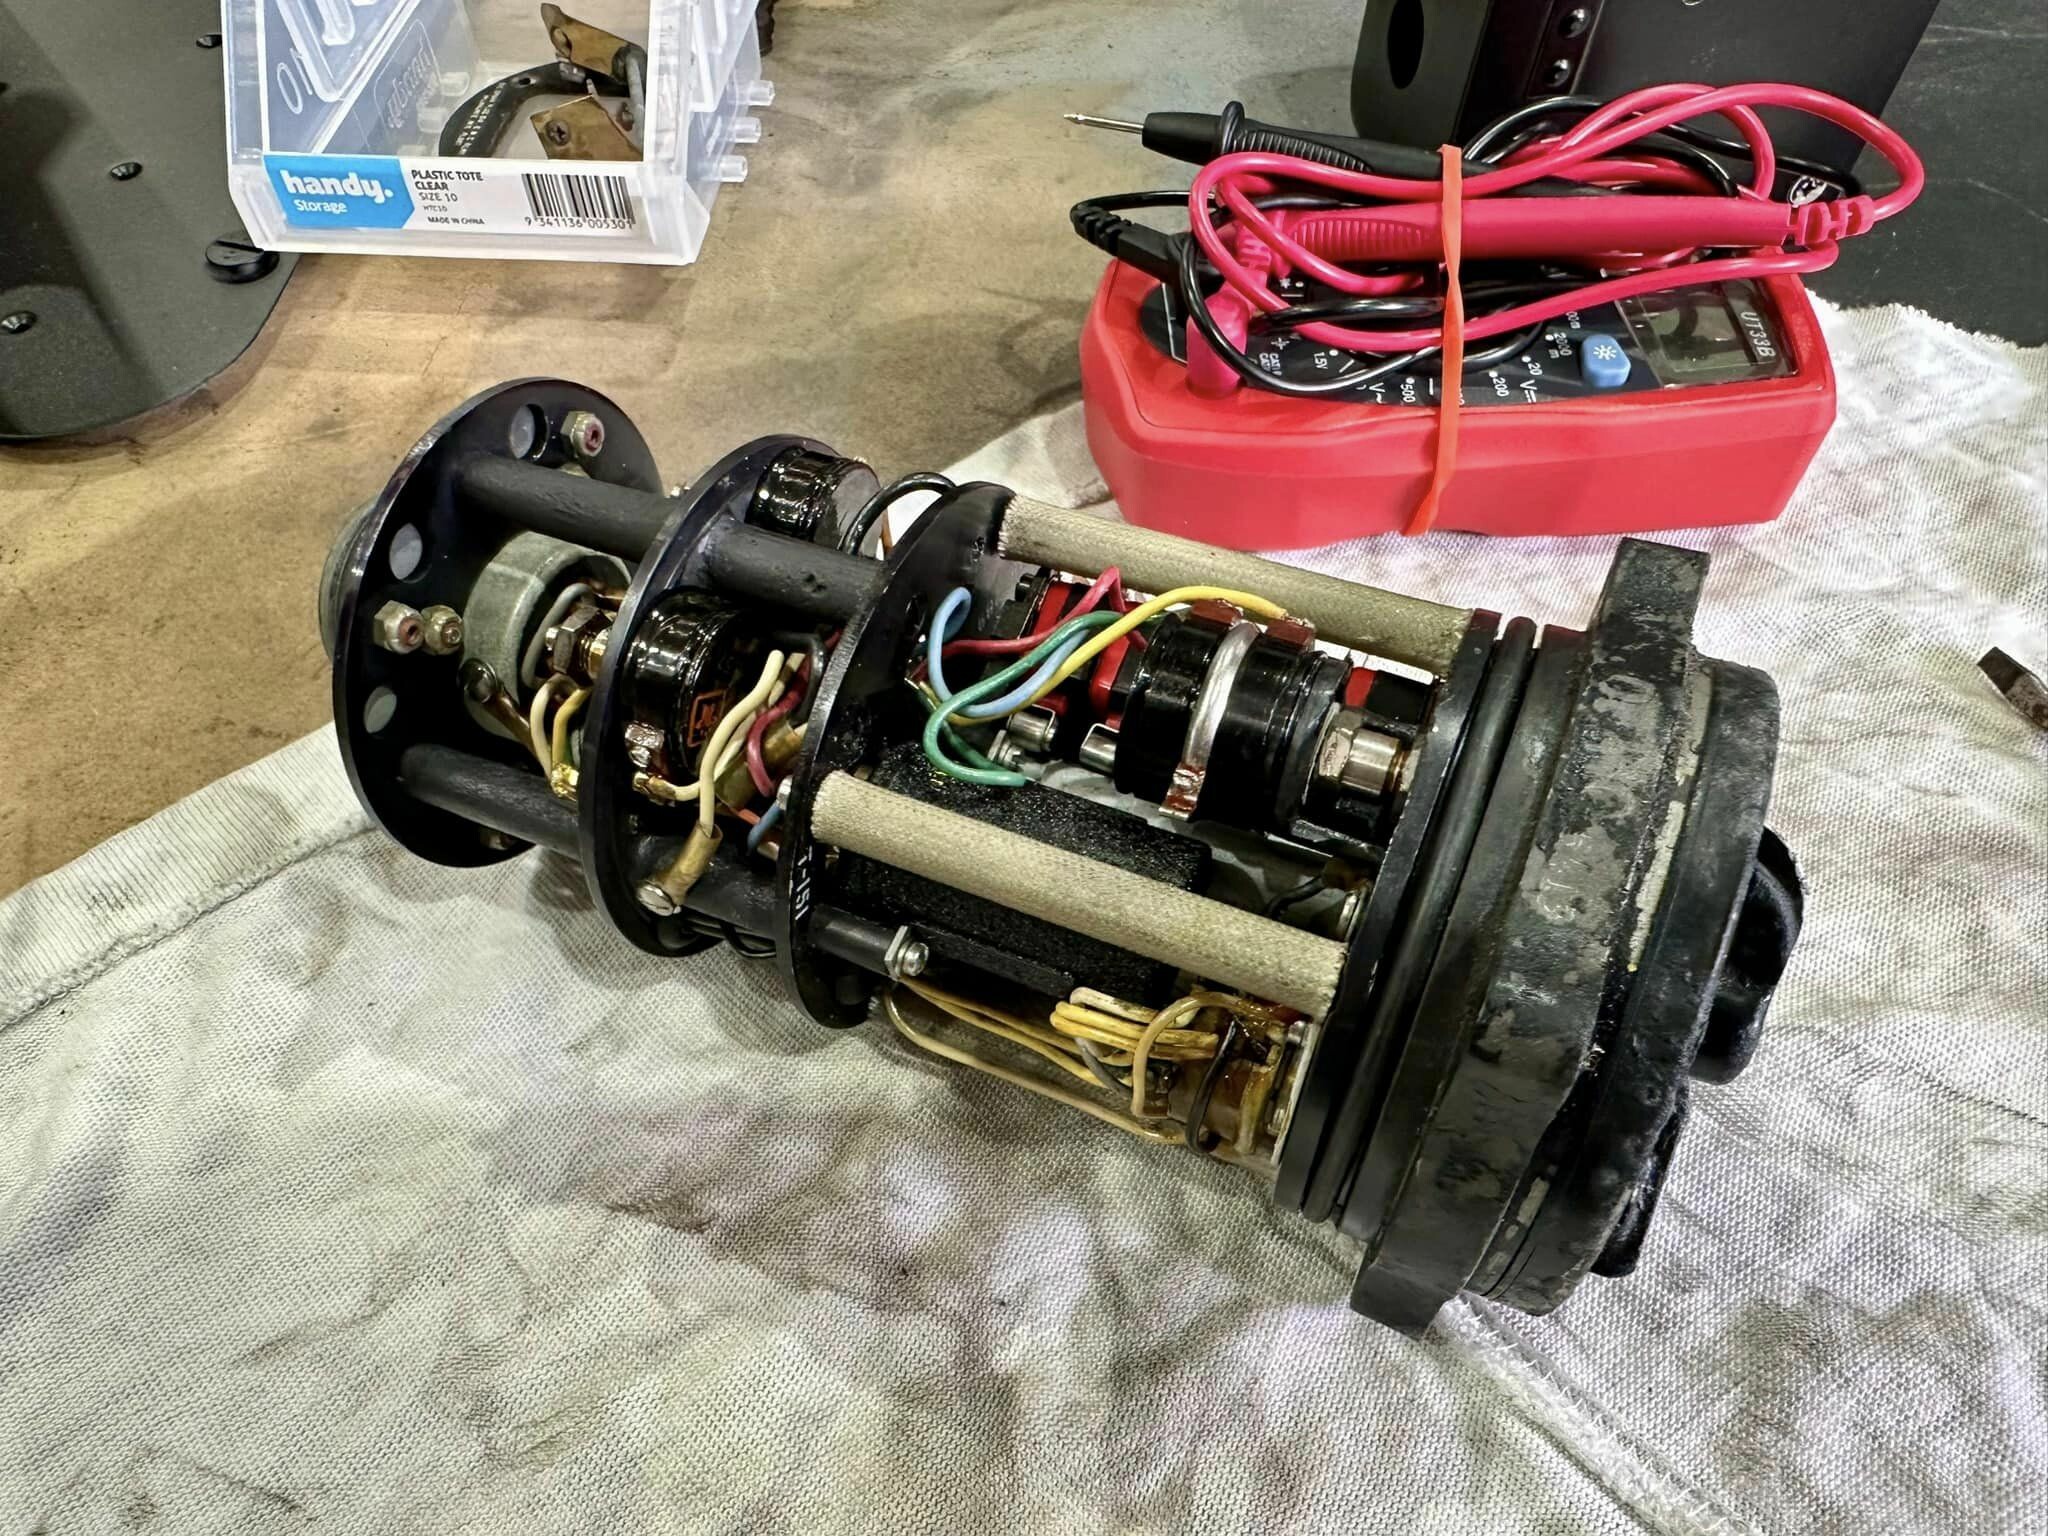
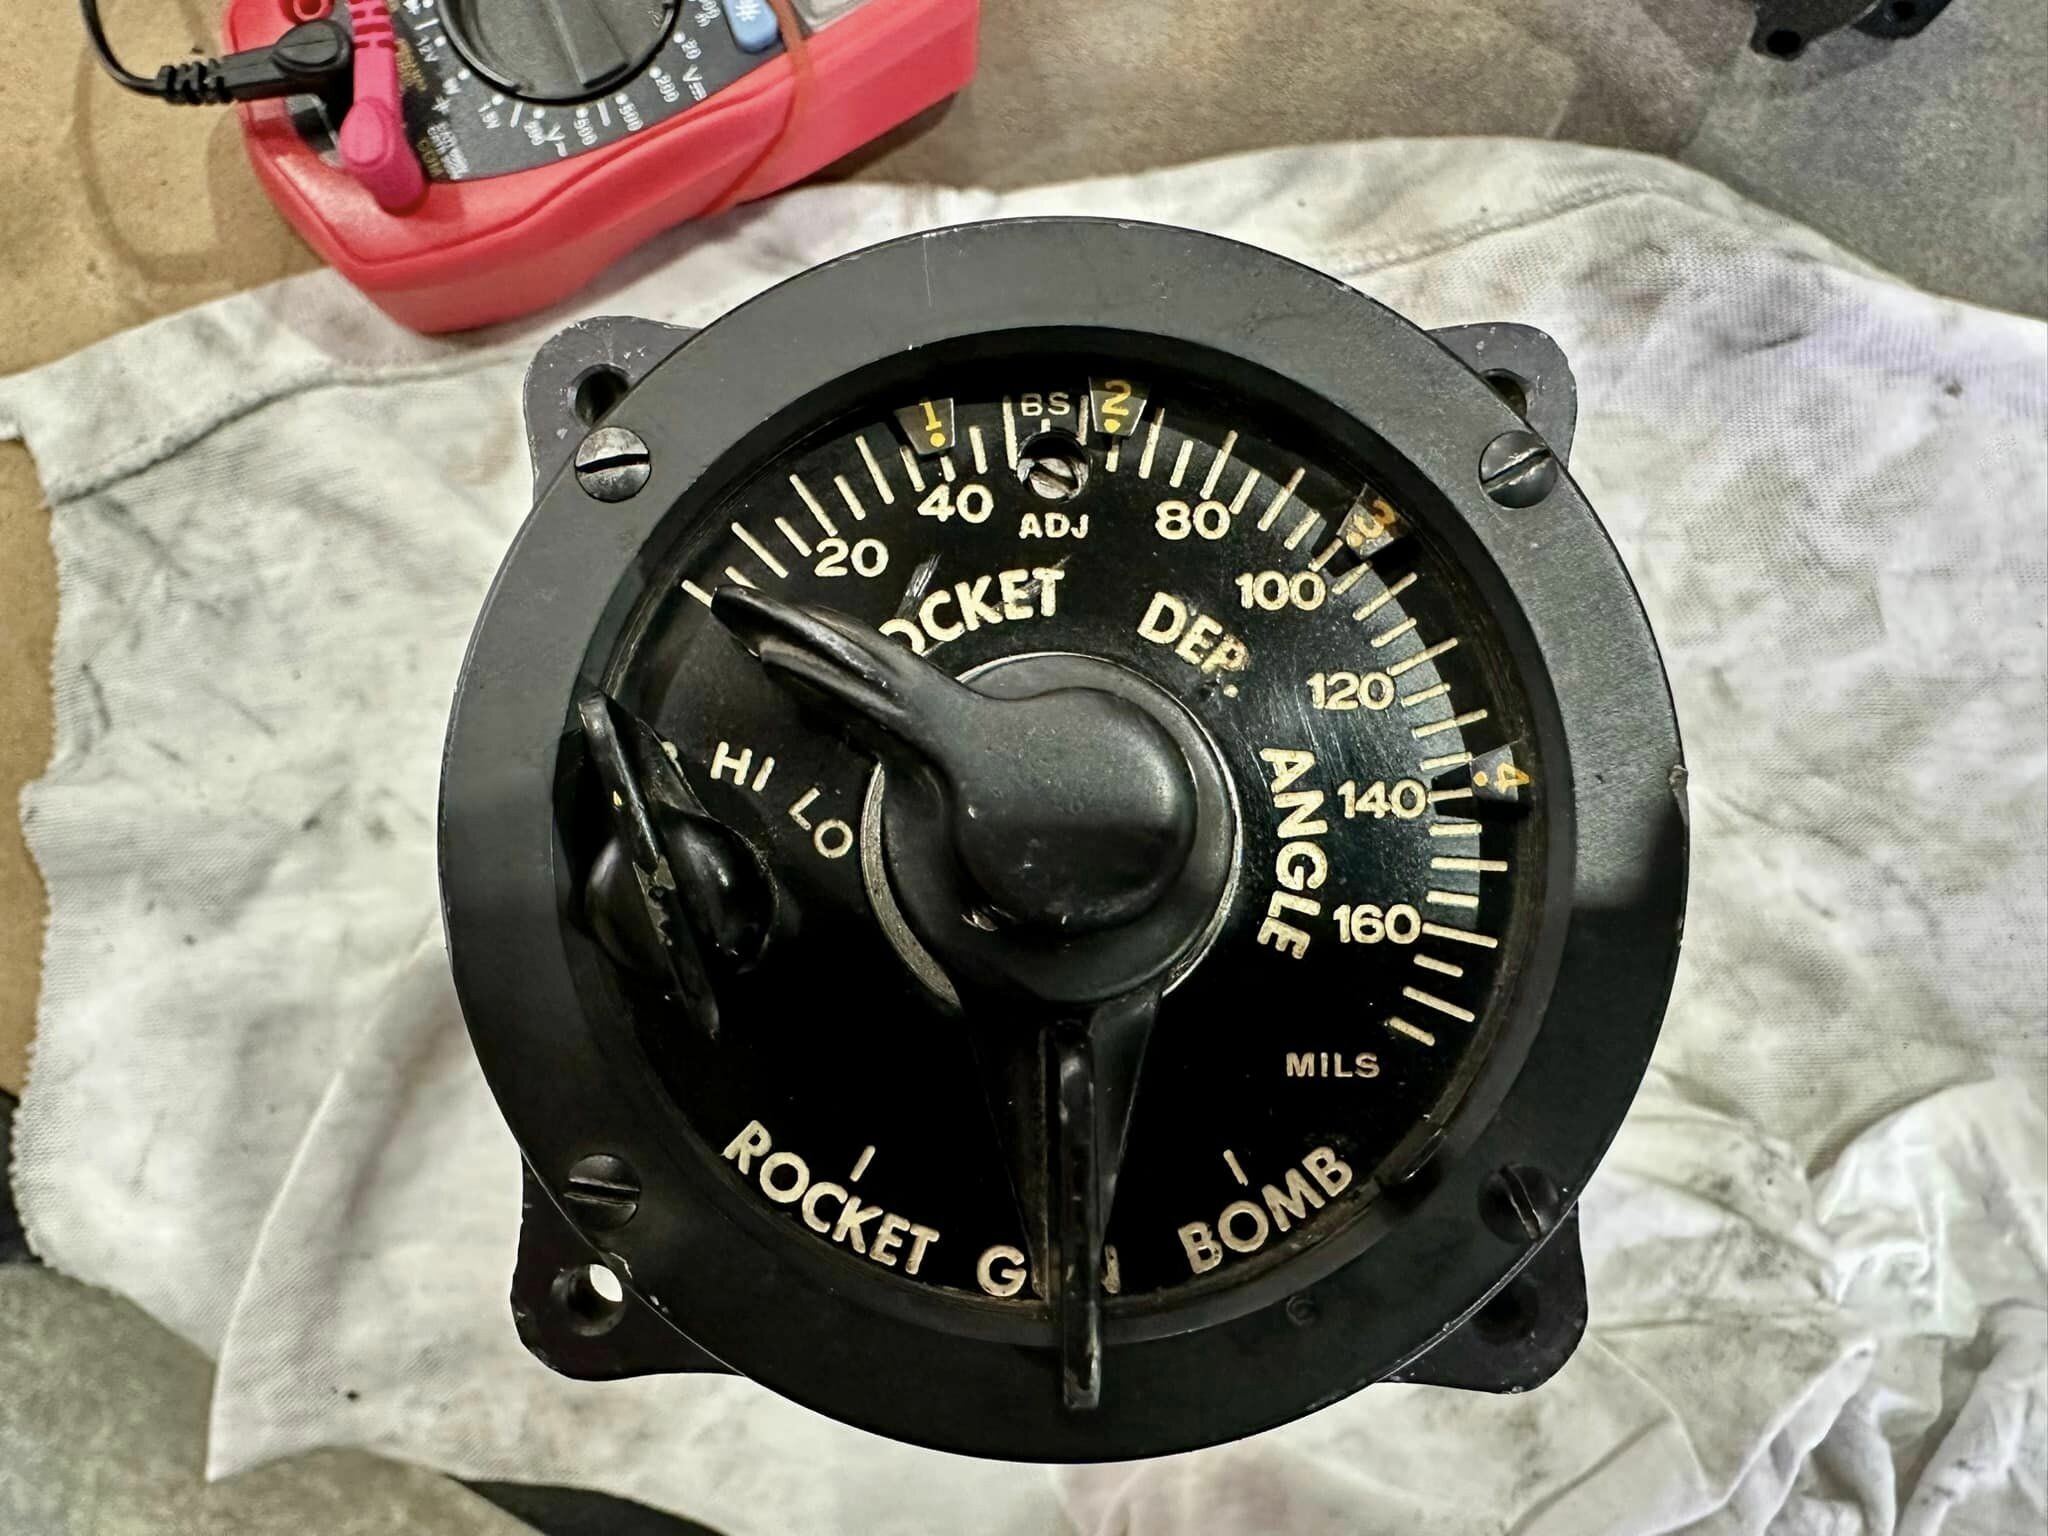
Many thanks to [MVP] Slaxor who has taken on the job of converting the aircraft instruments to work with DCS World. Our goal is to preserve the original instruments as much as possible, rewiring them to communicate with the Arduino controller and DCS Bios. The Gun, Bomb & Rocket control instrument in the centre console is a particularly complicated mechanical/electrical unit, but hopefully we can configure it to provide the necessary outputs. The instrument comprises of three selector knobs, which are easy enough to extract signals from. The real challenge, are the four (see above in yellow) reference indicators, which are attached to discs that are moved via stepper motors inside of the instrument. Months of searching have failed to turn up a parts manual or operators manual for this unit, so we are having to reverse engineer to make this work. Whilst [MVP] Slaxor was busy with the Gun, Bomb & Rocket instrument, I took some time to finish off the Bomb Adjustment instrument that is located on the top left hand side of the cockpit glare-shield. The control box has been completely restored and has a new electronics that are ready for a wiring harness to be attached. Before finishing up for the day, we took some time to inspect the right hand console radio instruments.
-
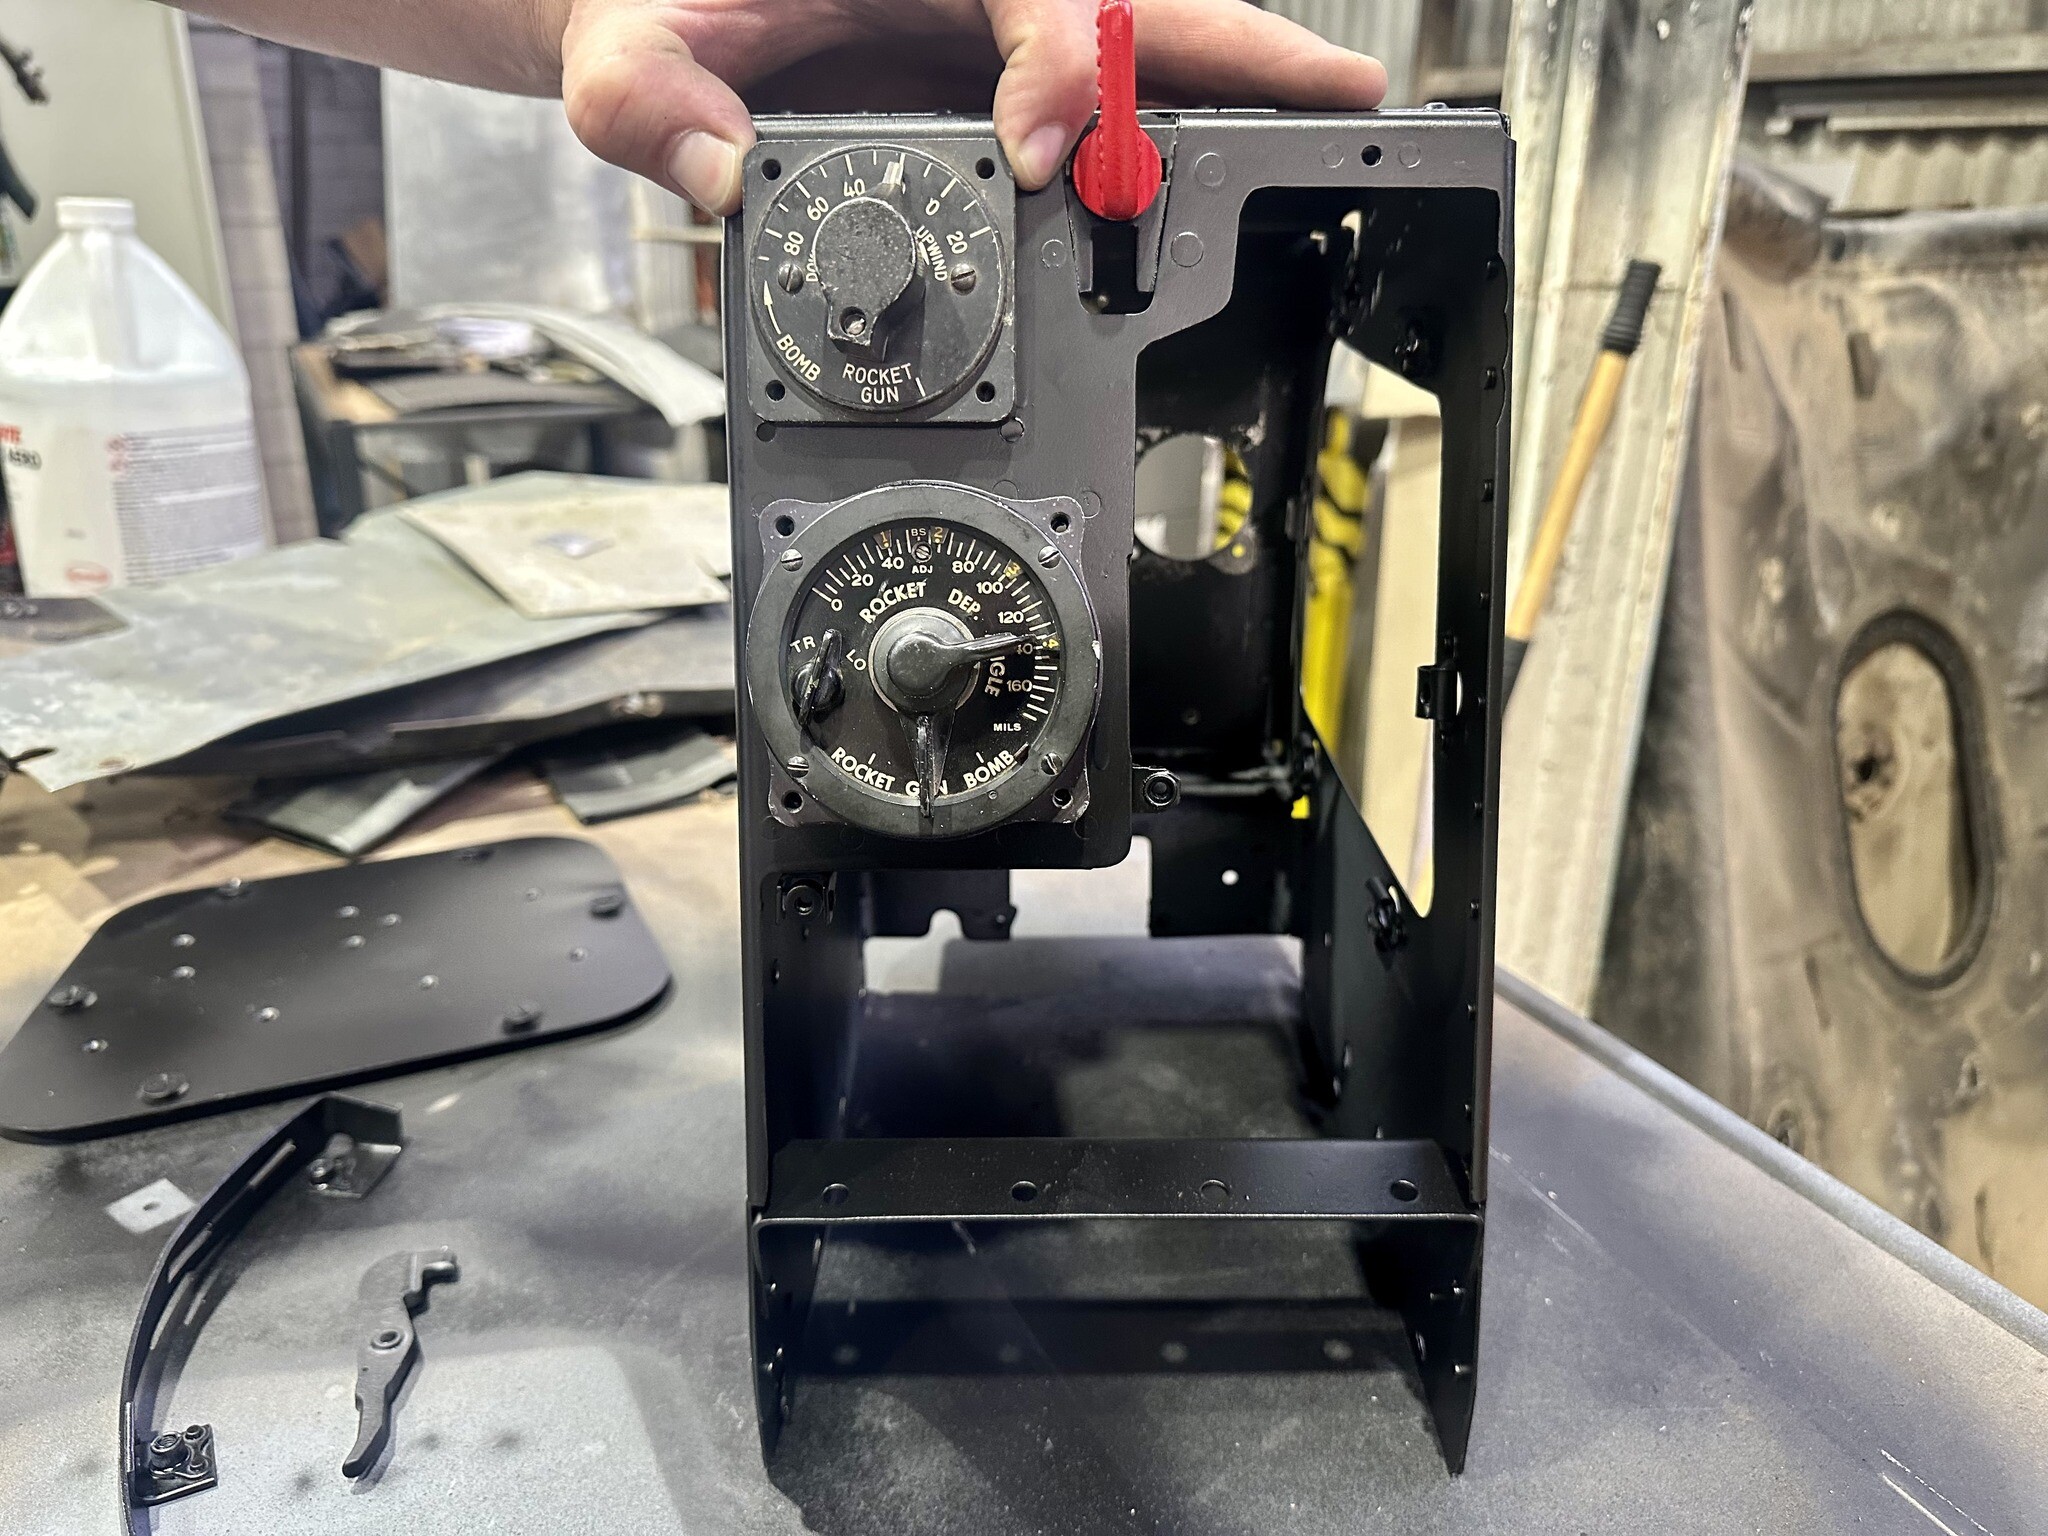
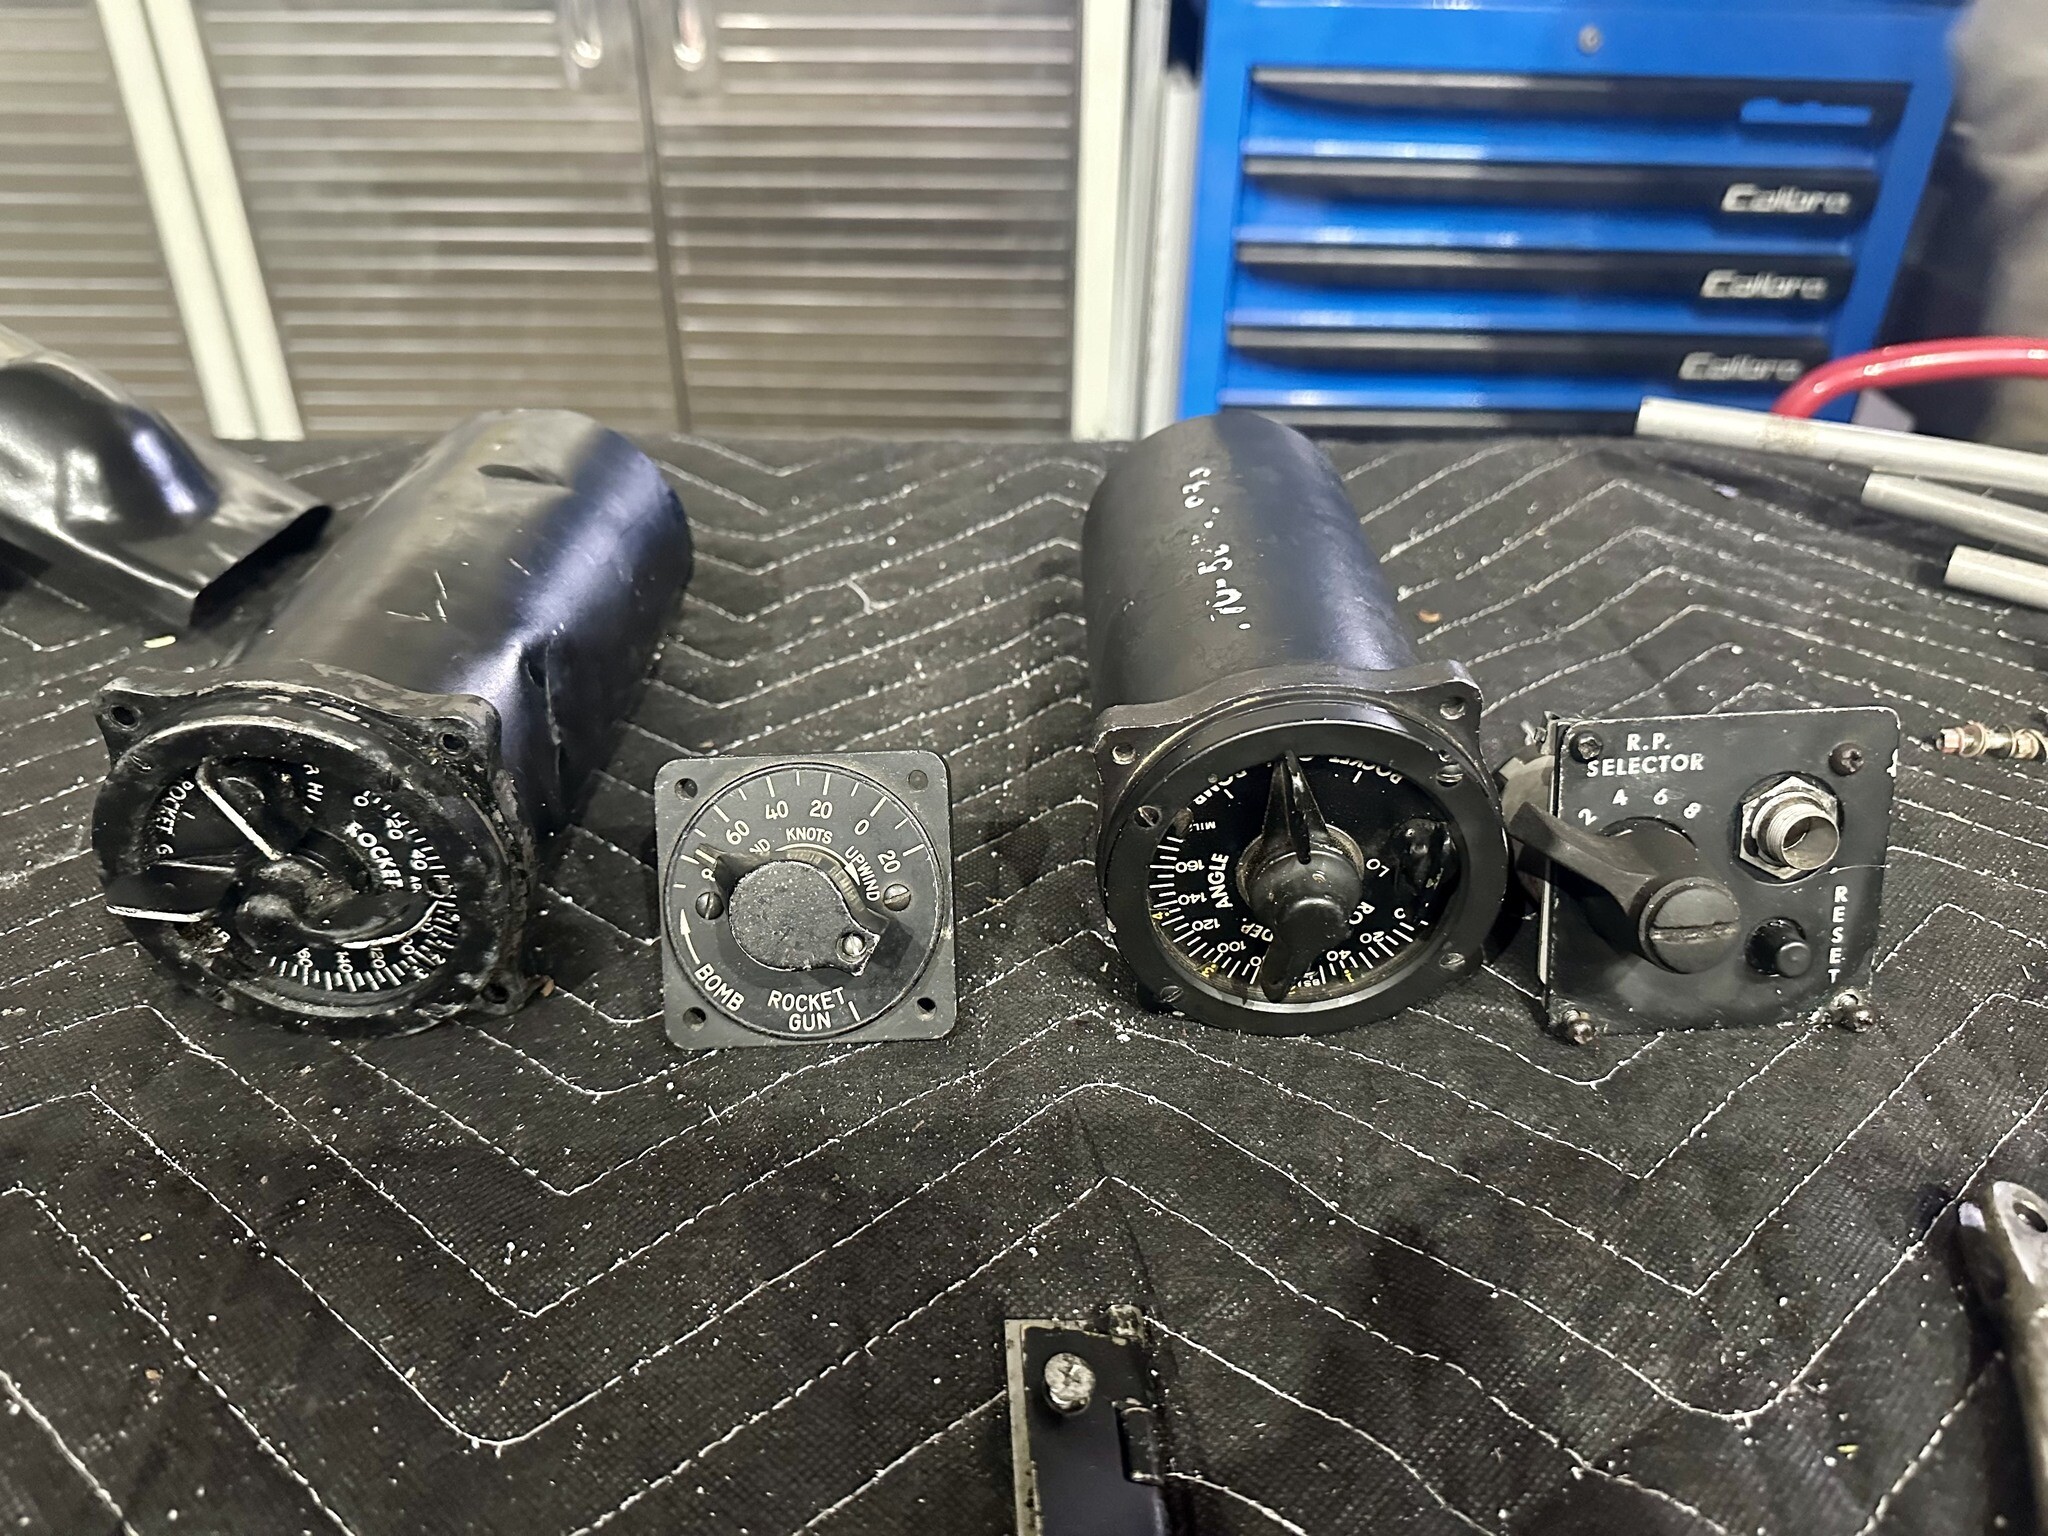
Trial fitting some of the centre console instruments today.
-
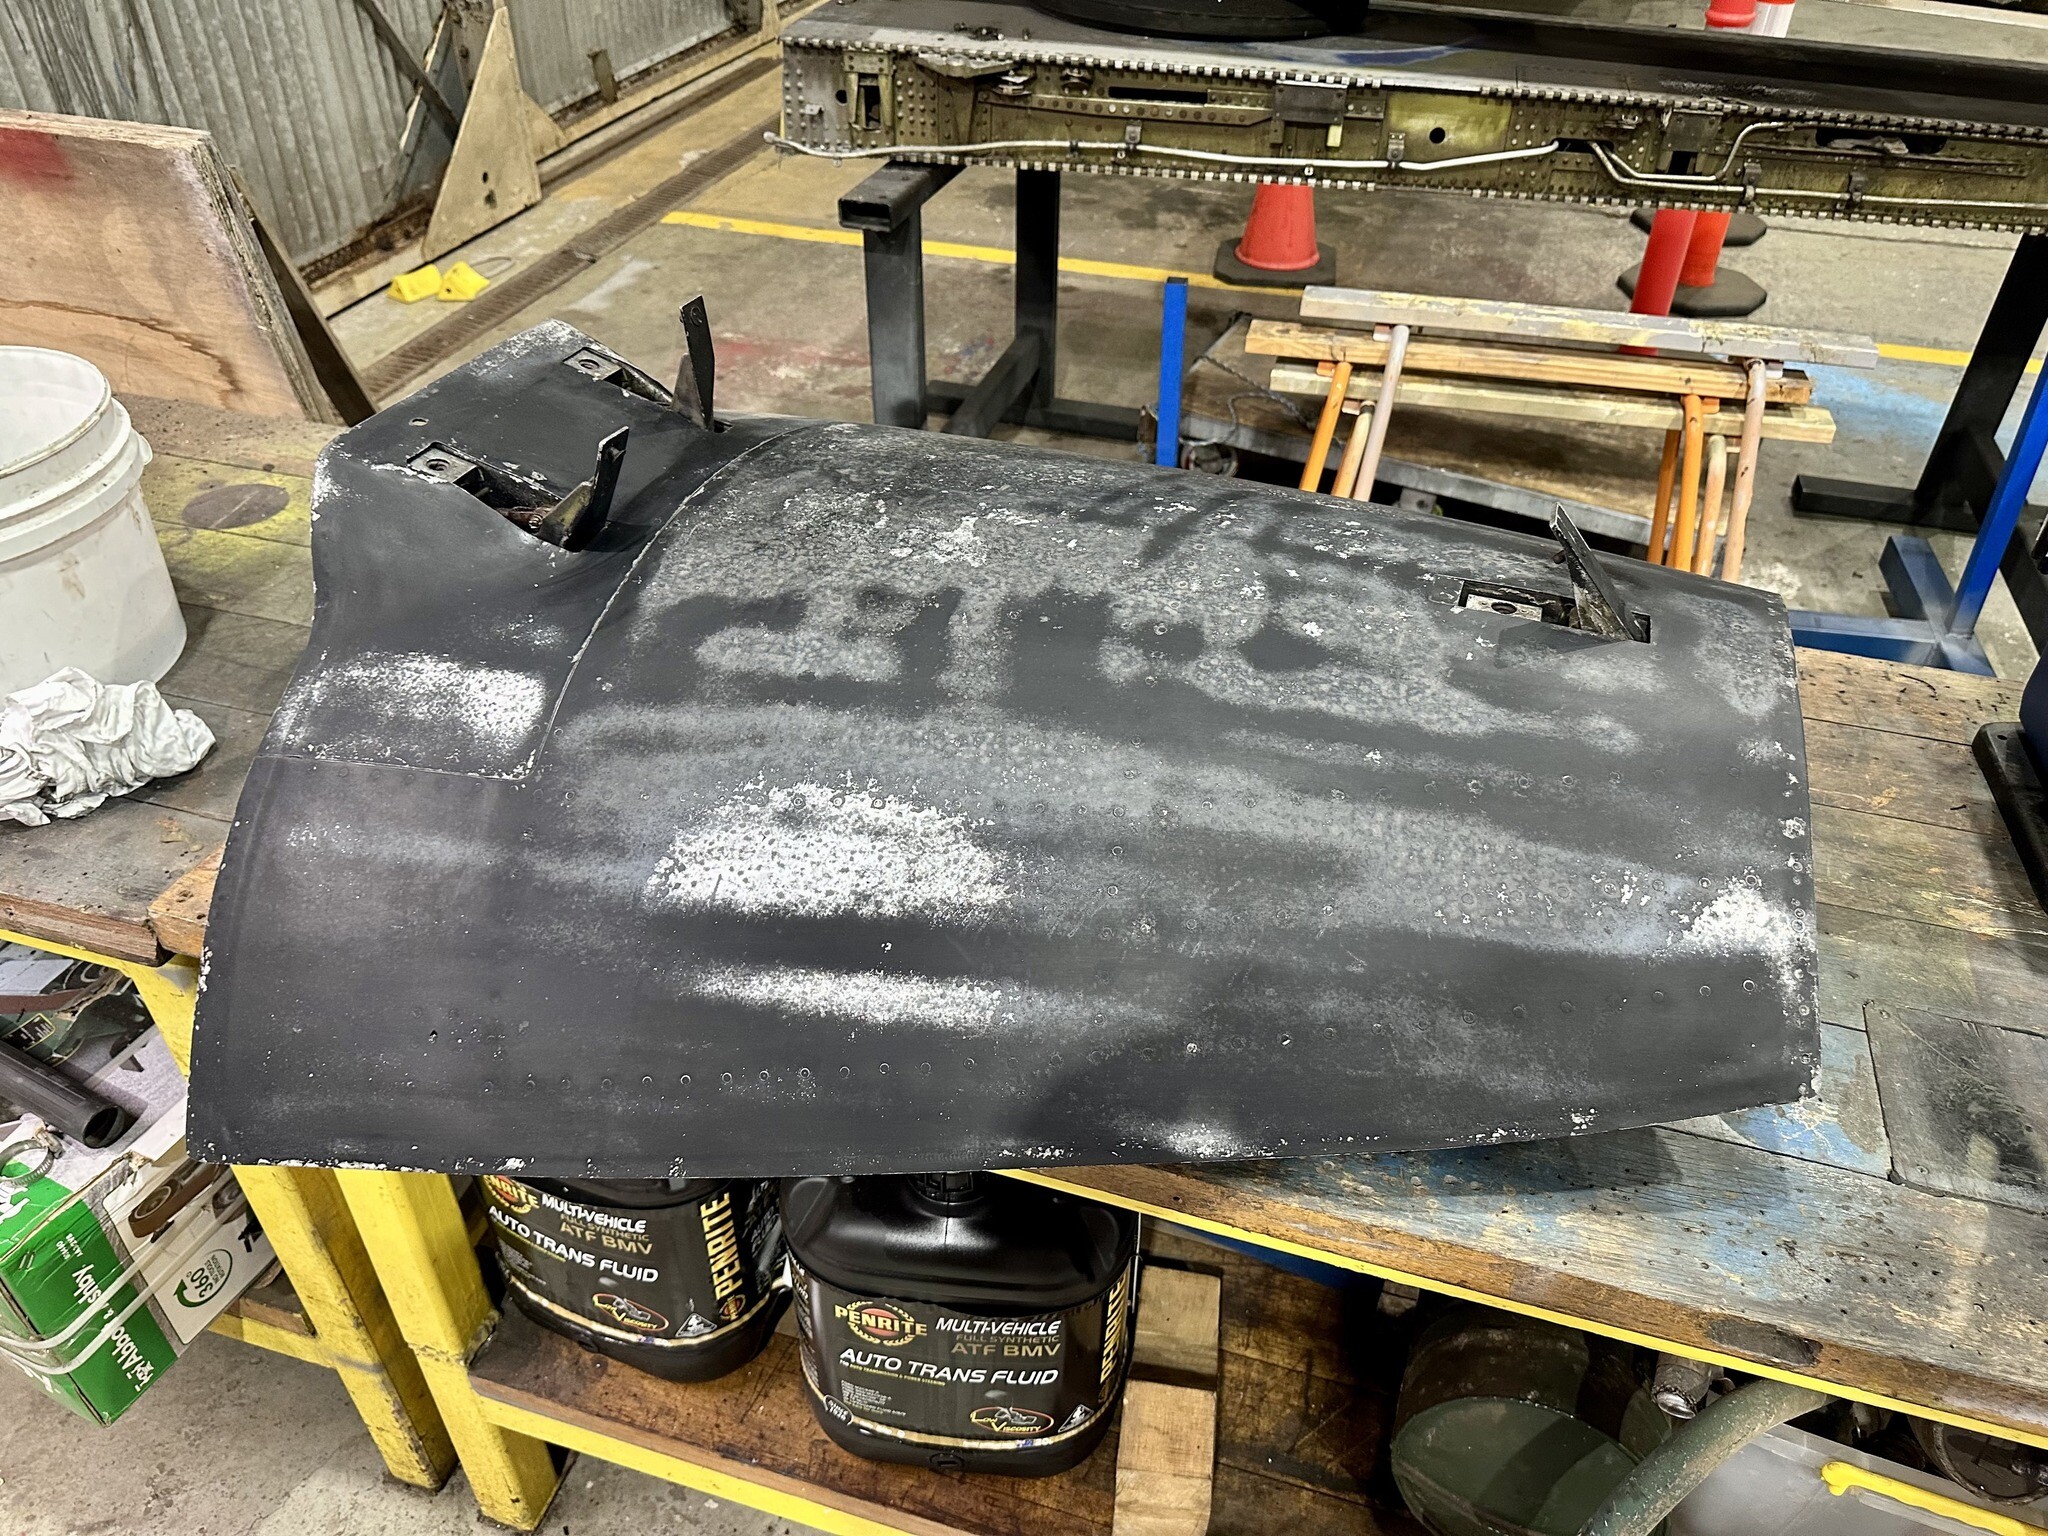
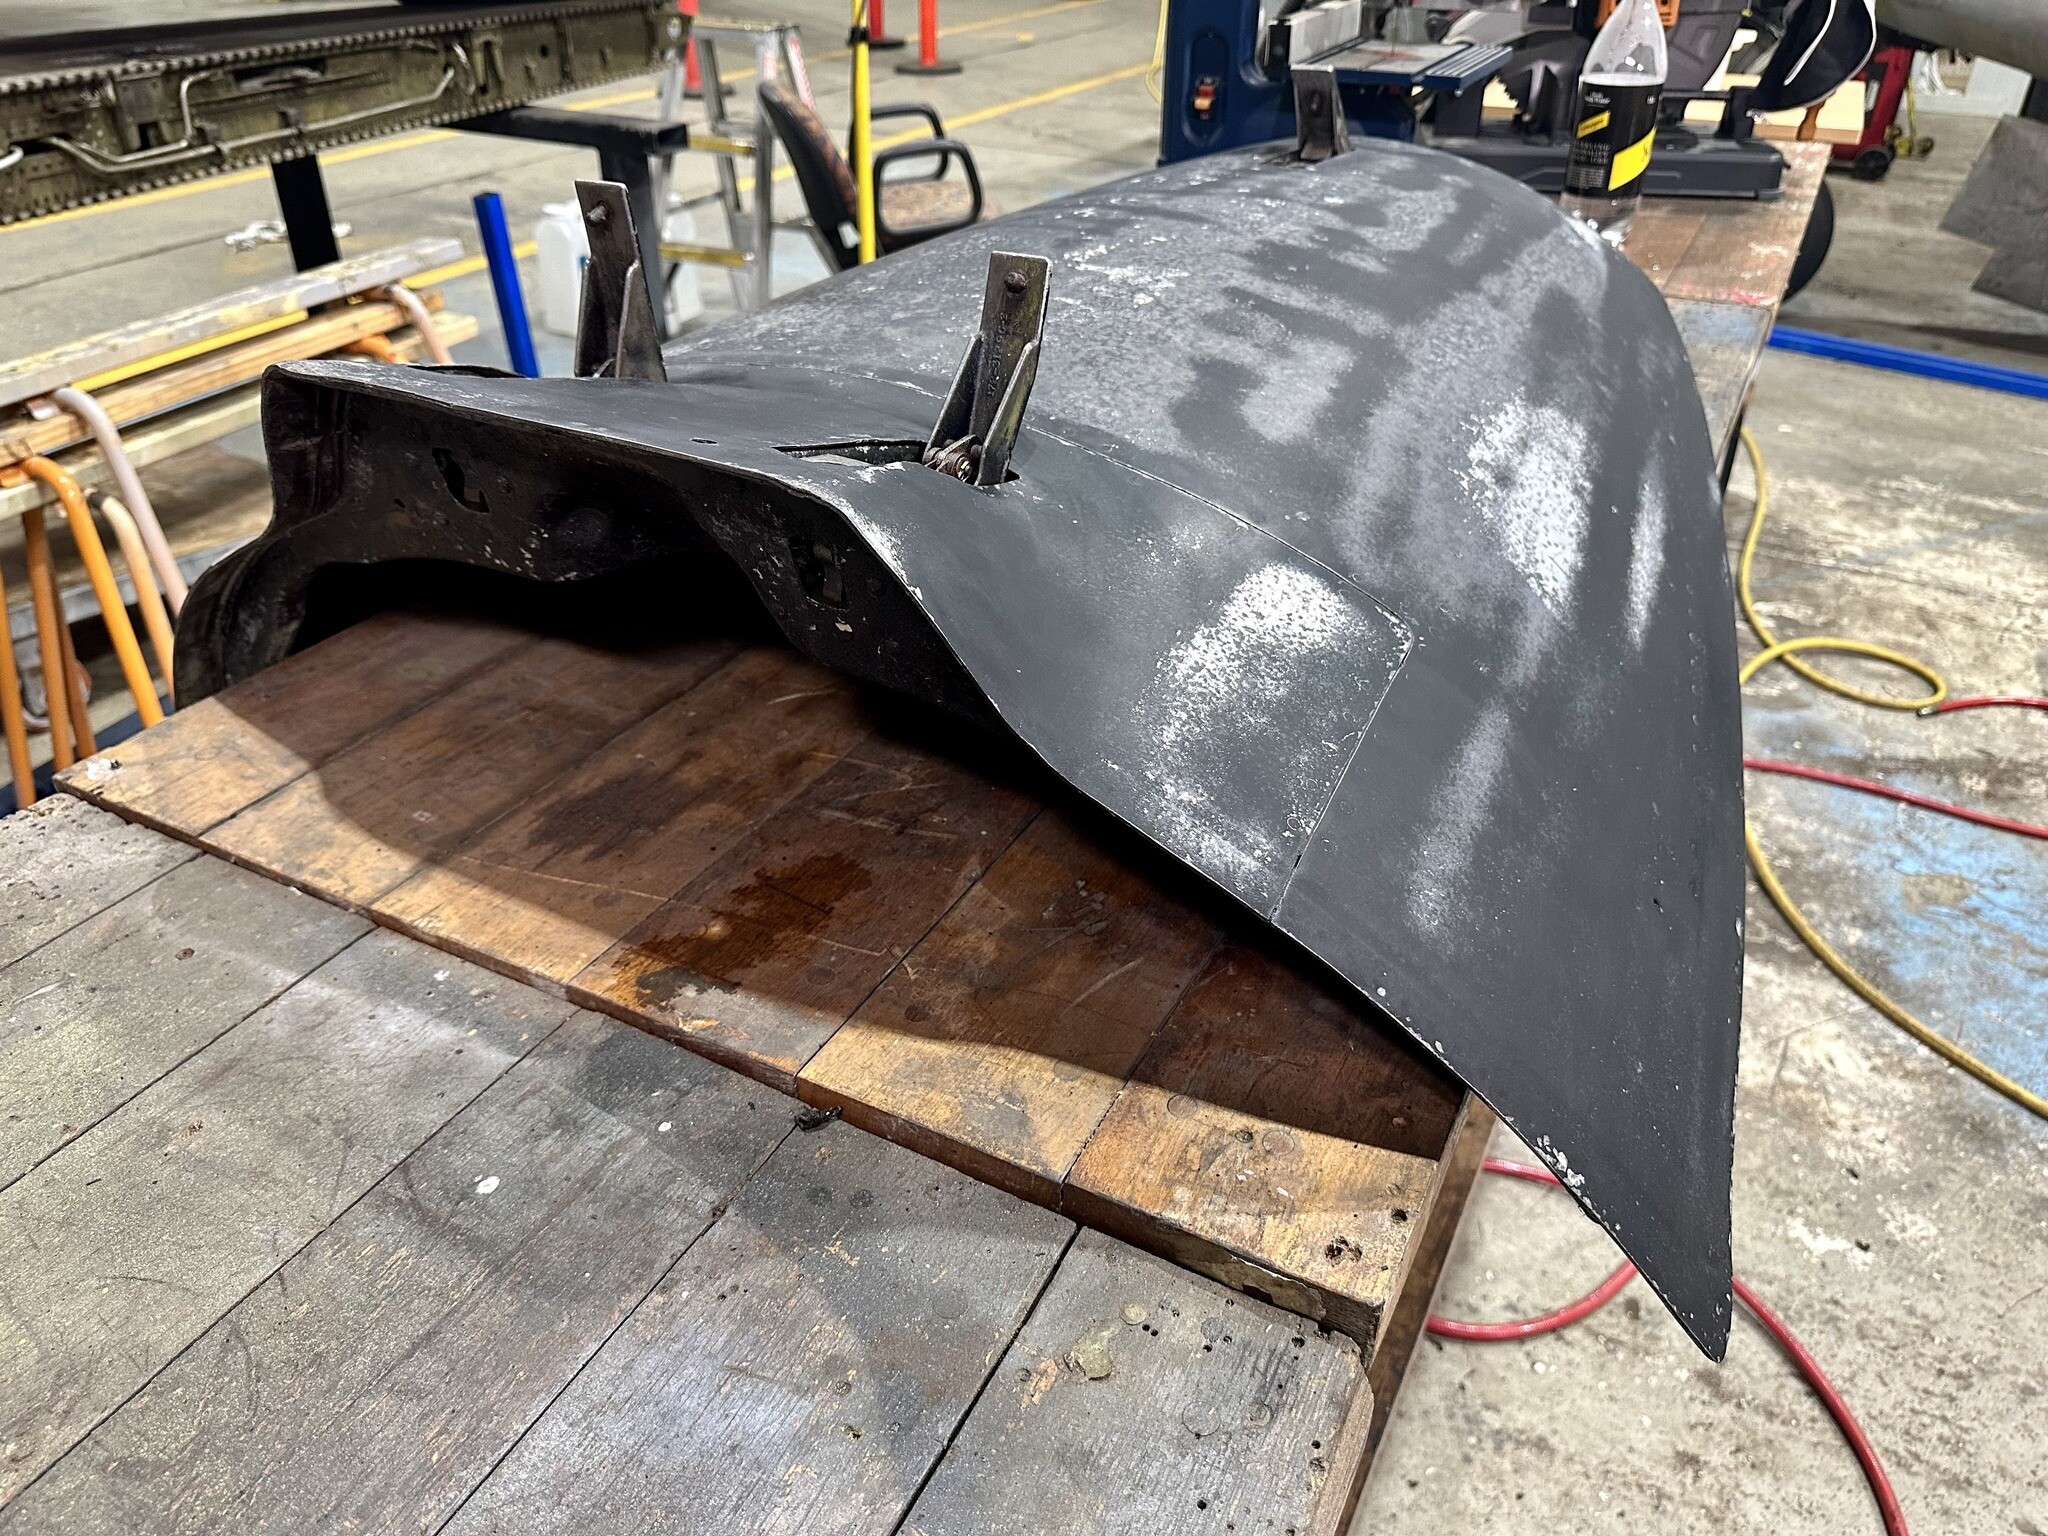
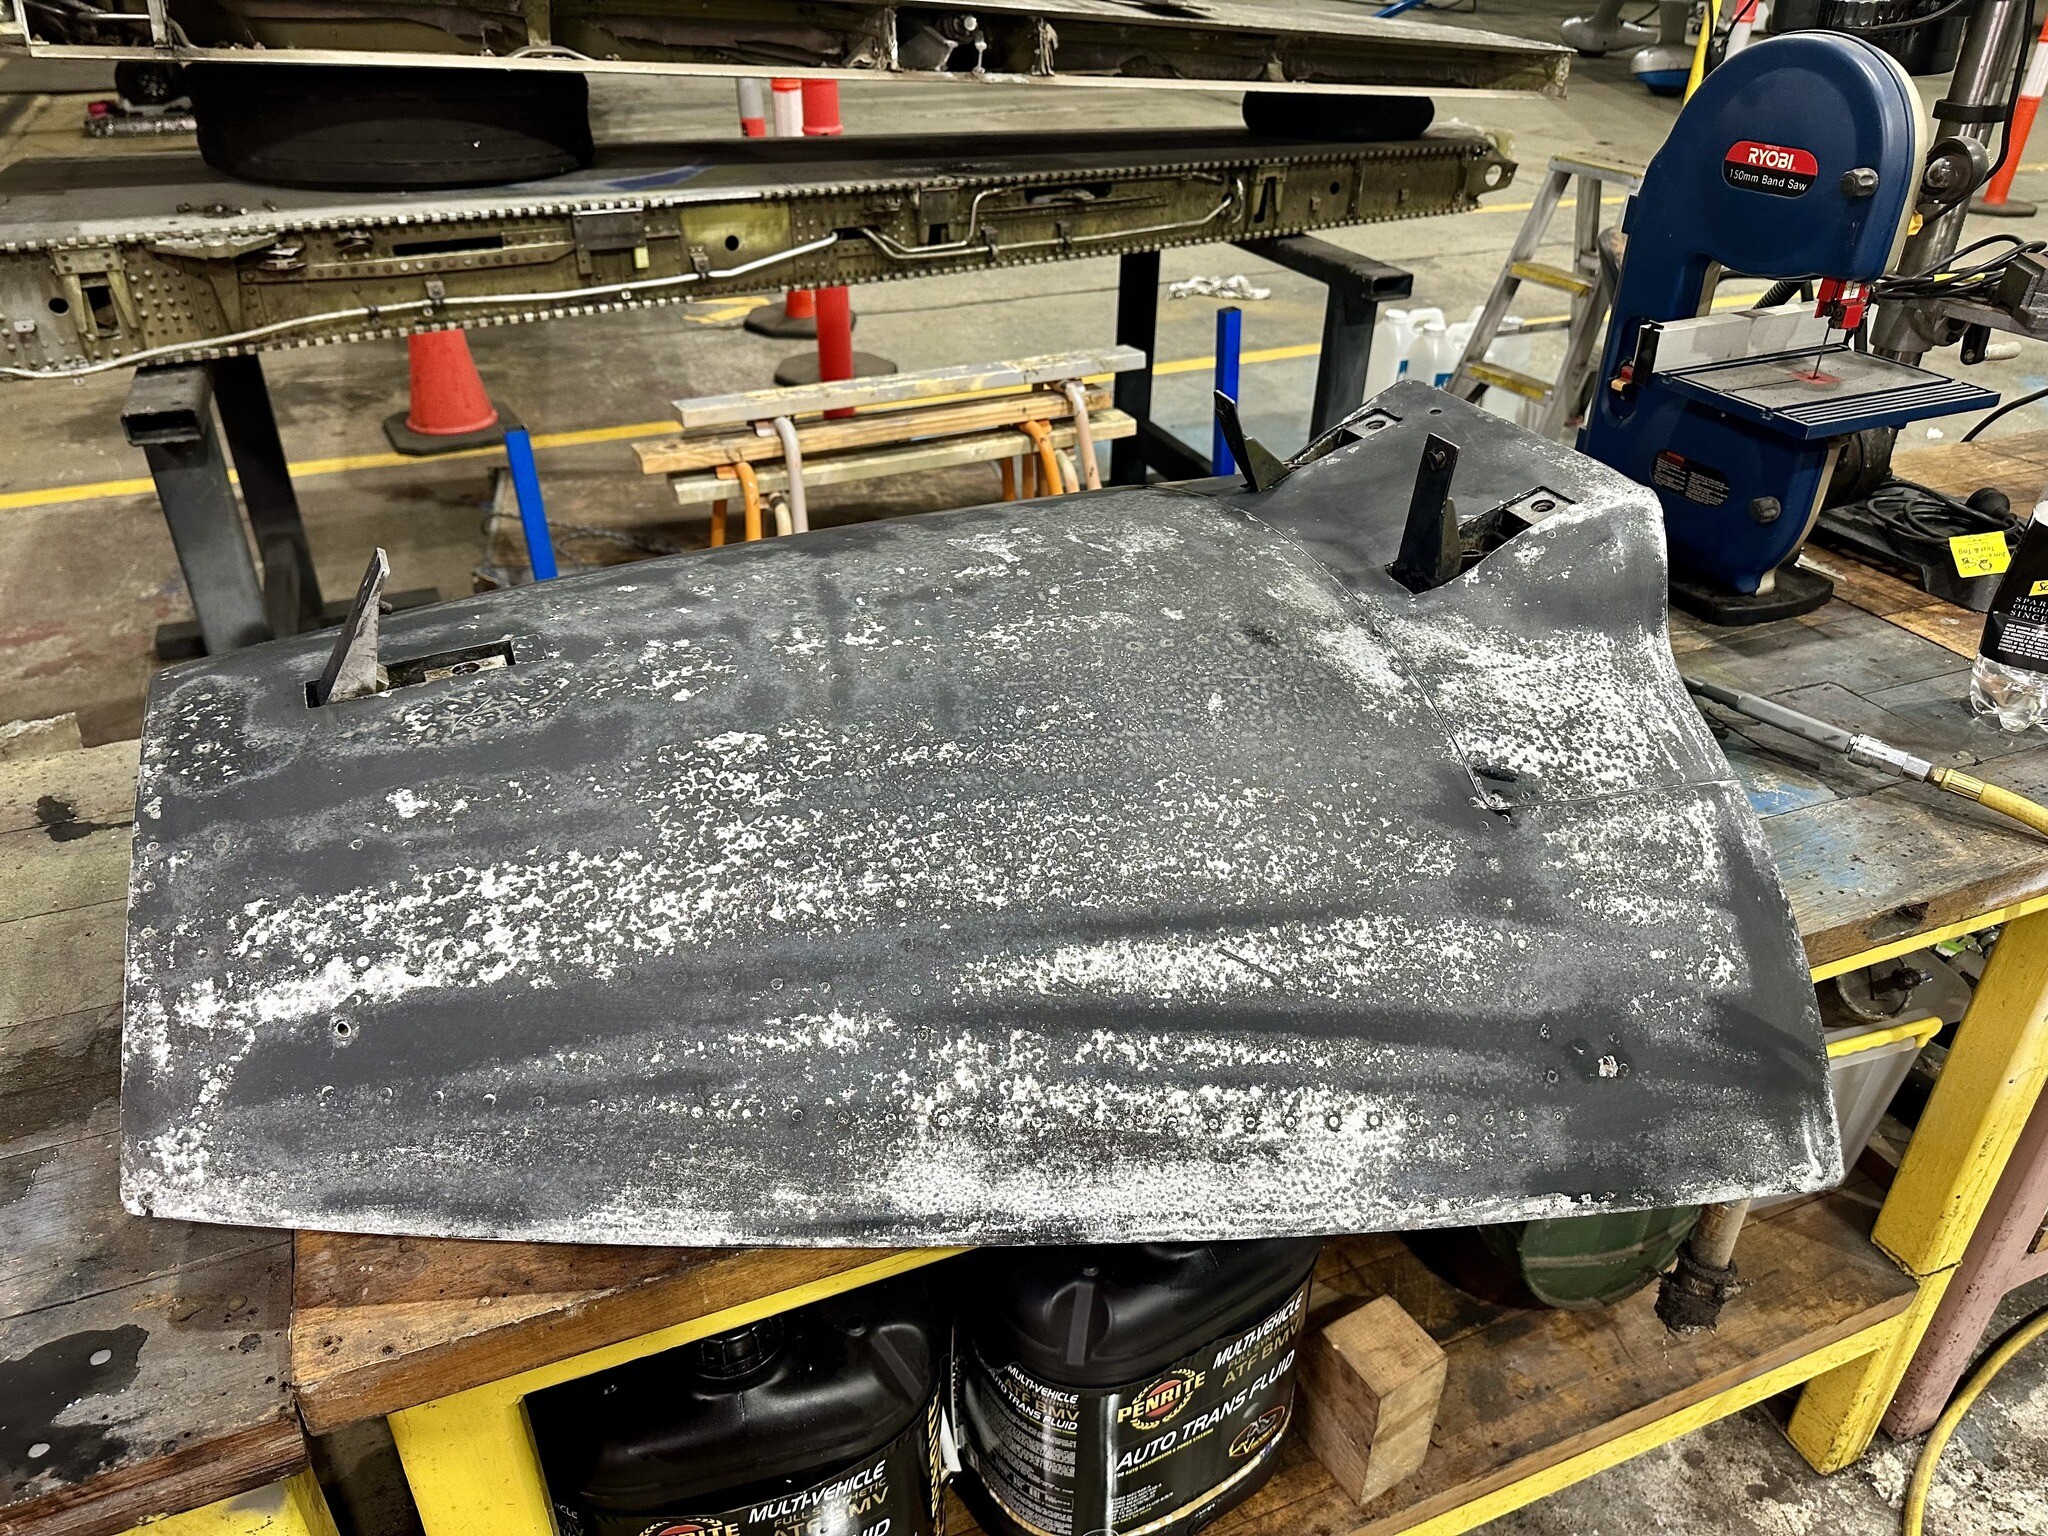
Went in late tonight to try and make some progress on the forward fuselage top cowling. After giving it a scrub with a scotch pad and a clean with detergent, it will now be paint-stripped and the corrosion cleaned up. All three cowling latches will be removed and all the moving components given media blasting, prior to painting and reassembly. The entire cowling will be painted matte black and given three coats of satin clear to both protect it and make it easier to keep clean and free of oily fingerprints!
-
Will be a lot happier once I have things re-assembled too!
-
Centre console looking much better than it did just weeks ago! Can't wait to install all of the electronics etc.
-
Because the headrest had a red high-density foam pad glued to it from the factory. They shipped like that from North American Aviation.