Strix
-
Posts
201 -
Joined
-
Last visited
Content Type
Profiles
Forums
Events
Everything posted by Strix
-
Good start Pawel :thumbup:
-
Hi Tom! Look at this file from brydling! It shows you the layout of connectors! C = common connections I = interface connections Every row has 4 commons! And you solder the diode between I and switch! As close to switch as possible. The diode black ring must face the switch!! And you don't need to use all 4 commons in a connector row! Use only as many you need to connect to first common on first switch. And then connect all commons between each other in a chain. If you use only 16 pins in a connector, you don't need diodes. If you want to use all 32, you need diodes. If I am not mistaken?! Hope brydling don't mind me sending it :) Cheers DrStrix User Manual.pdf
-
Nice bodywork!
-
Looks nice!
-
Nice Linden!
-
Thanks to you I now got a laser-cut Fuel panel in my possession :D What a difference it does to have a professional panel and not a homemade crap like mine :doh: So many hours I spend doing them when I could got them made.... In the end it will have cost me the same :mad:
-
Looks good Linden!! Glad to see that your cnc went good. Only thing is that I think the bat handle on switches is a bit to low.... You use 5mm on top and that makes them low..... :doh:
-
Lucky you getting a nice job!! Still waiting for encoder support :D
-
And u have to make a new landing gear lever!!!! Wood!!!! wtf...... Get a piece of aluminium and redo it or I will hunt u in your dreams!! Toke a look at how u solve wiring. I must say that's a good idea to use some boards and connectors! Smart thinking with GPwiz!! Easy on, easy off!! Will see if I can copy your ideas!! :beer:
-
Did well with your work whit pit!! Looks cool and functional. But you need to something to the ugly copper/brass-pipe on stick, looks awful.... aarrggghhhhhhh...... :cheer3nc: cant stand to see it anymore!!!!!
-
Great work Duckling!
-
Awesome work :thumbup:
-
Its a hard life when you r 2! Great going there!
-
Going nicely there! I gone build a break out board for my flat cables. Hopefully that will make it better and nicer.
-
Leg problems! Due to the fact that I use my computer to other games I have to solve a big problem! My left leg is grinding on the AHCP when playing other games. I sorted it out by making the AHCP and Landing and Flap panel slide to the left when I don't use it :smartass: So now I don't get a bad knee anymore!

-
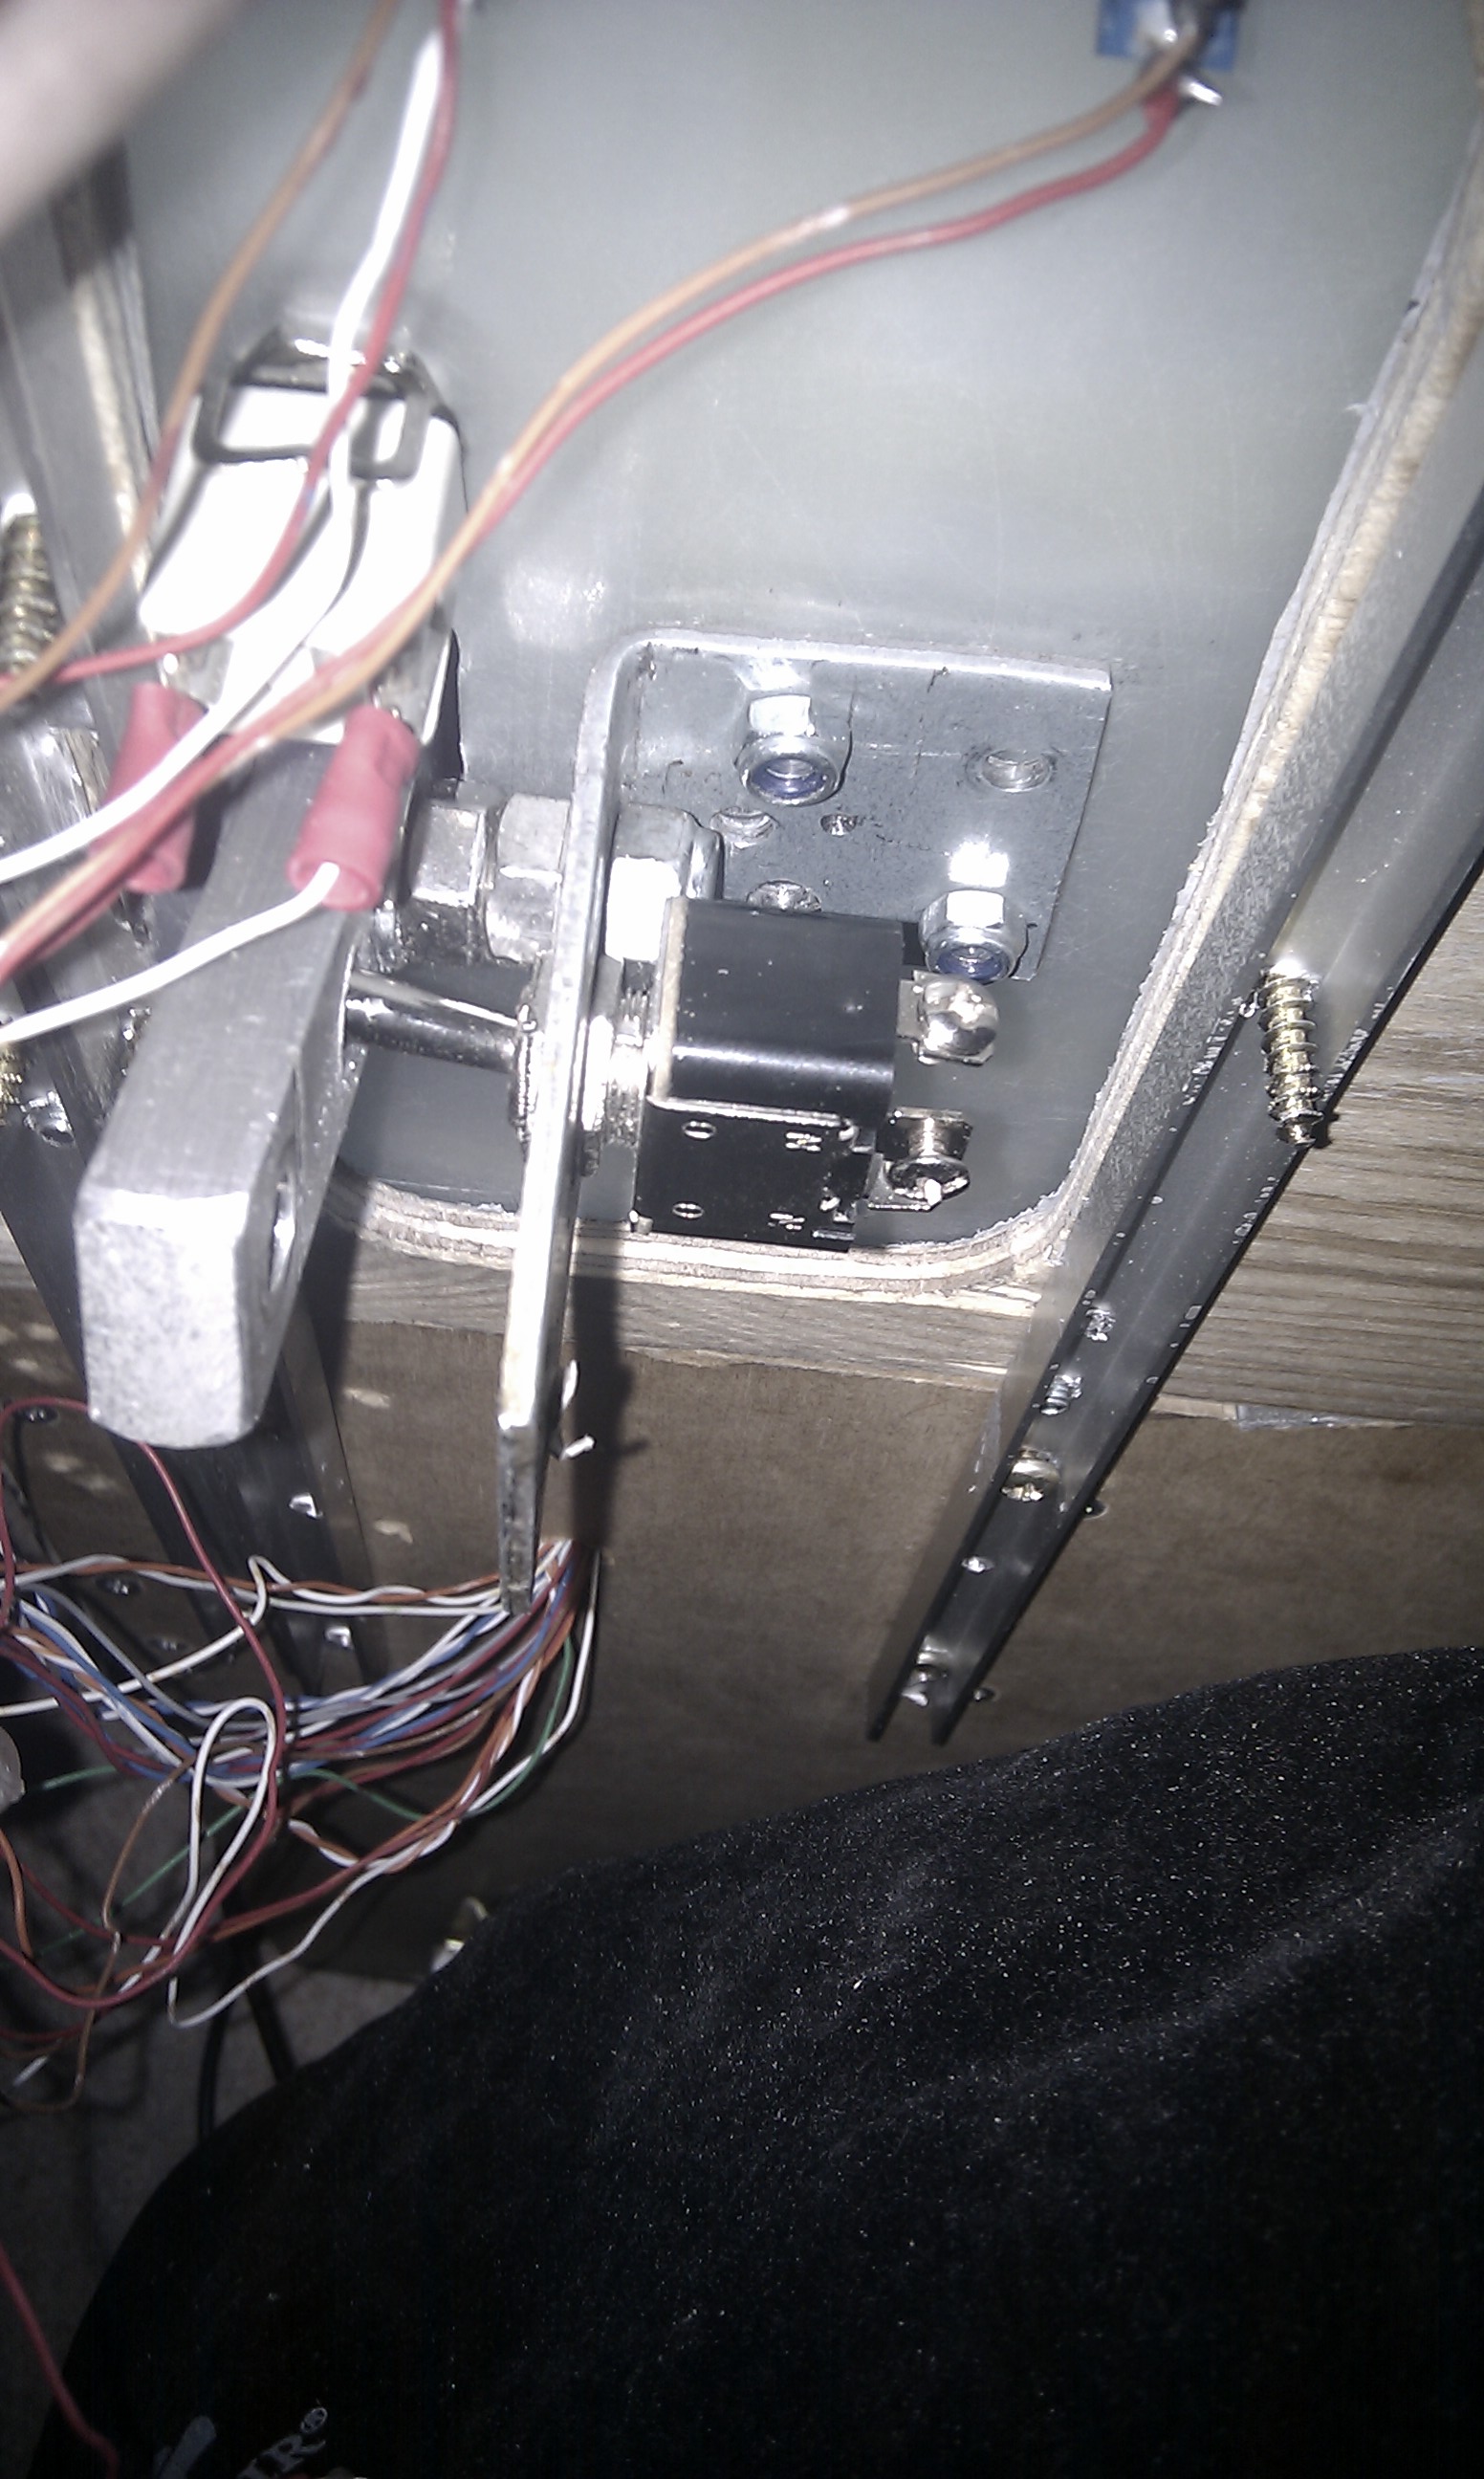
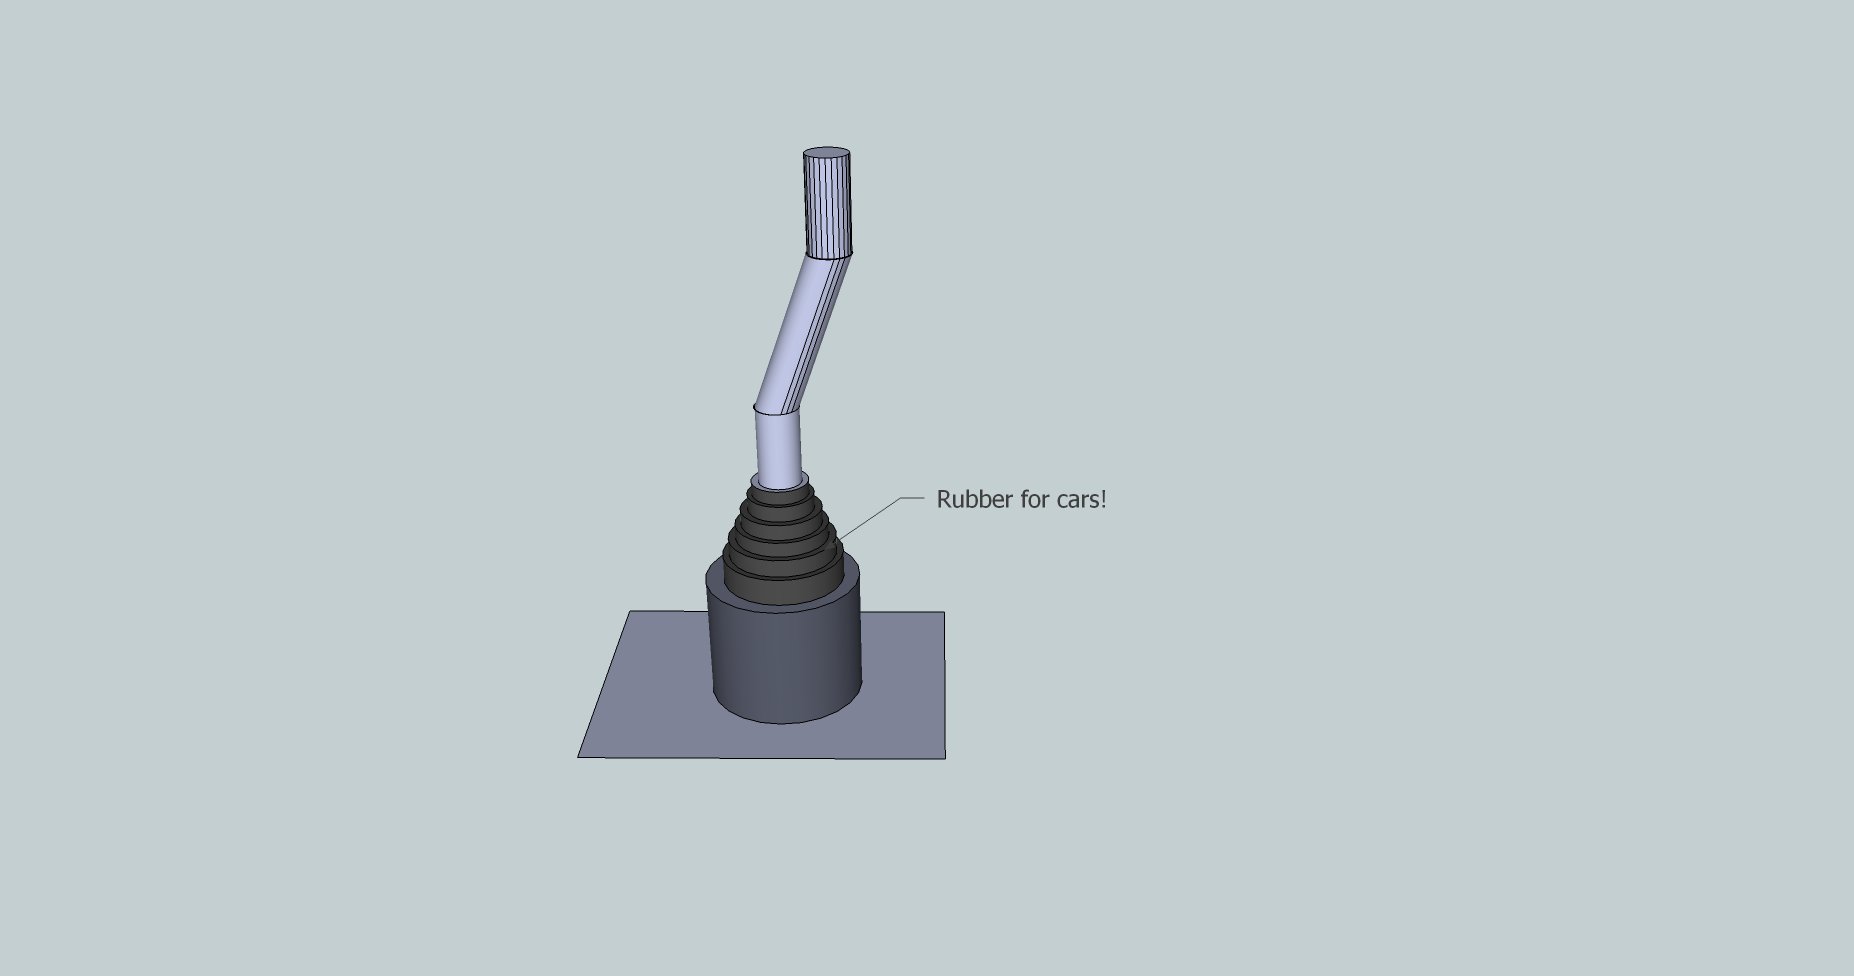
A bit to late maybe, but this is how i did my landing-gear leaver. I use a pan-head bolt 8mm I think and a piece of 0.5mm rubber on head side to make it soft. And I double trow switch, On-On. No need to connect more then 1 pole to it if you use Helios. I drilled out a hole in landing-gear leaver for switch-leaver activate the switch...
-
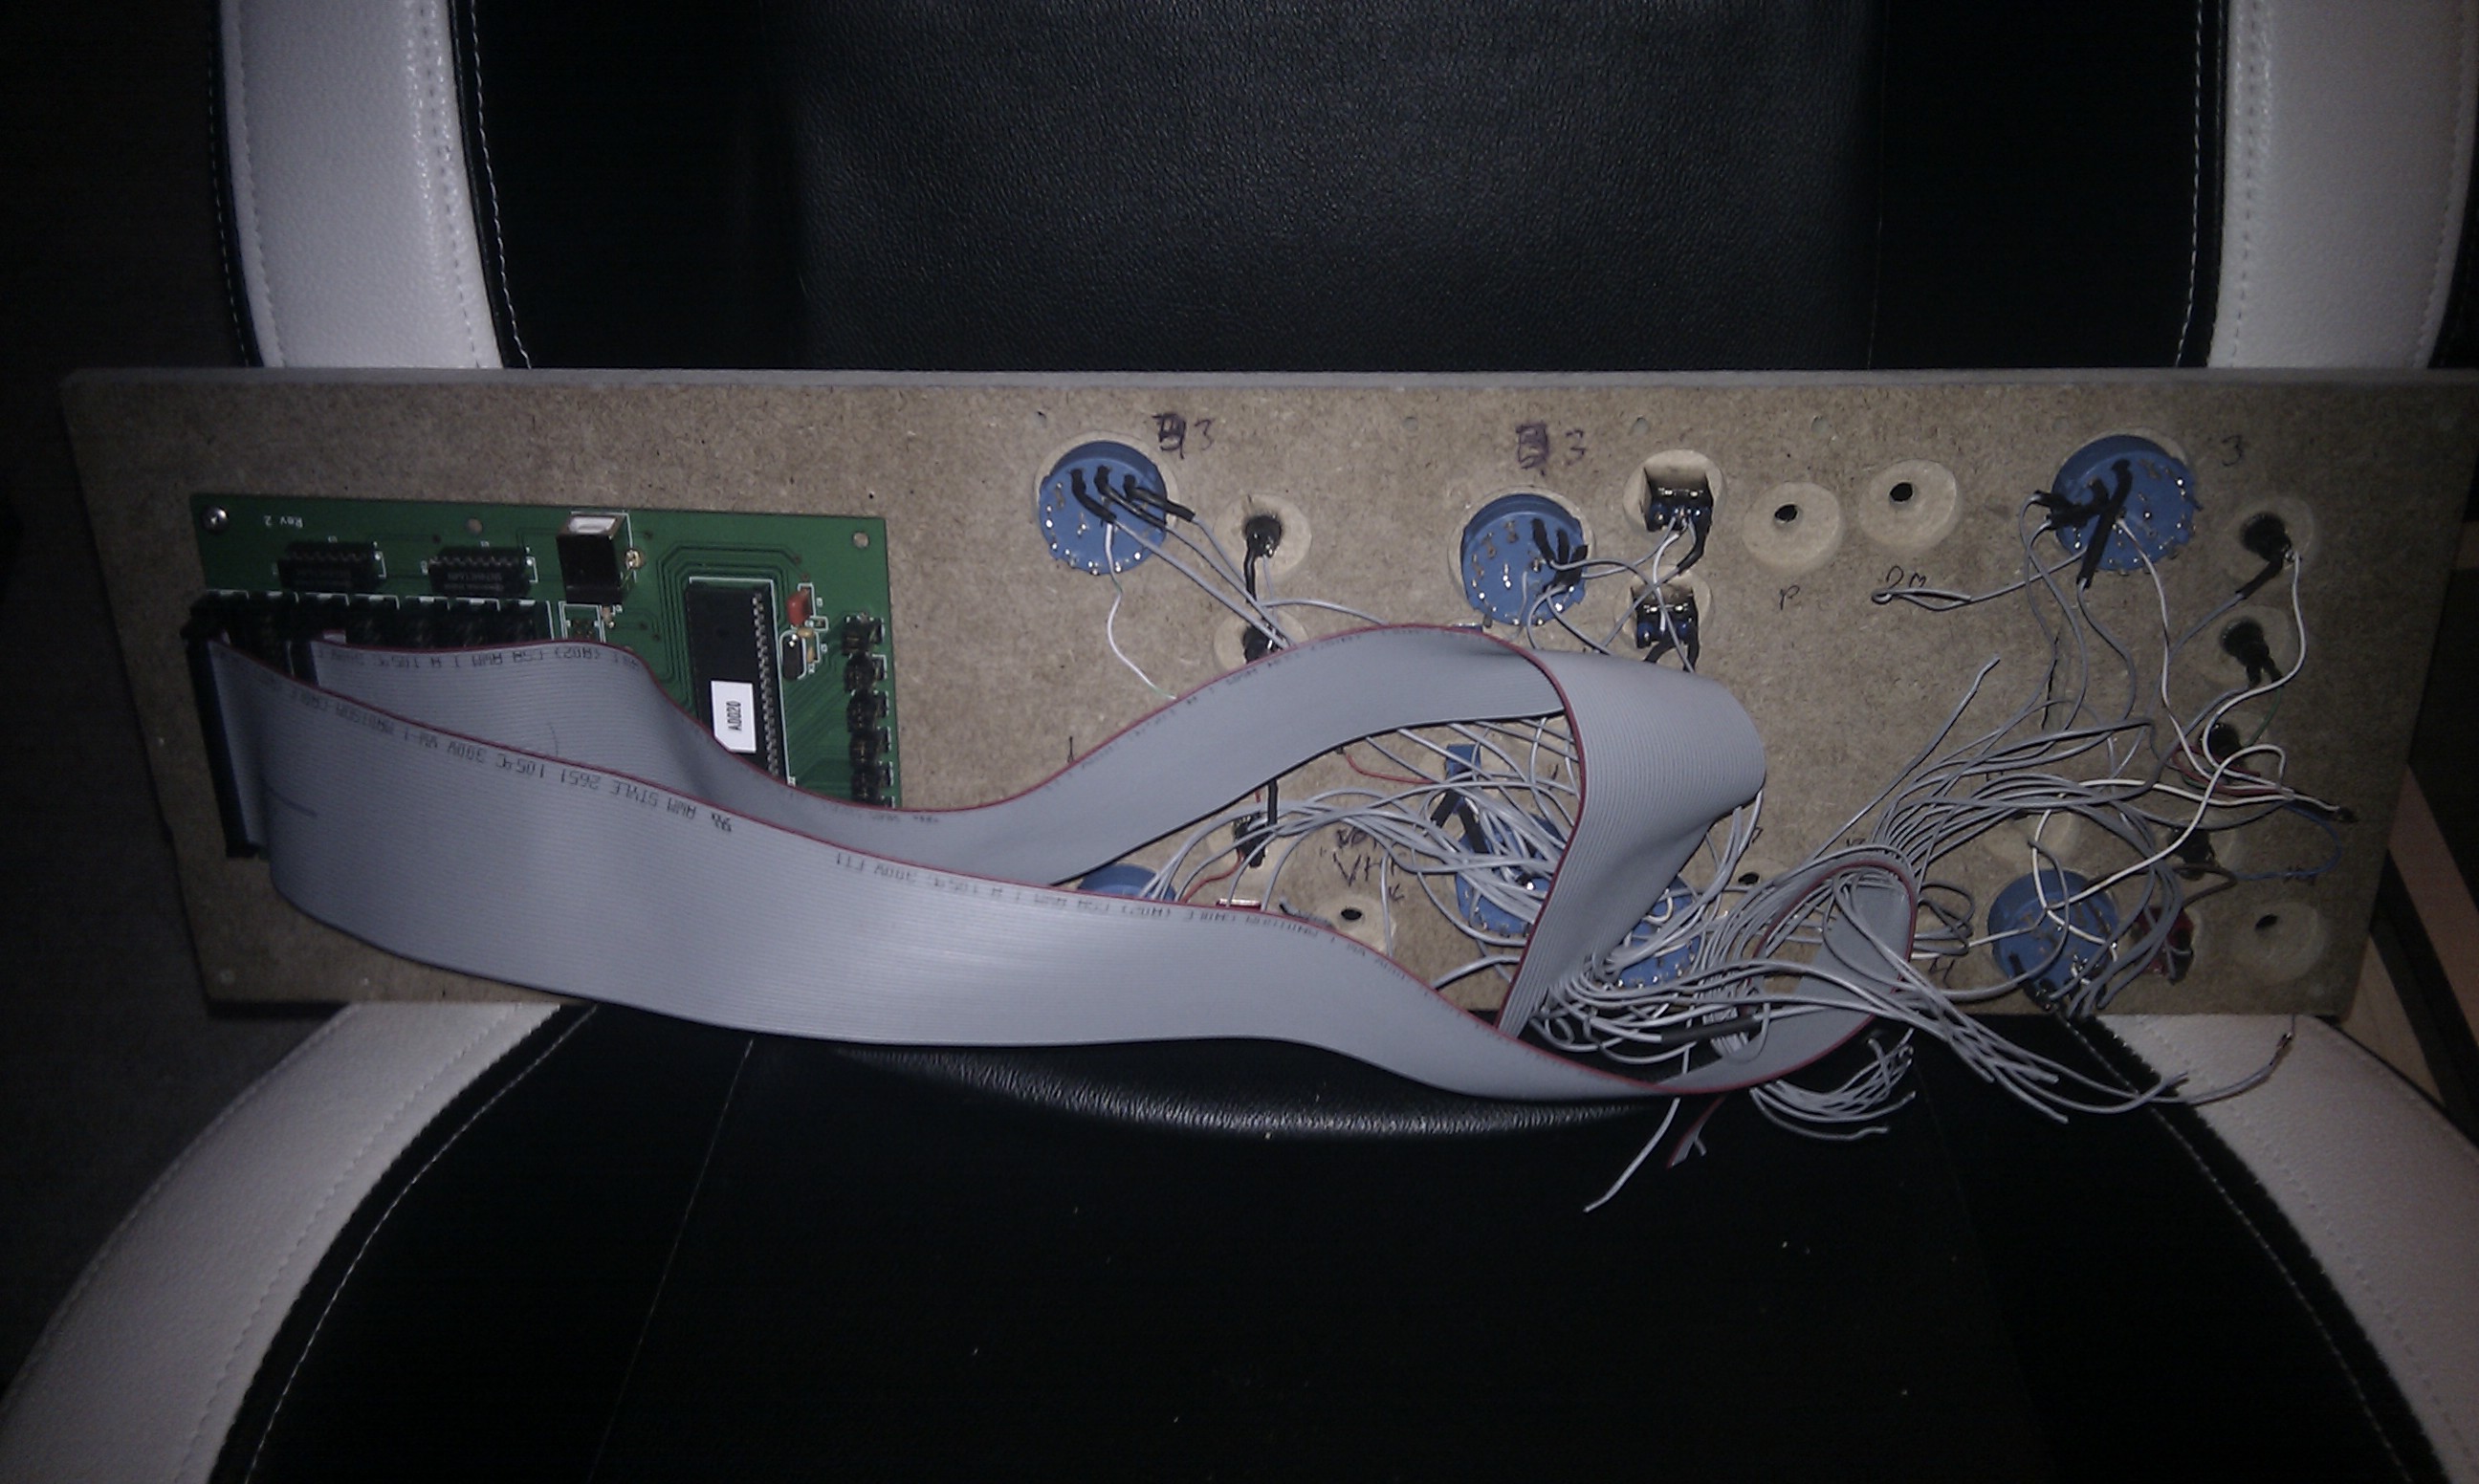
Wiring is a mess... I never get it nice, looks like a child done it :mad: Always cables going over the whole place. Have no clue witch is witch :doh: As you see I use 40 pin flat-cable now, due to my interface.
-
Hi Deadman! For my sake I don't need any info on the radio displays. I don't think I can build them... :mad: But it would be nice if you post a good solution for it. :joystick:
-

[How To] Export ALL Indicators like MFCD via ViewPorts
Strix replied to icemaker's topic in Multi-Display Bugs
Nice PeterP!! -
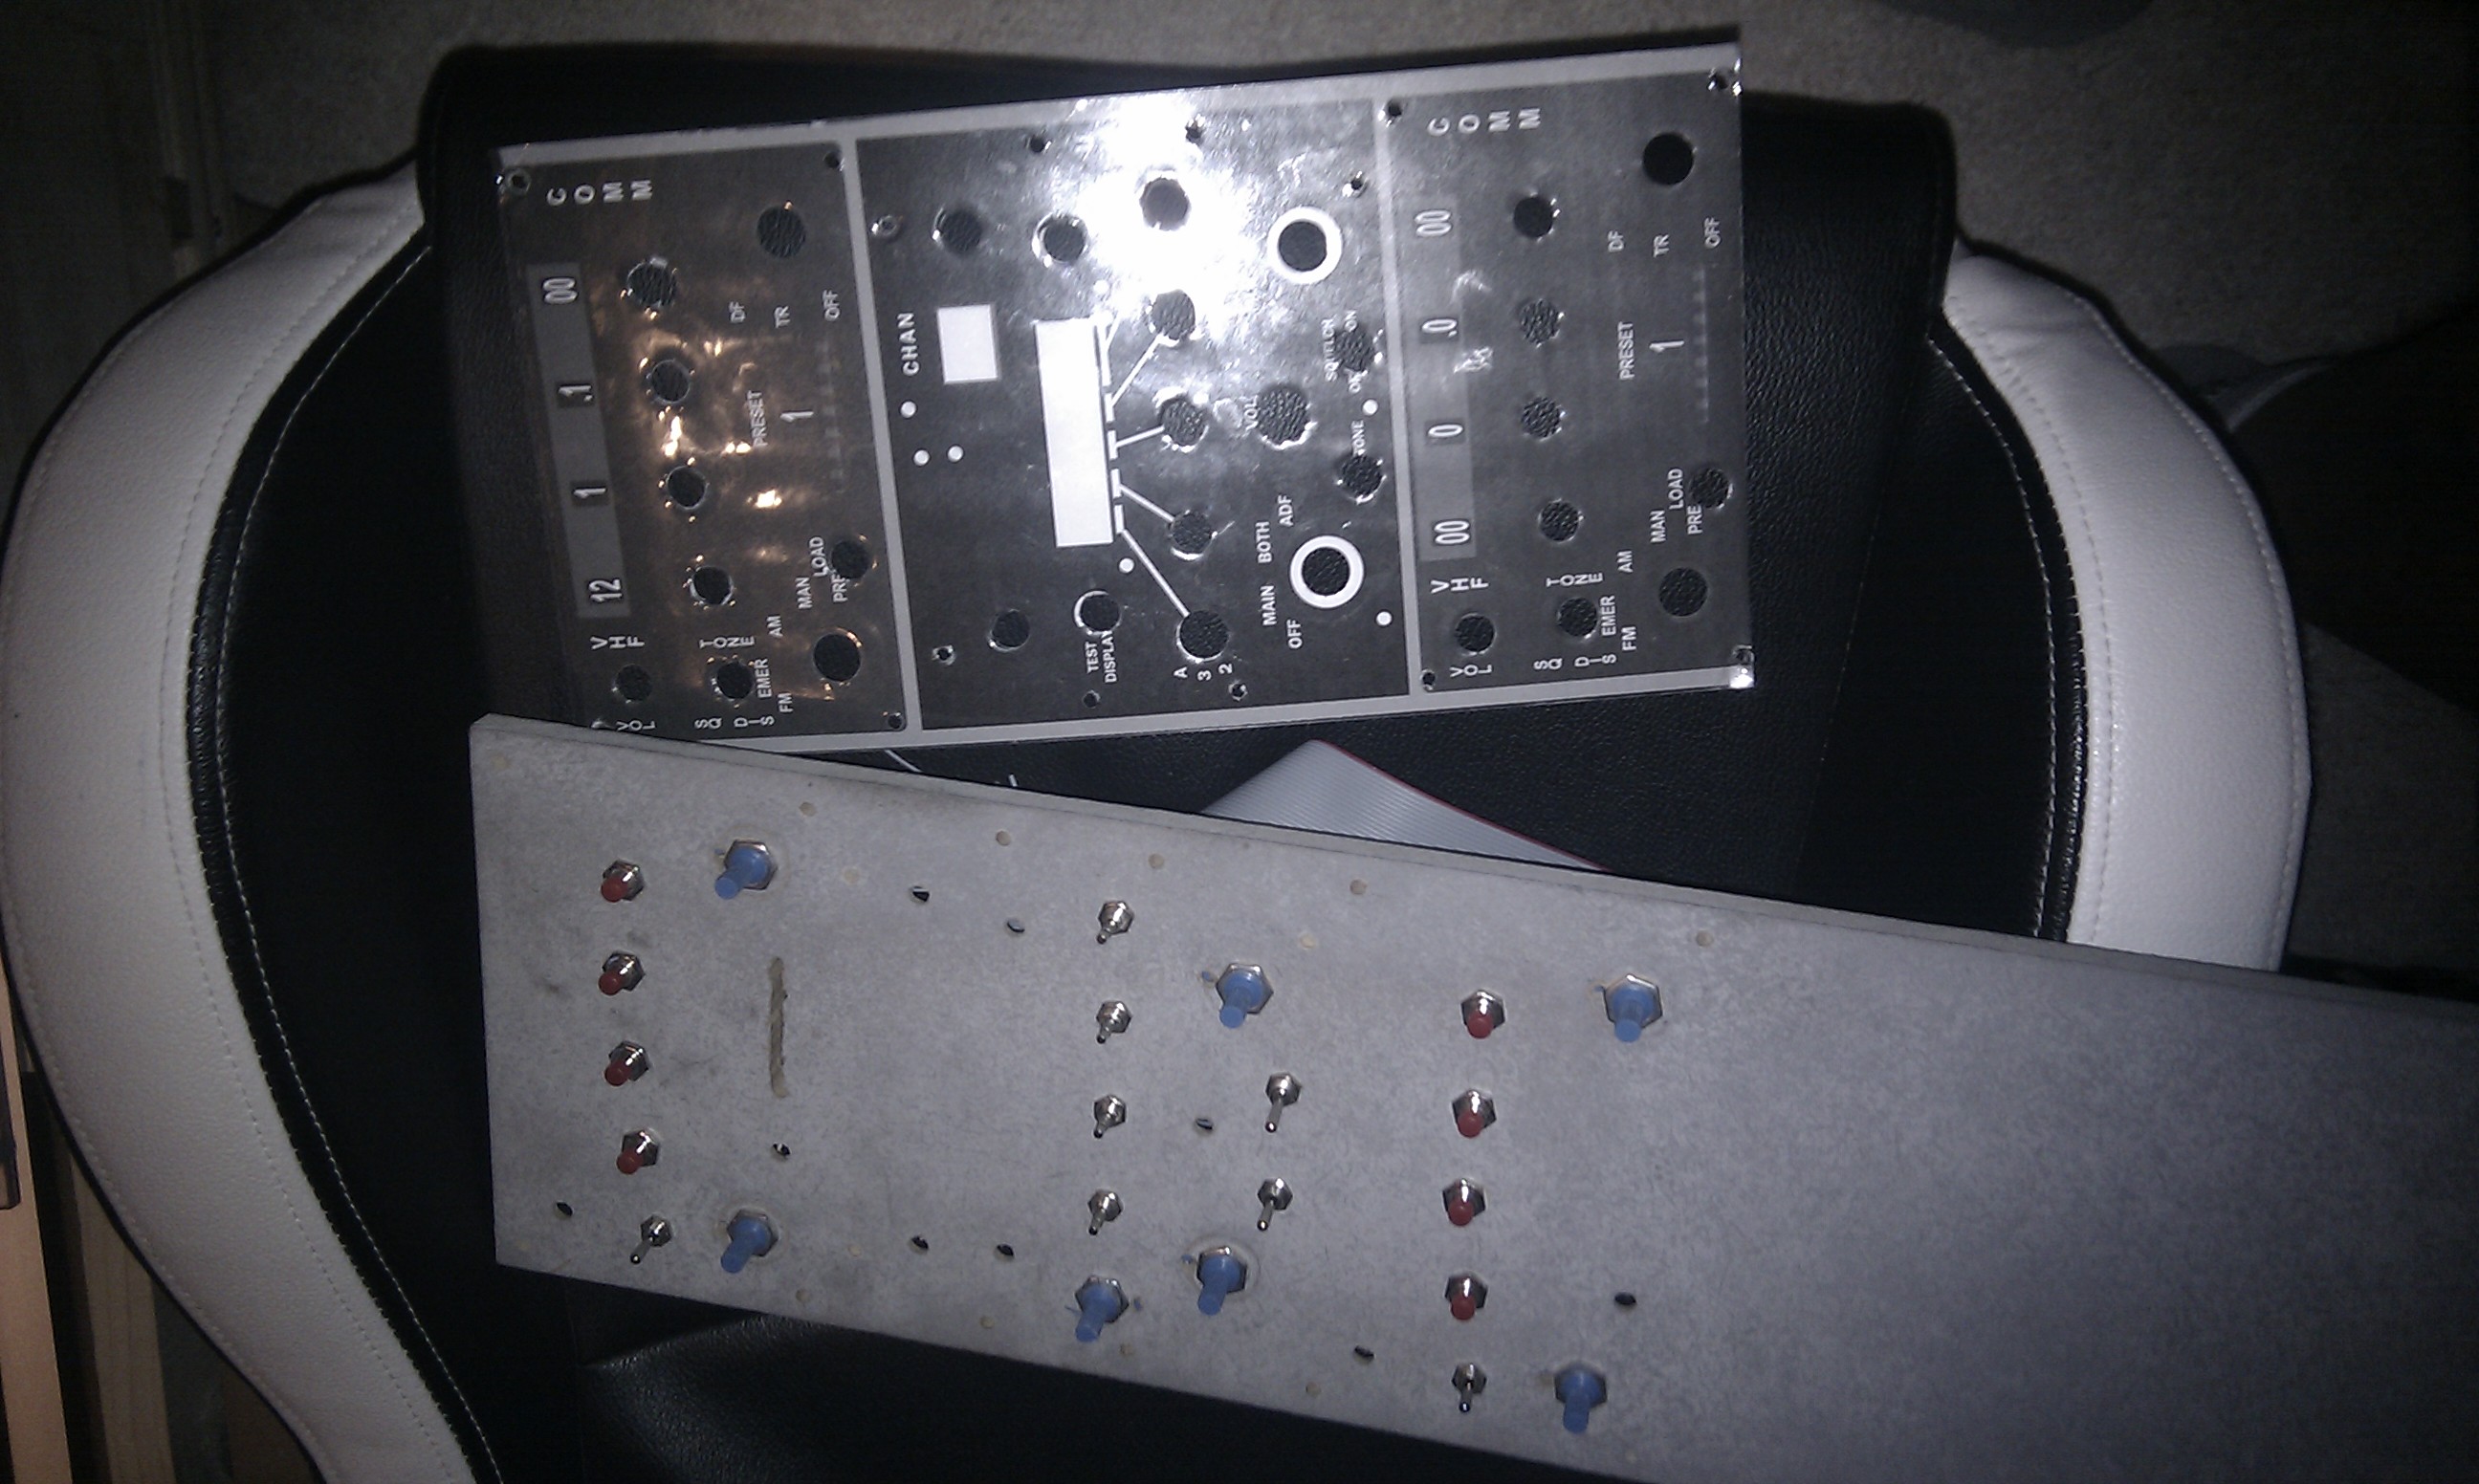
Yes, I do use laminated paper. I use a hole puncher with different size to punch out the holes. I bought it in Sweden. http://www.jula.se/haltagningsset-189021 No idea about freq displays on radios.... I use momentary push buttons to change frequency in one direction!! Dont have any support for decoders yet! I post 2 pics of my old wooden radiopanels so you can see how it was done. Now they ar much nicer :D
-
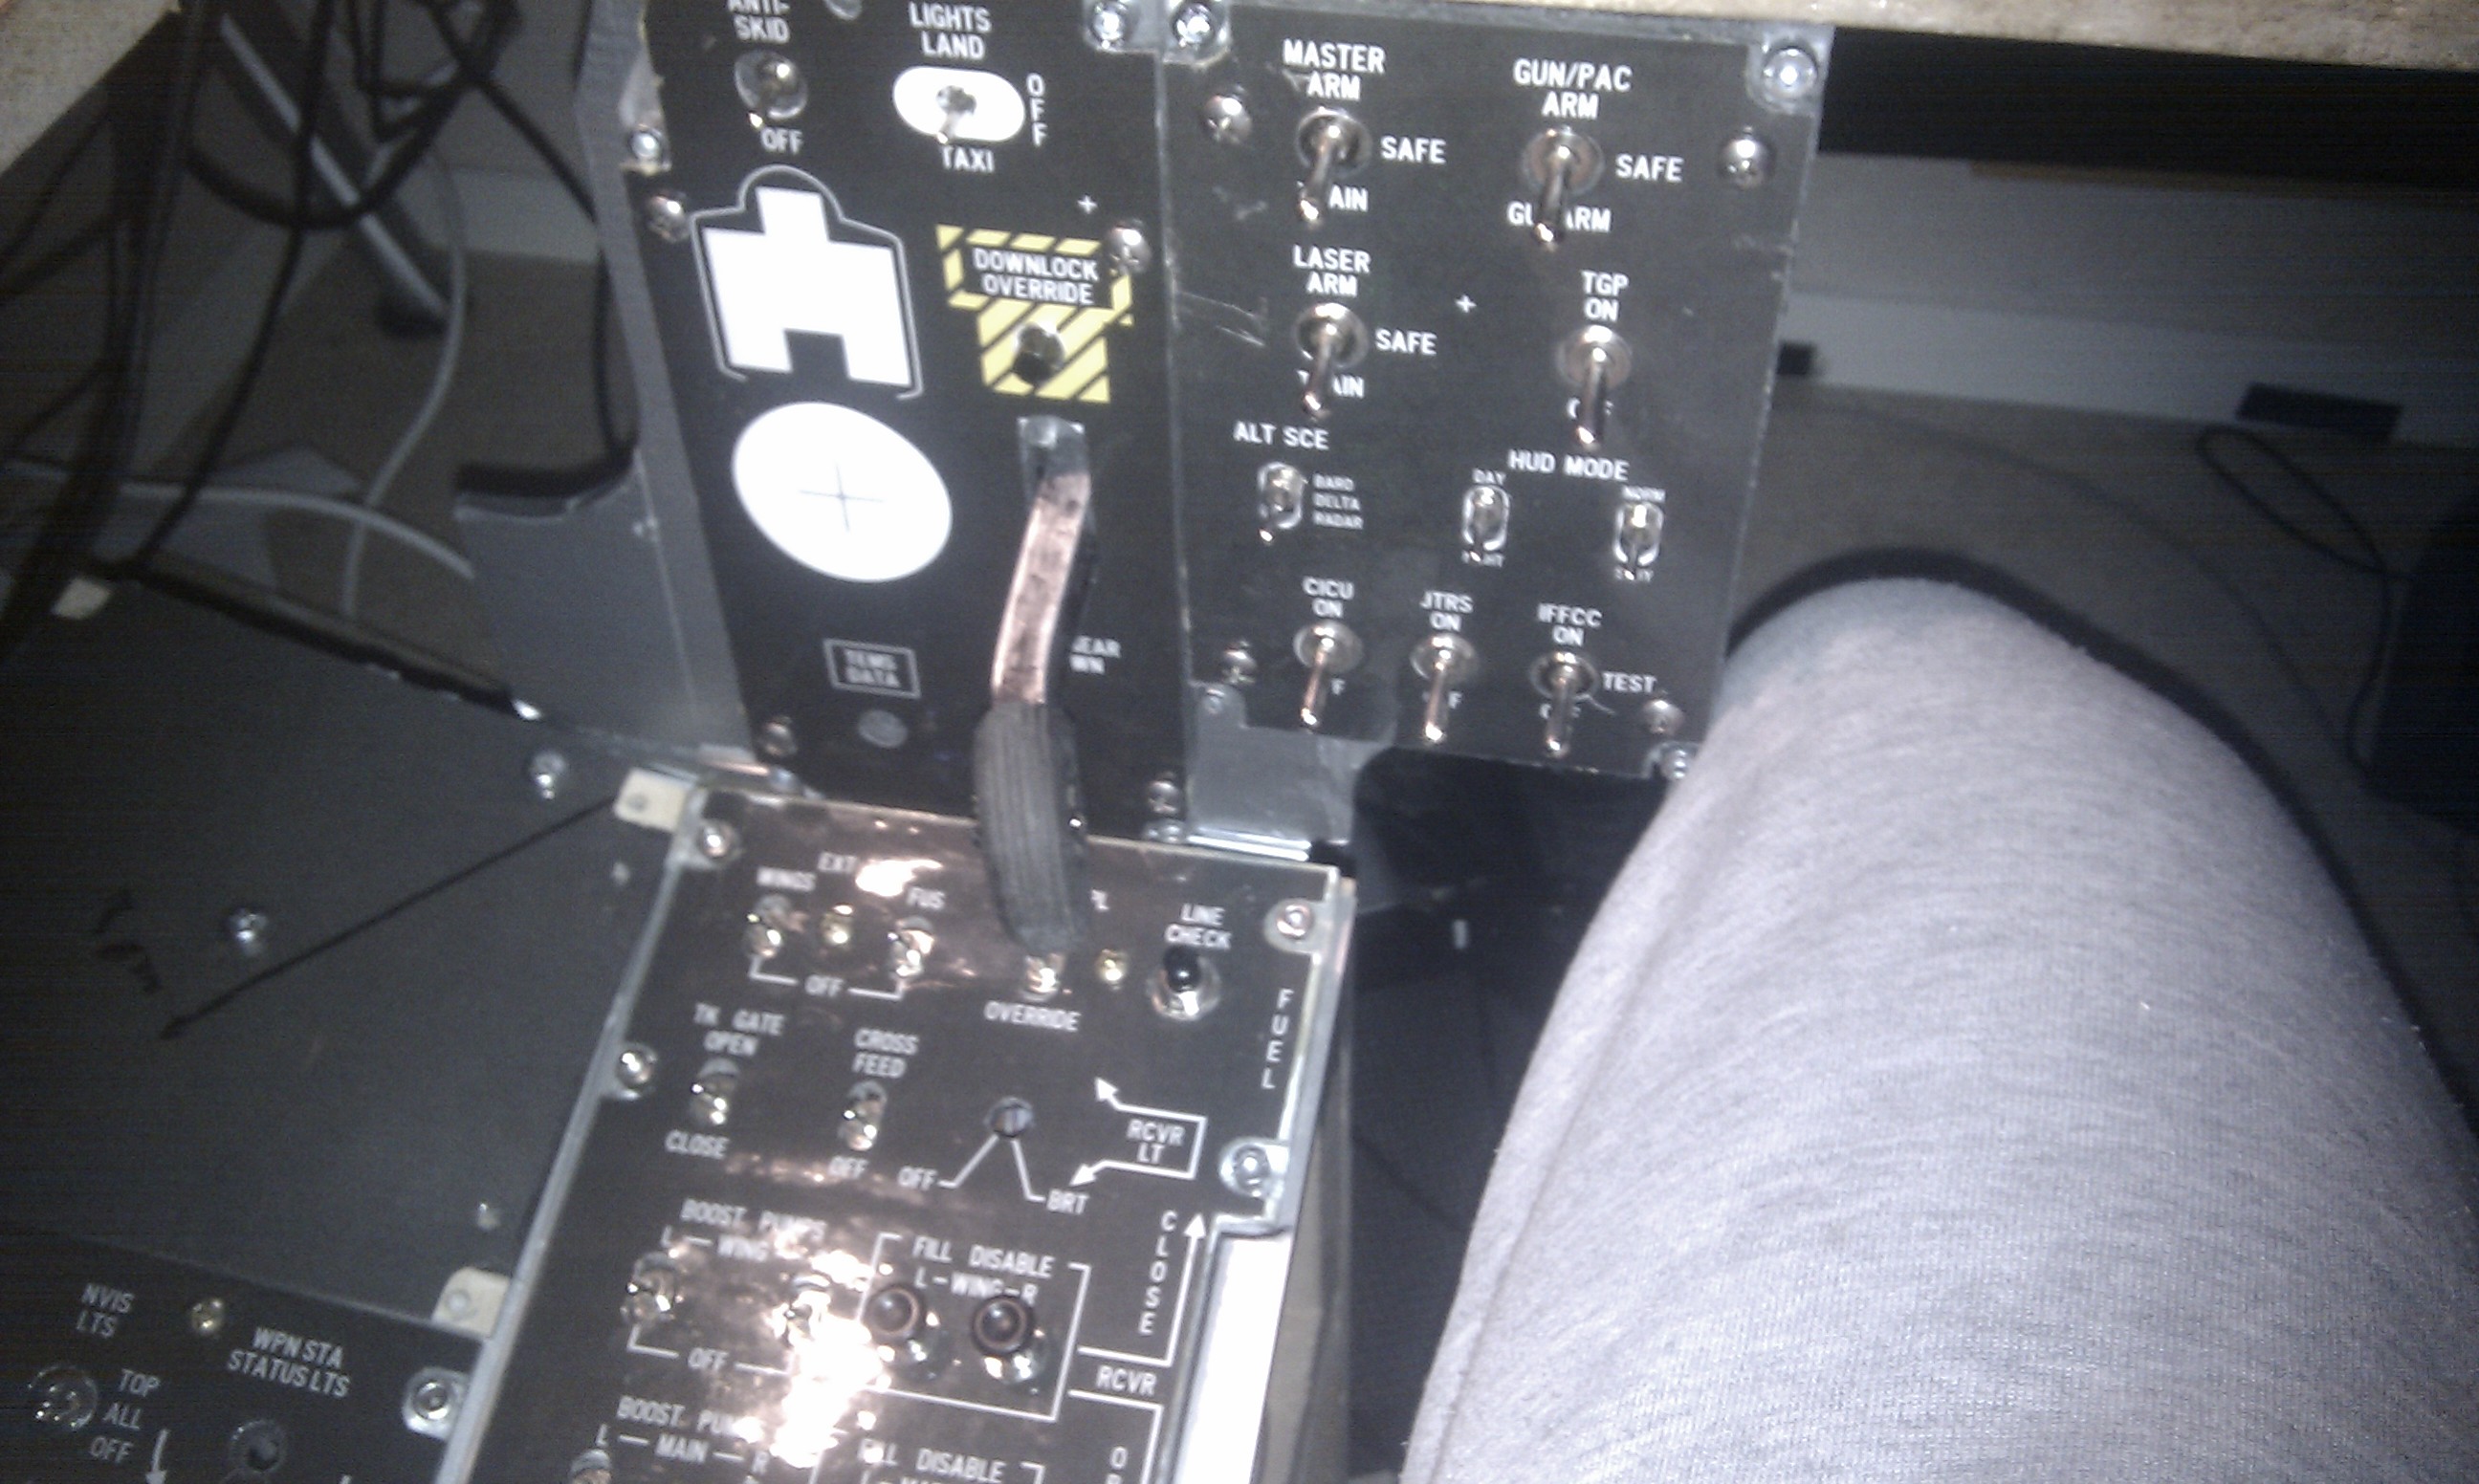
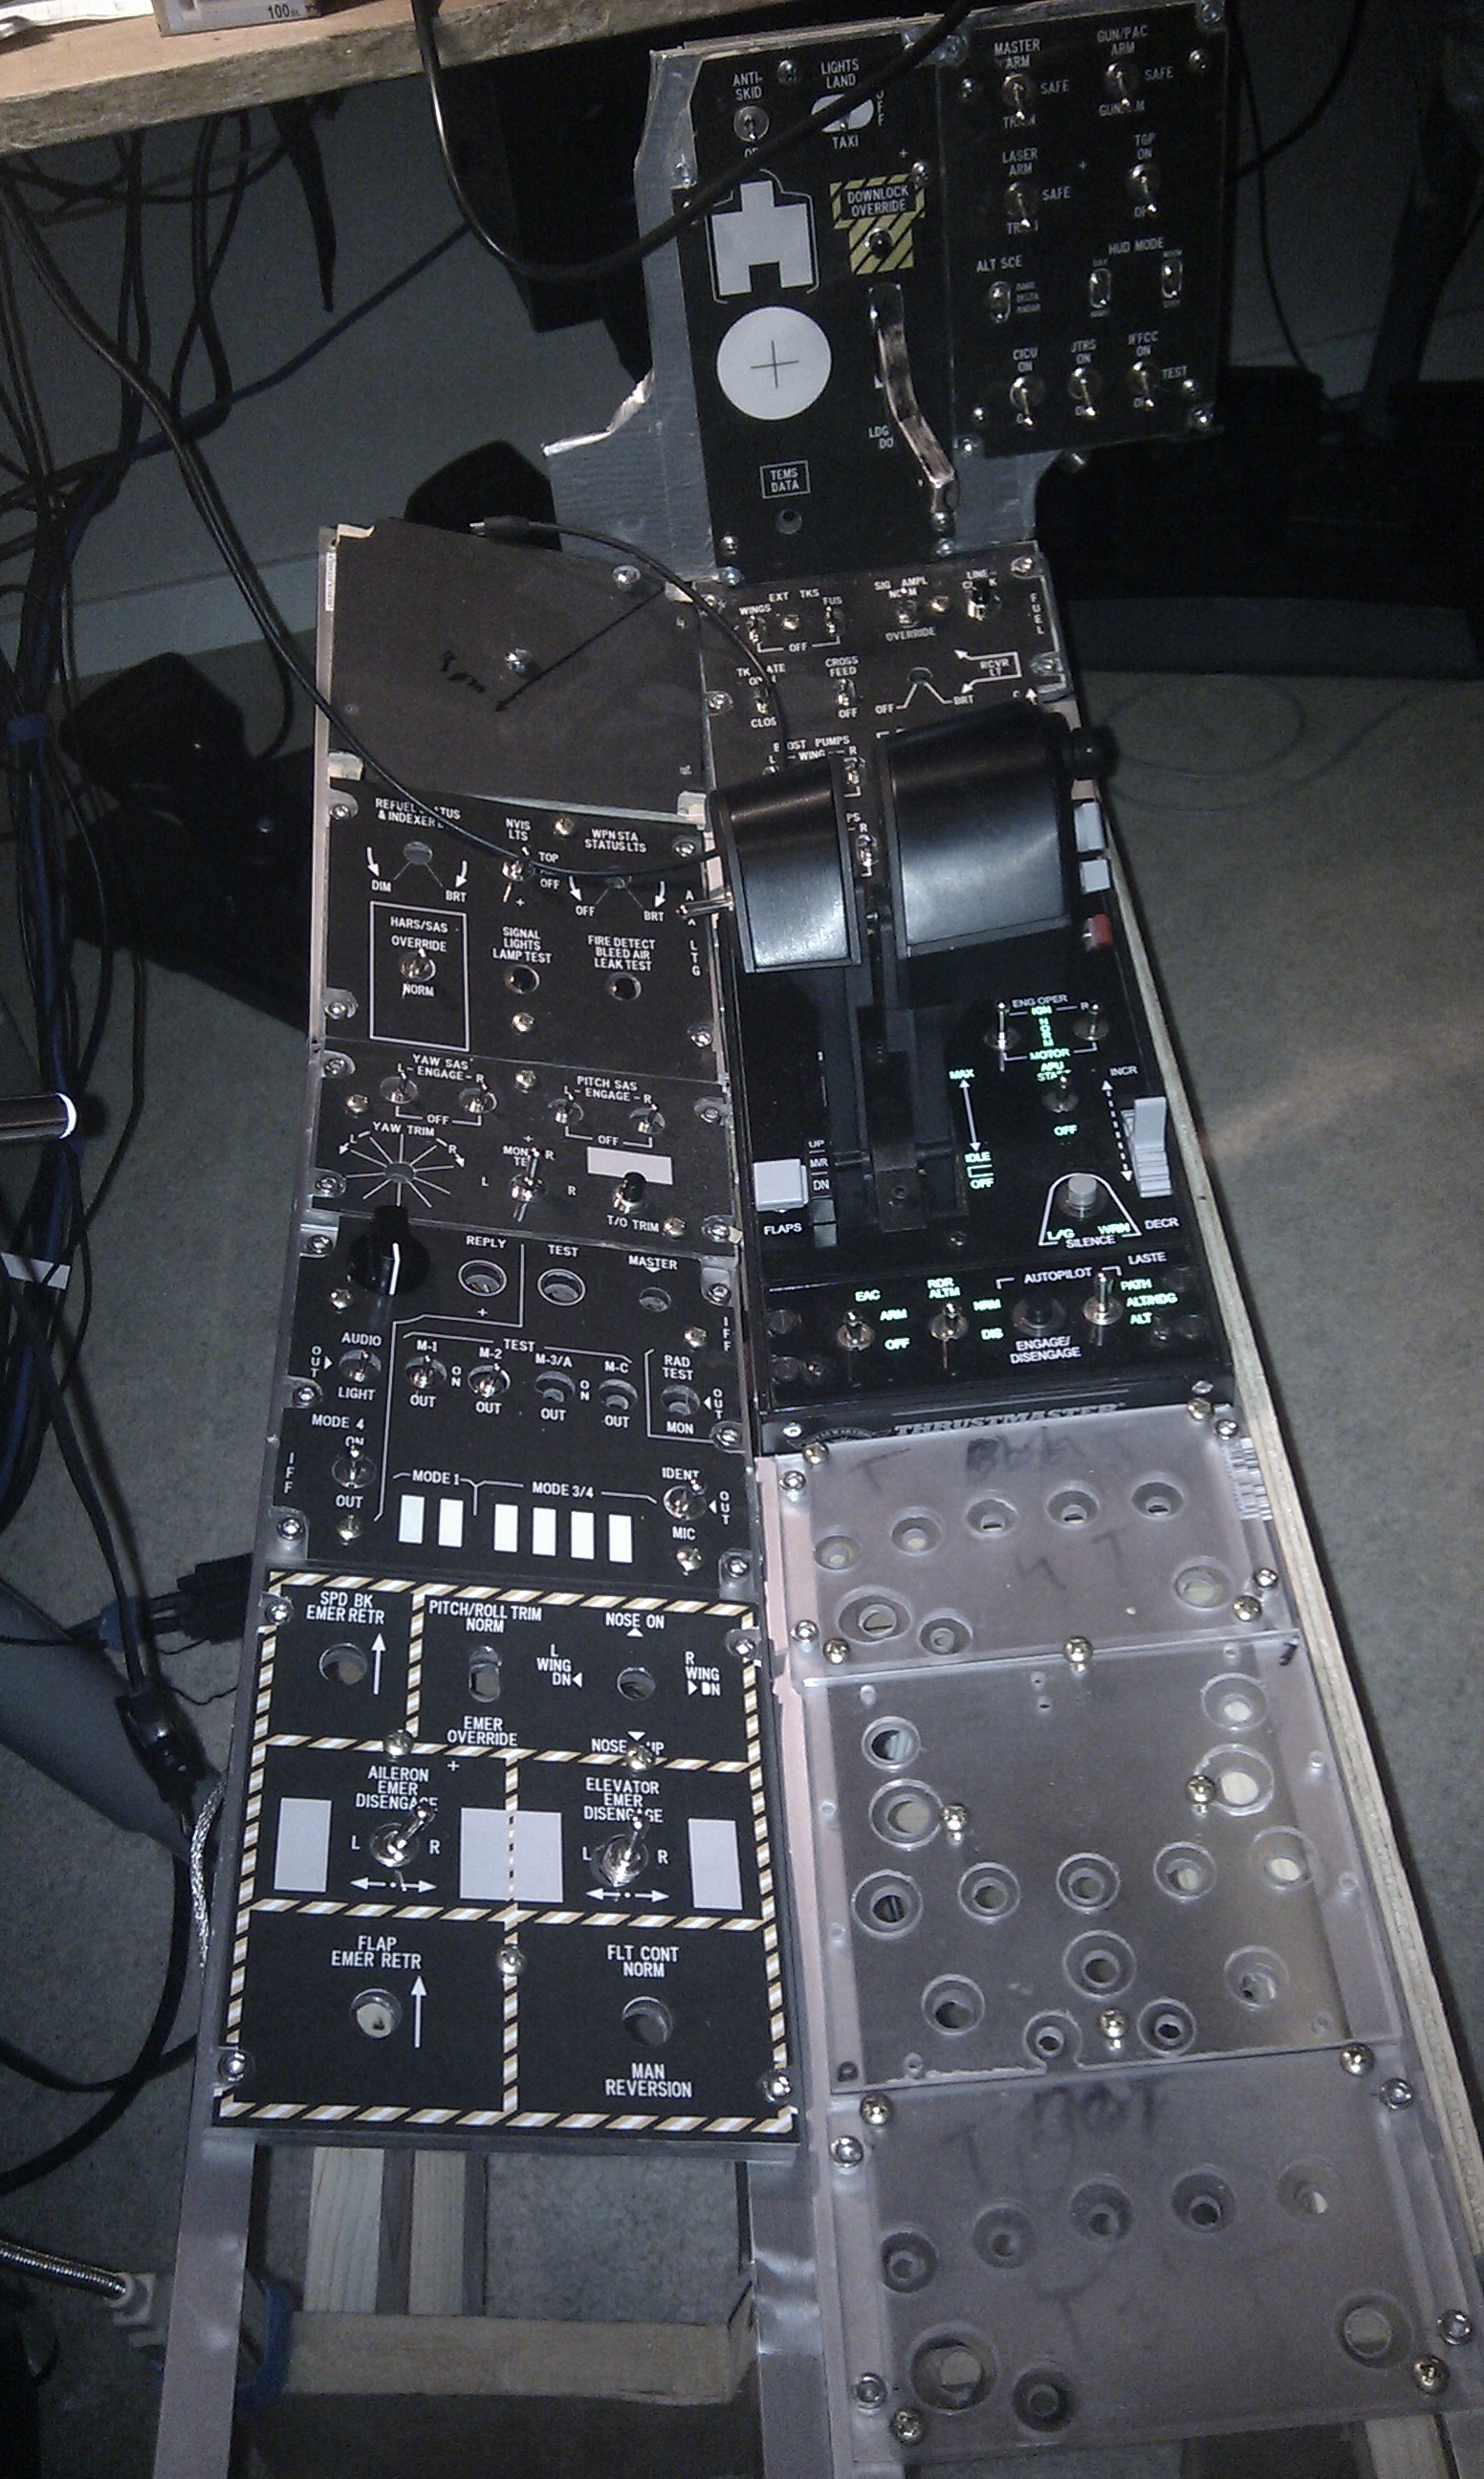
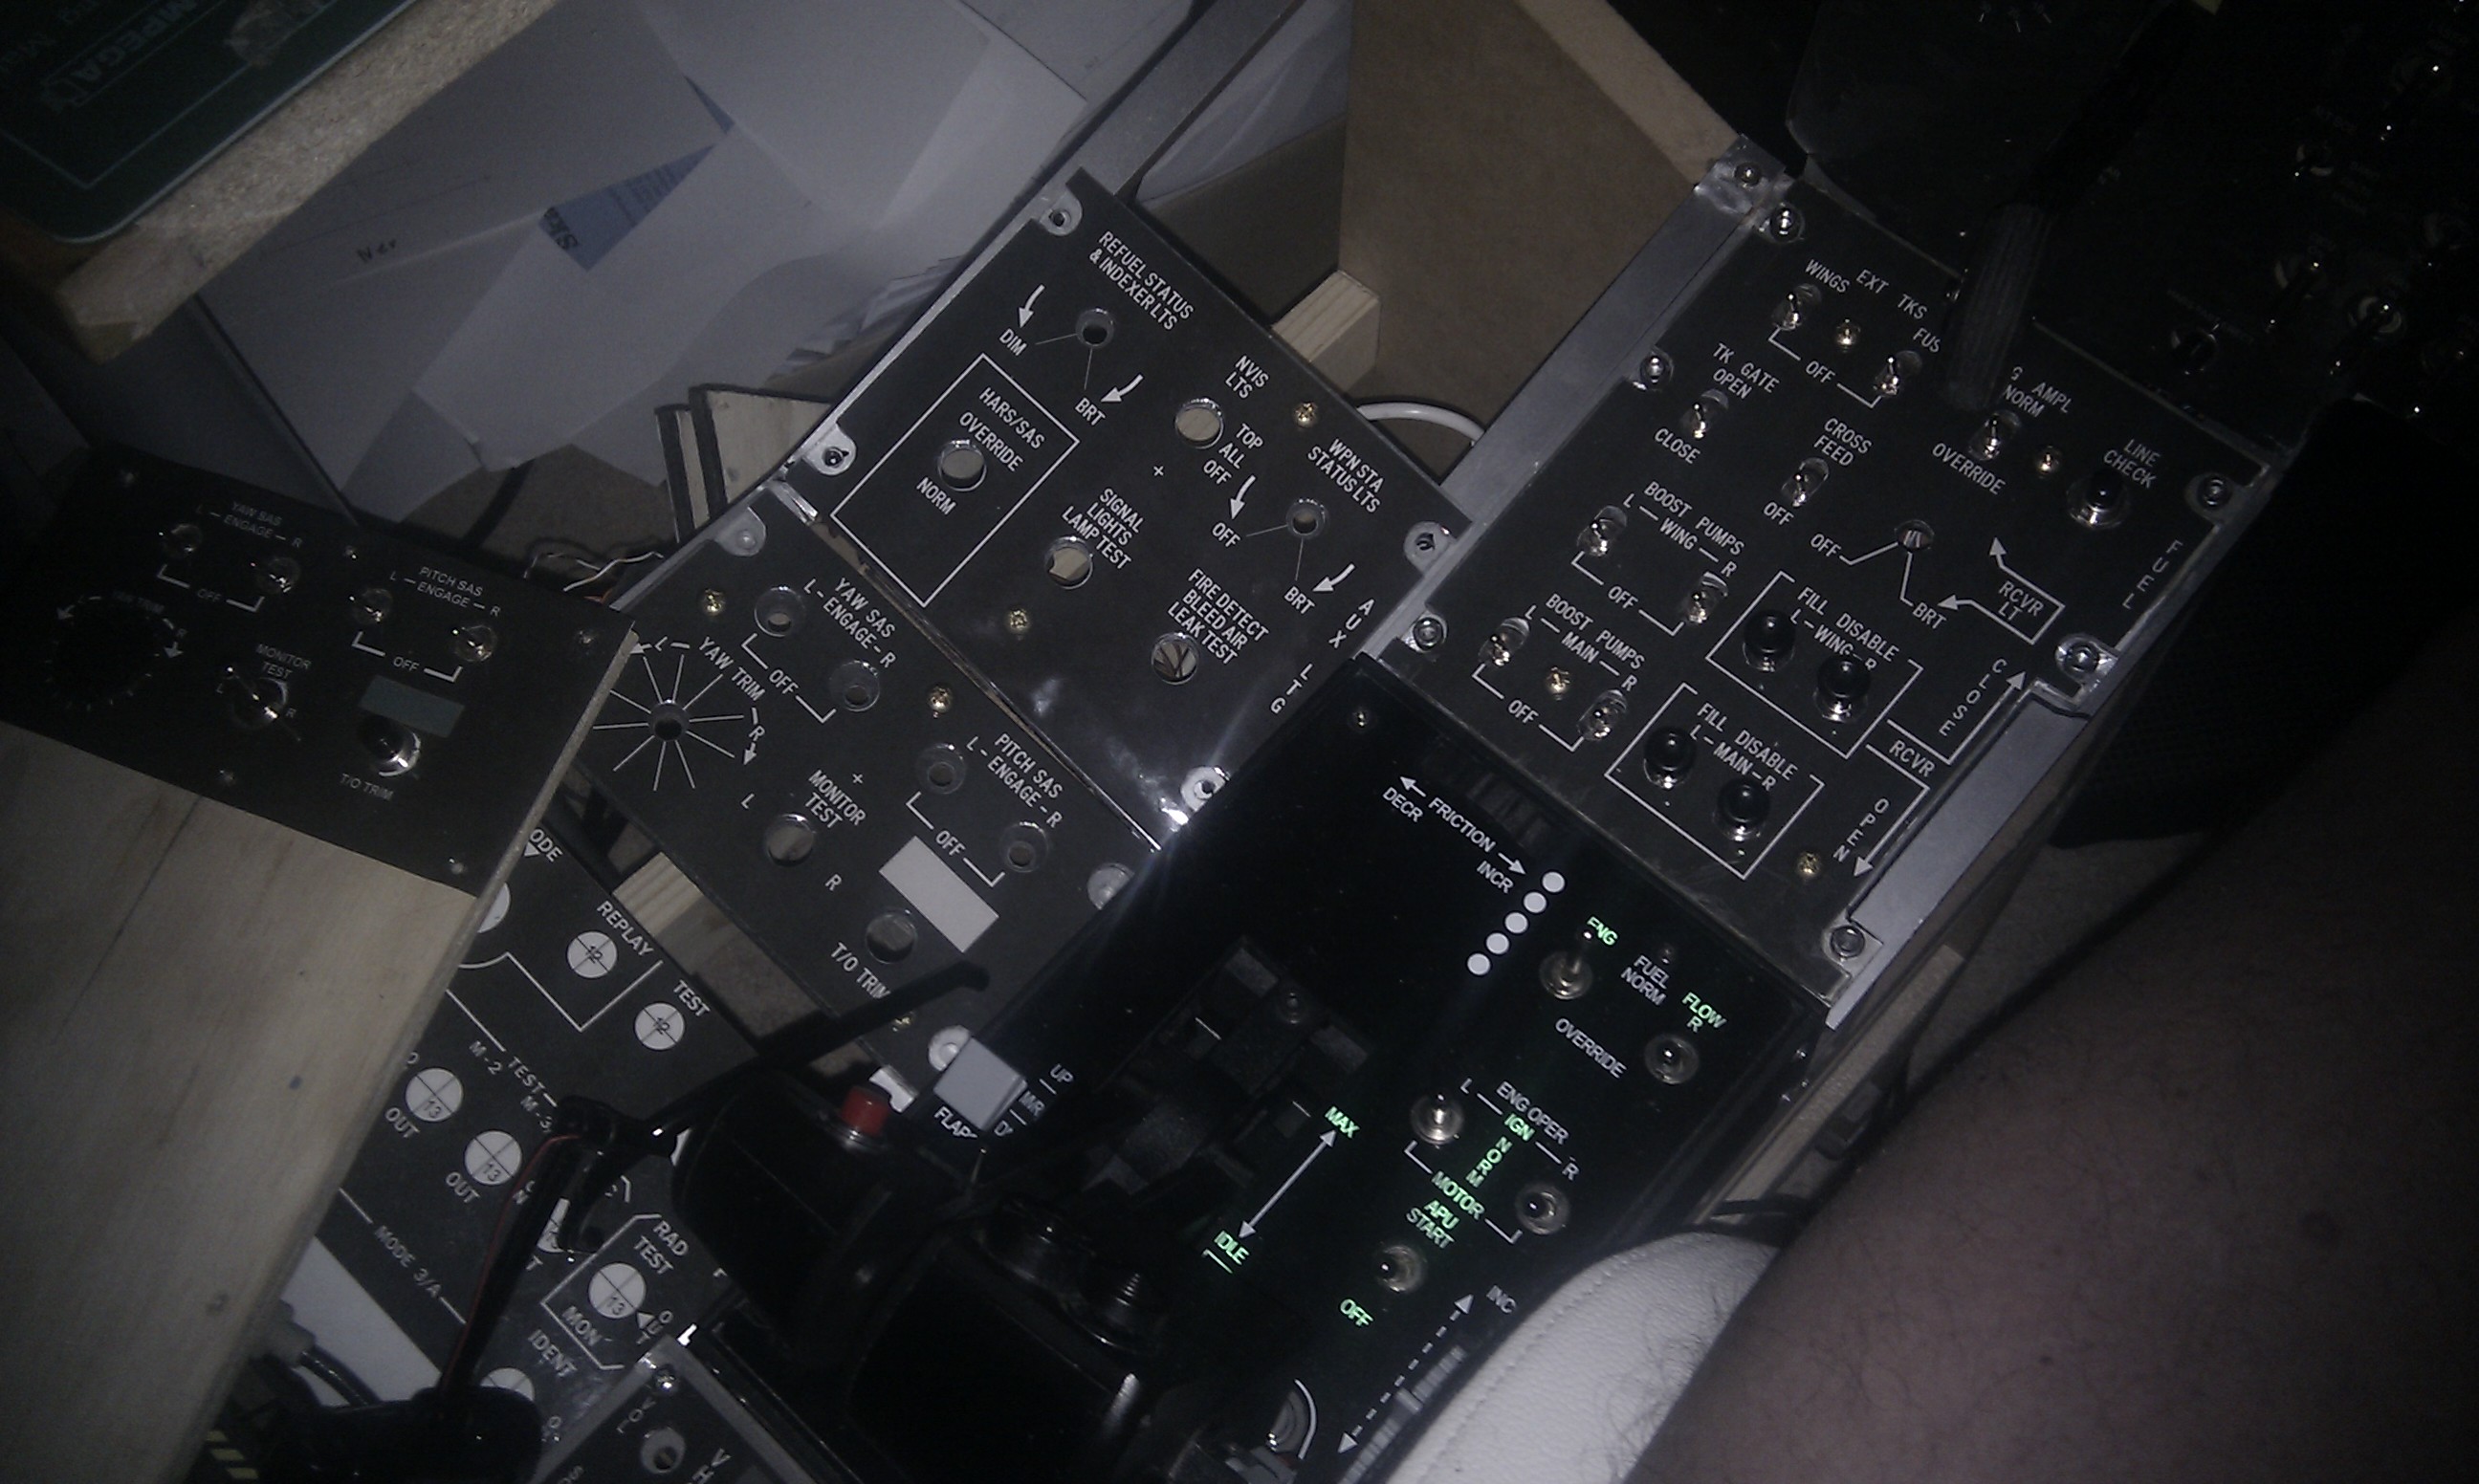
Update Hi! I am in the process to rebuild my panels :lol: Now I use acrylic for the panels. 2*4 mm, Top layer is for hiding nuts and bottom layer is for fasten switches. I make them more look a like to originals. Takes a while to do, but its wort it.
-
Ahhhh... Good solution.
-
Nice start. How do u fasten the MFD on screen? Glue.....
-
If u can put a big spring inside of the rubber, then it will stay in place and be protected. A cone shaped spring will due!
-
Maybe this will help?