Leaderboard
Popular Content
Showing content with the highest reputation on 01/17/09 in Posts
-
Lets see....10 bucks more to have DCS Black Shark weeks earlier then the store release. Which IMHO was a great gift to an anxious community. Sounds more then fair to me. Out2 points
-
ModMan 7 is available and introduce the possibility to add a new skin slot automatically ! the easy way (aka user friendly) to add new skin slot is now available for users Skin artist you have only two things to do 1- making(use ED tools) the .CDDS file and packing it in the modman ZIP package 2- Making a skin.lma7 text file and packing it in the modman package To pack it, you must use the new button in the Mod Maker windows asking you for a skin.lma7 file ONLY ONE skin in a ZIP/RAR file Here is a skin.lma7 example (same as included in the skin sample) [skin] file = Bazar\World\Shapes\KA-50.skins argument = 70 otherfile1 = Bazar\World\Shapes\KA-50-BLADE.skins otherfile2 = Bazar\World\Shapes\KA-50-NOSE.skins otherfile3 = Bazar\World\Shapes\KA-50-TAIL.skins otherfile4 = Bazar\World\Shapes\KA-50-WING-L.skins otherfile5 = Bazar\World\Shapes\KA-50-WING-R.skins l1 = material = {"KA-50-lamp", "Standart", "KA-50-PAINT24-DEF-02.bmp"}; l2 = material = {"KA-50-PAINT1", "Standart", "KA-50-PAINT24-DEF-01.bmp"}; l3 = material = {"KA-50-PAINT1_M", "Standart", "KA-50-PAINT24-DEF-01.bmp"}; l4 = material = {"KA-50-PAINT2", "Standart", "KA-50-PAINT24-DEF-02.bmp"}; l5 = material = {"KA-50-PAINT3", "Standart", "KA-50-PAINT2-DEF-03.bmp"}; l6 = material = {"KA-50-PAINT4", "Standart", "KA-50-PAINT24-DEF-04.bmp"}; l7 = material = {"KA-50-PAINT5", "Standart", "KA-50-PAINT24-DEF-05.bmp"}; l8 = material = {"KA-50-PAINT6", "Standart", "KA-50-PAINT24-DEF-06.bmp"}; l9 = material = {"KA-50-Vtulka_met", "Standart", "KA-50-PAINT24-DEF-02.bmp"}; l10 = material = {"SOPLA_KA-50-PAINT3", "Standart", "KA-50-PAINT2-DEF-03.bmp"}; l11 = material = {"KA-50-gear-rubber", "Standart", "KA-50-PAINT24-DEF-05.bmp"}; l12 = material = {"KA-50_ST-rm_paint1", "Standart", "Ka-50_St_Paint2.bmp"}; l13 = material = {"KA-50_Lifting_rotor_mast", "Standart", "KA-50-LRM-24.bmp"}; l14 = material = {"KA-50_LRM_Part", "Standart", "KA-50-LRMpart-24.bmp"}; l15 = material = {"KA-50_LRM-CENTRE", "Standart", "KA-50-LRM_centre-24.bmp"}; l16 = material = {"KA-50-LRM_B", "Standart", "KA-50-LRM_B-24.bmp"}; l17 = material = {"KA-50_BORT_NUMBERs", "Standart", "empty.tga"}; l18 = material = {"KA-50_Turkey_Numbers", "Standart", "TactNumbers-USAF-black.tga"}; [color_scheme] country = {B2A43A73-E650-49B0-98B9-F67A53DA95FD} cnt_unit = {3457BB1E-523F-4C24-BBEA-58D028623F05} color_scheme = {3448843E-09C4-4DF3-8A7A-2707AE267519} color_name = ModMan7 test sample - Digital camo file = Scripts\Database\helicopters\Ka-50.lua file is the path to the main aircraft .skins file Argument is a key identifying skin list in a .skins file (ie : Ka-50.skins file) otherfile# (# is number) is the path to the alternate .skins file used for aircraft damage. country and cnt_unit are key identifying some sections in db_countries.lua file color_scheme is a key you must generate for each skin you create. color_name is a a name you give to your skin note that it's working also for other planes and helicopters ! just set the 'file = ' values (and others useful values) a GUID key generator is available in the modman Option window but you can use any GUID key generator utility. !!!! the KEY GENERATOR IS NOT WORKING AT ALL on some PC !!! so use this ONLINE key generator: http://www.somacon.com/p113.php this key is used for this line in skin.lma7 file : color_scheme = {3448843E-09C4-4DF3-8A7A-2707AE267519} (replace with you own GUID key) each skin must have an UNIQUE GUID key, so you MUST generate your own GUID key ModMan will add automatically the skin entries in the .cfg .skins and .lua files (and will remove it during uninstall) ModMan will also calculate the skin index automatically for users, you will have only to install or uninstall the skin mod You can now add all the upcoming skins from artists as new skin slot (if they package it in the good way) Don't install anymore skin mods overwriting ie: ka-50.skins, ka-50.lua , db_countries.lua and config.lua and so on. Wait for a an updated package using SKIN.LMA7 feature package. (you may contact your beloved skin artist) you can download ModMan 7.1.1.0 here http://www.checksix-fr.com/bibliotheque/index.php?Fichier=5767 7.1.1.0 ------- - When adding a Ka-50 skin, entries from skin.lma7 will be also added automatically to the KA-50 *.skins damage file for other aircraft you need to specify the filelist in skin.lma7 file (see DCS_new_skin_slot.doc documentation) - DCS_new_skin_slot.doc documentation updated 7.1.0.9 (hotfix) ------- - When adding a skin with index number even (ie: 2.0, 3.0) , the skin will be now added properly 7.1.0.8 (hotfix) ------- - Fix an obvious bug in file management system about some hang during mod scan/install process (ie: for 'A-10-1.0.zip' lockon mod from simmod) you can download ModMan7 skin sample here (it's a VikVaughan's skin) http://www.checksix-fr.com/files/modman/ModMan7_skin_sample.zip Others ModMan7 skins compliant with new format Italian Army by Ciniko http://www.checksix-fr.com/files/modman/ModMan7_Ka-50_Italian_army.zip download mirrors are allowed, don't ask for ;) best regards Skypat ps: this is working only for DCS products, not for lockon1 point
-
Или ED Wiki. А может, уже пора? Прикрутить её к сайту, оставить на пару-тройку месяцев и посмотреть, насколько удобней будет людям искать полезную для них информацию. Вижу такие популярные на данный момент категории вопросов: lua активация защиты мультиплеер моды (перечень, классификация, вопросы совместимости и применения в онлайне) настройка джоев, особенности работы ФФ мультимониторные конфигурации алгоритмы управления и работы оборудования, смоделированного в игре маневры Имхо, самое то для организации небольшой (пока) базы знаний. Что думаете?1 point
-
Attached is a 4 mission set that takes you through various missions covering a convoy of peacekeepers and civilians that is making its way through hostile territory back to Russian lines. The missions are aimed at beginner - intermediate and are as realistic as possible without being overloaded on units. They are designed to be played from within the cockpit only. The action is not concentrated around predefined target areas. The player will have to keep his eyes open during ingress/egress too. I hope you give them a go and enjoy them. Ian Boys Convoy Missions by Ian Boys.zip1 point
-
I making a desert terrain but i have a little problems look the black line1 point
-
Some may already know about this site, but for those around here that don't :) http://walkarounds.airforce.ru/avia/rus/kamov/ka-50/index.htm superb walkaround of the Ka-50 and other airframes :thumbup:1 point
-
:thumbup: A little improve on the smoke effect, enjoy! download:http://www.virtual-jabog32.de/index.php?section=downloads&subcat=22&file=1008&lang=en1 point
-
Hi Chizh, had followed the post from the start and I had asked if Argentina would emerge as a country within the SIM, but now I read it depends on whether or not like you can add the new patch. For the moment within the ECV56 was working and we believe that the skin would be very appropriate to add to the SIM. It is the skin of an Augusta A-109 Hirundo who got to take our country. Here some screens Fotos Inspirado en: I really hope that the skin is accepted and that Argentina has its place within the sim. :book:1 point
-
People pretty much said they were ready to pay more for this and that. Anyway, the financial workings and relationships between developers/publishers/distributors will likely remain unavailable to us for analysis. With that, the thread's closed.1 point
-
Дания/Denmark - WIP1 point
-
There was a recent article in Army Aviation where a CW3 actually performed a Cross Bleed start due to his APU recieving damage. He got the aircraft up and running, took off and went to take care of more bad guys. I've also been demonstrated ONE Cross Bleed start in my training, and I can definately say it's my least preferred method of starting an engine, the amount of power you have to pull to make it happen makes the aircraft WAY to squirely for my tastes. Brad1 point
-
1 point
-
IMHO it would be better if skins were based on the real camouflages Ukraine MI-24 or MI-81 point
-
Thanks Skierider, awesome mod It works well in DCS Black Shark ^^1 point
-
Create screenshot of your display properties, in OS.1 point
-
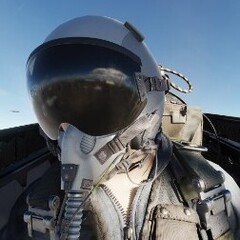
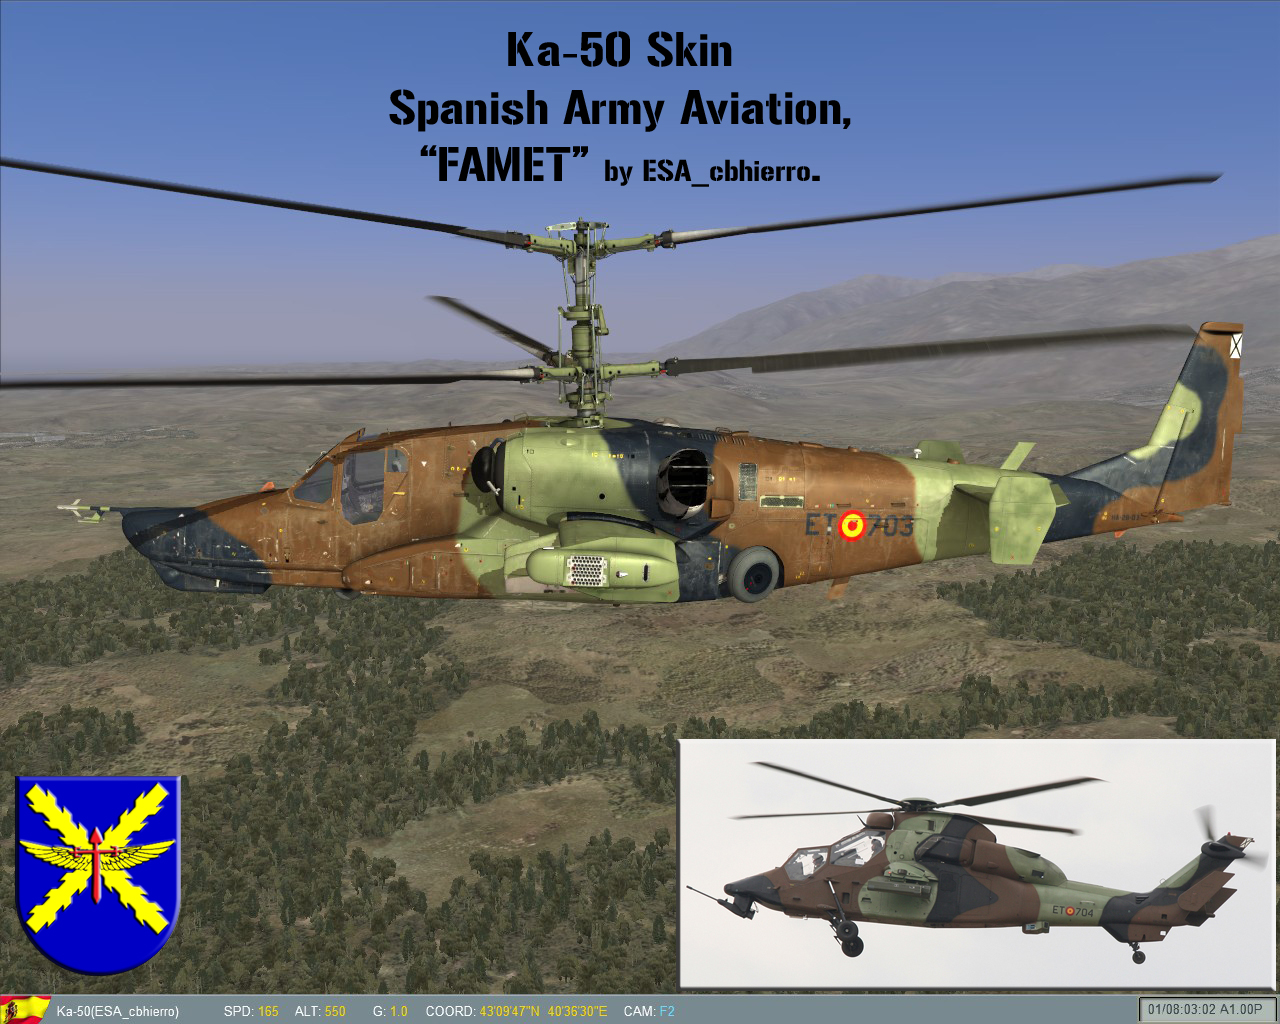
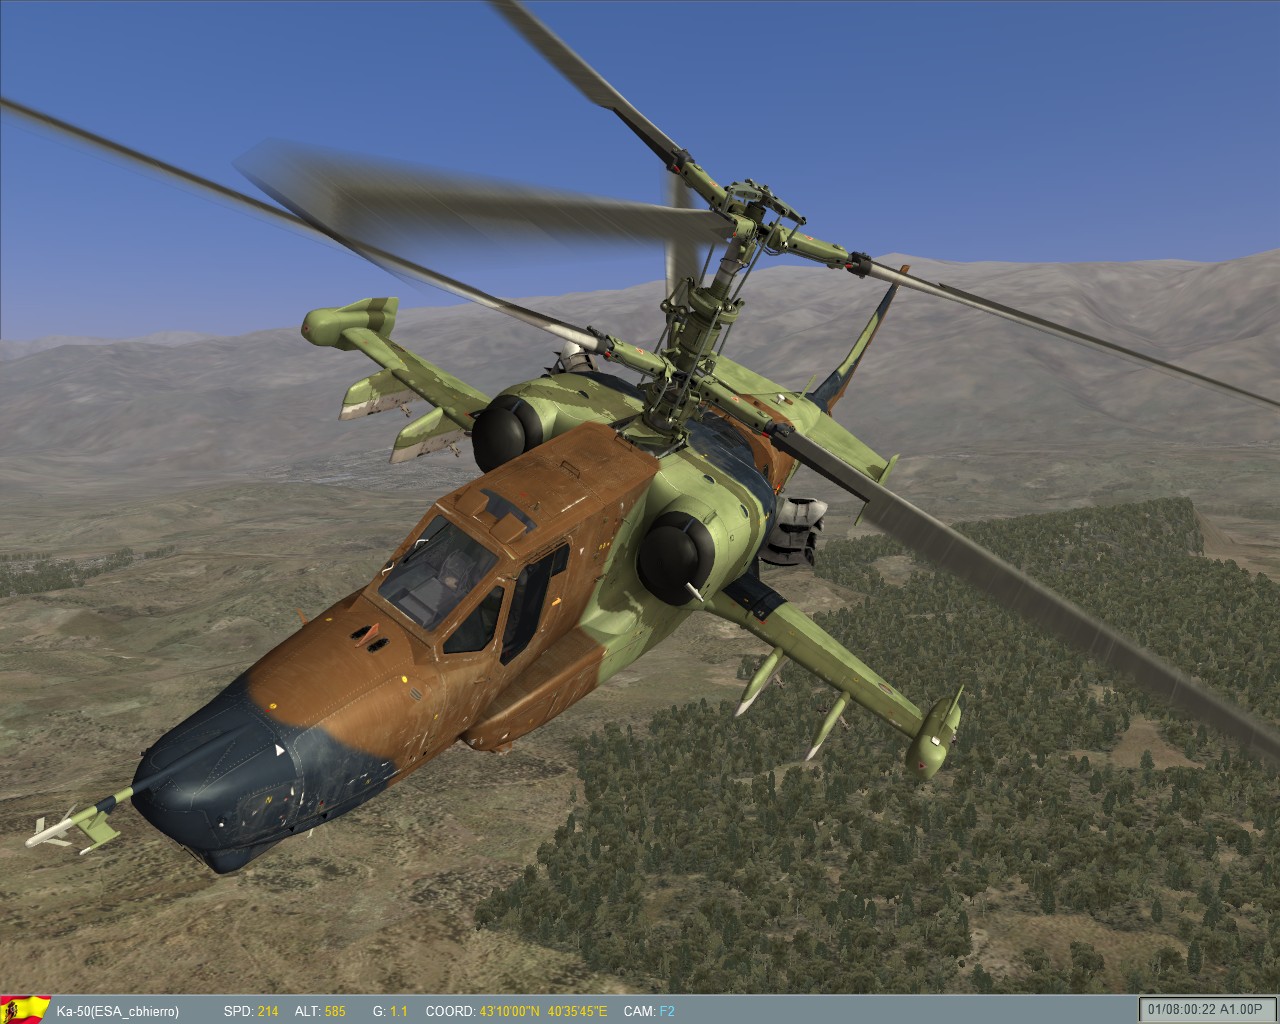
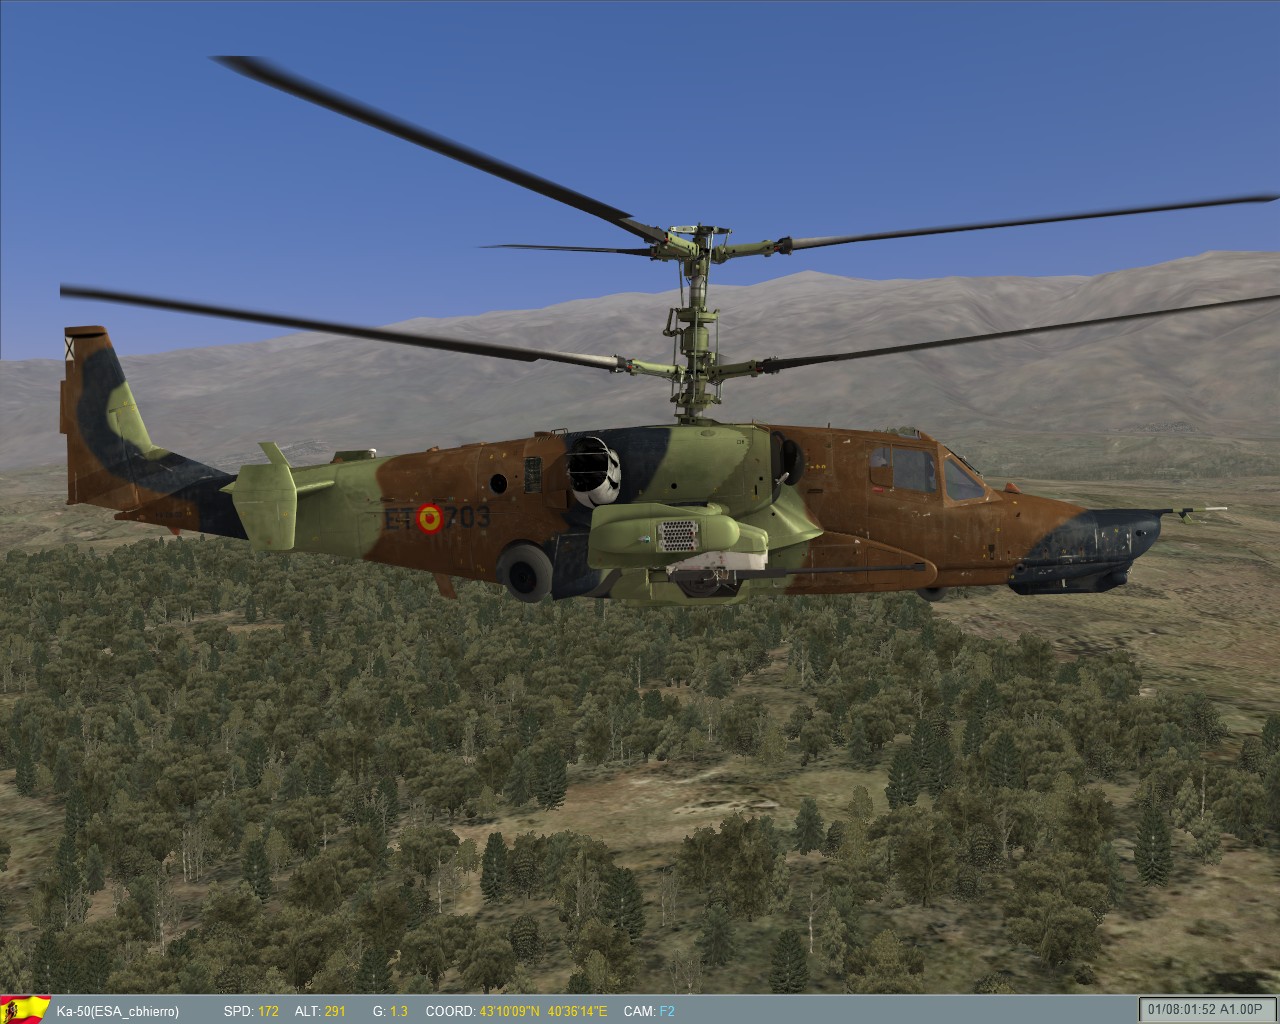
Работы еще много, но все равно выкладываю, чтобы было видно, что в процессе :) Прототипом служит Eurocopter Tiger HAP Spain Air Force. Есть шрифт - USAAF Stensil.1 point
-
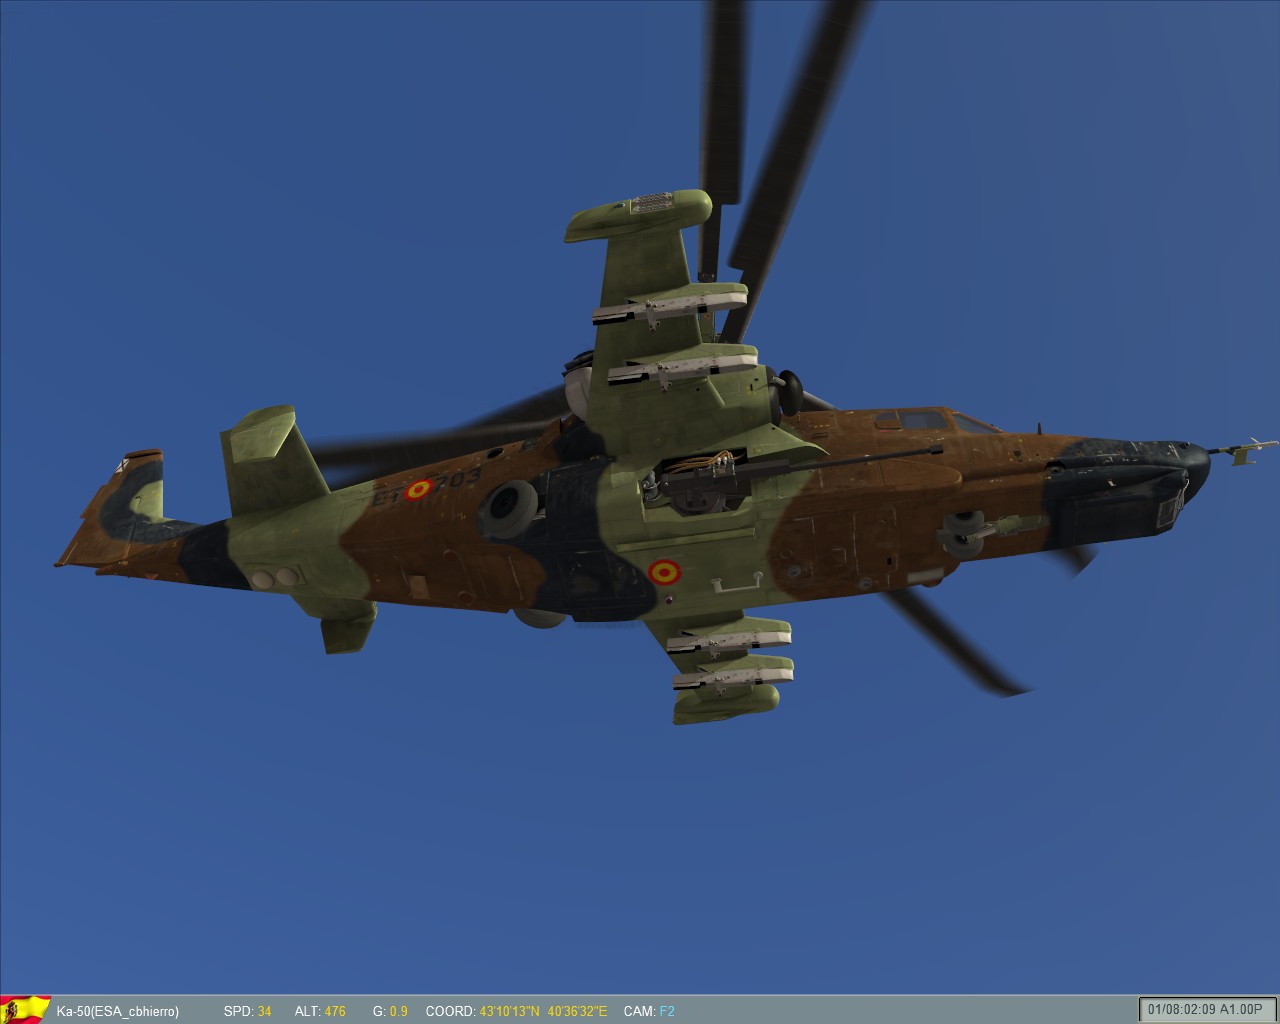
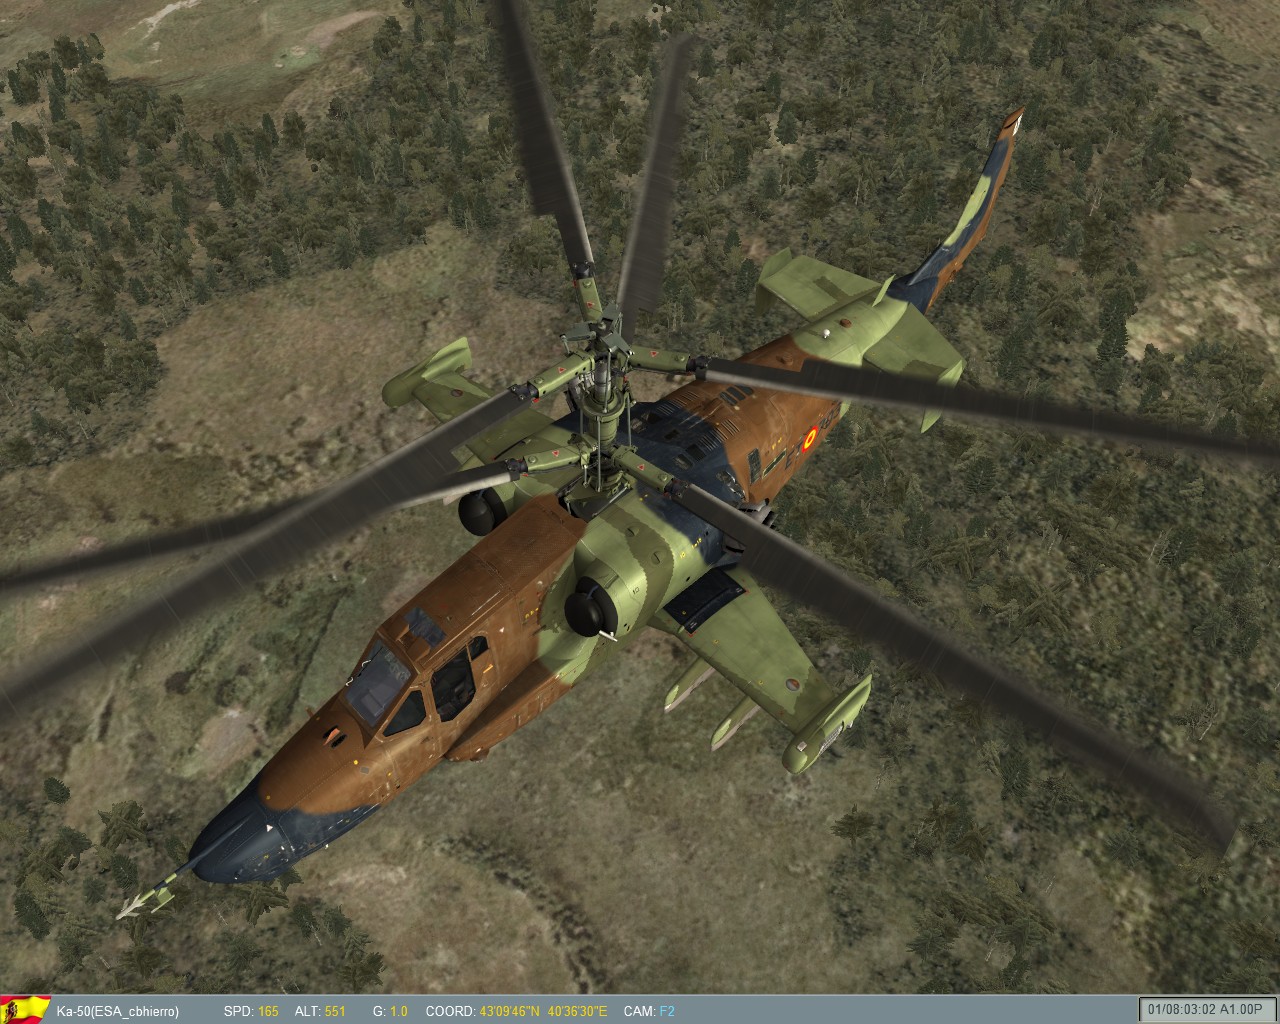
Skin Ka-50 Spanish Army Aviation. Hi to all, For Spanish Army Aviation (FAMET), from the ESA our small contribution I hope that it pleases and it is to the liking of all. This Skin is based on the camouflage of new the Eurocopter Tiger of the FAMET. A greeting and good hunting.
 1 point
 -
Well done you made it lol. Here are the others that i use as well as realtemp and core temp: OCCT: you can also stress test your overclock this one give lots of info cpu-z graphics card monitor1 point
-
I'll stick a couple of links on then, i'm the sort of person who reads it all thoroughly though, you might want to find something a bit less mindnumbing that doesn't waffle on lol http://www.tomshardware.co.uk/forum/240001-11-howto-overclock-quads-duals-guide http://www.clunk.org.uk/forums/overclocking/2-c2d-overclocking-guide-beginners-p5k-add.html I use CPU-z, Real Temp, and HWMonitor (sounds the same as Speedfan). I by no means mean to patronise anyone, I just never found a decent explanation of what overclocking actually was. All the stuff about RAM ratio's etc. got me thinking it was really complex (which it can be), but it in theory can be very simple. Here's an explanation of what Overclocking is: THIS IS NOT A GUIDE, lol - You can kill almost everything on your mobo if you don't know what you're doing. The aim is basically to make your FSB as large as possible whilst keeping your temperatures under 65C. The Front Side Bus can be any number you want to enter in the BIOS, and each CPU uses a 'Multi' (Multiplier). Mine and SunDogs' E8500's have a multiplayer of 9.5x. This means that if my FSB is set to 333, the CPU will output 333x9.5 which equals.. 3163.5 That number is the speed the processor is running - FSB is measured in MHz, so.. 3163.5MHz = 3.16GHz - the stock speed of our e8500! To overclock it, it's easy. Just find the FSB box in the BIOS and stick a new number in. If I enter 400[MHz], it will give me a speed of 3.800GHz - simple! This extra processing needs extra power (Volts), and this is where it gets interesting[..ish]. To make the processor stable you will need to increase the Voltage to it. This is also done in the BIOS by simply entering the desired number into the CPU Voltage box. Stock Voltage for my e8500 was 1.2500v. To run at 3.8GHz stable, I needed to raise this to 1.2700v. Simple as that! Now this extra Voltage will create extra heat (hence SunDog getting a big fancy cooler!). Another thing is that there are other voltages (exaple: for the NorthBridge). Same principle here too, the voltage will need to be raised in order for it keep up and run with stability. Exactly as with the CPU, more volts will make the component hotter, so you may need to buy a new Heatsink, same as SunDog did for the CPU. Now the system has been overclocked and the voltages have been raised. However.. Increasing that FSB changed your RAM speed. RAM has a maximum speed at which it can run. SunDog has 800MHz RAM. This means that he needs to make sure that he keeps his FSB under 400. This is the 'Dual Data Rate' part of the ram - 400MHz FSB x 2[it's dual] = 800MHz! If SunDog went over 800MHz he would then be overclocking his RAM. So now we've got my e8500 to 3.8GHz, running stable, with my CPU using 1.2700v, and my NorthBridge using 1.300V. This is creating more heat, which is handled by my new heatsinks and fans. The only job now is to get the voltages as low as possible, so that the system will run as cool as it can! Finished, we're overclocked and [very importantly] stable! Like I said, wish someone had written that BEFORE I took 5 pages of notes! THATS NOT A GUIDE > it's an explanation! Hope that helped someone who wasn't entirely sure what overclocking is all about. Most of the numbers used are off the top of my head and won't be correct, and i'm certainly no expert, so I may be wrong! But anyway, hopefully might help someone understand the overclocking guides better. mike1 point
-
Good to hear, I've been able to fly multiplayer now on the 159ths server without crash every time I die. Fun fun!1 point

-
Recently Browsing 0 members
- No registered users viewing this page.