snafup
-
Posts
100 -
Joined
-
Last visited
Content Type
Profiles
Forums
Events
Everything posted by snafup
-
Hi, I can't seem to get screenshots, I have remapped the screenshot button to ` as i use the printscreen for track ir recentering on my hotas.I keep pushing the ` button but i don't get any images in the screen shot folder. Any ideas? tanks in advance.
-
If the wires are in the base, it isn't magical forces. Just really tiny wires that can get pinched when the stick moves. I have rewired that part of my base because of it.Used heat shrink to keep them out of harms way. Sometimes it can make you think you don't know how to use the hotas correctly when it is actually wonky wires.
-
Finally got around to doing this. Had a few issues that i would like to share with everyone, hoping it will help someone else. Be VERY careful with the wiring going from the base through the balls. They are extremely delicate.Just taking it apart and putting it back together can cut them like butter. The issue is the area where the wires exit out the side of the magnet from the top and enters the swivelling ball in the center.If you dont have them positioned just right you will cut them.Both as you reseat the joystick and if not centered in the slot,then when you start rotating the joystick.You wont know its done untill you get start getting problems with your stick. This happened to me.:cry: This happened to me because i thought i was being smart and didn't use the correct grease, and used white litium instead. This brings me to the next issue. Use the right type of grease the first time. The white lithium grease people say can be used is totally useless in this setting. It is just too thin.The spring movements become binded and movement becomes worse than with sticktion alone. This leads you to having to take it apart and use something correct. I'm now using a thick dielectric grease that is as smooth as silk when i move the stick.It may seem counterintuitive when you use it especially if you have never used thick greases before. it will feel sticky when you put it on but thats the point. It will stay where you put it and not run. The second time taking apart the stick lead me to discover the cut wires. I was wondering why trim wasn't working on my joystick for the huey.I thought it was lack of knowledge with the game. I was going to try and solder it as is, but decided on another route. I had already had an extra ps2 cable that i had picked up as i'm going to do an extension. It is 10 feet long and cost me a dollar at a surplus store. It cut about a foot off of it in the middle. I stripped the casing off of it, and got rid of the extra wire i didn't need. I marked the top where the ps2 is connected and unscrewed it from the ball top. I pulled the wiring out from the top,along with the ground wire which i clipped off from the base wire. I put it to one side to deal with later. I recleaned to the joystick with isopropal alcohol and diid a little of the sanding and deburring shown in another post. I regreased the stick. With the wireing OUT i put the pieces back together, with each part facing the correct way. Once the ball pieces were together i ran the new wiring back UP through the stick totally avoiding having it crimp off and making sure it was in the middle slot. The extra length made sure i had enough to play without me pulling it out one end or the other. Once I knew it fit, i put the wires in a small diameter heat shrink to keep the together and avoid a stray wire moving when using the stick. I desoldered the old wires on the ps2 one at a time and resoldered the new wires one at a time, keeping track of where each color was going. Once that was done i reattached the ps2 to the ball again. I then tackled the lower part . I cut and stripped each wire on the lower harness at different lenths to avoid a short and soldered it to the new wire one by one, after cutting the new wires to length. I covered them with heat shrink. The last wire reattached was the ground and it was done the same way with heat shrink tubing. I put it all back together making sure the wires were in a good position in the base. The joystick is really smooth and i'm not wondering if the wires are going to get pinched anymore.The beauty is i have a lot more ps2 wire if i need to repair the stick again. This of course only works if you are comfortable with soldering and aren't afraid to really get into the wireing of the stick. It helps to have a small tip on you soldering gun as the connections are small on the ps2 and you have to be careful not to over solder and join 2 connections with solder. Once i decided on a plan it actually went pretty smooth. Sorry for the lack of pics but i was concentrating on getting it back up and running again after being a bonehead and trying to do it easier not smarter.
-
Hi, I tried that and it didn't help. It almost seems as its a read issue. It flickers as if its following the loading of data in the background.
-
Hi, My main menu screens with the GUI started flickering after a recent update. It is quite annoying but disappears in game. i even get it if i watch training videos in game. Any suggestions?
-
Hi Kuky, thanks for the info, turns out had a bad dvi cable.
-
Hi kuky, That's part of the problem. It shows that i should have 2 functioning monitors. It even tells me what monitor it is and supposed resolution. The second one only shows boot up screens then stops ( so it is functioning) even though windows says its there and the desktop is extended.
-
Hi, Trying to get a second monitor set up to put mfcds on it. When i connect the second monitor with dvi-d it doesn't show anything. Windows and ccc says its there but not getting anything up on screen. When i do a reboot i see the boot up screens on both monitors, but it disappears after the log on screen. I'm using dual 6970's and have tried using one card and dual cards.Windows 7 operating system with latest drivers installed. Any suggestions would be appreciated. Thanks
-
Know the feeling. Never made it to the actual runway but a road behind the terminal. I was actually close enough to get repairs. Go figure.Picture in link. http://forums.eagle.ru/showthread.php?t=124165
-
actual price for android version? So, What is the actual price for the android version? It says it's free but not functional, unless you buy each one individually as in app purchases.Even on the Google play store someone is asking about the price but without any response from anybody.Lubos just put one out for about 5 bucks. So what is the price? Anyone? I'm asking because I'm actually interested but i like to know what I'm in for before i download anything.I know that the Ipad version goes for 30 bucks total.( i'm guessing that's it as i don't know if it has in app purchases). If i humm and haw over this anymore my wife will think I've got a respiratory disease.
-
No. No problems on this run.

-
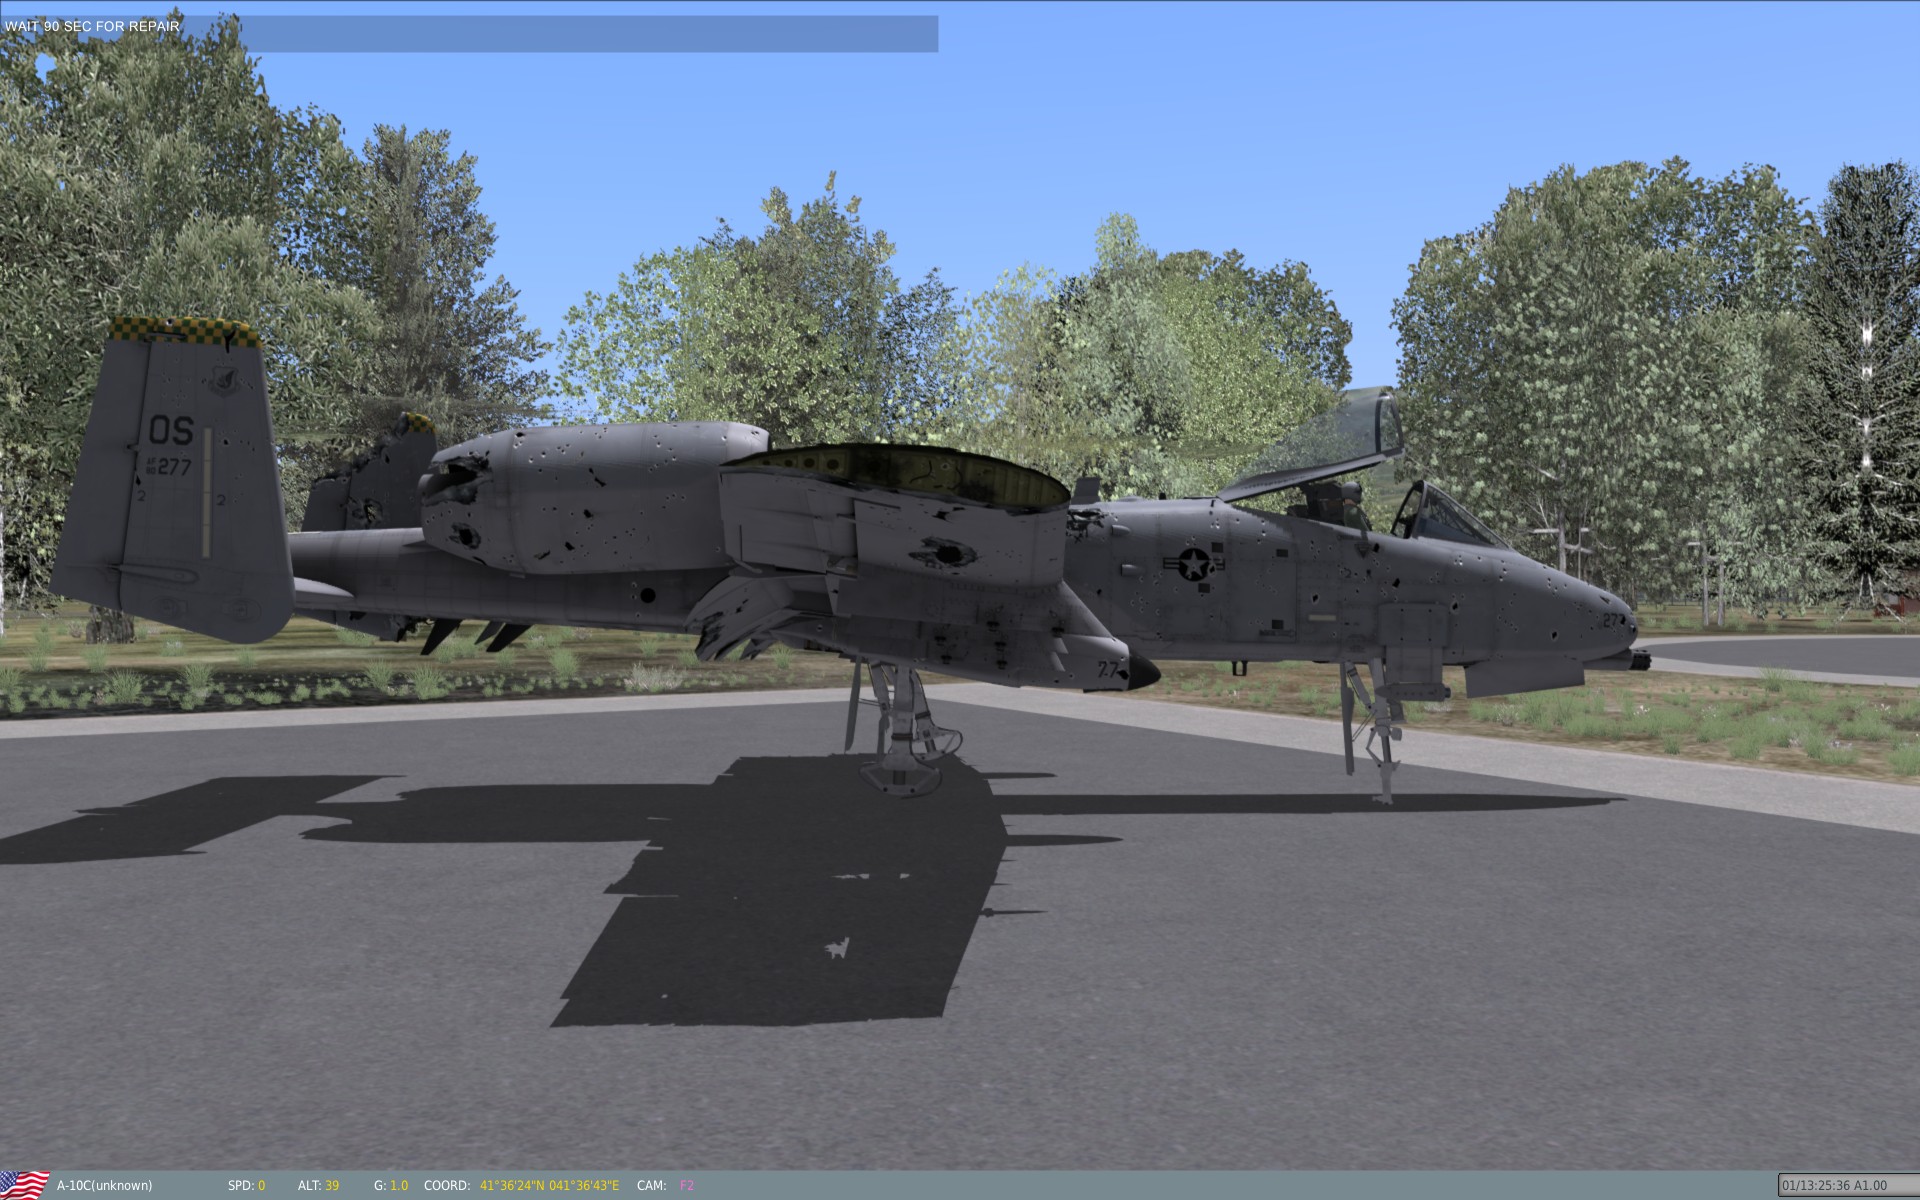
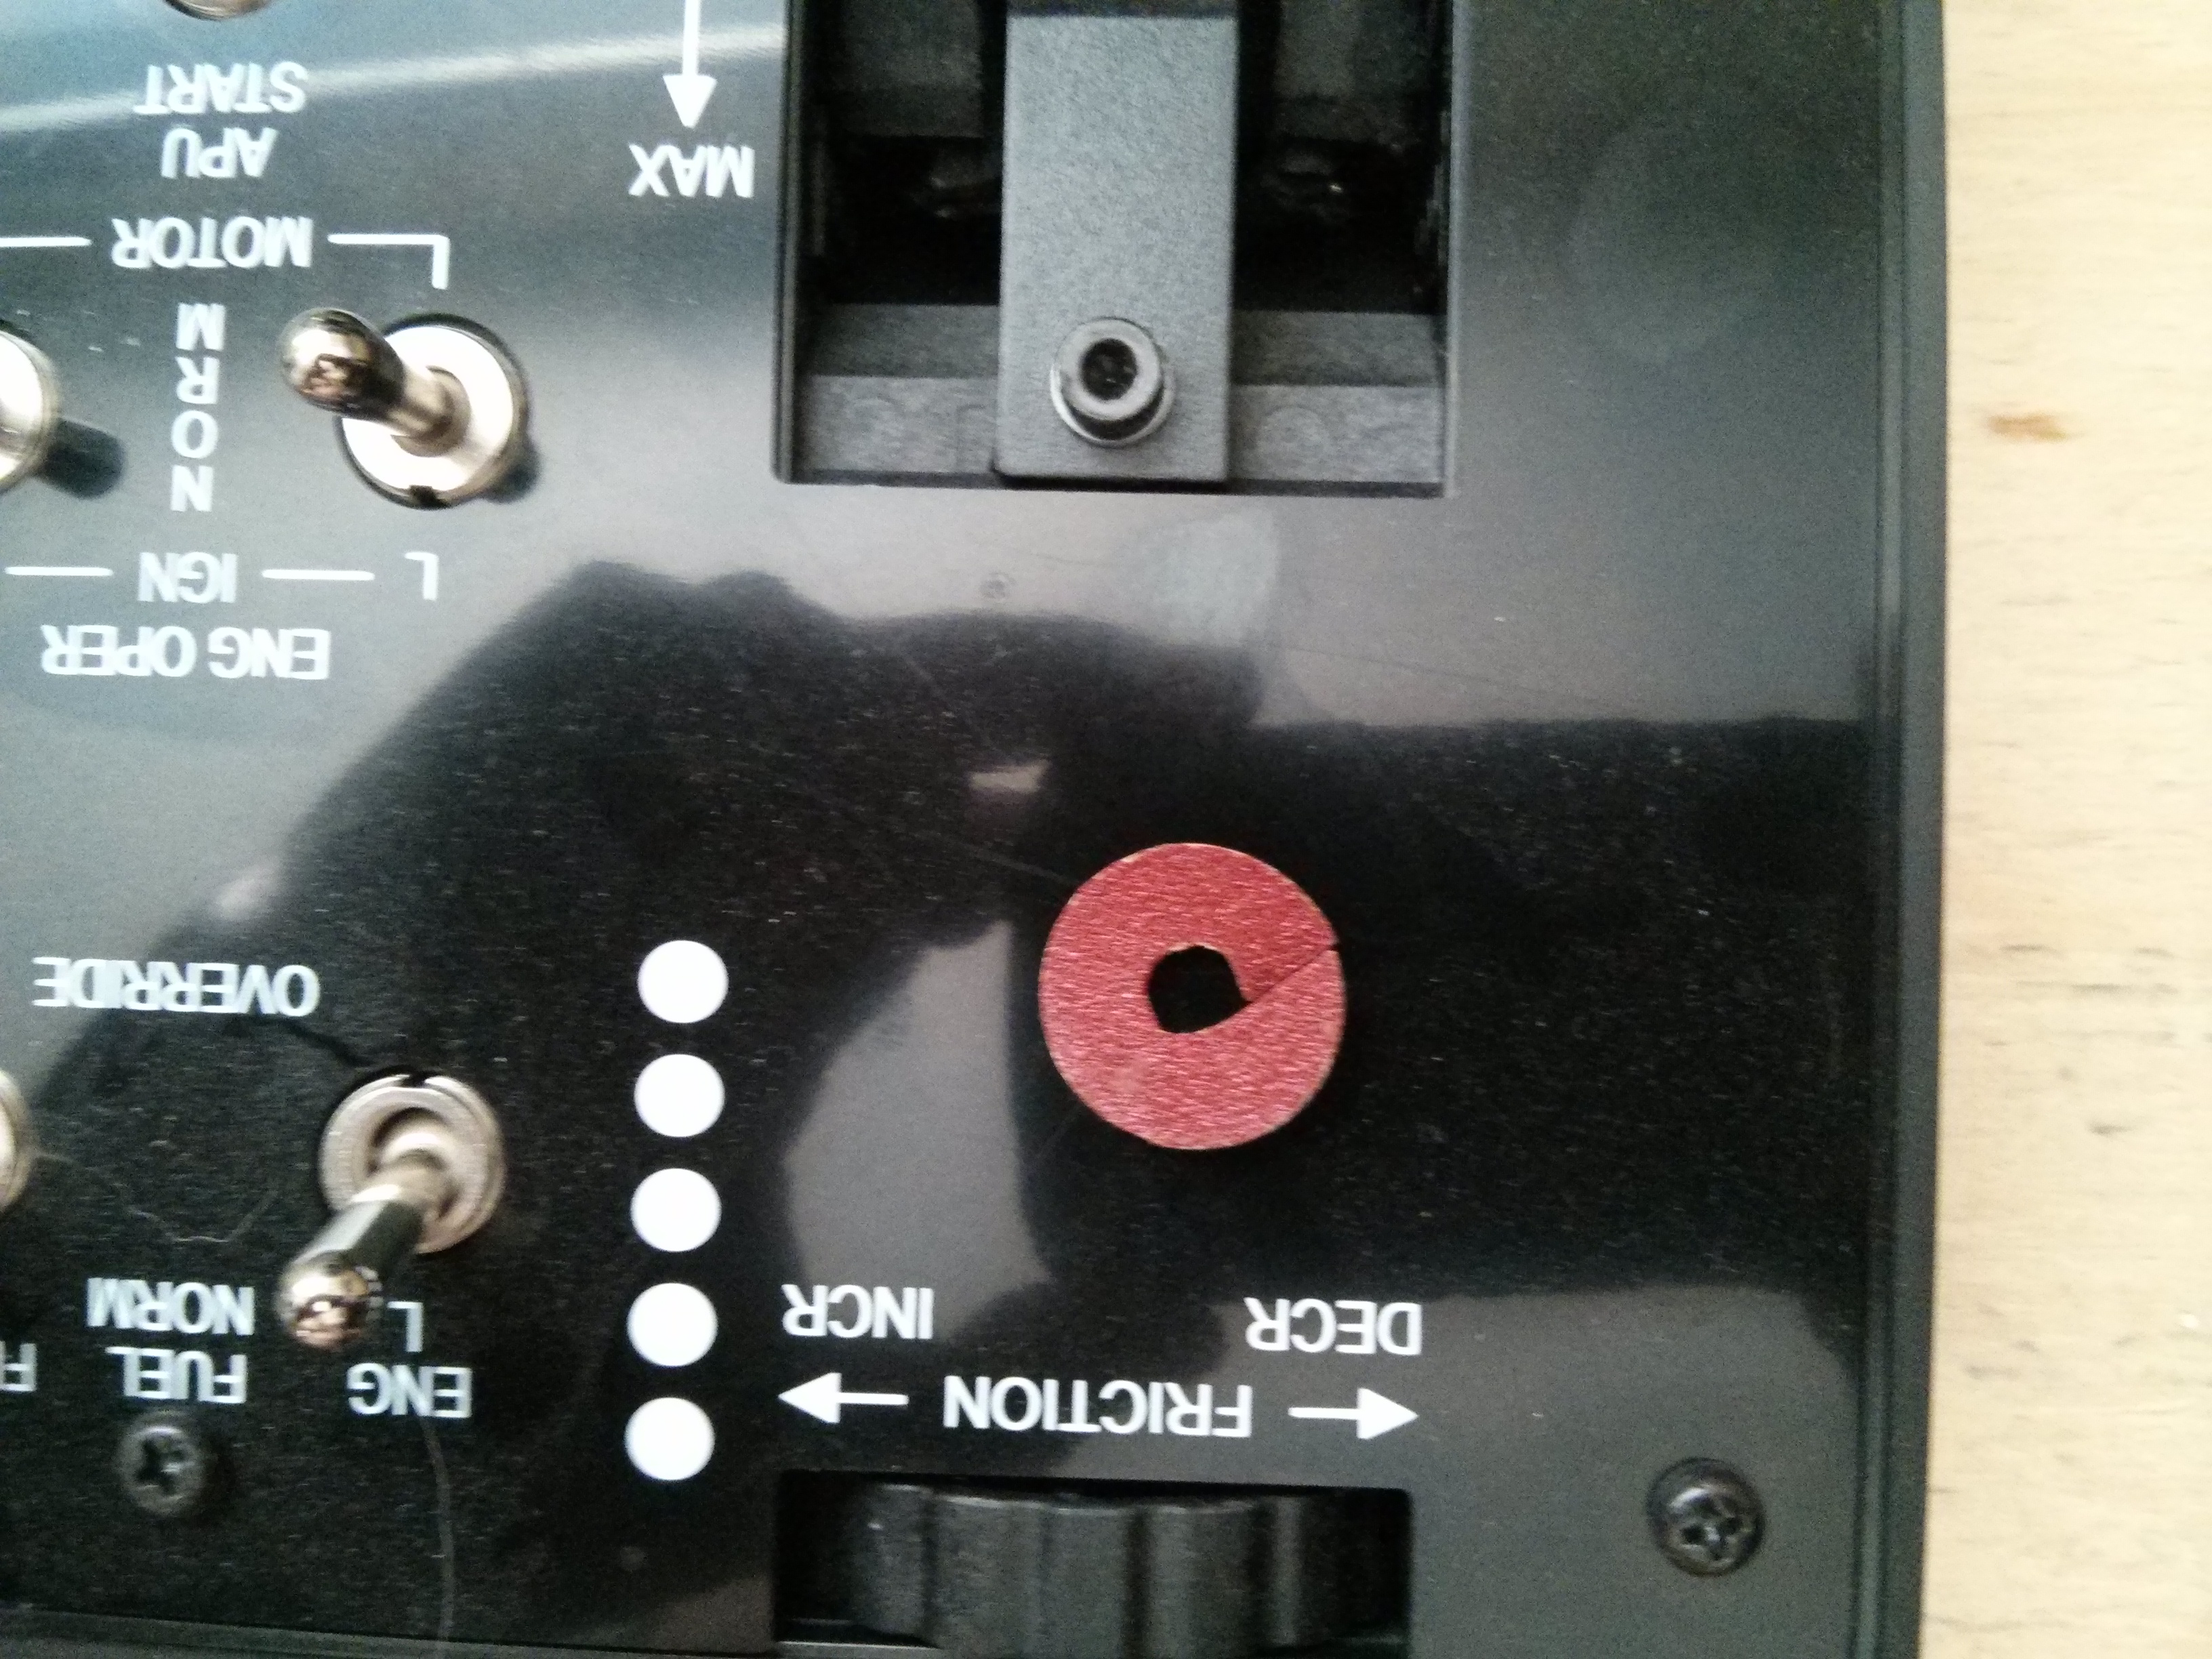
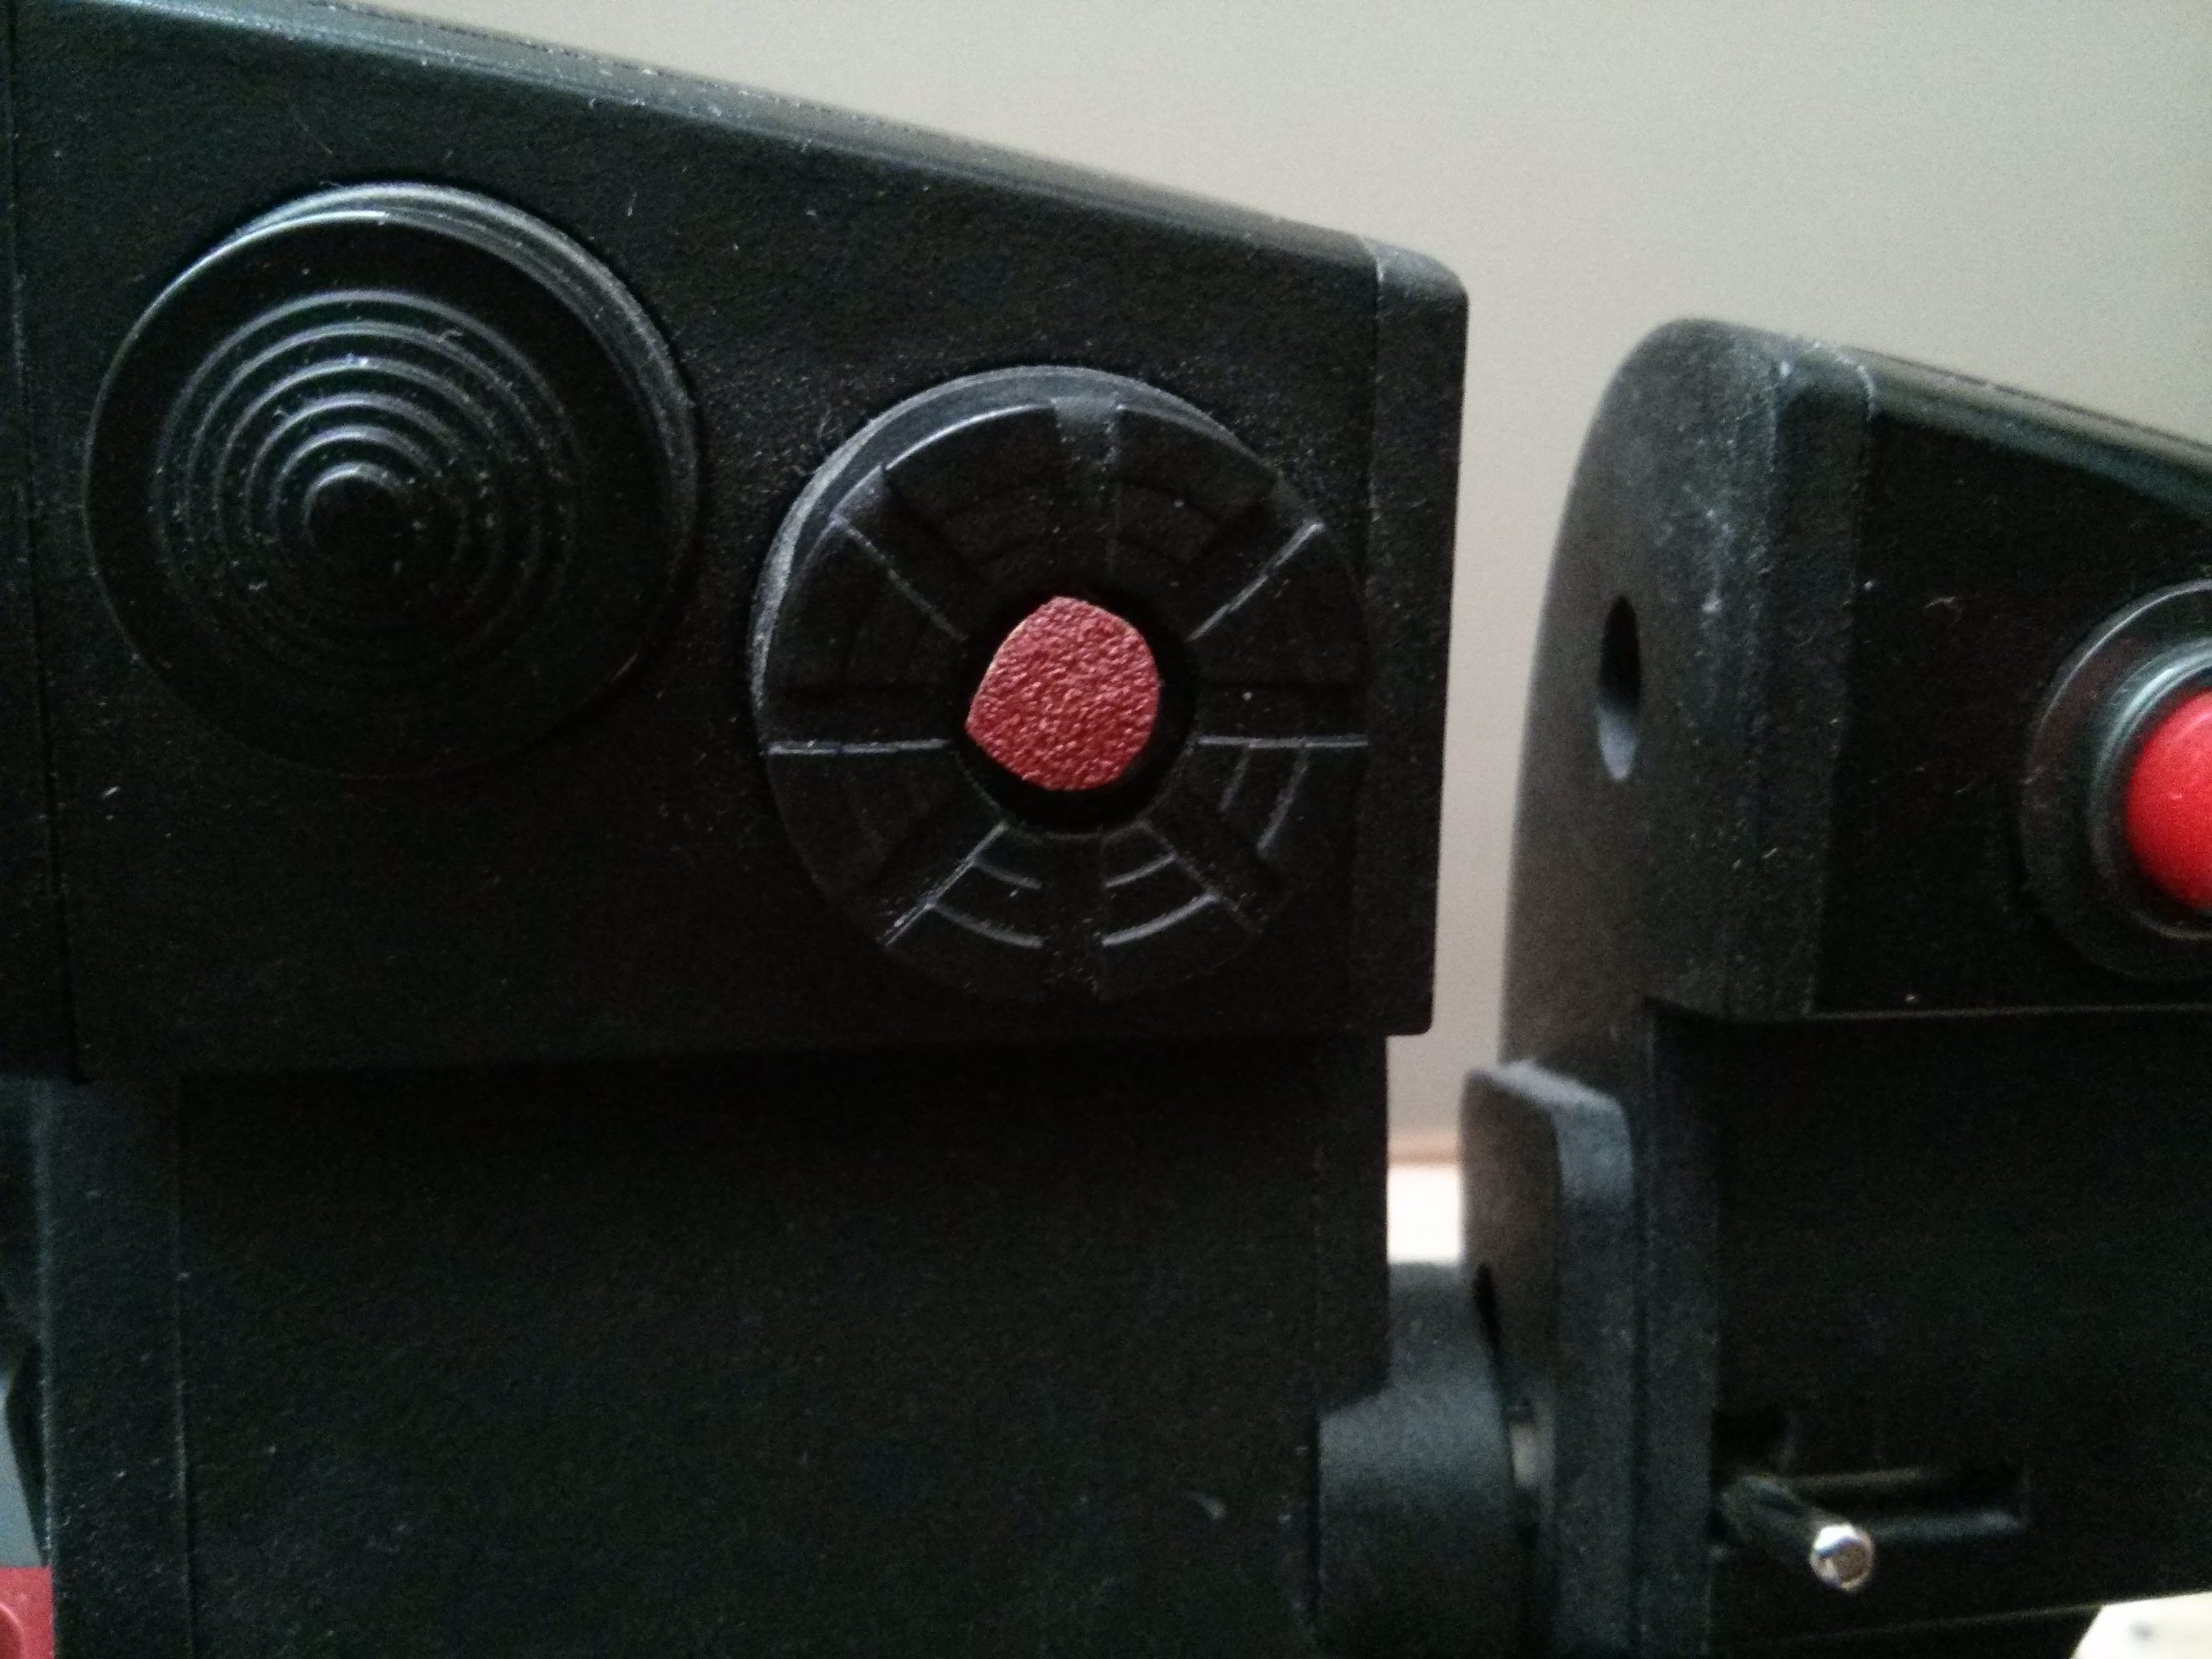
Here's a 3 cent solution for slipping fingers. Any hardware store sells these sticky sided sandpaper disk for those rotary tools. IE: Dremel . Cut out a little circle, peel off the back, and stick to slew. I always find it and finger never slips. I was in the process of trying to retrofit an old 4 way switch from an older stick, by grinding the bottom curved and gluing it on, when i remembered i had a load of these in my work bench. Much easier.(I've also found with 23 firmware slew is better,Don't know if that is actually the case or not , or just my mind).
-
Update. Fixed it using the 1.02 version with the charts from 1.8.5 beta. Works fine now. This is in 1.2.7.23 dcs. Thanks
-
kneeboard page advance Hi all, Been using the kneeboard with previous builds and all worked flawlessly. It's so convienent not having to look up air charts when you need them.Great job Peter. Unfortunately on the new build the kneeboard loads to the top map screen and i can no longer scroll the pages using ctrl right and left arrow.It will open and close with ctrl up but nothing else. Any one else get this? I checked and all the files are there.I've done a repair but that didn't do anything as all the files remained.Thanks for any help you can give.
-
Speaking of which: here's peter p's mod for kneeboard. http://forums.eagle.ru/showthread.php?p=1872190#post1872190 if you like it let him know.
-
gonna try a storage canister.
-
hi pv, I had the same problem as you starting off. I watched the videos,scanned the forums etc... looking for what i was doing wrong. My biggest problem was following the boom and not the plane. I practiced and practiced getting more frustrated everytime i failed. Then one day it happened. I got it,i got the speed, trim, and timing. I hooked on and started taking fuel. It wasn't long mind you but i did it. I probably scared my spouse with my cry of joy at taking on fuel,any fuel. Once i got the first hookup and feel for what was needed, it got easier to connect the more i did it. It really helps that i have a wathog throttle control, as this give me pretty fine control over throttle, trim, and joystick movements. I open the fuel door far enough back so i can have trim set properly by the time I'm ready to make contact. I don't use separate throttle inputs as i don't need it to get fuel, just feathering the throttles for more and less thrust works. You start remembering the sound of the engines and the pitch that keeps you at the right speed to maintain connection.
-
The Emporor seat the next must have to play DCS
snafup replied to jay43's topic in PC Hardware and Related Software
-
Reworked Cockpit Views with proper Neck
snafup replied to PeterP's topic in Utility/Program Mods for DCS World
A-10C Front/Back Up/down Left/Right Info: positioned high in seat. See only fire control handles up when re centered.Seem to be closer and higher on head rest, but still able to lean extremely close to front panels and joystick. using beta 0.4 -
Problems with Thrustmaster Warthog?
snafup replied to ozTRipwiRE's topic in PC Hardware and Related Software
Plug and play with dcs a10c. No problems whatsoever.Have very early model.If you get it, do the firmware update before you use it. -
Hi, One of those days. Started hearing a ticking noise in my tower that sounded suspiciously like a bad fan with a bearing problem. It was a consistent background distraction during gaming that i was hearing but the spouse wasn't (isn't that the way it is?). It would change as rpms increased and decreased so i thought i was on the right track. I even got up close and personal and thought i had it tracked to my top case fan, as it seemed to change pitch if i shook the case a small amount. I decided today was the day to swap out the fan with a replacement i had just sitting around from an earlier build. Seemed easy ,just unscrew it from the top drop it out and pop in the new one right. I forget to take into account my cpu cooler ,a thermalright silver arrow,that takes up as much real estate on the motherboard as a small car. I didn't want to have to remove it so i ended up taking out the dvd burner and sliding it out the front bay, which in doing so enlightened me to the fact this was an antec 3 speed fan and the one i had to replace it was not. I like having the 3 speeds so i can ramp it up when it gets a little warm, so i gave up on my first swap and decided on taking an existing one that was in an easier accessible part of the case and swapping it out, as it was also a 3 speed. ( i put the top one in this slot hoping a new position would get rid of the tick). Figured it was a good time to do a spring cleaning on the case and got out the canned air and vacuum, took the fans off the cpu cooler and sucked away ,getting rid of a winters worth of dust. Put it back together and turn it back on. Voila the tick was worse. After saying a few choice words to myself and probably looking totally befuddled, i got on the floor, took off the side panels, and disconnected the top fans power.Nope not it.Did the same with the old one in the new position.Nada. Went looking on the open side hoping to see a stray wire or something. Instead the sound was clearer here. I started to reseat the cpu fans with a little wiggle when the one closest to the back changed pitch when i moved it, disappearing totally when i lifted it from the fins a few millimeters. After a wtf moment i took out a light and tried to see what was rubbing on the fins of the cooler. My dogs must have thought i was loosing it as i lay on the floor with a headlamp on ,trying to look into a 3 mm gap for a noise source cursing to my self over this "easy" fix. But you know what? I found the damn problem. It was a fan sticker that was coming off the fan. It was only apparent when the fan got up to speed and the corner started to lift. After removing the sticker,(it came off surprisingly easy), and the general clean up, the system sounds better than ever. Lessons learned: 1) disconnect the fan you think it is first, to see if the noise stops.:doh: 2) check for sticker shock 3) Clean case a little more often. Thanks for listening.
-
warthog friction lever on throttle.
-
Possible Aircraft shake when GAU-8 is Fired ?
snafup replied to [VAF] Shocker's topic in DCS: A-10C Warthog
Or stick your tongue out and make a raspberry noise. Makes for a messy monitor, so have lots of screen wipes ready. -
Hi, what reliability issues and terrible tech support has happened with Thrustmaster ? If you look at the serial database the numbers are at 17500 and still going.( starting at 1) They must be doing something right. A lot of the issues were taken care of with new firmware as far as i know. The joystick has 19 action buttons and a pov hat, the throttle has 17 action buttons, one mouse , a one 8 way. All which are programmable , either in dcs world or using target,so i don't know how it can't be versatile, you can program it any way you want. It helps that it's plug and play for a10c. As for what i would do ,I already got the thrustmaster and pedals, and haven't looked back or regretted my decision. The precision and feel is great.
-
he has a lot of good videos