LASooner
-
Posts
252 -
Joined
-
Last visited
Content Type
Profiles
Forums
Events
Everything posted by LASooner
-
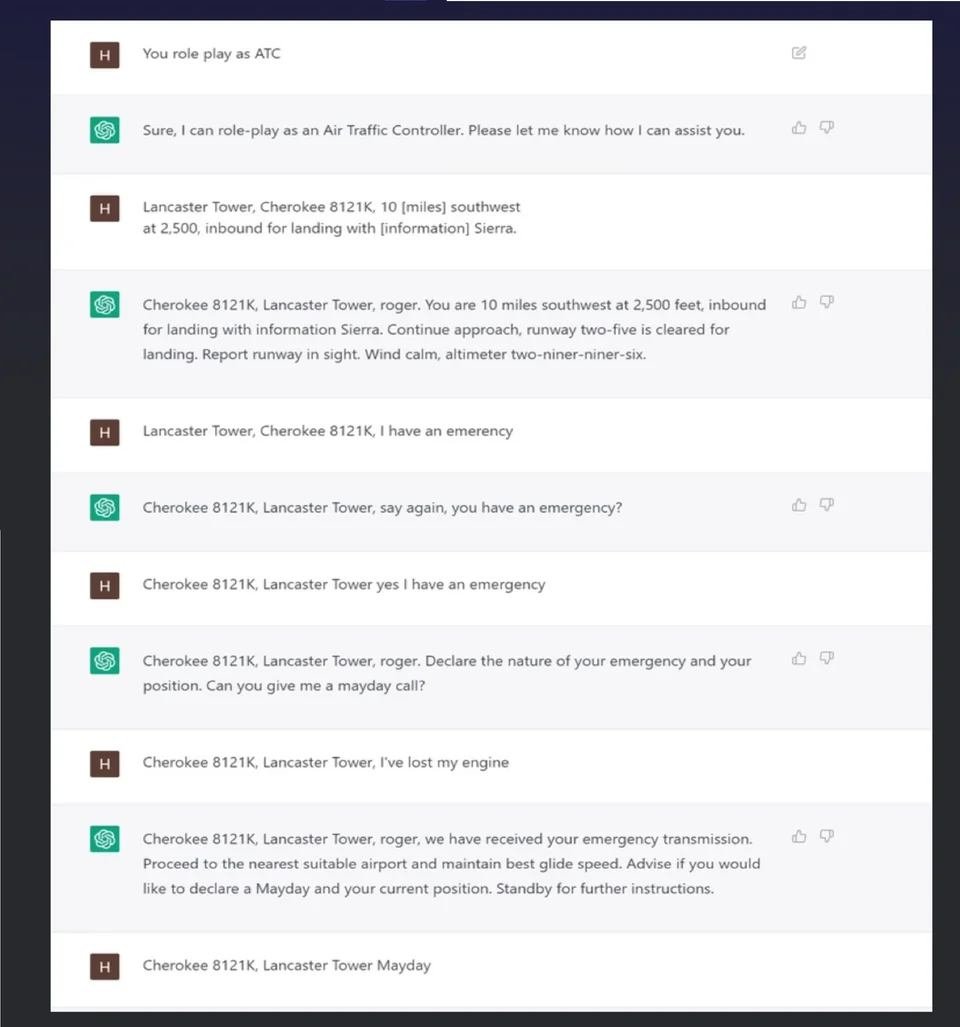
Someone did a roleplay with ChatGPT there's a lot of potential in this kind of interaction in games. Sent from my Samsung Chromebook Plus using Tapatalk

-
Well, it's a start, now I just need to program it. null
-
 If I'm not mistaken the kevlar bags have to deflate before you can fully sweep the wings, you have to hold the lever up and all the way back until the oversweep light illuminates As for the issue with the wings stuck forward was this after a flight? did you overspeed the flaps maybe? Sent from my Samsung Chromebook Plus using Tapatalk
 -
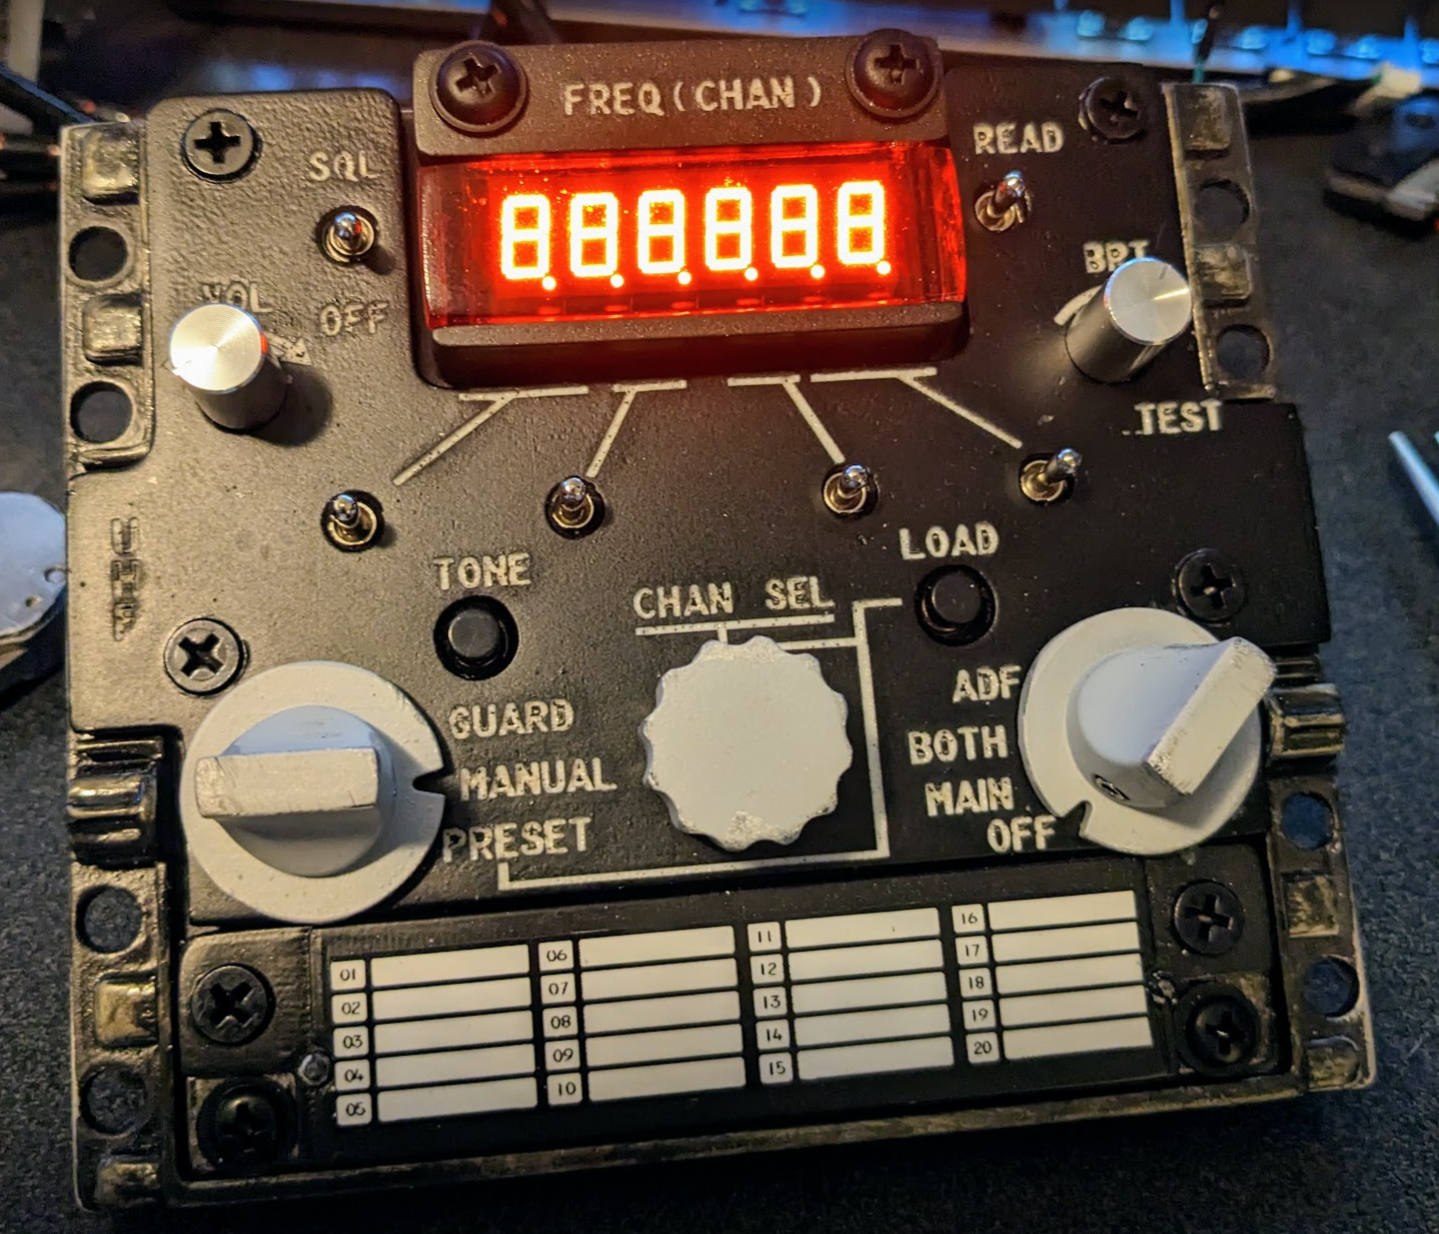
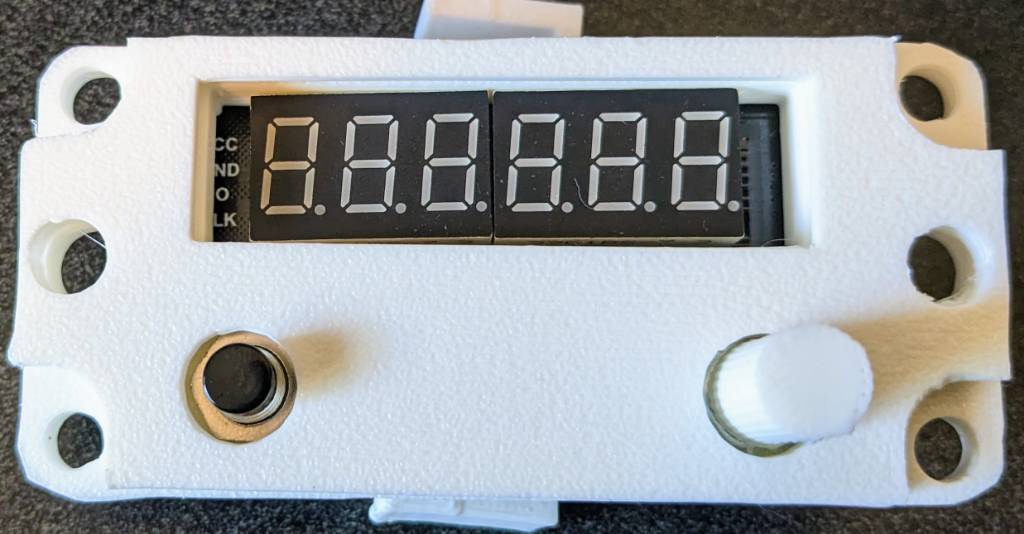
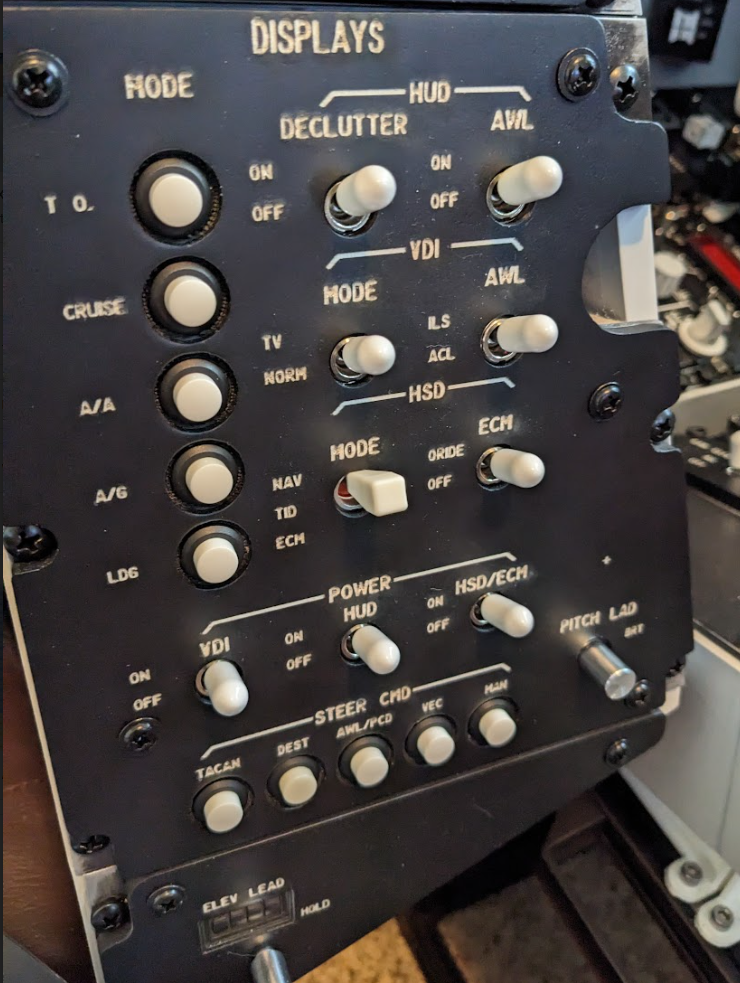
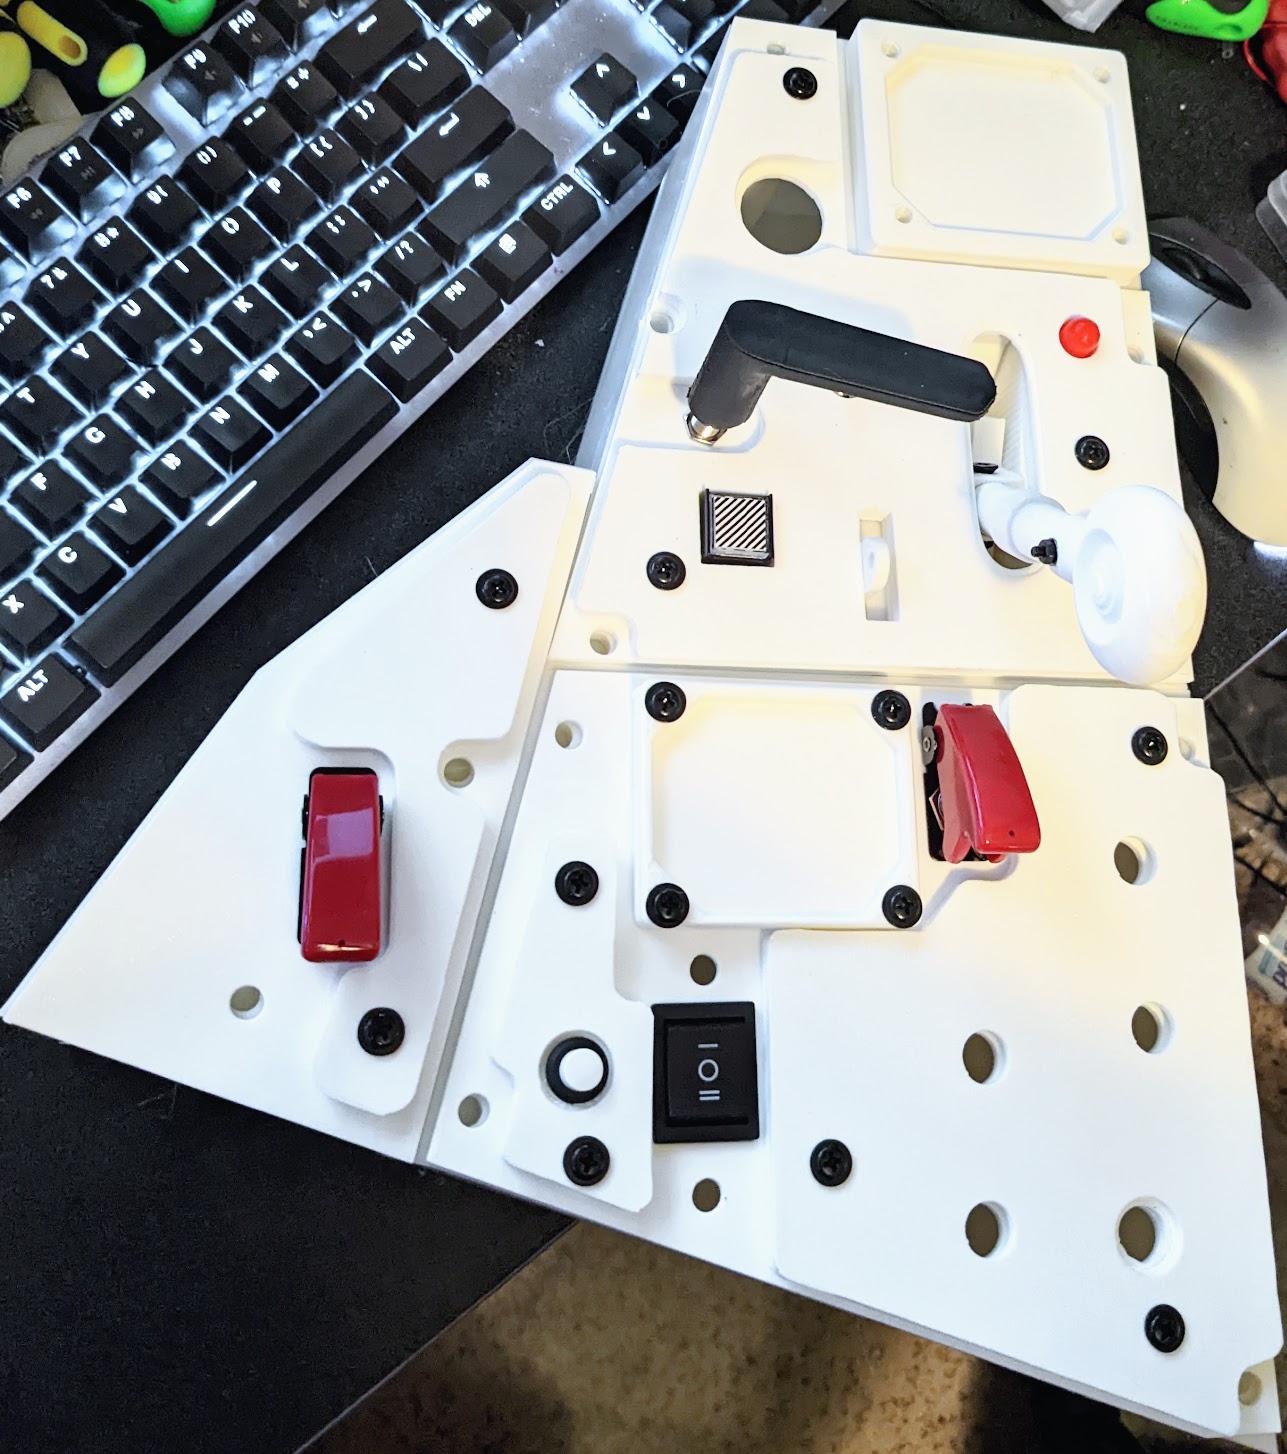
Still wiring up the cockpit, but I took a little time to print out radio freq displays. I plan to eventually get them working with DCS-Bios, but the steam gauge panels are low priority at this point, trying to get all the stuff I've made so far functioning but modular and easy to repair later on. Sent from my Samsung Chromebook Plus using Tapatalk
-
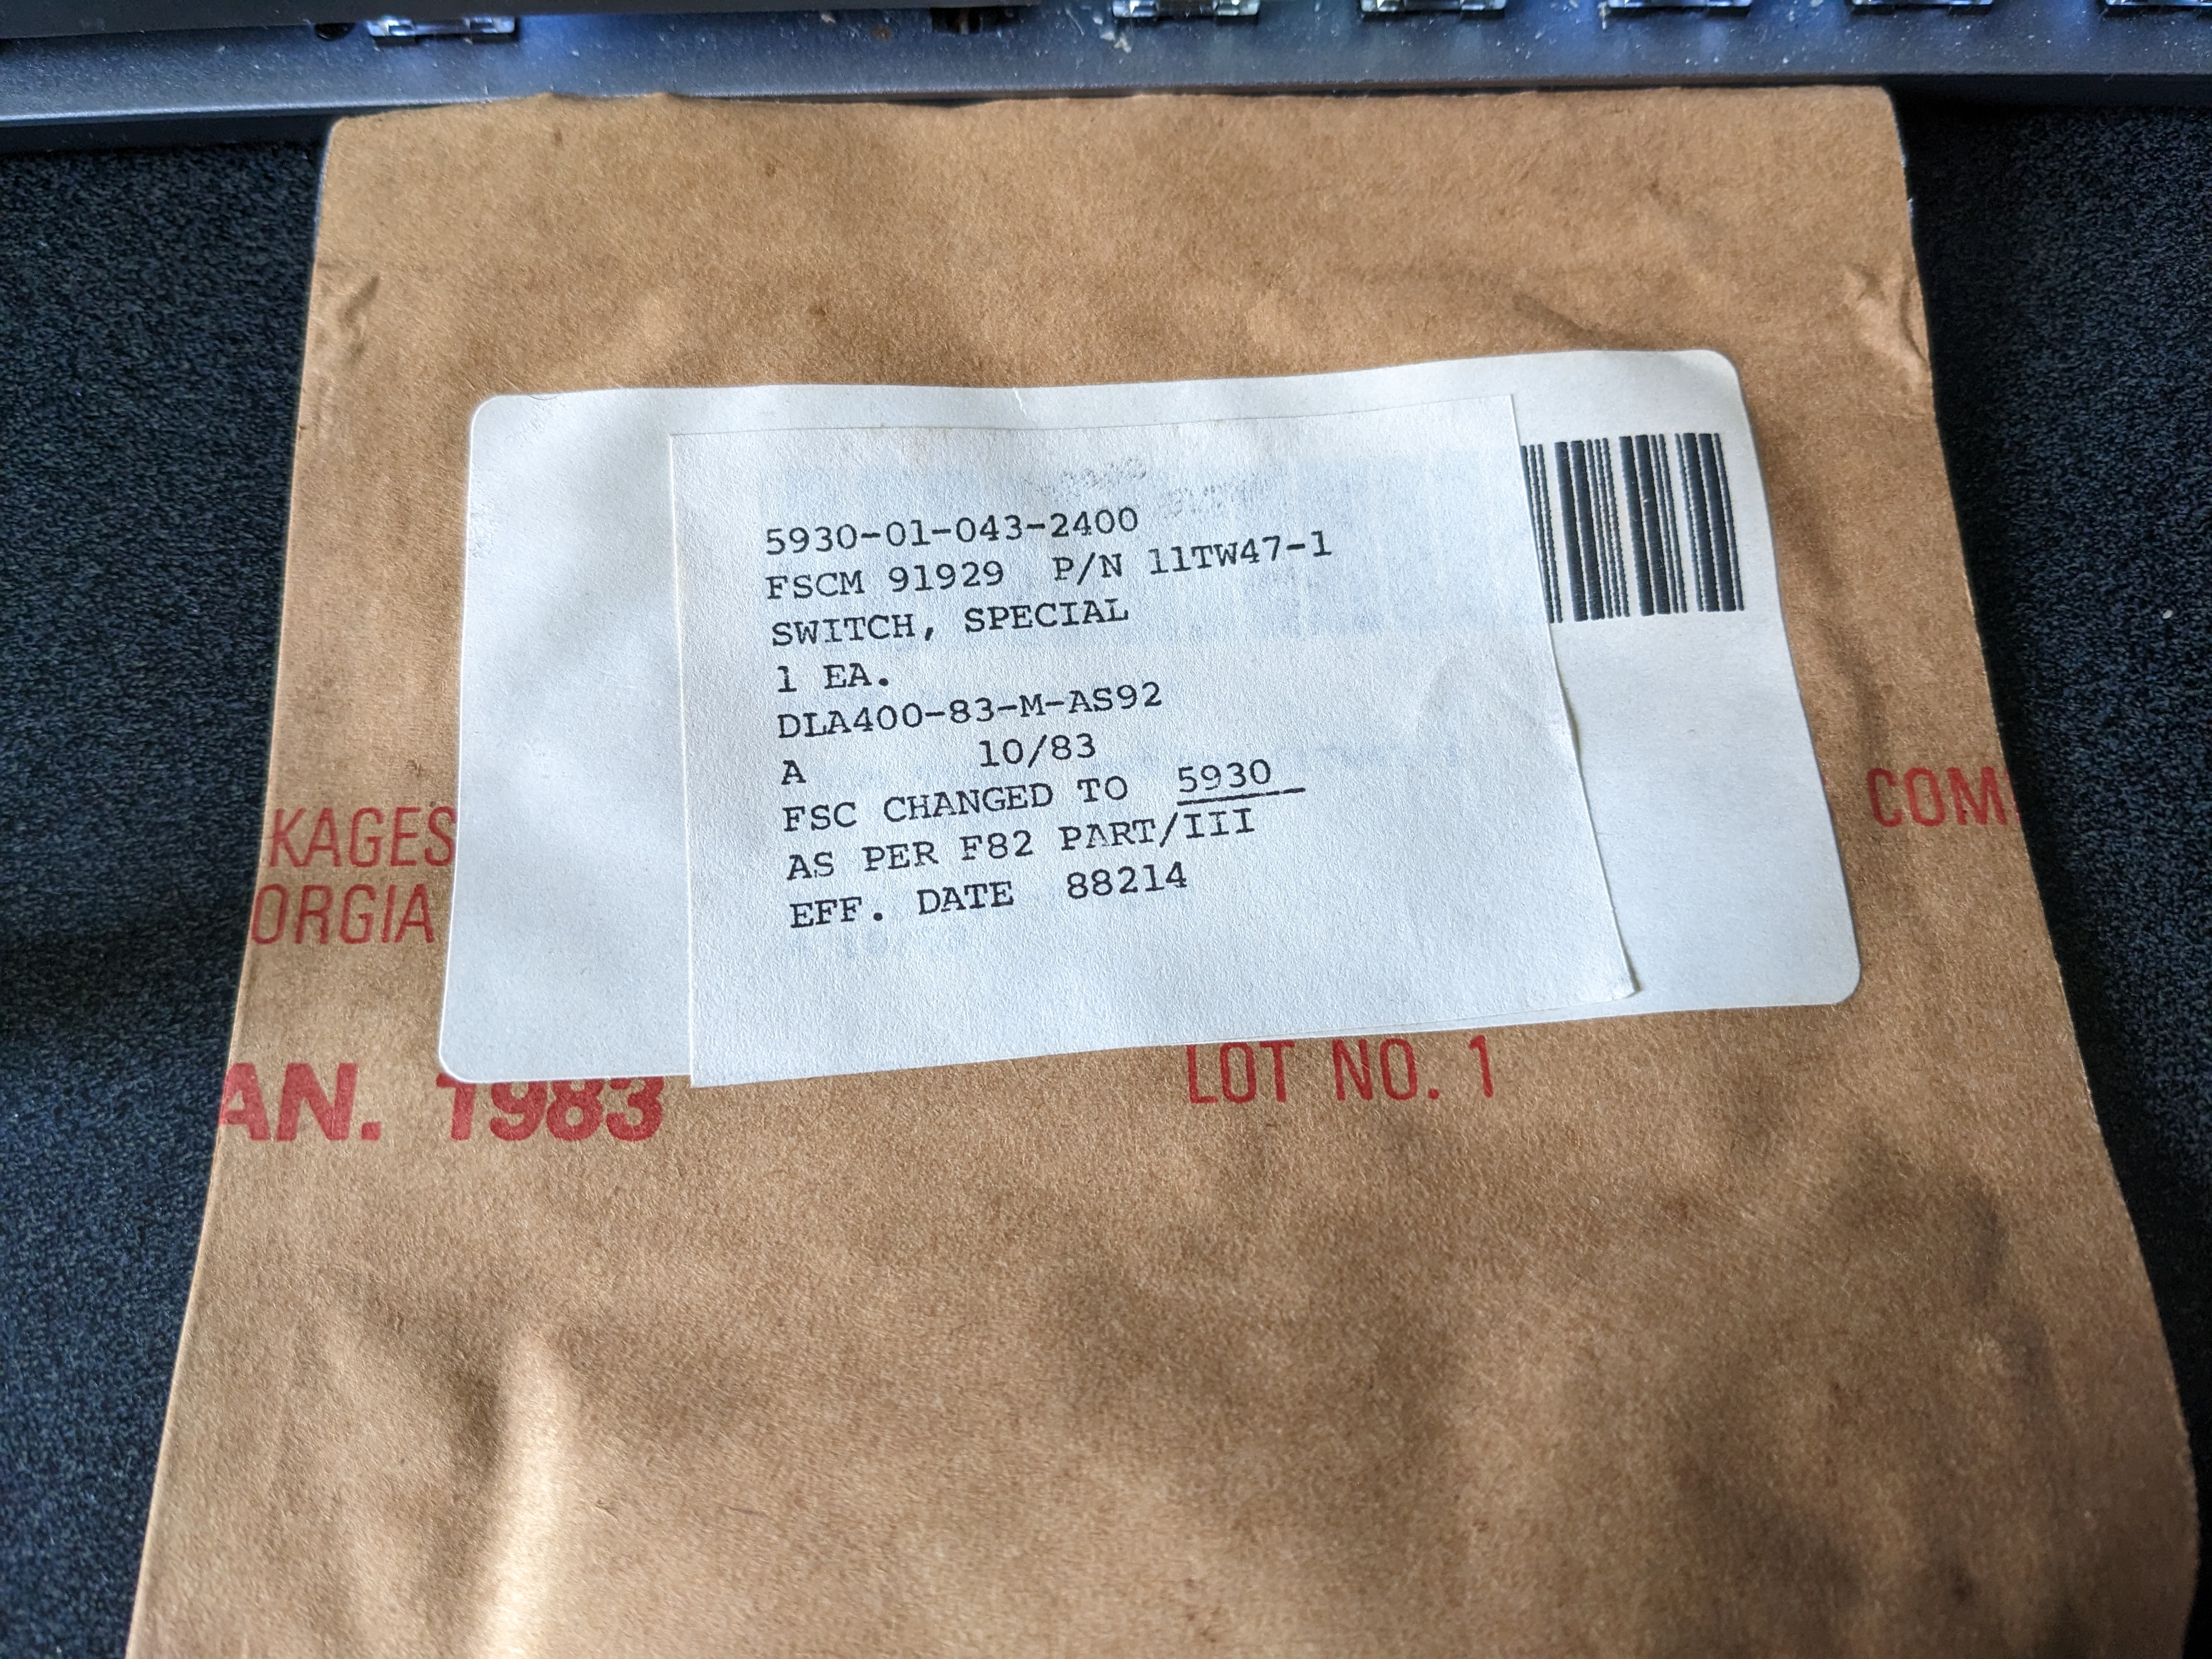
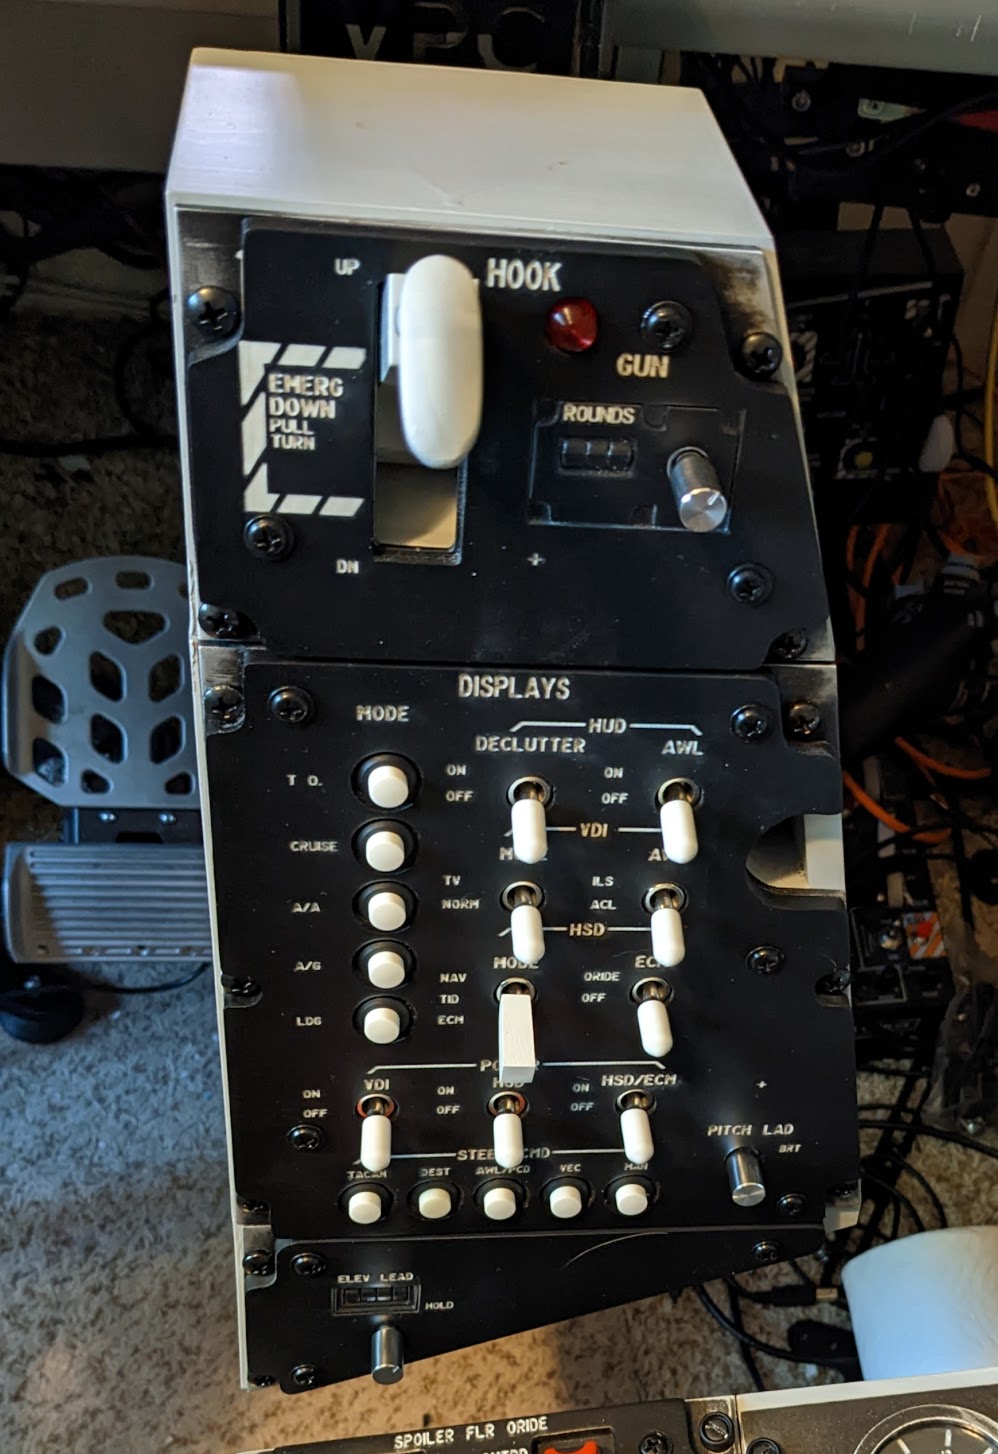
I found a source for square bat toggle switches https://www.ebay.com/itm/293134827499 Fairly reasonable considering they are New Old Stock Double sealed since 1983 Mounted on the display panel, so much better than a 3d printed cap Some other items Cat builders might find useful. I don't need them as I have already recreated these items TACAN Dial https://www.ebay.com/itm/254121733878 COMP Panel switch https://www.ebay.com/itm/291002794833 ACM Switch Guard cover https://www.ebay.com/itm/292442331877 Split lens Korry Switch https://www.ebay.com/itm/294479890874?hash=item44905e89ba:g:kZcAAOSw2QFhcDmS
-
I've never been so excited to buy a toggle switch, I've been looking for these things for several years at a reasonable price
-
Found some odds and ends people may find useful POINTER DIAL KNOB https://www.ebay.com/itm/291002794833 Large TACAN dial https://www.ebay.com/itm/254121733878 ACM Switch guard https://www.ebay.com/itm/292442331877 Honeywell square top toggle switch https://www.ebay.com/itm/293134827499 I got my square bat switches today, they are brand new still sealed in package from October of 1983. So glad I finally found some, trying to 3d print tops for standard switches that aren't too chunky, don't slip and don't break was a bit of a ball ache
-
ORTUR Lasermaster 2 https://smile.amazon.com/gp/product/B09NBK615C/ref=ppx_yo_dt_b_search_asin_title?ie=UTF8&psc=1 with the long focus laser add on https://smile.amazon.com/gp/product/B09NSMV8D4/ref=ppx_yo_dt_b_search_asin_title?ie=UTF8&psc=1 And adjustable height mount https://smile.amazon.com/gp/product/B098PZCPNB/ref=ppx_yo_dt_b_search_asin_title?ie=UTF8&psc=1 Sent from my Samsung Chromebook Plus using Tapatalk
-
Finally got all the rotary wheels mounted. Had to make them modular to easily replace or repair them. Sent from my Pixel 5a using Tapatalk
-
Just black plexiglass, nonfunctional Sent from my Pixel 5a using Tapatalk
-
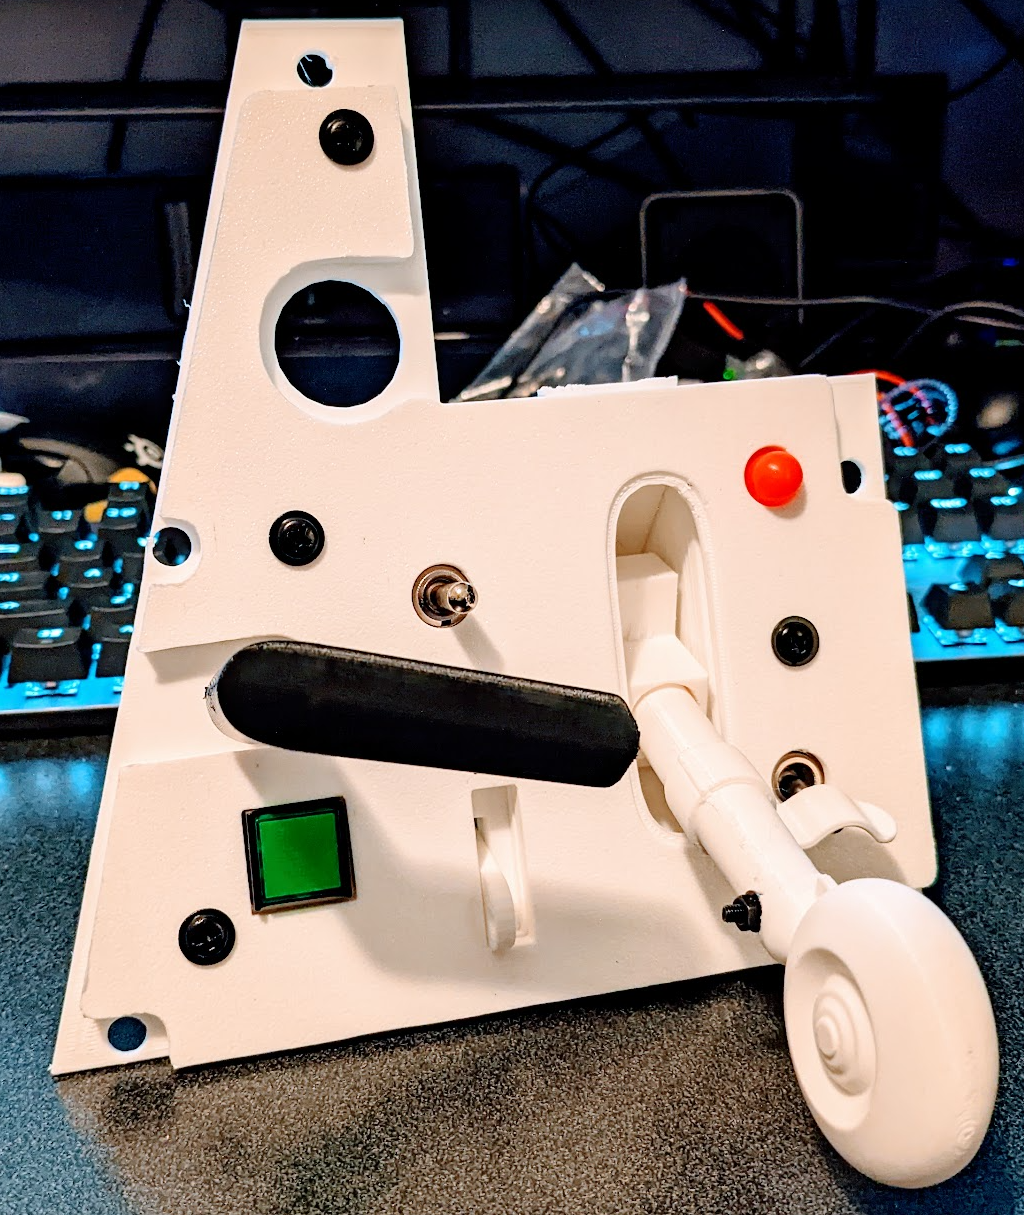
update on my desk pit, getting closer
-
Update on the status of my desk pit. had to re work the lighting panel to be able to easily mount the rotary wheels, getting close to just working on the electronics. Everything is mounted, but nothing wired up. Mostly happy with the aesthetics of everything. I'm going to try to print the switch caps in TPU so they can stretch a little, the ones I printed previously are very brittle and have been cracking when I try to take them off the old button boxes I had them on.
-
-
Steam sees it as an XBox controller, is that switch mapped to what would be the XBox or the options button? I can only assume that those buttons in STeam bring up the Steam options in VR. Sent from my Samsung Chromebook Plus using Tapatalk
-
Lots of sanding and painting in my future.
-
Started printing some of the vertical side panels.
-
Got a bunch of the engraving done this weekend, and of course ruined the longest panel to print.
-
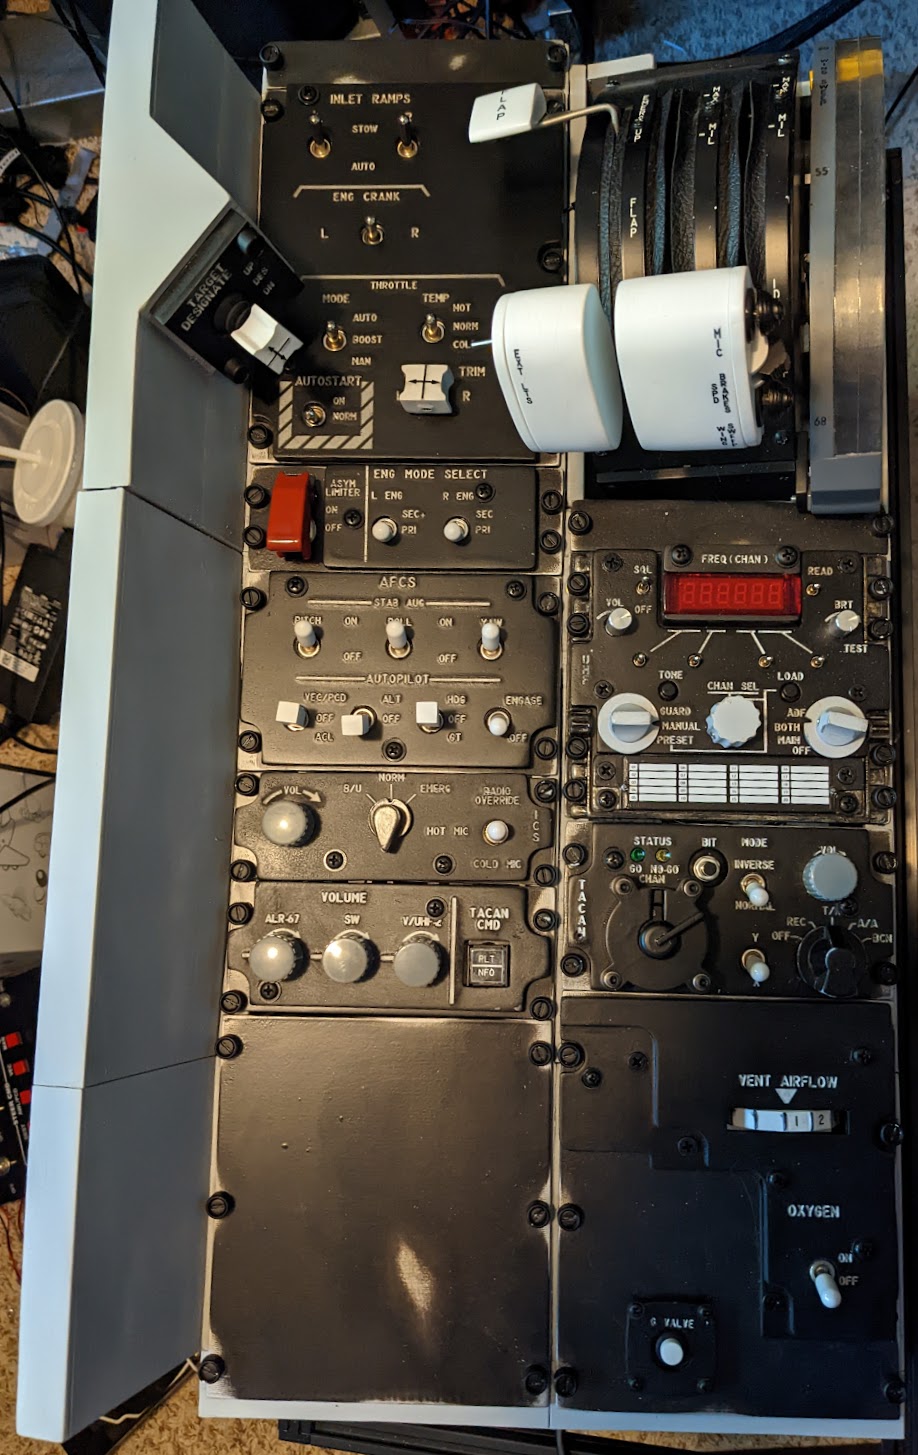
The switch caps? https://smile.amazon.com/gp/product/B0915RTQHX/ref=ppx_yo_dt_b_search_asin_title?ie=UTF8&psc=1 The square caps and large barrel caps I printed on my resin printer Update, got most of the engraving done, going to have to reprint the engine start panel, the warning stripes burned through to the infill, tried to fix it with white sealant, but it looks like ass, so a do over. The inner ring of the TACAN concentric knob has to be reprinted, the tolerance was a little too tight, and the engraving was a bit off center. Still haven't painted the thumb wheels, so the vent air flow wheel is missing. I need to source some better volume knobs too.
-
Basically what snake said, your mileage may vary. I went with the hall effect pots and find that aspect to be great no issues there. Mounting is kind of a pain because there's not really any screw holes, just threaded resin and not like standardized for say a Warthog mount. The handles are smaller than they should be, but the throw of the throttles feels right, and my afterburner gate won't allow me to push through I do have to push them out to get into the zones. My wing sweep is not an axis but several leaf switches in the associated sweep degrees printed on the cover. It works for me, but in game the manual sweep visually jumps from each spot instead of smoothly moving because it's digital button presses. The wing sweep cover has a button press for up and down. And the base is back lit with a switch. The front buttons are pretty bad, the speed break is just a 2 way switch instead of a momentary, and initially my hat switches were analog thumb sticks wired to send a digital signal, ultimately that crapped out and he sent me some digital hat switches which have worked perfect. Mixed bag, can't recommend due to the cost, but I like mine and had stupid money to blow a few years back. If you get one, just know it's like something you'd get on Etsy. The guy at Throttletek acts like he has a bunch of guys working on these things, but it feels like a one man show. He was cool with me when I had to replace those hat switches, but I know some others on this board have had issues with him. As for my cockpit, I worked on a few things today
-
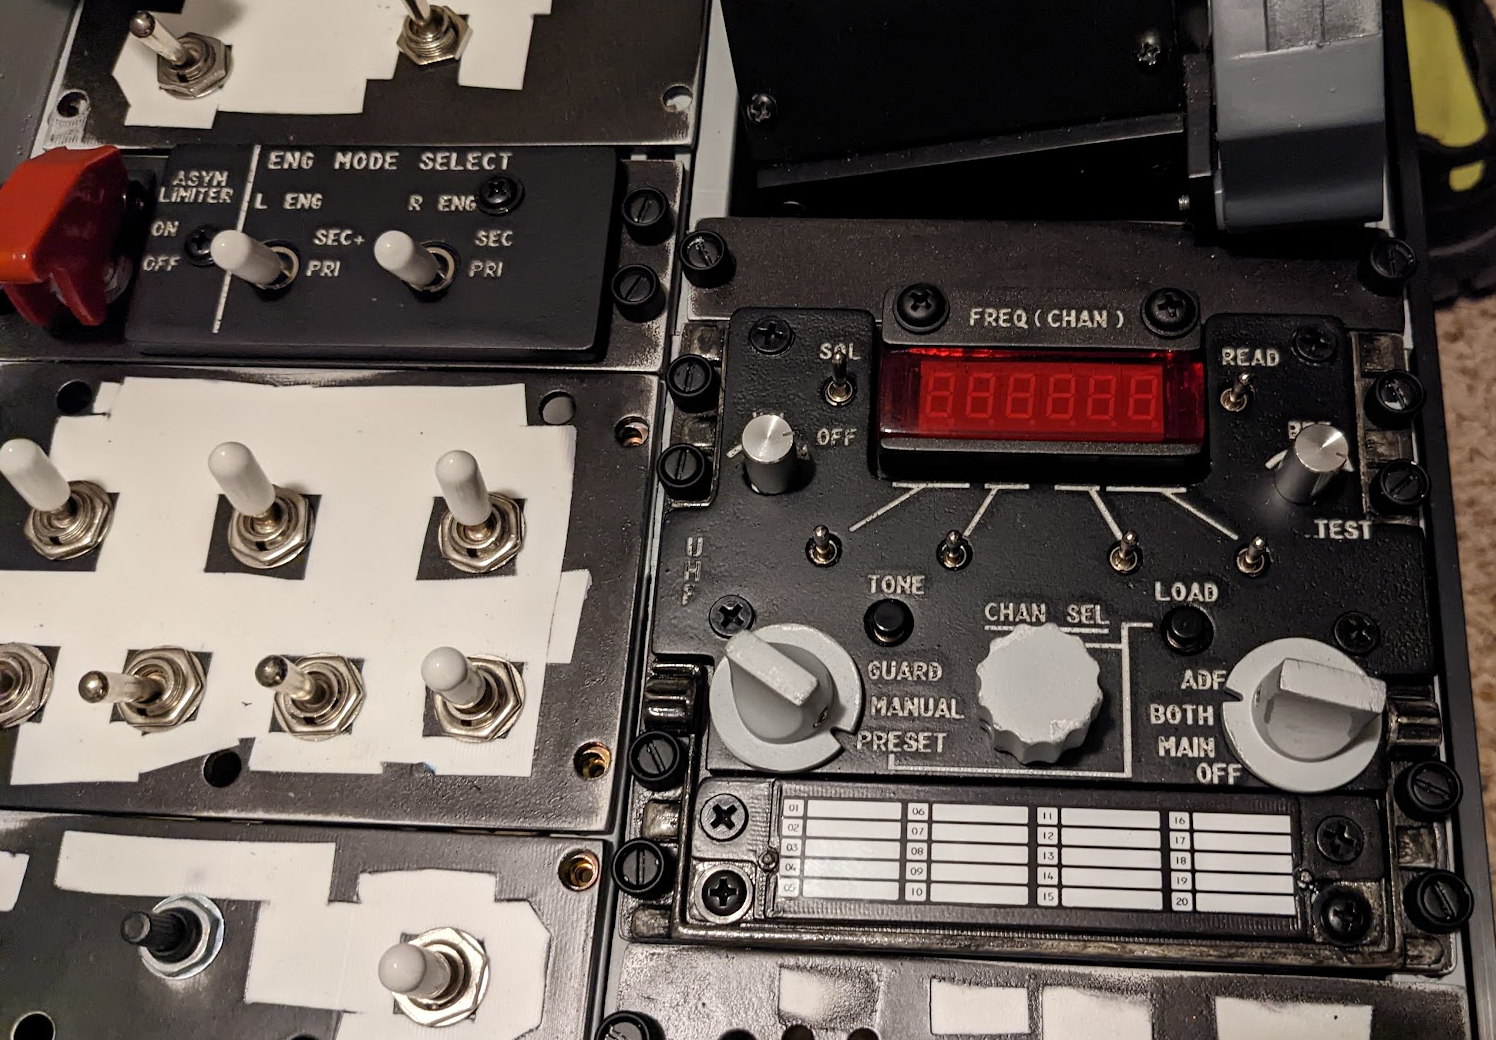
Got a little work done today. Laser engraved the Asym limiter and UHF panels. Sanded and clear coated the translucent resin print of the LED cover, used my Brother P-touch to print out the freq list label. Put my knobs on and mounted it in the side panel. I haven't yet programmed the arduino for the frequency LEDS but that will come after I get all the panels finished and functional. There's kind of a jankiness to the engraving that I sorta like, makes it look more used and worn. I'm definitely not going for factory fresh. null
- 112 replies
-
- 10
-

-

-
It's the Throttletek one like Mumbles said Sent from my Samsung Chromebook Plus using Tapatalk
-
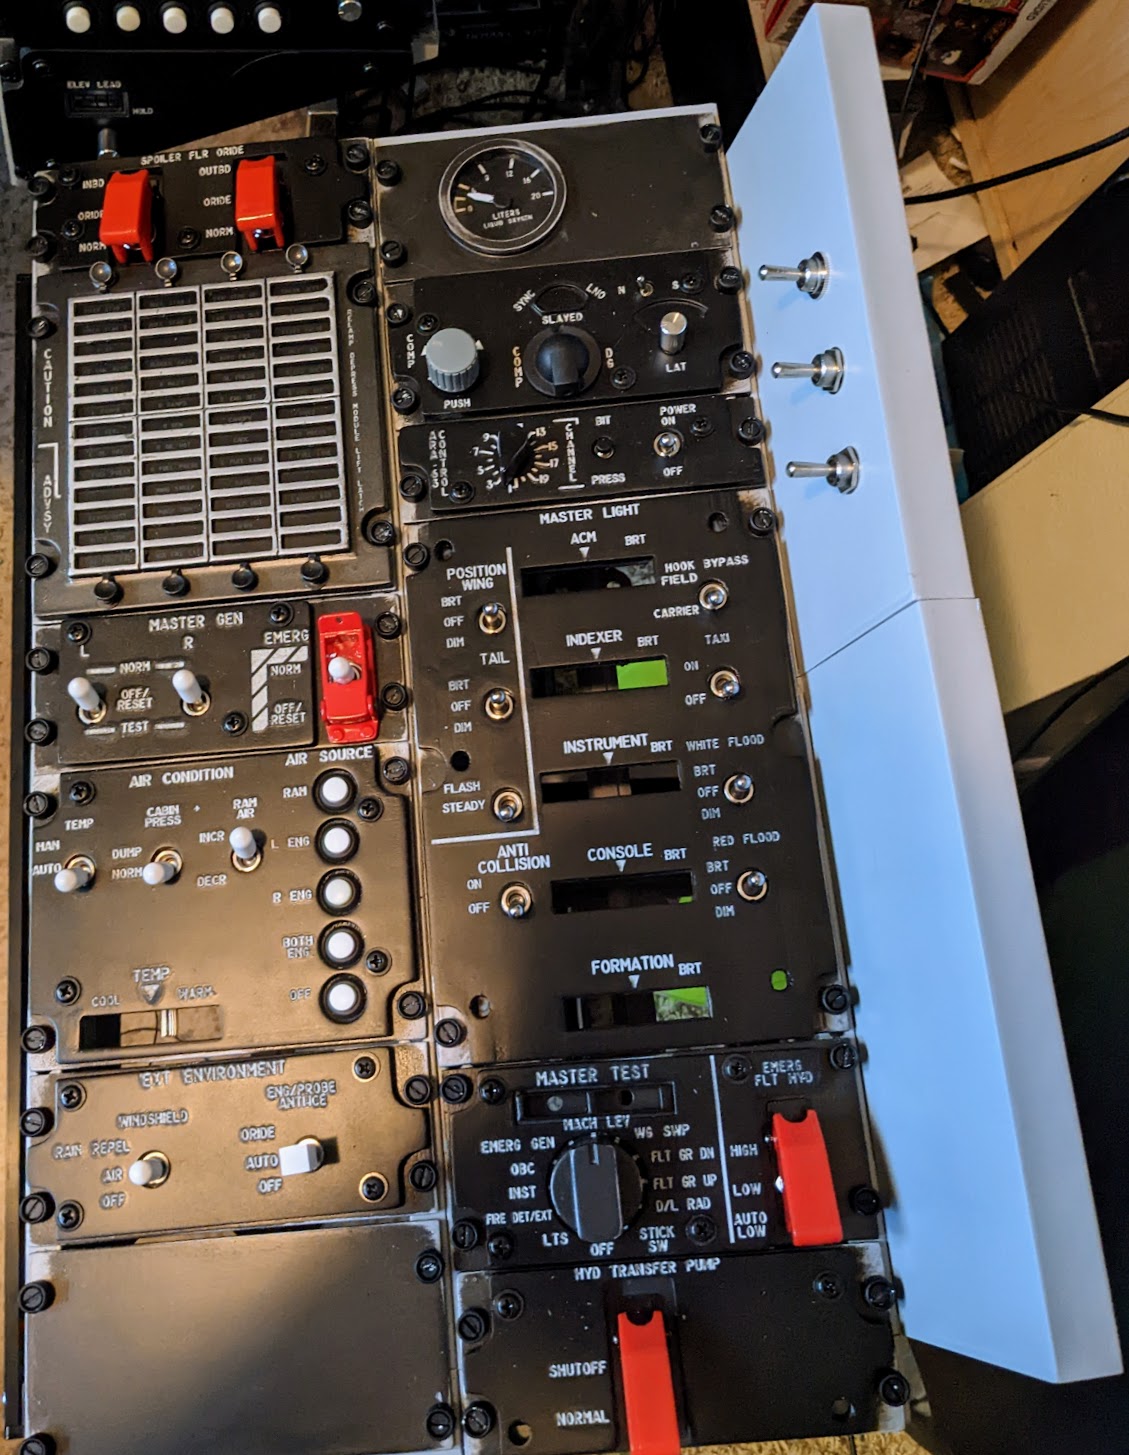
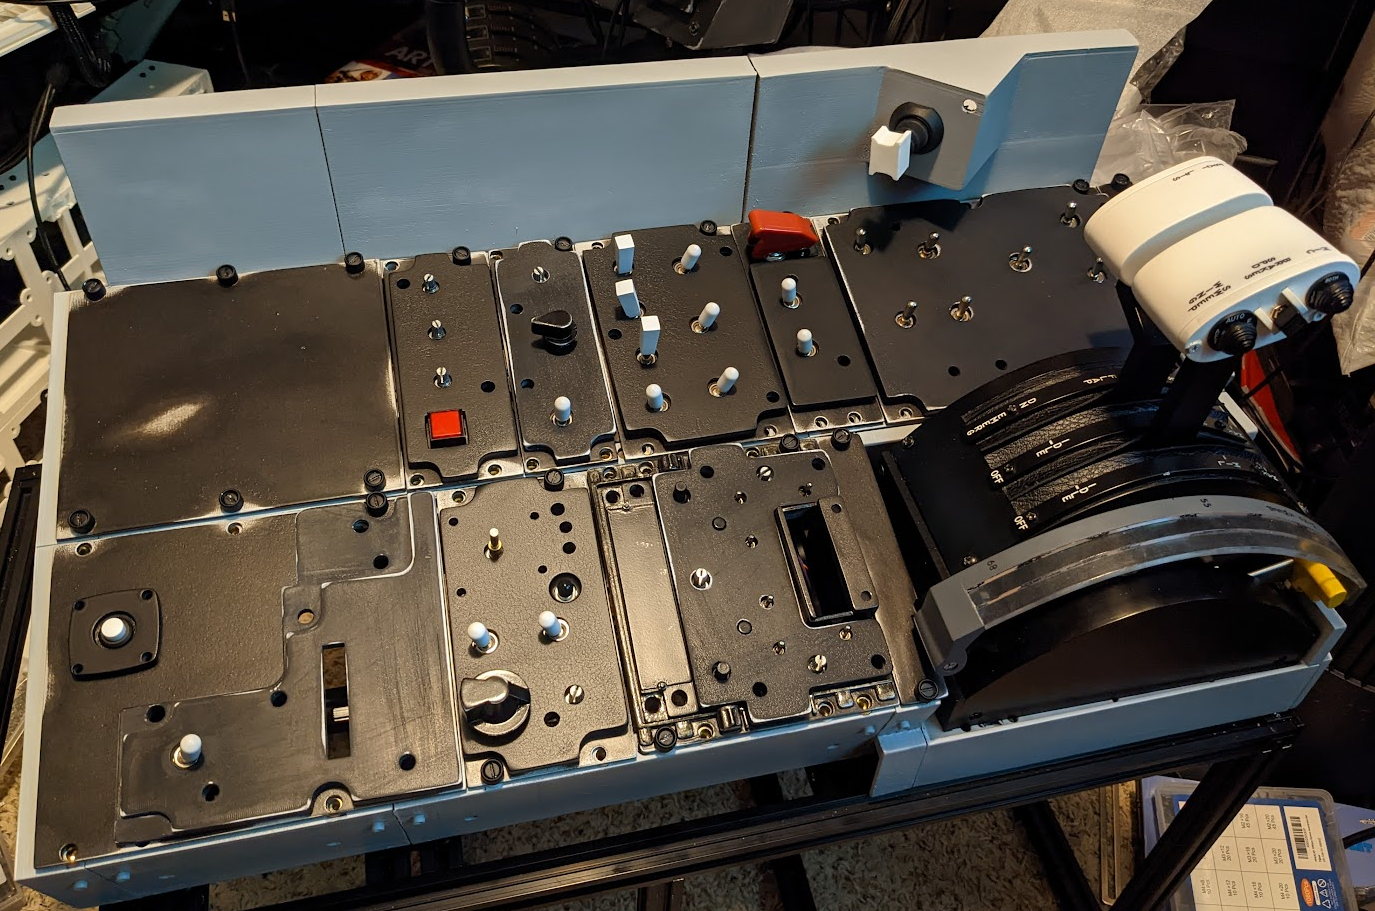
got the base panels done and started moving my electronics over, the top panels were going to be ready for engraving, but the clear coat cracked, so I'm going to have to sand and repaint, you can see I started on some of them already. There is to be faux wear and tear, but I want them clean for the engraving.
-
I got the base panels done and started moving my electronics over, the top panels were going to be ready for engraving, but the clear coat cracked, so I'm going to have to sand and repaint, you can see I started on some of them already. There is to be faux wear and tear, but I want them clean for the engraving.
-
That's not mine, the file's mine but I believe this is UXI's correct. If I decide to back light it later it will just be a matter of adding some LED's behind the panels. I've masked the lettering on the base layer and the back of the top plate is unpainted. I tested it with a couple LEDs and was happy with the result
-
I'm mounting my panels and throttles on a free standing box made of 2020 extrusion rails, it's wide enough and heavy enough it doesn't need to be attached to the desk to be a stable platform. I can tuck them away during the work day. obviously everybody's space limitations are different. I use Virpil mount for my upfront controls and joystick. Sent from my Samsung Chromebook Plus using Tapatalk