Aronis
-
Posts
248 -
Joined
-
Last visited
Content Type
Profiles
Forums
Events
Everything posted by Aronis
-
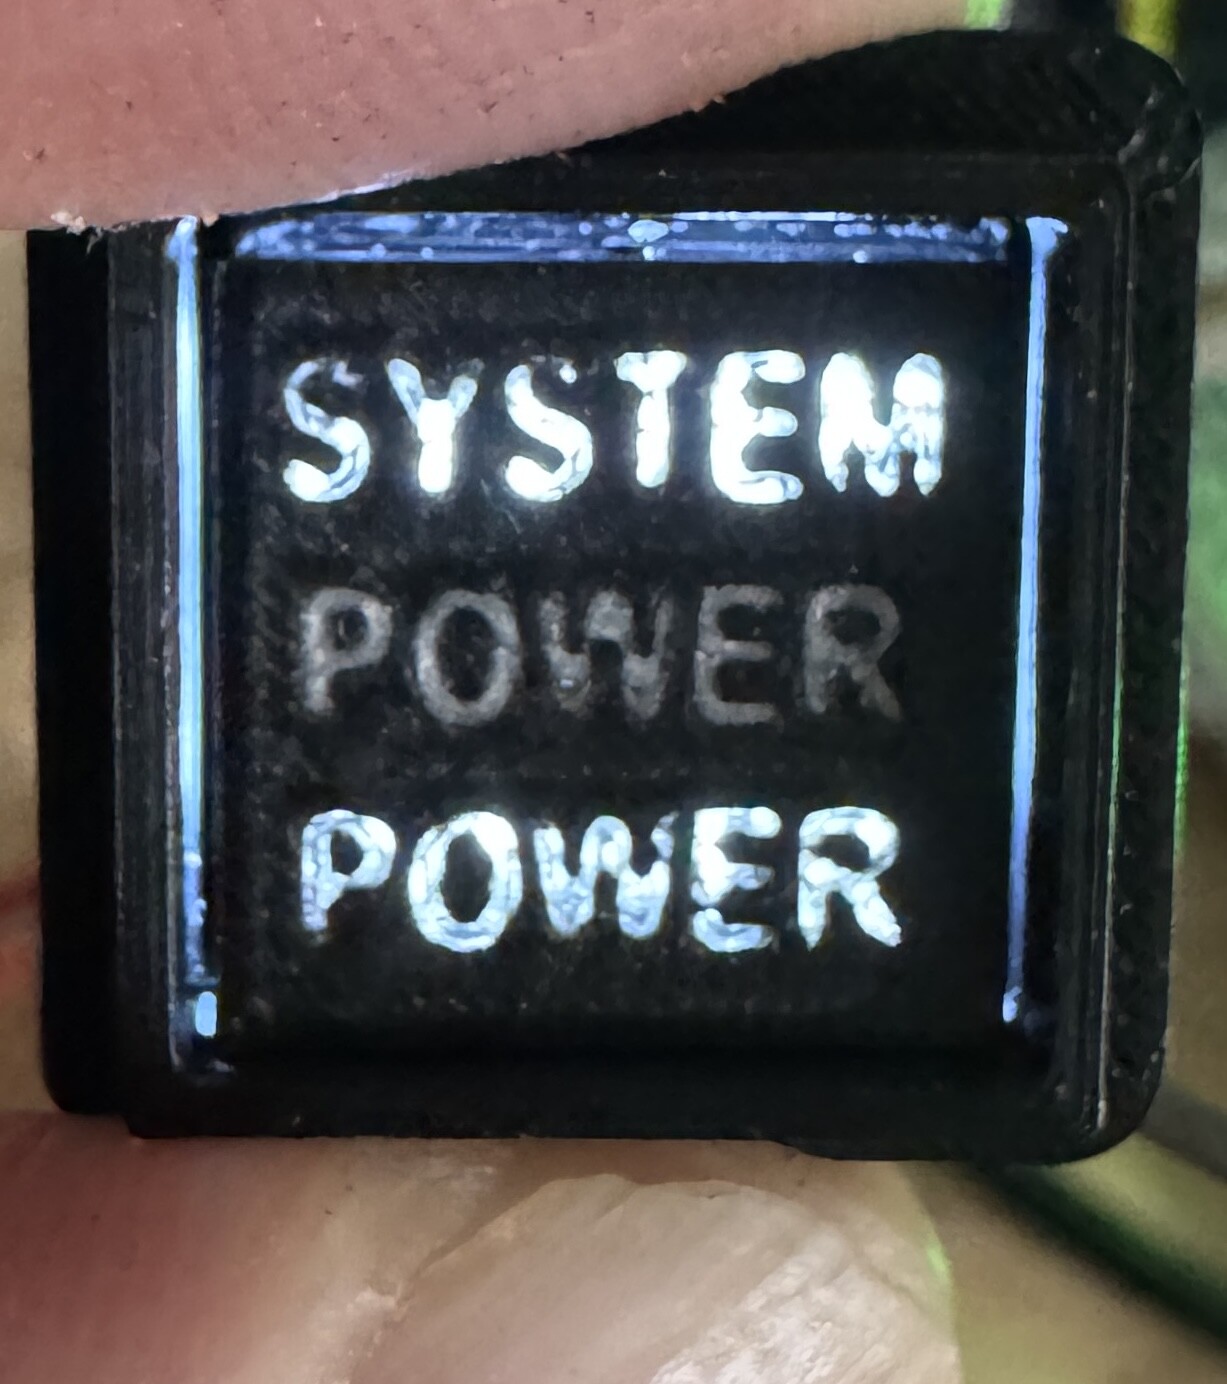
updated a few things. Still need to redo some of the Korry Switches. null and....I am redoing these. better design on the one above, the switch does not stick any more in newer design. The messy glue look is better with Caps I made which snap on instead of being glued. I have the new parts on my printer as I type. Mike null

-
came across this thread, interesting effects of the ammo and fuel. I just realized that having unlimited ammo/fuel turned on for a Campaign makes it much harder because of the enemy AI having plenty of supplies on hand. LOL. Mike
-
nullnullnullother updates
-
 Hi, I am trying to create a window batch file to start up, in sequence TrackIR, VoiceAttack, "Multiple-com-ports" command file and then DCS. I can get it to work fine for TrackIR, VoiceAttack and DCS itself, but my attempts to included the "Multiple-com-ports" command file have been fruitless. Any ideas? Mike
 -
nullWas just coded wrong LOL. Works Mike
-
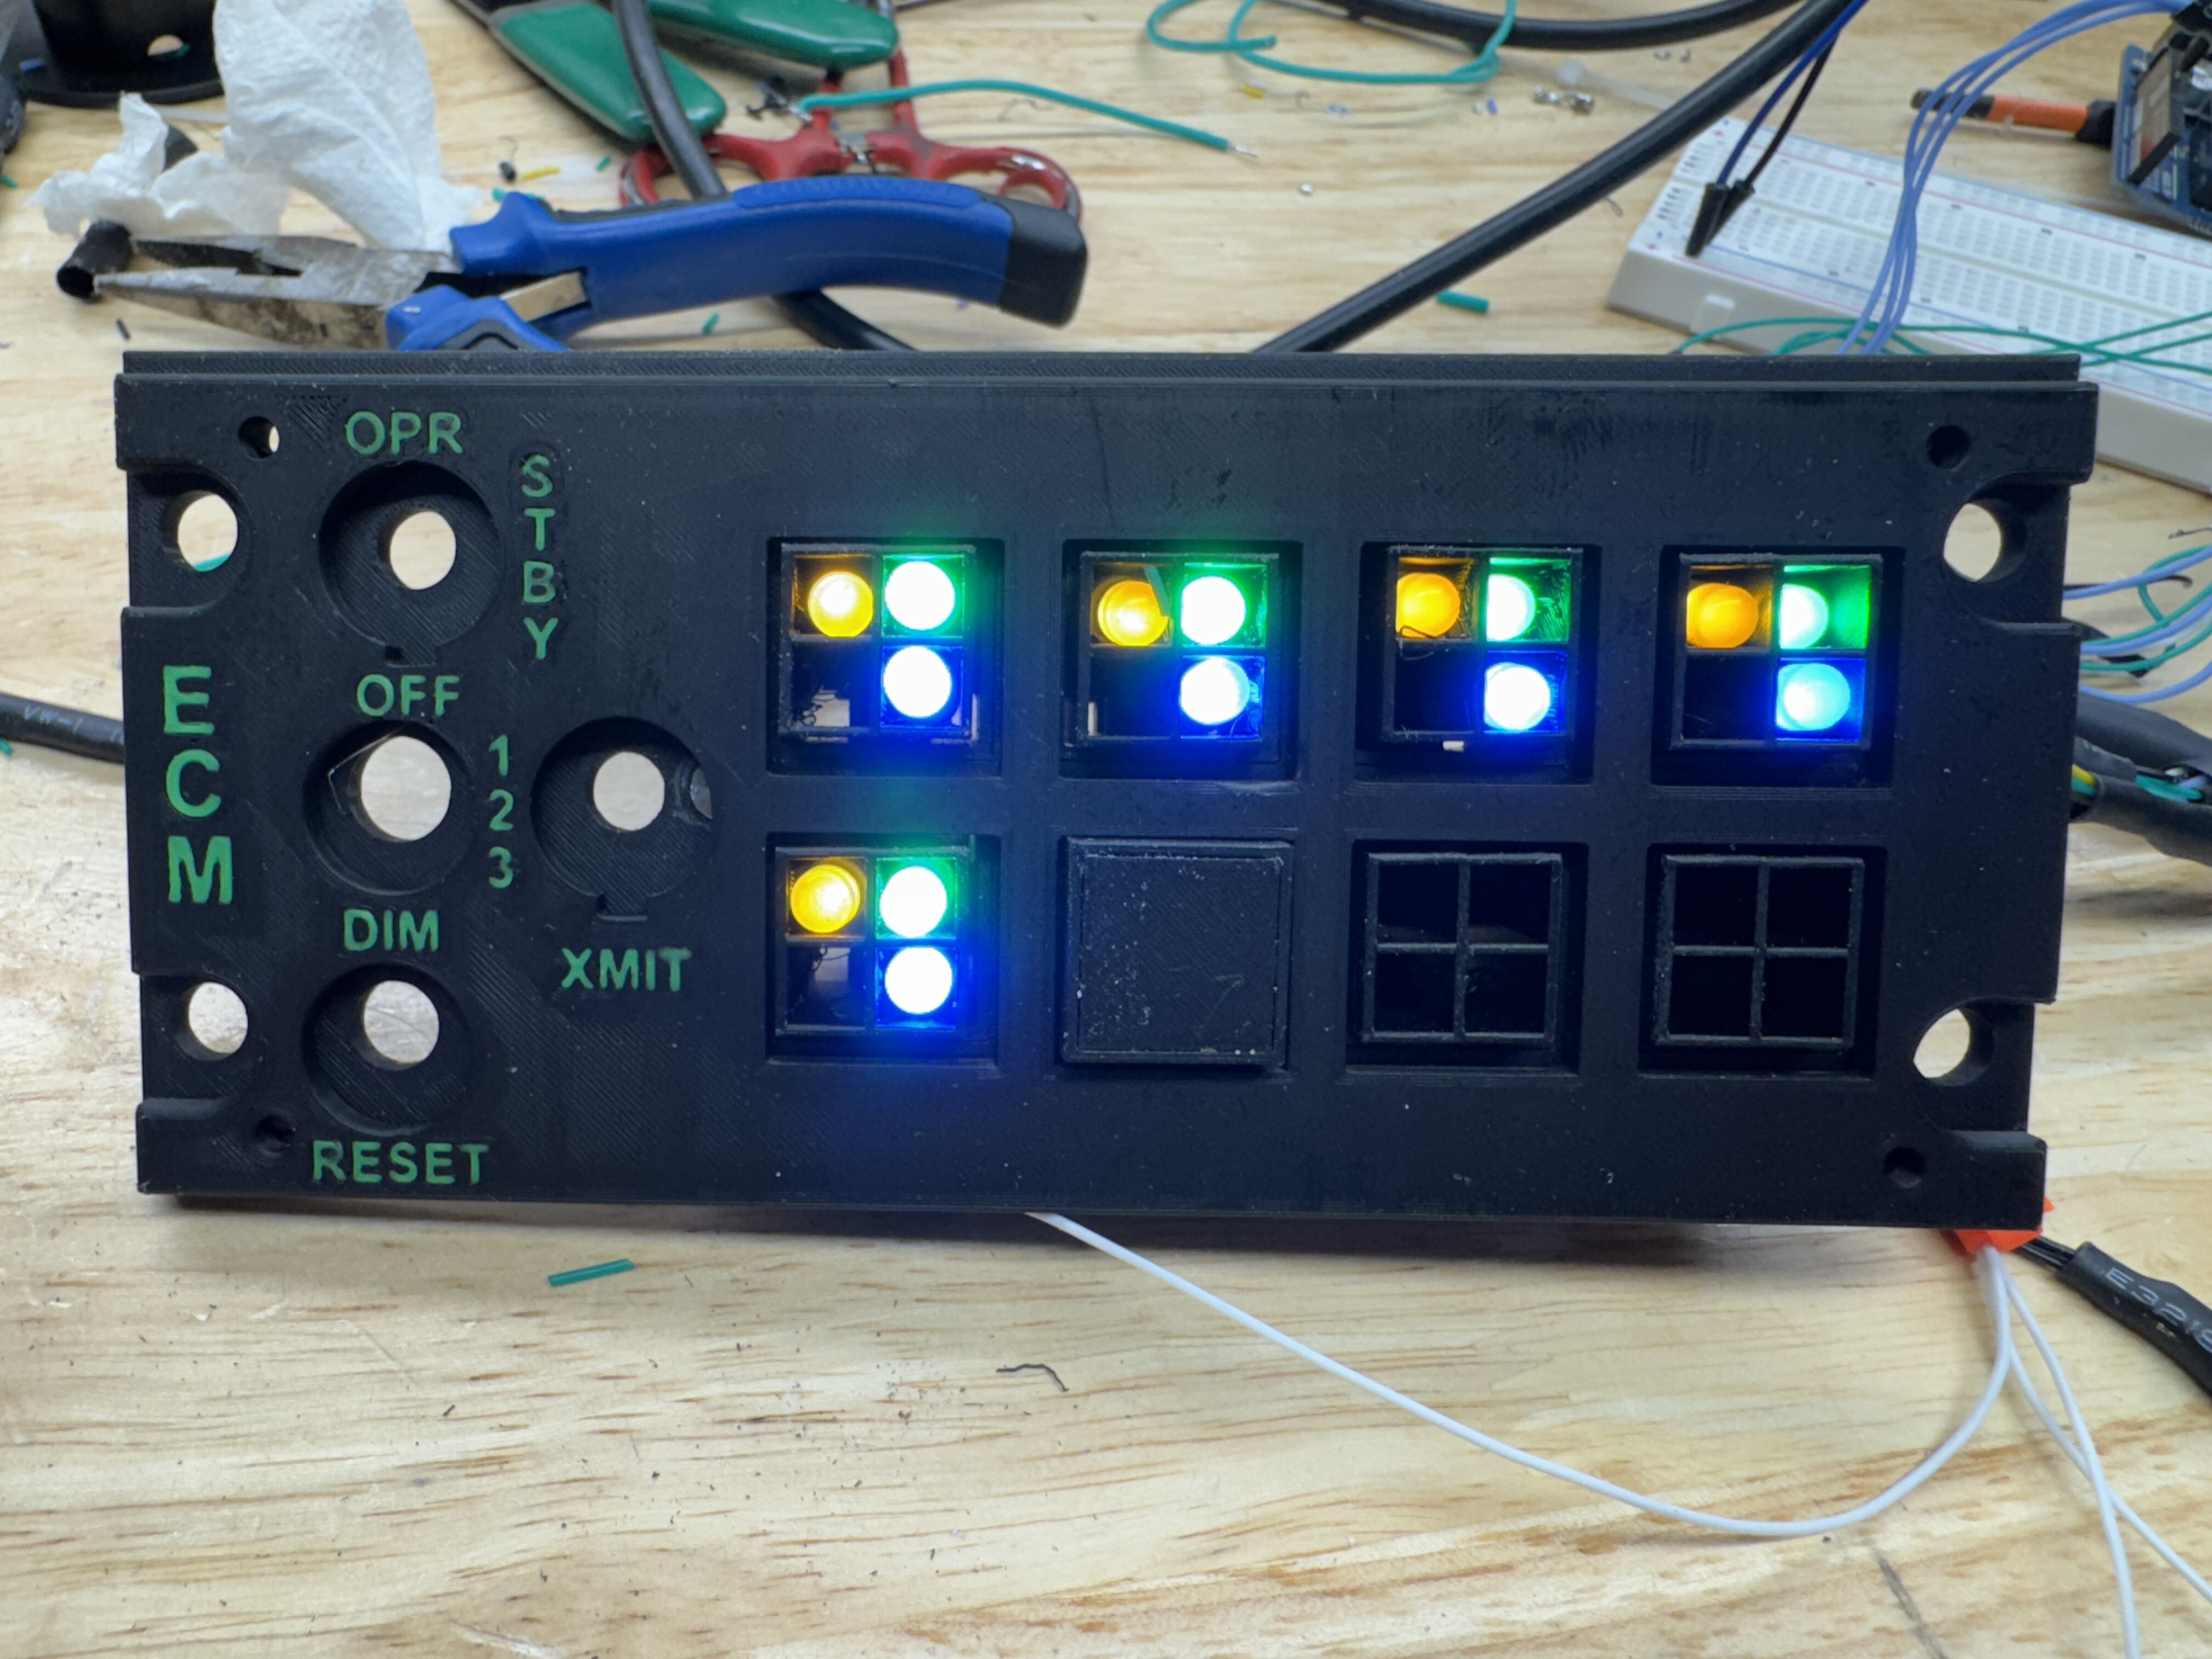
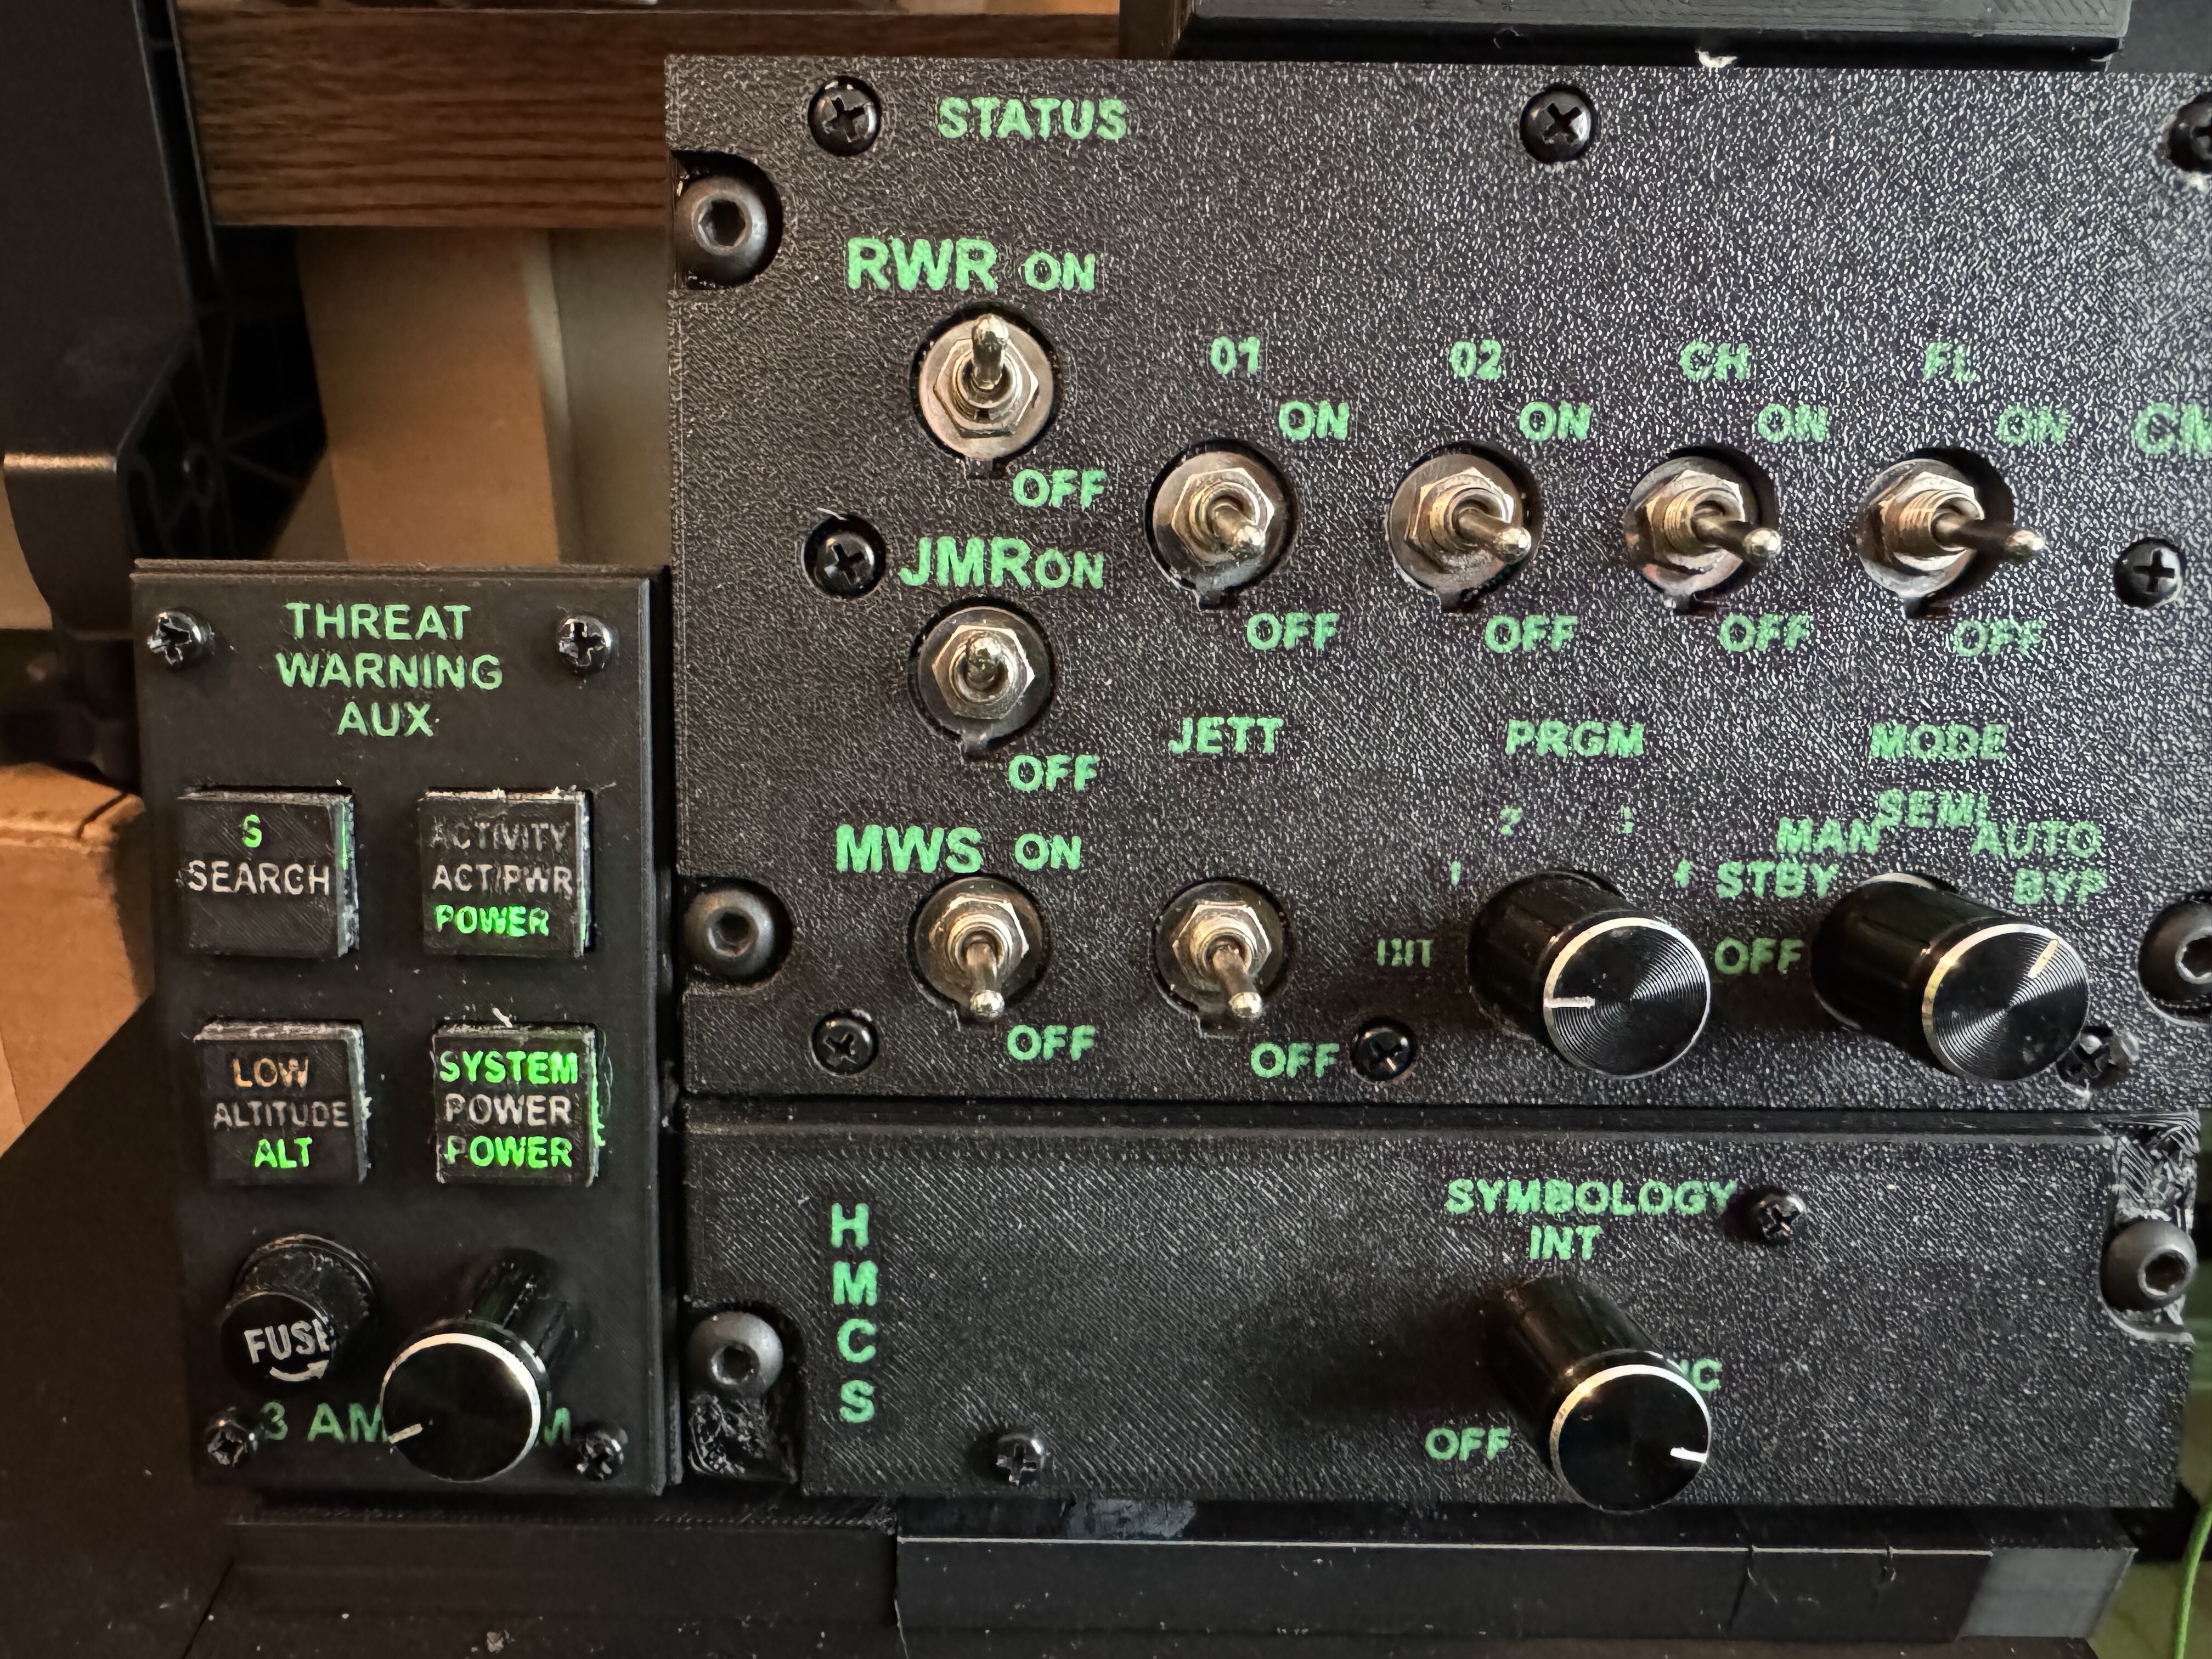
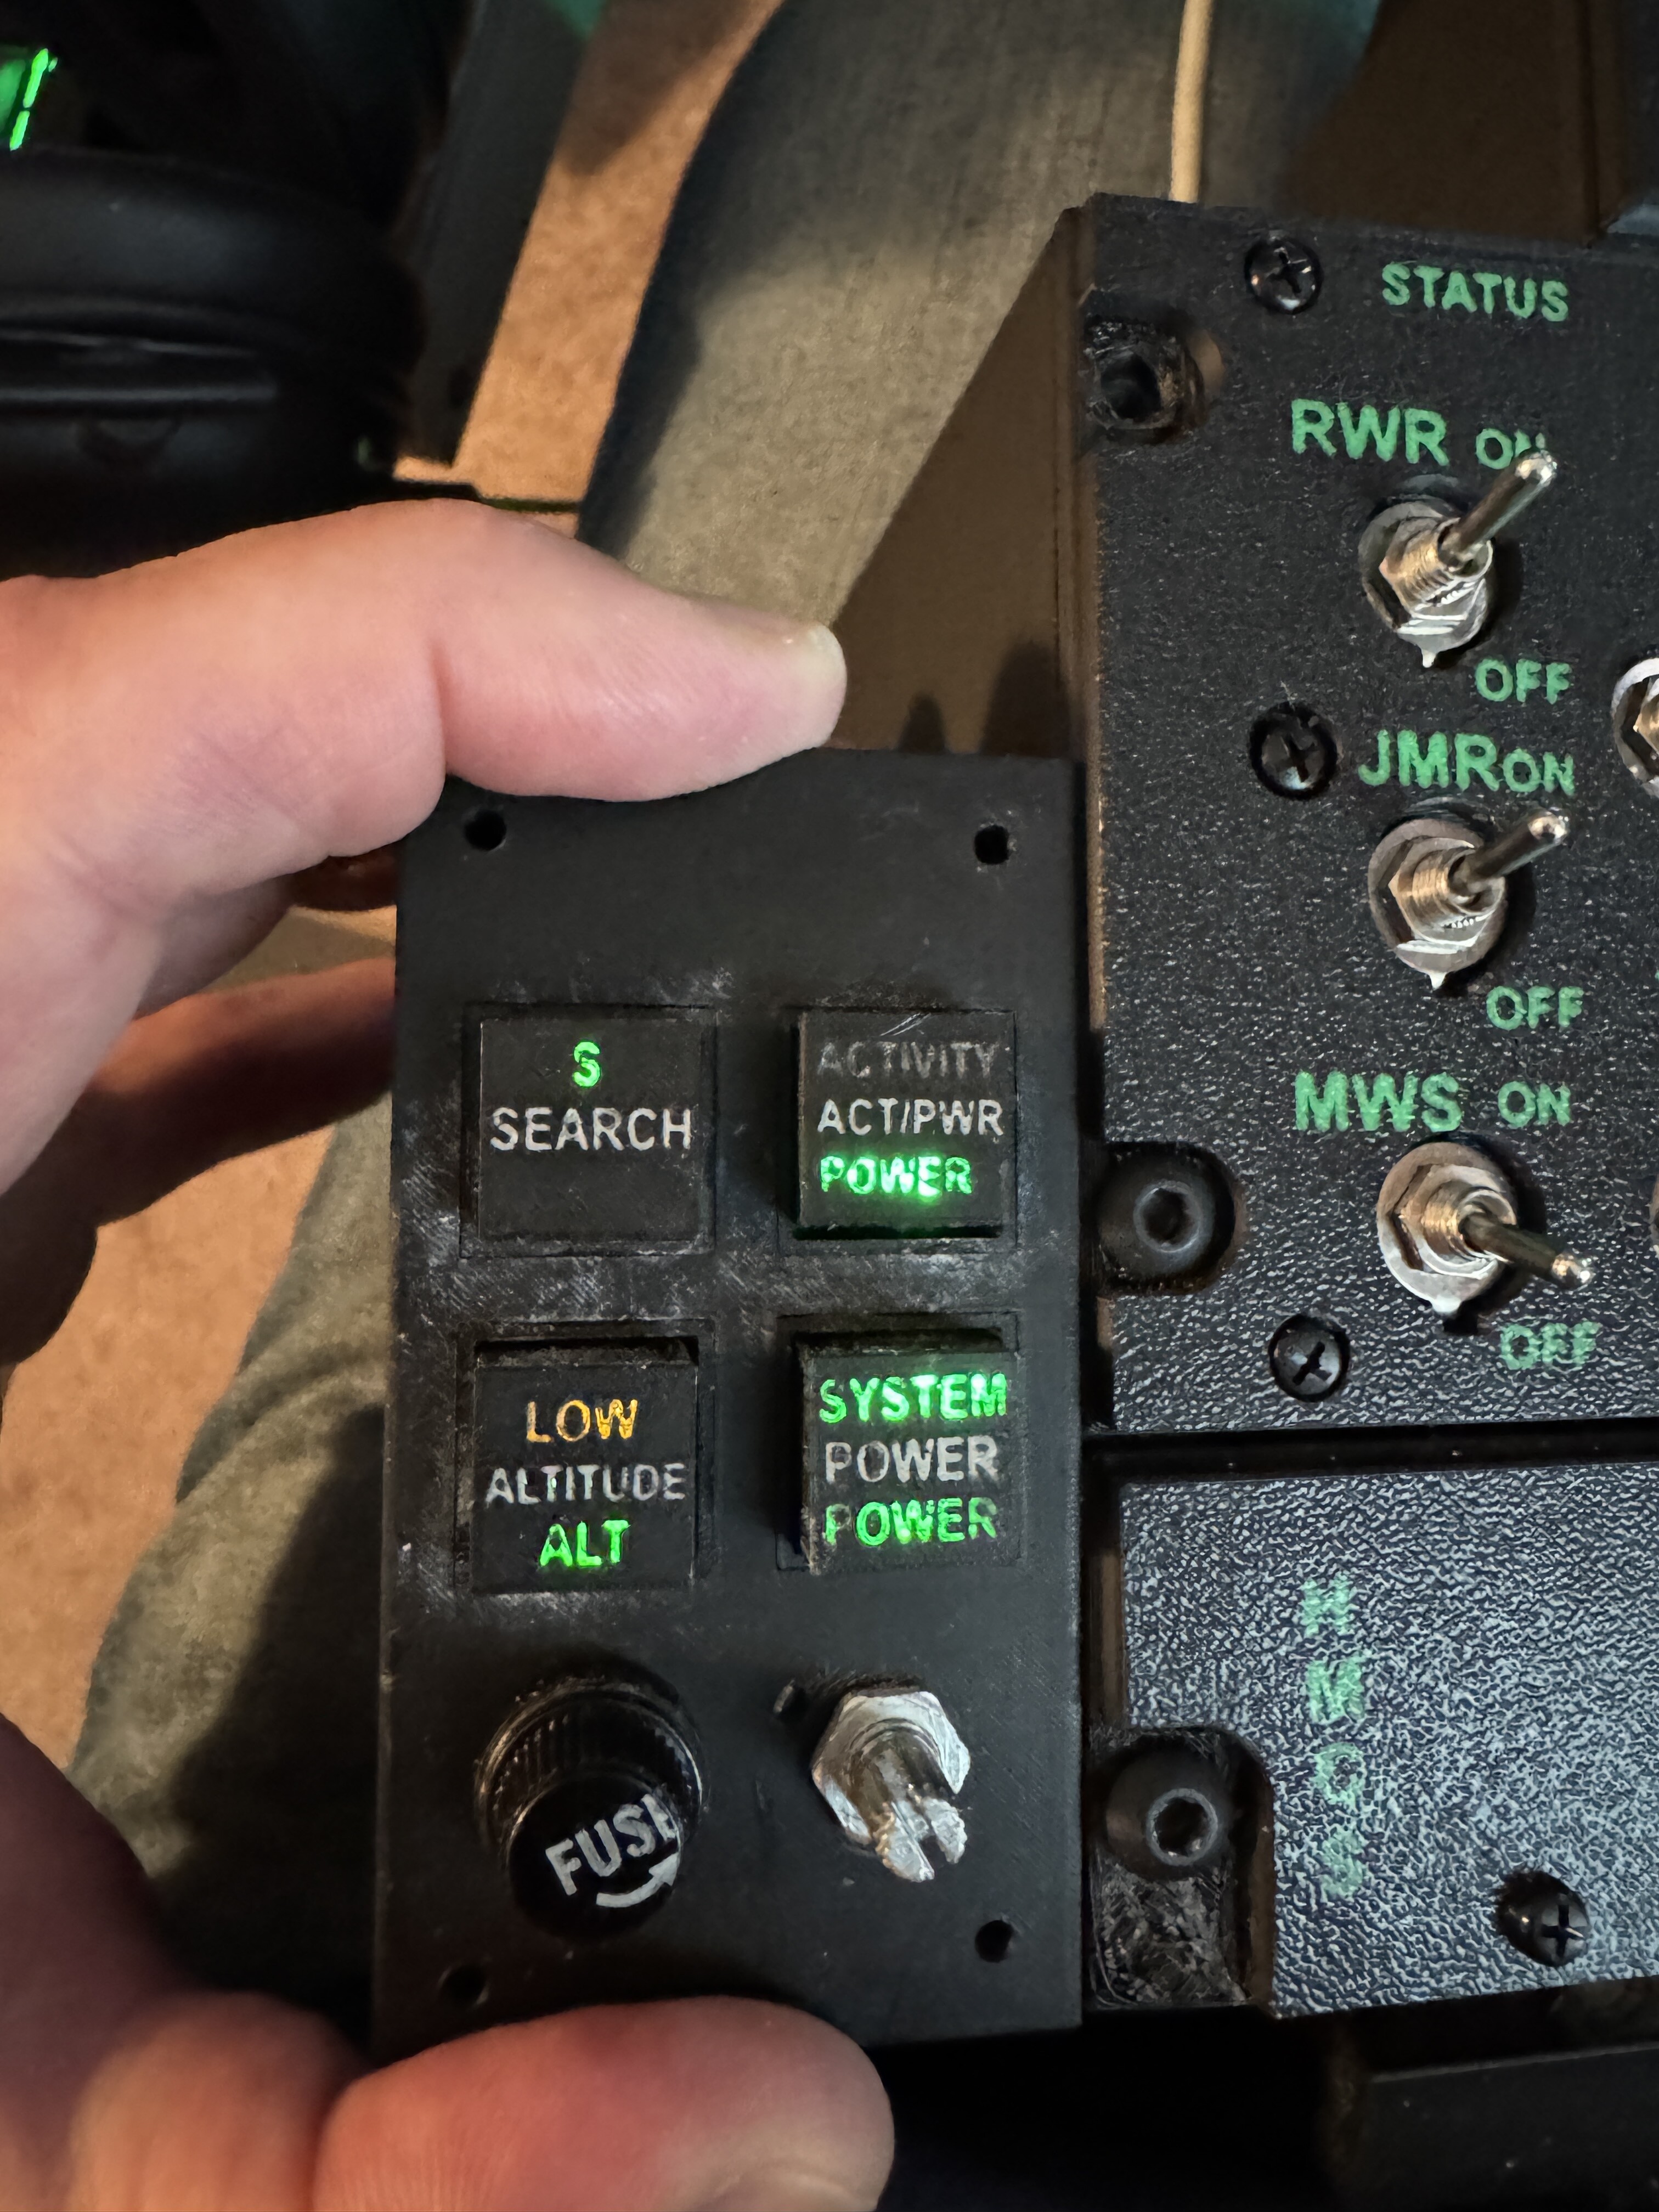
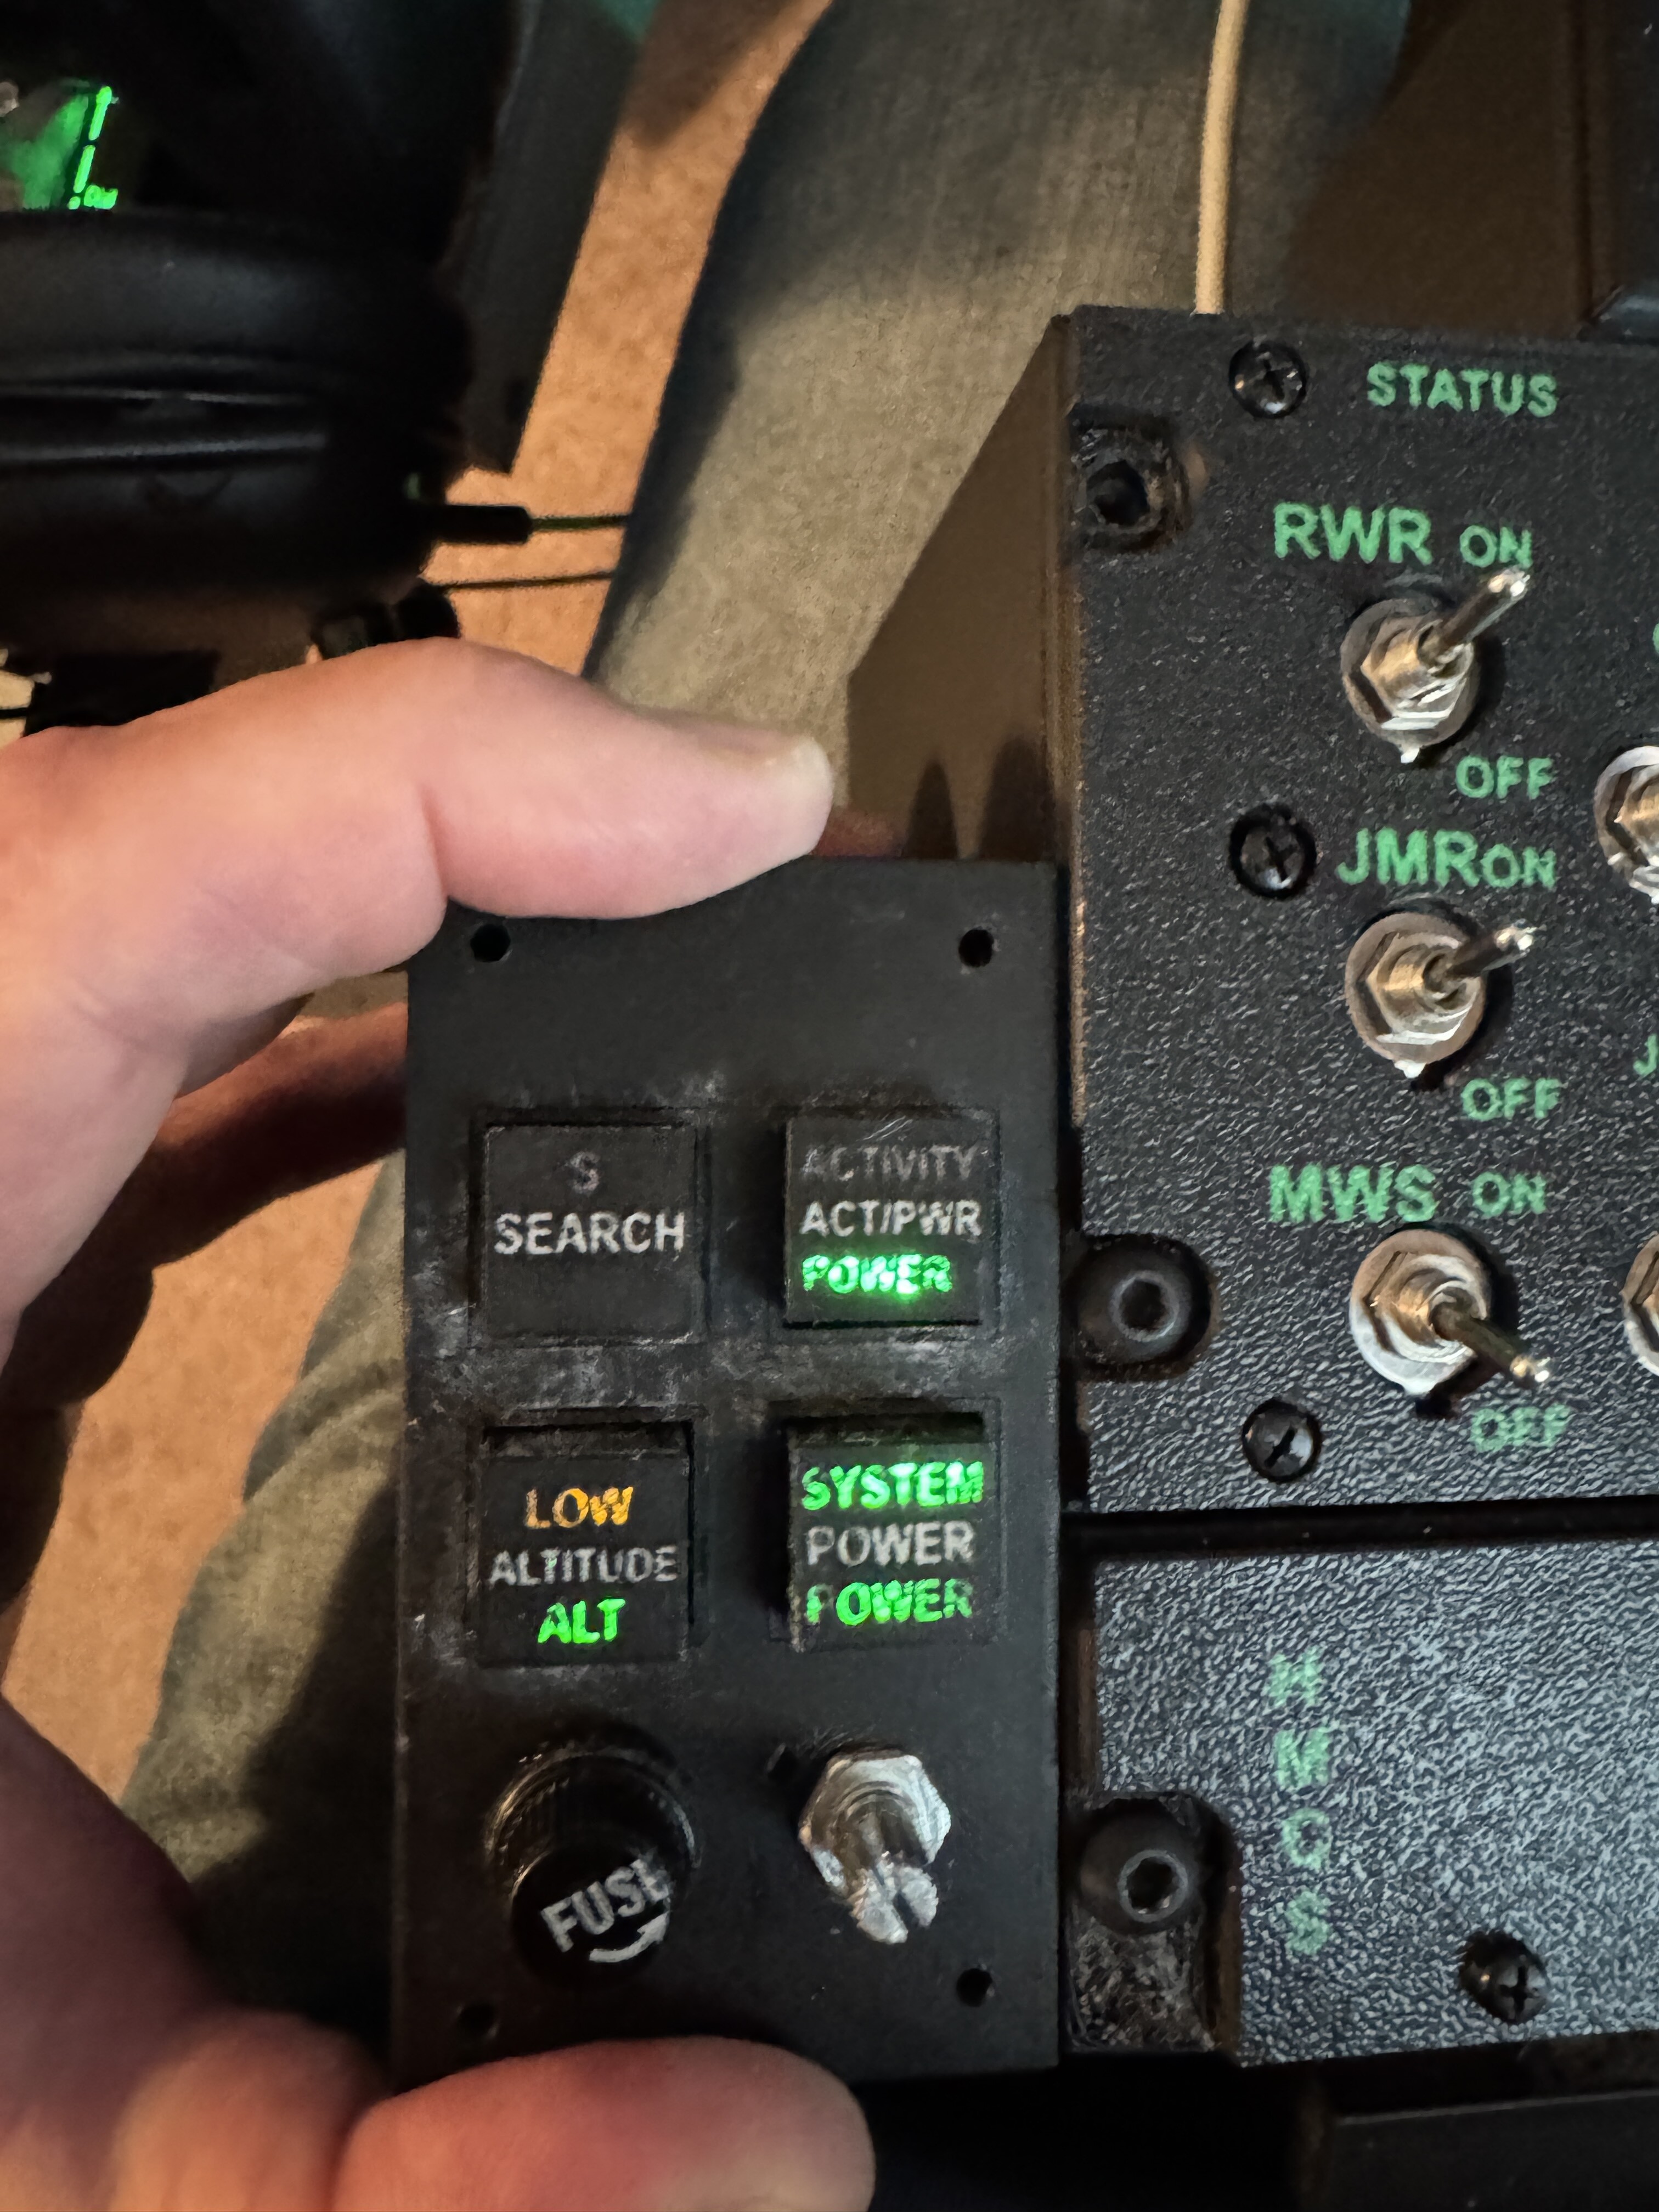
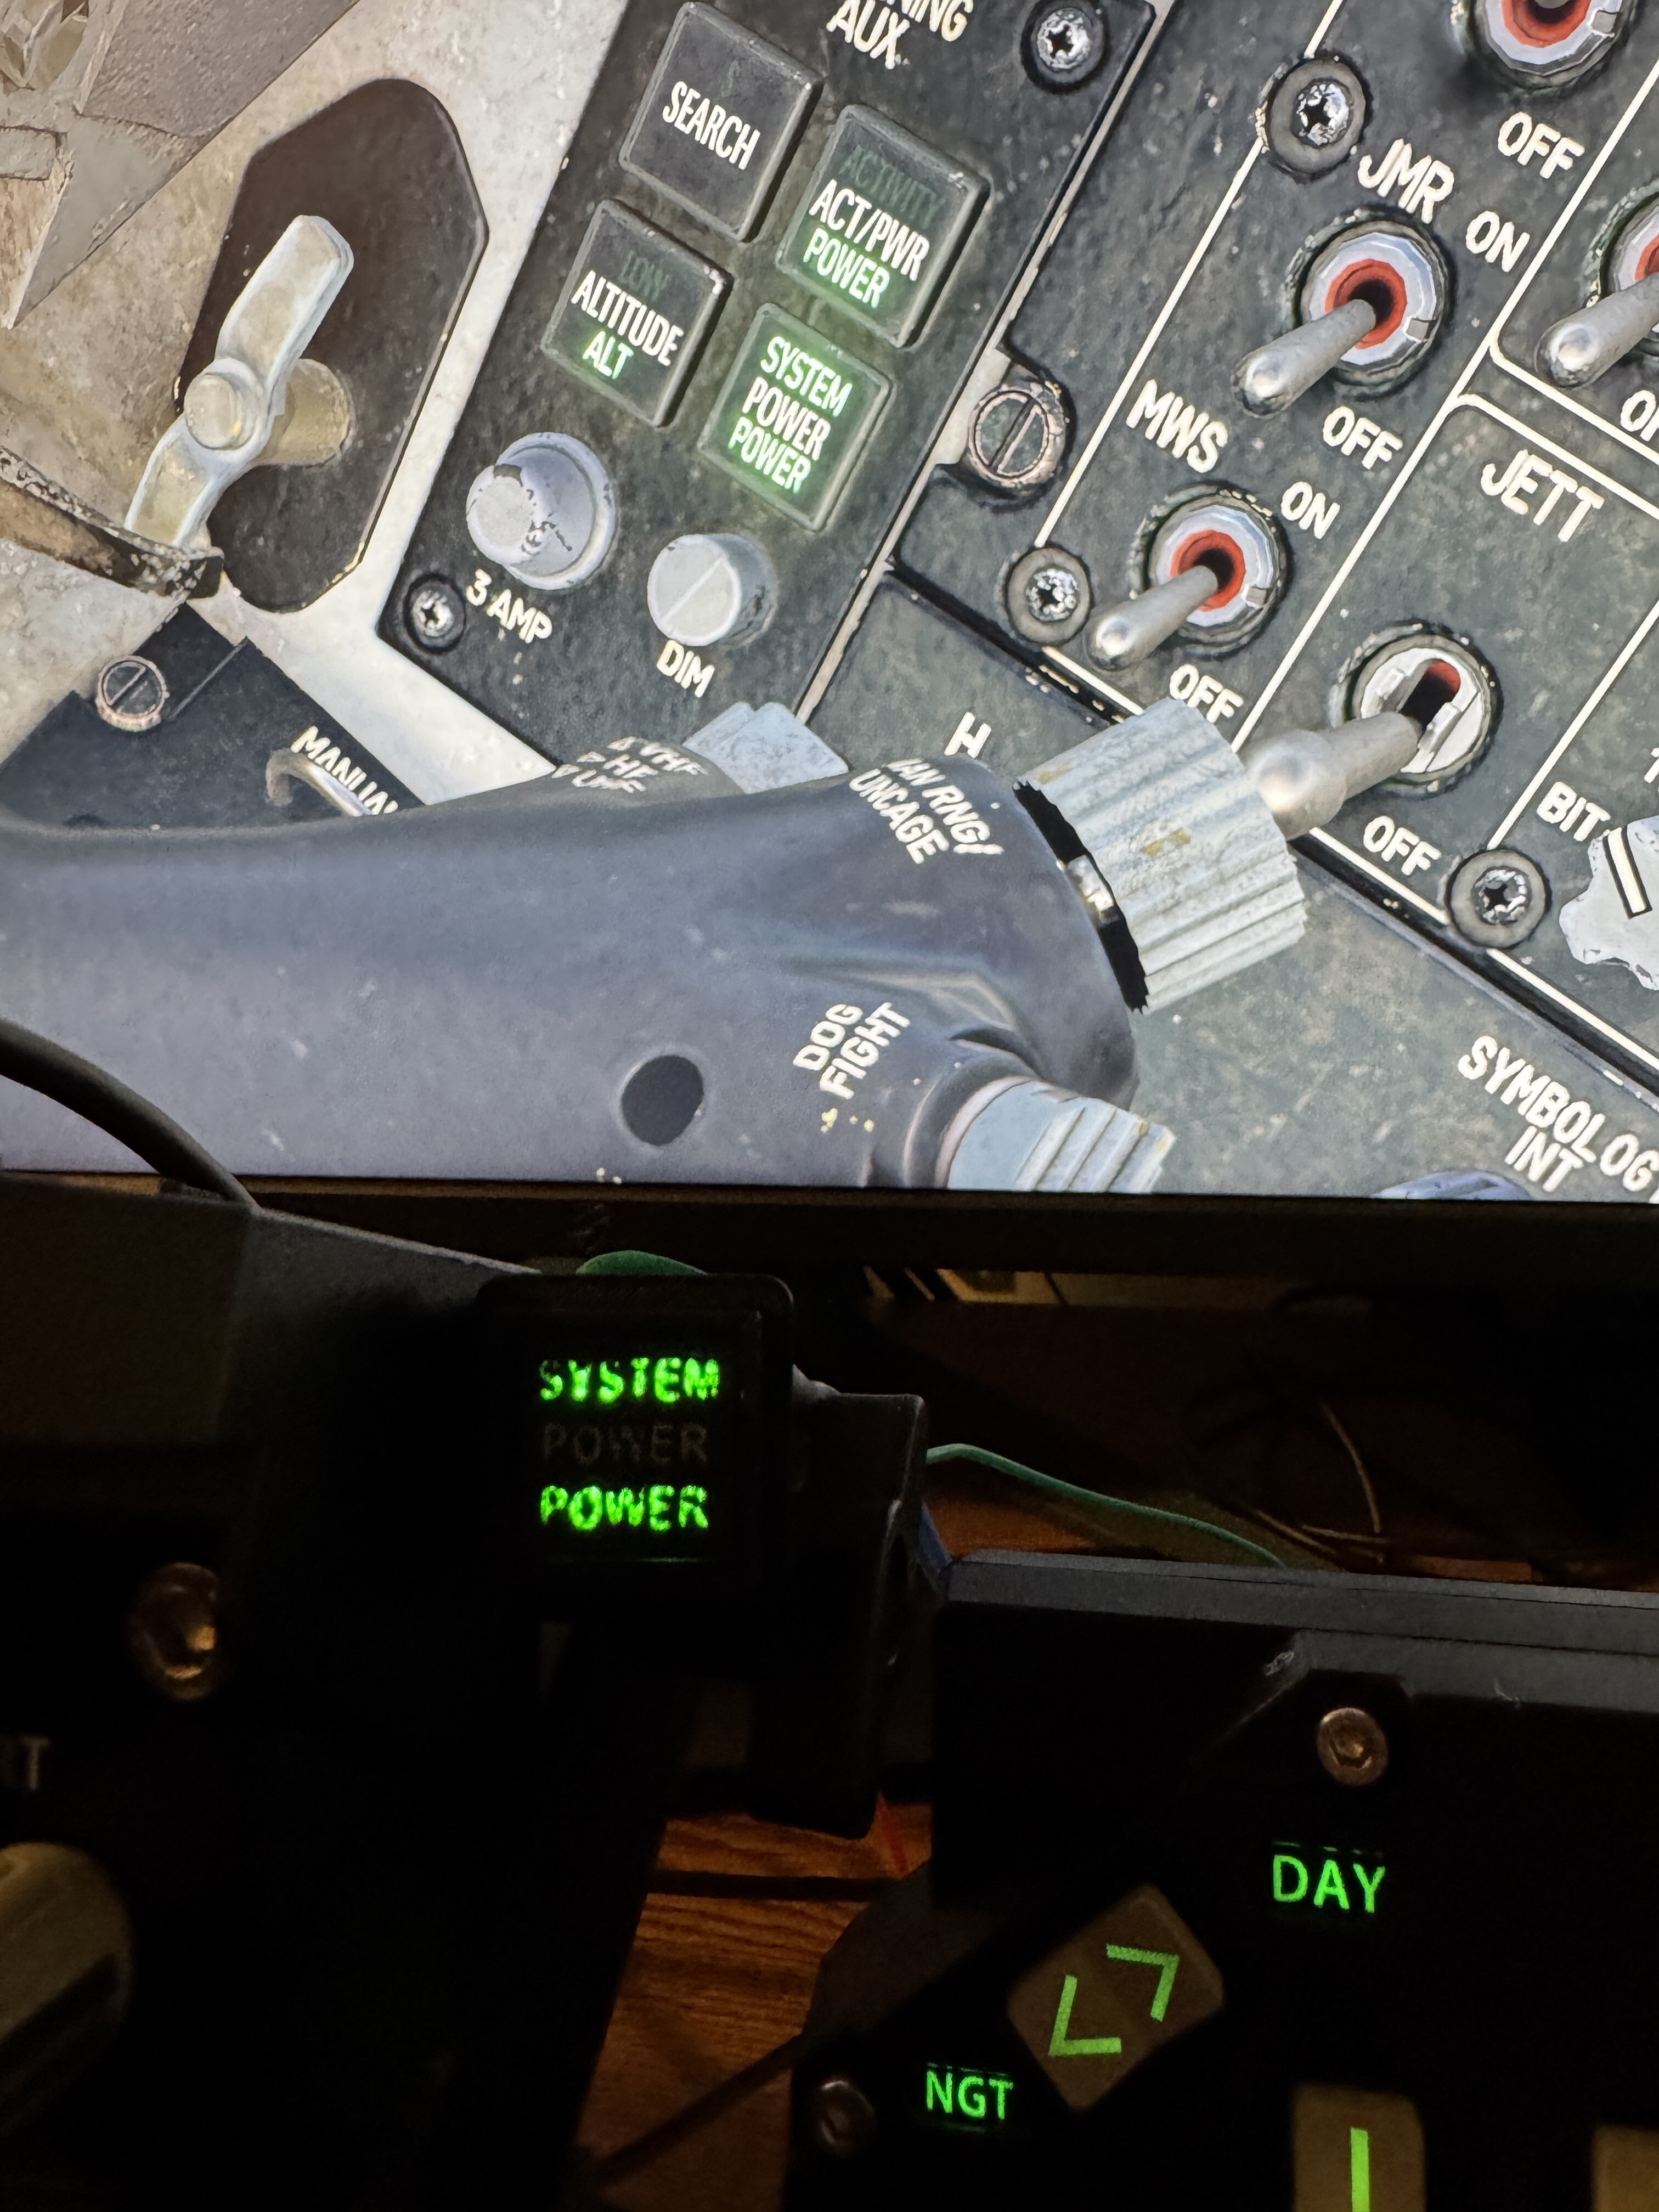
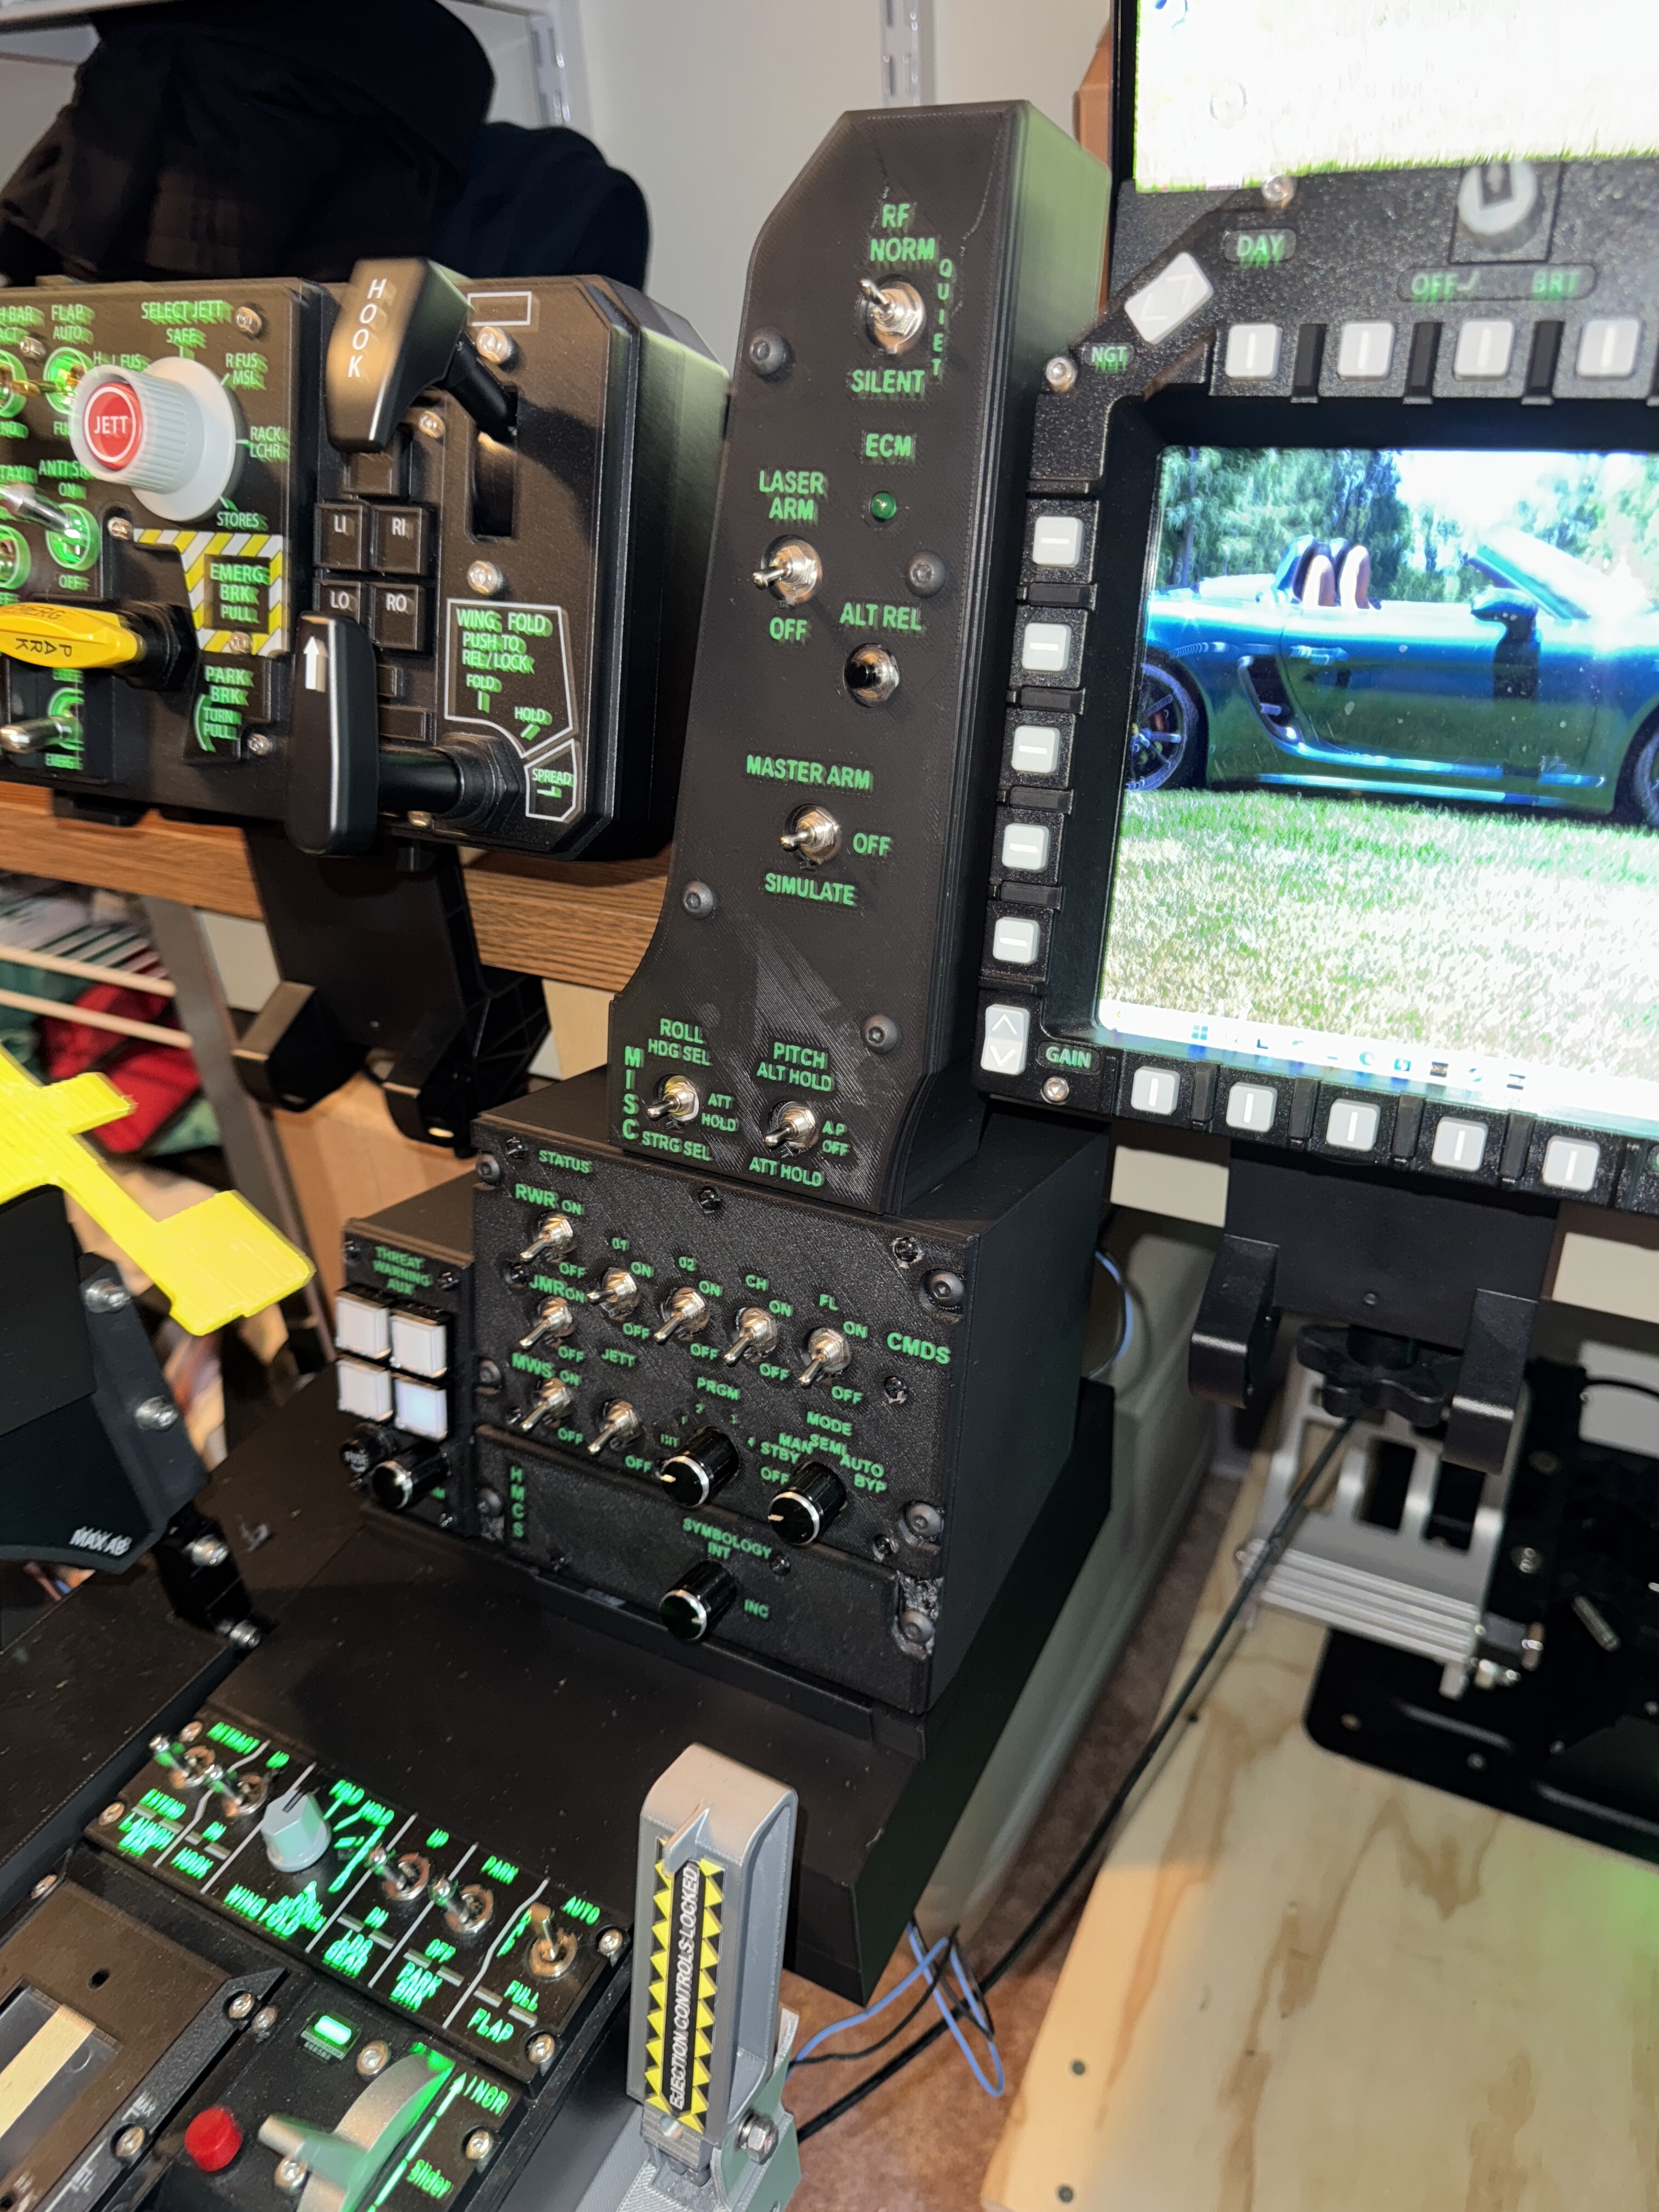
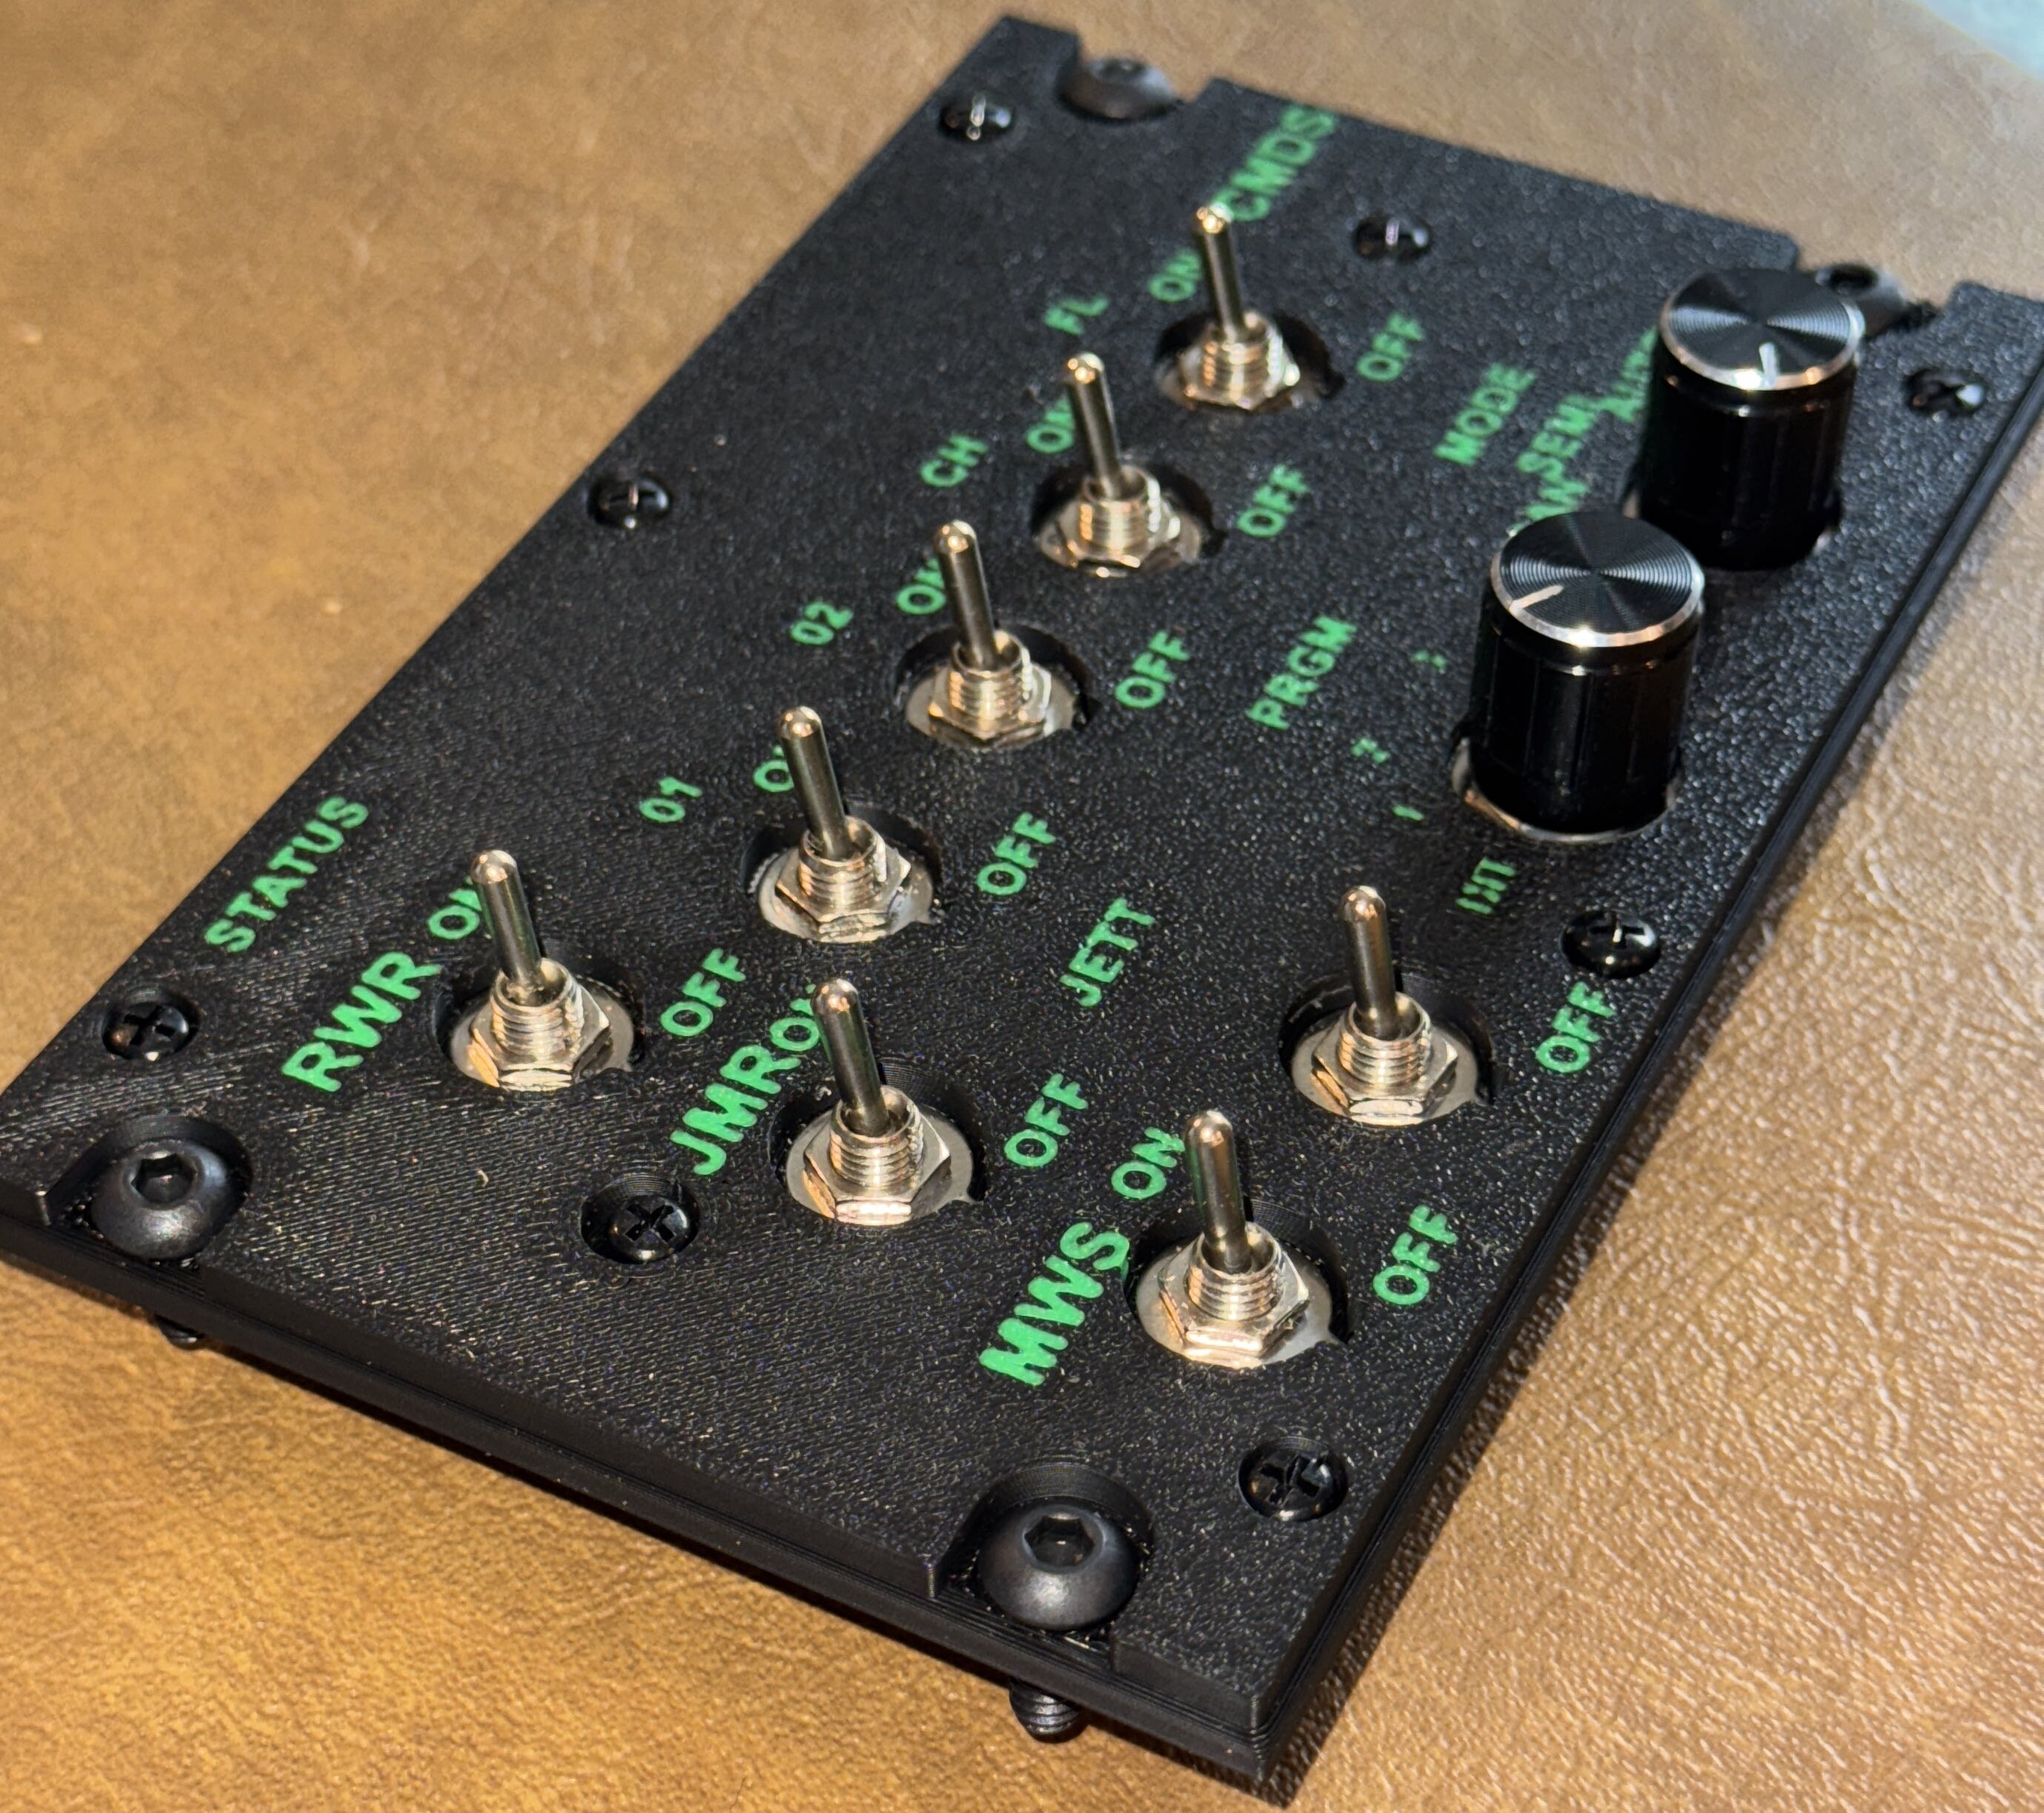
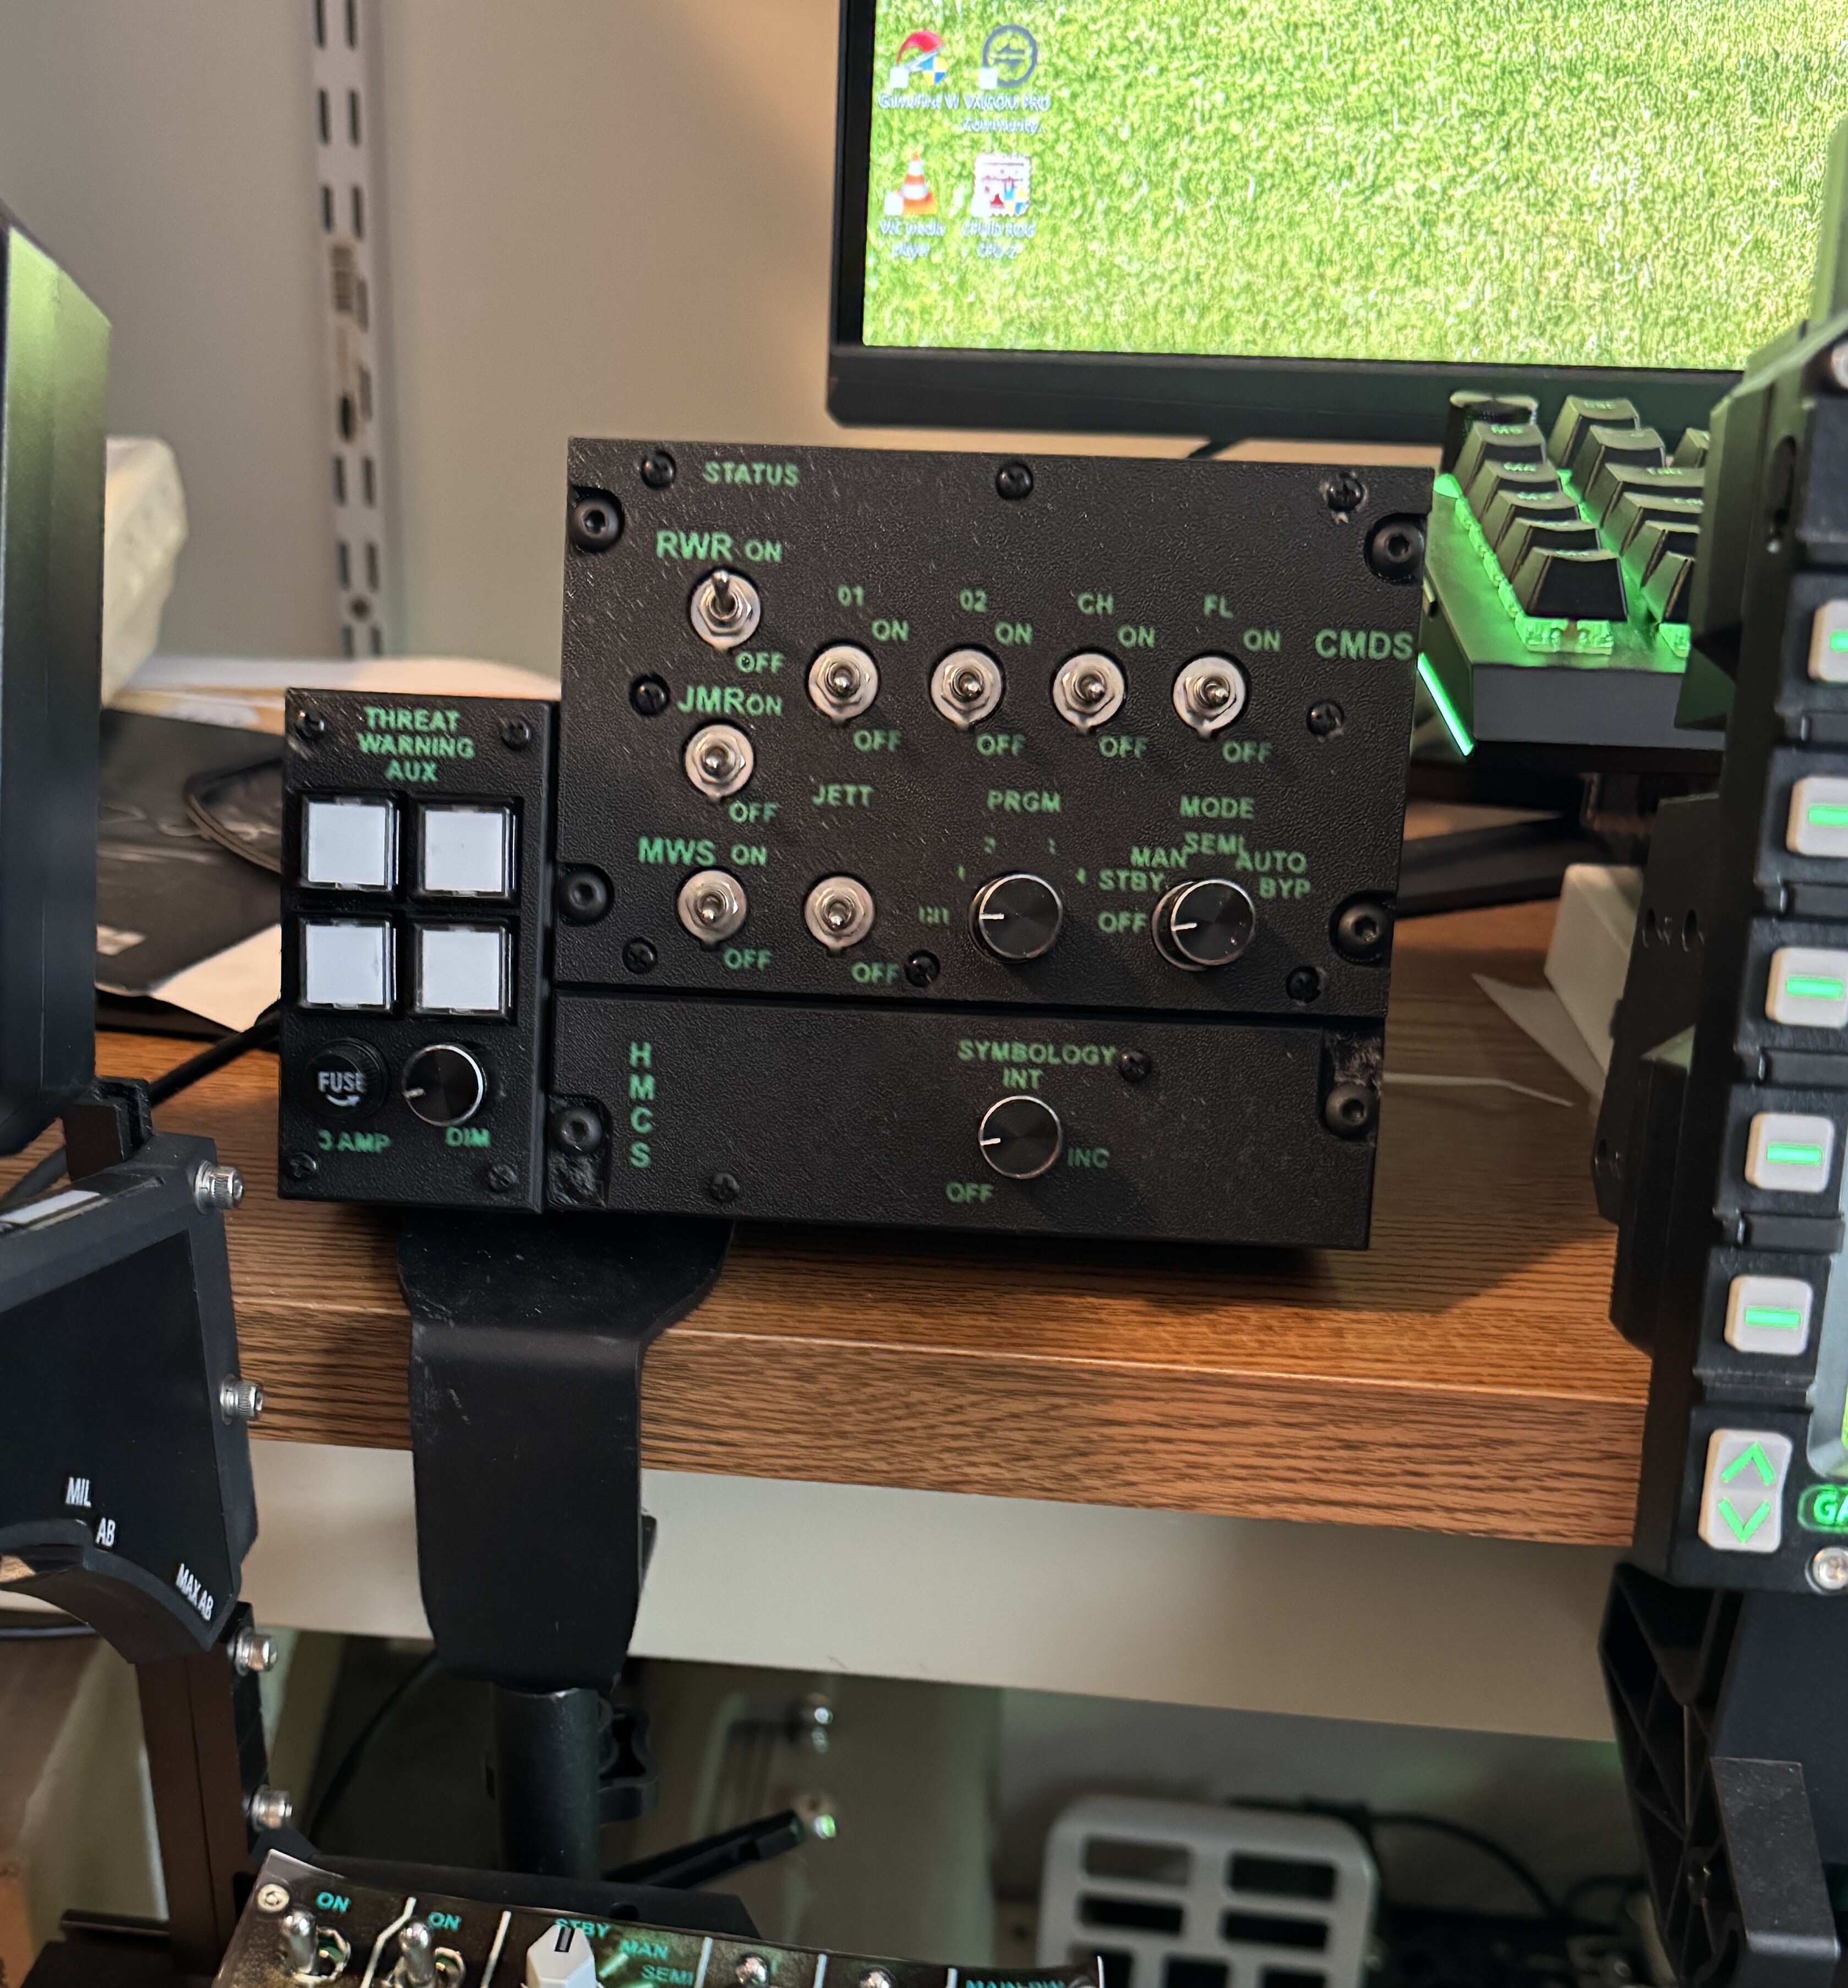
One button to trouble shoot. And in game there are lights on the other three buttons. fooled by ChucksGuides. I'll have to fix that at some point. Mike
-
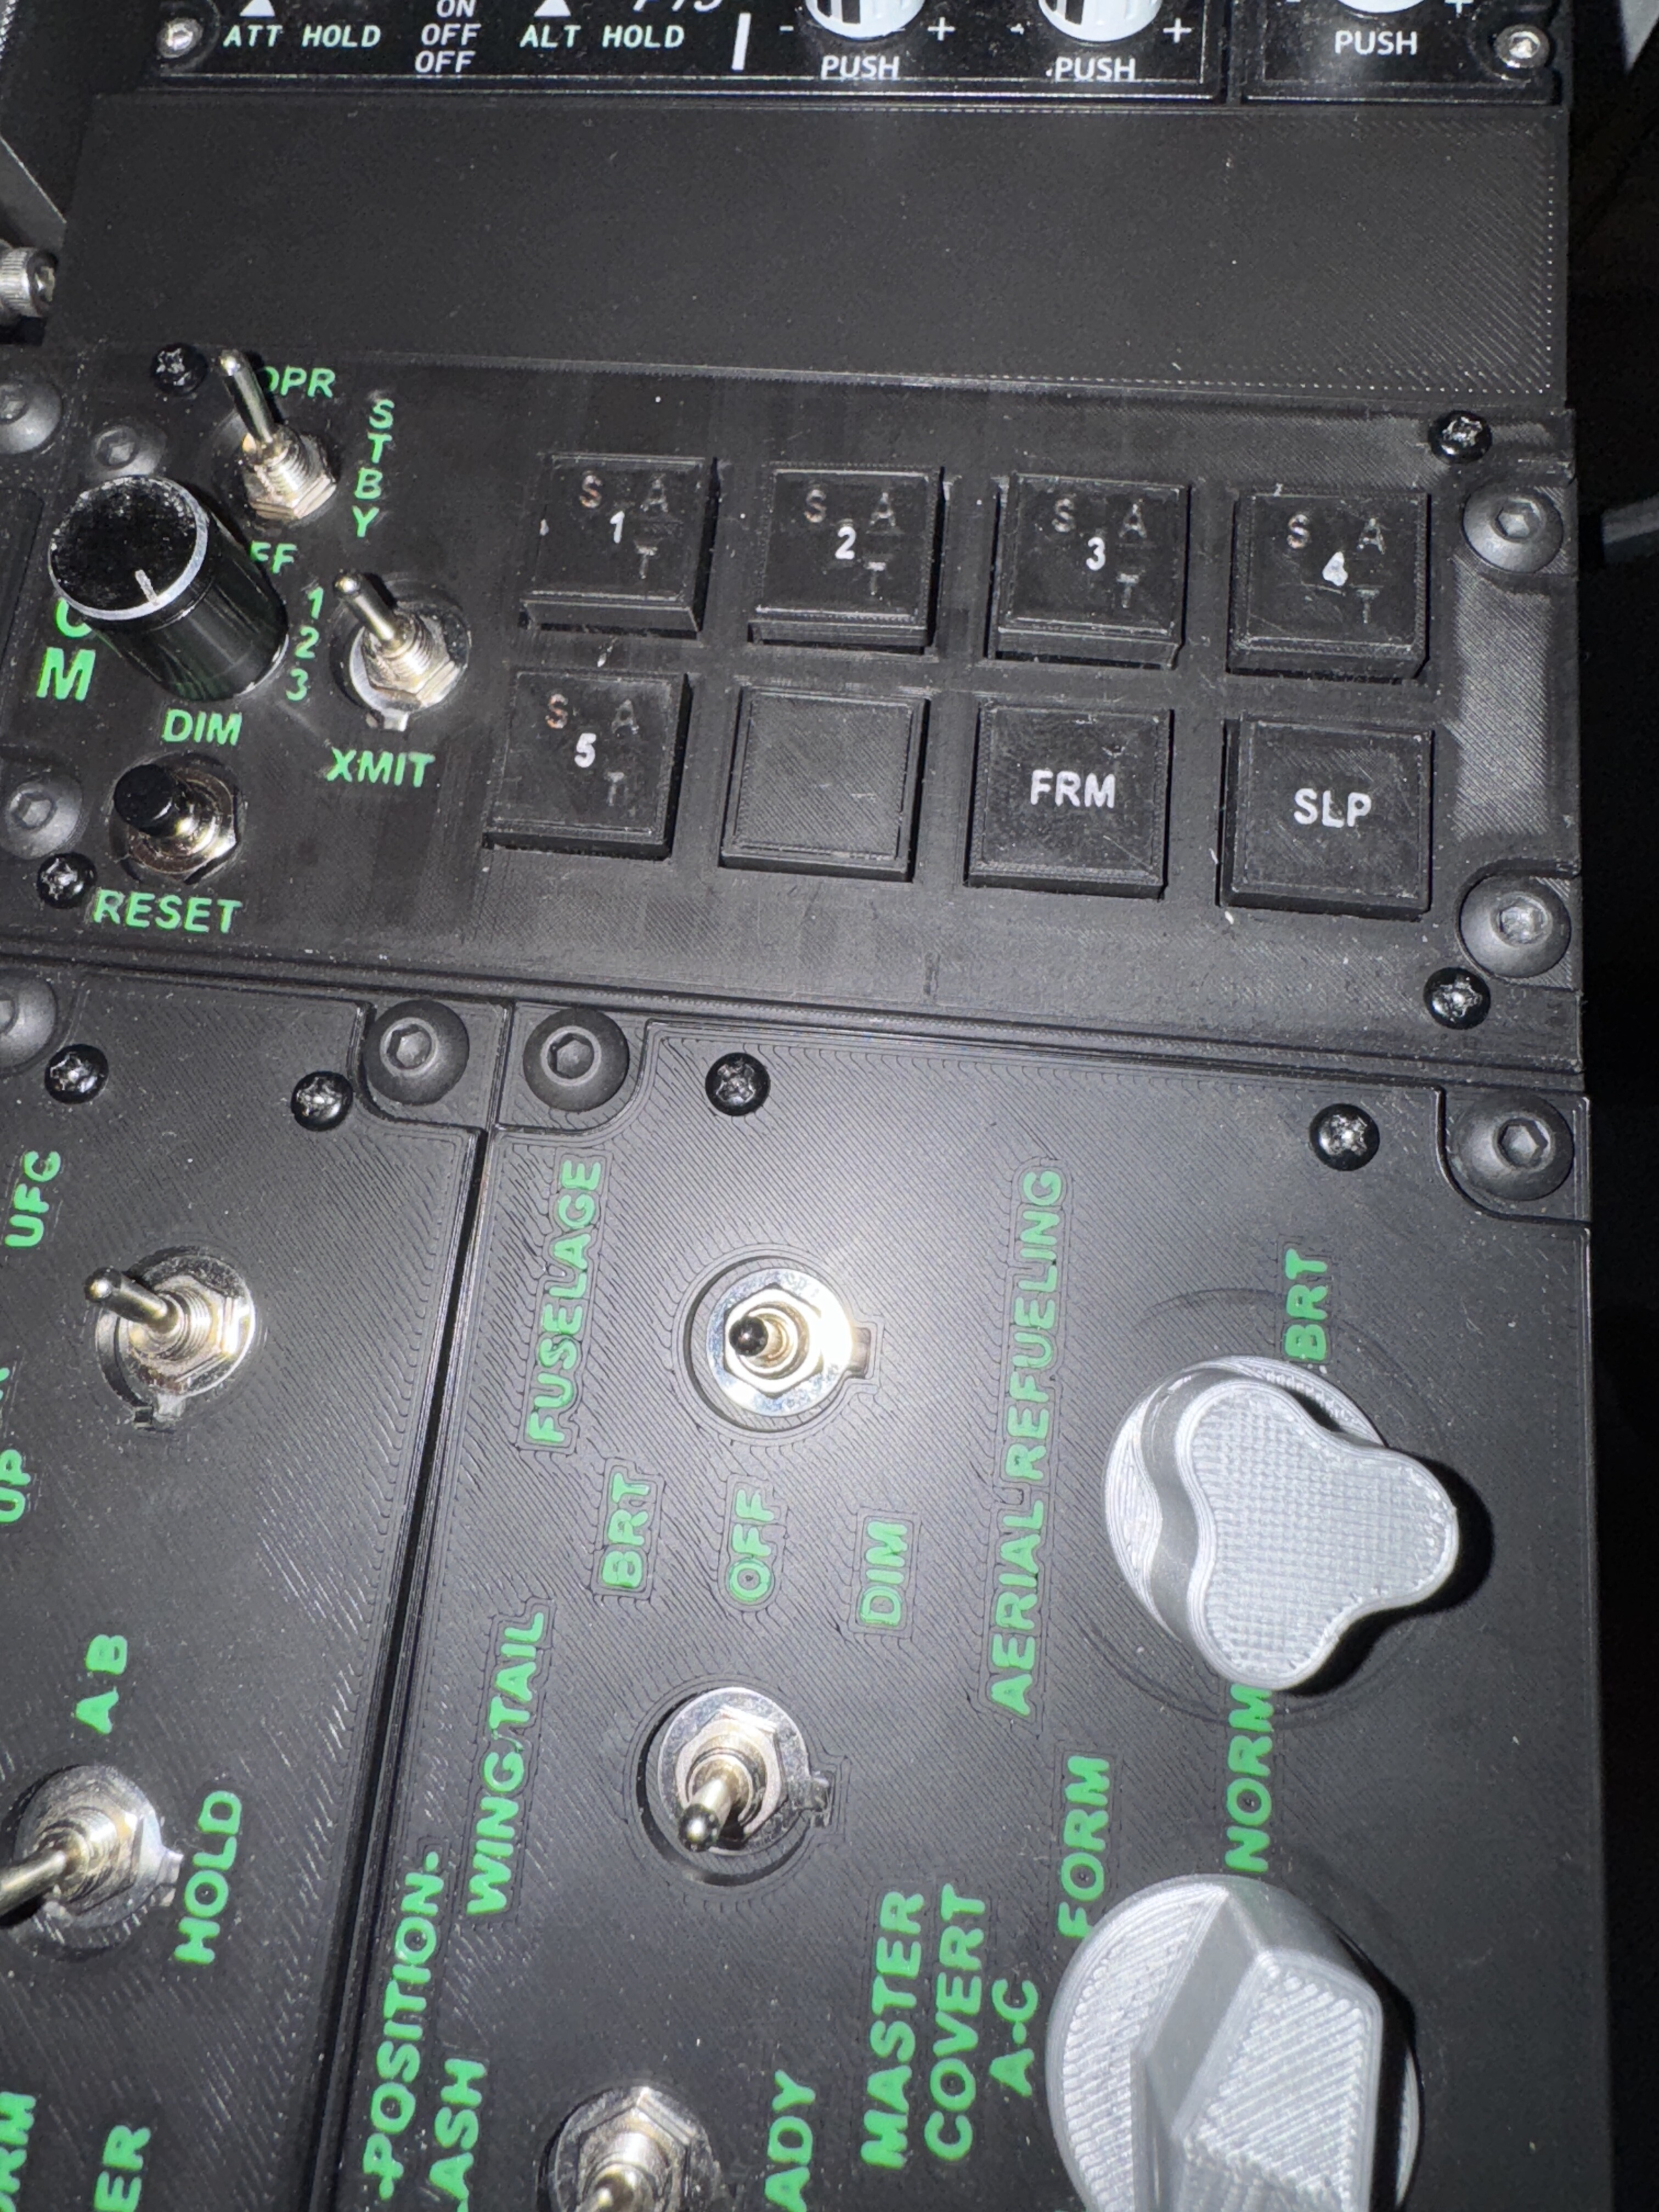
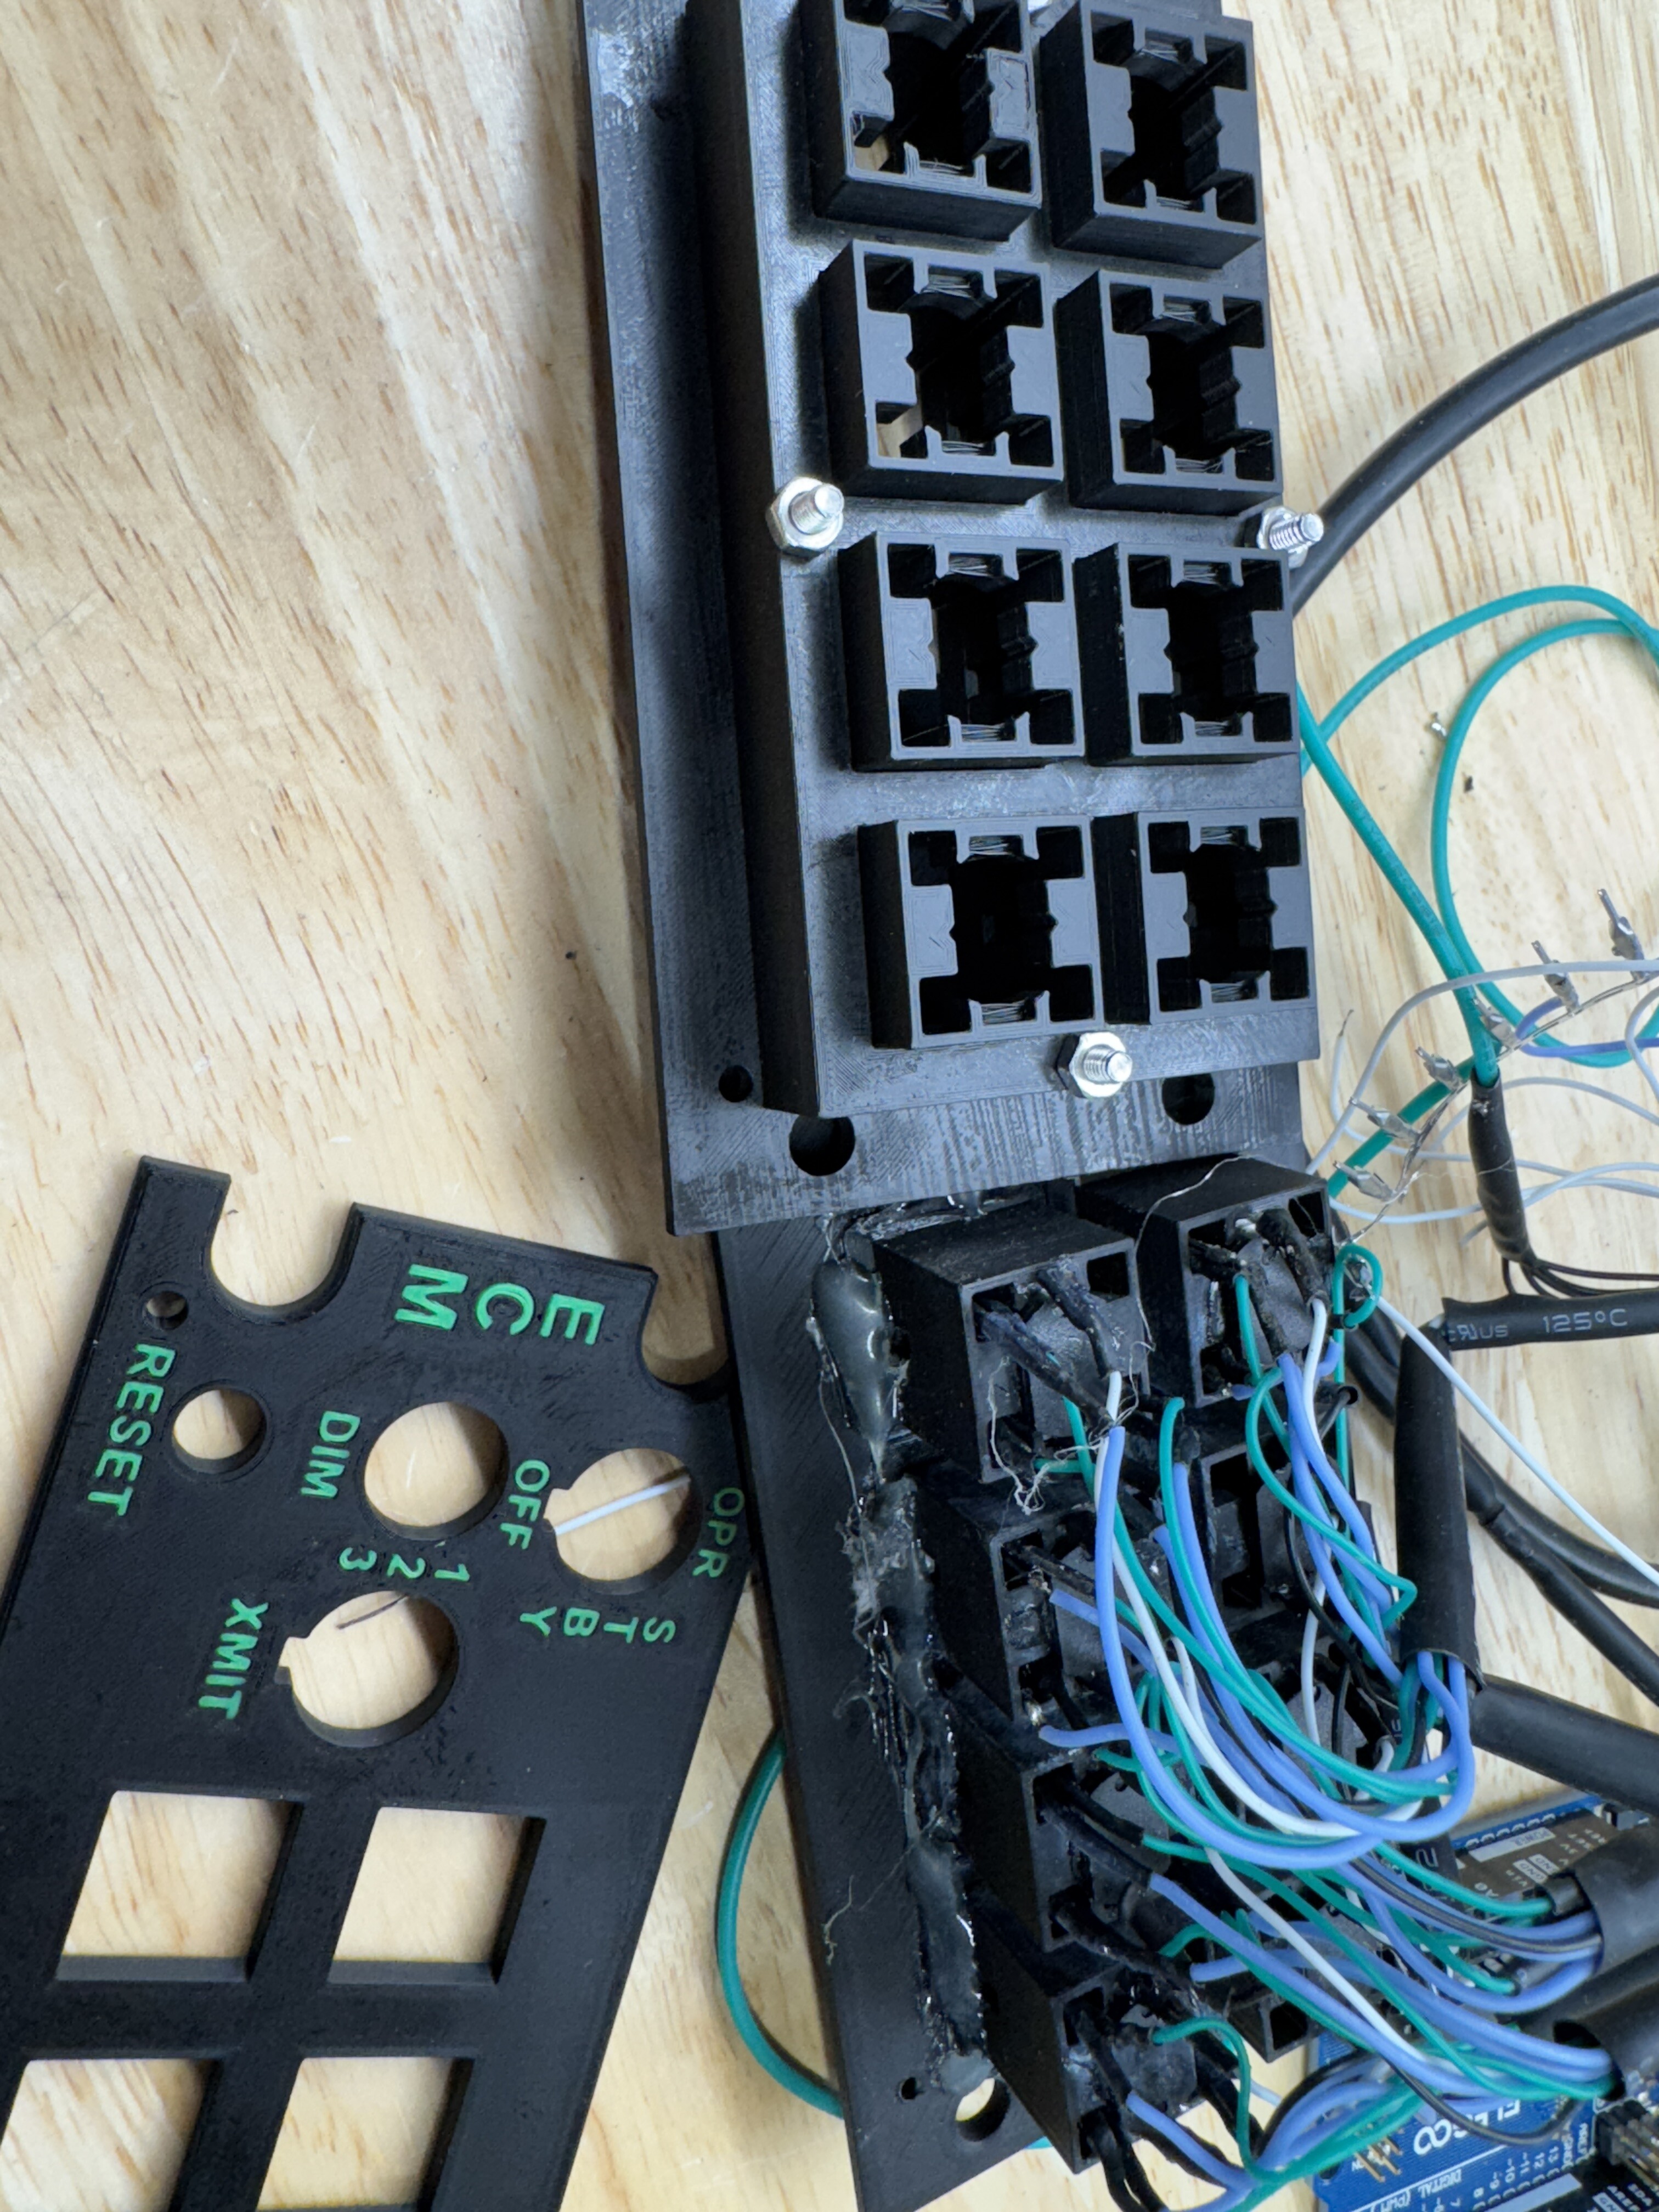
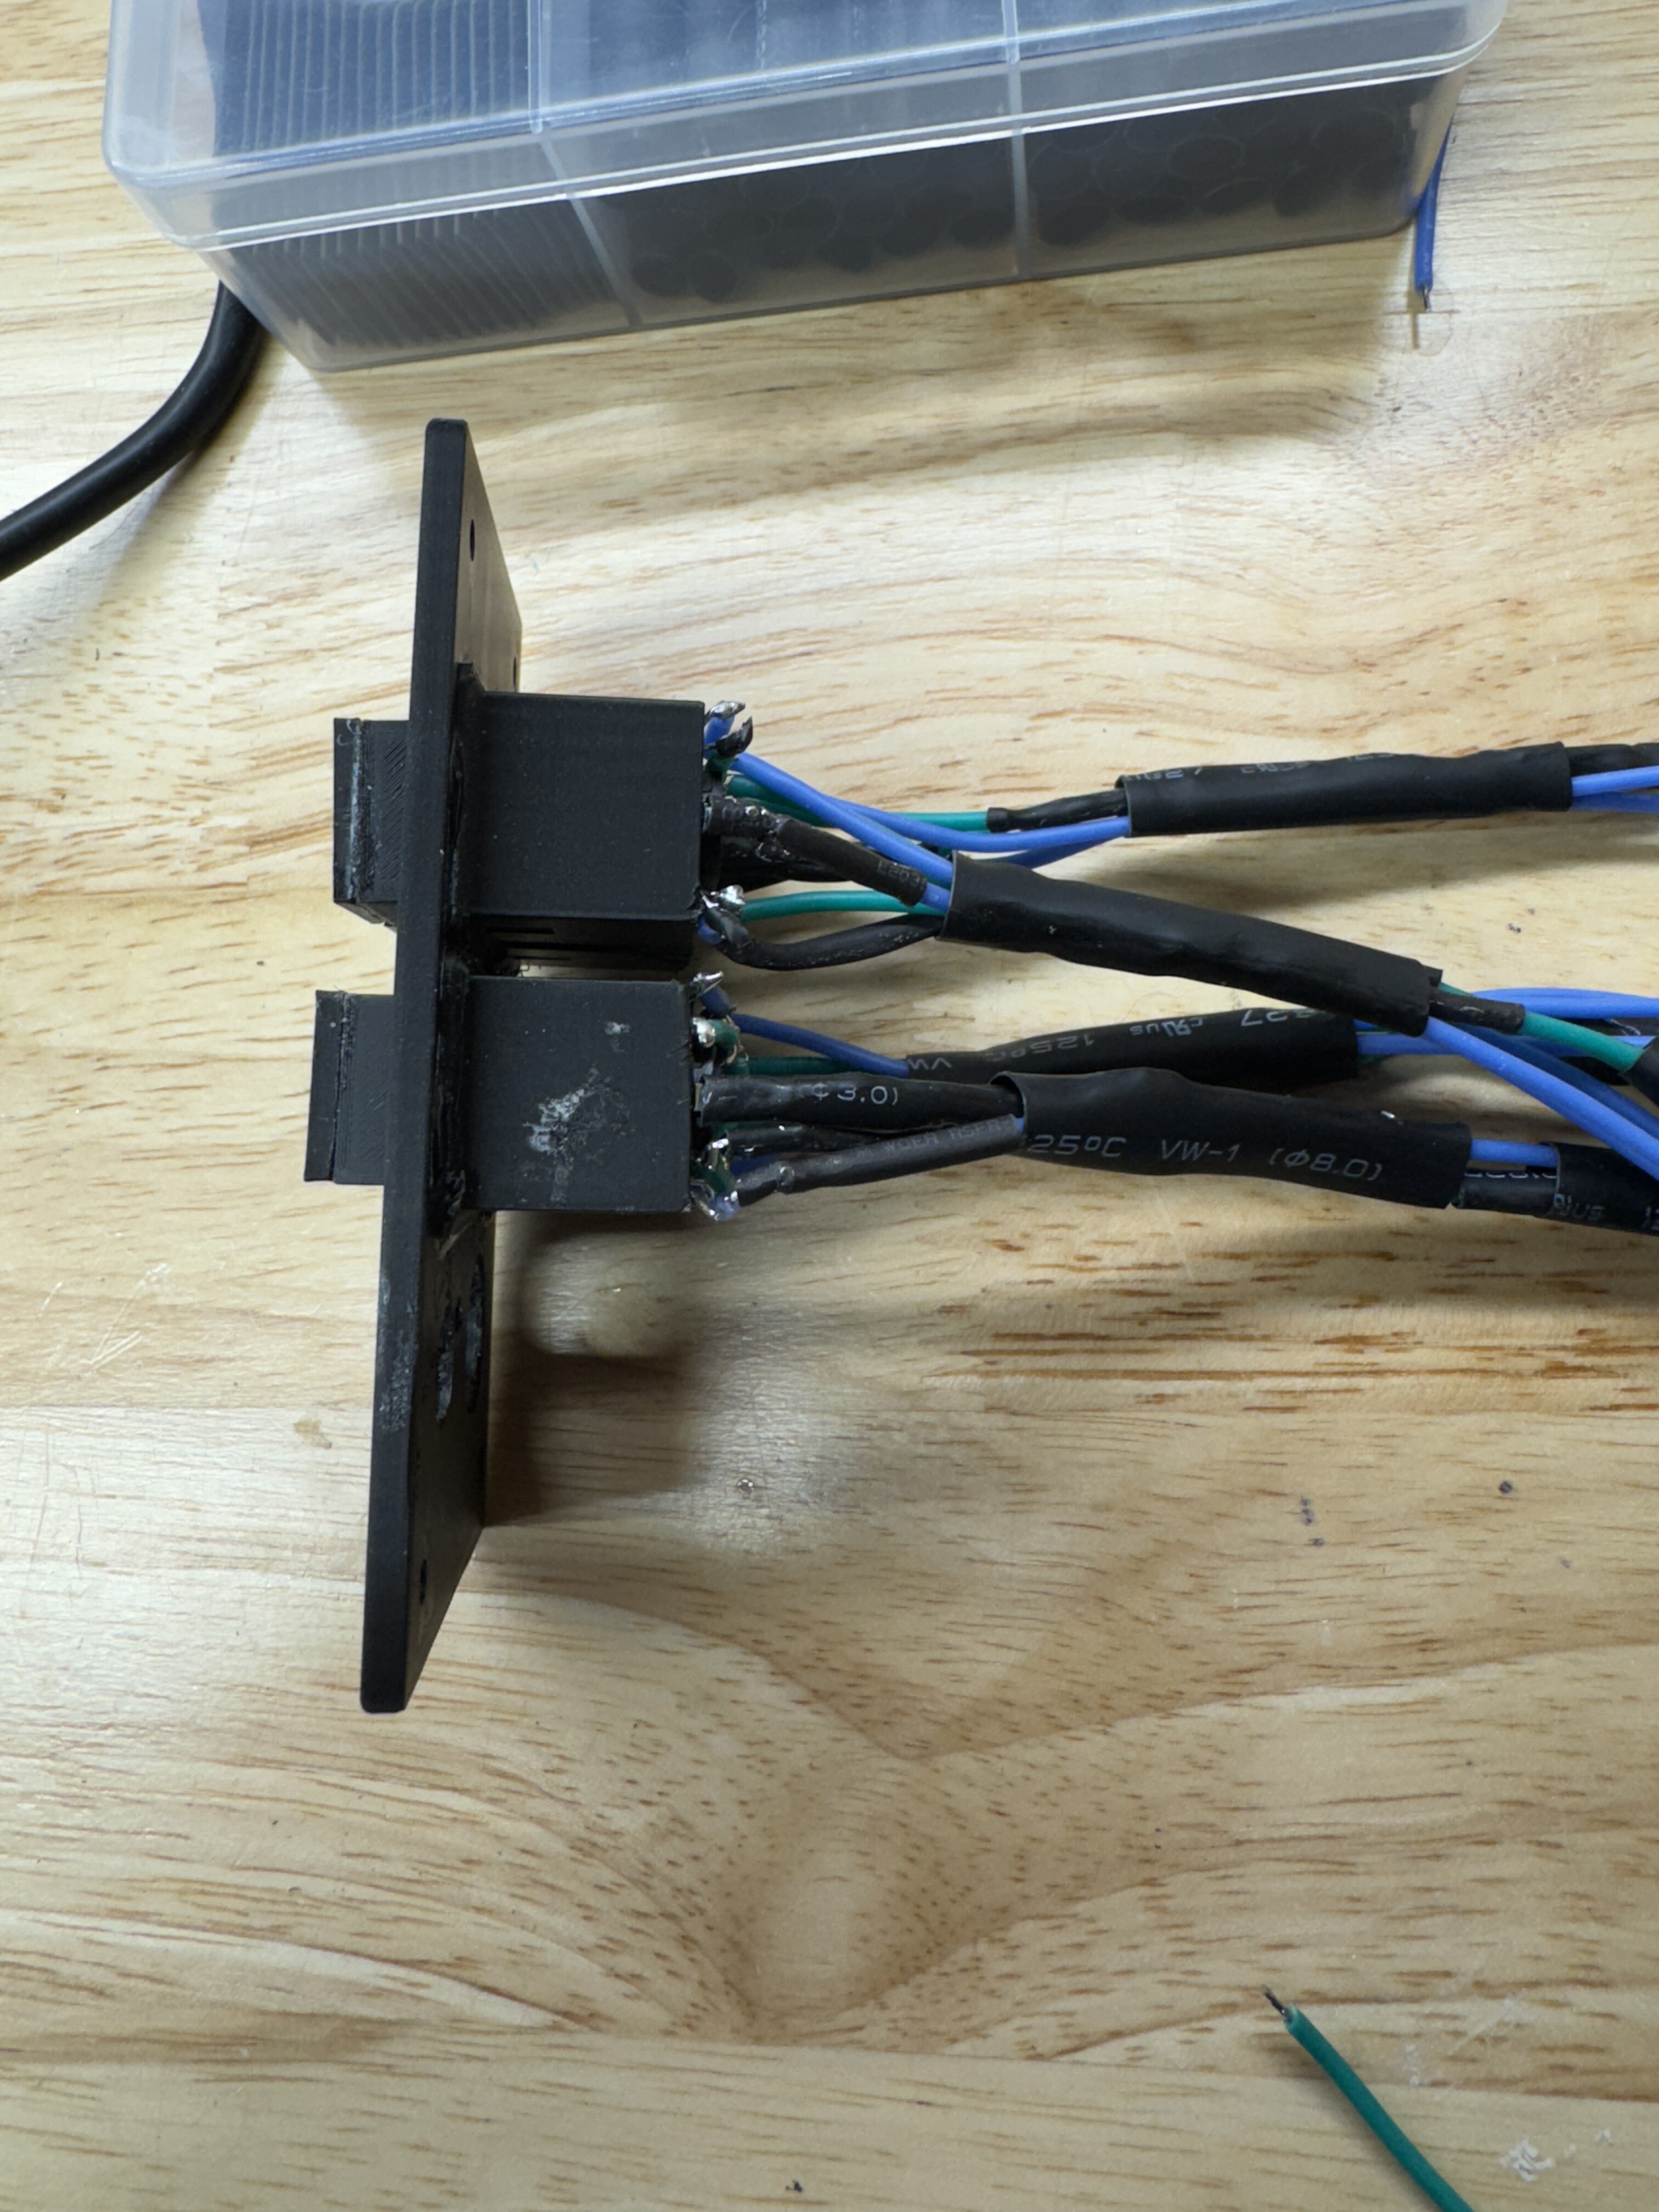
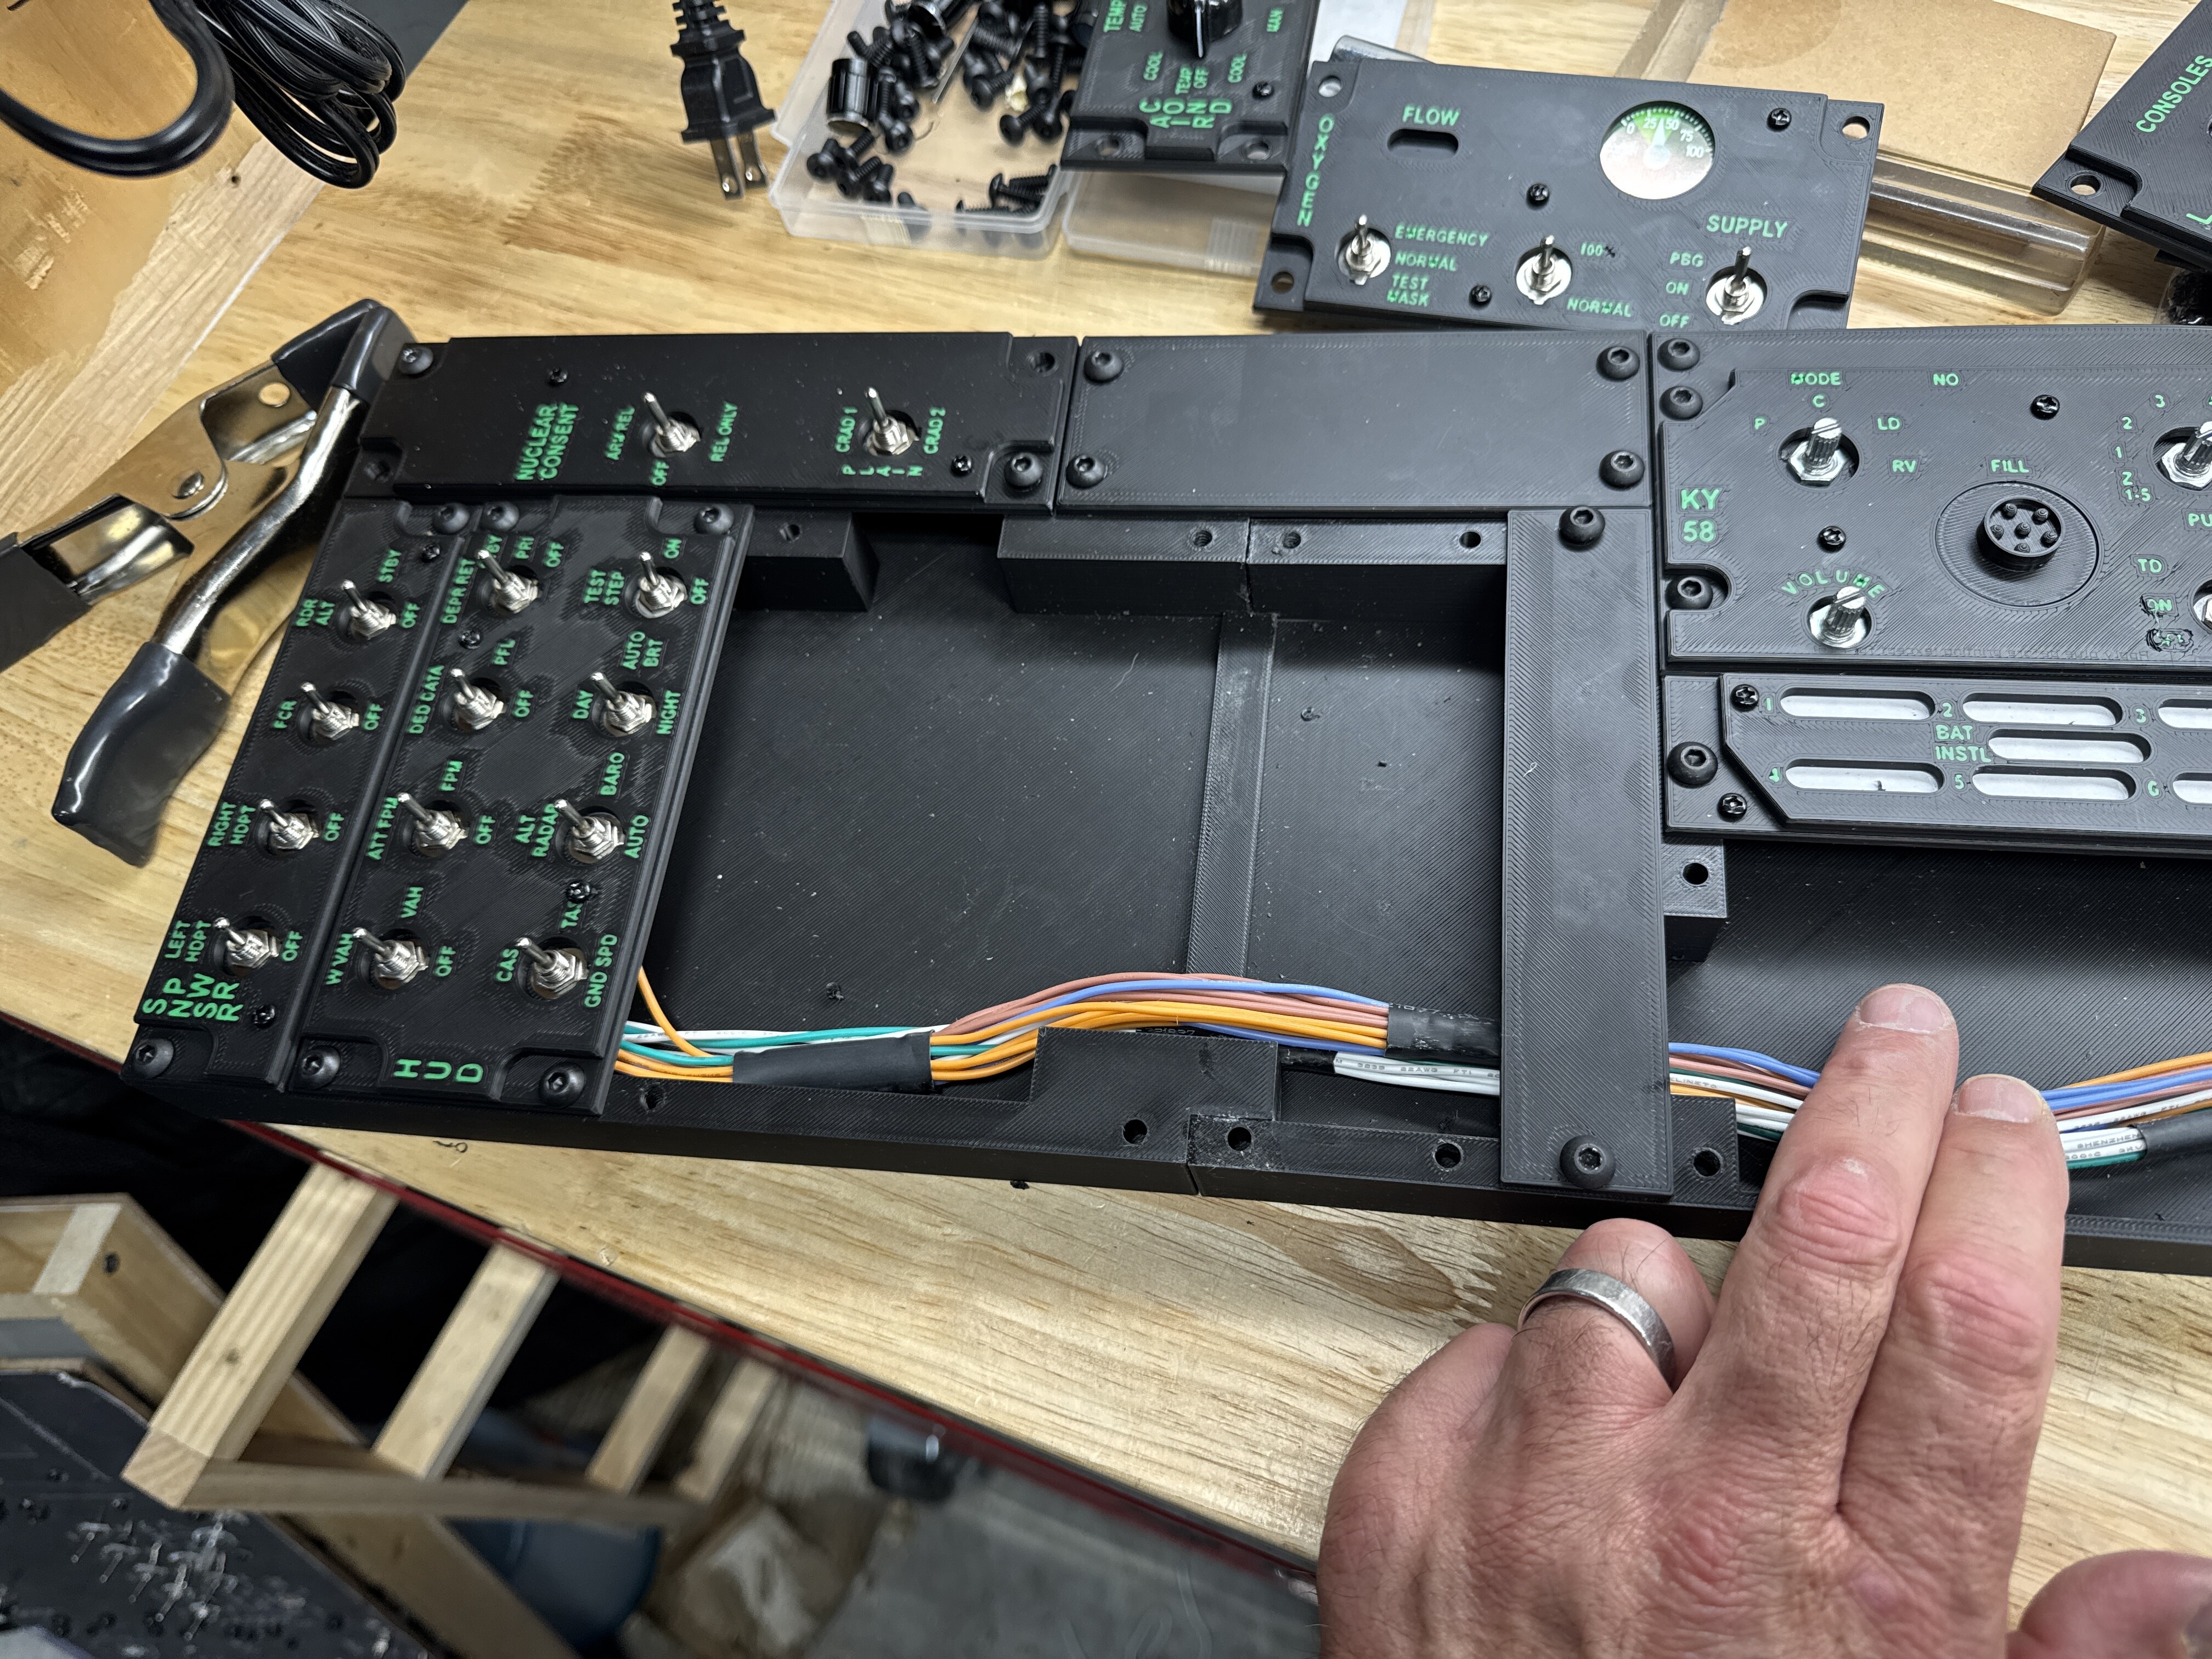
nullneater wires. No ugly glue. I had added the hot glue since I did not think the crazy glue would hold over the long run. The locking frame is nicer. Mike
-
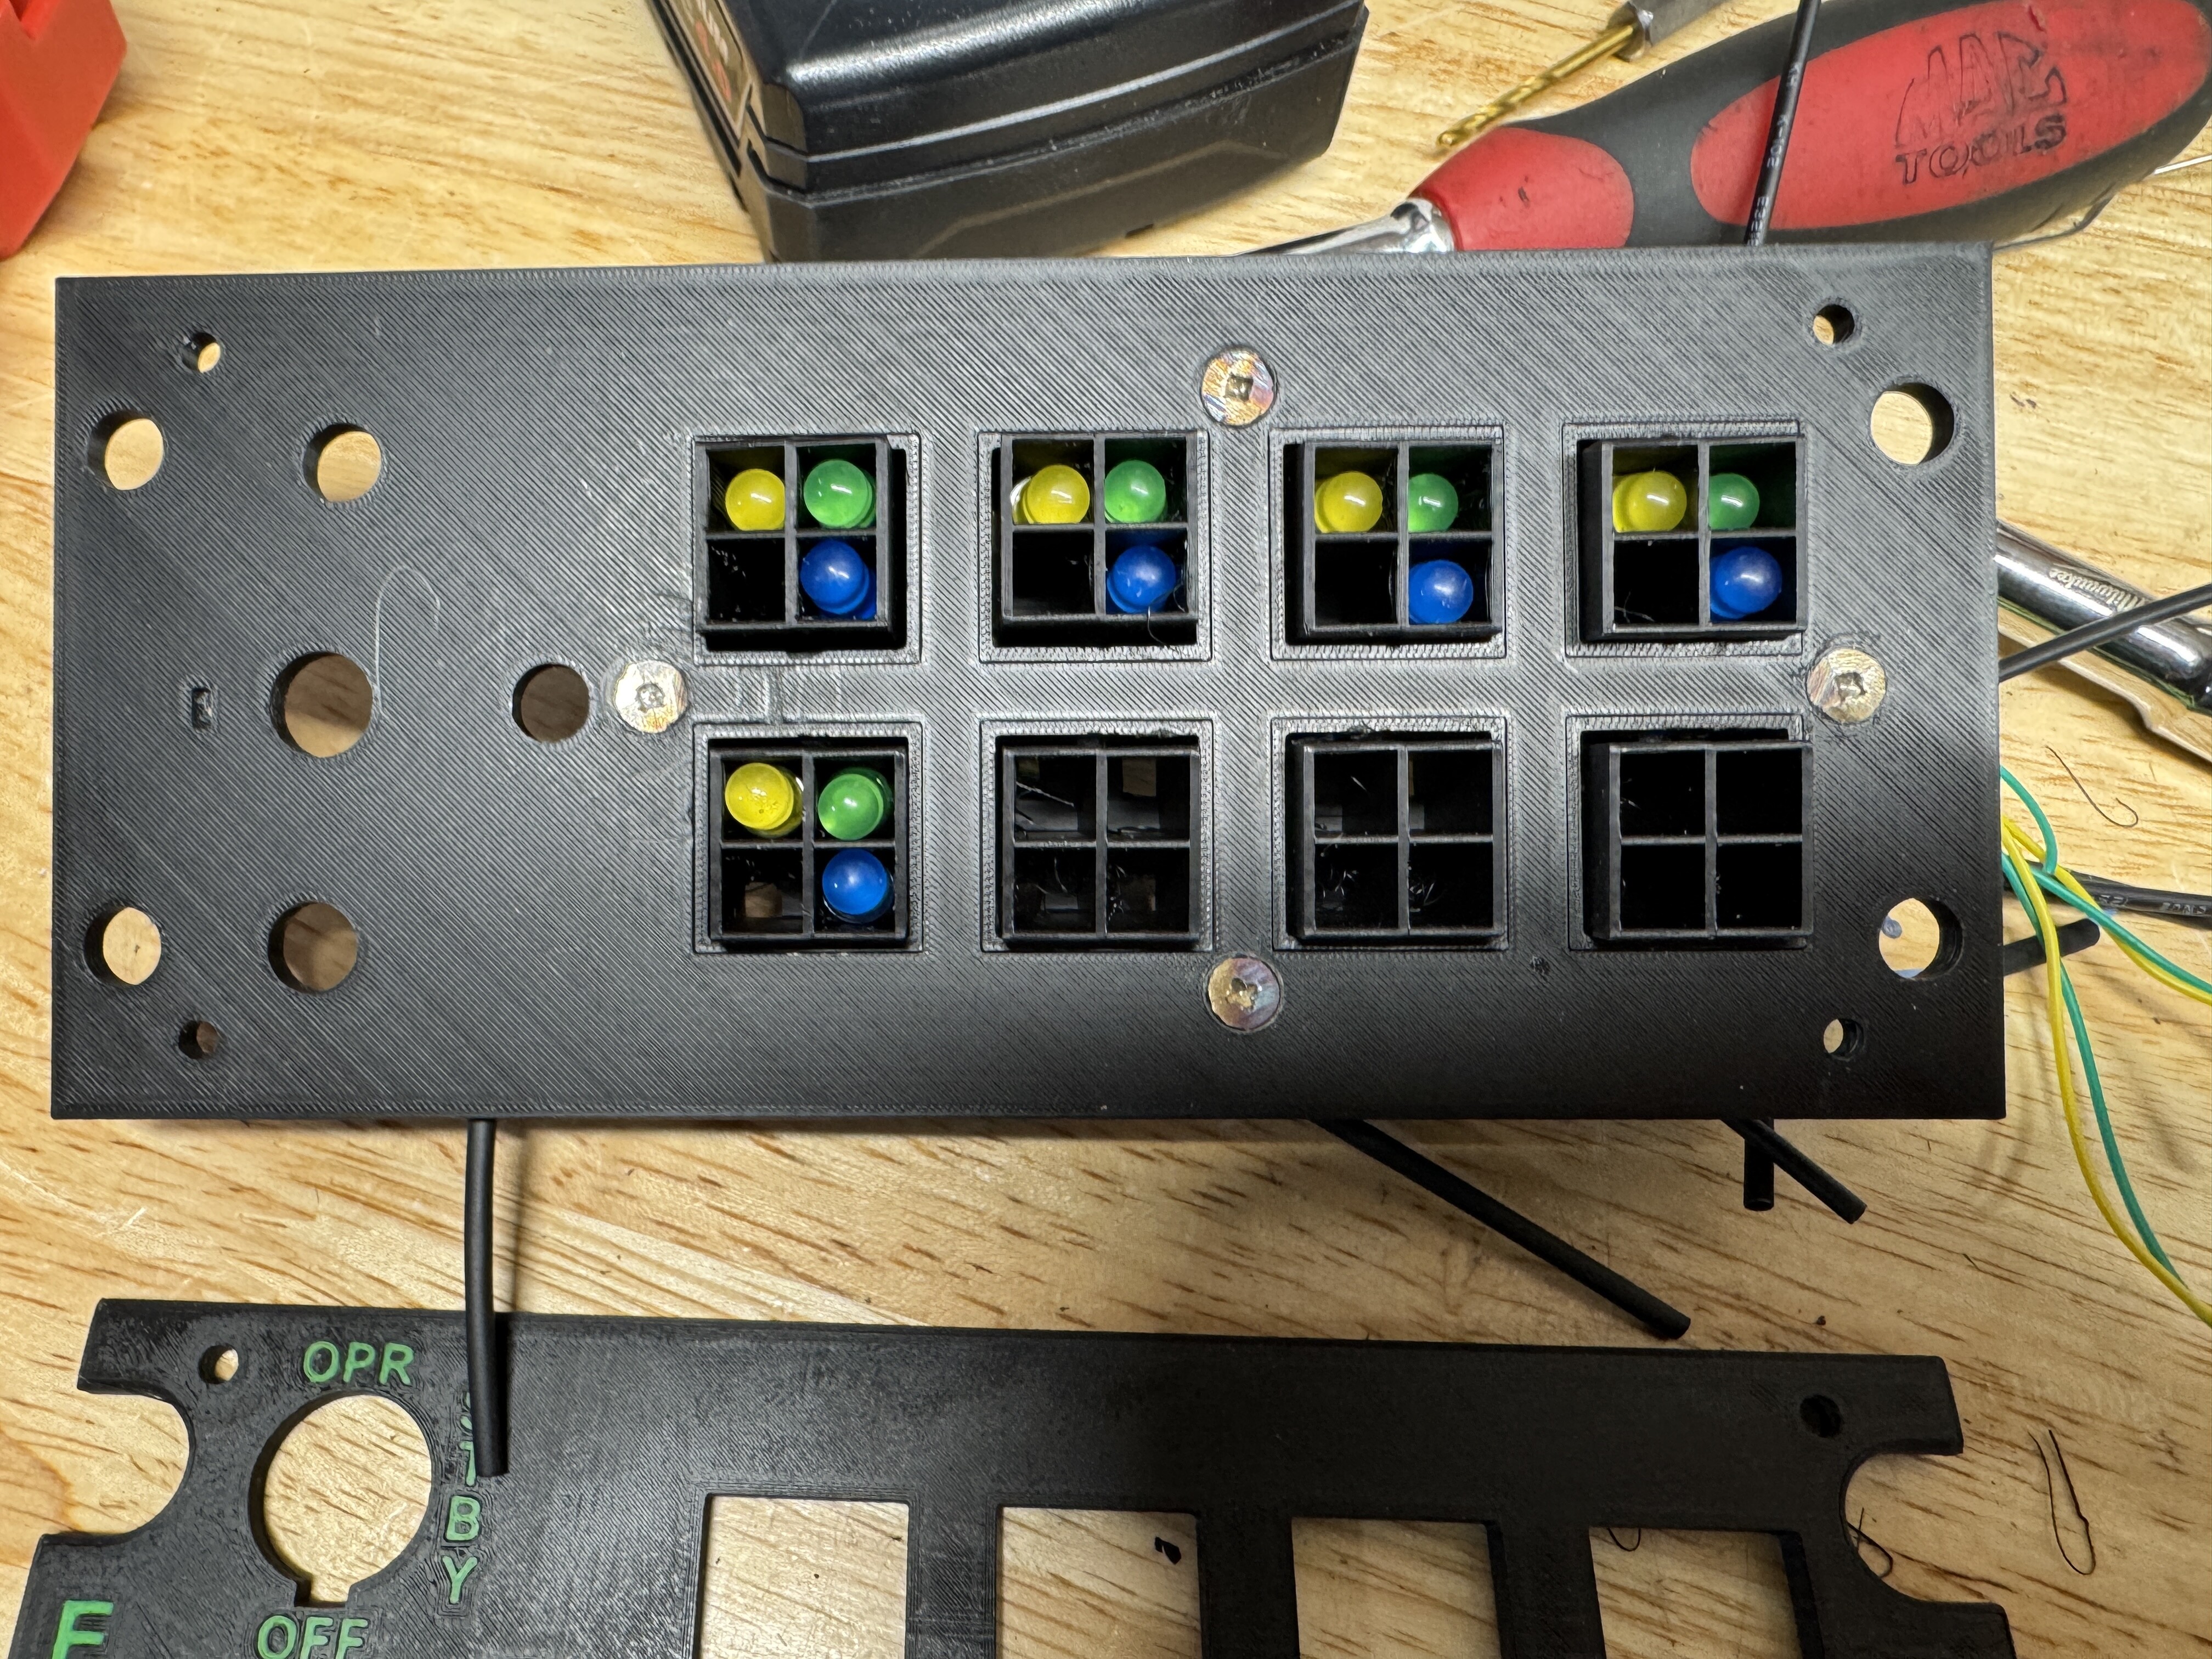
Mark 3 or 4 lost count LOL, no Mark 2. No glue Made frame to hold the switches in with screws. Only glue to hold the Latching Microswitches to the Korry Switch Frame and to hold the frames on the button tops. Then the button tops just snap on. I have the glue drying, so did not snap them on yet. Later. Mike
-
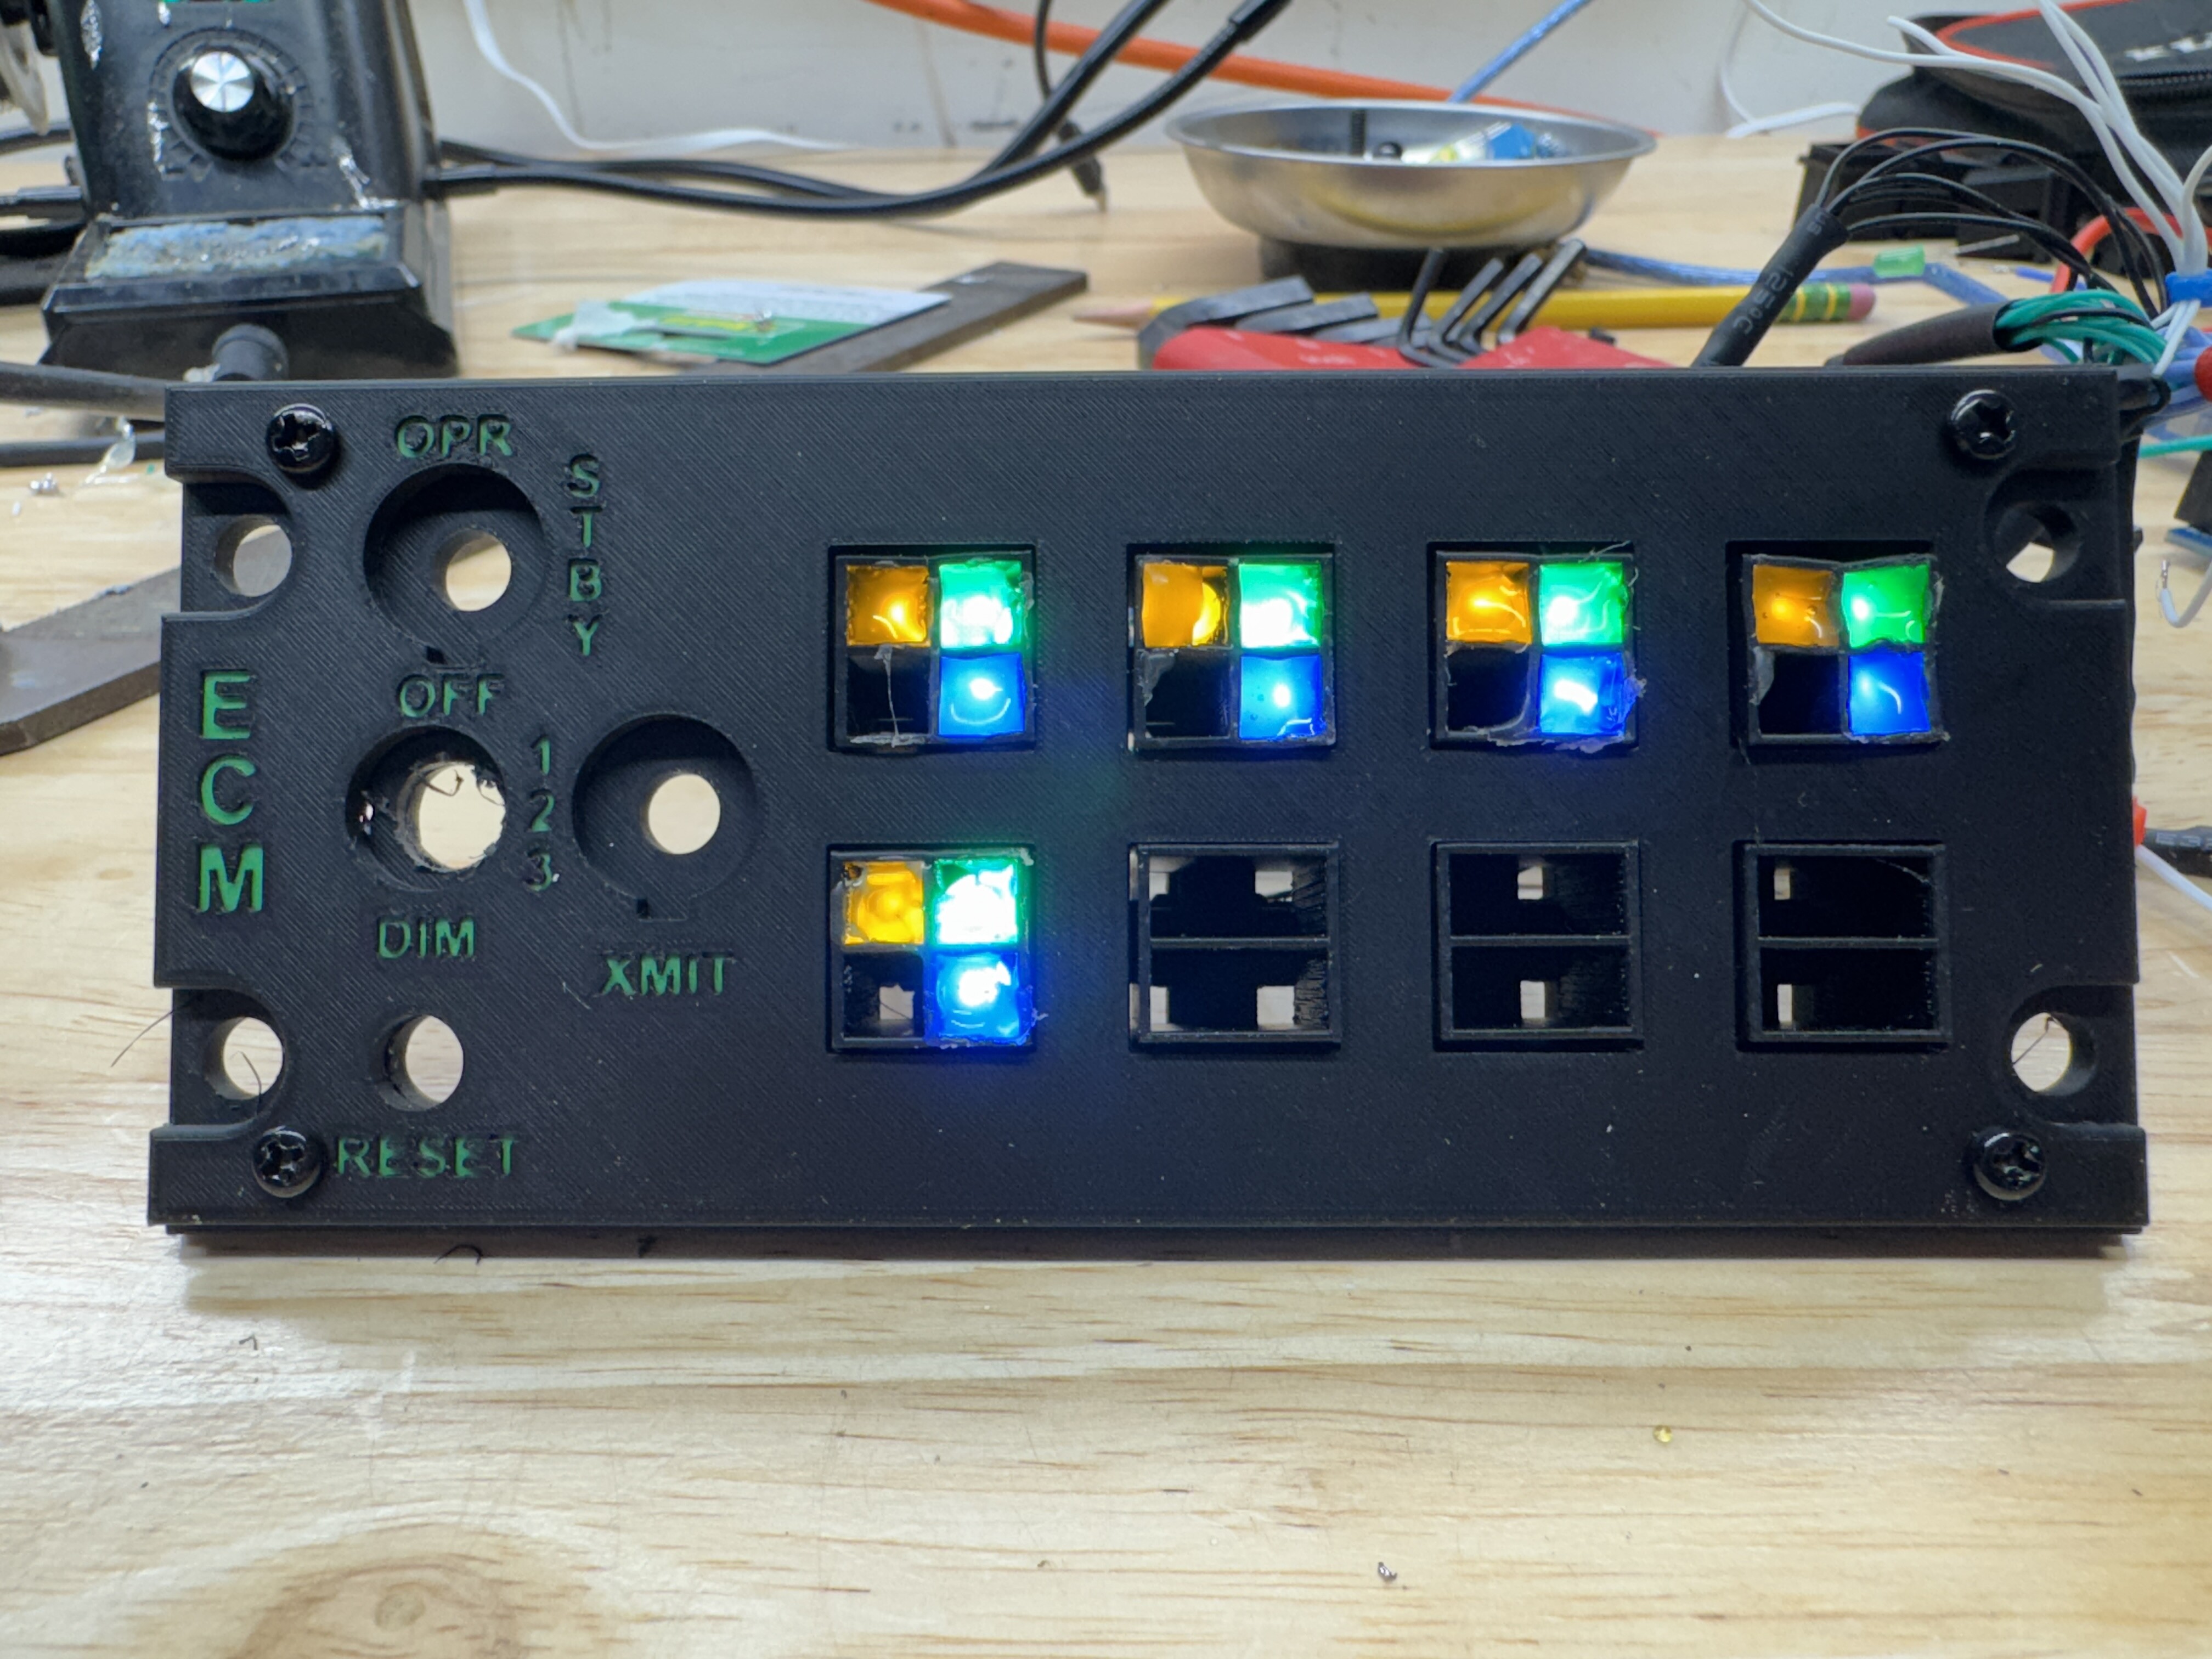
Lights
-
Getting there.
-
I printed the wrong outside case type LOL, I have to print 5 of the correct ones now. Doh' Mike
-
This outer sleeve is to use a latching micro switch type. null Korry Like Outer Sleve Latching Switch Mount.3mfnull
-
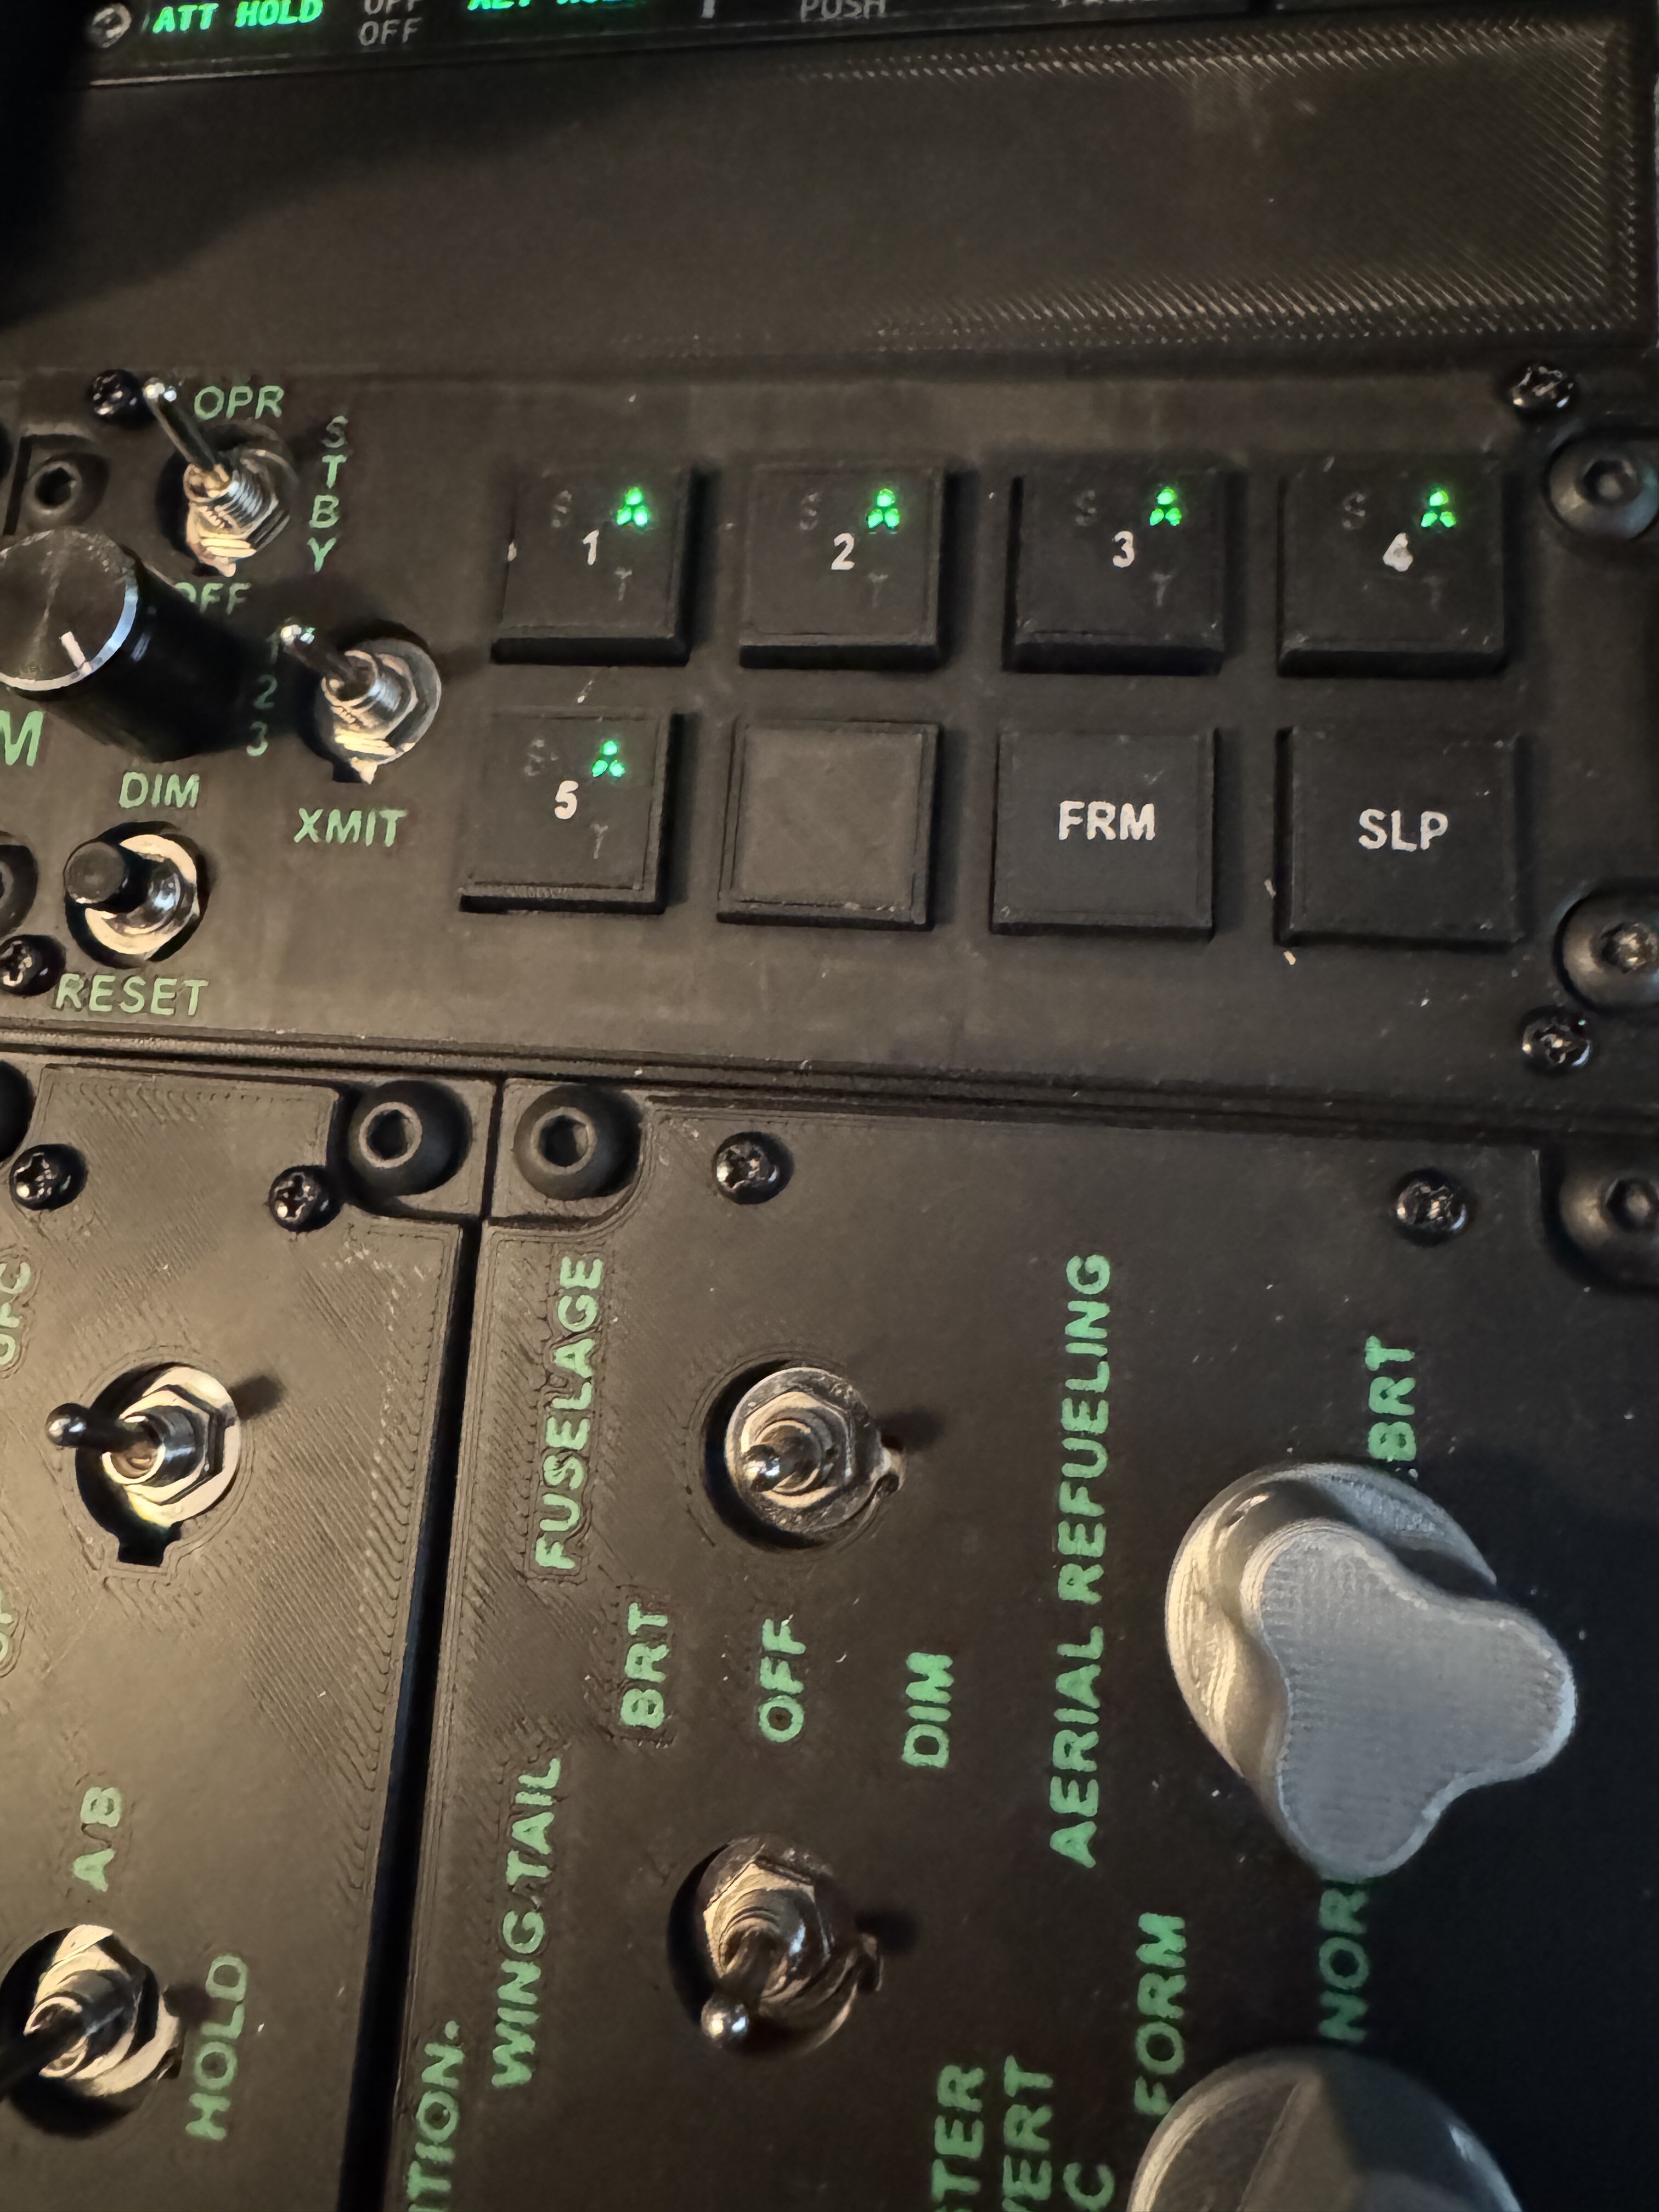
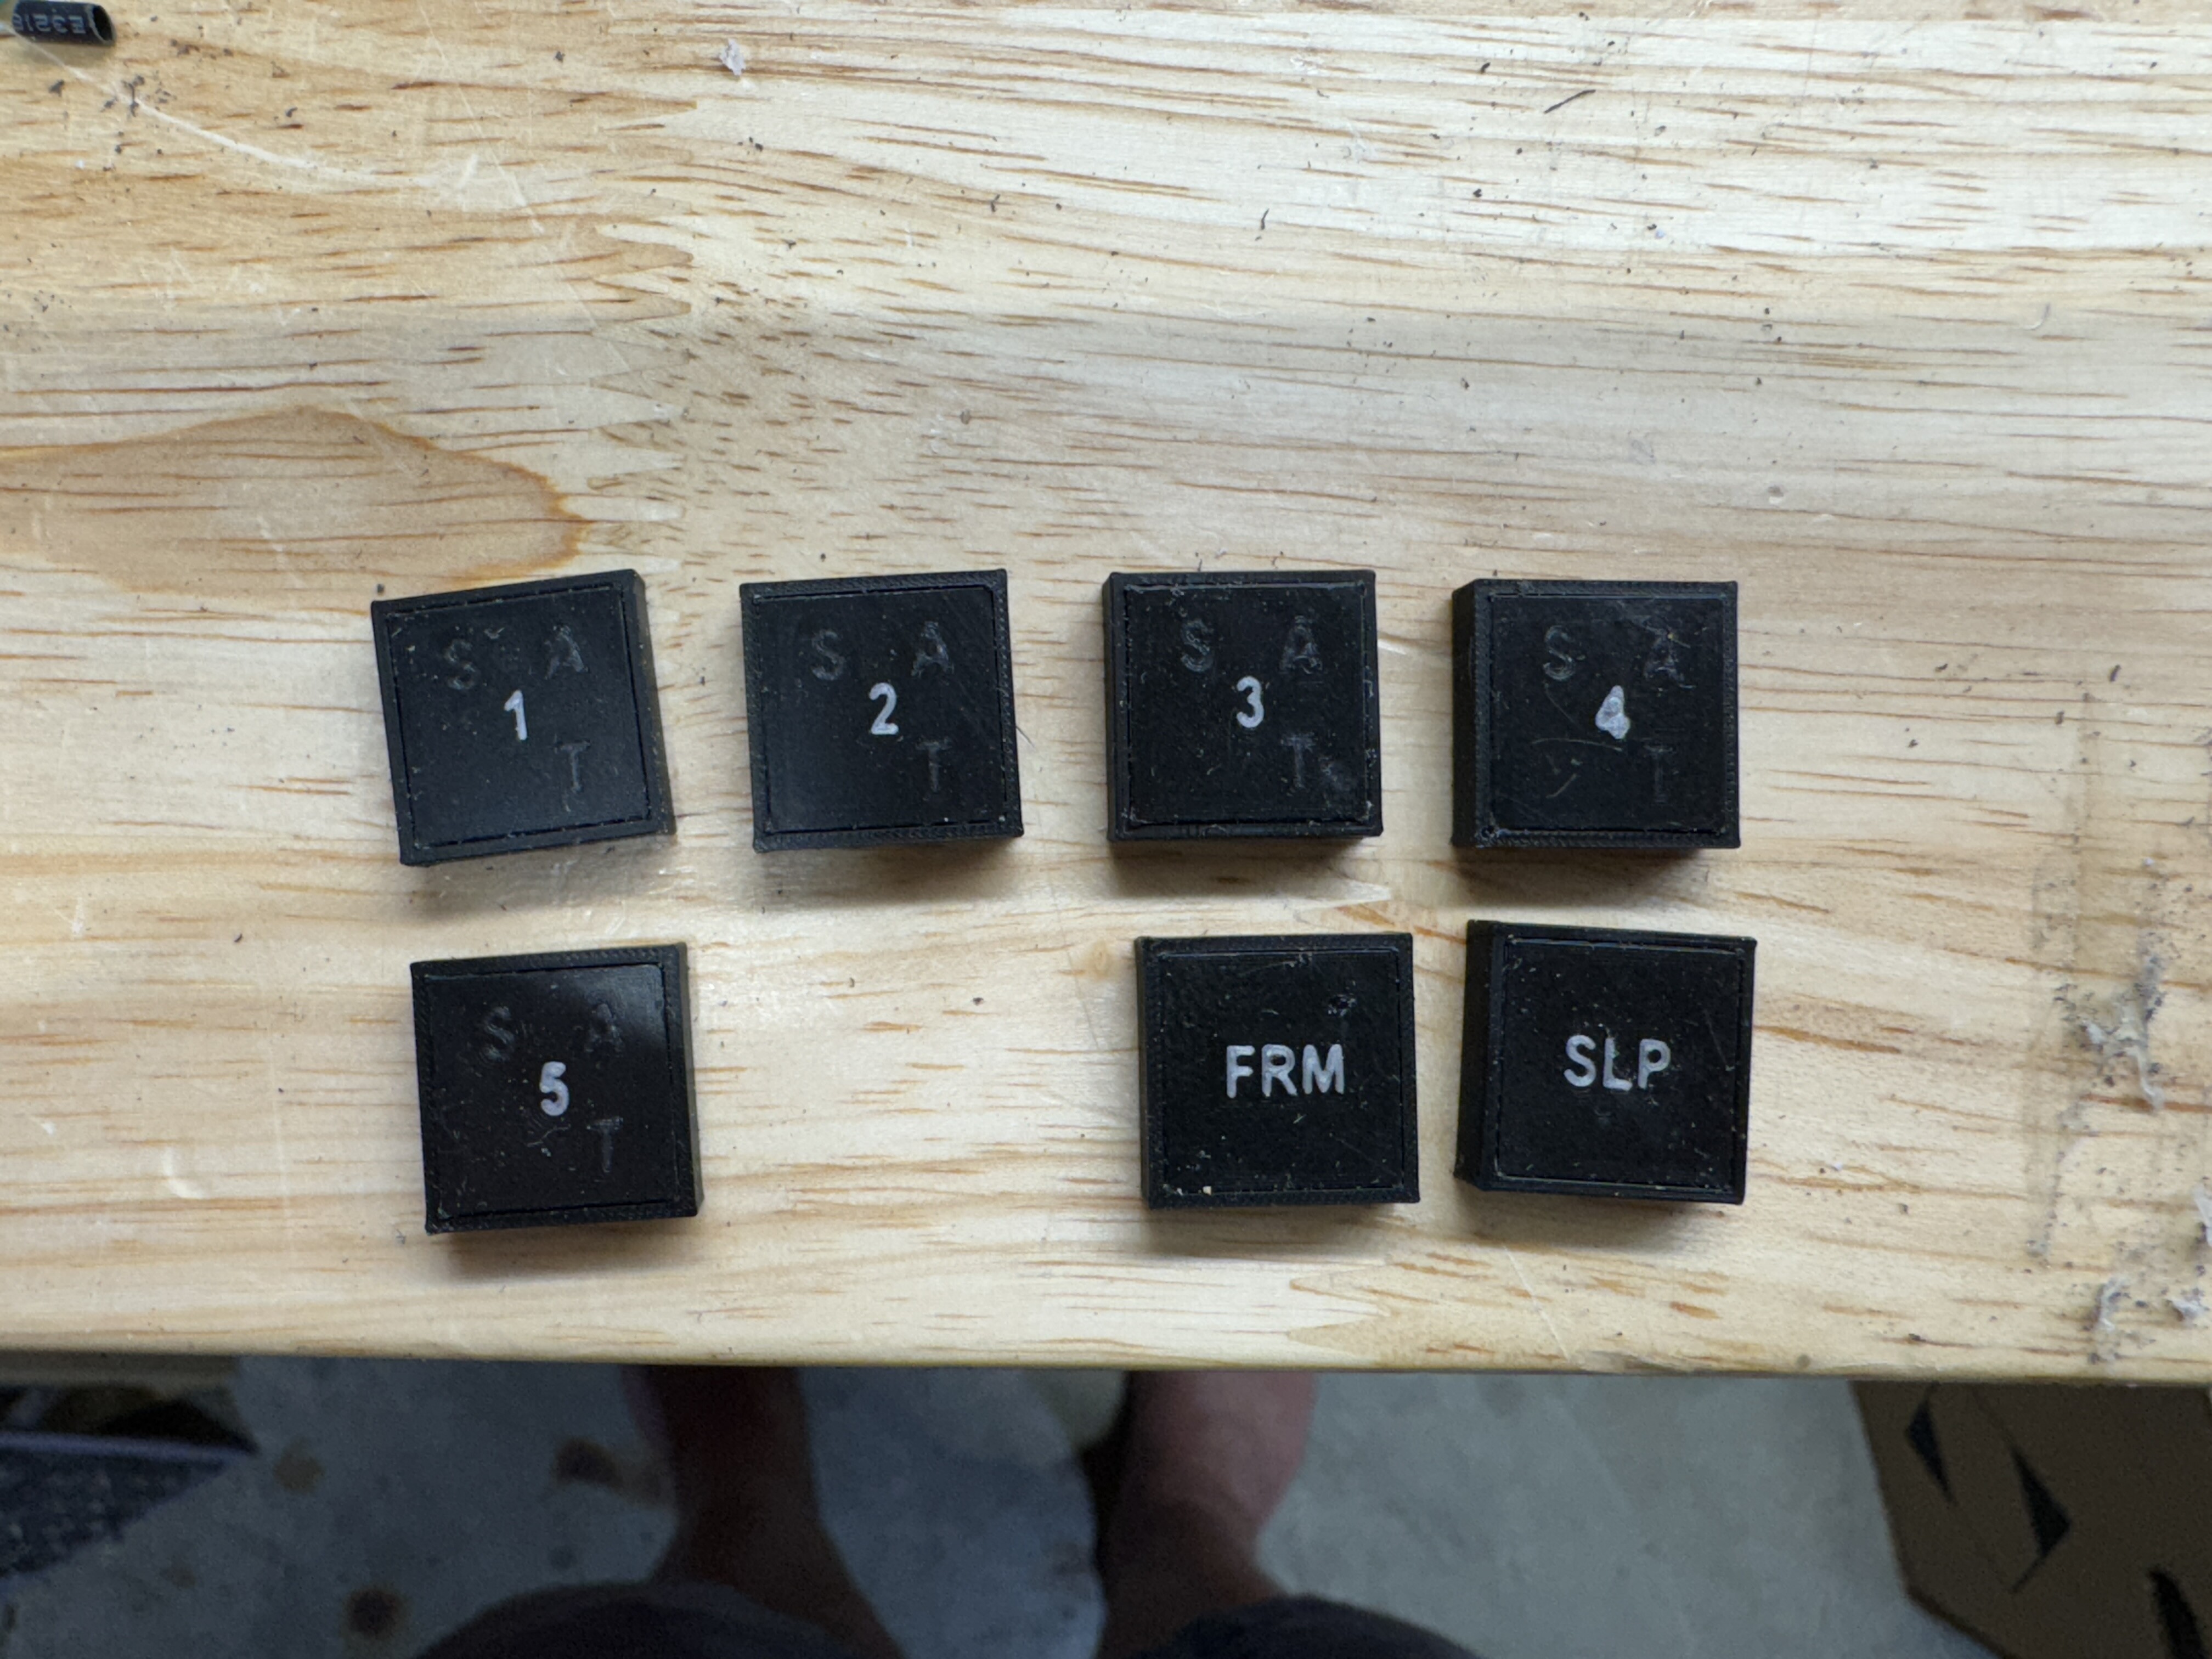
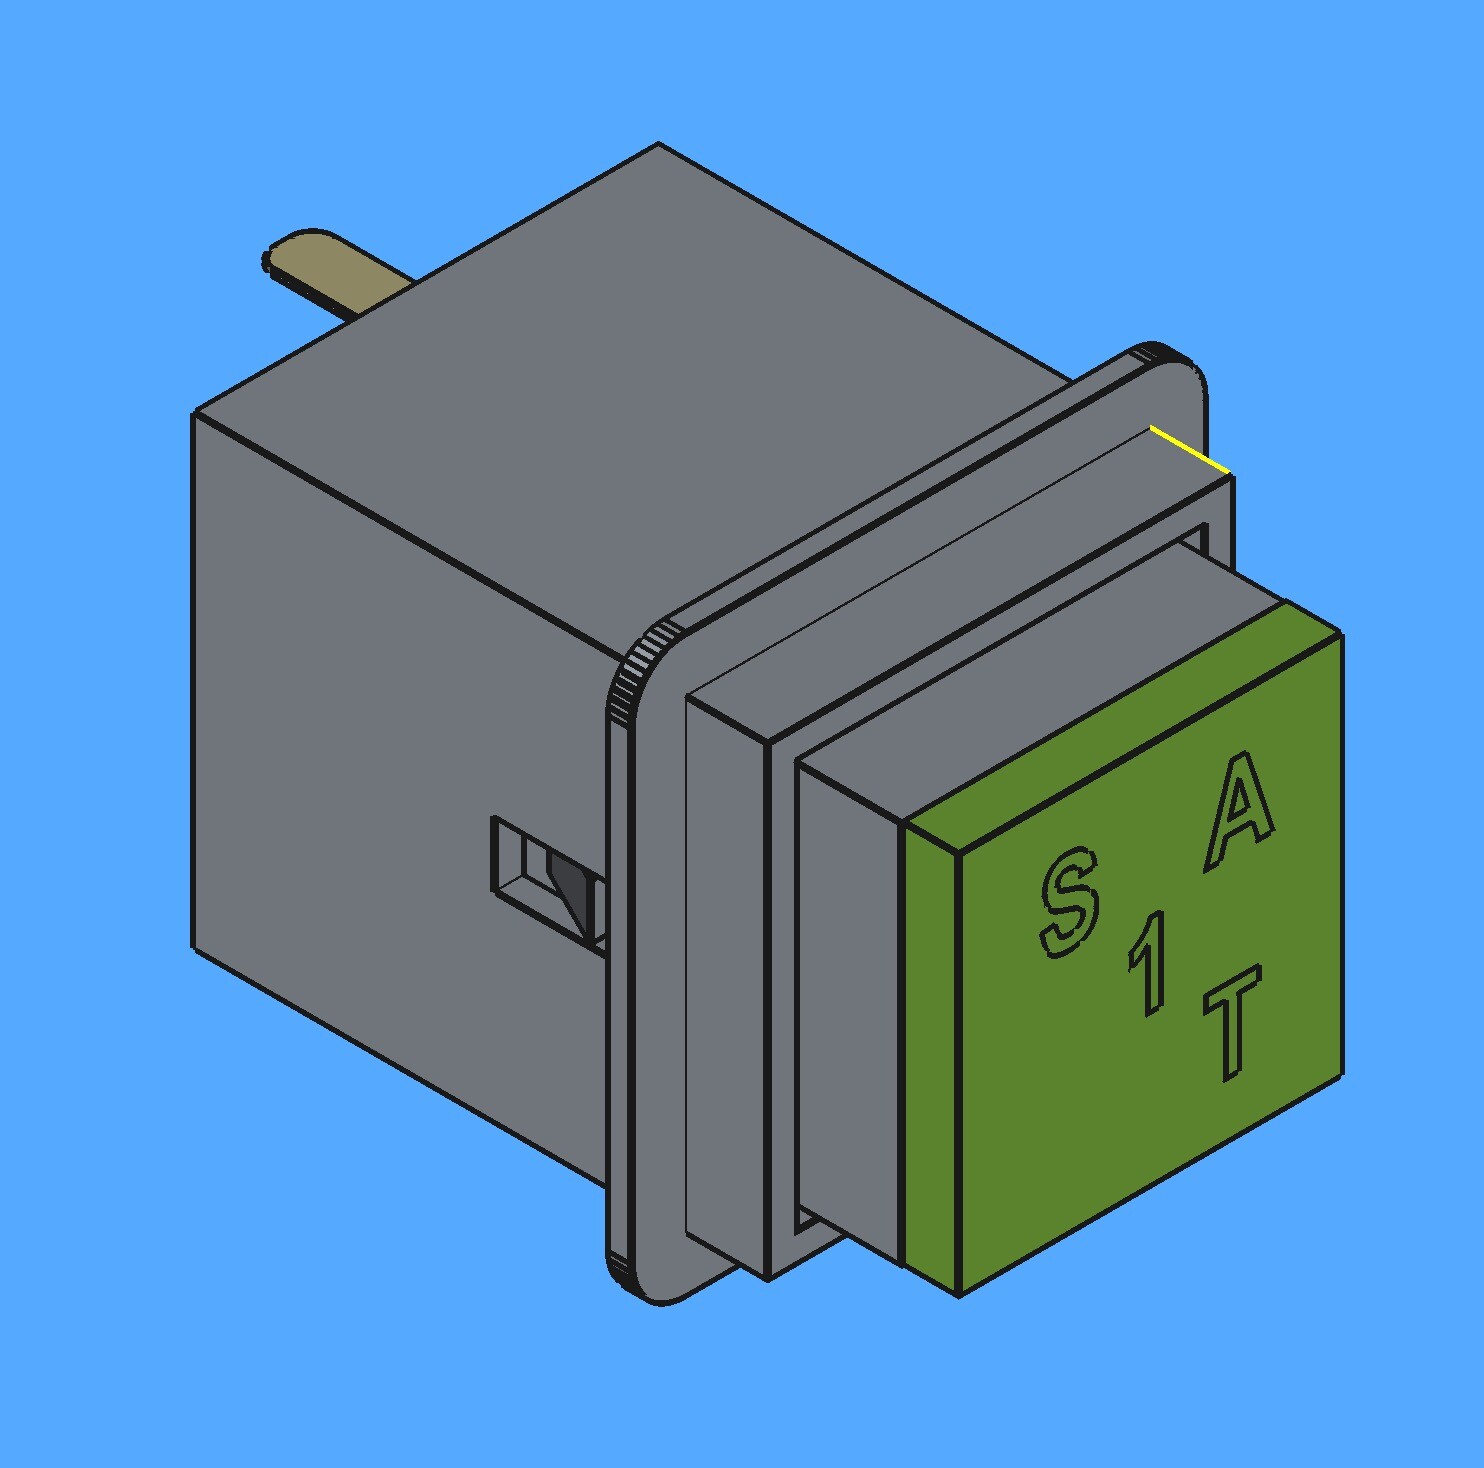
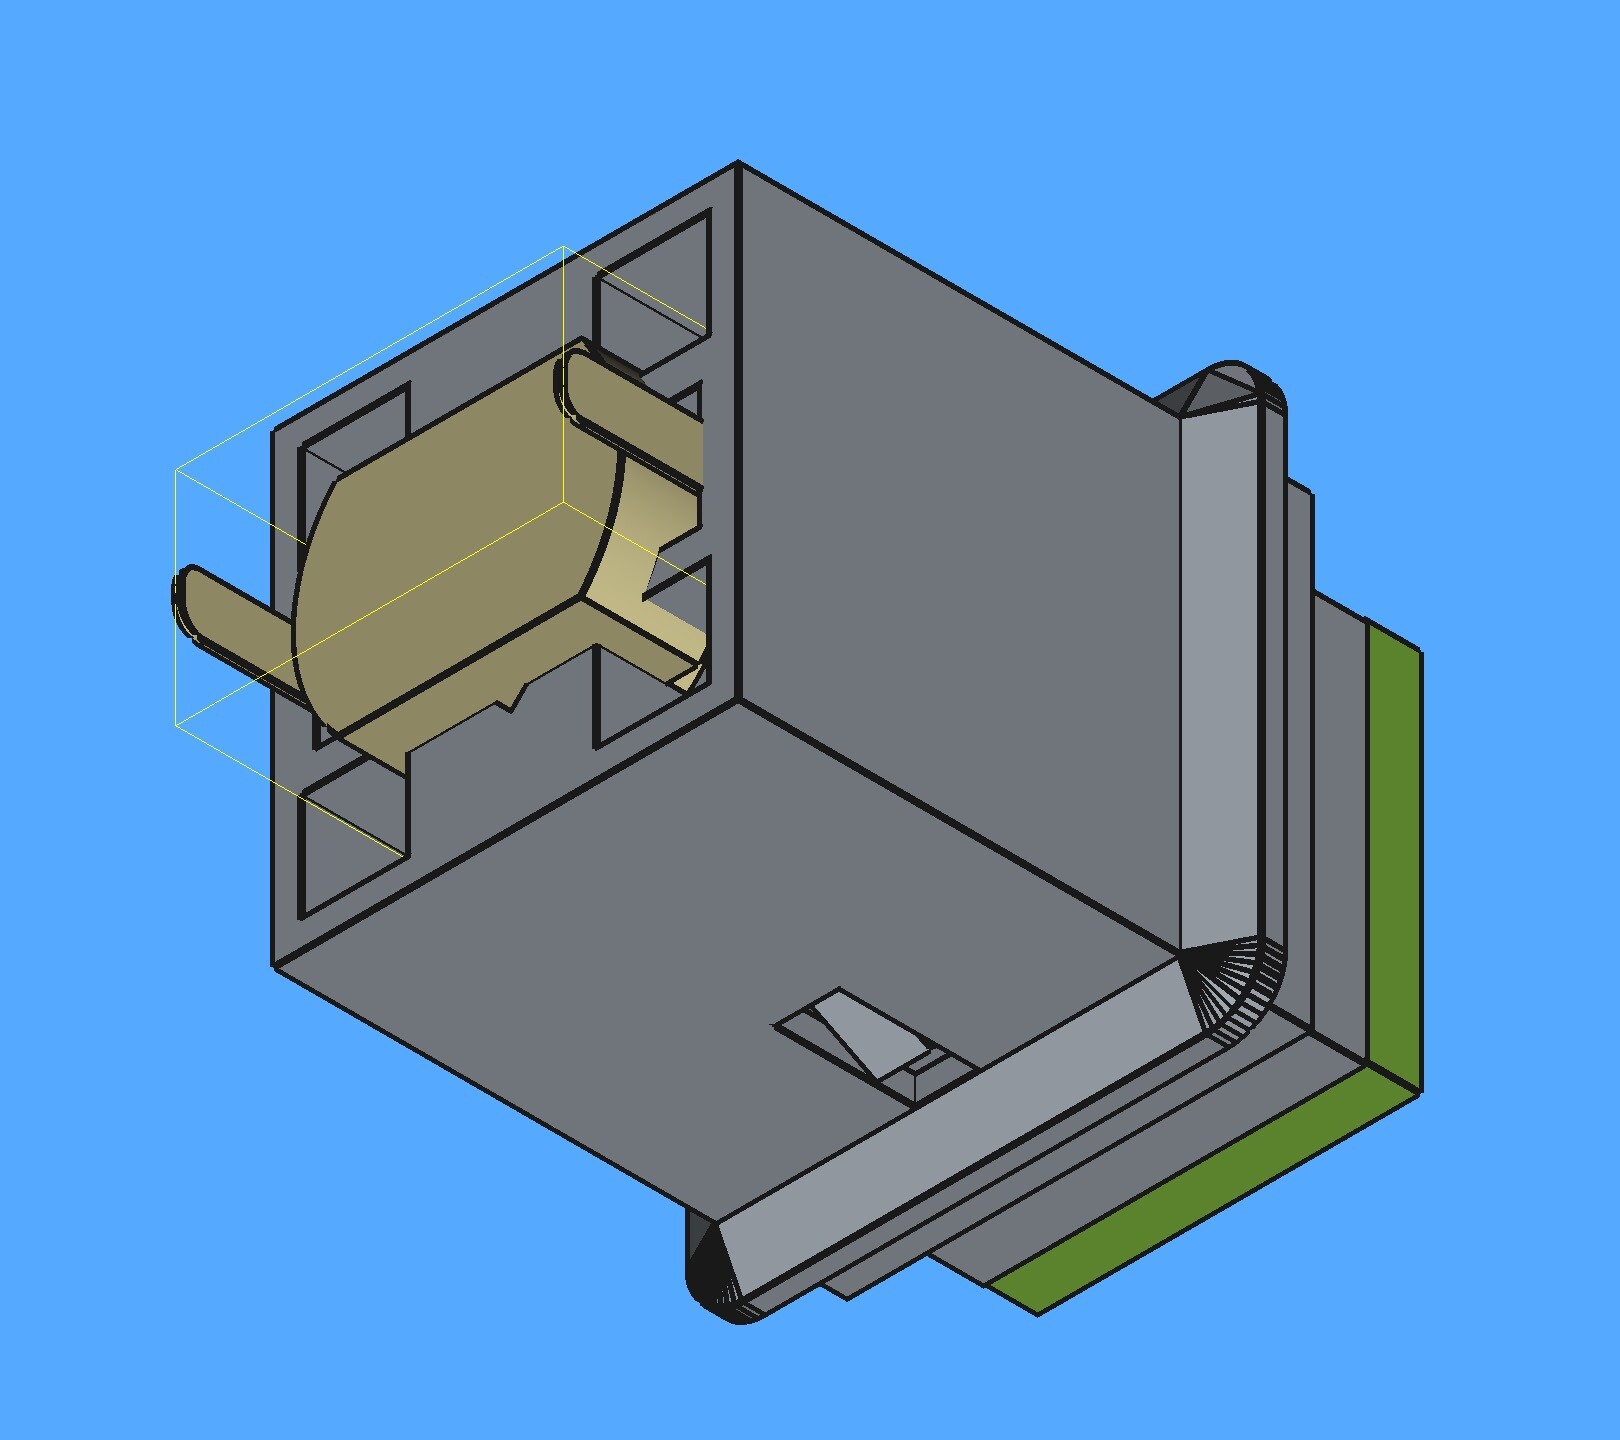
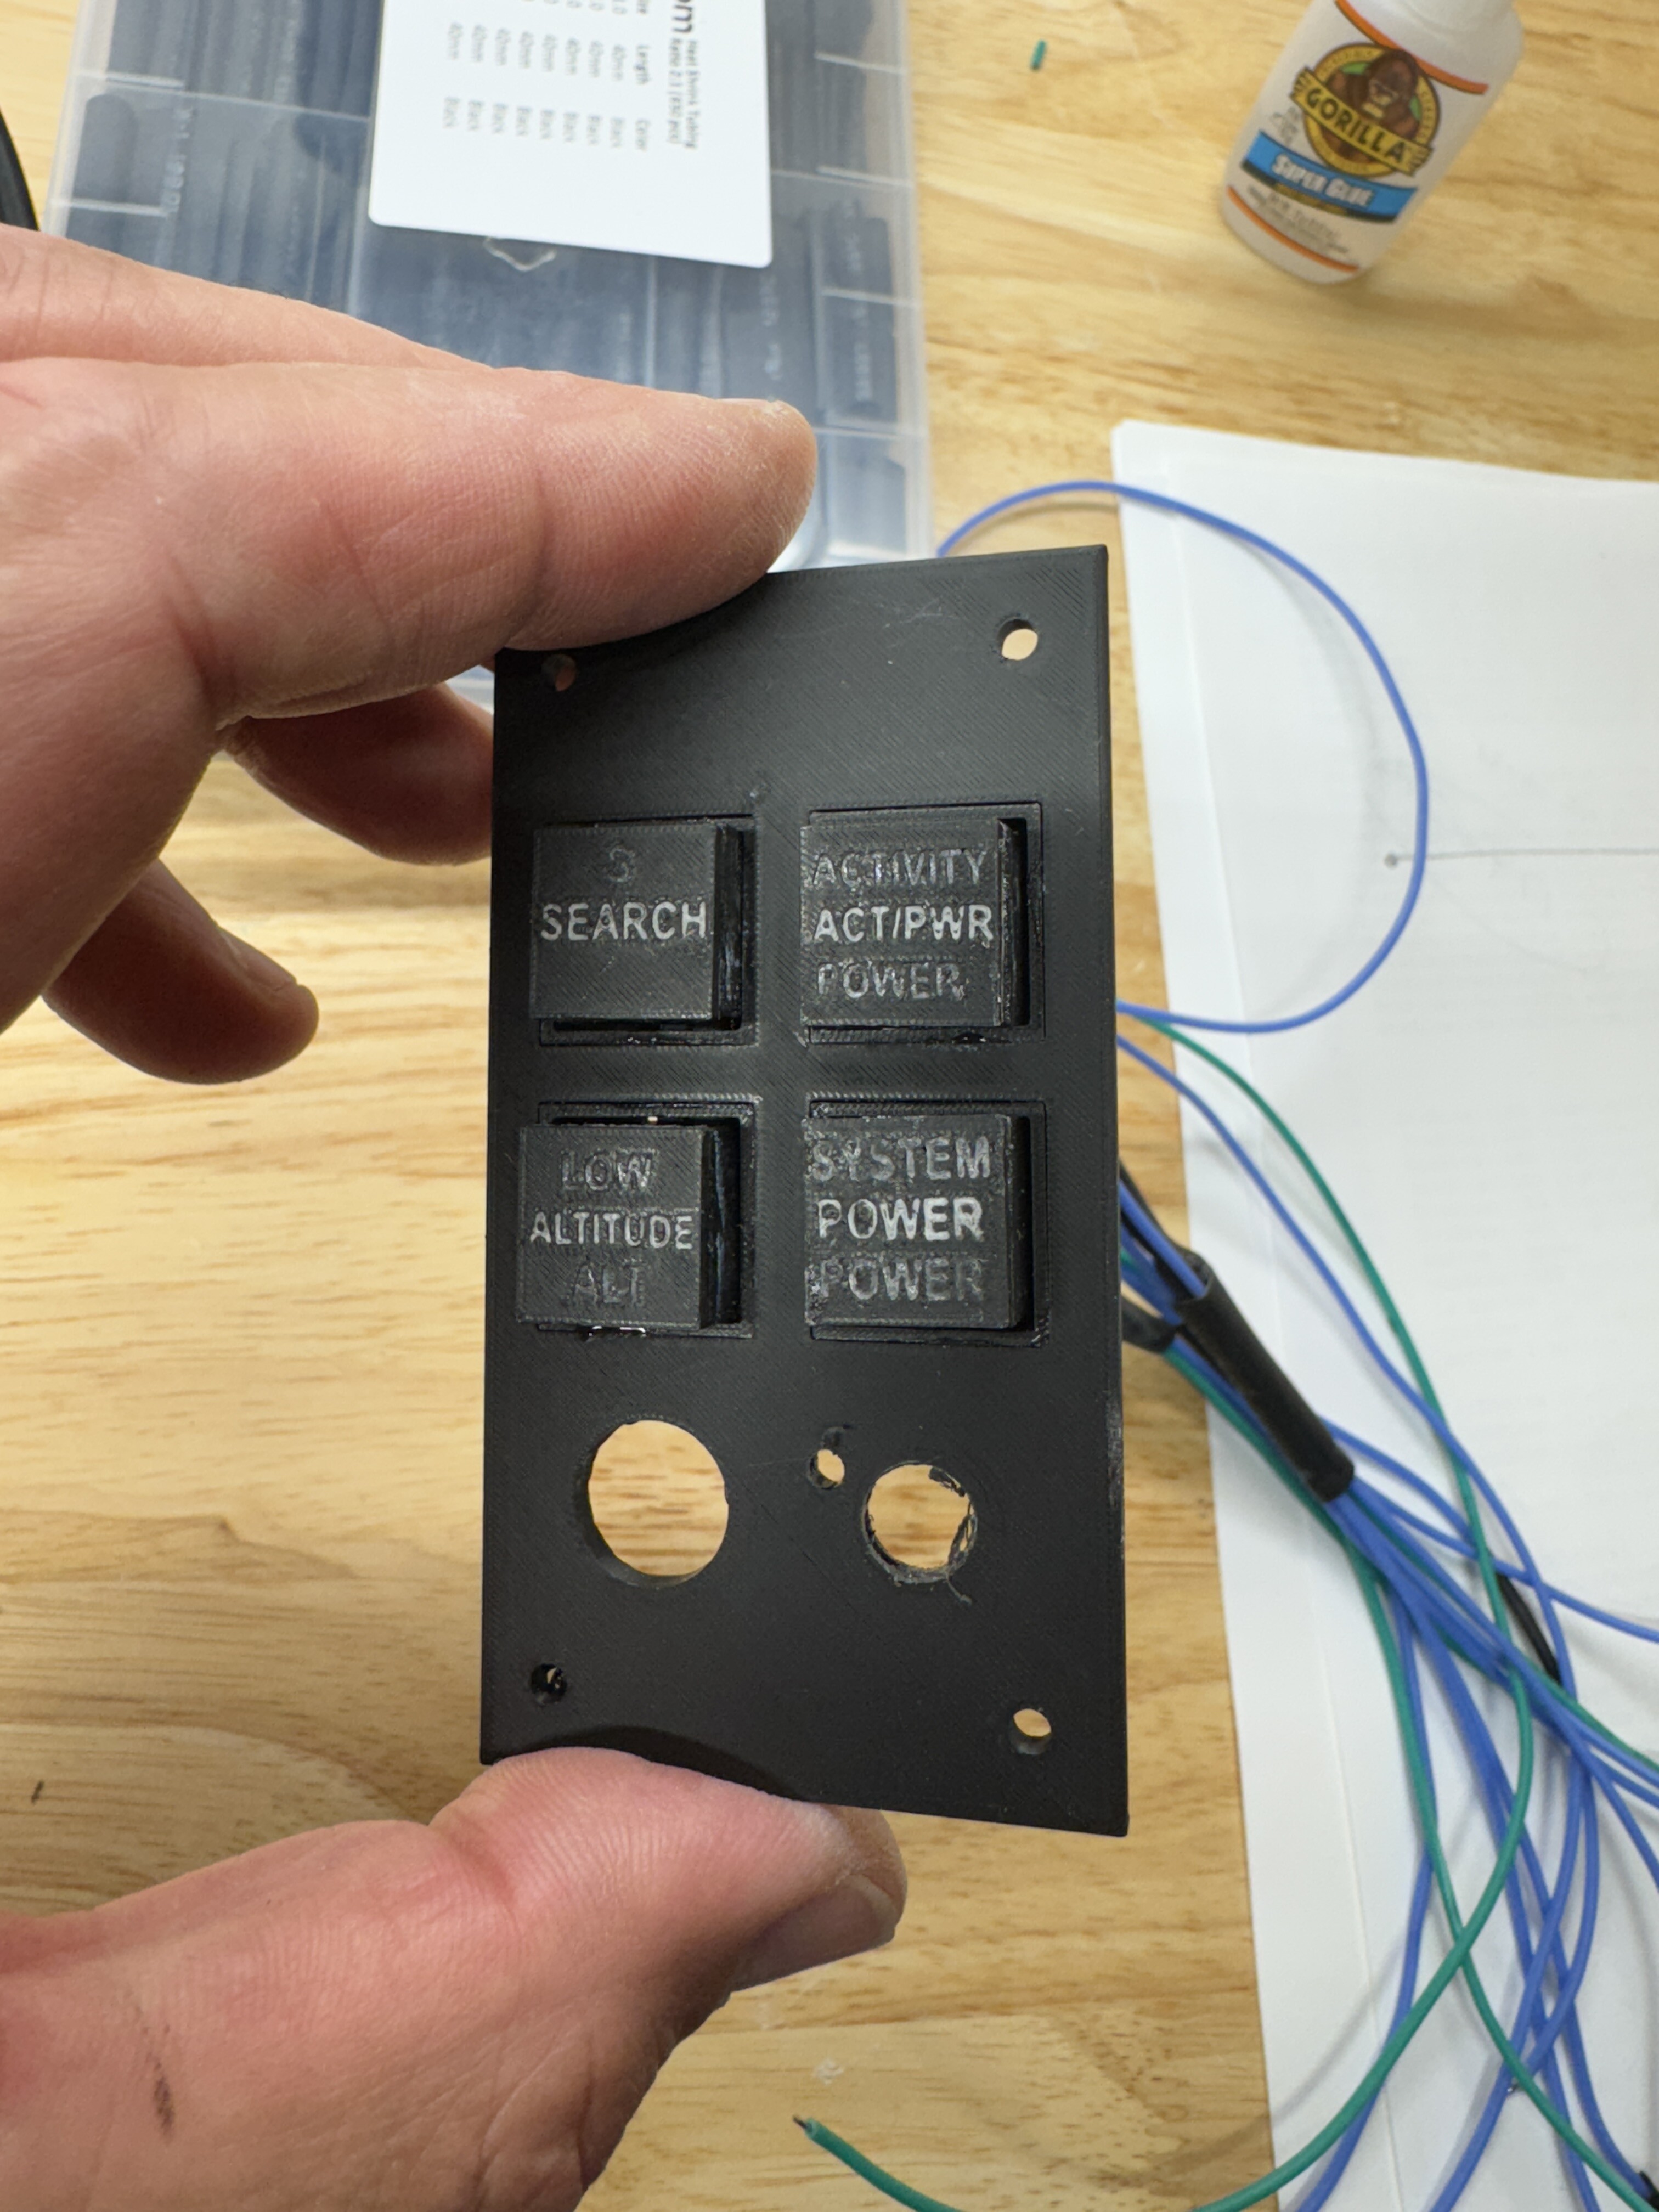
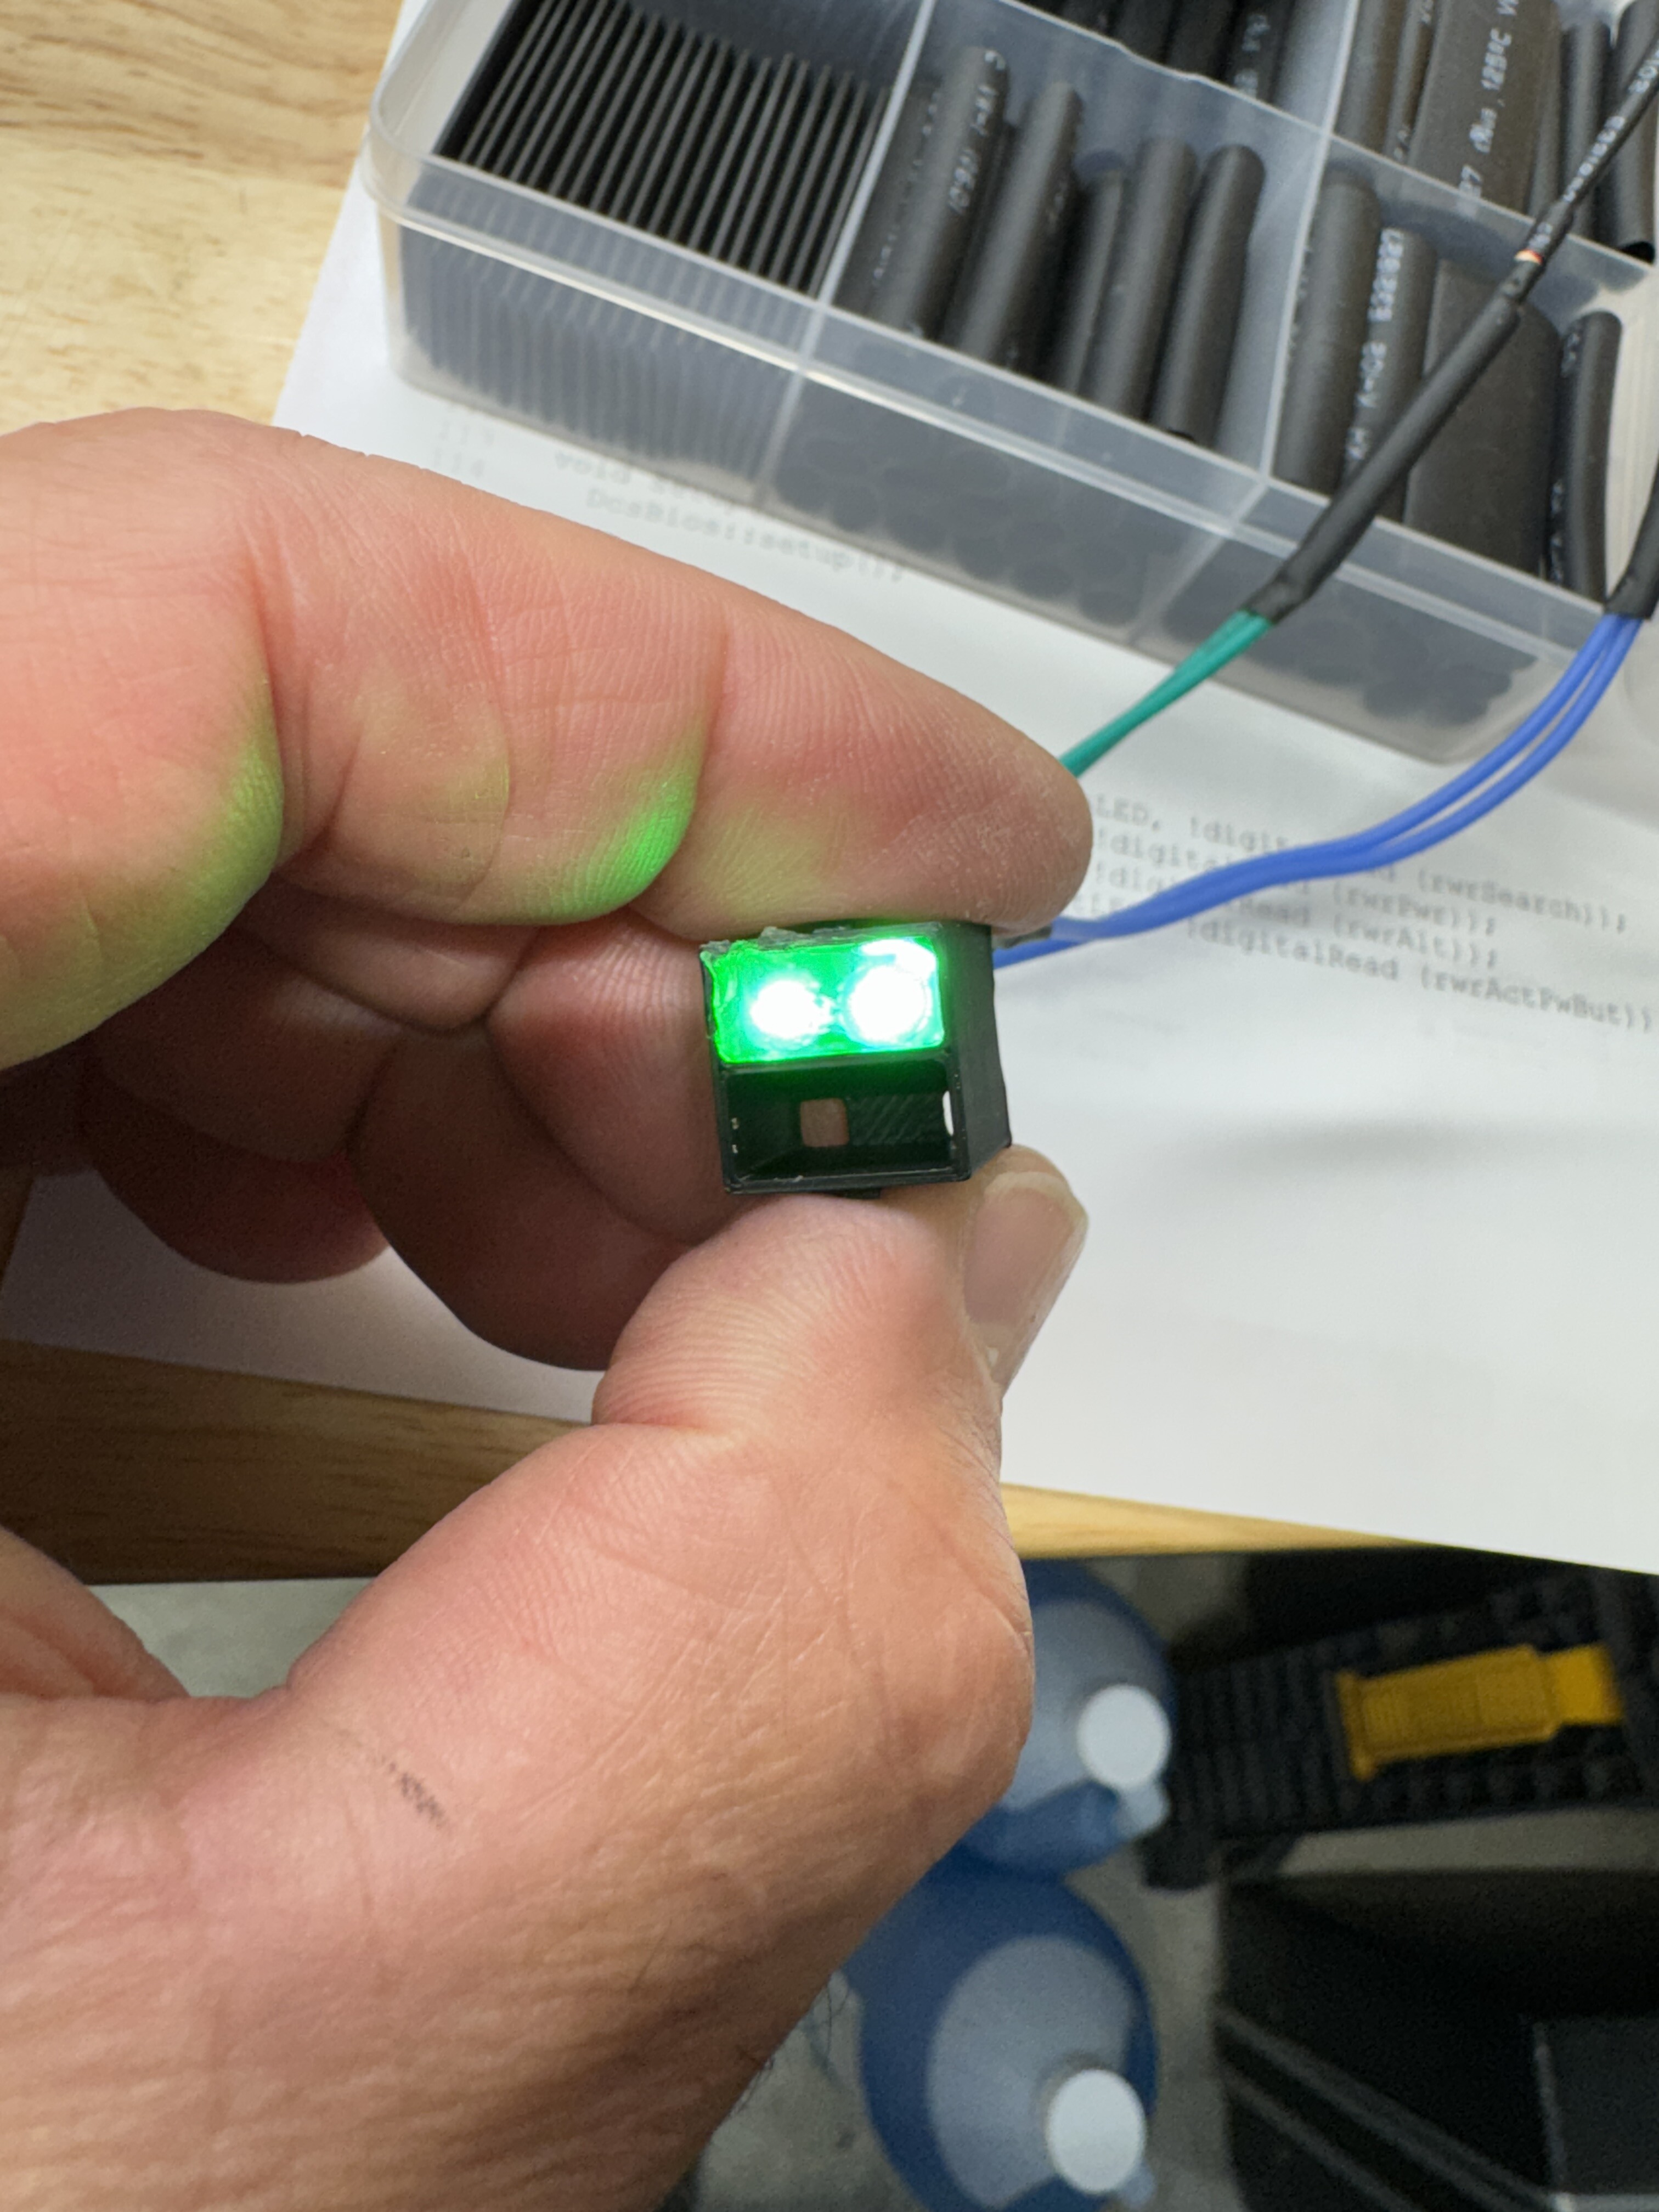
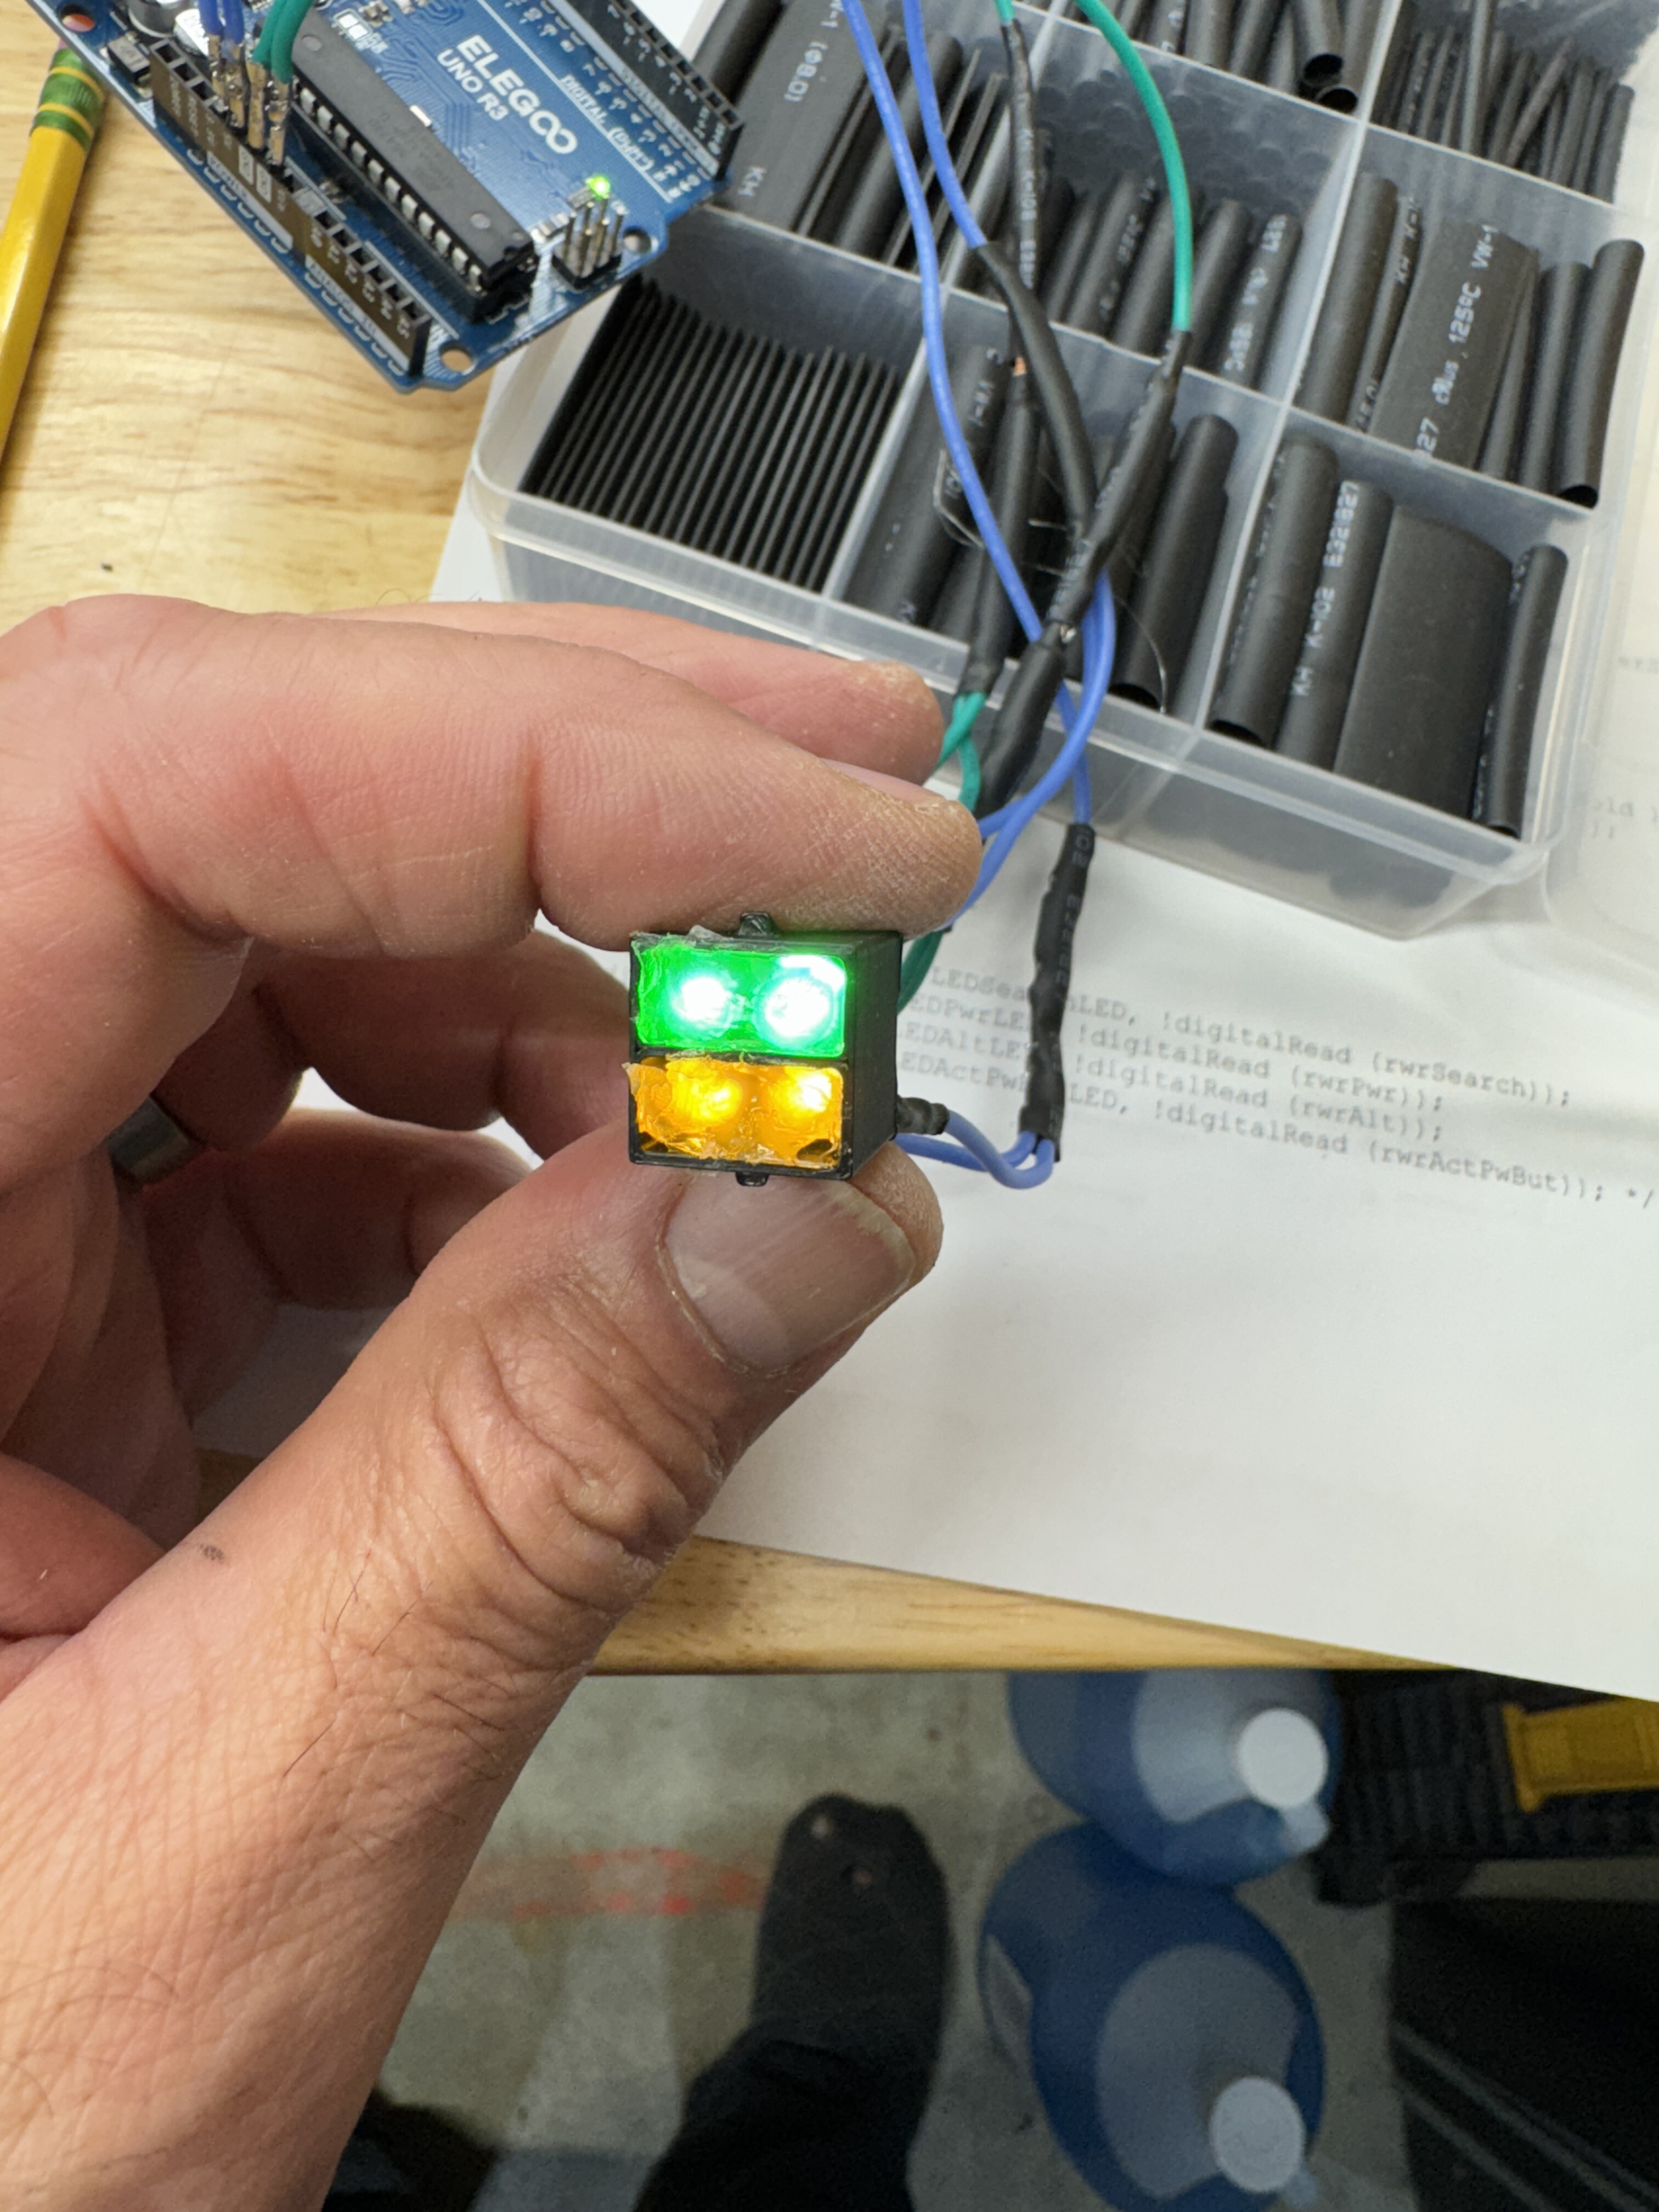
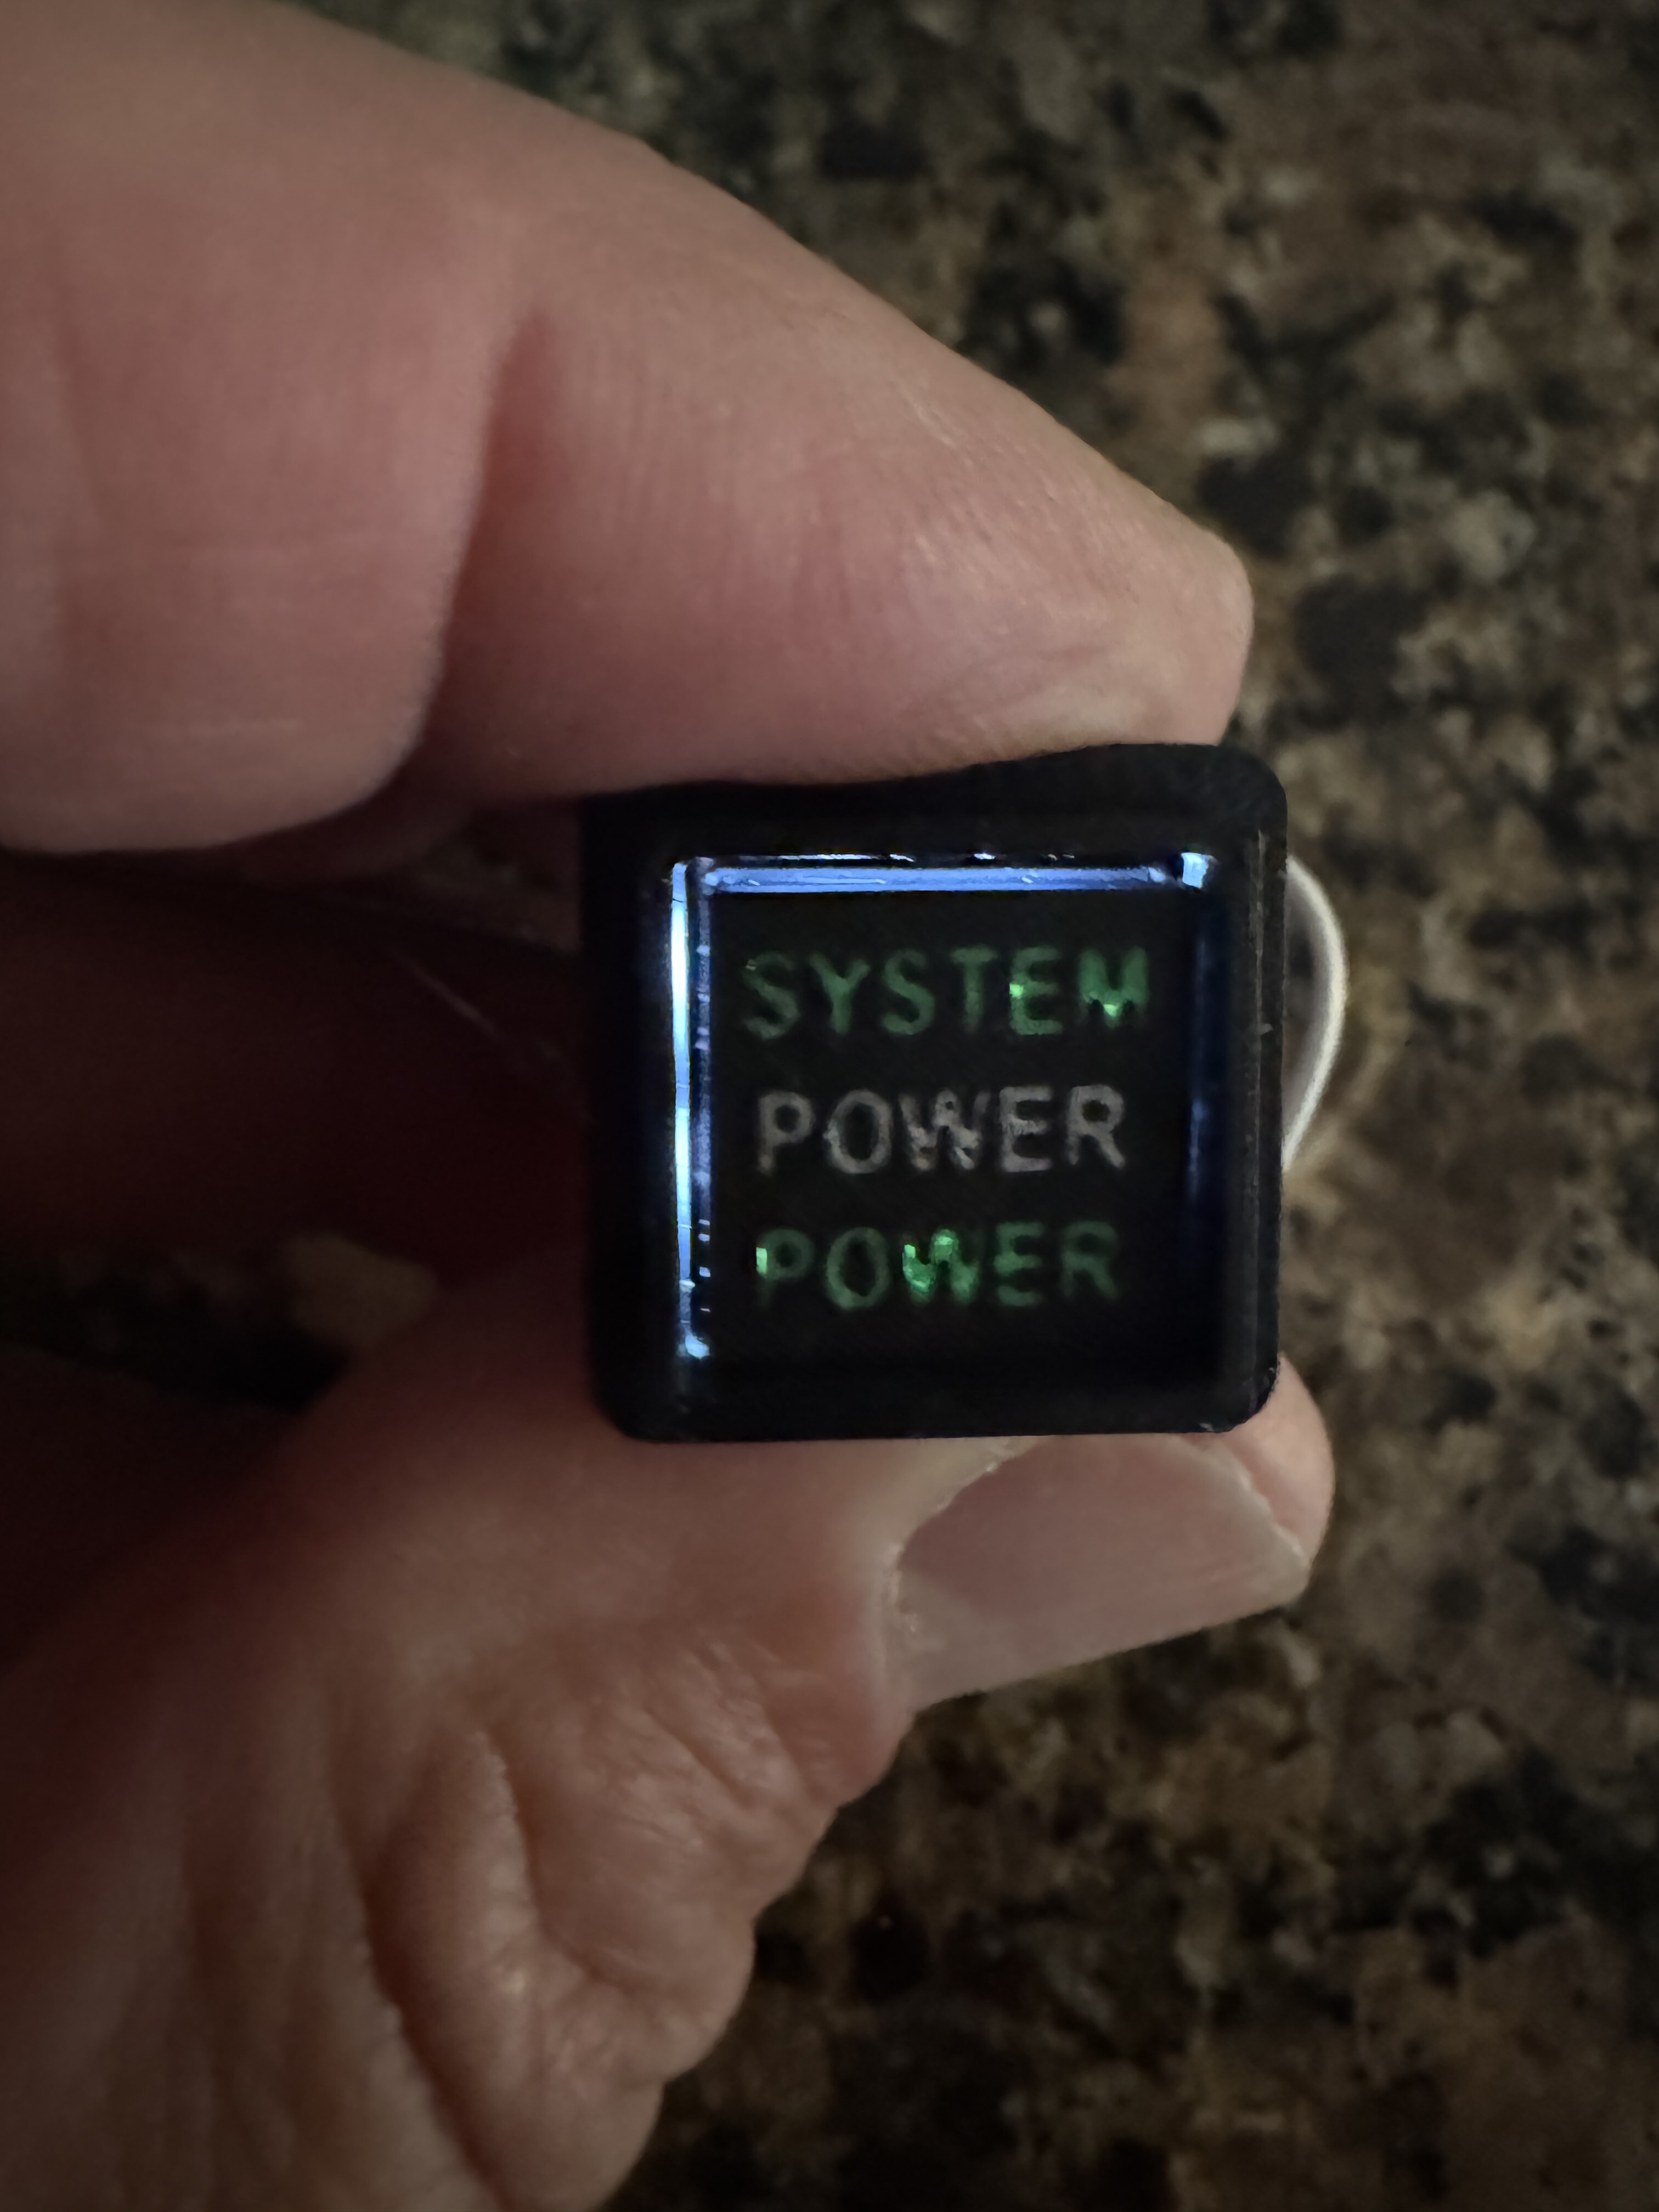
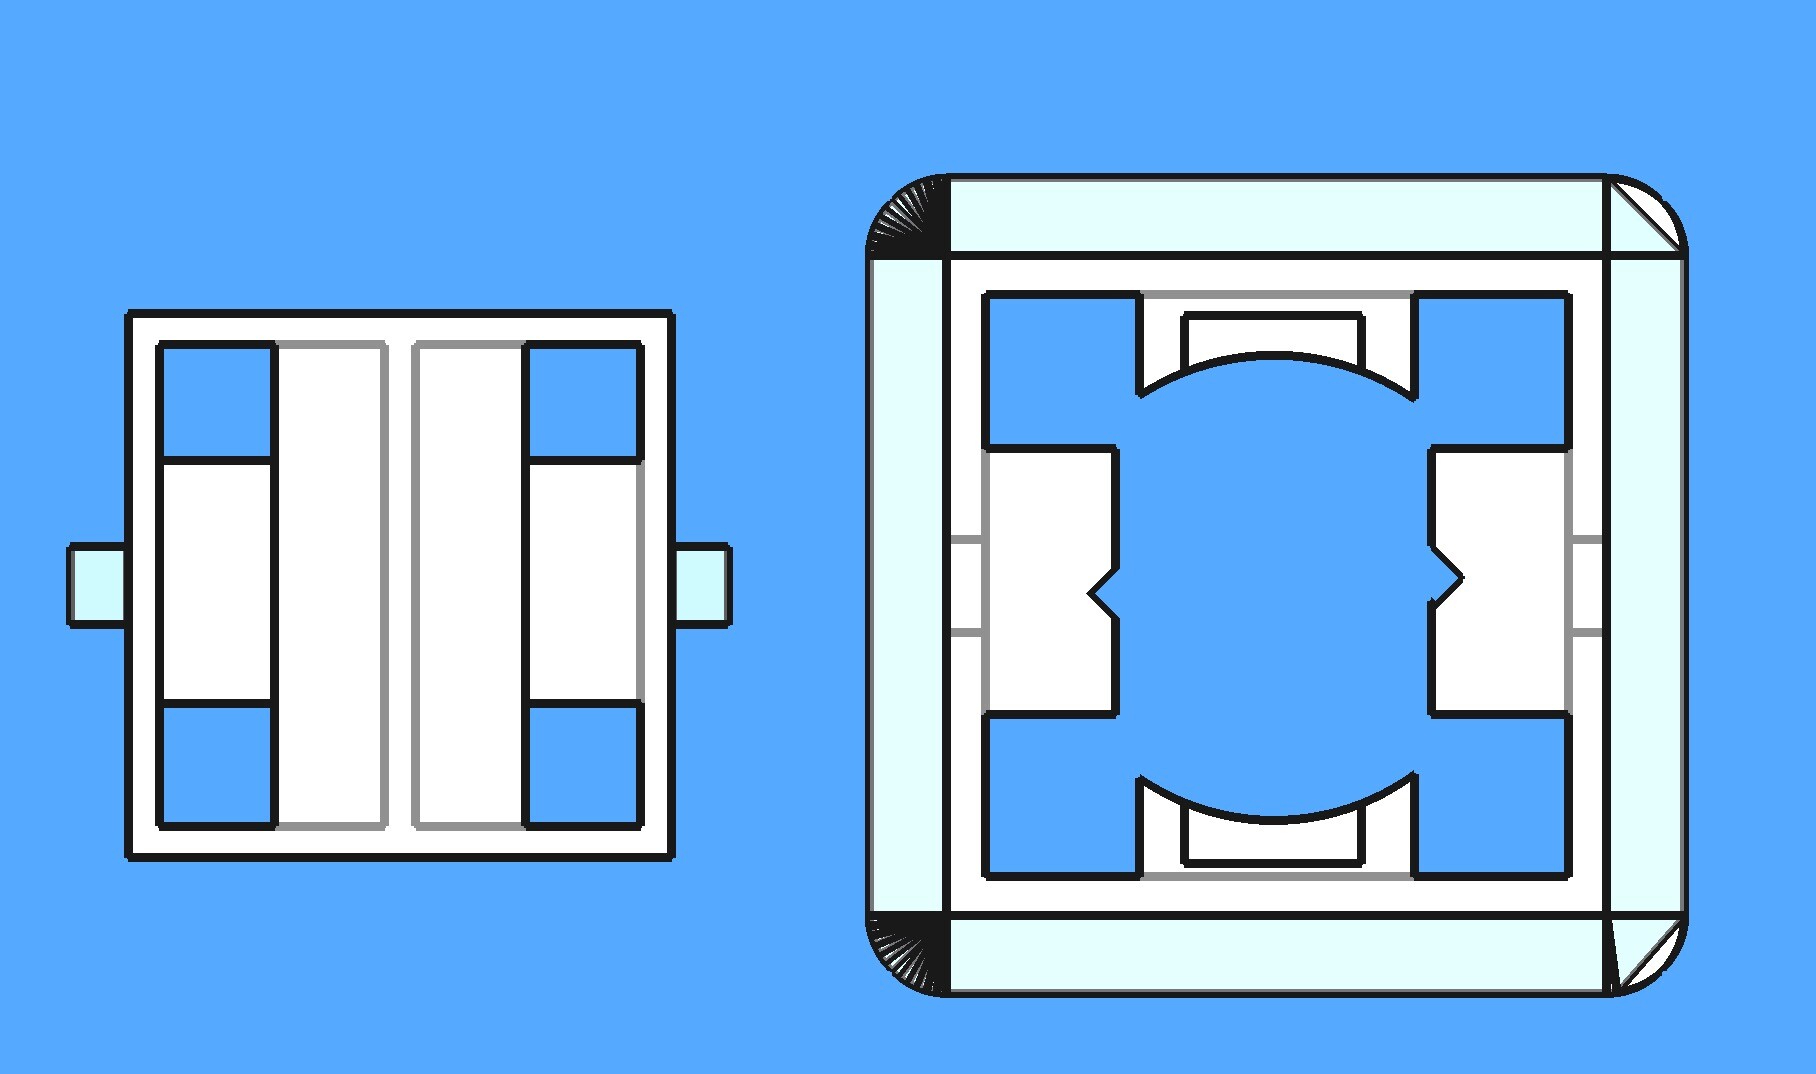
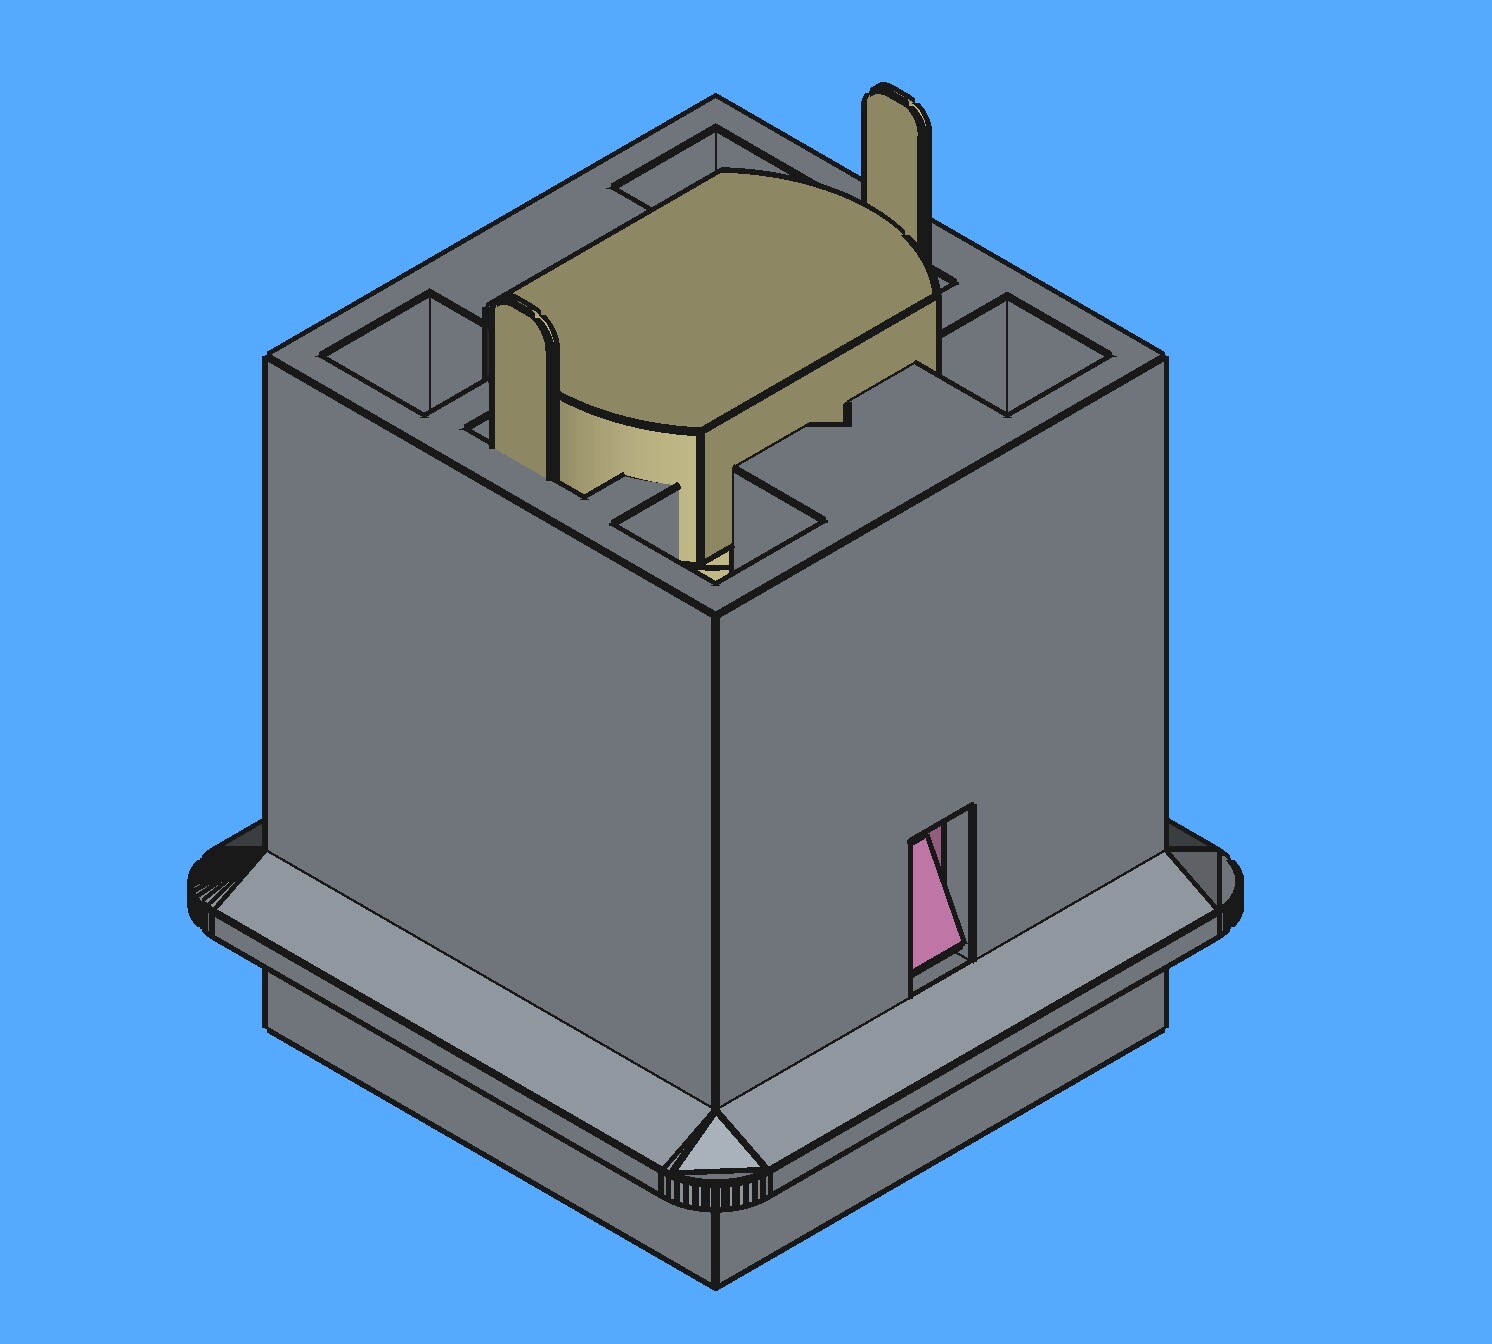
Here you go. Original source Joes HomeCockpit. One Korry Like switch has baffle for two bulb colors, and the other for four. Designed to sit on bottom of panel that is 3 mm thick with second panel on top also 3 mm thick. The inner button sits about 1 mm above the top panel and when you add the button it is just about the correct height. Two types one for the original micro switch and the other for the latching microswitch. You can use the momentary microswitch, just have to use the special BORT code that emulates a Toggle Type switch. I opted for the Latching Microswitch. ECM 1 Button.3mfECM 2 Button.3mfECM 3 Button.3mfECM 4 Button.3mfECM 5 Button.3mfECM FRM Button.3mfECM 6 Blank Button.3mfECM SLP Button.3mf System Power Button new version.3mfSearch Button.3mfAltitude Button.3mfACT PWR BUTTON.3mf Korry Like Switch 4 Bulb.3mfKorry Like Switch 2 Bulb.3mf
-
nullFinished. Now on to the ECM panel. Mike
-
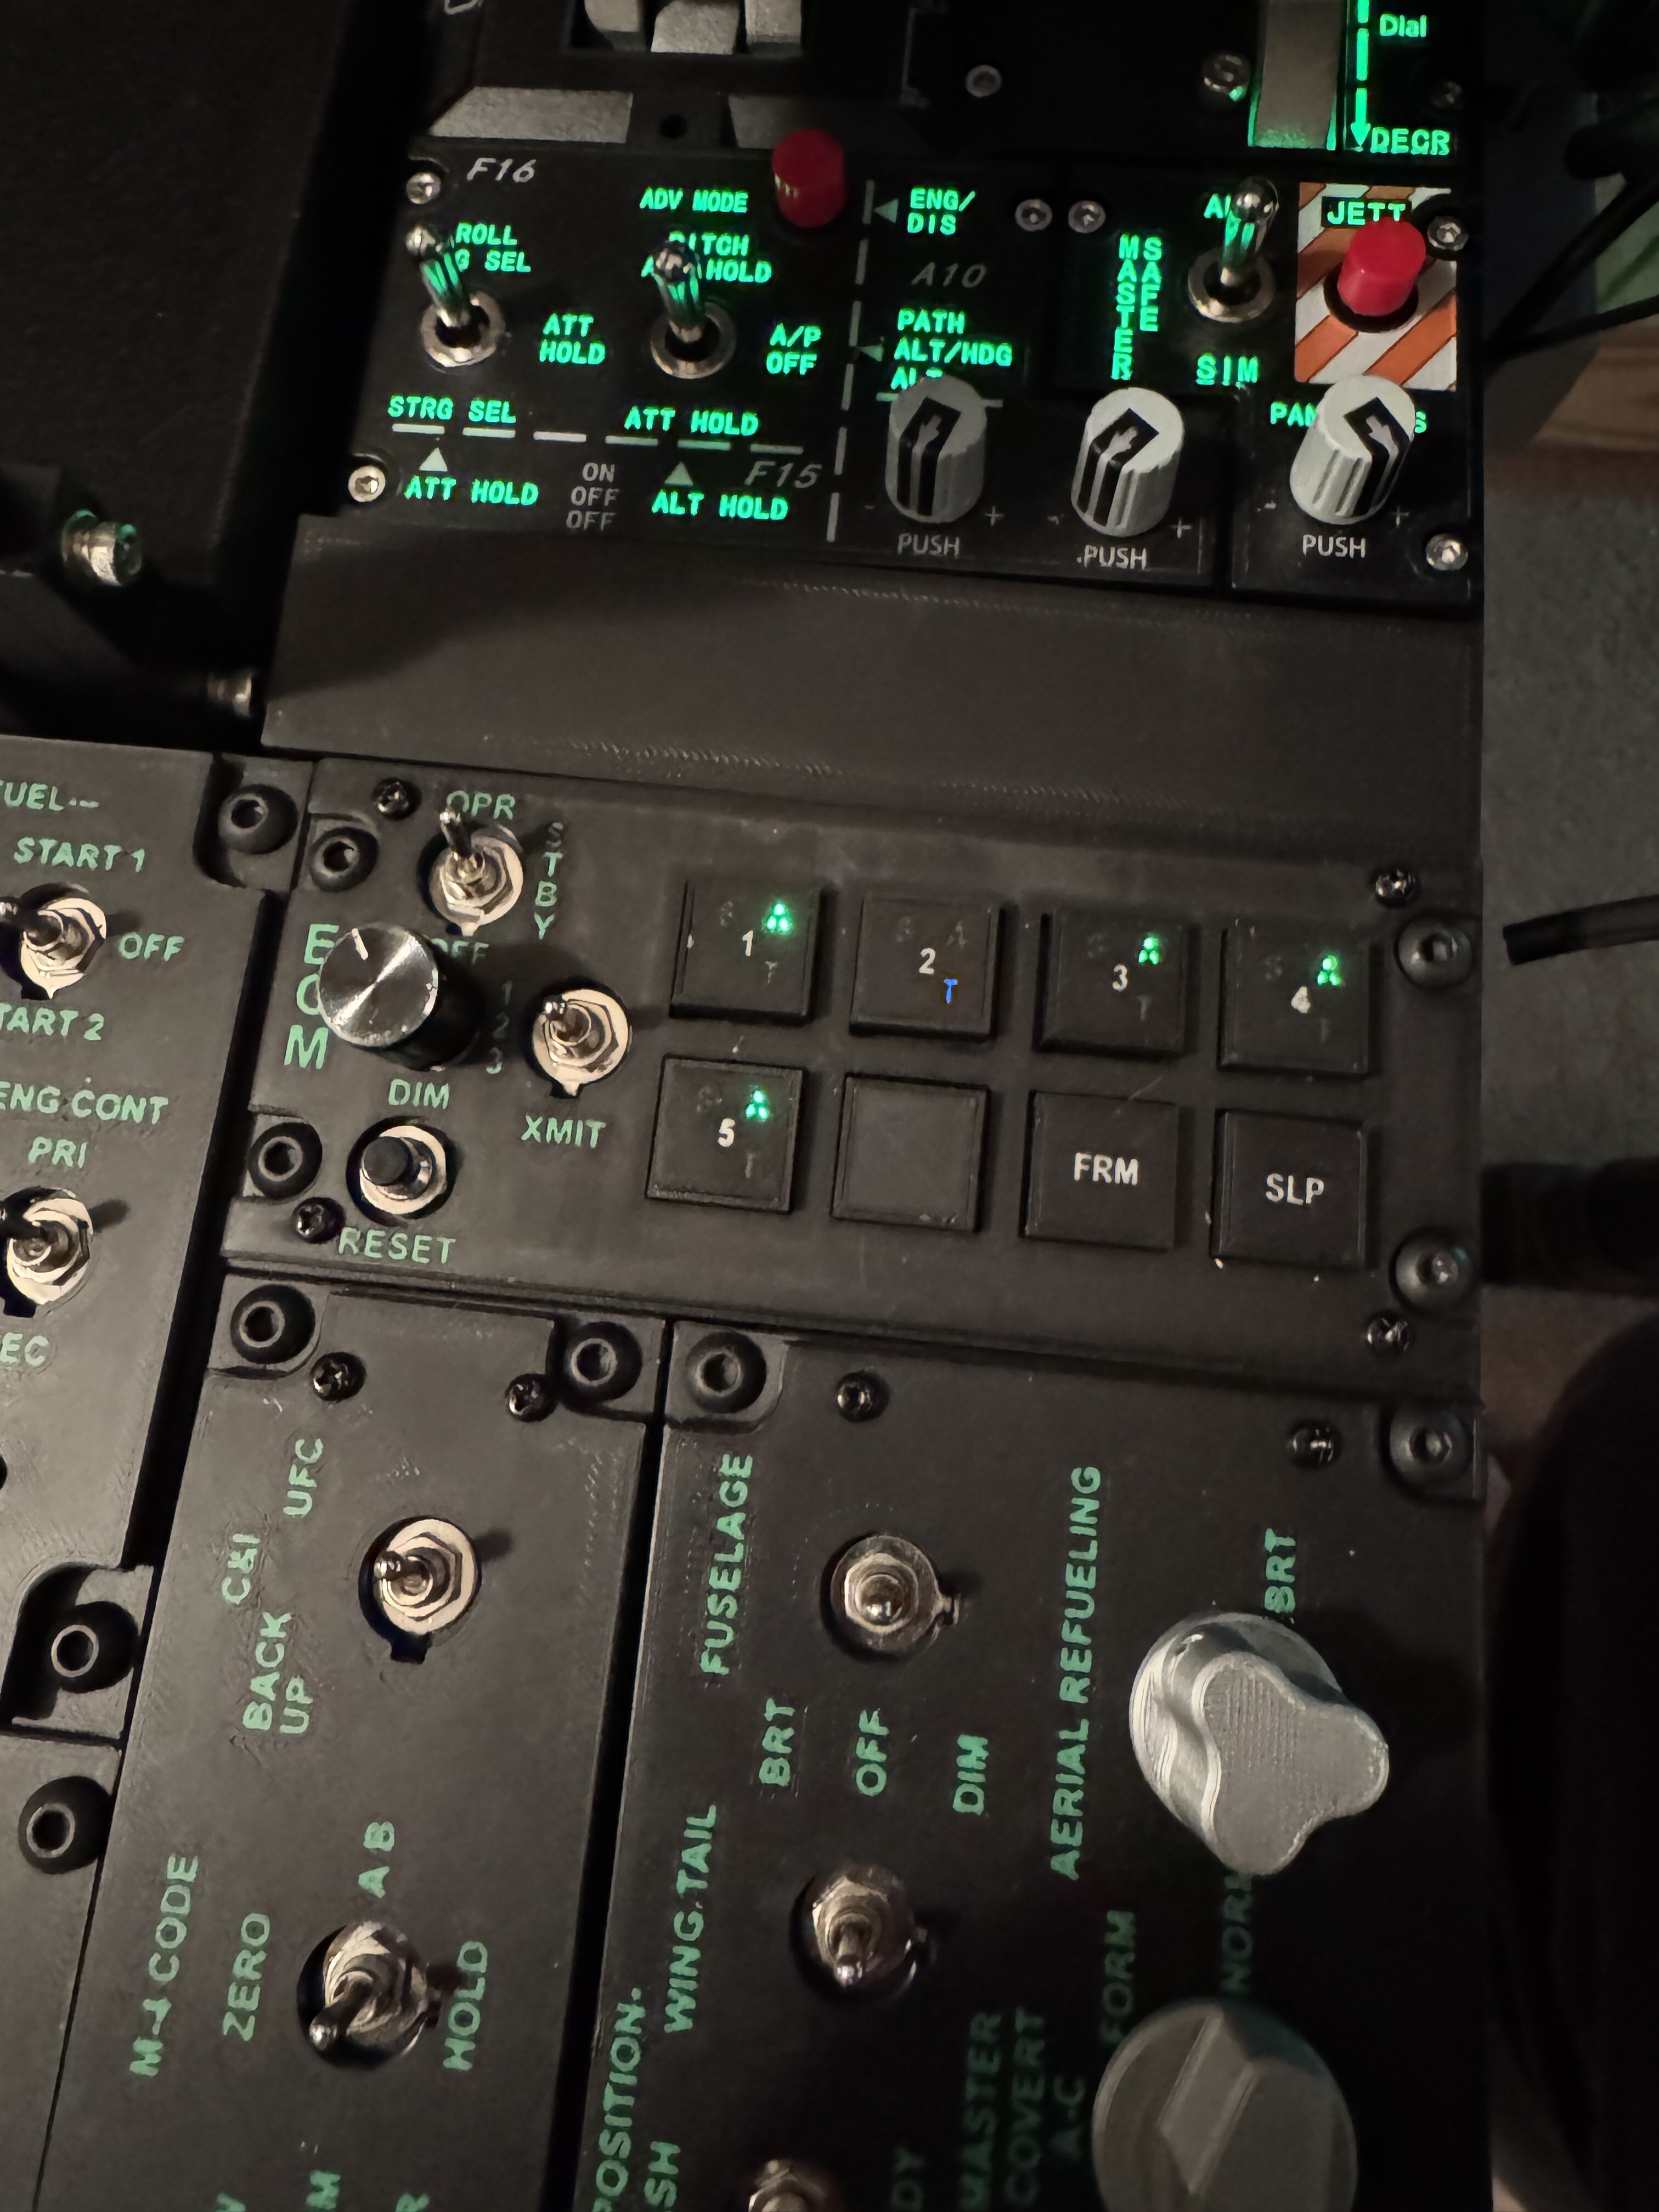
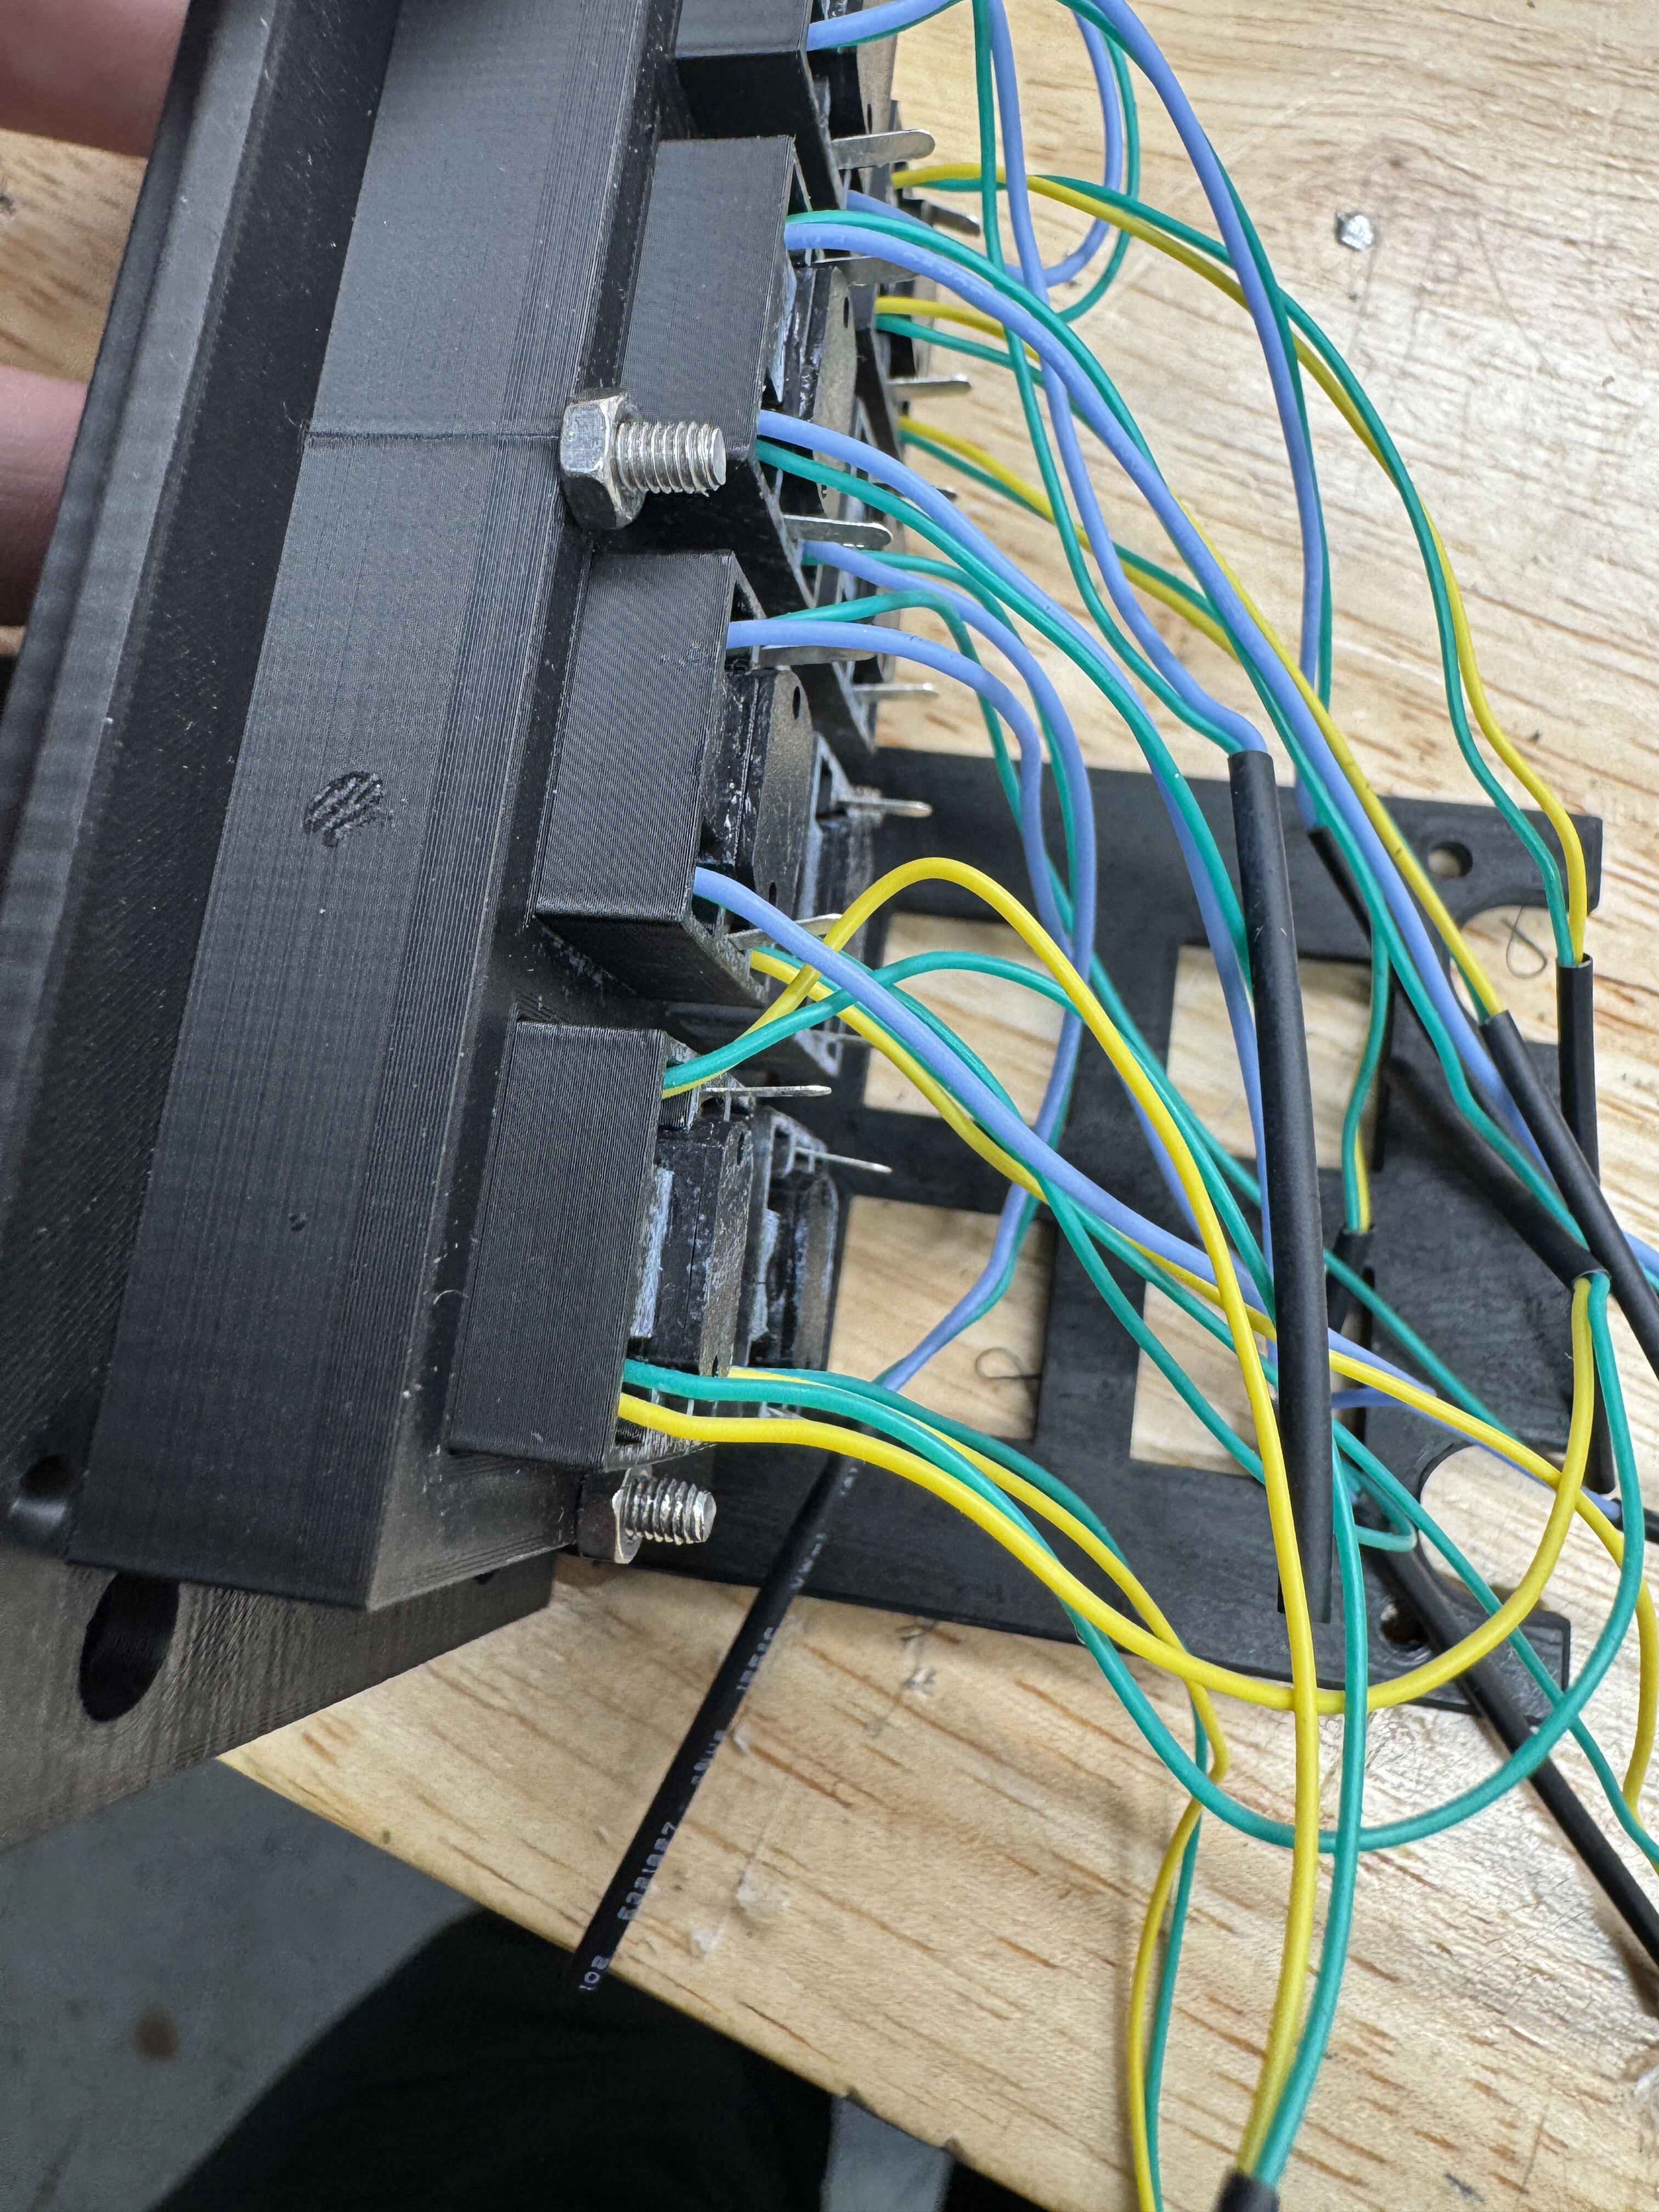
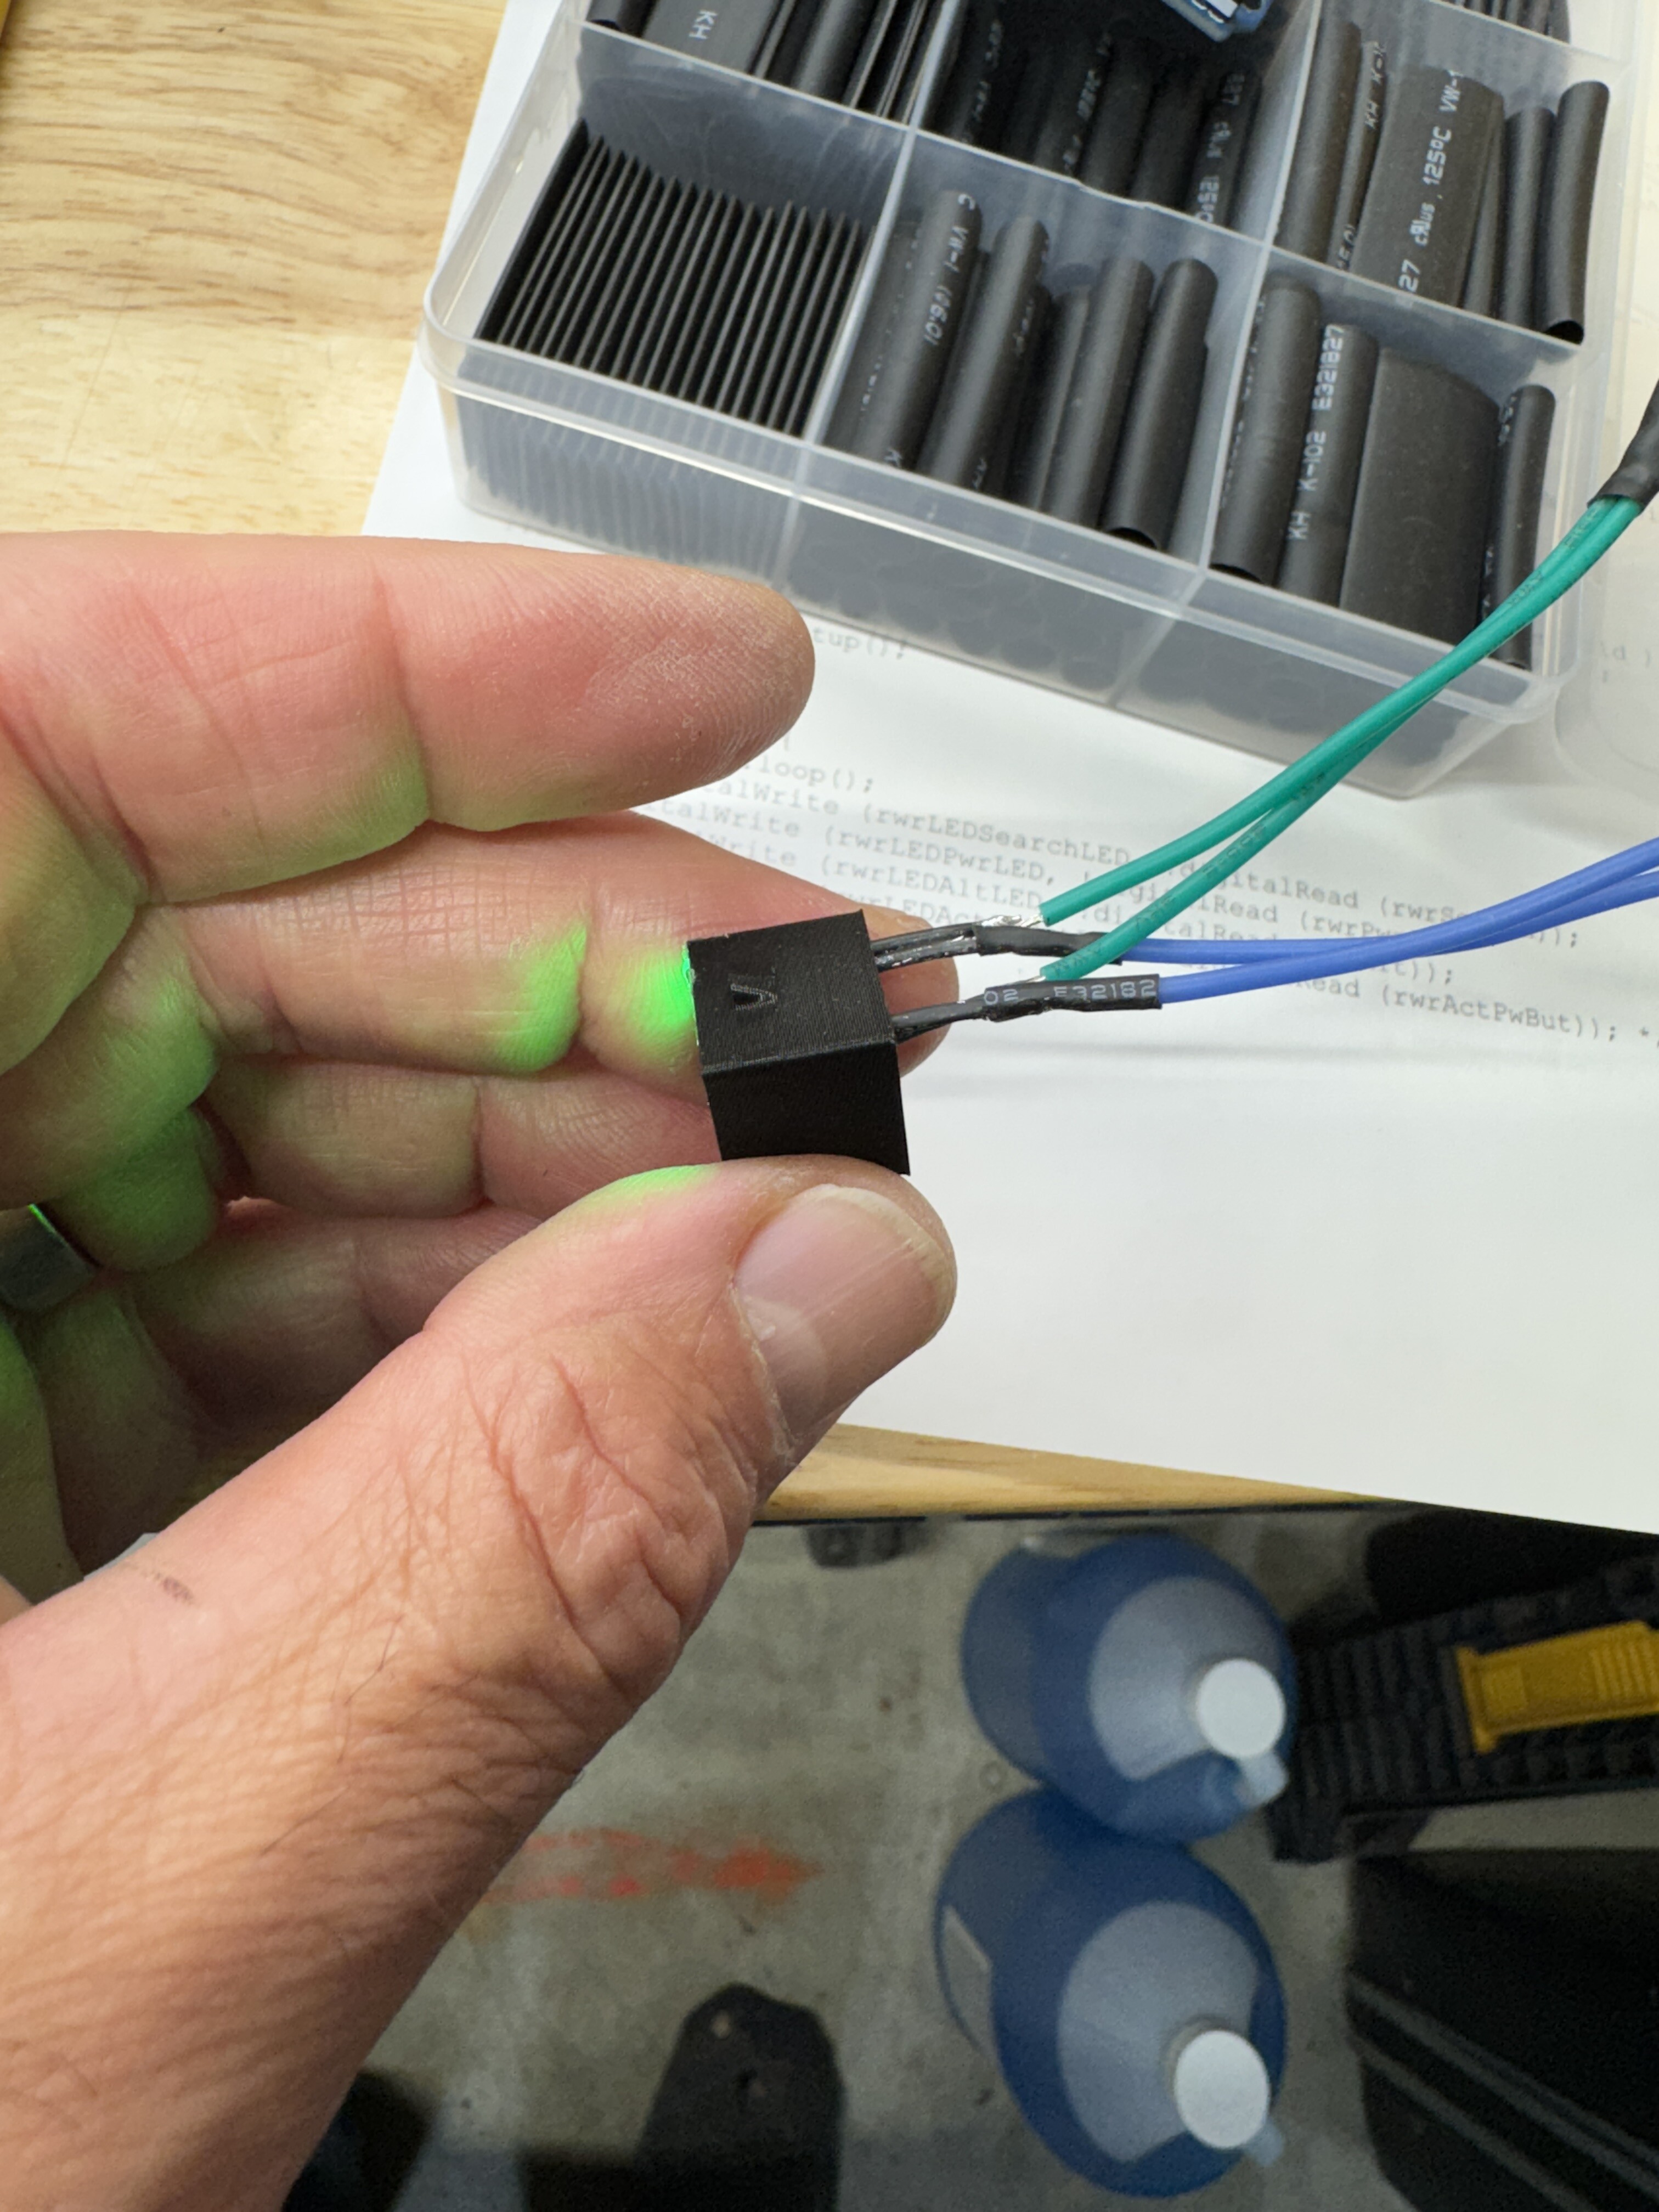
Two things.... 1. DCS via BORT can use momentary switches for these. I made a prototype with both Momentary Switches and Latching Switches, and went with the latching microswitches. 2. There is a bug in Port and/or DCSBIOS with regard to the "Search" Button and the "Altitude Button." If you mouse click these buttons they simply turn Search on and off as expected, and Altitude from Low to not low, however, if you use an external physical toggle button or the momentary button type using the Bort command that emulates a Toggle, or even push the "Toggle" button within BORT, those switches act incorrectly. When you hit your physical button the Button IN GAME moves but the light does not go off until you cycle this twice. I noted this when I used the original lighted button toggle switches (just flat top with white LED). Hopefully this bug can get fixed at some point. My 'design' was adopted from Joes Homecockpit design, but I made the inner button longer, moved the side pins down, and redid the base to allow the use of the different switch. Glueing the LED's in place is a must since the LED's move with the inner switch box and this moves the wires and makes the switches bind. I added the hot glue and bingo the switches worked better. My newer design is better and will use smaller gauge wire to eliminate binding. So I popped the Buttons off and hot glued the LED's, and can salvage this design. I'll use the better design for the ECM buttons. Top panel is still in my printer, the openings for the buttons was too tight, so had to reprint. Final photo to follow. Mike
-
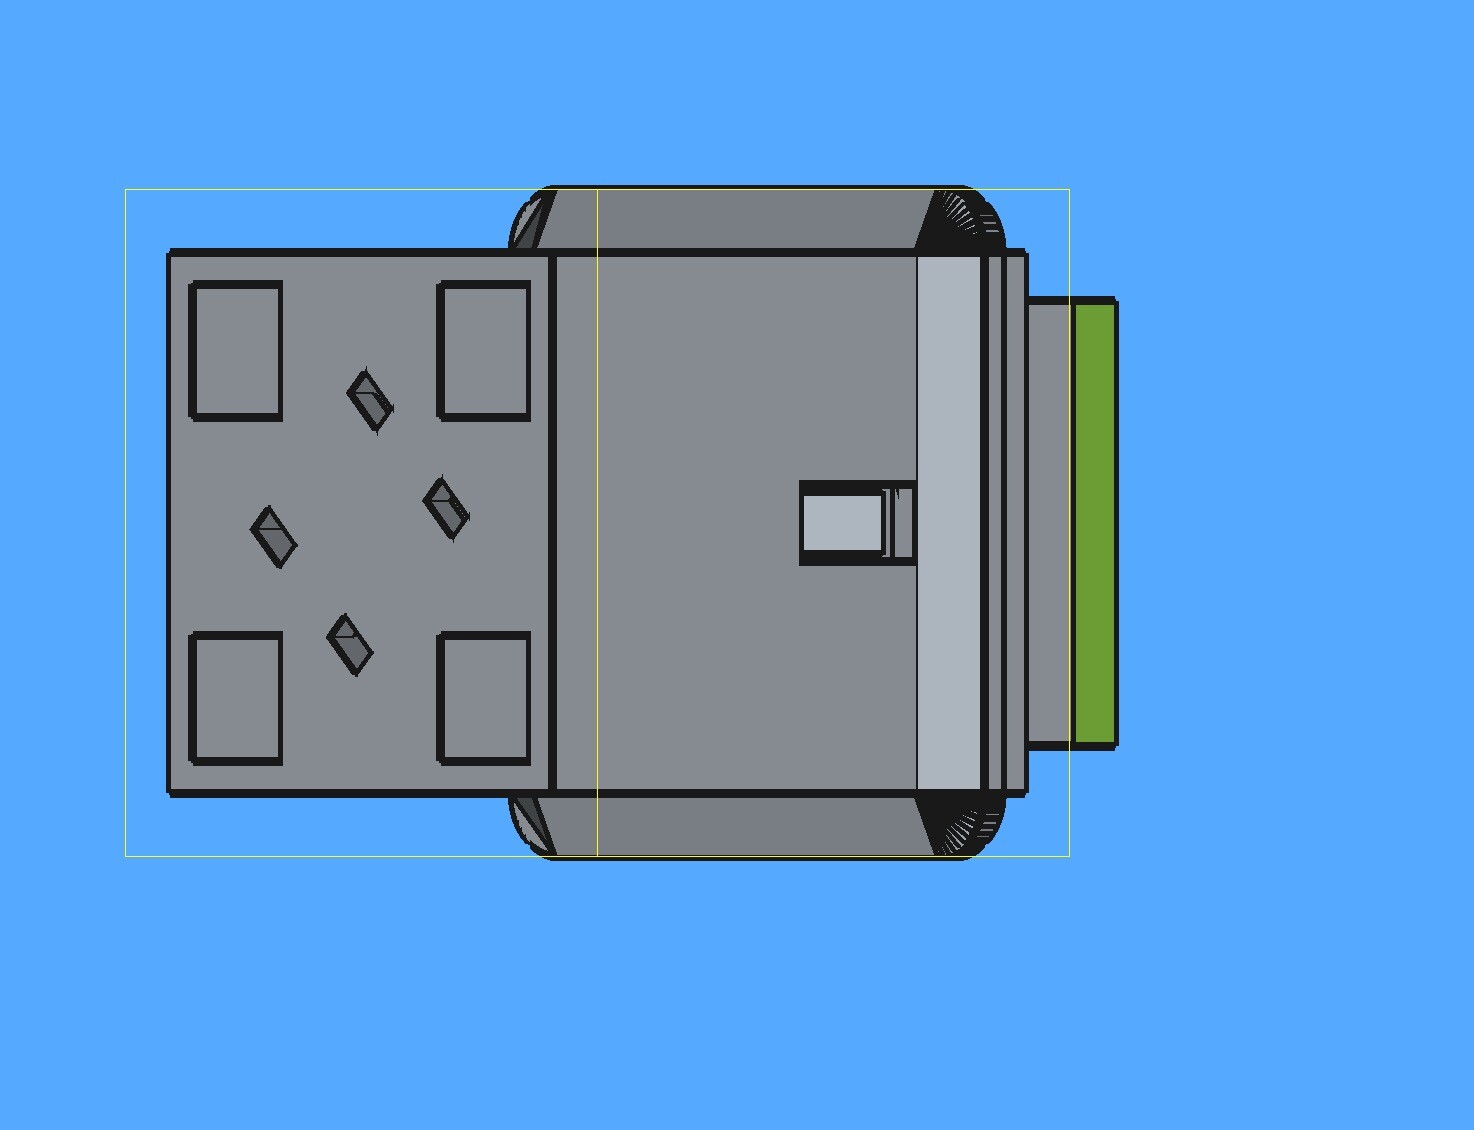
I found a 3d model for Korry type switches at: Joes Home Cockpit (URL https://joachim.herwigs.info/projects/homecockpit/korry-alikes.html ), and made a test model.' Ran into a snag because I used a momentary micro switch and of course DCS expects a toggle type, so found those and remodeled the Korry Type Switch to accommodate the other type of switch. I adjusted the inner piece of the Korry Like Switch because of too tight of a tolerance to let the microswitch work in the first model. I probably will have to monkey with the design once I get the physical new micro switches (latching type). So far, did make progress with this. Mike null null
-
Of course I added more. Mike
-
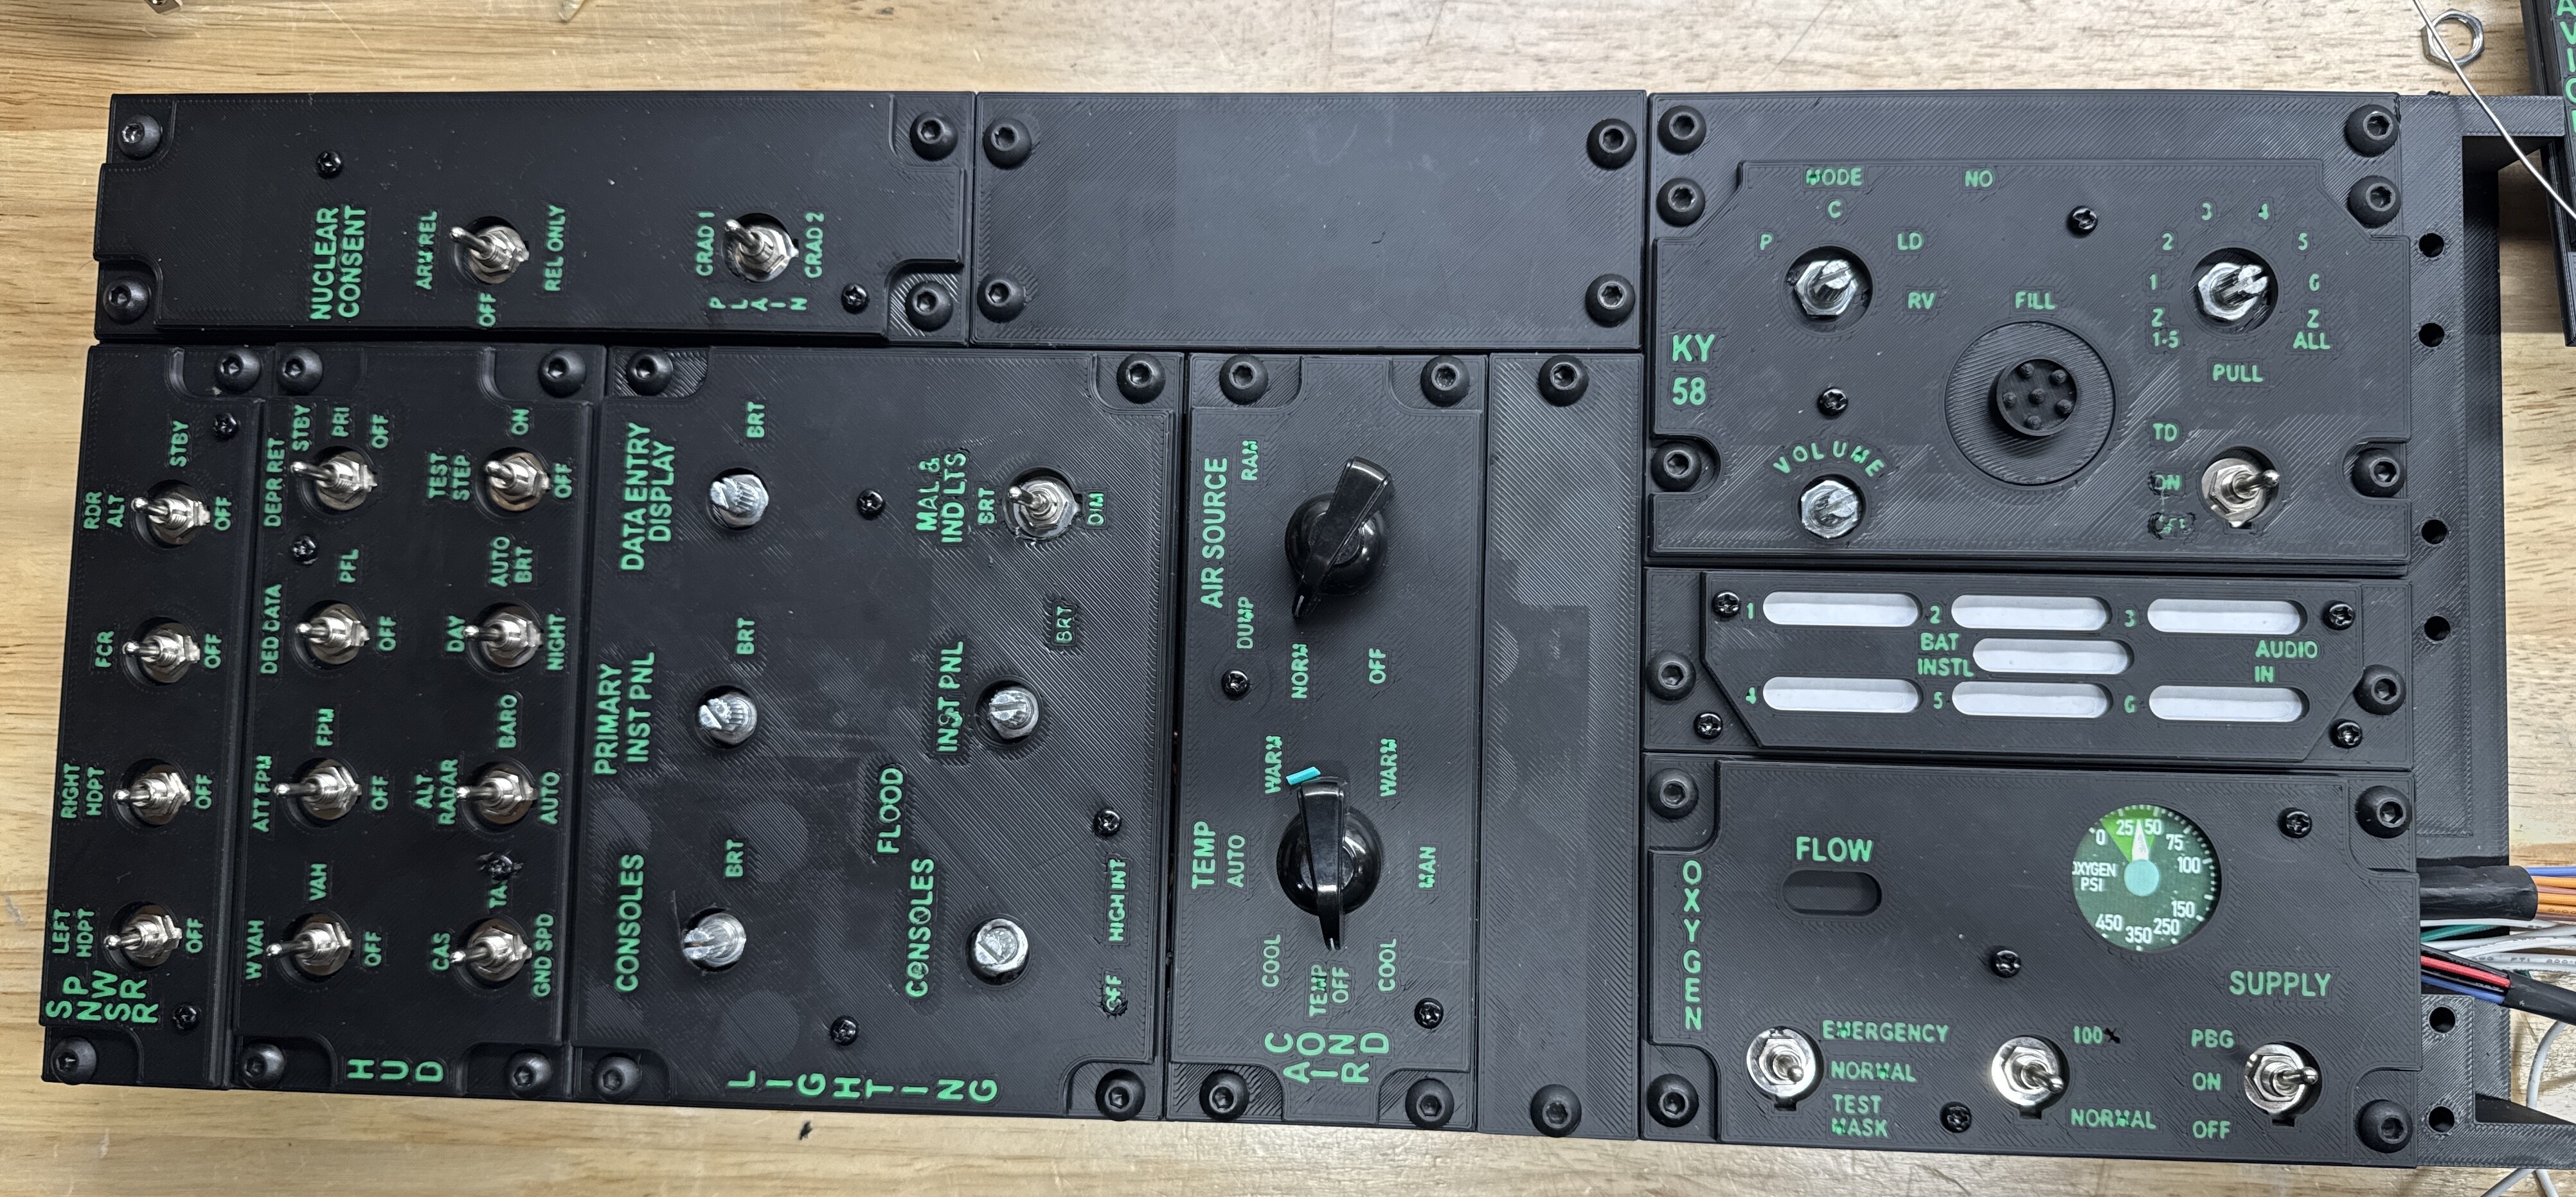
All finished and tested. Mike
-
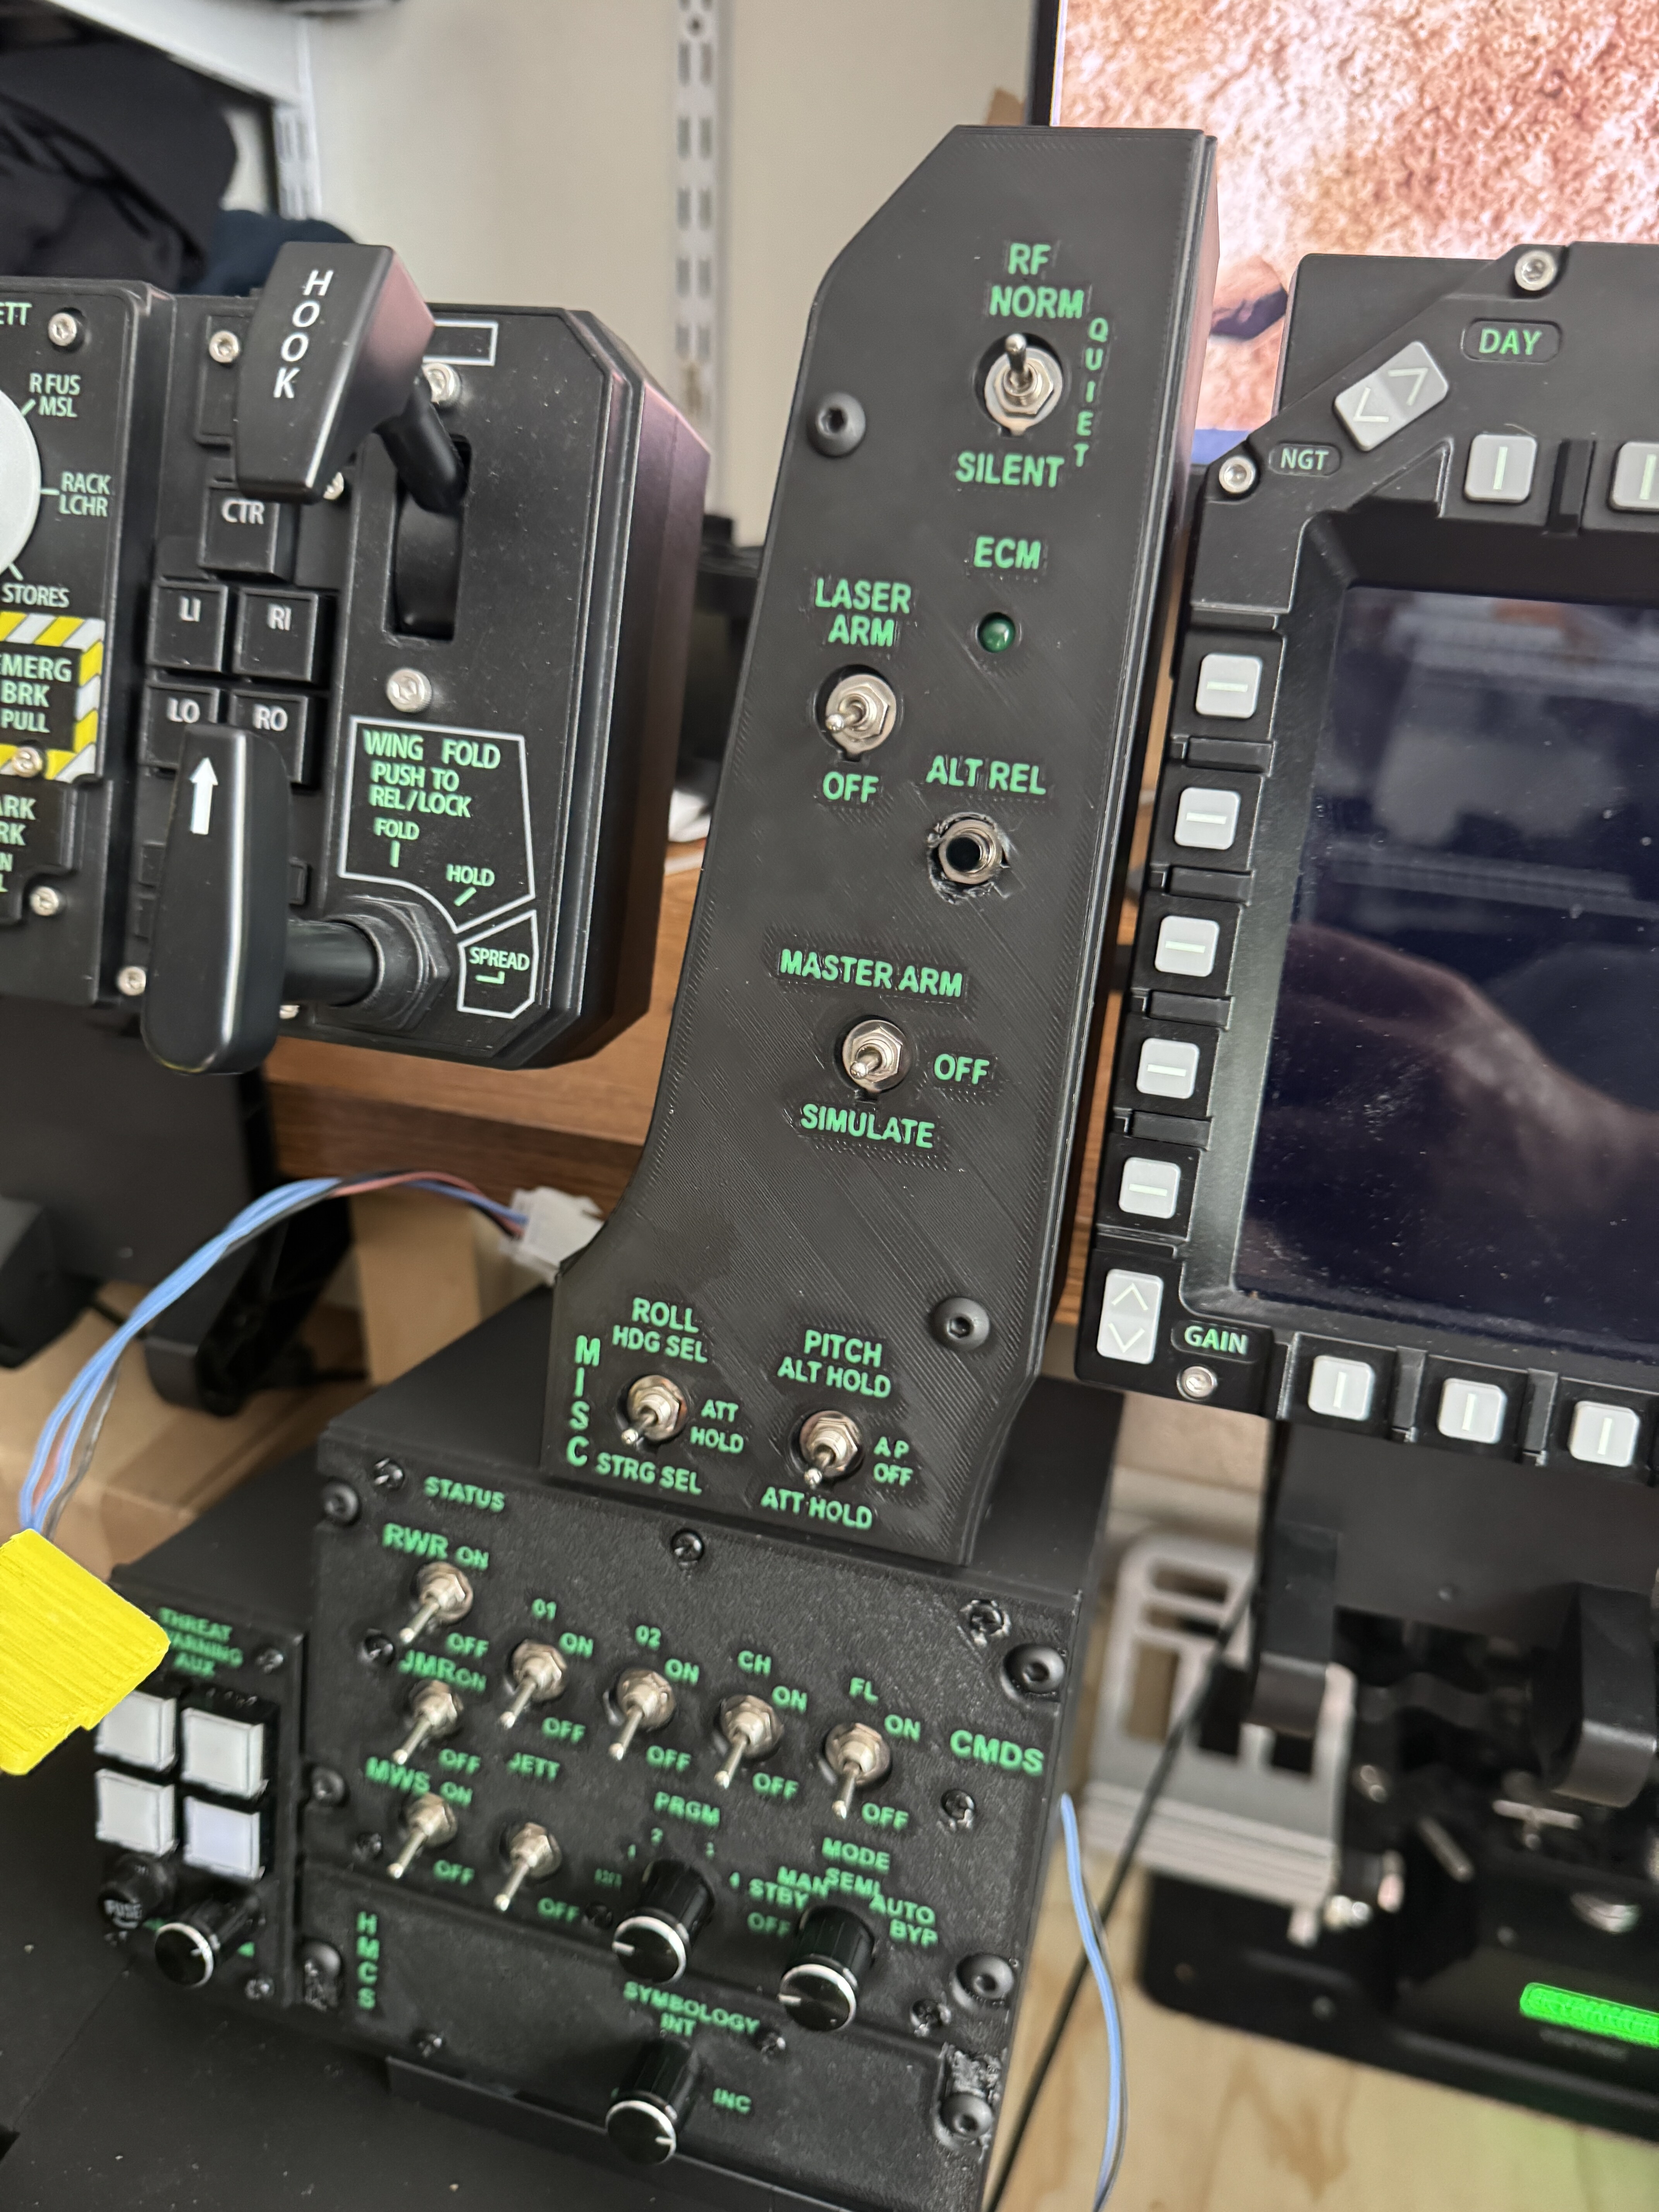
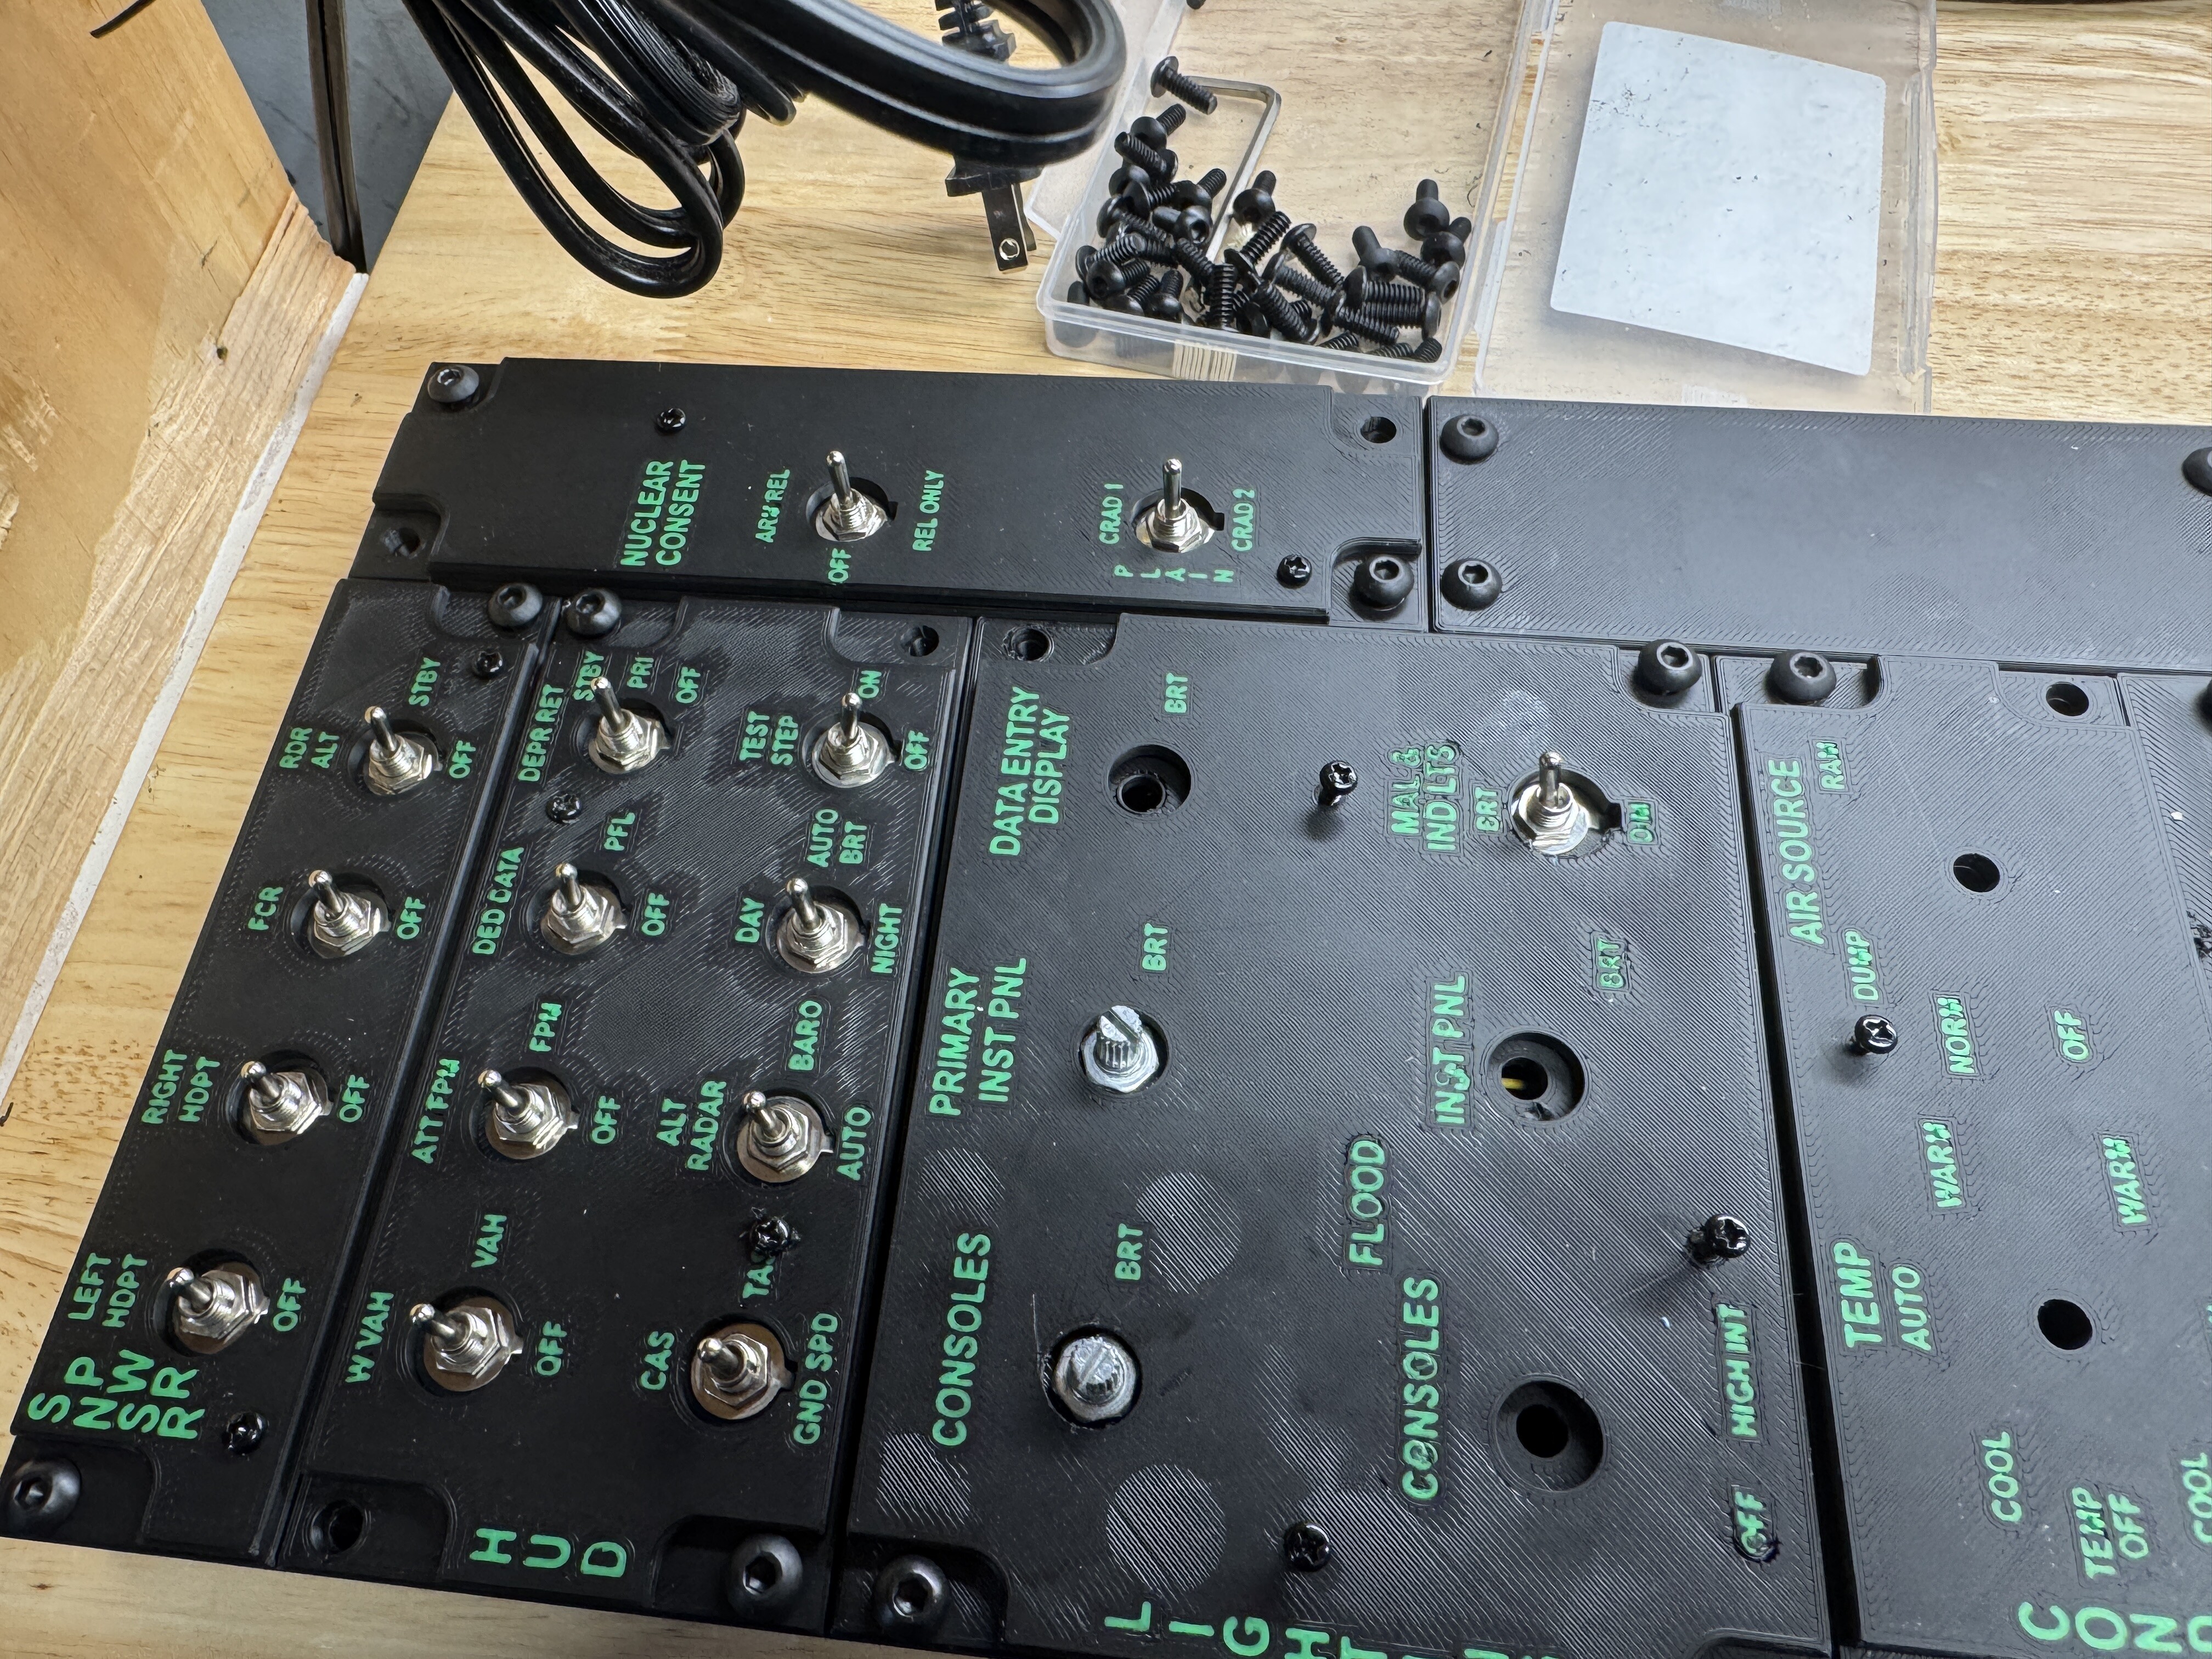
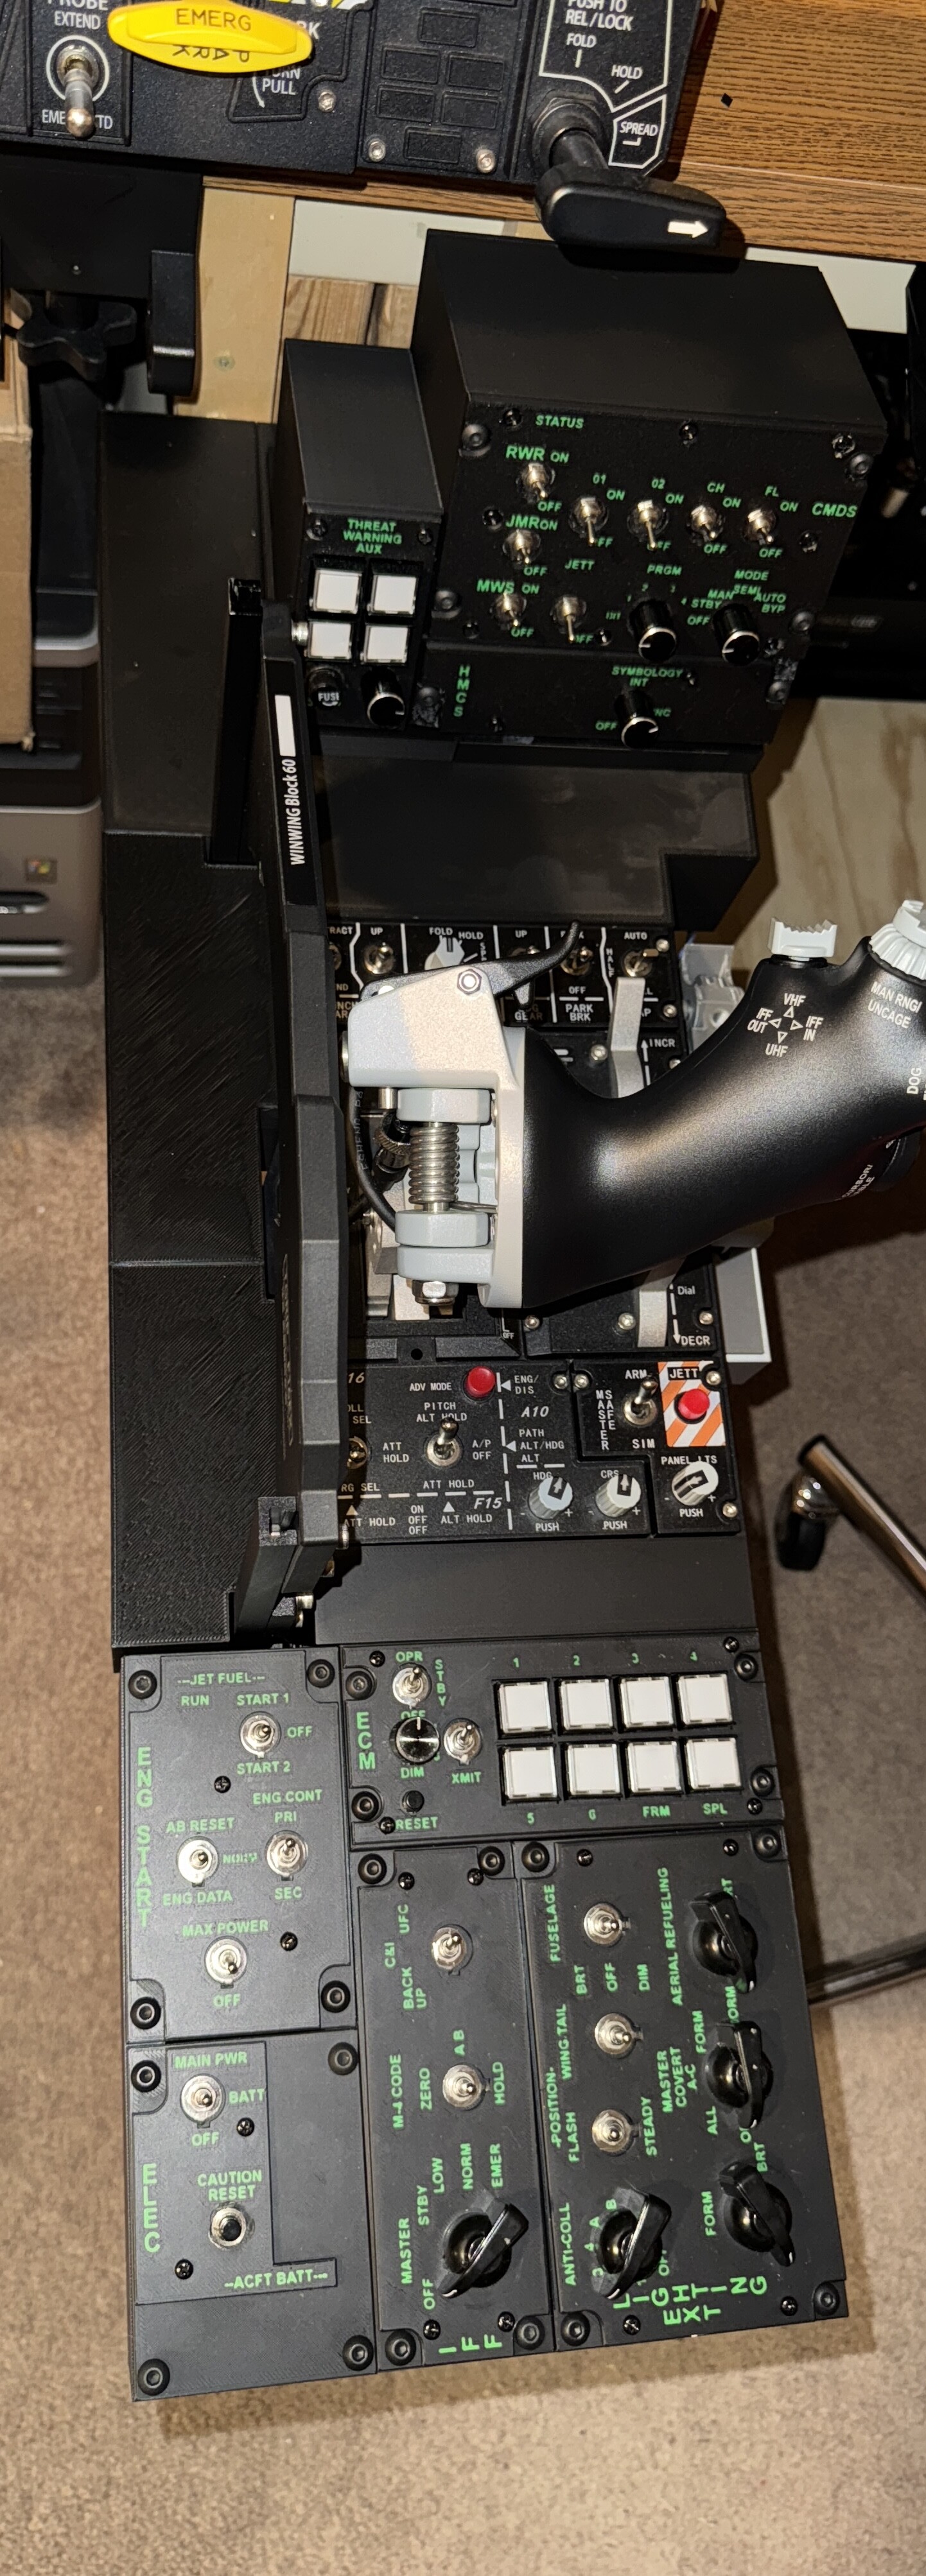
Making Progress on the right side. Mike Left side done. There are plenty of switches on the WinWing Throttle for the remaining items. Mike
-
DTU is on the printer Mike
-
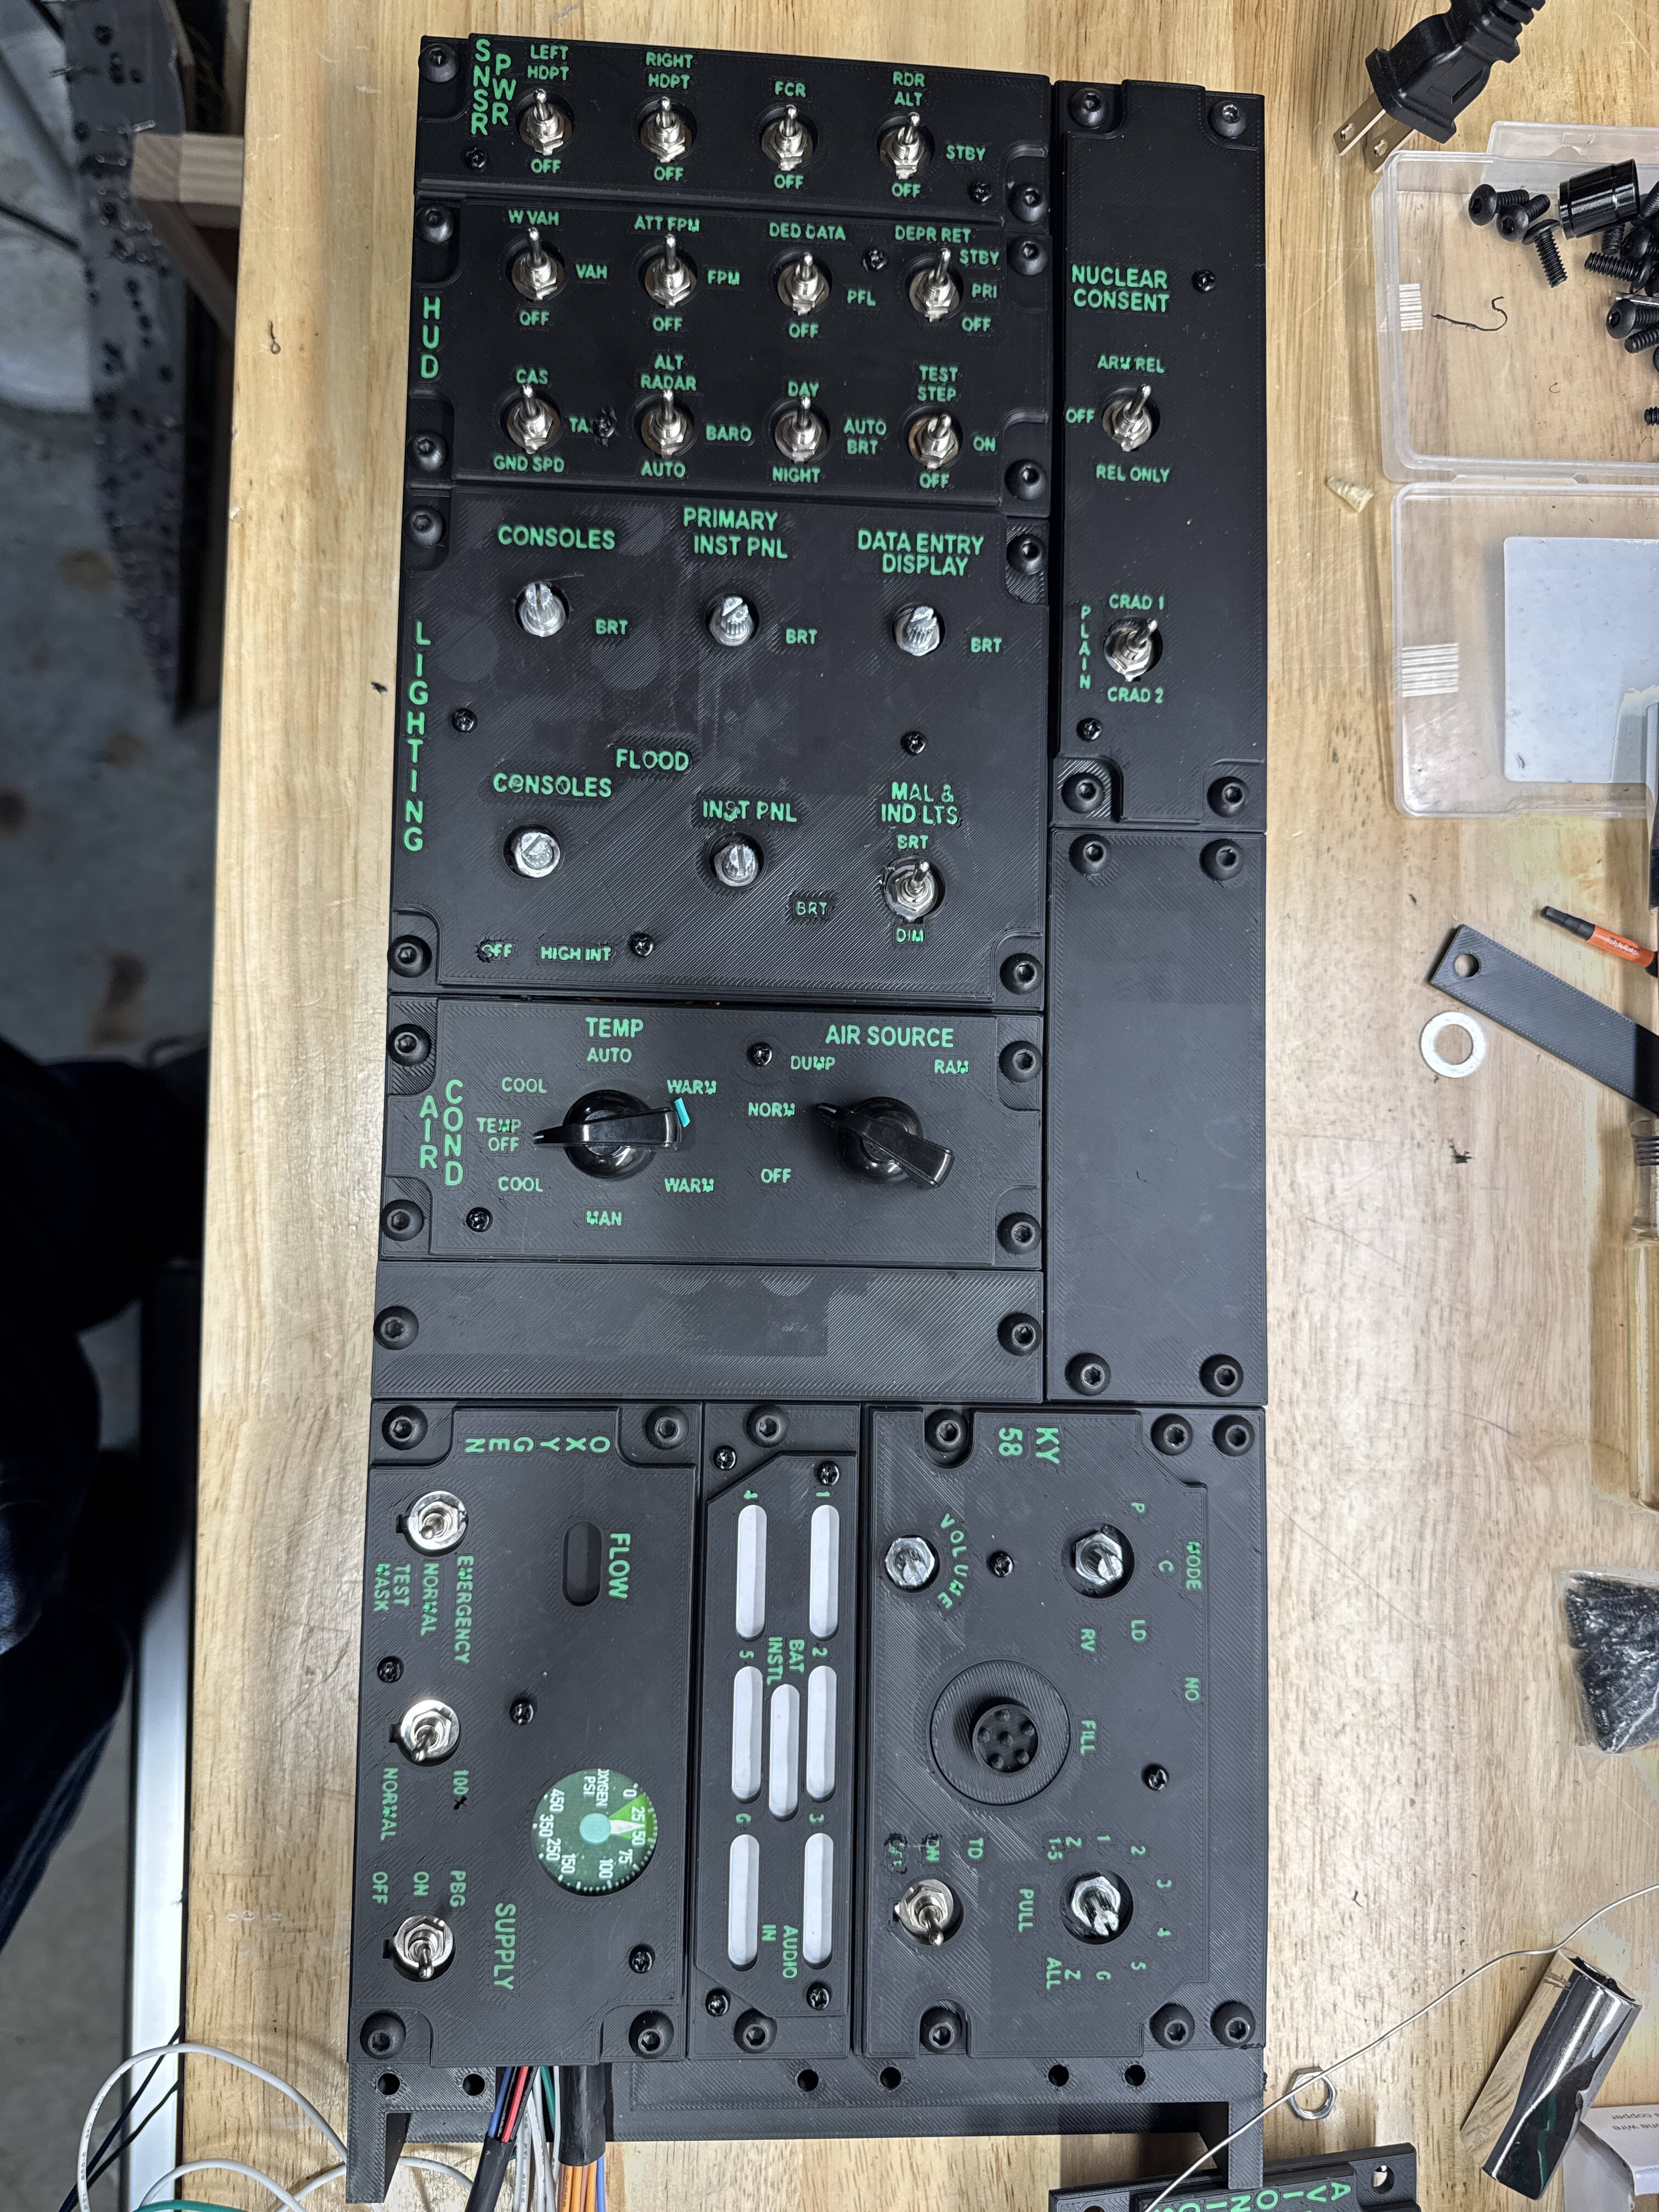
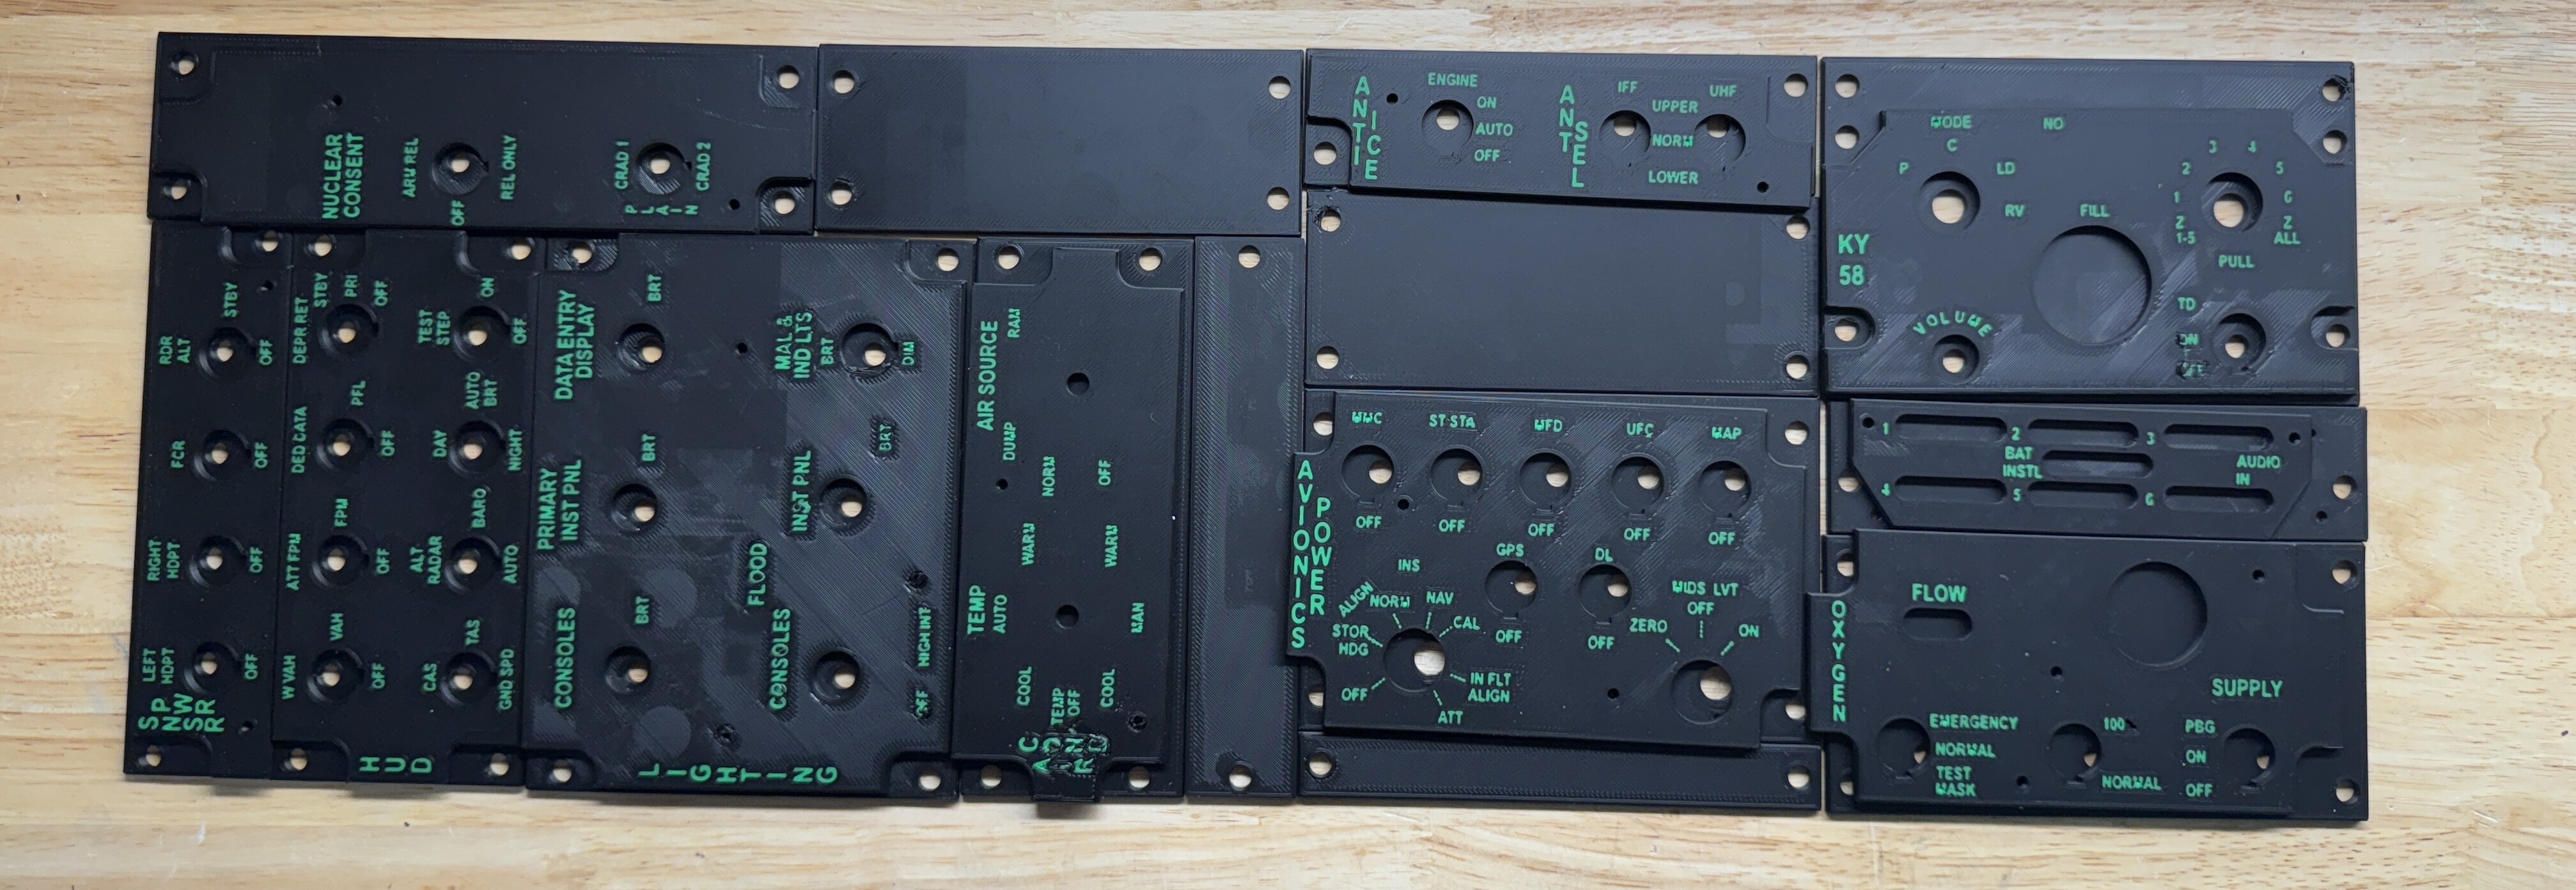
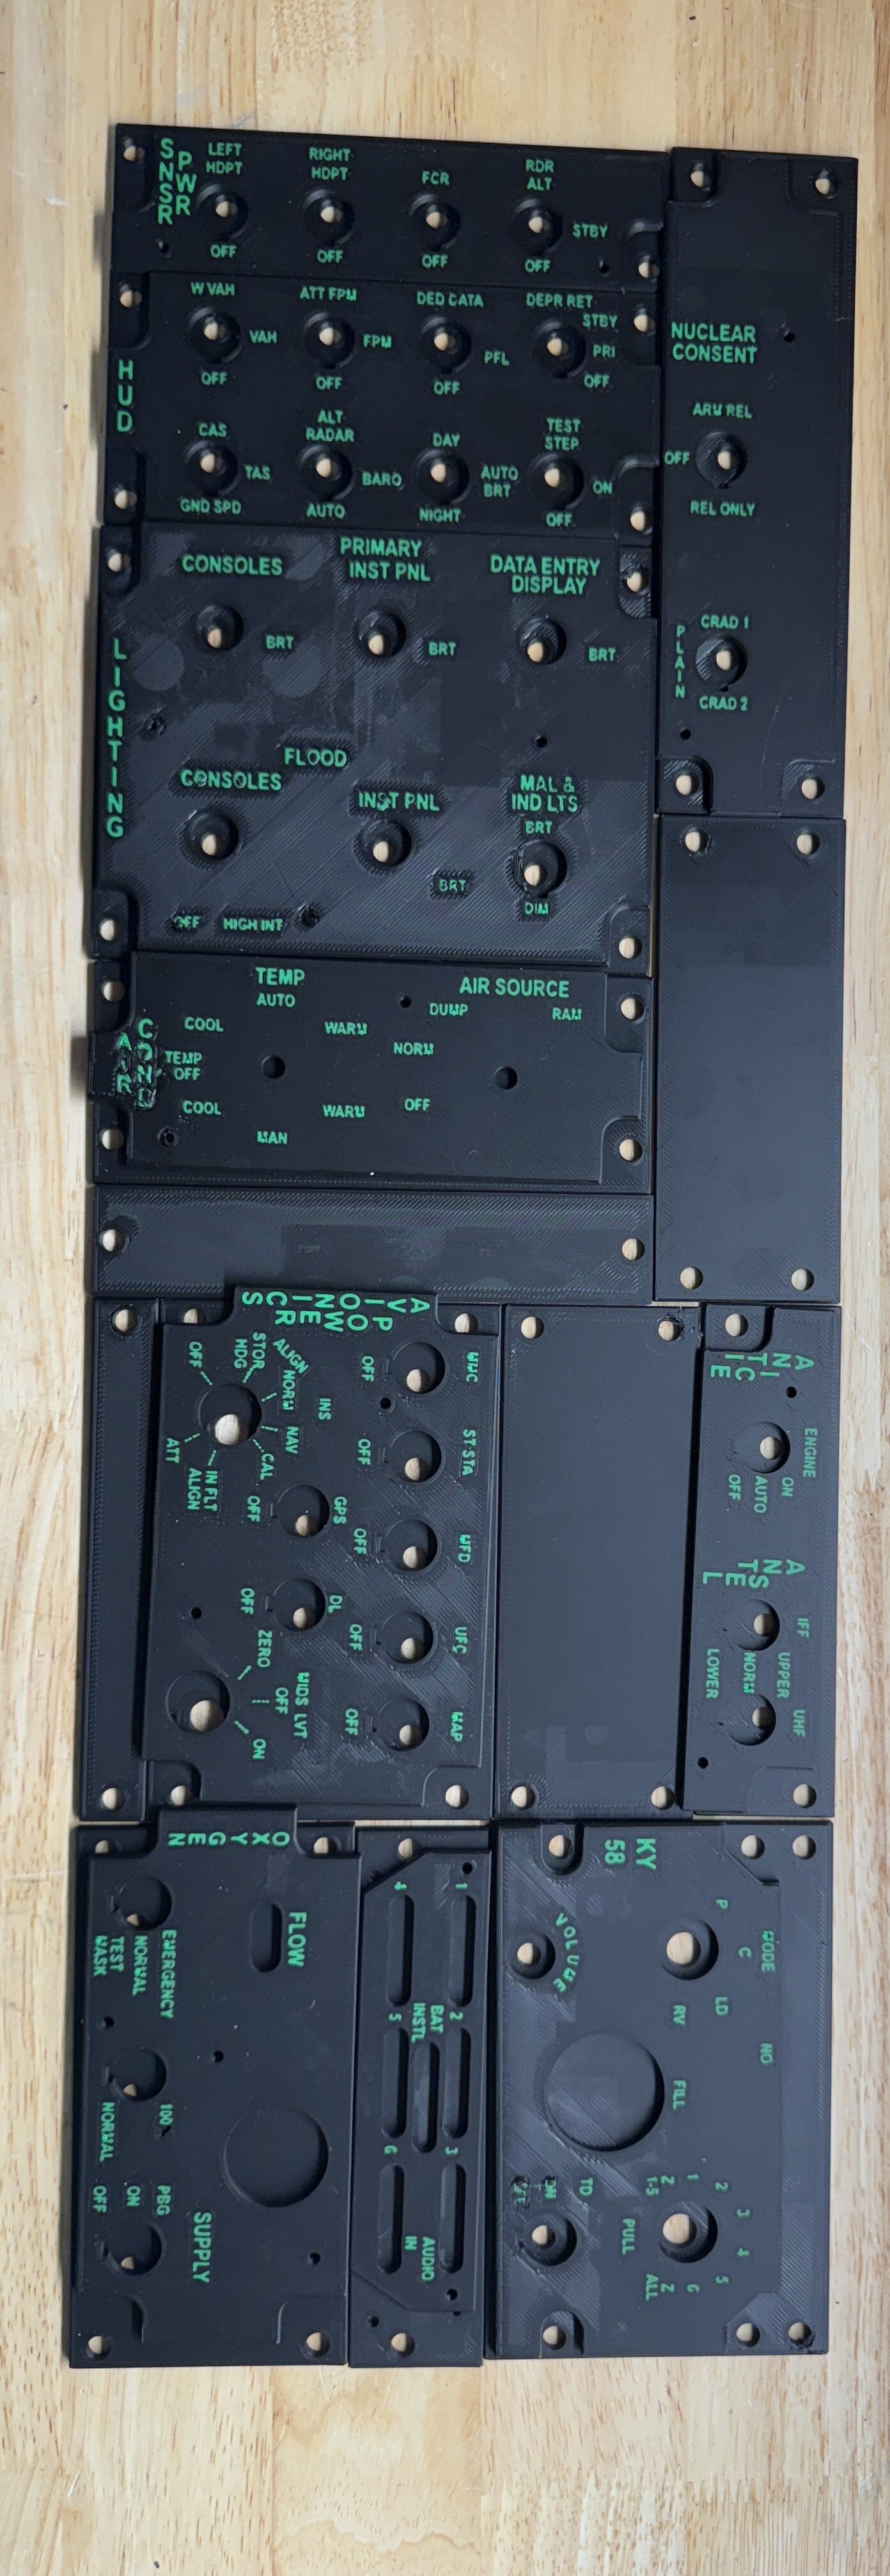
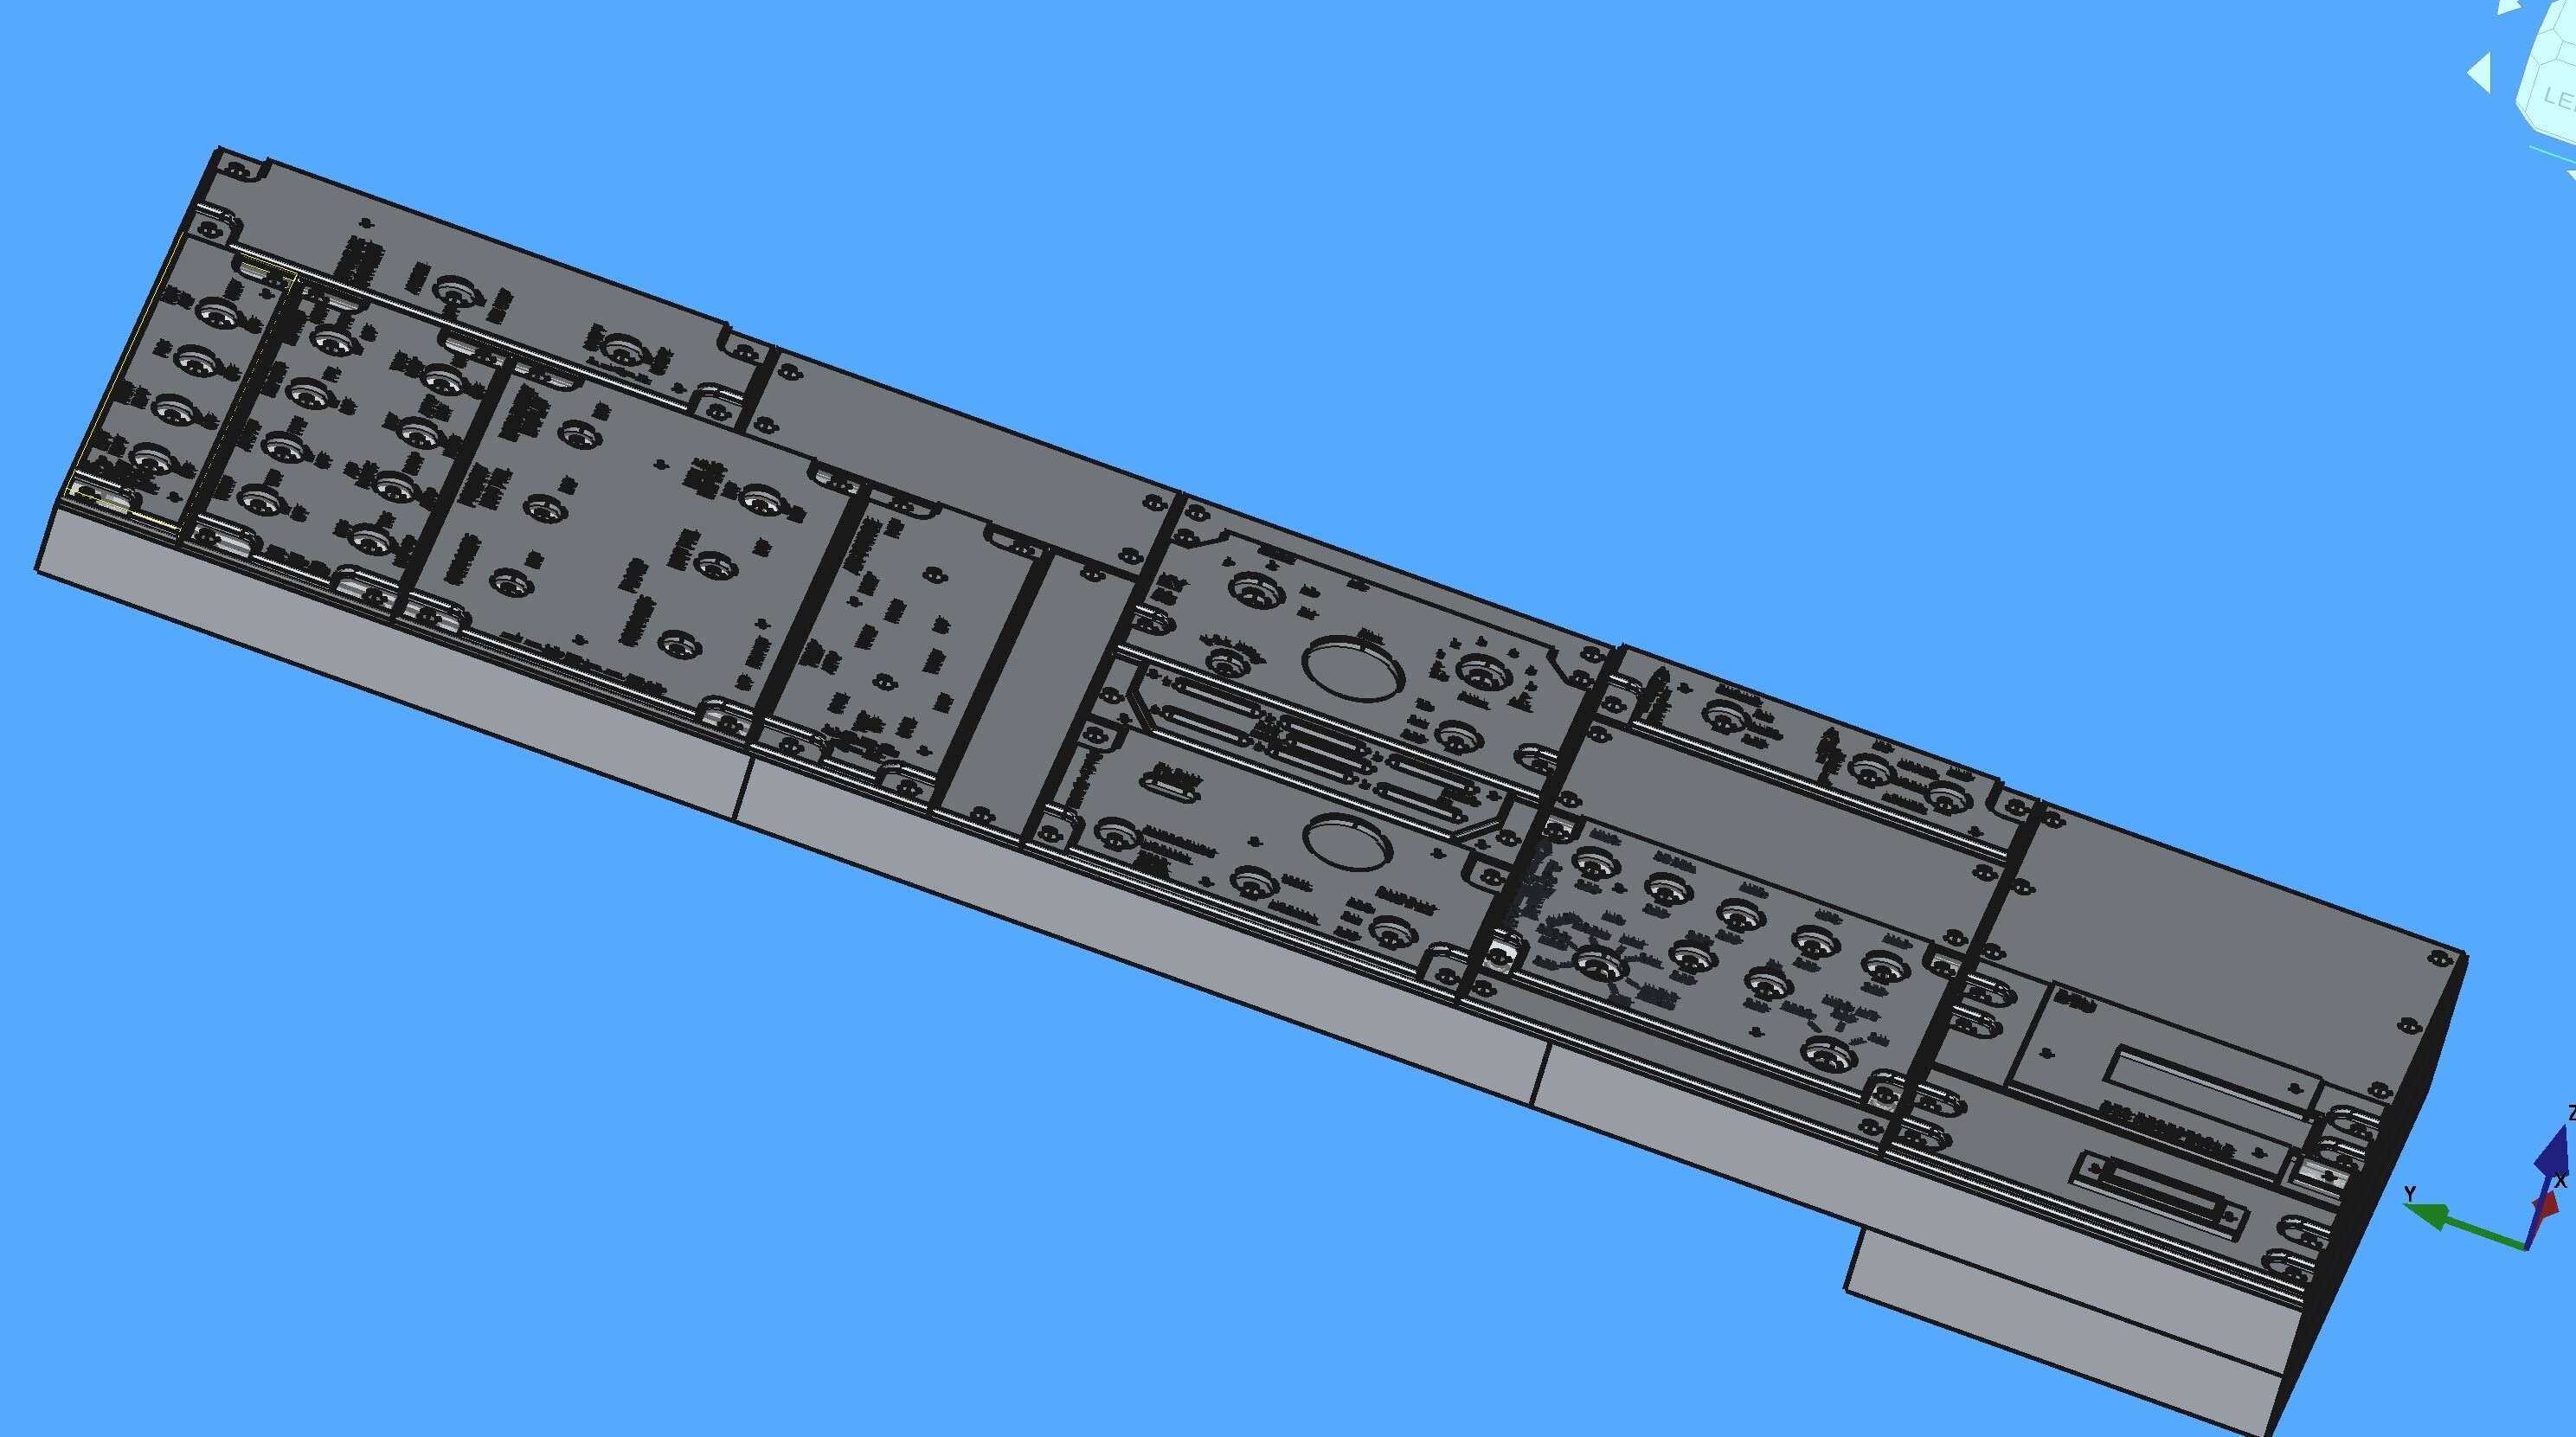
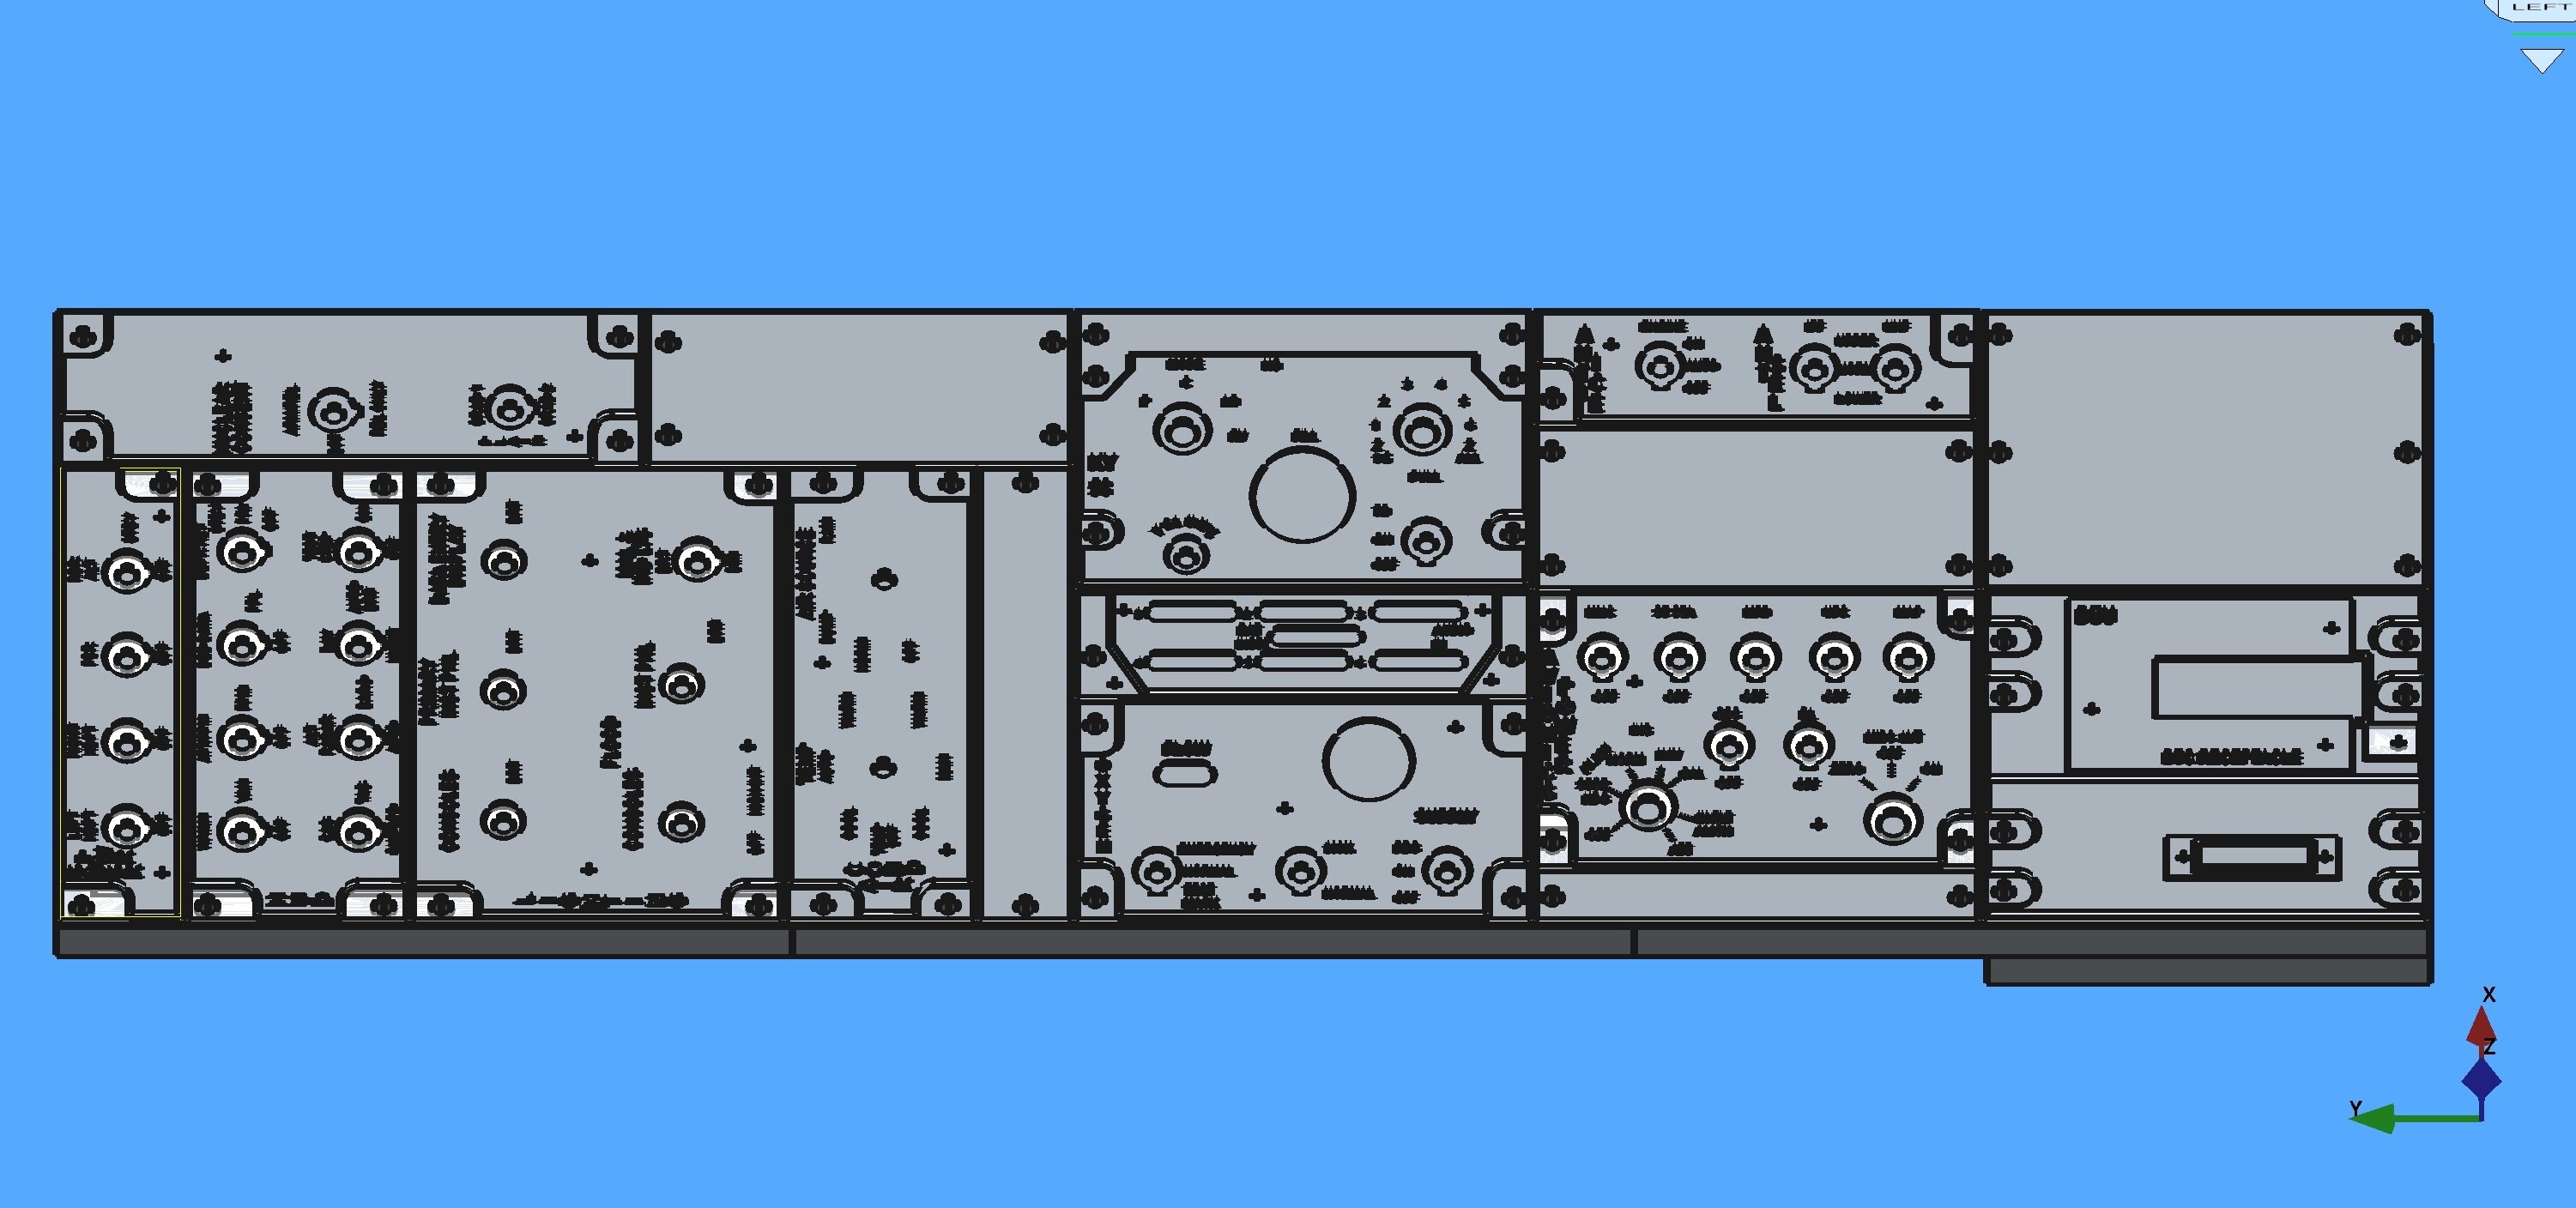
I had some time to kill so I was able to get through modeling the complete right sided panel. I have several panels printed so far. The box will take hours. LOL.
-
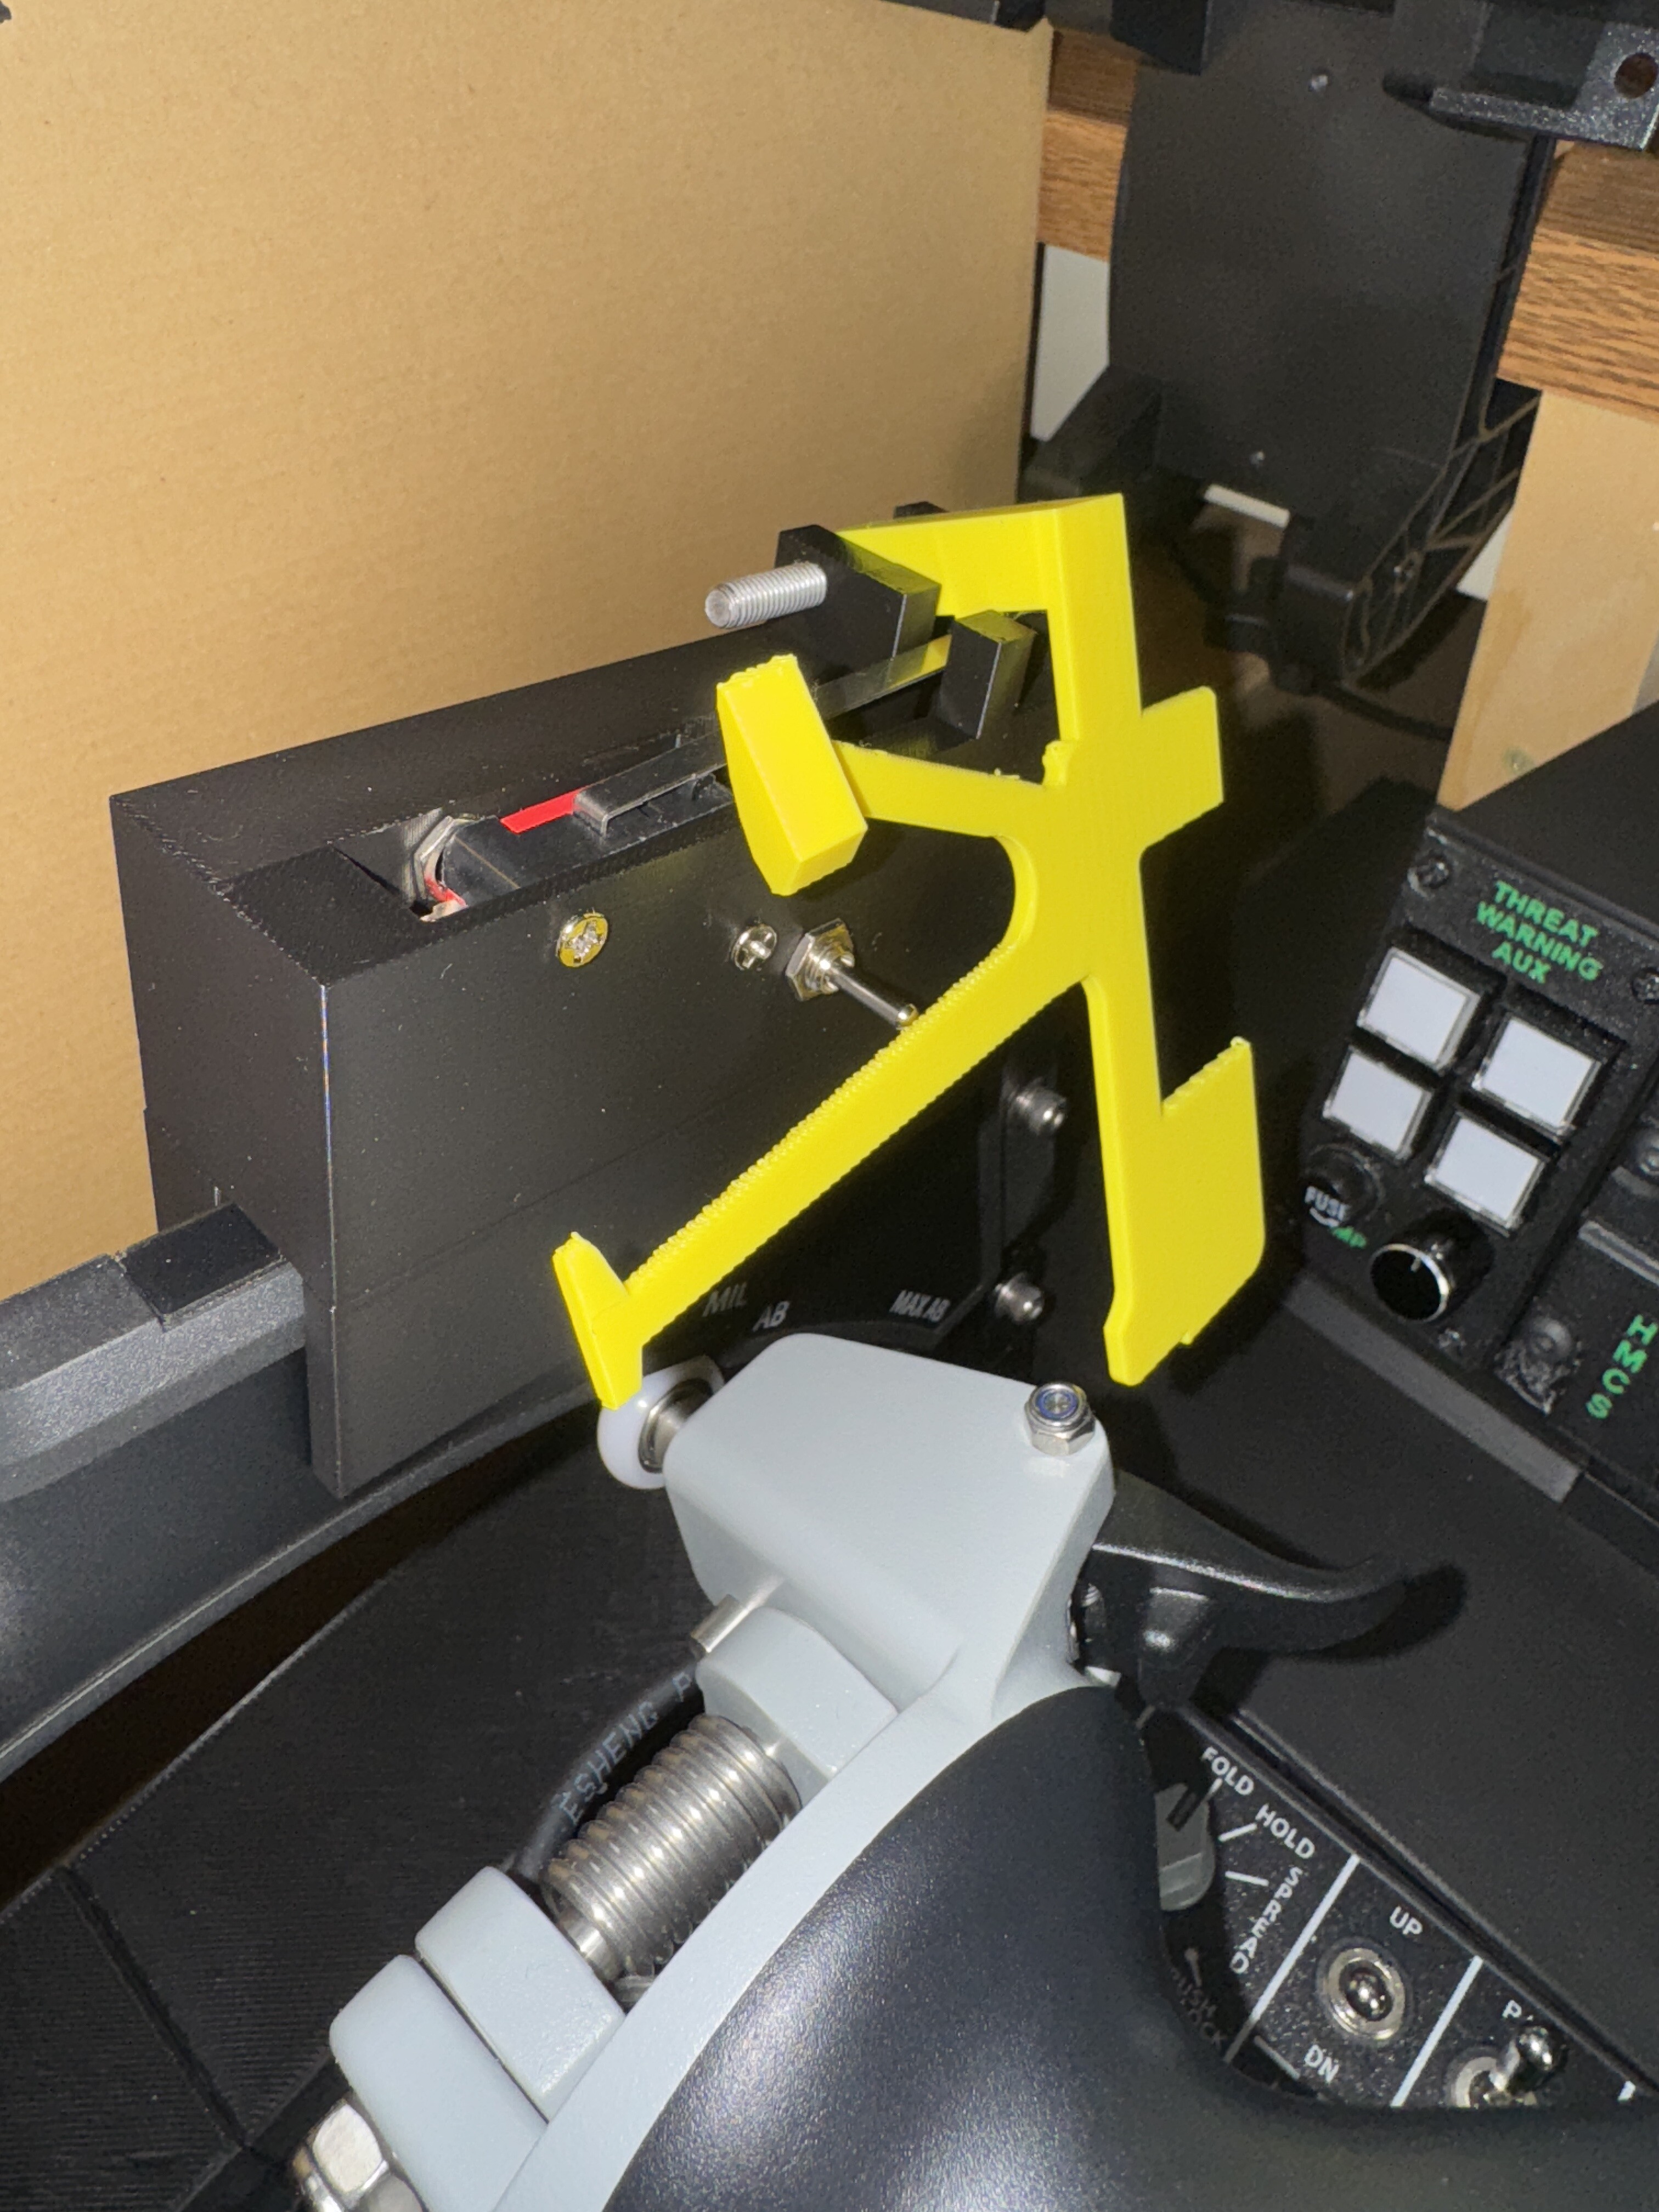
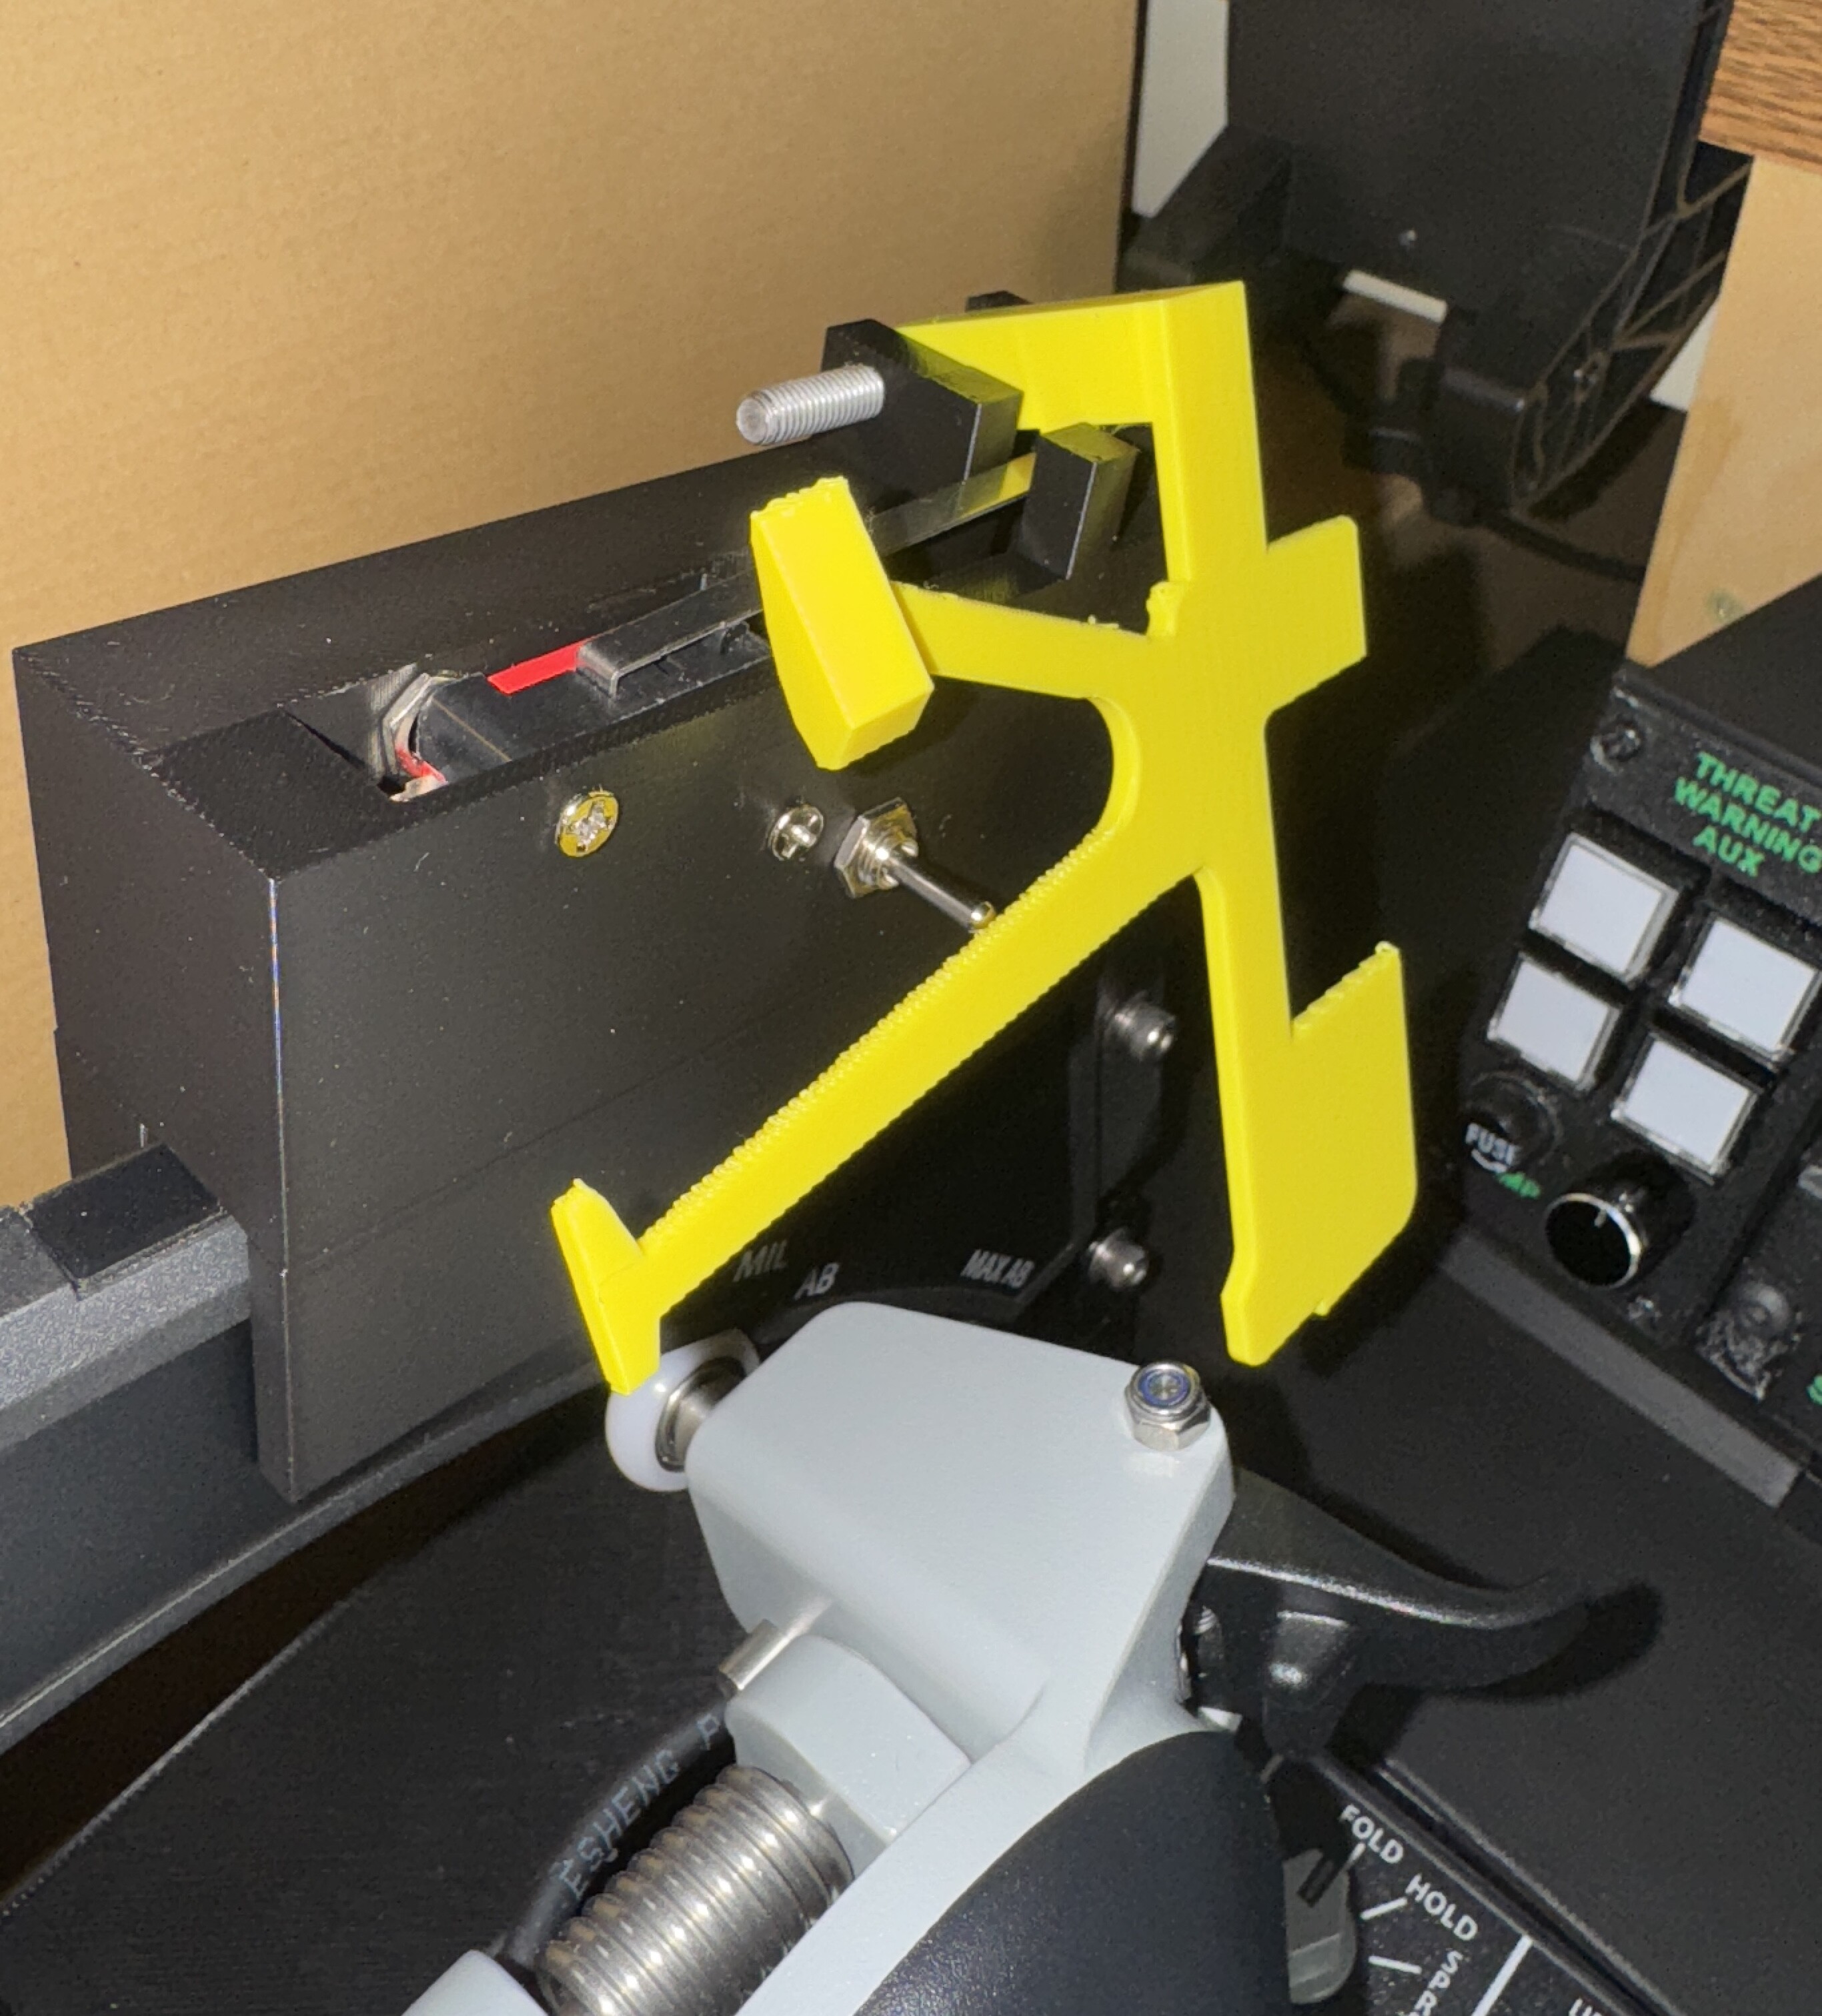
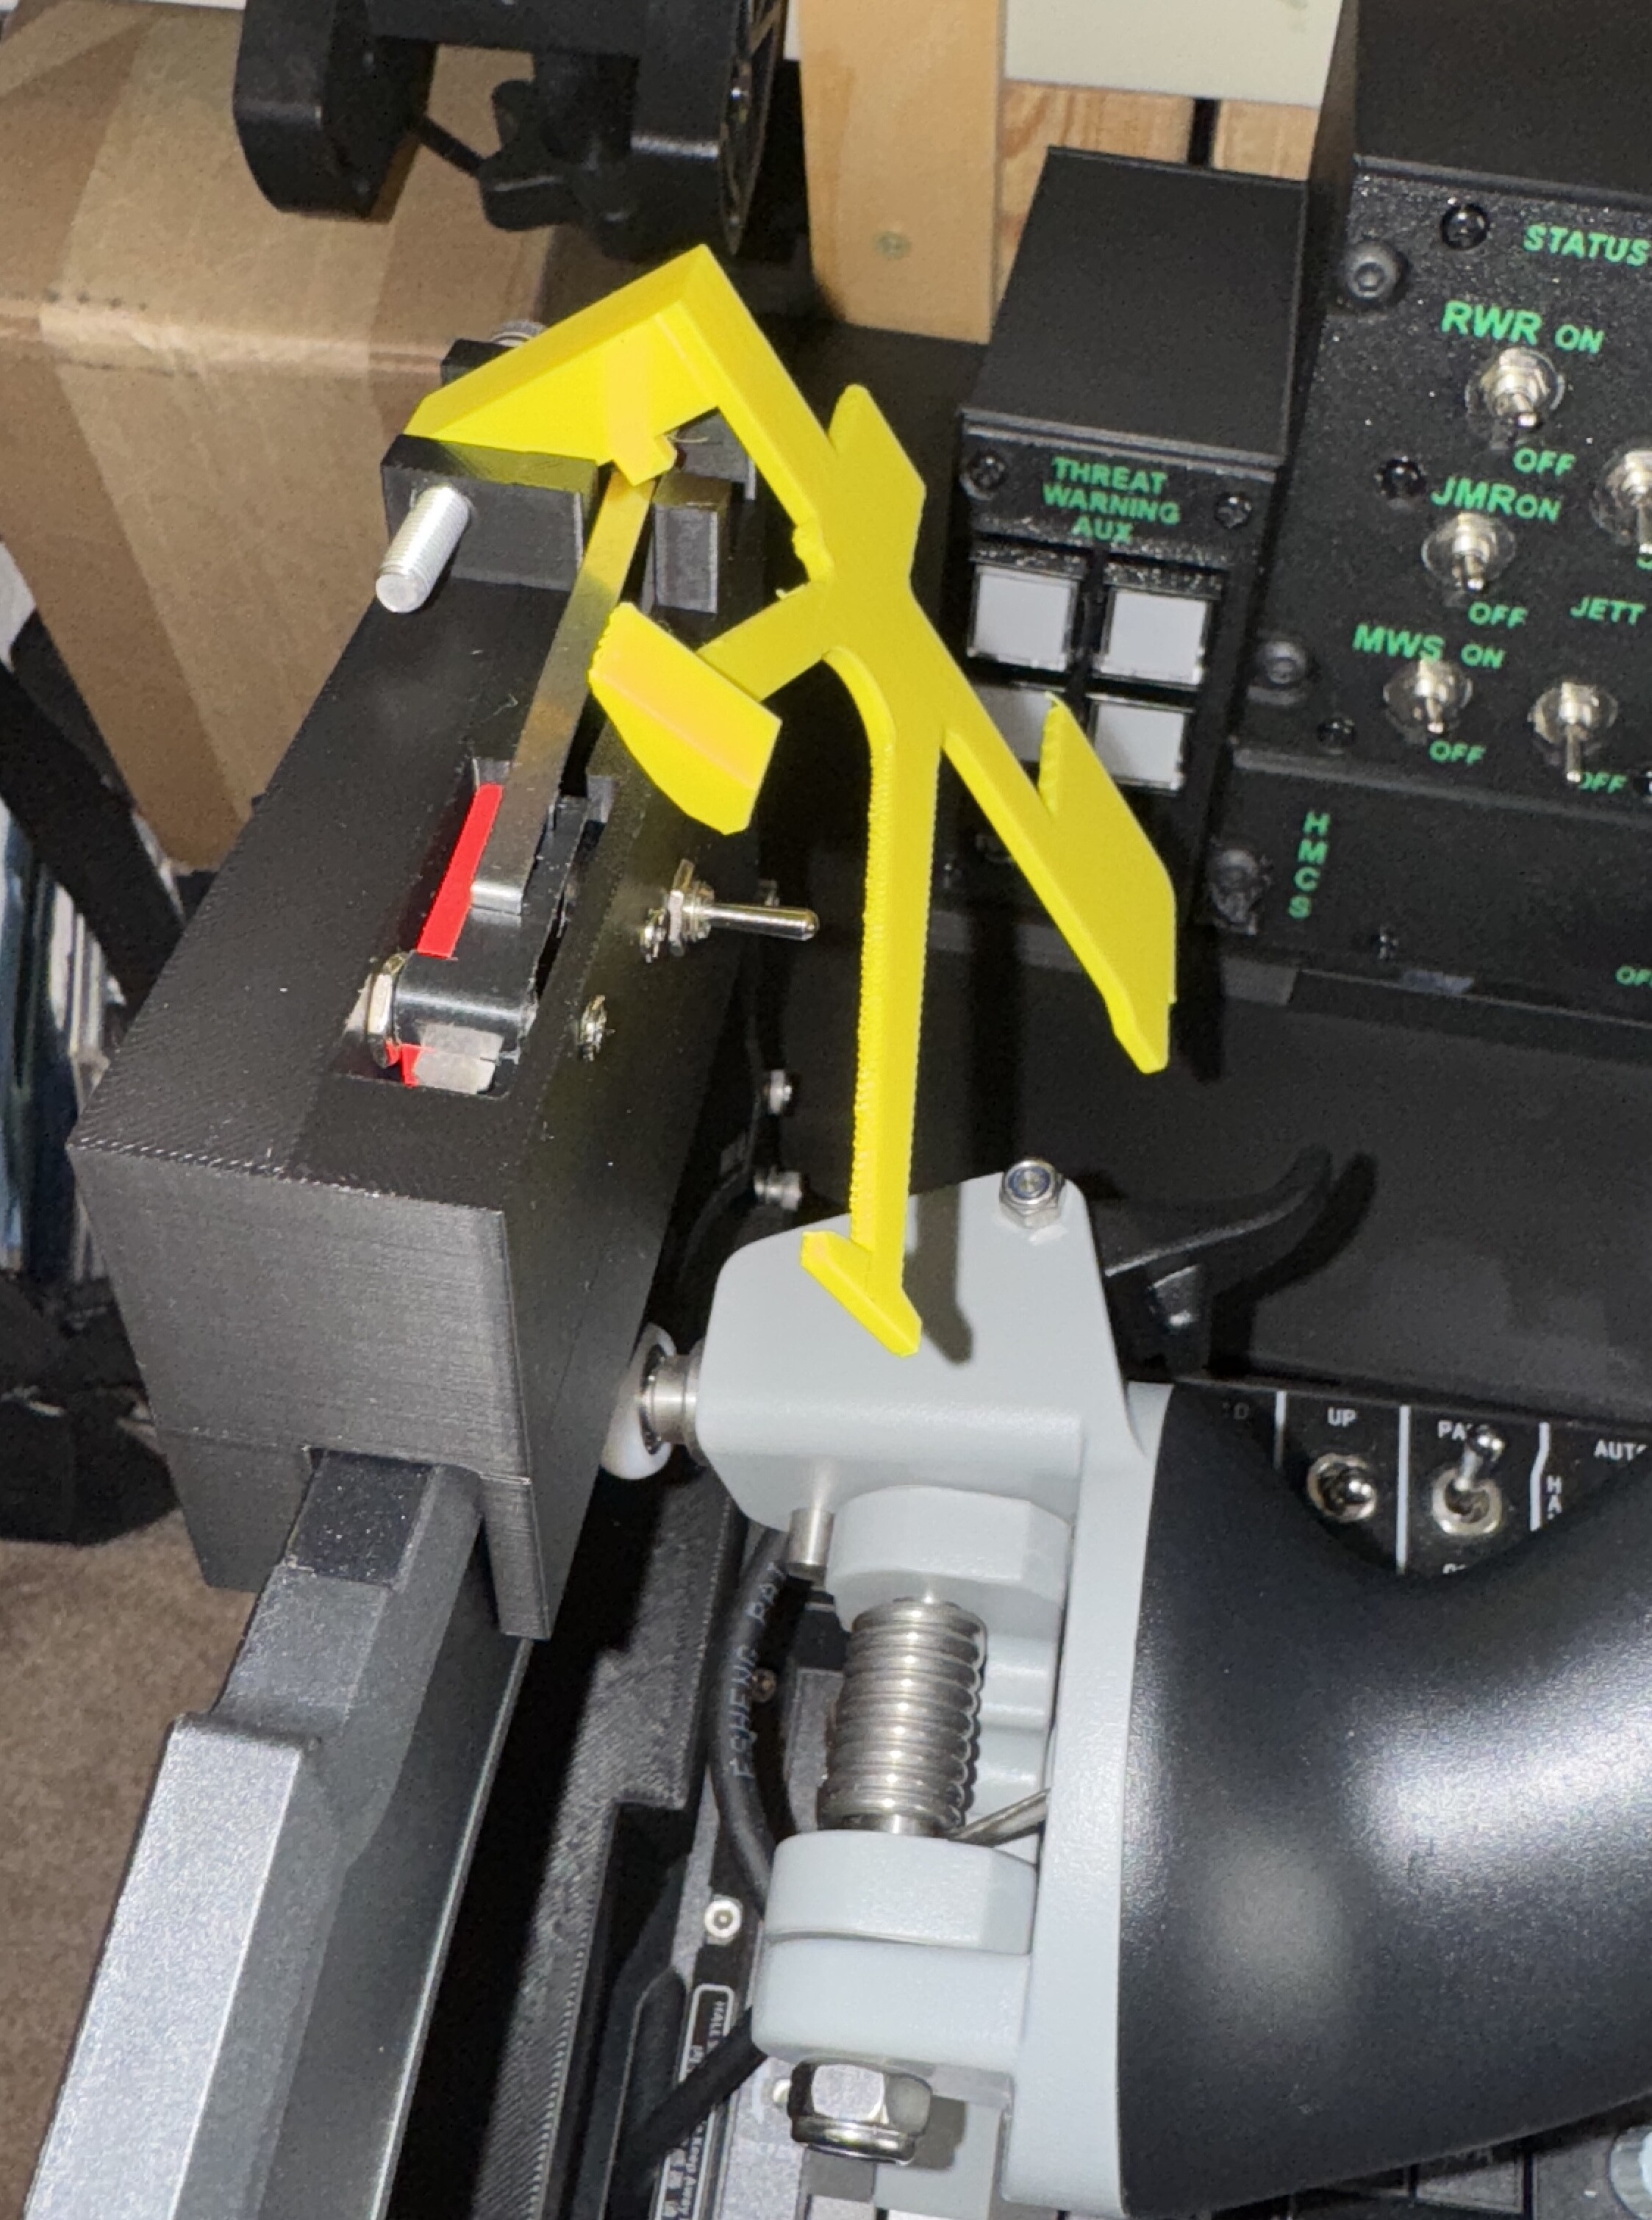
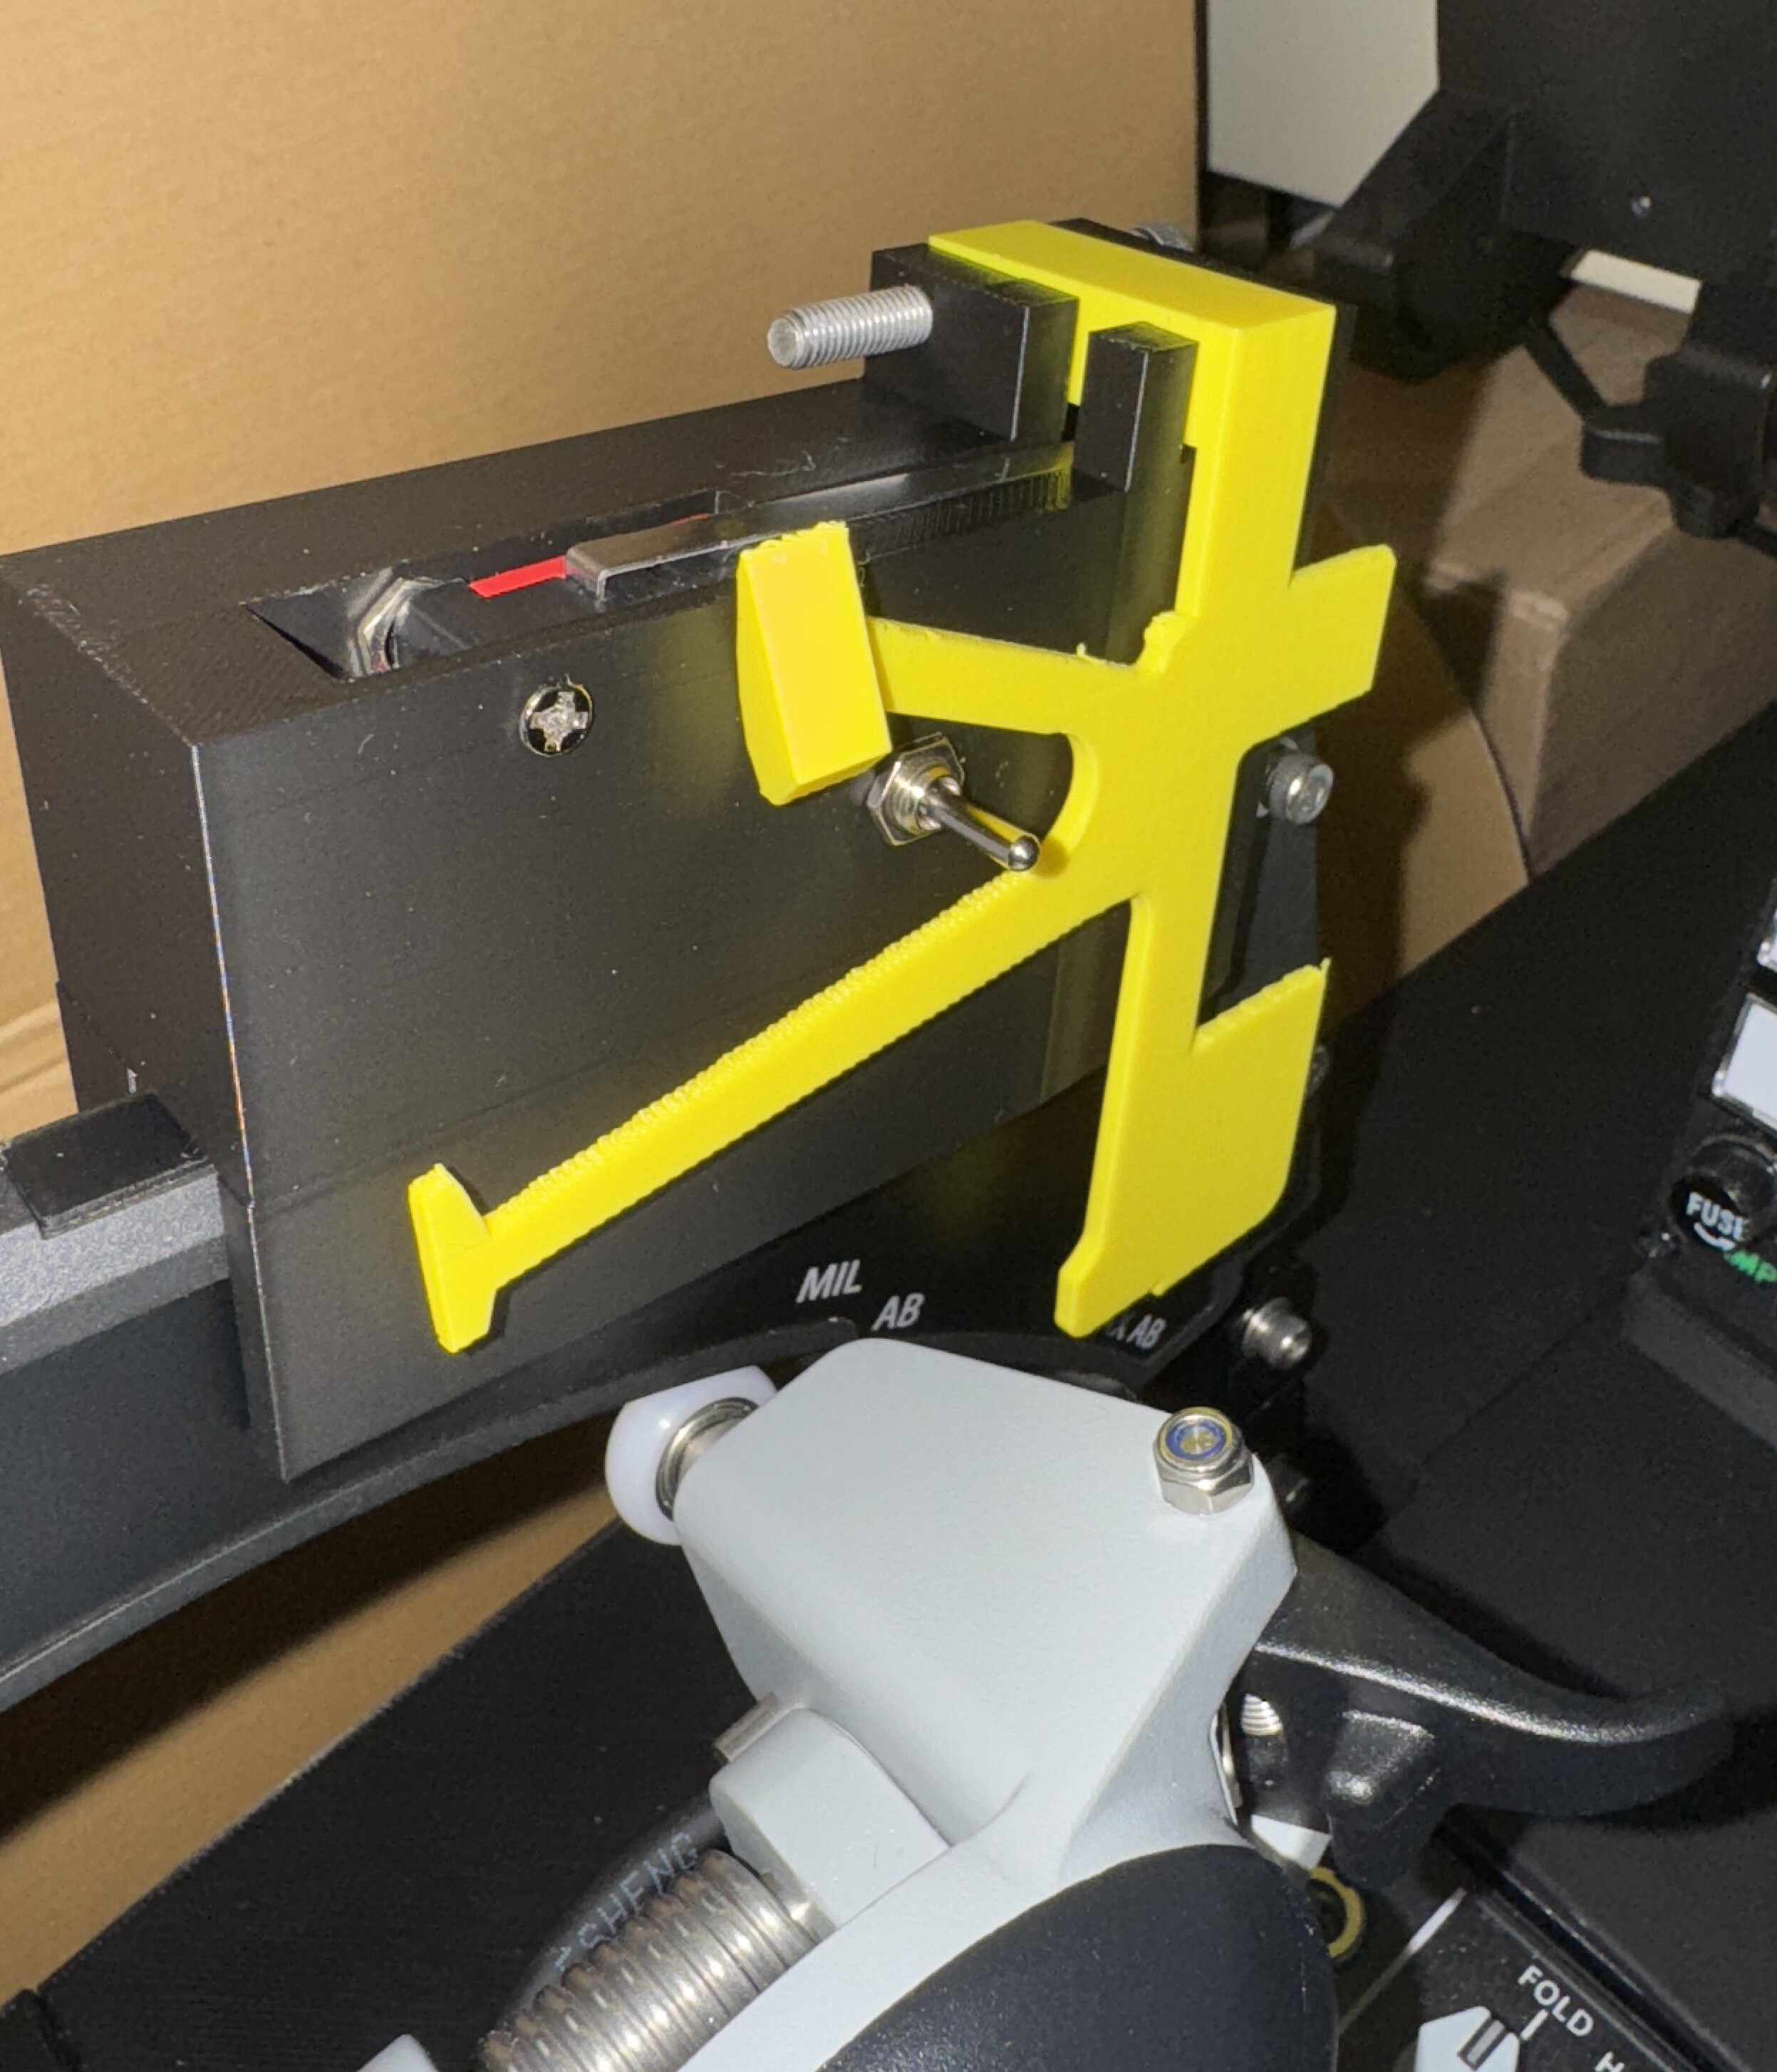
no, it's PLA. A few metal parts, screws, switches, heres the latest version of my model. I am going to tweak it a bit for better clearance of the switch. It does not match the real thing, as the guard does not cover the canopy switch, that would require a bit of reworking, which I am going to do at a later date, I need to move the switch back into the block so it does not stick out and make it more like in the jet with the switch guards, but no hurry, it works fine for sim. Mike Spider Guard-Body040 new spider with wider arm spacing corrected pin hole size, added switch pin.3mf
-
Hooked up the Spider guard and canopy switch. Flew for 20 minutes Back to work. Mike
-
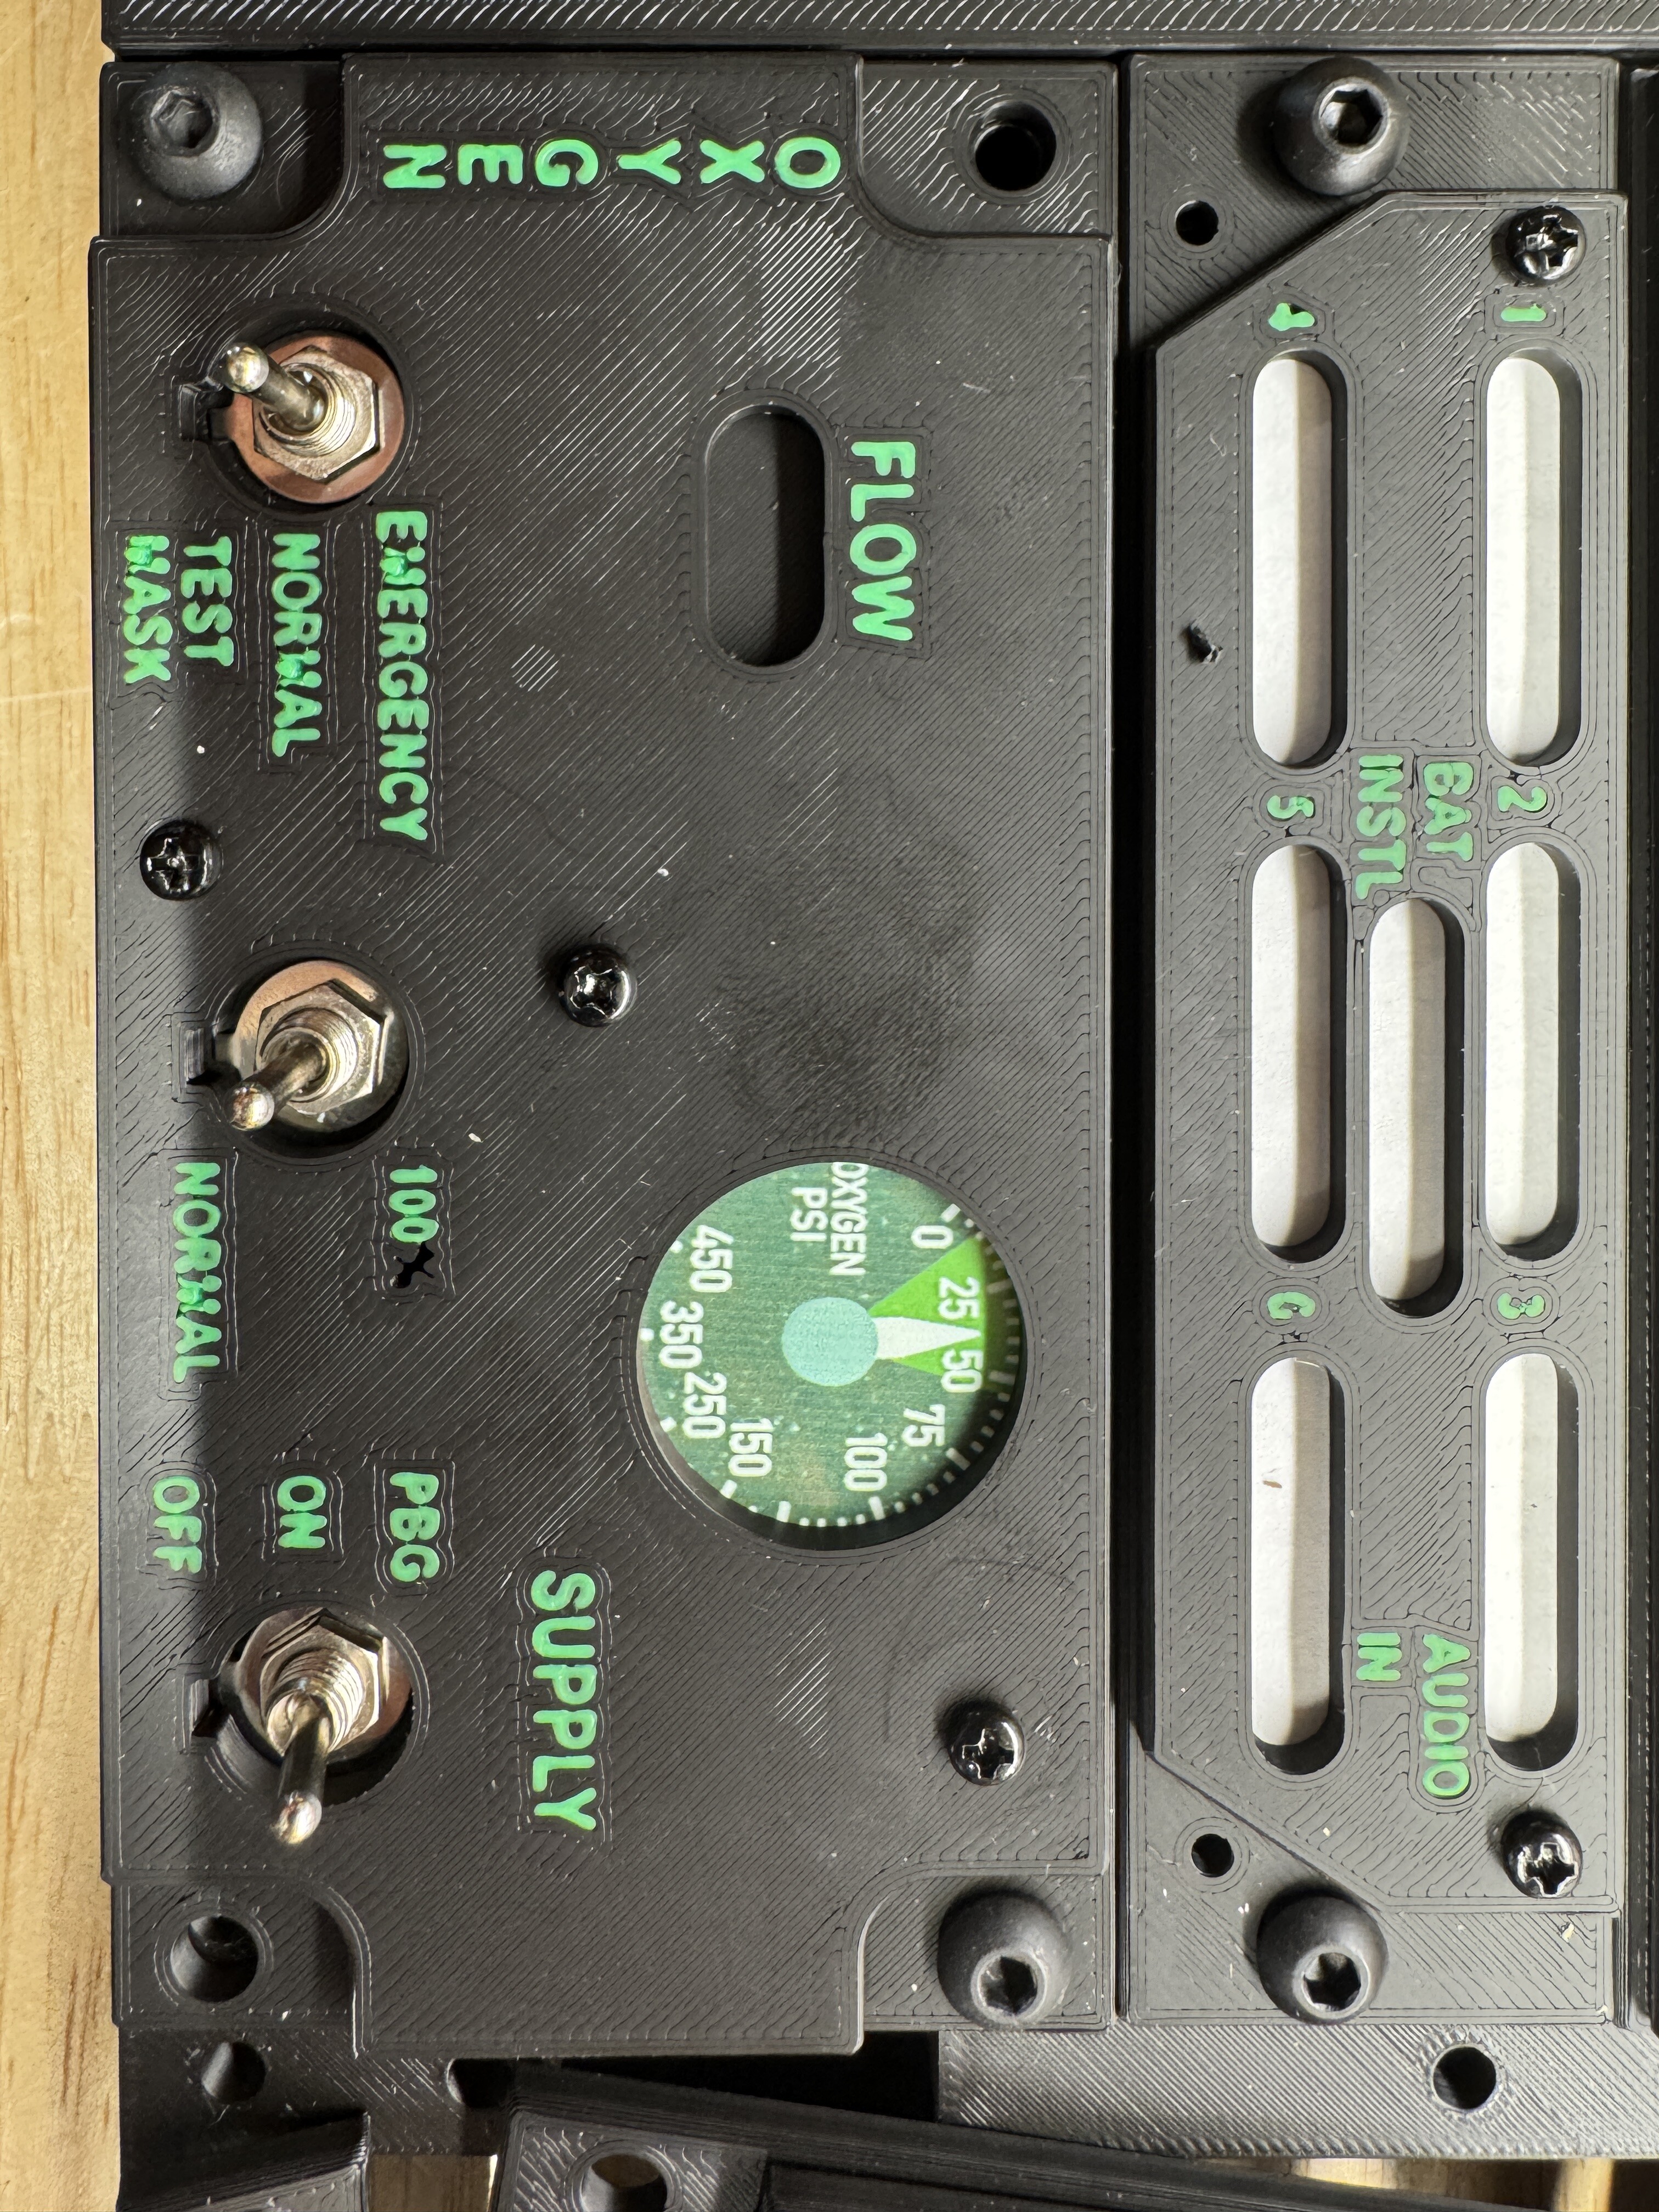
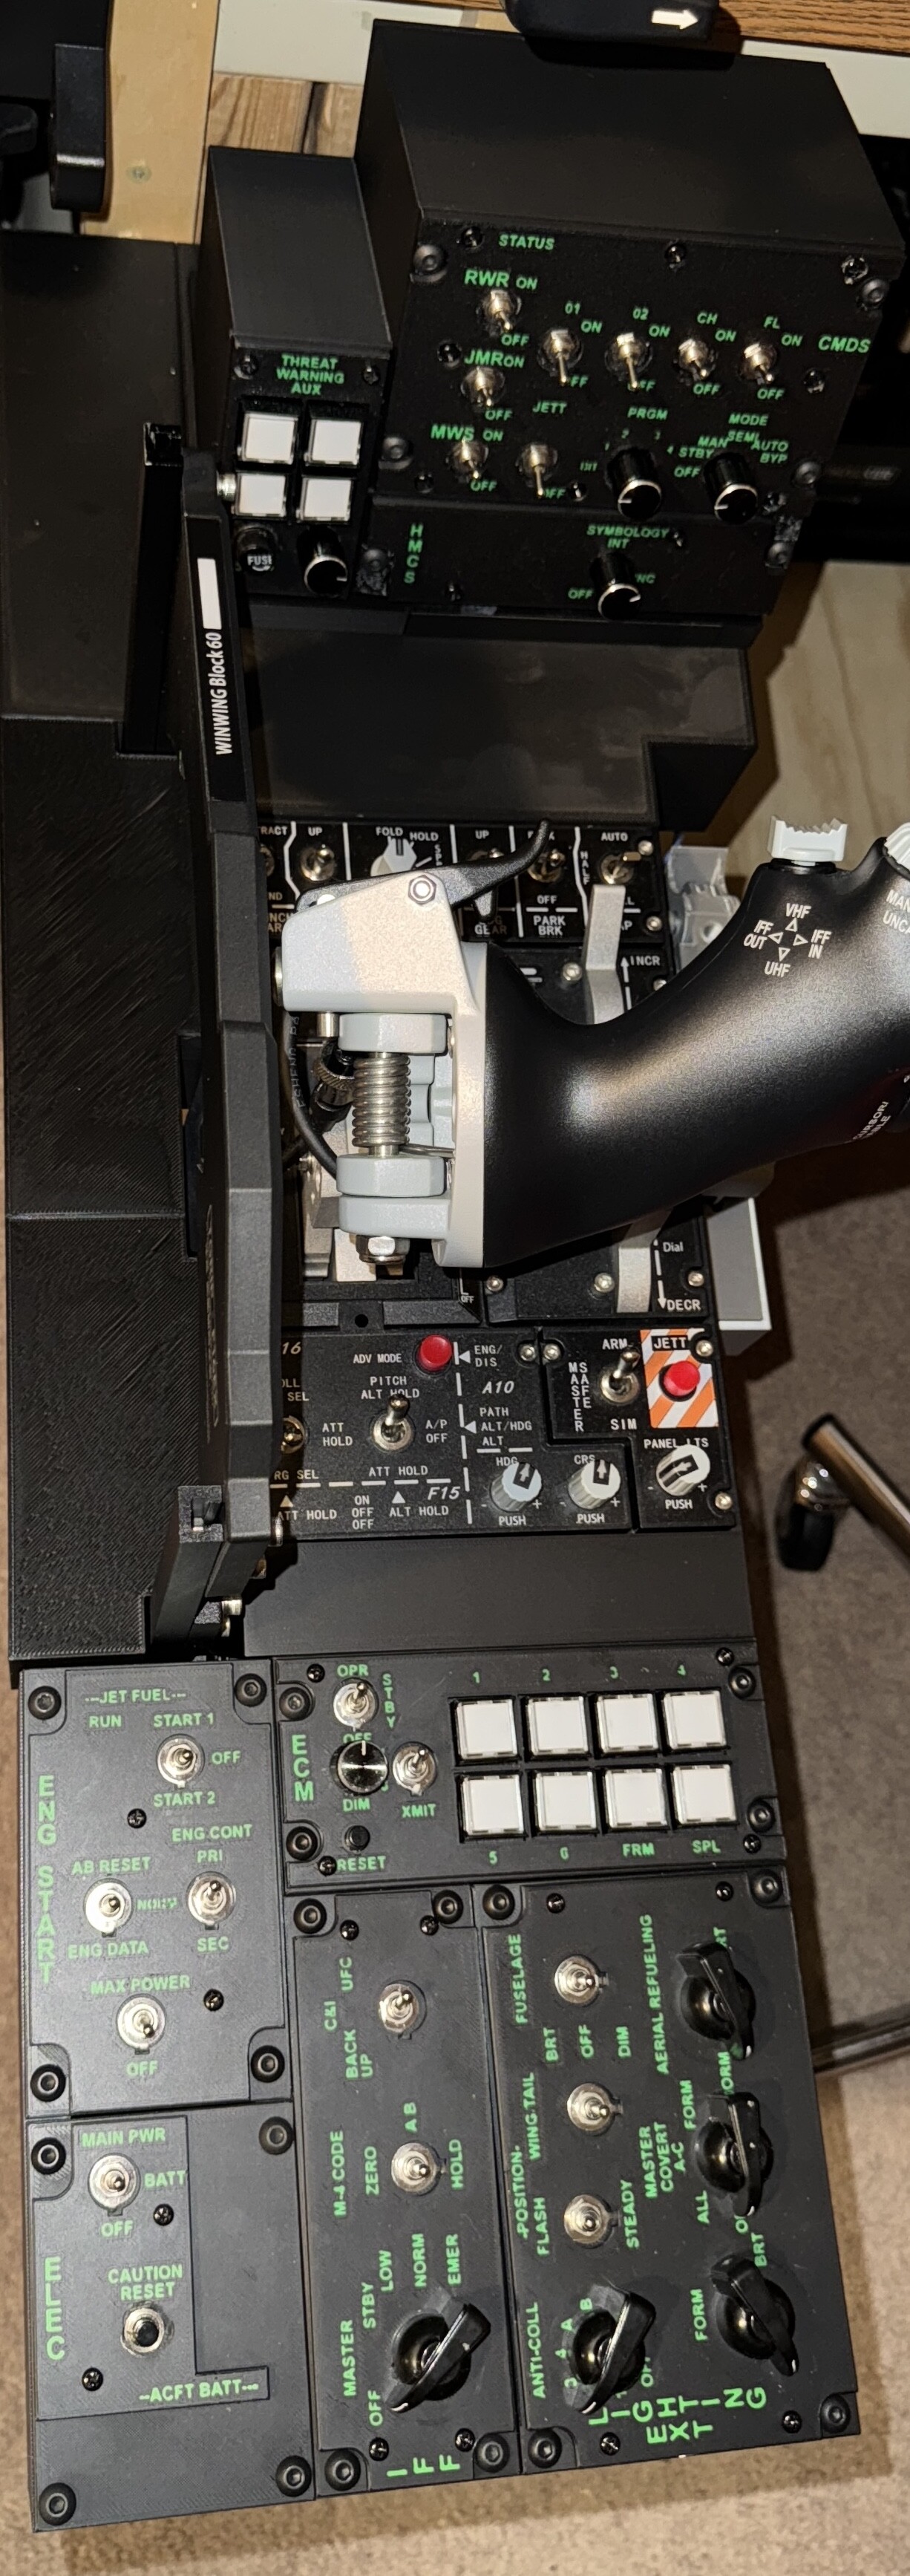
null3D printing panels.....next is the Right side :). Mike
-
I just need to wire it in and code the Arduino. Mike