Thermal
-
Posts
256 -
Joined
-
Last visited
Content Type
Profiles
Forums
Events
Everything posted by Thermal
-
Its not sun on the MFCD's. When I was taking those screen shots my heading and pitch varied by 20deg. When I zoomed in or out with the TGP those weird shapes grew/shrunk - so that is not a cockpit artifact/reflection in the cockpit.
-
TGP is terrible - something changed markedly from 2.5.0 to 2.5.1. Seems like there is a lack of contrast and far more noise. WHOT, BHOT and visible are all affected. Also there seems to be weird "filters" applied to the TGP if I zoom in or not - strange angled shapes appear/grow/cover the TGP at different zoom levels, and the shapes change the brightness/contrast of the area covered. Edit: Seems to be a range/zoom filter.
-
Wags uses a TWCS as throttle - that is single axis.
-
Try gimp - http://www.gimp.org - its free, and does at least 80% of what photoshop does. There is a fair amount of tips for it online - doco and youtube videos on how to do stuff.
-
The labels mis-aligned on multi-monitor looks like its fixed for me in 2.5.1 OB.
-
I dont have the F-5, so I cant replicate. From your description the DCS trim steps are too large? The Target Script command "TrimDXAxis" is probably your friend here, you can set trim outside of DCS to whatever granular value you like.
-
Control issues with Warthog FCS
Thermal replied to marcelbrabson's topic in PC Hardware and Related Software
The Target Script editor has extensive trim functions. You can use that to replace the built-in to the simulator trim controls. Or only replace trim in one axis. "TrimDXAxis" is the command to look into. -
DIView set's and forgets the deadzone/calibration data (I think!). So do it once forget about it.
-
Follow up, I installed a push button to replace the one built into the original slew. Placed just behind the speed brake. Its low profile, my thumb naturally misses it when I use the brake. I originally thought I'd install a slightly raised plastic guard around it to protect against accidental presses, but it really doesnt need it. Carefully drilled a 9mm hole and installed this switch which I had laying around: https://www.jaycar.com.au/spst-pcb-mount-tactile-metallic-vertical-with-led-red/p/SP0620 Its a cheap and cheerful switch which may or may not last, but its clicky and you definately know when you've pushed it. There is enough room for up to a ~13mm hole, and there is a fair amount of room behind. Its also in a very, very similar position to a Hornet cage/uncage button :megalol: https://forums.eagle.ru/showthread.php?t=206468
-
1. Dont start from scratch. Copy an existing profile (the .xml and .ikarus files) and modify the copy. You can delete a panel and the switches are still available for use. Create your own panel and then add the existing switches to it. 2. http://www.gimp.org, and use the existing images in /Ikarus/Images/Backgrounds as a base and work from there. Base image to work with, its already 1600*600. The button positions are green because its easier to see Ikarus buttons and images are placed correctly above the base image.

-
I've updated my post and tried to polish it up, and added the correct githib repository. I've learnt something through writing the instructions too! Klem, I've taken your feedback onboard and added quite a bit more about DCS-ExportScripts. H-J-P, I am really happy for you to take any/all of it and put it in the wiki. Anything to help. Would you like me to add it to the wiki?
-
Arma3 allows you to disable on a controller by controller basis, so you can disable the TWCS, do keybinds, re-enable. An awkward work-around, not a solution - I have hit the same thing previously. Potential Solution: Download DIView - http://ftp.vkb-sim.pro/Programms/ If you right click on an axis, would can set axis values. In "calibration" set min/centre/max to zero. That may stop the games detecting a concurrent input with keybinds since the axis will always report "zero".
-
Installation Instructions: Broadly, you need to: download the zip from github unzip Ikarus setup Ikarus to talk to DCS run Ikarus customize Ikarus panels Fly! 1. Download Ikarus Go to: https://github.com/s-d-a/Ikarus Download the Zip via the green "Clone or Download" button on the top-ish right. This zip is all the files you can see in the github repository... zipped. You also need to get the DCS-ExportScripts zip in the same way: https://github.com/s-d-a/DCS-ExportScripts 2. Unzip Ikarus Ikarus does not need to be "installed". Unzip to the desktop or some other random place. As soon as you've unzipped Ikarus, you can run it, there is no install process. The Zip contains is one folder which contains all the files and sub-folders, called "Ikarus-master". Have a look at the file structure - its exactly the same as the structure on github. This folder needs to be extracted to where you want to run Ikarus from. To keep everything together, you could make a new \Users\%User%\Saved Games\DCS\Ikarus directory and copy/move your newly unzipped Ikarus folder there. \Users\%User%\Saved Games\DCS\ or \Users\%User%\Saved Games\DCS.openalpha\ is where DCS saves all of its settings/configuration/keybindings. If your not comfortable putting files in that directory, you can absolutely put Ikarus somewhere else. I have a few folders: \%User\Saved Games\DCS\Ikarus\Ikarus 1.2.3.1n\ \%User\Saved Games\DCS\Ikarus\Ikarus 1.2.3.1s\ \%User\Saved Games\DCS\Ikarus\Ikarus 1.2.3.1w\ Where I have kept the various versions. I can run each version from within its own directory. Note: THERE IS NO SIMPLE UPGRADE PATH BETWEEN VERSIONS. Keep your "production/modified" version separate and backed up. If you modify Ikarus, you will need to then merge those changes into any newer version you download. The more you customize, the harder this may become. Each aircraft has an .xml file and an .ikarus file which change as you customize panels, as well as artwork used in the panels (which you can also modify as you wish). 3. Setup Ikarus to talk to DCS In \Users\%User%\Saved Games\DCS\Scripts there is your "Export.lua". Back it up. Back it up now. Of course you only can back it up if it exists. Export.lua controls loading modules so that DCS and import/export data in various formats. You need to tell Export.lua to use DCS-ExportScripts, and you need to place those scripts in \Users\%User%\Saved Games\DCS\Scripts. Please note that "DCS-ExportScript" is Ikarus specific. Think of it as "DCS-Ikarus-ExportScript". It is not a general purpose exporter, and needs to co-exist with any other exporter you may have. TacView and DCS-BIOS have their own exporters for instance. The Zip has the following directory structure: DCS-ExportScripts.zip --> DCS-ExportScripts-master --> Scripts --> DCS-ExportScript Inside the zip, "Scripts" has the same structure as \Users\%User%\Saved Games\DCS\Scripts. Inside the zip, there is an Export.lua (that is Ikarus only). If you do not have your own Export.lua, use the one from the zip. Grab Export.lua and the "DCS-ExportScript" folder and copy to \Users\%User%\Saved Games\DCS\Scripts. If you have your own Export.lua already, add this line (and copy the DCS-ExportScript folder): -- load the DCS ExportScript for DAC and Ikarus dofile(lfs.writedir()..[[scripts\DCS-ExportScript\ExportScript.lua]]) This instructs DCS to use the DCS-ExportScript you had just copied. Use notepad++ or another good text editor. Plain notepad will probably be painful. You need to end up with: \Users\%User%\Saved Games\DCS\Scripts\Export.lua (with the Ikarus config) \Users\%User%\Saved Games\DCS\Scripts\DCS-ExportScripts 4. Run Ikarus Run Ikarus.exe. At this point you dont need to run DCS, just play around with Ikarus. You need to approve Ikarus's network access - Windows Firewall will pop up a window each time you start a new version of Ikarus. Ikarus can run on a remote PC (without display export) and uses network protocols to talk to DCS. If you run Ikarus on your DCS-local machine then you can export MFCD's - remember though that Ikarus still needs network access on the local machine to talk to DCS. Hit "show panels" and they should appear - all of them. Then most panels will immediately disappear. You can actuate (click) the cockpit panel buttons with the mouse. On the main A-10C panel, there are 8 silver switches down the bottom - these switch between the different panels like the CDU, the UFC etc. You can mouse hover over most things to get descriptions. 5. Customize the Panels You need to put in new co-ordinates if you want to move the panels around or move them to your second screen. You will need to do this as they default to 0,0 on the main DCS viewport. You cannot drag and drop cockpits or panels - you must hand-enter the co-ordinates. If you select "editor mode" then "show cockpit" you can drag and drop panel elements around to re-position them (gauges, buttons, knobs etc). If you export DCS MFCD's or other displays, then you will need to either arrange/resize Ikarus to suit, or, move the displays to suit Ikarus and probably both. 6. Fly! A few things: You dont need a touchscreen, Ikarus will work with a mouse. There are buttons in the cockpit to switch between panels. Only the main panel is displayed at first. There is no way to switch between panels using the Ikarus config window. Ikarus auto-detects aircraft and displays the panels to suit You can start and stop Ikarus during a mission and DCS will just work it out. You can start Ikarus after DCS or before. There is no "local machine" mode in Ikarus. If you run Ikarus on your DCS PC then Ikarus needs to talk to 127.0.0.1 (locahost). Ikarus has a hierarchy, there is the Cockpit, there are "Panels" and then there "gauges/buttons".
-
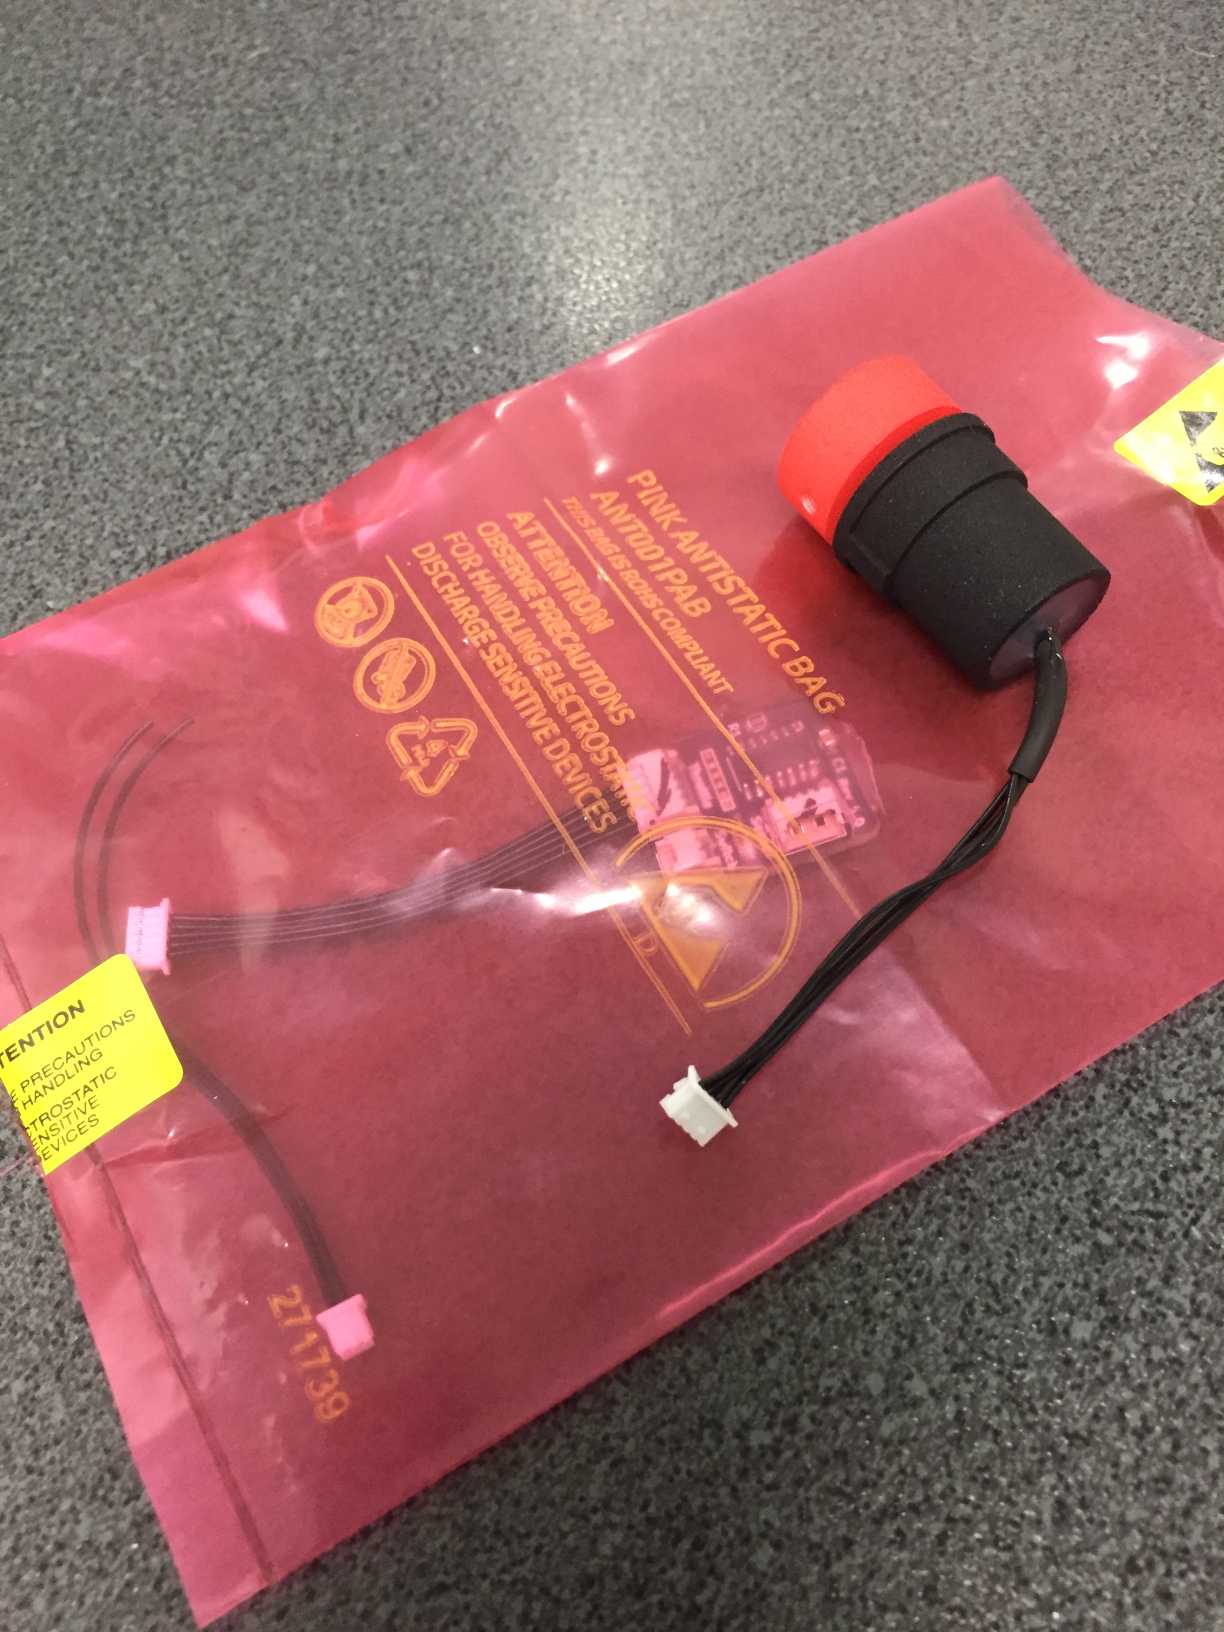
OMG OMG OMG It has arrived! Deltaalphalima posted it almost immediately :thumbup: The install instructions are good, and the unit is a nice snug press fit into the old slew's hole. You do have to be careful with making sure the re-assembly does not pinch a wire. The 3d printed bits feel pretty good. The sensor worked out of the box. I had already calibrated my original slew with zero deadzone (as my original always centered well) so I did not even need to re-calibrate :) Although i have since re-calibrated with a couple of deadzone settings to test. Comparing the old/new with the VKB Joytester was interesting. The original slew looked to be 8-bit... 0-->128(centre)-->256 positions. The new sensor has not changed that. I am quite sure that is a Thrustmaster controller limitation, not the sensor. The original sensor had an permanent deadzone, even at "minimum" calibration, and it was just so inconsistent around center. For the same finger force, you got a different resultant stick deflection. Which, after 5 years of Warthog ownership meant I was still not confident in using the slew, and it was particularly bad around centre, which meant fine control was terrible. You fought the slew, you didnt use it. I had found that zero deadzone, and a curve of around 30 in DCS gave me the best(*) "feel" for the original part. But it was all just trying to compensate for a lack of inherent precision. (*) Totally not the best. With VKB Joytester, the new slew did not look worlds different from the original from the graph. There is still a (small) deadzone where it jumps from 0%-->4%. Its still ~8bit. The results did not look that different, but they *felt* different - because there is a consistency underpinning the new part that was completely absent in the old. So firing up the A-10C and steering the TGP around, I found I could actually dial in proportional diagonal input, which I found just outright impossible with the original with any hint of precision. The force based stick (rather than original displacement nub) took about, I dont know, about 1.072 seconds to get used to :joystick: Honestly the biggest problem I have had so far has been un-learning all the bad habits the old slew had taught me. Also the slightly different red color of the 3d printed hat of the slew, compared to the china hat, is going to probably annoy me :music_whistling: I have also got a TWCS which I am going to use for pasts, and the slew on that is equally as terrible as the original Warthog, but for different reasons. It just does not re-centre properly, which requires a _large_ deadzone. If anything its slightly more 'accurate" that even the new Warthog slew, once you accept it sticks across its movement range and acts just like the $2 PS2 pot it actually is. But still, the new slew in the Warthog feels way better to use overall than the TWCS. I think if you could find a high quality pot to drop into a TWCS then it would be a rather awesome cheap throttle. My memory is getting a bit rusty here, but the new Deltaalphalima slew is better than my old Cougar slew, which works better than both the original Warthog slew and the brand new TWCS. Overall I have a very positive first impression. Deltaalphalima was just awesome to deal with, I was just a tiny bit nervous sending him $300AUD(!!) based on a dozen or so forum posts :smilewink:
-
Spelmann - thats awesome. Using a networked RPi as a USB HUB :)
-
Lol. Guess what I do for a living? :thumbup: I've written some multicast testing tools in perl. Here is a simple, no-error-checking multicast listener for DCS-BIOS: #!/usr/bin/perl use IO::Socket::Multicast; # Prime the socket my $soc = IO::Socket::Multicast->new(Proto=>'udp',PeerAddr=>'239.255.50.10',PeerPort=>'5010'); # Join the multicast group $soc->mcast_add('239.255.50.10'); while(1) my $payload; next unless $soc->recv($payload,1024); print "DCS-BIOS sent: $payload\n"; }
-
1. If I get it correctly export.lua <=> DCS-BIOS <=> SOCAT <=> Arduino. I am still a bit unclear on how export.lua <=> DCS-BIOS work You have this correct. You are unclear on export.lua <=> DCS-BIOS because that is the point of DCS-BIOS - you dont need to know anything about export.lua, because the sole function of DCS-BIOS is to interface with export.lua for you. 5. Yes - DCS-BIOS can import and export over the network - in fact that looks to be the native method it uses. http://dcs-bios.a10c.de/docs/v0.7.0/developerguide.html The upshot of that is once DCS-BIOS is installed and running on your DCS machine, DCS-BIOS will export data to 127.0.0.1 (that is a fixed, static internal IP address of your windows PC), and will also listen for data coming in over the network. SOCAT is, I think, is the "glue" between the network import/export data DCS-BIOS does and the serial bus to the Arduino. So if say you were using a Raspberry Pi instead of an Arduino, you'd need the Raspberry Pi to generate a network packet with some plain text which says "TACAN_MODE 3". For that, you can use _any_ programing language. Python would do just fine. That packet gets sent to DCS-BIOS, where it translates it to lua for you.
-
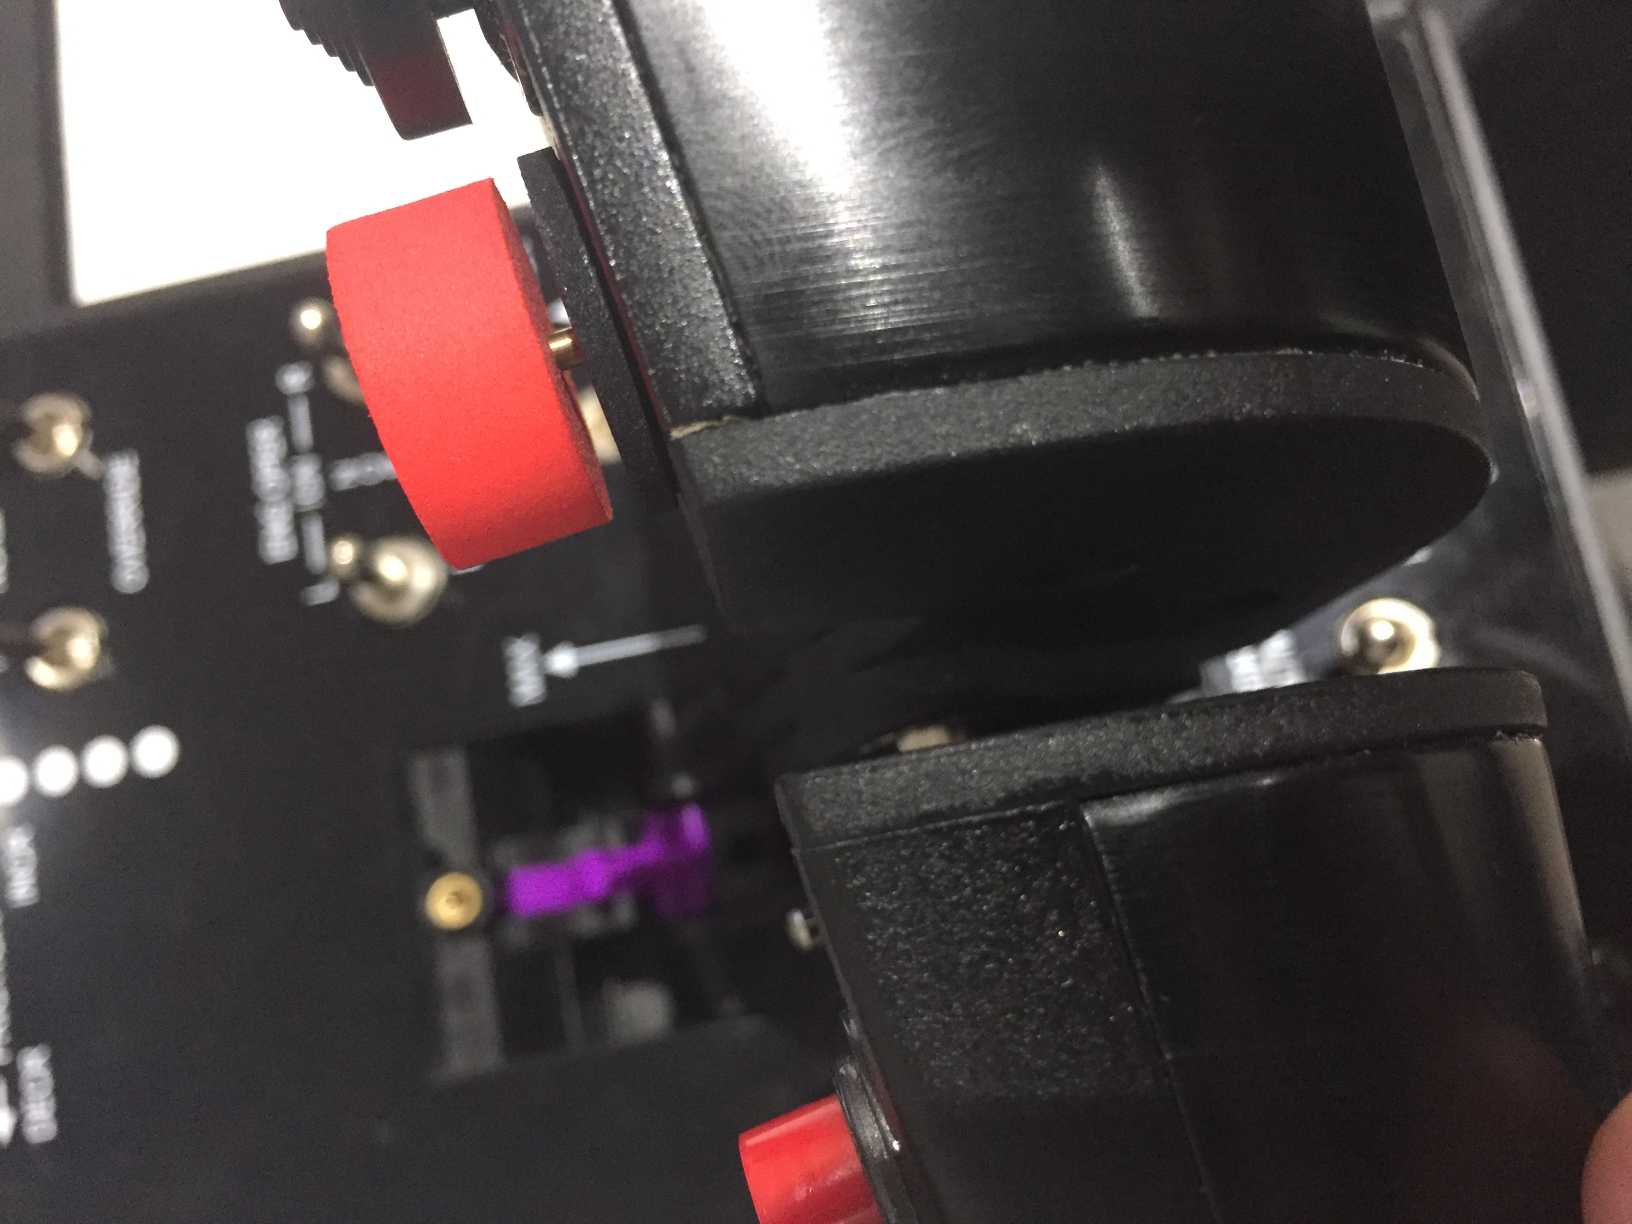
Pictures! I got the centre detent and the dual stage AB parts. You can choose the colors to get printed, so I got different ones so I could easily tell them apart. I didnt realise it at the time, but I really wanted the "centre detent with reverse". That part has the centre detent, and a detent into engine shutoff. The Warthog uses separate switches for engine shutoff, so I think you really do want at least a detent at that end to show you the your at the end of the throttle rage. Not a big problem, a file will fix it pretty easily. This is the centre detent fitted. Its blue :) Thottle is fully forward. Side view, split throttle. The Left Throttle is sitting over the stock engine cutoff detent (black plastic). The blue part raises the throttle slightly to match the existing detent. You can clearly see the centre detent. The purple part is the dual stage AB. Left Throttle is at full MIL power. You need to push it over the first bump to get AB, then over the second bump to get max AB. Its almost perfect out of the box for the F-15C. I didnt need to adjust DCS at all. Both fit so well that I dont need the original cover plate to hold them in place. Very happy with my purchase. EDIT: Did need a slight curve (approx -10) on the throttle axis for the F-15C to get 100% power to line up perfectly.
-
Hi guys, I think I have encountered a bug - I am running 1.2.3.1r (released yesterday) and it was also evident in 1.2.3.1n. I have a second touchscreen, where I export the MFCD's and have an Ikarus front panel with the OSB buttons. The issue comes where, if I click with the mouse - or touch the screen with a quick, brief "on", the OSB does not properly register, the text for the MFCD OSB button gets a persistent purple box, and eventually the MFCD says "STUCK KEY" in big yellow letters. I then need to mash on the stuck button to eventually unstick it. Its an ugly screenshot, its the default, original install of Ikarus, with the panel on the main screen. Not using the touchscreen at all. Here you can see MSG and ACK buttons in the stuck state: I cannot replicate this using the DCS Clickable Cockpit. I can mash those OSB buttons, only using the Ikarus Panel do the buttons stick. Normal behavior is when you see an Ikarus button depress, the clickable cockpit button is pulsed as well. When an OSB button sticks - the Ikarus button is seen to depress, but the clickable cockpit does not - but the onscreen text will get a purple box. Seems like a timing issue - where, with Ikarus, you can generate a short enough "momentary on" to confuse DCS. Its a bit harder to replicate with the mouse - I have to try hard to make very short mouse clicks. My touchscreen however seems to love making short clicks, which is what has lead me down this path. Have you guys seen any similar issues like this?
-
I got a couple of the Warthog Throttle detentes - the dual stage AB is just excellent!
-
I have this bug as well.
-
I'd like one :)
-
I got a touchscreen today, and started looking around at the various options, and came across Ikarus - and then installed it any played around with it for a bit. I just wanted to say a big thanks for all the effort you guys have put into this - its a great achievement.
-
Configure Mouse Scroll Wheel for Elevator Trim
Thermal replied to dmwierz's topic in PC Hardware and Related Software
Scroll Wheel's create events/keypresses, they are not an axis. So you will need to make m.scroll up = trim up and m.scroll down = trim down. Alternatively, the trackball might have software where you can re-map the buttons/wheel to keypresses? If that does not work you might need something like autohotkey to translate wheelup/wheeldown to keypresses. -
Sounds like the stick needs the firmware uploaded to it. Google "thrustmaster joystick bootloader".