MacFevre
-
Posts
461 -
Joined
-
Last visited
Content Type
Profiles
Forums
Events
Everything posted by MacFevre
-
Михель, You wouldn't have any of those videos available with english subtitles, would you?
-
Михель, I'm curious how you would go about actually using a panel like this? Would you just have it sitting out in the open as is? I think one of the things you ought to think about is how it actually looks. Even the most basic switch panels on here are mounted in a box, and I'm having trouble seeing how it would mount. Might just be me, but I know what one of the immersion factors isn't just having a switch that throws one in the sim, but looks the same also. Also, in your video showing the board in use, at mark 0:14, you toggle the second switch, but in the cockpit it shows the second switch being thrown, as well as the third at the same time. I'm not familiar with the MIG-21, but is that supposed to happen?
-
Excellent news! I, for one, wouldn't mind paying 25% less! :D
-
Hey, great looking CMSP Romeokilo! Kudos! Quick question, if I may. Just curious as the size of the display you used, or perhaps even a link. It looks a tad wider than the others I've seen, or maybe it's just the way the panel was cut. But it definitely looks like the original! Thanks.
-
Again, top notch (and top shelf! ;) ) Thank you Lynx.
-
Again, nicely done! And the dxf is really over the top! Thank you for your contributions. Of course, I already got one. It mounts and looks fabulous. It holds real instruments very well and very solid. Honestly, I was a tad, just a tad mind you, worried with the whole 3-D printing thing and how well it would hold up. I know you mentioned somewhere you could use an aluminum backing on the back-side if you were worried. Well I'm telling you, it was totally unfounded and works great without it. Top notch design and production! For those with any aesthetic concern, it is easy to sand down the 3-D printed "grain" and use a filling primer to make it totally flat. Especially if you want to paint it to match the rest. Here's a couple of pics from mine. (Sorry for the disarray. Flood in basement meant quick disconnect and hurriedly moved to avoid damage. Priorities! ;) ) You've really made me a believer when it comes to using 3-D printed parts, in some cases, in production as well as making mock-ups. I was heavily warned by some against any printed parts saying that they are only to be used in the design phase. I guess I can see that with certain products. But with what I've seen you do in your work, first hand I should say, I can now say that, again with certain application—not all maybe, (until I see them,) that perhaps it really will work in the real world. Can't wait to see what more you can make! Thanks!

-
Complete A-10C Cockpit Interest? Nice! Hey Lynx, plan on a couple of these for me too. Would have posted pics in my thread on the glareshield I received, which looks great, but due to flood in basement, haven't been able to get to the pit yet. Thanks again, though.
-
Incredibly well done. Practical, modular, beautiful. What more could you ask for?
-
Hans, you are the obviously the eBay wizard!
-
Well Jimbo, if I lived around Lindon I'd be rather interested. Unfortunately, I don't. But good luck!
-
Looks like a nice machine. I know it's not the place for it, but how's it working for you?
-
DM, it can vary, as they aren't in there in any permanent sense. Right now it's just enough for the seat I'm using. So right now it sits at 21 1/2". It is showing about an inch in the front between the outer edge of the console to the sidewall, and the rear of the console sits about 4" from the sidewall. The centerline of the console lines up with the inside edges of the MIP support pillars. Here's a quick pic.
-
7rooper, I currently have the side consoles I made for my first pit in this one. (Until the better ones come along. ;) ) Those were made from Dimbug's plans. They fit fine, but I'm having to support them on the outside front and aft corners as I didn't want them permanently attached because hopefully they won't be there for long. Biggest reason for getting rid of them, however, is Dimbug's consoles don't allow enough room on the underside for real boxes, or even panels with all the electronics needed to support the individual panel attached to that panel. If you're planning on a simple panel with wiring to a main area or spread out, then they would probably be ok.
-
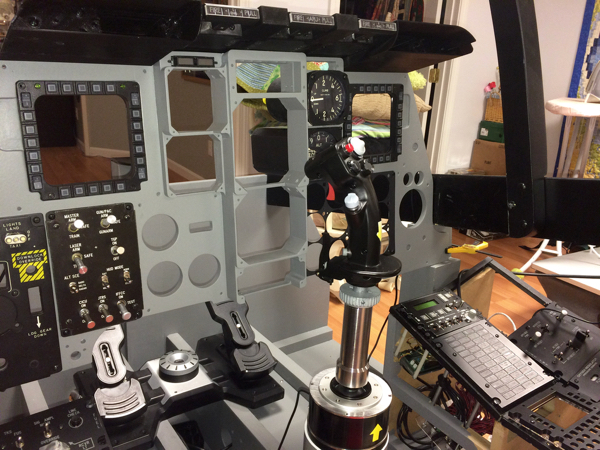
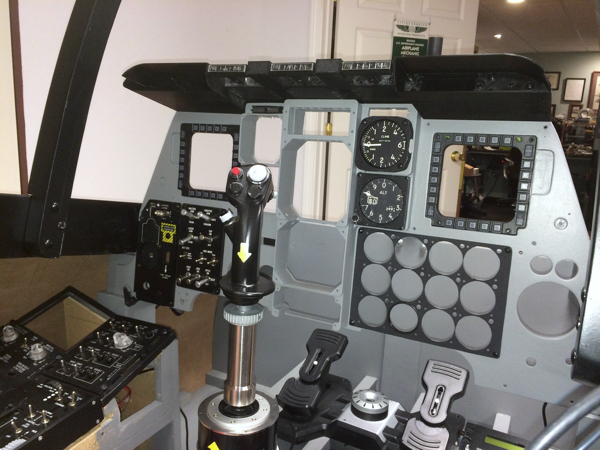
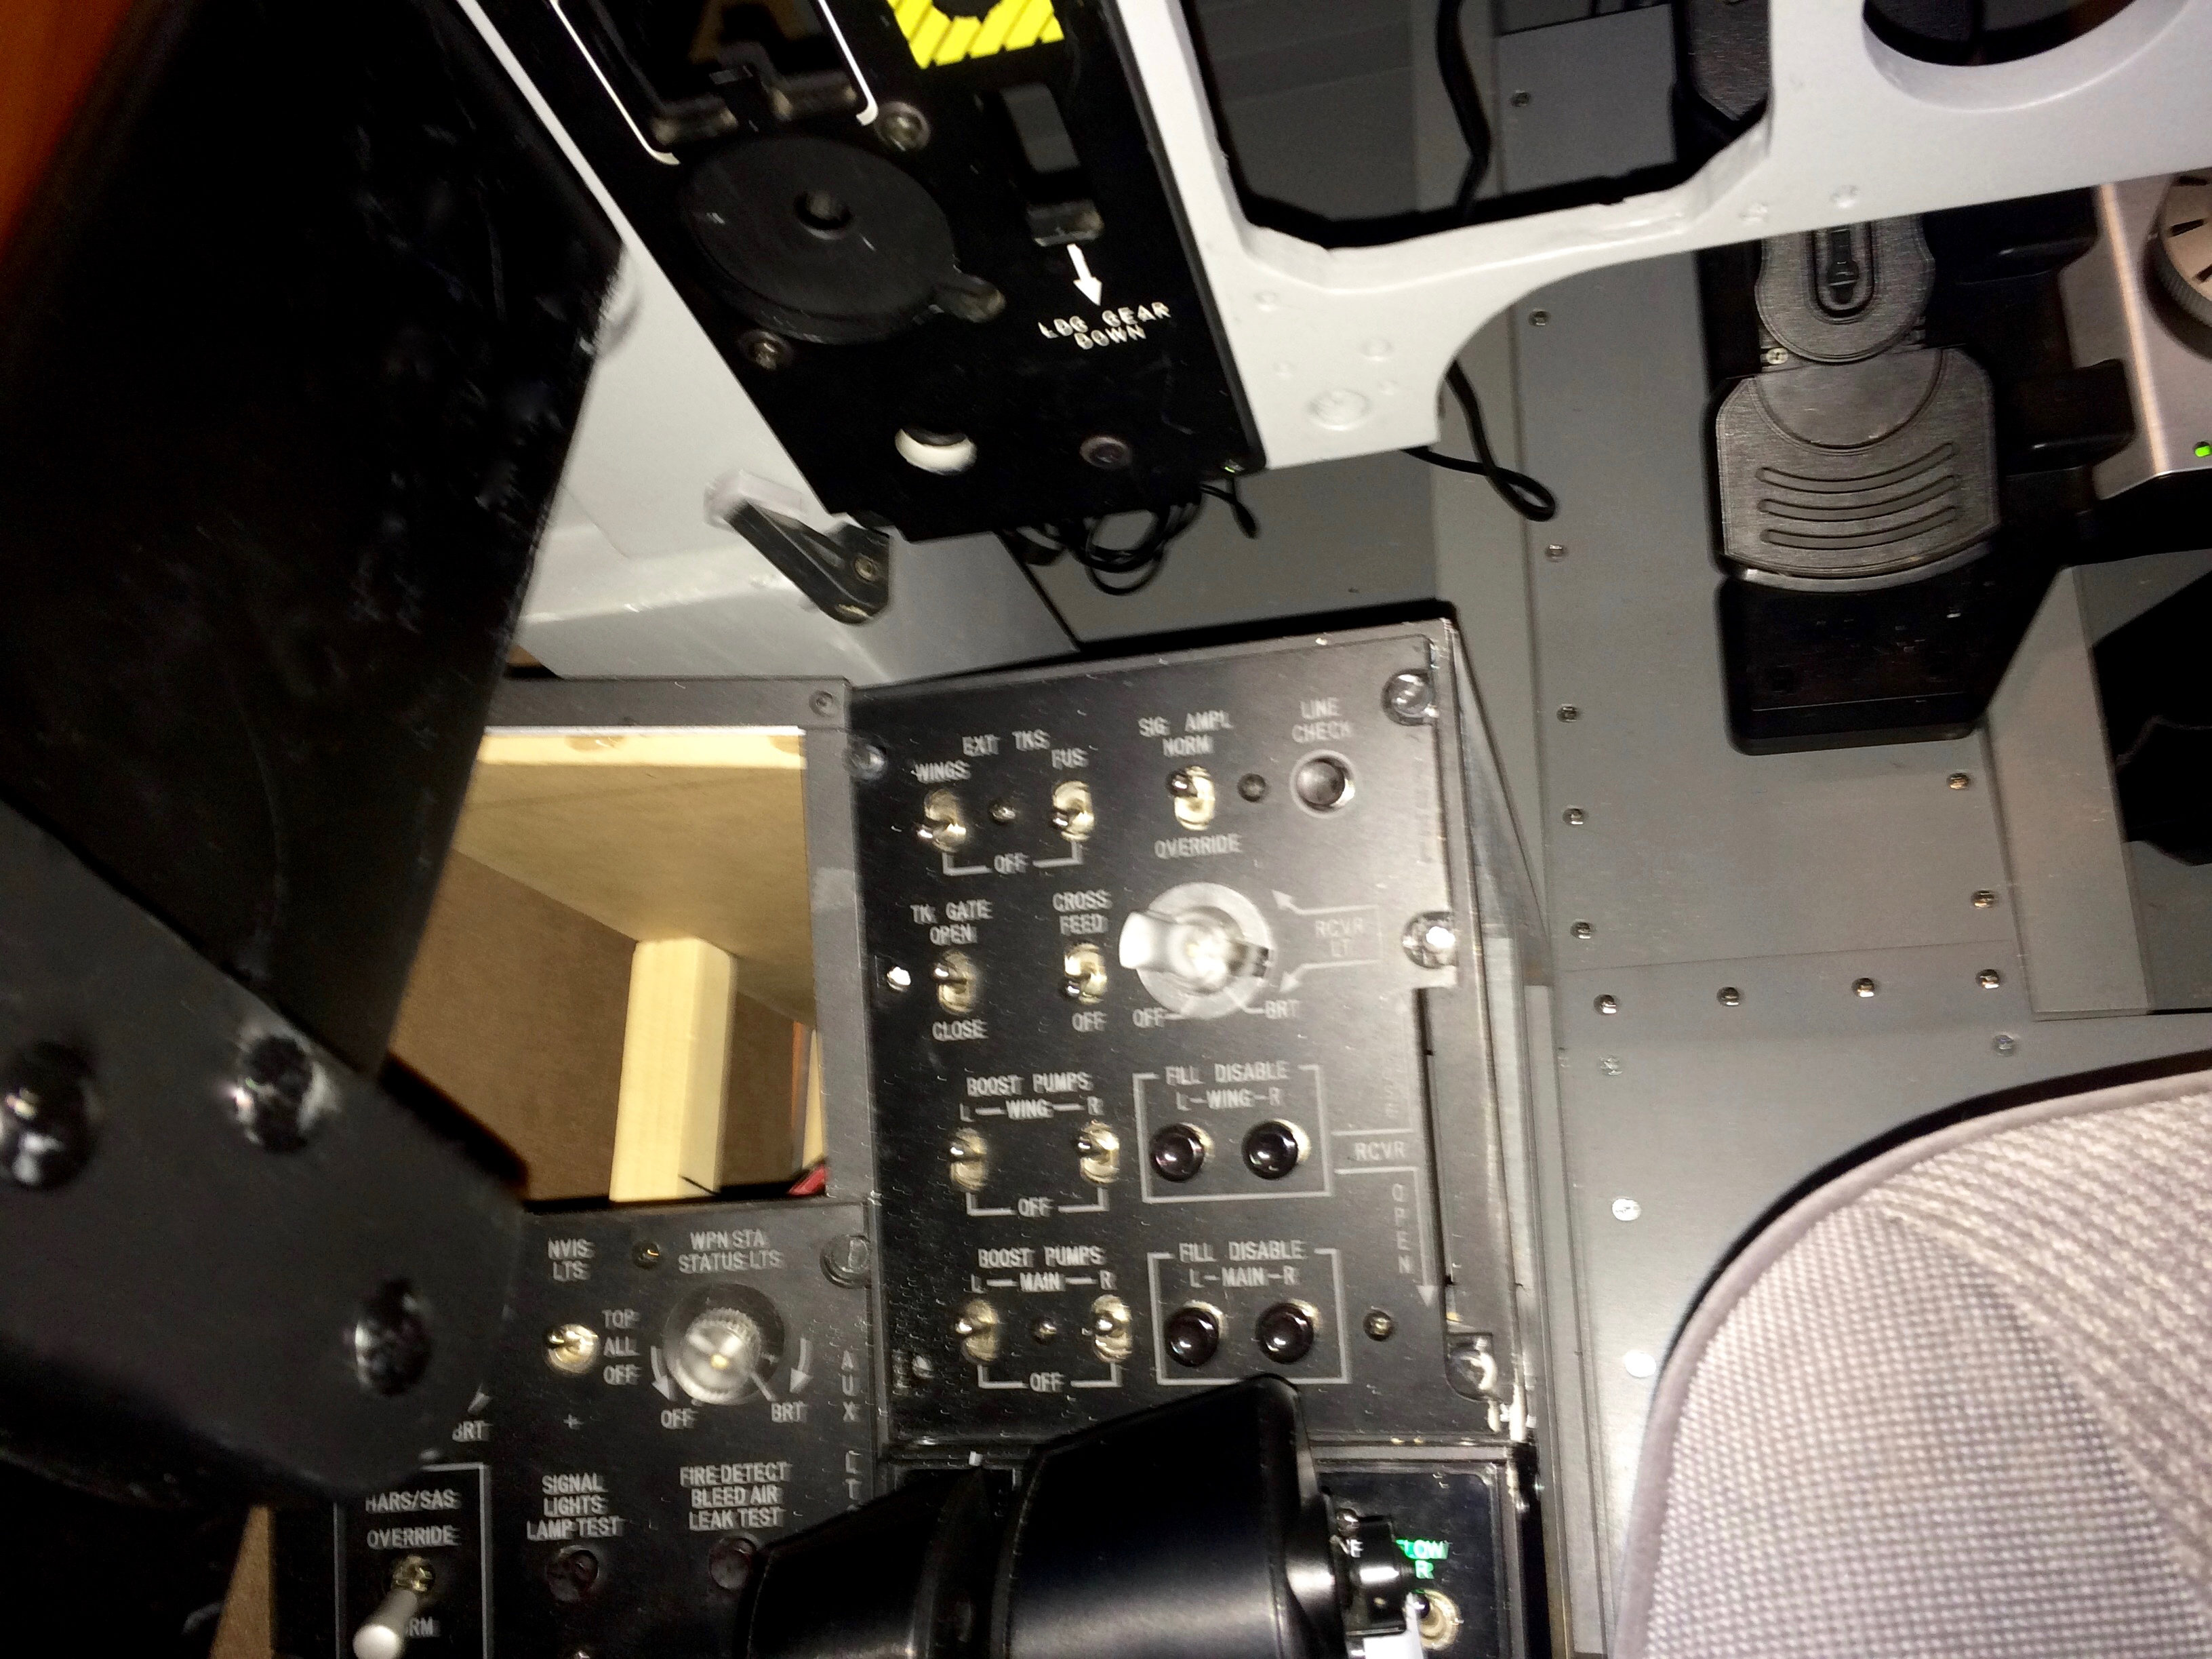
This really does look like the best of both possibilities, real instruments and/or made gauges. Putting my order in now! Thanks Lynx for making all of these items! Buttons aren't toys! :smilewink: My new Version 2 Pit: MacFevre A-10C SimPit V2 My first pit thread: A-10C Simulator Pit "The TARDIS." Dzus Fastener tutorial, on the inexpensive side: DIY Dzus Fastener
-
Linden! Welcome back! You, um... don't want your panels back now that your in the scene, do you? :D I'm rather enjoying them.
-
Haven't seen too many of them. Guess it's worth what someone will pay for it. ;) I know I won't give him what he wants for it, thus thought I'd see if someone from here wanted it. Hadn't realized you weren't involved in it anymore. Apologies. Yes, he did do a great job then!
-
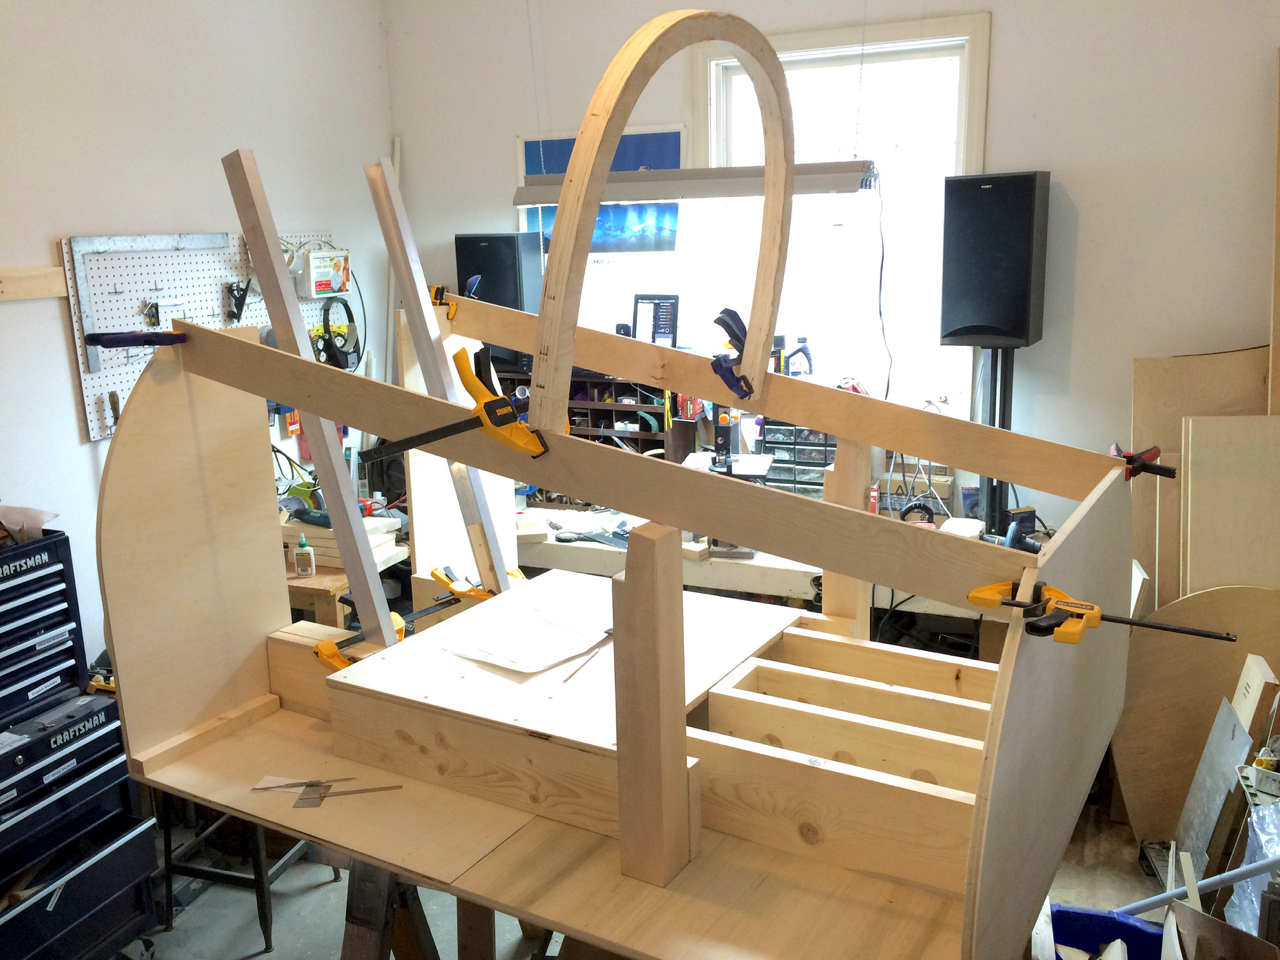
It was my honor and very much a privilege to have been an Alpha builder of this project. Thank you Deadman for allowing me to be a part of it. Deadman's drawings are very professionally done and now with the instructions expertly written by Hans, should make it a fairly straight forward build without the need for a CNC or professional help. For someone like myself that lives in a remote area of the country without a CNC within hours of my house is a godsend. Cripple, IMHO, it's engineering is right on target. Sure, you could make it out of thinner material I suppose, even cardboard, but it is very robust. When I climb in and out of it, like DM mentioned, I always seem to grab onto the canopy bow. I must say, it's not going anywhere. I may only weigh 145 pounds now, but when I started the build I was 230, and it had no qualms in supporting my weight. You also need to remember this is a meticulous design and reconstruction of the real trainer, so doubt they were thinking about LAN parties when created. ;) Without the canopy bow on, (or seat installed,) it can still be moved easily moved by two people. Even through doorways. I built mine in the garage before moving it to it's final location in my basement. How it sits now is seen in the original post, and this is how it looked while building it and immediately before moving.
- 51 replies
-
- 2
-

-
- cockpit plans
- a-10c pit
- (and 1 more)
-
Thanks for the ADI link DM. (BTW, nice job on posting the pit.) Didn't see the ADI, but did see an "Aircraft Acceleration g units indicator ABU-4/A" if anyone is looking for one of these.
-
Ha! Thanks. Yeah that pretty much is my experience, and was hoping there was a magical layout instead of every single component jumbled up in the corner. But, sounds like there's no shortcuts in this kind of thing. :D
-
Fantastic! Even though I have many of the original instruments, this seems like it may be one of the best solutions. I haven't the first clue yet on converting them, so this looks like it may be just the thing! Thanks!
-
The panel looks great! Kudos for your fine details and attention to details. So, for those that might not go the real route or the screen route, will you be offering any kind of gauges for sale?
-
Anton, I've been on a bit of a medical break for awhile, and completely missed your post on your CDU. Nice one! I've been trying to make make my own PCB to do the same thing. Got the schematic done in Eagle, everything looked great, opened up a new board view, took a look, and almost threw the laptop out into the snow! I tell everyone, you try to make your own PCB with that many components and such, the first time you look at the board view you'll cry. Don't know how you managed to have the patience to place everything where it needed to go. Maybe I'll try again soon. Just wanted to say, nice job!
-
Haha! I can imagine me now sitting in my pit with keyboard strung around my neck! But very good idea. When I made my computer, I didn't think I'd ever need bluetooth, so might need to get a card for it. Still, thanks for the idea!
-
I'm really happy with how my pit is progressing, at least with most of the physical aspects. One thing that keeps nagging at me though is the keyboard placement. Unfortunately, at least until every piece in the pit is operational, you've still have got to use the keyboard. I can't for the life of me figure out a decent place to put it! So I was wondering what others have been doing with theirs that have a full pit setup? Was considering perhaps an articulating arm that you could just swing up and out of the way when not in use? I purchased a trackball that does pretty well for the mouse, though even finding a permanent place for that is giving me some difficulty. Found a pretty nice articulating arm for the keyboard at newegg, but they want $300 for it, which makes it kind of hard to swallow just to get the keyboard in and out of the way quickly. So any thoughts? Love to hear what others think.
-
For those who would like an A-10C VHF radio head, you can pick this one up! ROCKWELL/ COLLINS, Radio Set Control, C-10604(V)6/ARC-186(V)