RCN_Moose
-
Posts
193 -
Joined
-
Last visited
Content Type
Profiles
Forums
Events
Everything posted by RCN_Moose
-
Okay, tutorial is done (Version 1.0) I just posted it to lockonfiles so it should be available for download in the next few hours. Please post any comments or feedback in this thread. Thanks
-
Ramstein, the finished tutorial should be rdy by tomorrow night. It should be much better than my first WIP attempt and will cover all the methods of installing skins.
-
Okay, almost done. If anyone is interested in pre-testing it before I post up for the world, PM your email addy and I'll send it to you.
-
Okay, I'm going to work on getting a finalized version done this weekend that will include all 3 methods. Hopefully I'll have it done by Monday. On a bright note, I just found that Word 2007 has a free PDF convertor. Sweet. Filesize went from 5Megs to 800KB. :)
-
Crazy, I'm not sure how others do it. For me, I created a bunch of extra layers (basically for each piece of the aircraft) Then (for instance lets do the tail) I would go to the layer with the tail, select it, then rotate/move it so it is beside the other tail piece, make sure the pattern is matches, then move it back to where it is suppose to be Time consuming, but it gets the job done.
-
Looking good indeed. :) To get rid of the star, just hide the layer called star.
-
I'm here....just not settled in. Nighthawk, I'm planning to add the other two methods, just haven't got that far yet. (hence the WIP - Work In Progress) I was also looking to get some feedback for the portion down to see how people were understanding it. I've none done a tutorial before so I'm trying to make this one foolproof.
-
Strange. Not sure why they wouldn't print through the viewer, they're just jpg's.
-
I assume you're using Photoshop. The wheels is one of the few templates where there isn't really a 'background' per say. What I do is hide the background (fon) layer, then using the magic wand, click any where but the tires or rims, then select inverse. Now you have the rims selected. I then pick the color replacement brush, select a color and go nuts. 9 times out of 10, the color you end up with will not be what you selected. I then go to Image > Adjustments > Levels and play with the levels to get the color back to where I want.
-
WHen you install MODMAN, it includes a sample skin, which includes a lma7 file. What I do is open that file, rename the bmps to whatever I have called them for my skin, add a specific color scheme ID, give it a name, and save the changes. As for the templates, all those colors are there already, they're the background. If you hide everything else those are what you see.
-
Nothing like compression. Attached is 2 zip files, which contain in game pics of all of the template bmps, as well as a few of all the bmps together to see how they fit.
-
RCN - Yes. MODMAN - No. You do not need to extract anything when making a MODMAN compliant skin. IN fact you want unique names for your bmps. Thats where the lma7 file comes in, you list your file names there, MODMAN does the rest when it installs it. (theres abit more to it, of course) On another note, I have a word doc with all the bmps from the template, shown in game. It's too large to post here, but if you shoot me your email via PM, I can send it to you. Of ya, I'll be stuck in Halifax for just over 3 months.
-
1.for the wheels, what I've been doing in using the replace color brush. This changes the color and leaves the detailing. There are times when you'll need to adjust the levels to get the color to match though 2. I think I'll make up examples for the helo with each bmp, then have one overall one so people can see where the diff bmps join 3. the lma7 file is not used by the game. it is strictly used by MODMAN. However, without a doubt I would say MODMAN is the best method for adding anything. I'm actually getting ready to go to Halifax for a course (leave Monday) so I won't be working on this until I get setup out there. On the bright side, it's a standard military course, so I'll have plenty of free time :)
-
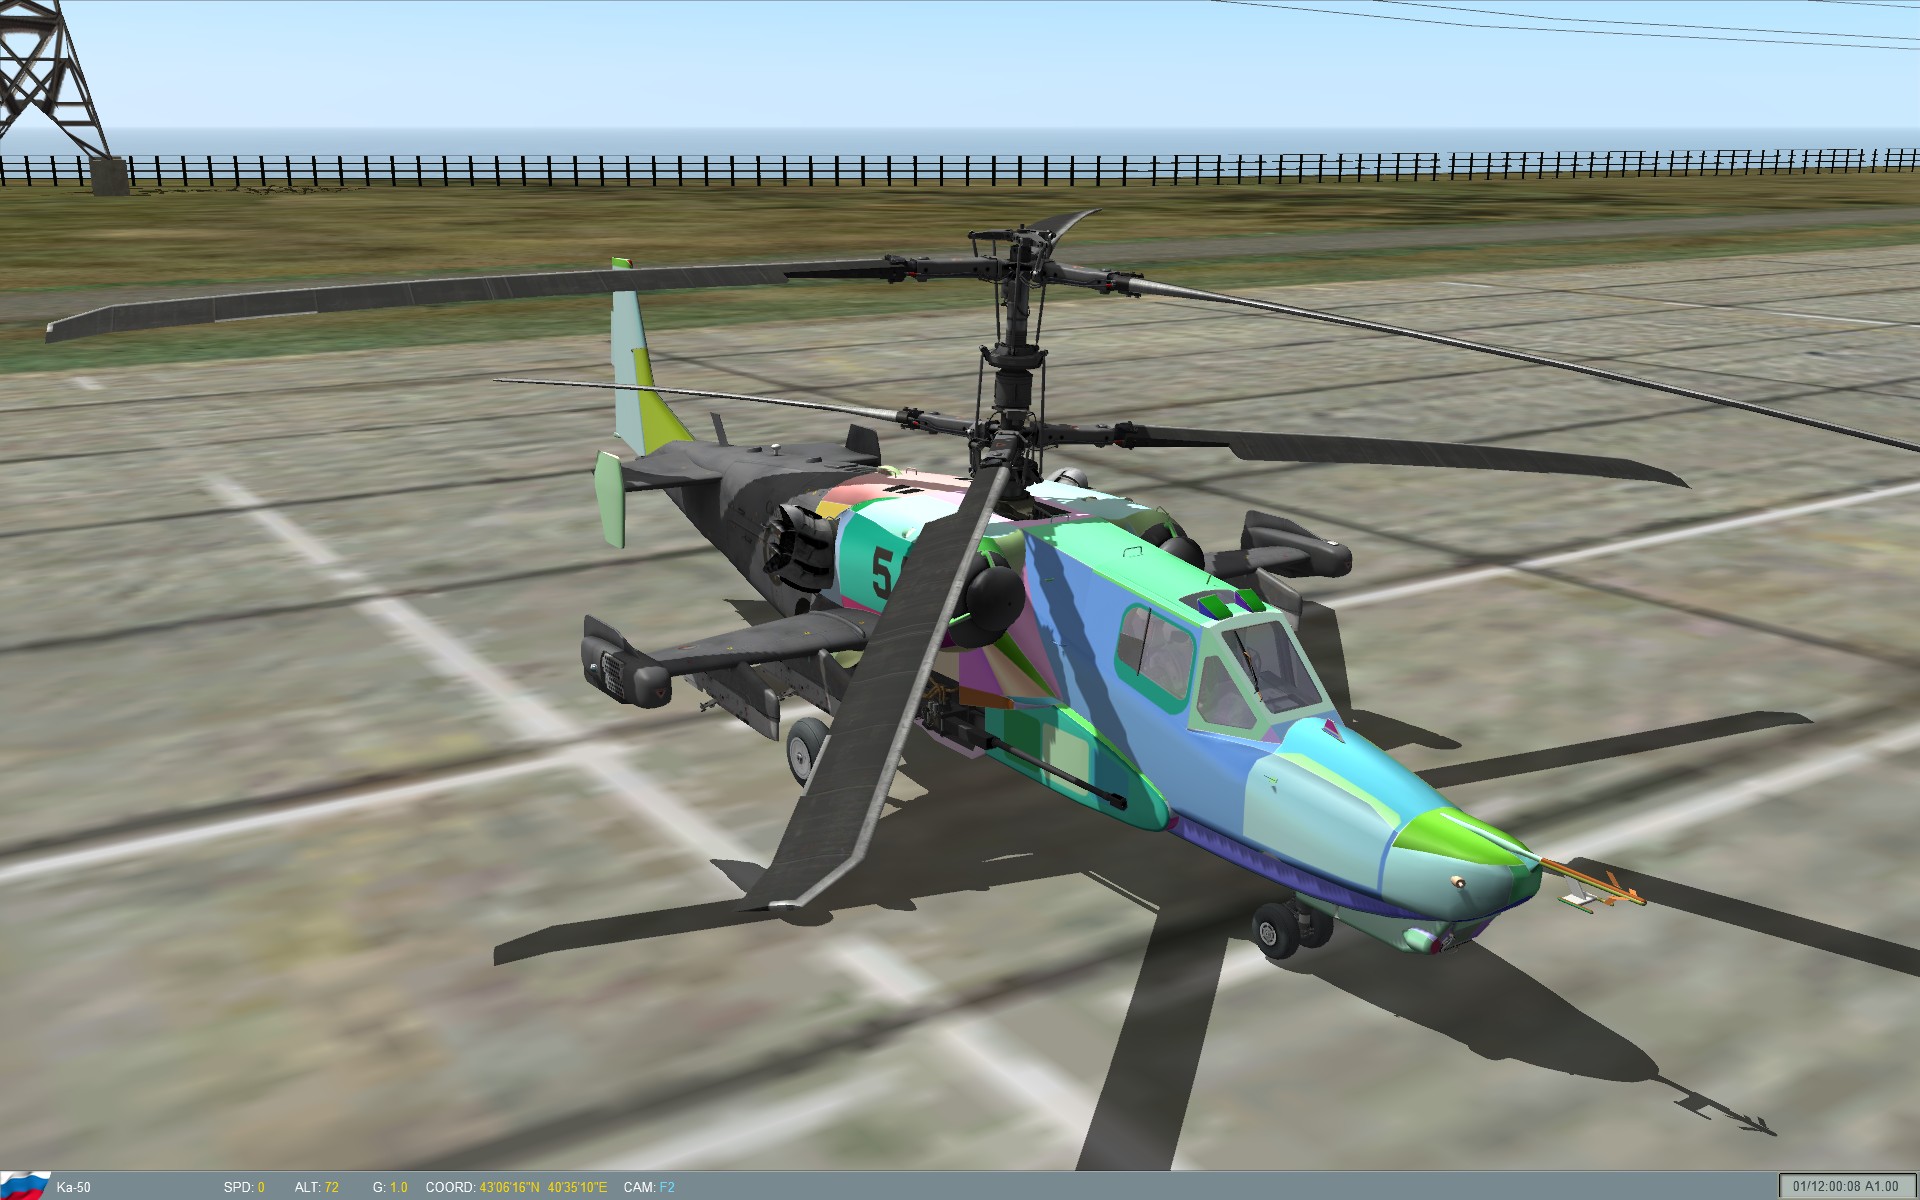
Nice looking skin. Any comments on the doc? I've still got to add a section for using MODMAN and maybe a section on how to add a skin to the game, without MODMAN and without overwriting any existing skins. The obvious end goal will be to have a Skin how-to that is detailed and fool proof (ie LOTS of pics) I was also thinking of putting in a section that show the in game model, for each bmp with just the background on. Similar to this. I'm thinking if there is a section or annex with those, ie KA-50-Paint1 with a couple images of the helo in game, then the same for Paint2, etc. that would reduce alot of the "I can't find this or where is this part" questions.

-
I am an NVIDIA user, on an older 8800GTS 512.....With everything on high, mine are crystal clear..
-
Sunjah, PM me your email and I'll send it to you
-
Something like this perhaps?
-
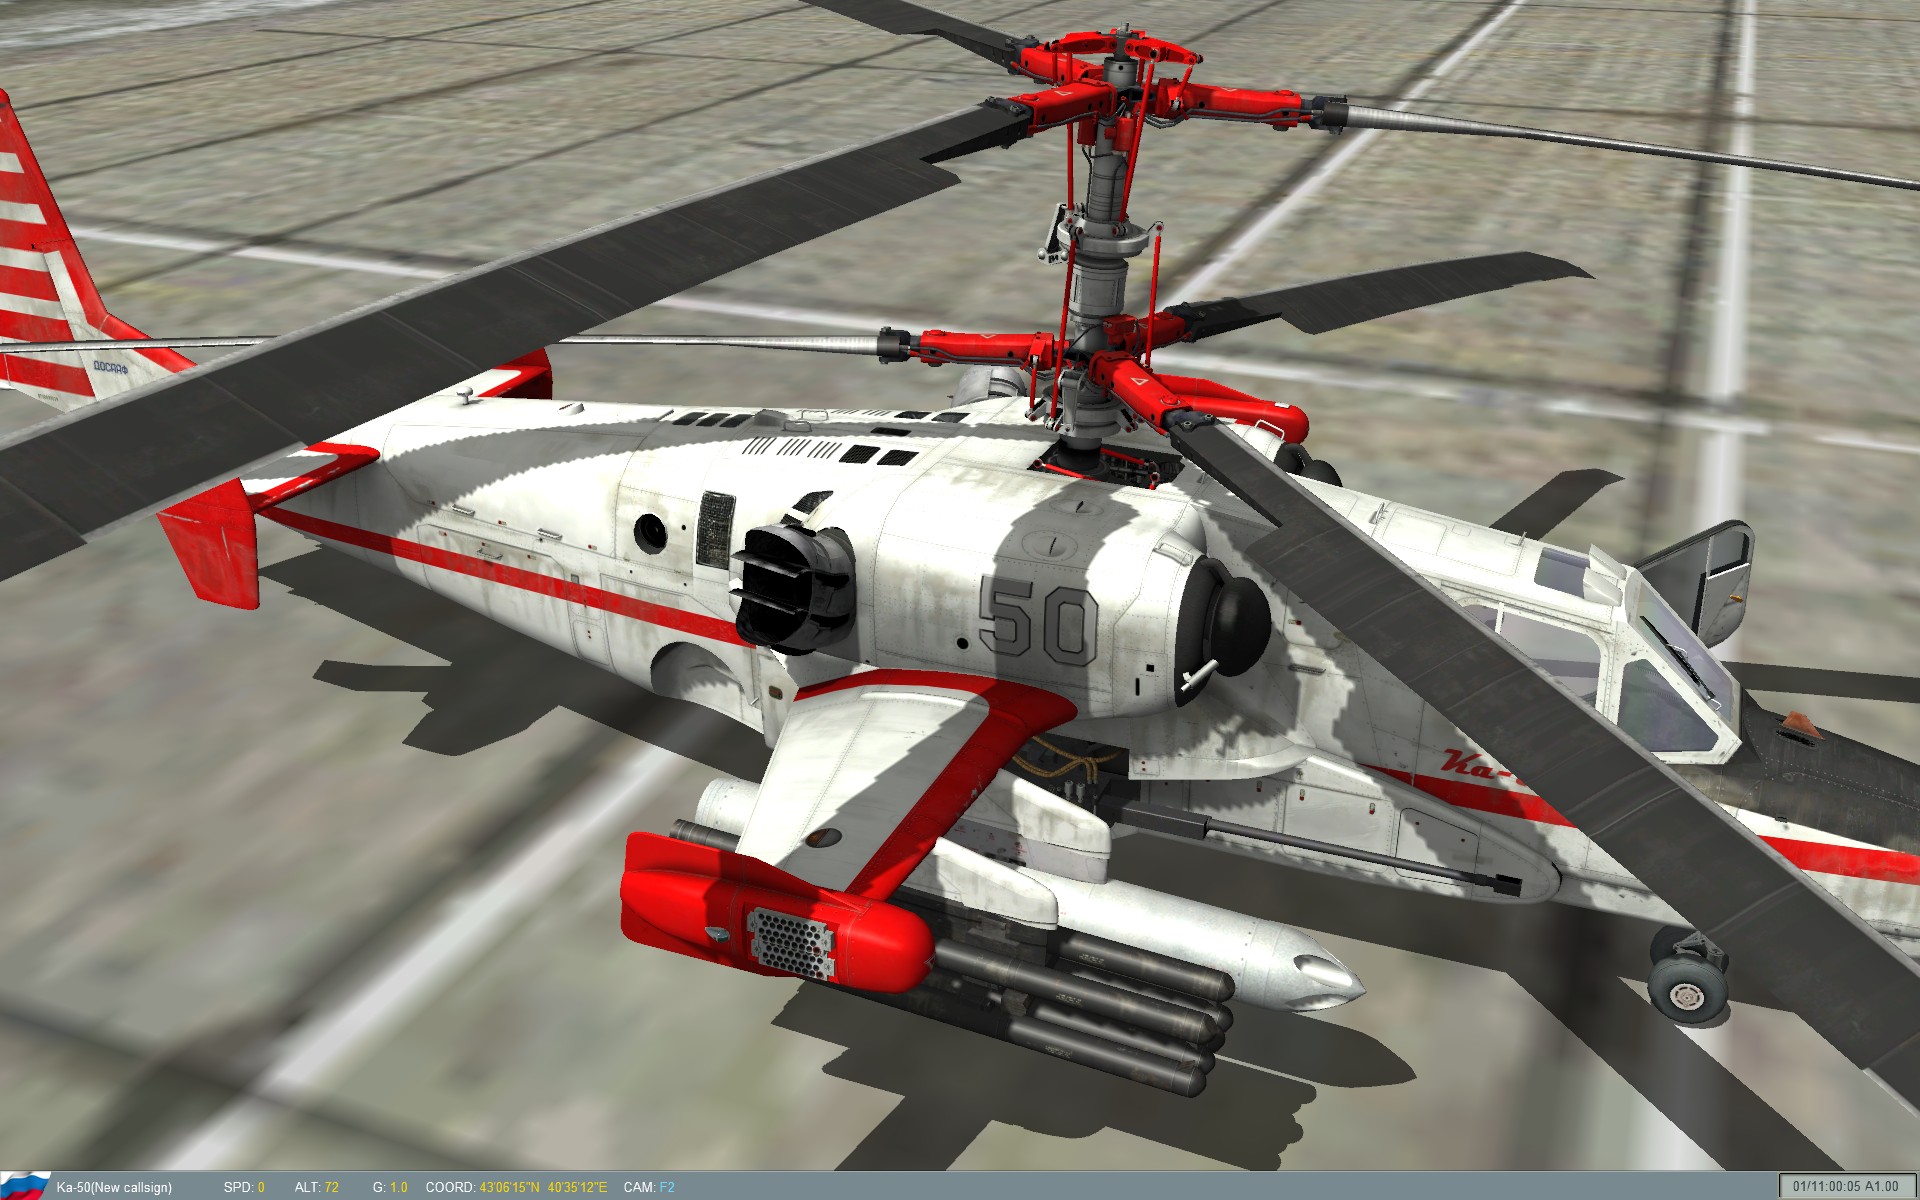
It's already available at www.lockonfiles.com However, I just uploaded Version 1.1, which fixes the intake graphics. Versions 1.1 should show up in an hour or two on the site.
-
Congo, Thanks, completely missed that.
-
Aha, Found it. Wouldn't have really saved me any work. But it's certainly easier to look at :) I did miss the markings on the tail (couldn't make them out from my pics) so I'll prob add those.
-
Hmm, did not know that.........However, even knowing it, and know the file names it uses, I can't find it in the game directories. Not a biggie however, since I've already finished the one I was working on and uploaded to lockonfiles. It will show up shortly.
-
Sid6dot7, thats awesome. thanks.
-
It's hard to tell, but it looks like the gun is there. That would rule out the PAINT3.bmp, as it has the gun. It also has the textures for the inside of the frame though....... It almost looks like you forgot to turn a layer back on from the PAINT1 or 2 bmps.....
-
Whats the font is also a good website. Unfortunately I can't find a good photo from the side that has a clear view of MARINES, so I just went with a close match for the moment.
-
And almost done. Just need to correct a couple of spots where the textures don't line up perfectly. I'll release it tomorrow.