RedskinMike
-
Posts
29 -
Joined
-
Last visited
Content Type
Profiles
Forums
Events
Everything posted by RedskinMike
-
nullwell another little update. still waiting on switches and pushbuttons that actualy work. i have ordered a fair few of switches and buttons but most of them were not to my liking and needed to find another one for it. i have found some good 4 way hat switches for the FOV and WAS switch. but now i am waiting for the pushbuttons that feel proper. i am waiting with printing the grip until i get the switches so i dont have to reprint because the switch doesnt fit. I did make the 2 stage trigger which works and is also ready to be installed in the grip once i printed it. Then i ran into another problem. i printed the MPD front plate no problem. just barely fitting on the bed of my printer. now.... the backside of the MPD is just slightly larger which is an issue as it doesnt fit on the bed of my printer anymore. as it is a glass bed and it needs clamps to hold it down.... Luckily i have a friend who is willing to print the backplates for me. so as soon as i send the files to him i can test the MPD out aswell. sorry for the late update and maybe slow progress.

-
unfortunatly i wont be able to. due to some laws i would break if i did.
-
Page 89 shows the main menu. Where the fab and vab both are visible. you can press either of those buttons to go the the same menu. however in a sub menu all those vab will change. While the fab will stay the same. Which makes going to one of the other menus quicker.
-
The FAB always goes to se same menu. But the VAB could also go to that menu but can also be used to enter other menu’s the FAB is also a faster way to enter a different menu if you are already in a other sub menu. Without going to the home screen. hope that makes any sense to you.
-
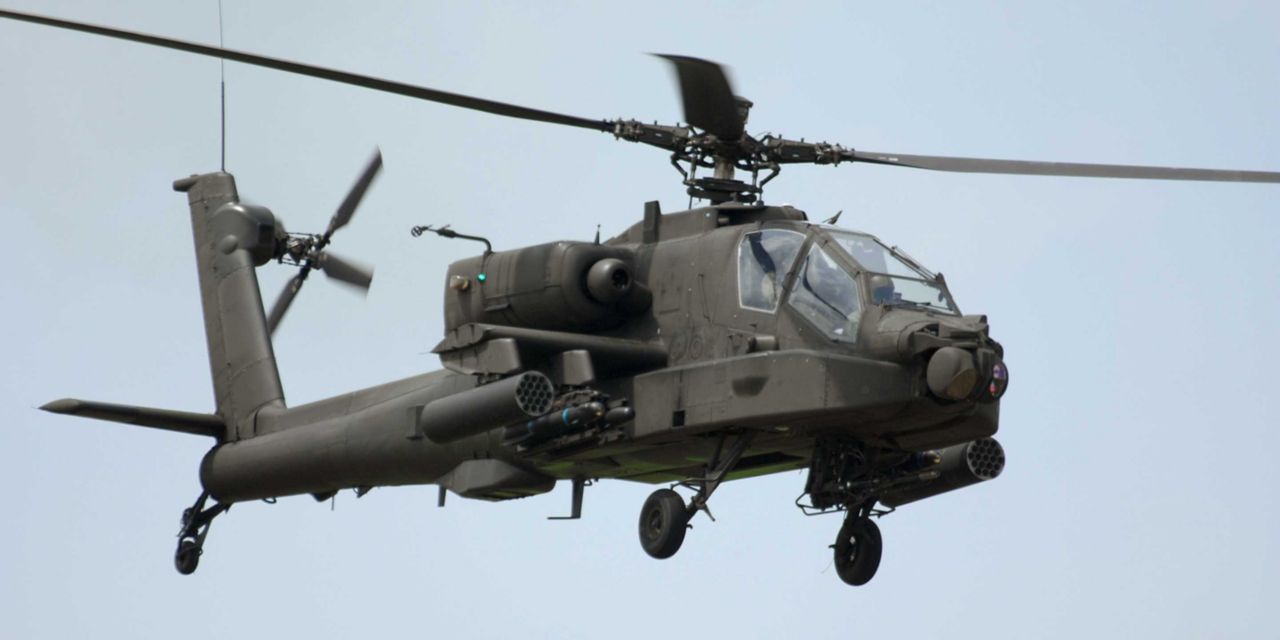
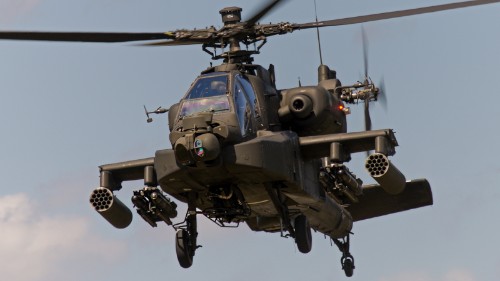
Pilots dont have to account for the 90 degree lag. what happens is that the pitch horn 45 degrees together with the mixing unit also angled 45 degrees in the apache. So the 90 degrees is taking into account within the controls so if he steers left the blade wil start increasing or decreasing pitch at the 12 o clock pos. And have full effect 90 degrees later at the 9 o clock pos.
-
Right trigger laser left trigger fire on the tedac grips
-
Yea i know it is imperial measurements but metric is much easier to work with. Everything on the aircraft is imperial except the 30 mm gun which uses the metric system so has other size bolts and nuts. Would you like to show it ? This is how far i am with the tedac grips!
-
Hi welcome to the thread! The dimensions i have are meassured by me and may be a little bit off. but il give them anyway as i dont have a actualy drawing with sizes. KU: 152mm x 122 square button 9x9 mm could be 10 but when measuring it did not really look like it was 10 mill. what you could do is find a solid flat picture and then make sure that the outer dimensions are correct and then size everything else according to those measurements.
-
Isn't it just the same as like the chinook. There is a ai version of that as well
-
oh well done! The old techniques are not disappointing. I am also looking forward to what you are ending up with. Do keep us posted please
-
looking good !! thanks for sharing your work is also looking great! how are you getting your letters on the panel if you are cutting them out of wood ?
-
I believe i was talking about the mpd’s at that moment but i honestly cant remember. but yea could be again i meassured with a ruler so i might be of a couple of mills
-
Looks amazing, i still have to model the windshield wiper and overspeed panel But they are easy to model. The multi purpose displays are almost done and then its full focus on tedac. Making that a working unit.
-
Currently also working on the last couple of panels, most of the times goes towards the tedac grips. They are very hard to model though. Having a hard time atleast. But they are getting there. I have printed the power quadrant but they need some tweaking cause run in to some clearance issues cause i forgot to calculate in the thickness of the screws i was using. Before i share anything i want to make sure its perfect. I wont post files that are not done all the way. might make a website where i will upload the files if i started building my pit. not sure how i want to do it yet maybe post the progress on youtube
-
Oh wow i just found your video on youtube! Looks sick!!!
-
I measure them up in the aircraft
-
Hi, i also used the outer dimensions for modelling my mpd's, I used some other dimensions like the buttons, and the inner screen diameter from there you can easily model the rest of the mpd with those dimension. If my memory is correct the button size is 9.5x.9.5mm for the square ones and the rectangular ones were 12.5x9.5. i measured these with a ruler and they were not exactly 10x10mm, but then again im not bothered to much about half a millimeter. The measurements of the actual screen are 155x155mm with the outside dimensions being 215x215mm again these are my measurements that i did with a ruler. hope this helps hopefully this helps. ps: i have added a picture of my model from the top, maybe it helps.
-
Aah alright! Yea i kinda need them to match but thats just me being picky cause i want them to feel the same way they do Irl. Actualy took the switches i had with me to compare, if they were close to how they feel in the actual aircraft but love to see your work when its done!! Thanks! I see ur a chinook guy ?
-
Are you using those buttons in the mpd ?Wouldn't they be to big? Im going to use the small square tactile buttons. And print my own button caps. https://www.dennisdeal.com/products/120-stuks-tactiele-tact-mini-drukknop-pakket-micro-schakelaar-zakjes-12-soorten-elk-10-stuks_1300898?utm_source=google&utm_medium=cpc&utm_campaign=gss&gclid=Cj0KCQjwkbuKBhDRARIsAALysV7o1TAvQgXxuvtJ5BDymIKcCShEx0hMJsQBmTtr2yciqA6NbtpVyiUaAtt6EALw_wcB something like these, but i got them somewhere else. thanks for helping out with supplying the link for the dimensions for @Hajime Oke wow that looks sick!! Thanks for sharing!
-
Hi there ! € 0,57 5% Off | 16mm momentary and Self-locking push button switch with LED lamp square button https://a.aliexpress.com/_vmNq7I this is the link for the square push buttons i use both the self locking and momentary buttons as for the cockpit you need both. as for the dimensions of the mpd’s i cant give them right now, as im currently lying on a beach in Greece but i do have them at home. I appreciated the feedback so no worries
-
Thank you for the reply! I am not getting discouraged it only wants me to succeed more. The tip for the bumpers is really nice thank you! I will take a look at that for sure. but designing one button in fusion that way and print it with an extra notch or bump will also work i think but we will see. however thank you for your helping out! do you have a picture of your pit with the bumpers? Im wondering how it looks.
-
Yea, we will see. If i really struggle with it i might use screens to fly with it. but warthogproject also flies in vr sometimes with his simpit! so my guess is it is possible. However you fly the aircraft trough the mpd’s the most. Sure you use the KU but my guess is you use it the most in your preflight procedures. which i am not sure about since im not a pilot just a mechanic on the machine but thank you for your comments im going to try to prove you wrong
-
I ordered standard buttons online. Most of them come from aliexpress It will be hard! But im going to see if it works! Il print some buttons with somthing extra on it so i can feel where my fingers are on the KU same as on your keyboard there are extra bits so you know the position of your hand on your keyboard. i can type while not looking at my keyboard so i must be able to learn this aswell
-
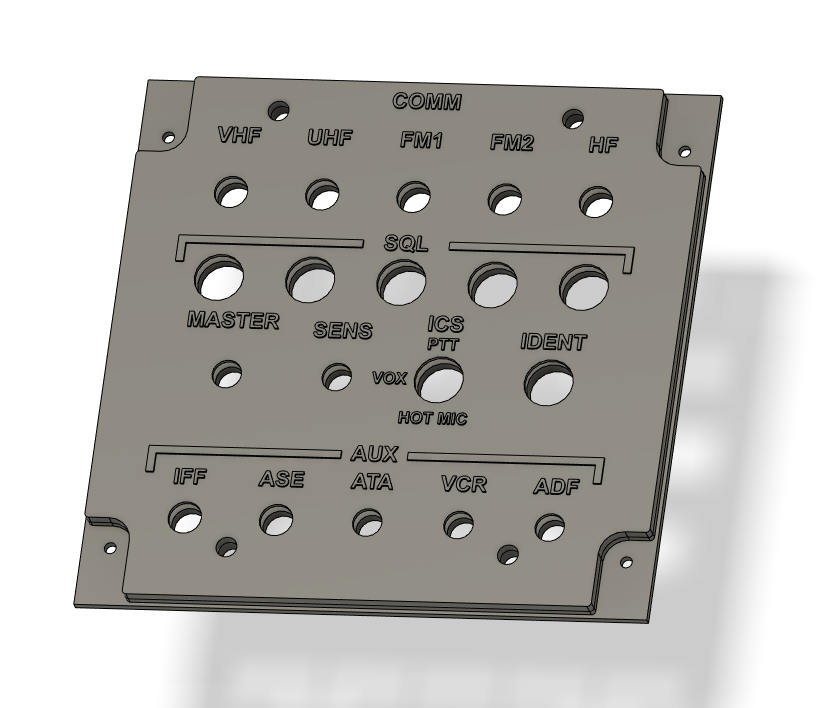
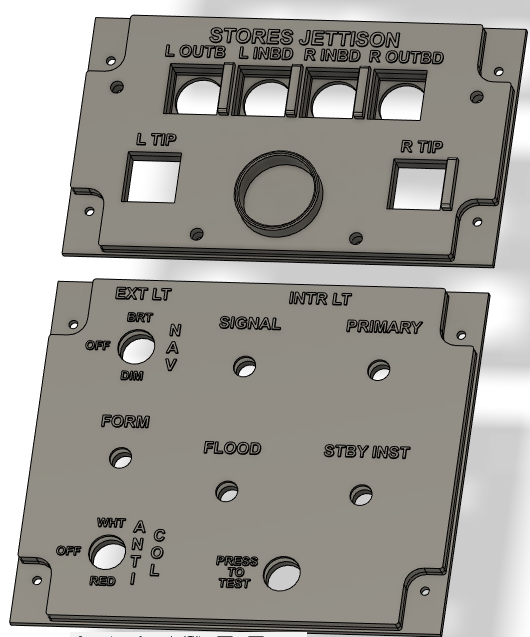
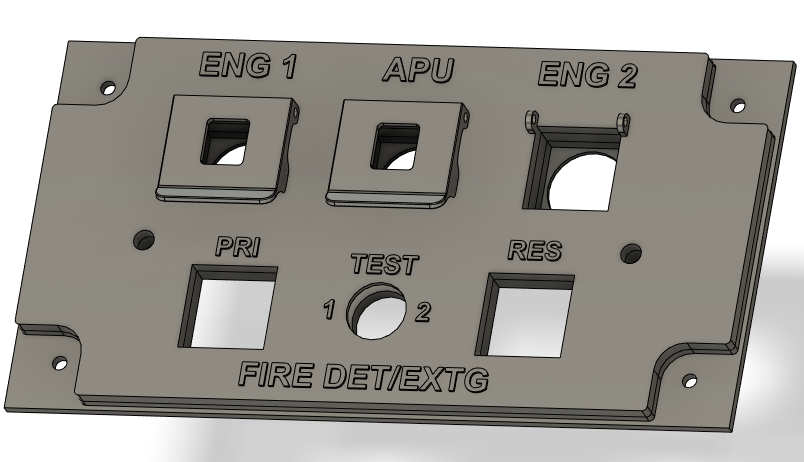
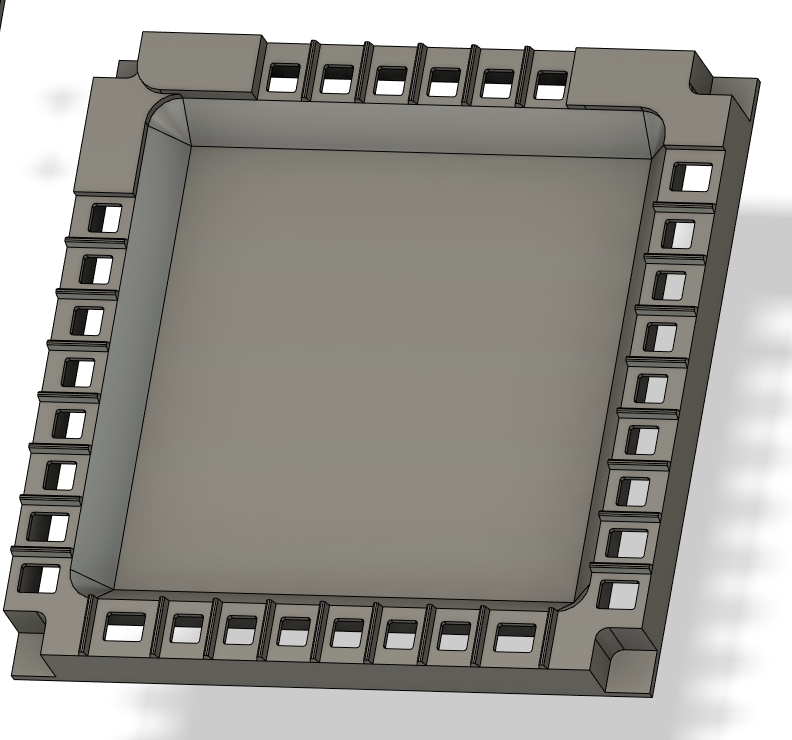
Hello again, I noticed my post has been moved to a different section on the forums, my appologies moderators for posting in the wrong section. I do have some more images of some of the panels. what i have finished at the moment is: - Keyboard Unit - Power panel - Tail wheel lock / nvs mode panel - emergency panel - jettison panel (just need to find the right switch with good tactile feedback for the jettison button itself to make a hole for it) - Lighting panel - UFD - Fire detection panel - Comms Panel Currently i am working on the Multi Purpose Displays, here im running in the same issue i had on the keyboard unit. I am trying to figure out a different way of mounting the buttons. The keyboard unit has a backplate which holds the tactile switches in place. This was quite some work with printing due to my printer not printing the exact dimensions i put in. So thats still a work in progress but its getting there. my work on the controls (cyclic, collective and Tedac grips) has stalled a bit. due to me lacking in the skill to get where i want it to go. I am not giving up on them just giving my self a little brake so i dont get frustrated with it not going the way i want. Panels which i am still going to design are: - Gen reset/check overspeed panel - Windshield wiper/defog panel - Master caution/Master warning buttons - Armament Arm/Safe and Ground override panel - Video panel ( for Ihadss brightness and flir brightness. - TEDAC screen with buttons (i know this is not a panel and it wont be for myself) I want to create a module that has the tedac screen and grips attached so you could be a proper Co-Pilot Gunner. Our aircraft here in the Netherlands have EW panels like the A-10 but this is a modo and the aircraft shouldnt have this in DCS so im not making that. thats the story now here are some more pictures
-
Ooh yea, that looks sick! Thanks for sharing