Goblin
-
Posts
1210 -
Joined
-
Last visited
-
Days Won
1
Content Type
Profiles
Forums
Events
Everything posted by Goblin
-

Jettison spent bomb racks no longer working
Goblin replied to Glowingheat's topic in DCS: AJS37 Viggen
A very late reply, but the bomb release mechanism was triggered by detonation charges that blew the locks open, after which they remained open. I have washed a lot of bomb locks… -
The button under the safety catch controlled sensitivity, or steering angle, of the nosewheel. However, the whole nosewheel steering system was redesigned after a prototype crash and the button lost its function, in the AJ(S). It got other functions on other versions. However, this button can be activated by pressing the safety catch down on it, in the real Viggen.
-
The files have been released! 19 years ago, today, the Viggen fighter flew it’s last operational sortie in the Swedish Airforce. We celebrate this by releasing our long awaited SUL37 Viggen stick project. Join the LAAT SUL37 Discord channel for a link to the files and get support or just discuss the project. https://discord.gg/GzJxbrnY2q
-
Printing and testing different materials. The left half of the stick body is printed in PETG CF (Carbon Fiber reinforced) and the right half is PLA CF. The knurls, trim hat and SNURK button is printed in PETG. Here’s a video of the trim switch.

-
Unfortunately I don’t own a WW stick, but maybe someone can make the necessary adjustments. I’ve seen Thrustmaster/WinWing adapters somewhere, so that may be a solution too.
-
Thanks! The current idea is to go the same route as authentikit. People will be able to print the parts themselves and source the switches and stuff, if they like. I’m also planning to put together hardware packs for those who prefer that. I doubt that I will be able print parts in any capacity so I will set up a shapeways account for that. In theory you could order aluminium prints, if you like. That’s the current plan anyway. I’ve never figured to make money from this and if people have suggestions and ideas, I’m all ears…
-
Safety is off…
-
Did some test prints today… Regular PLA on a BambuLabs X1C.
-
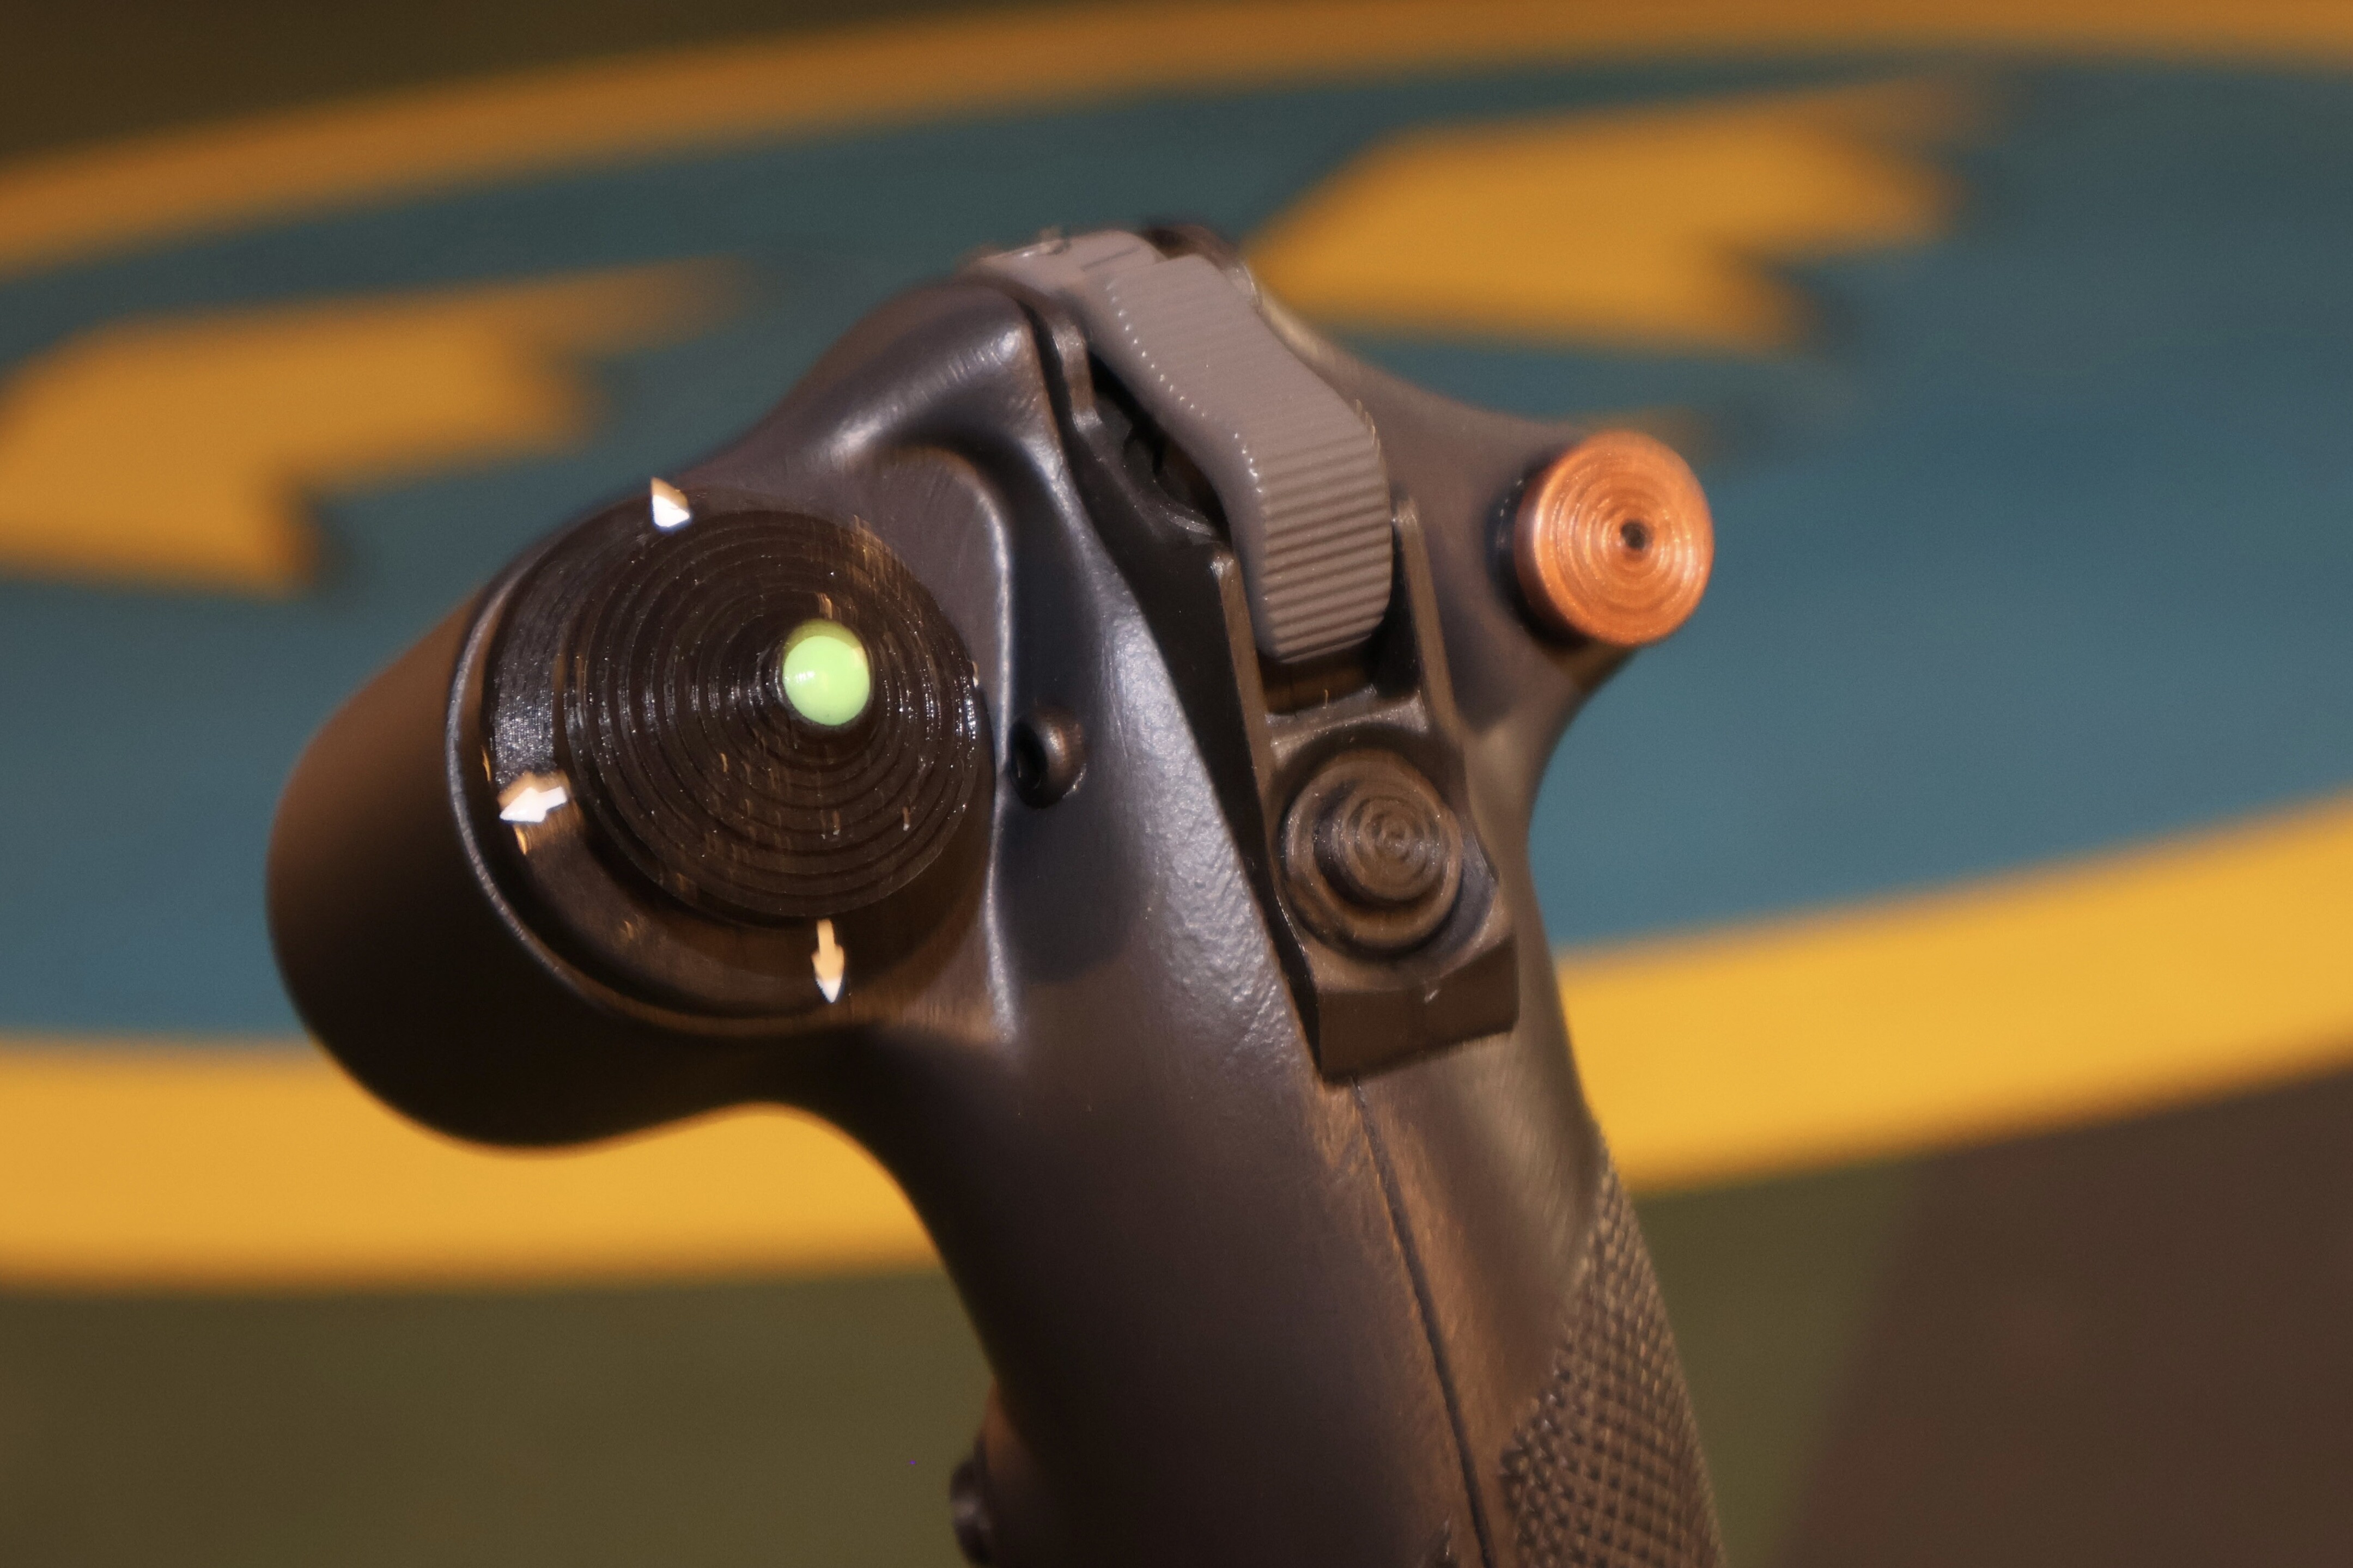
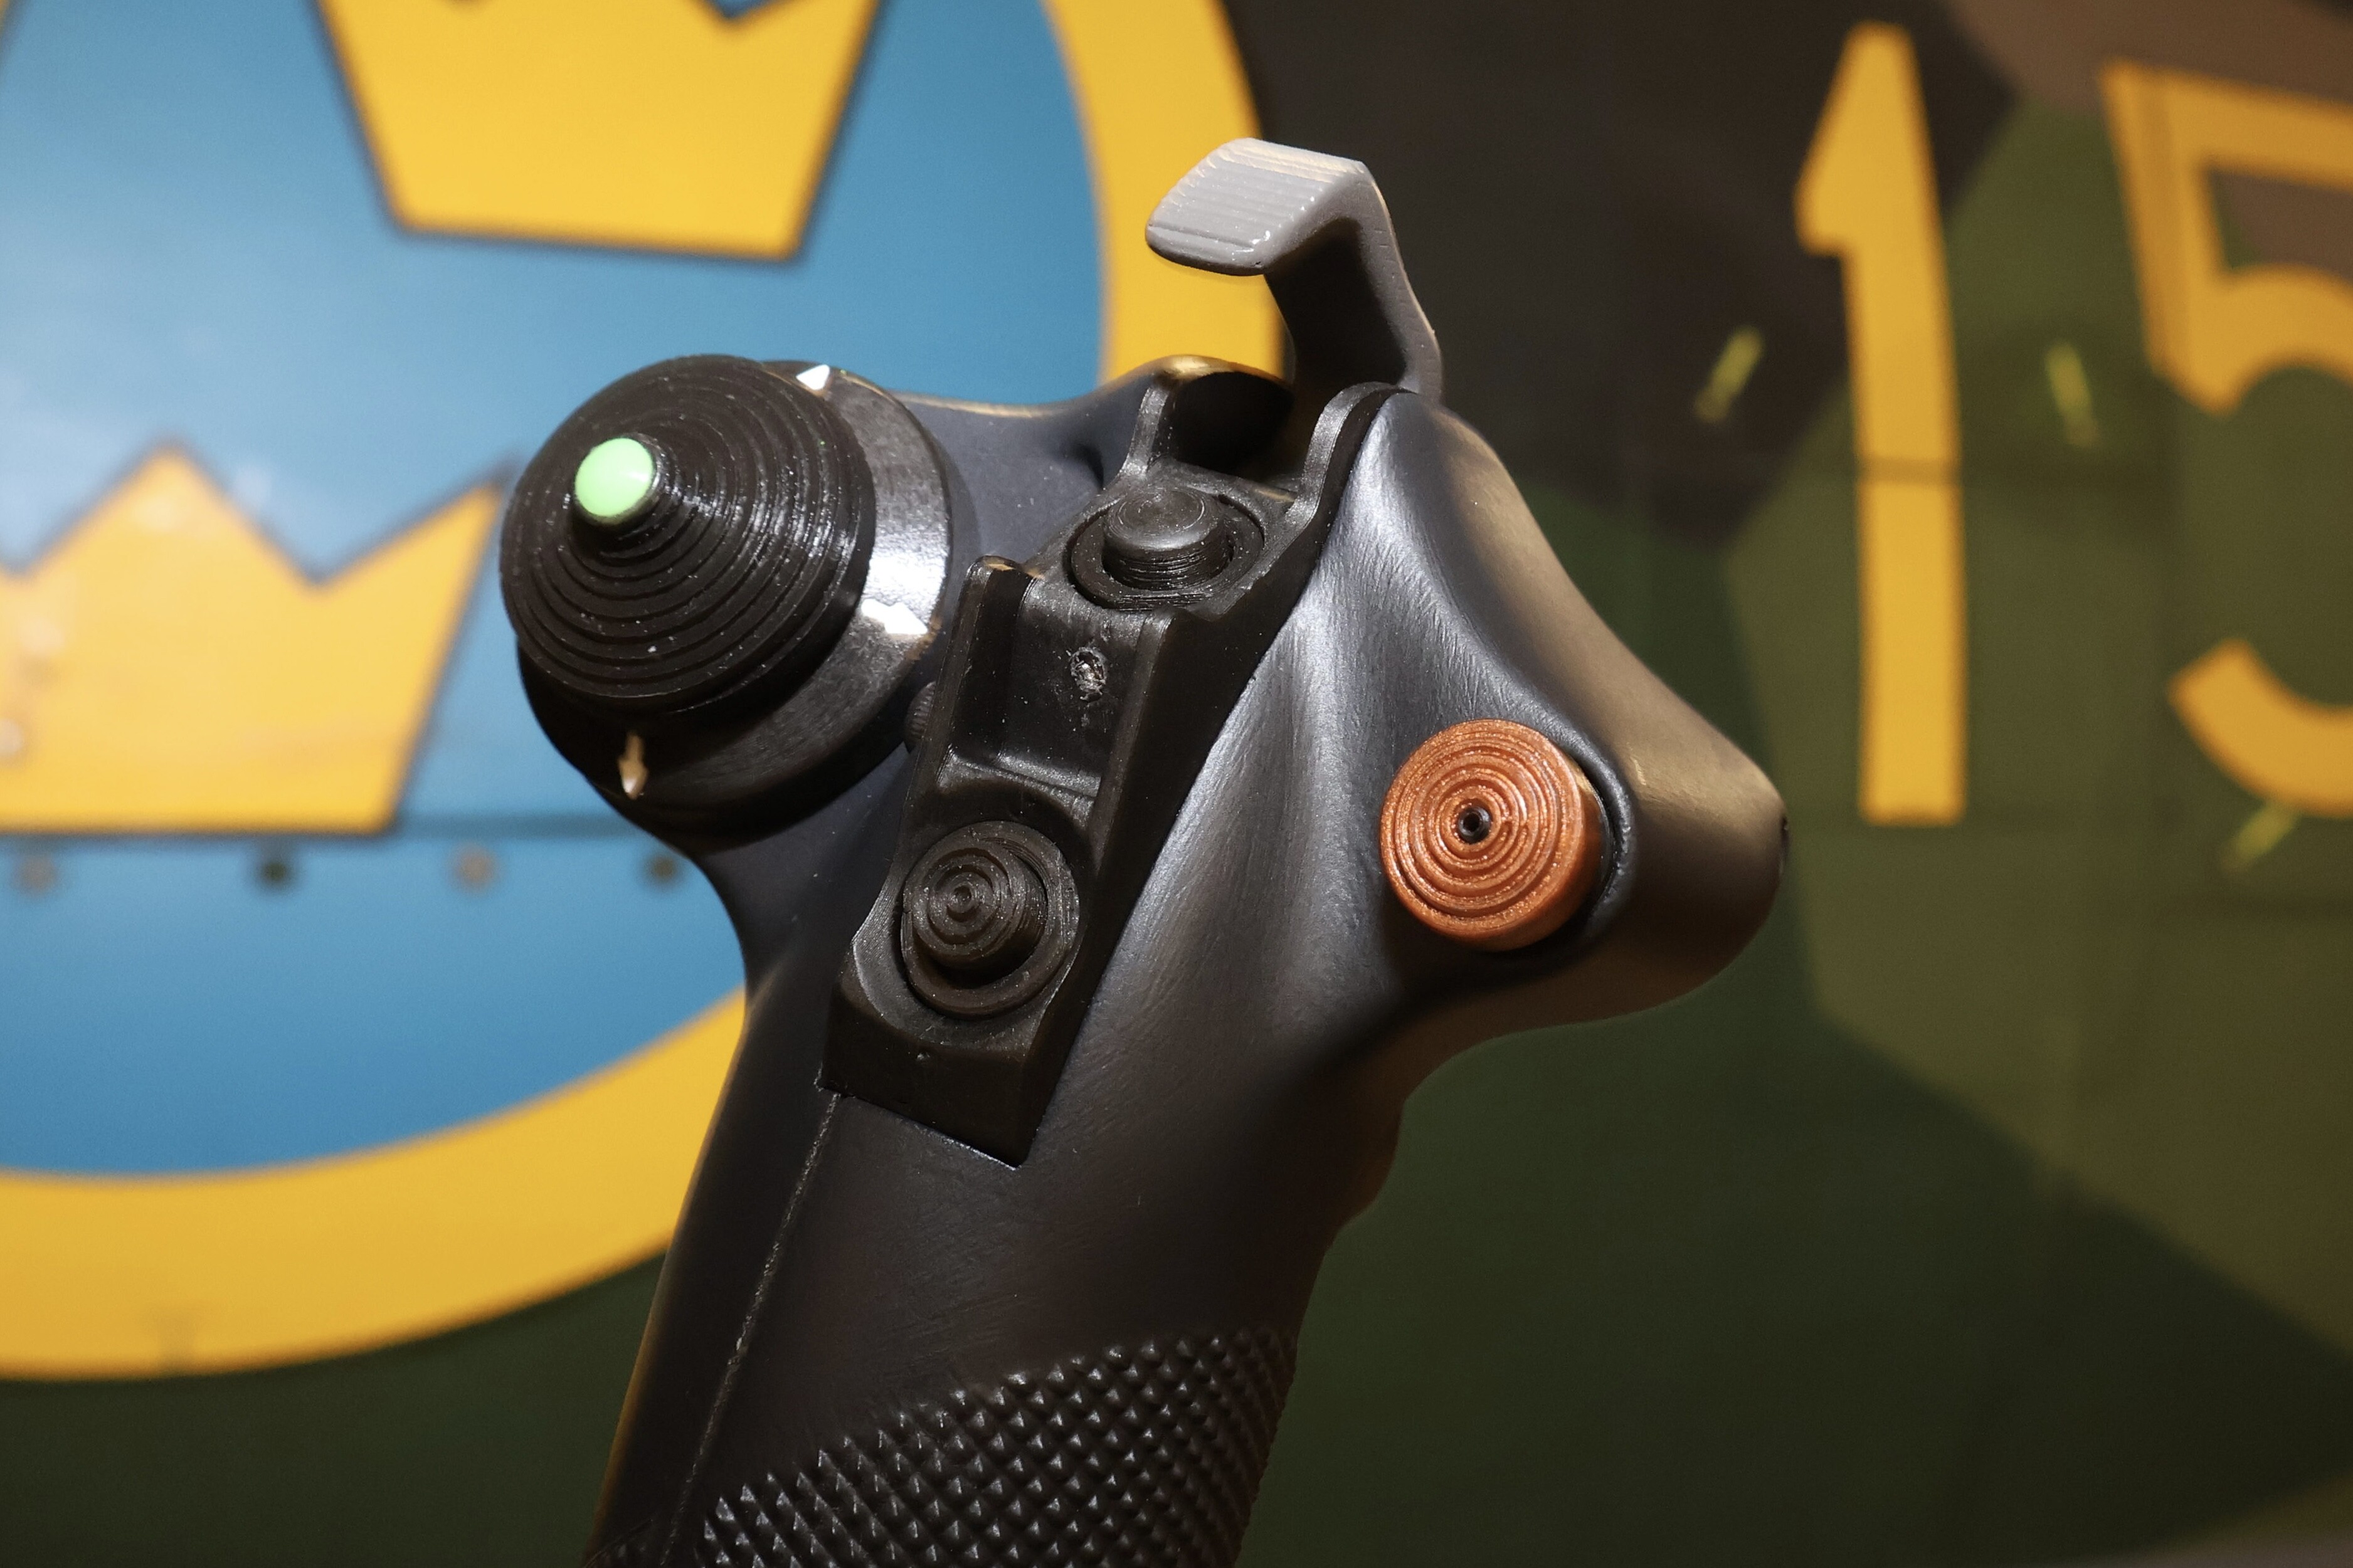
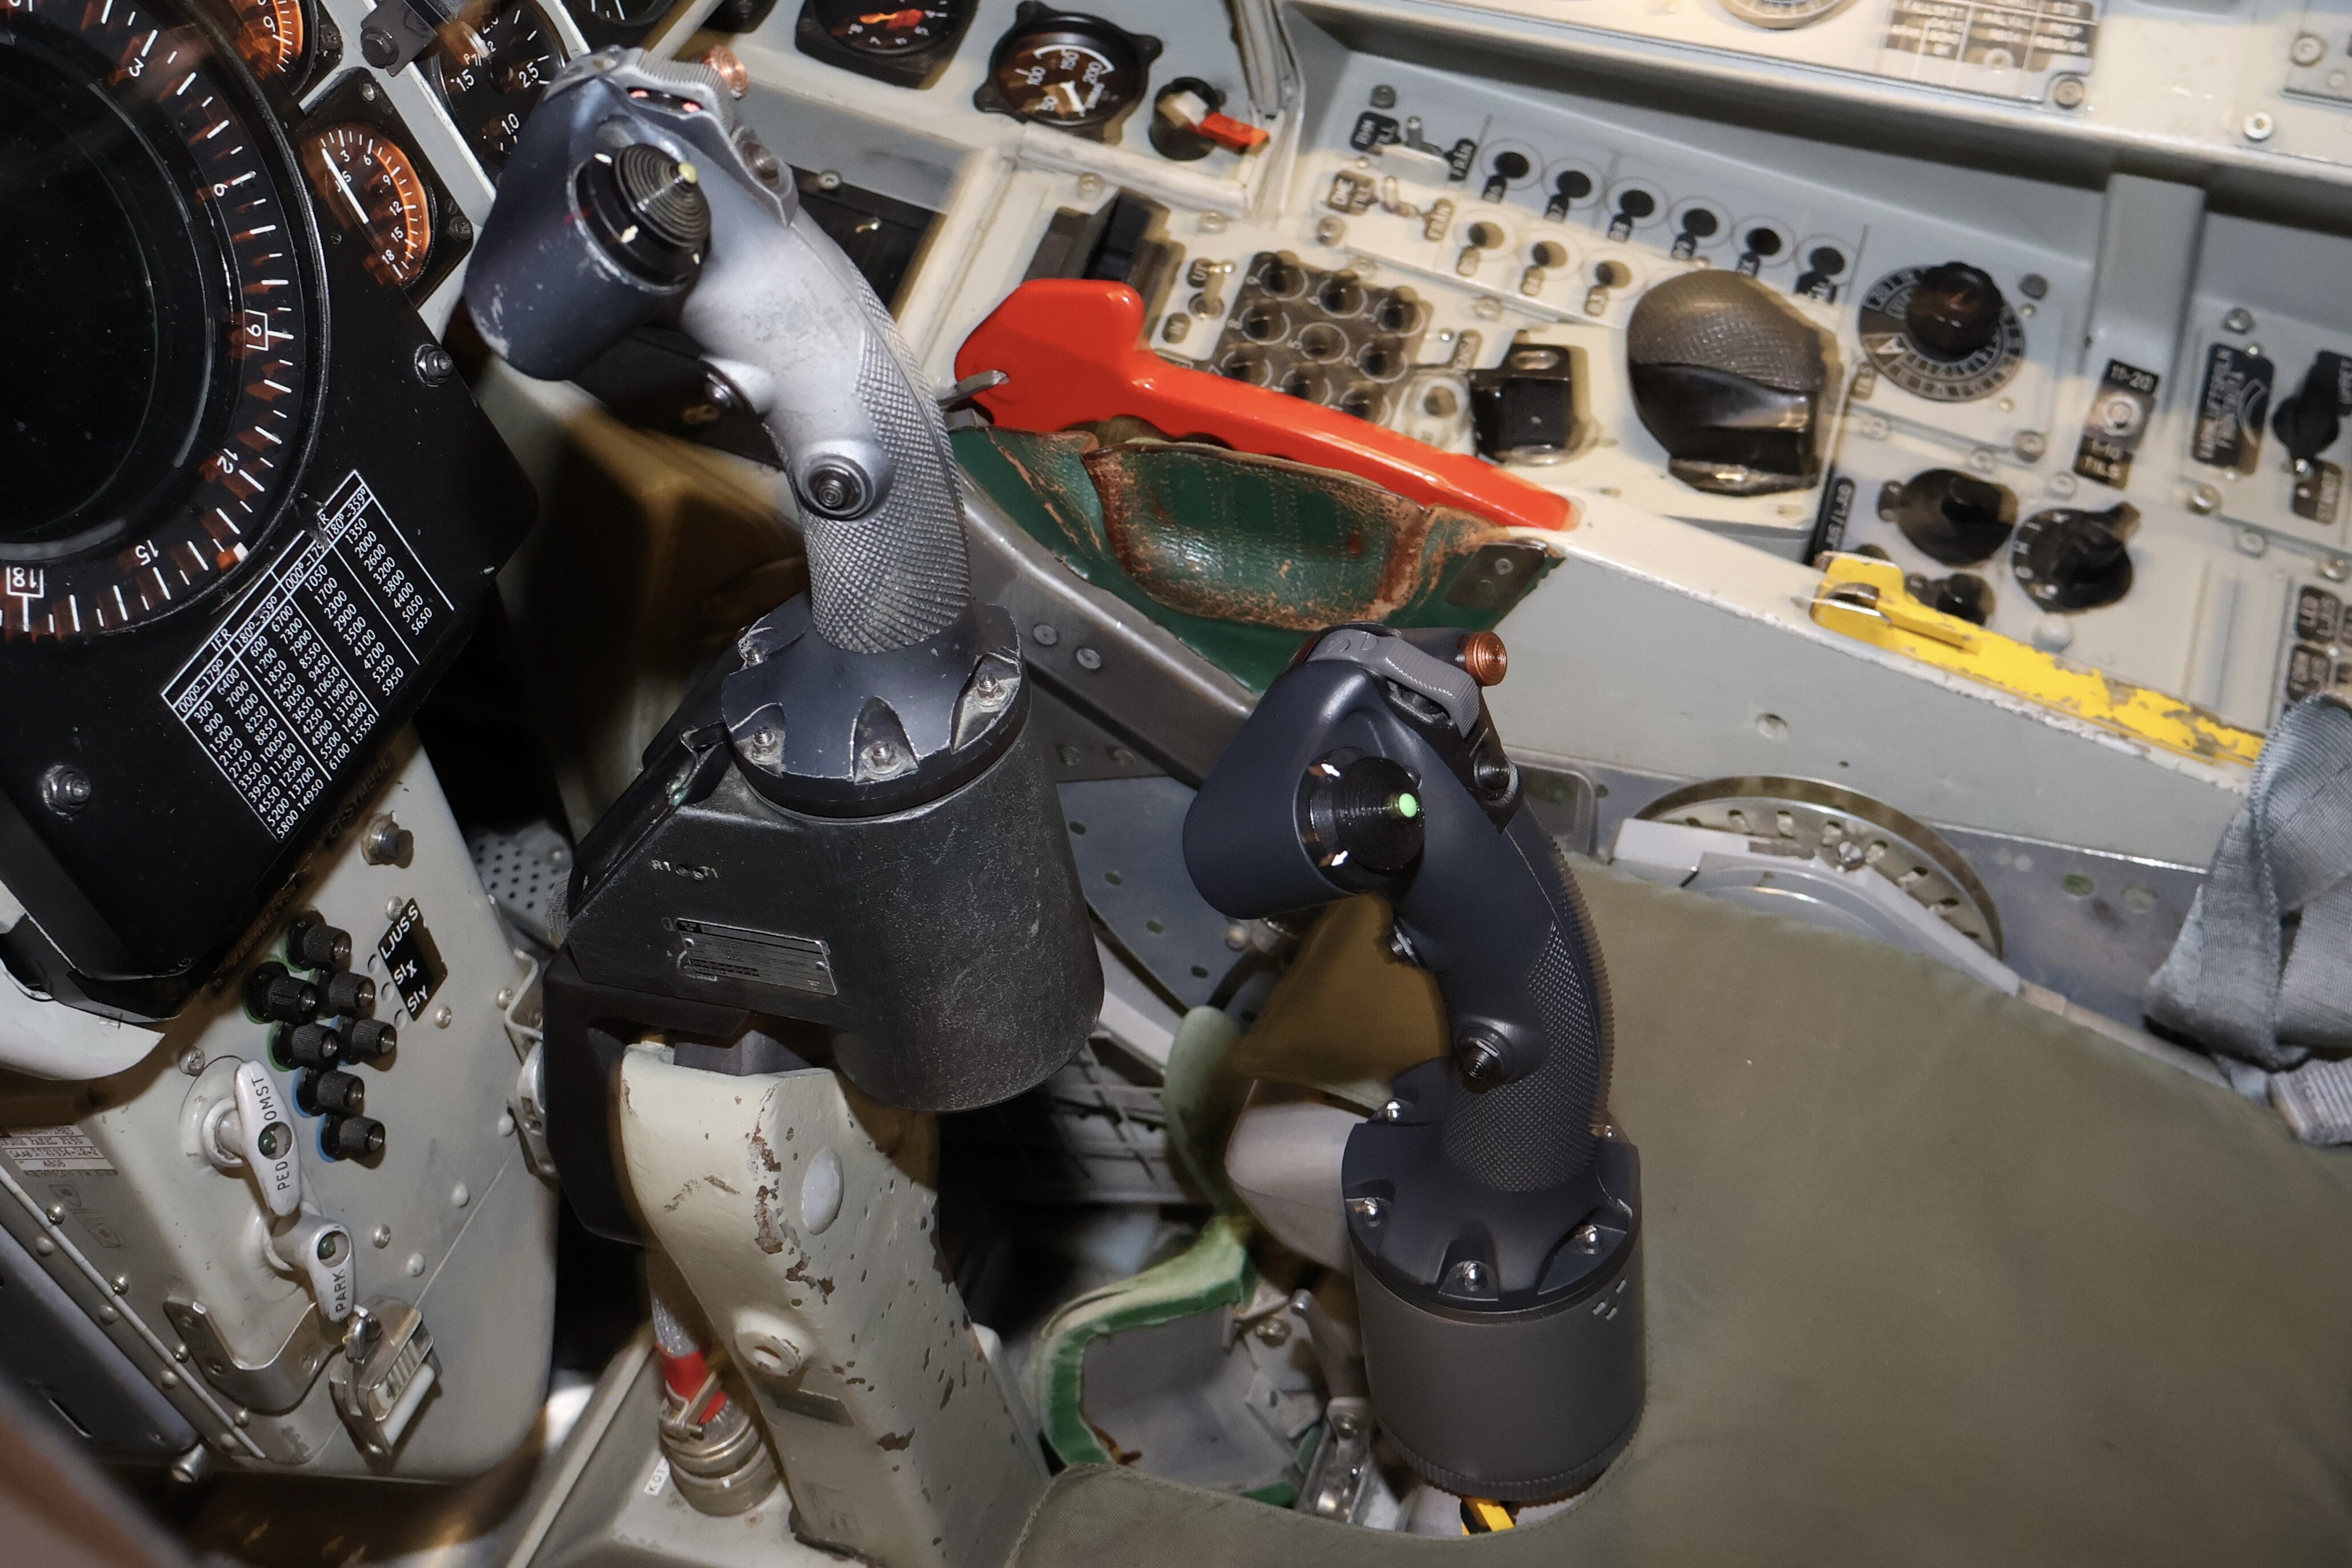
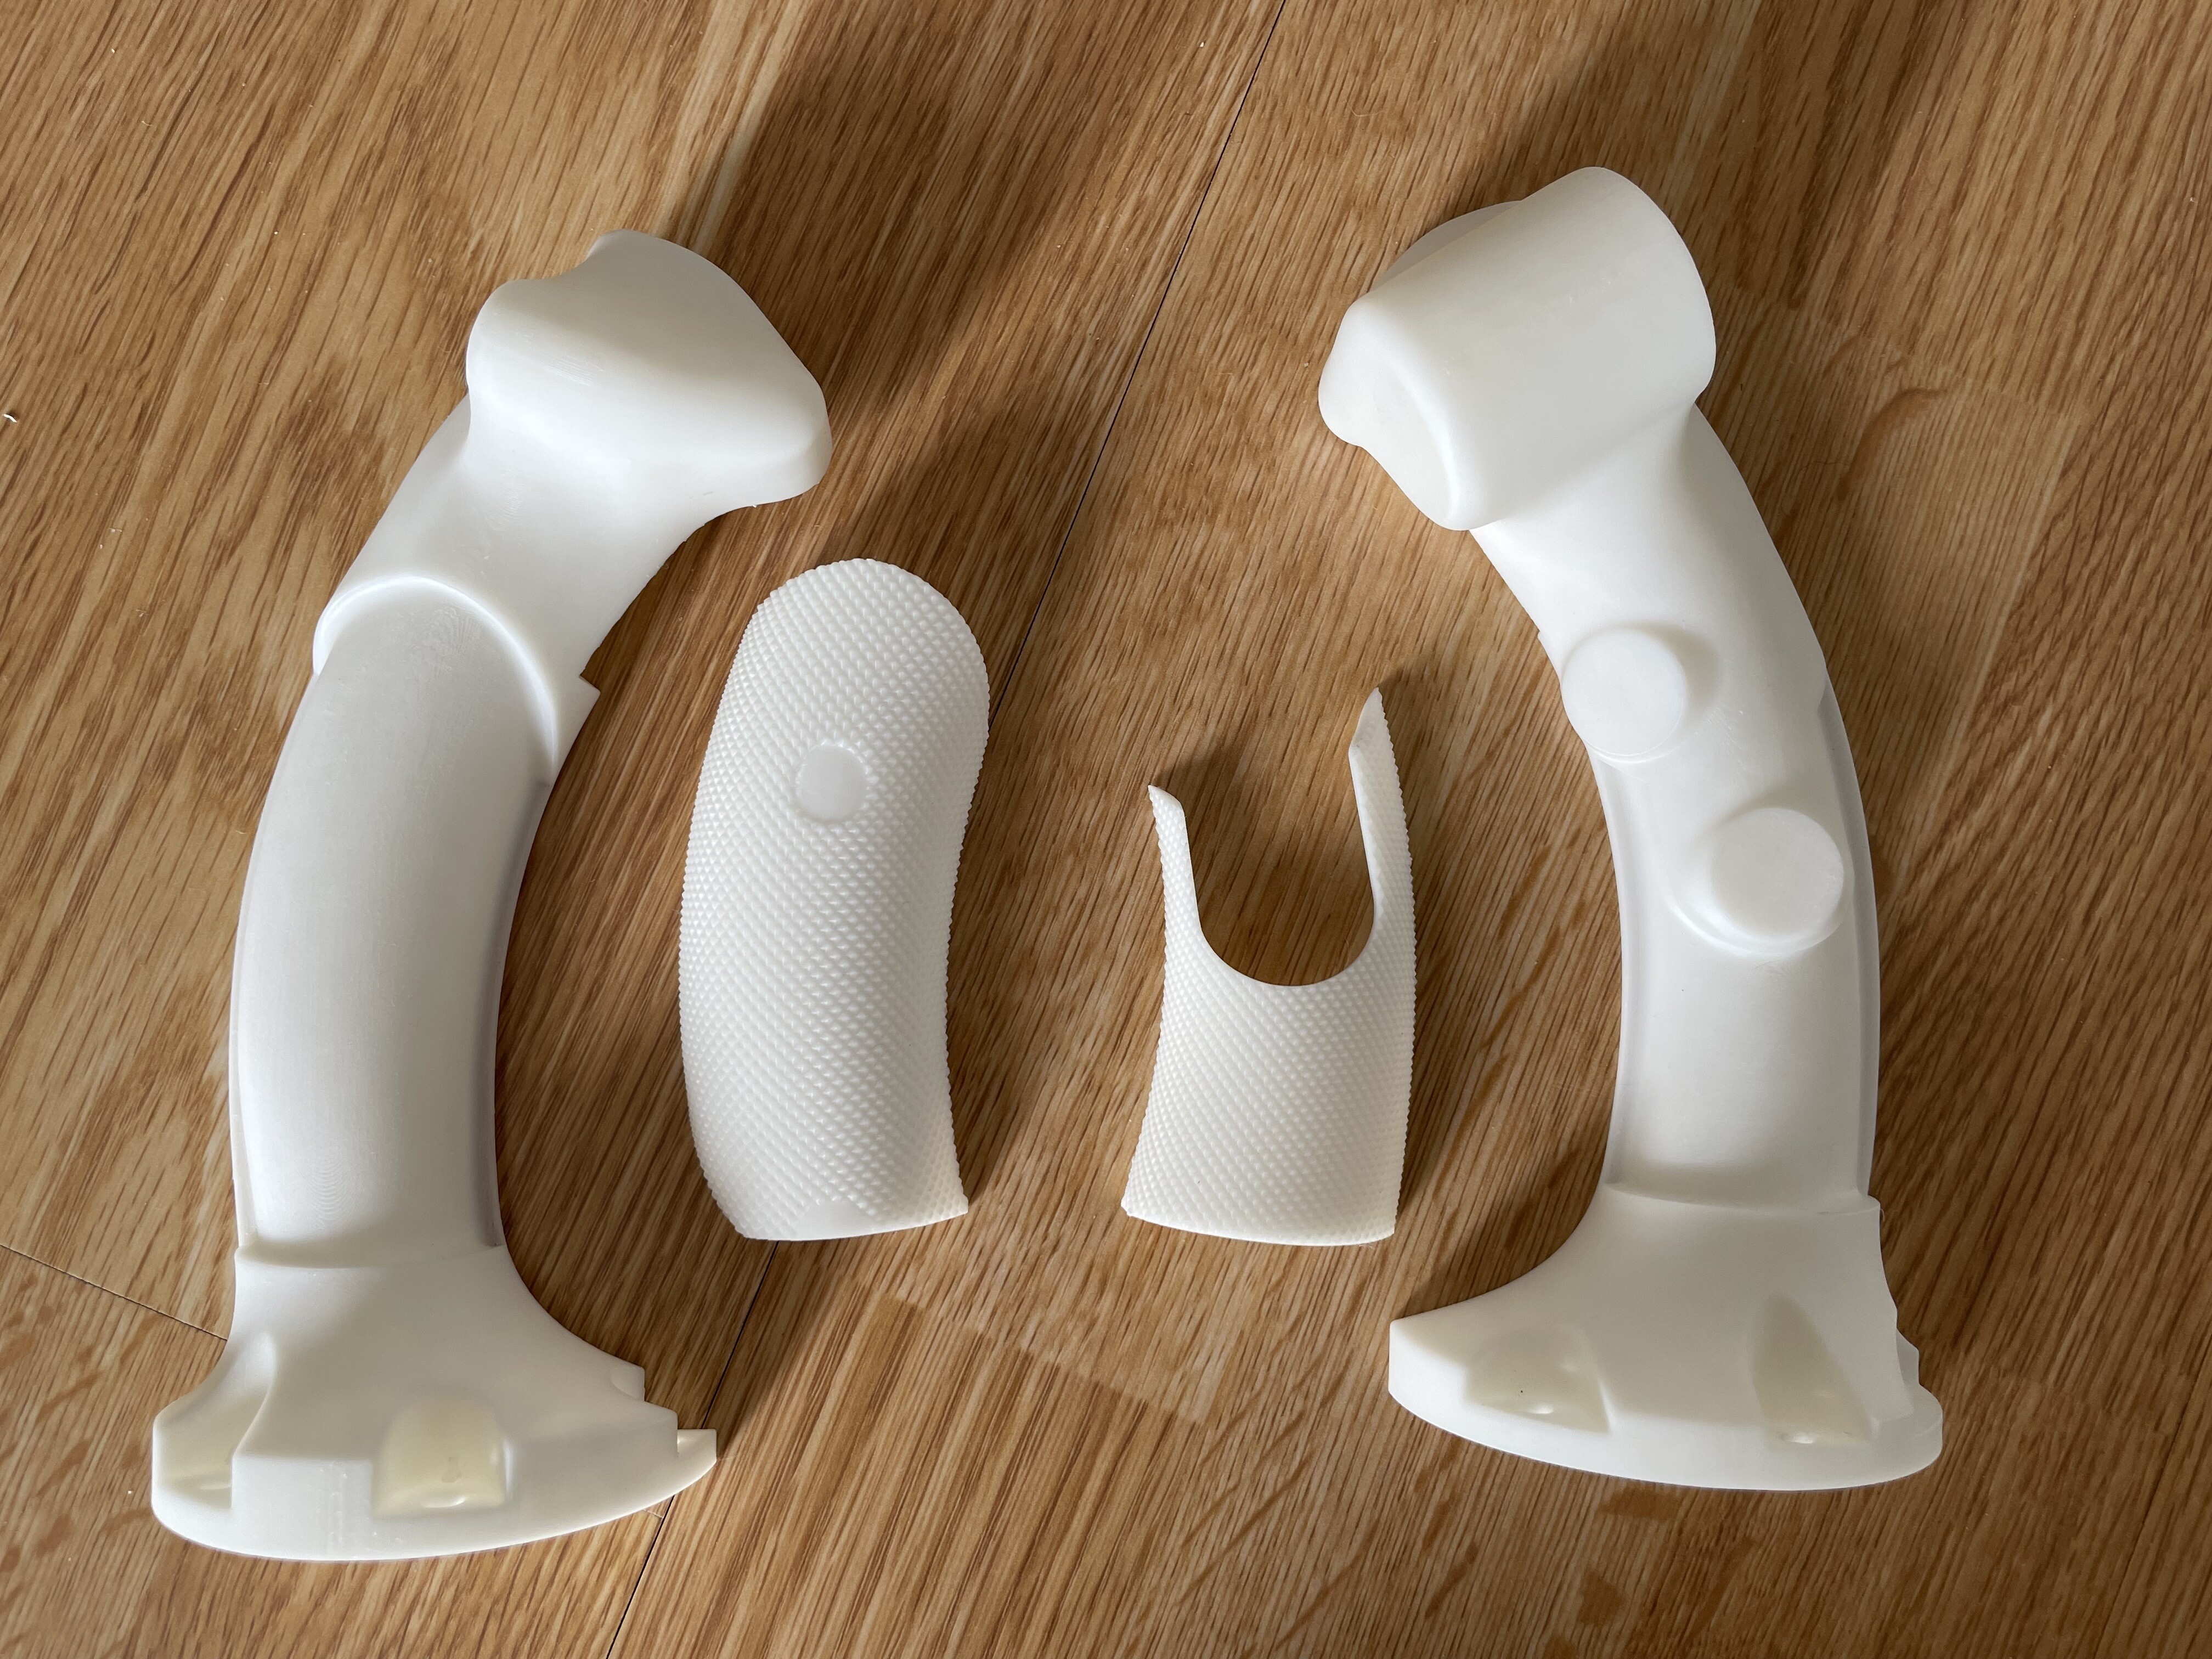
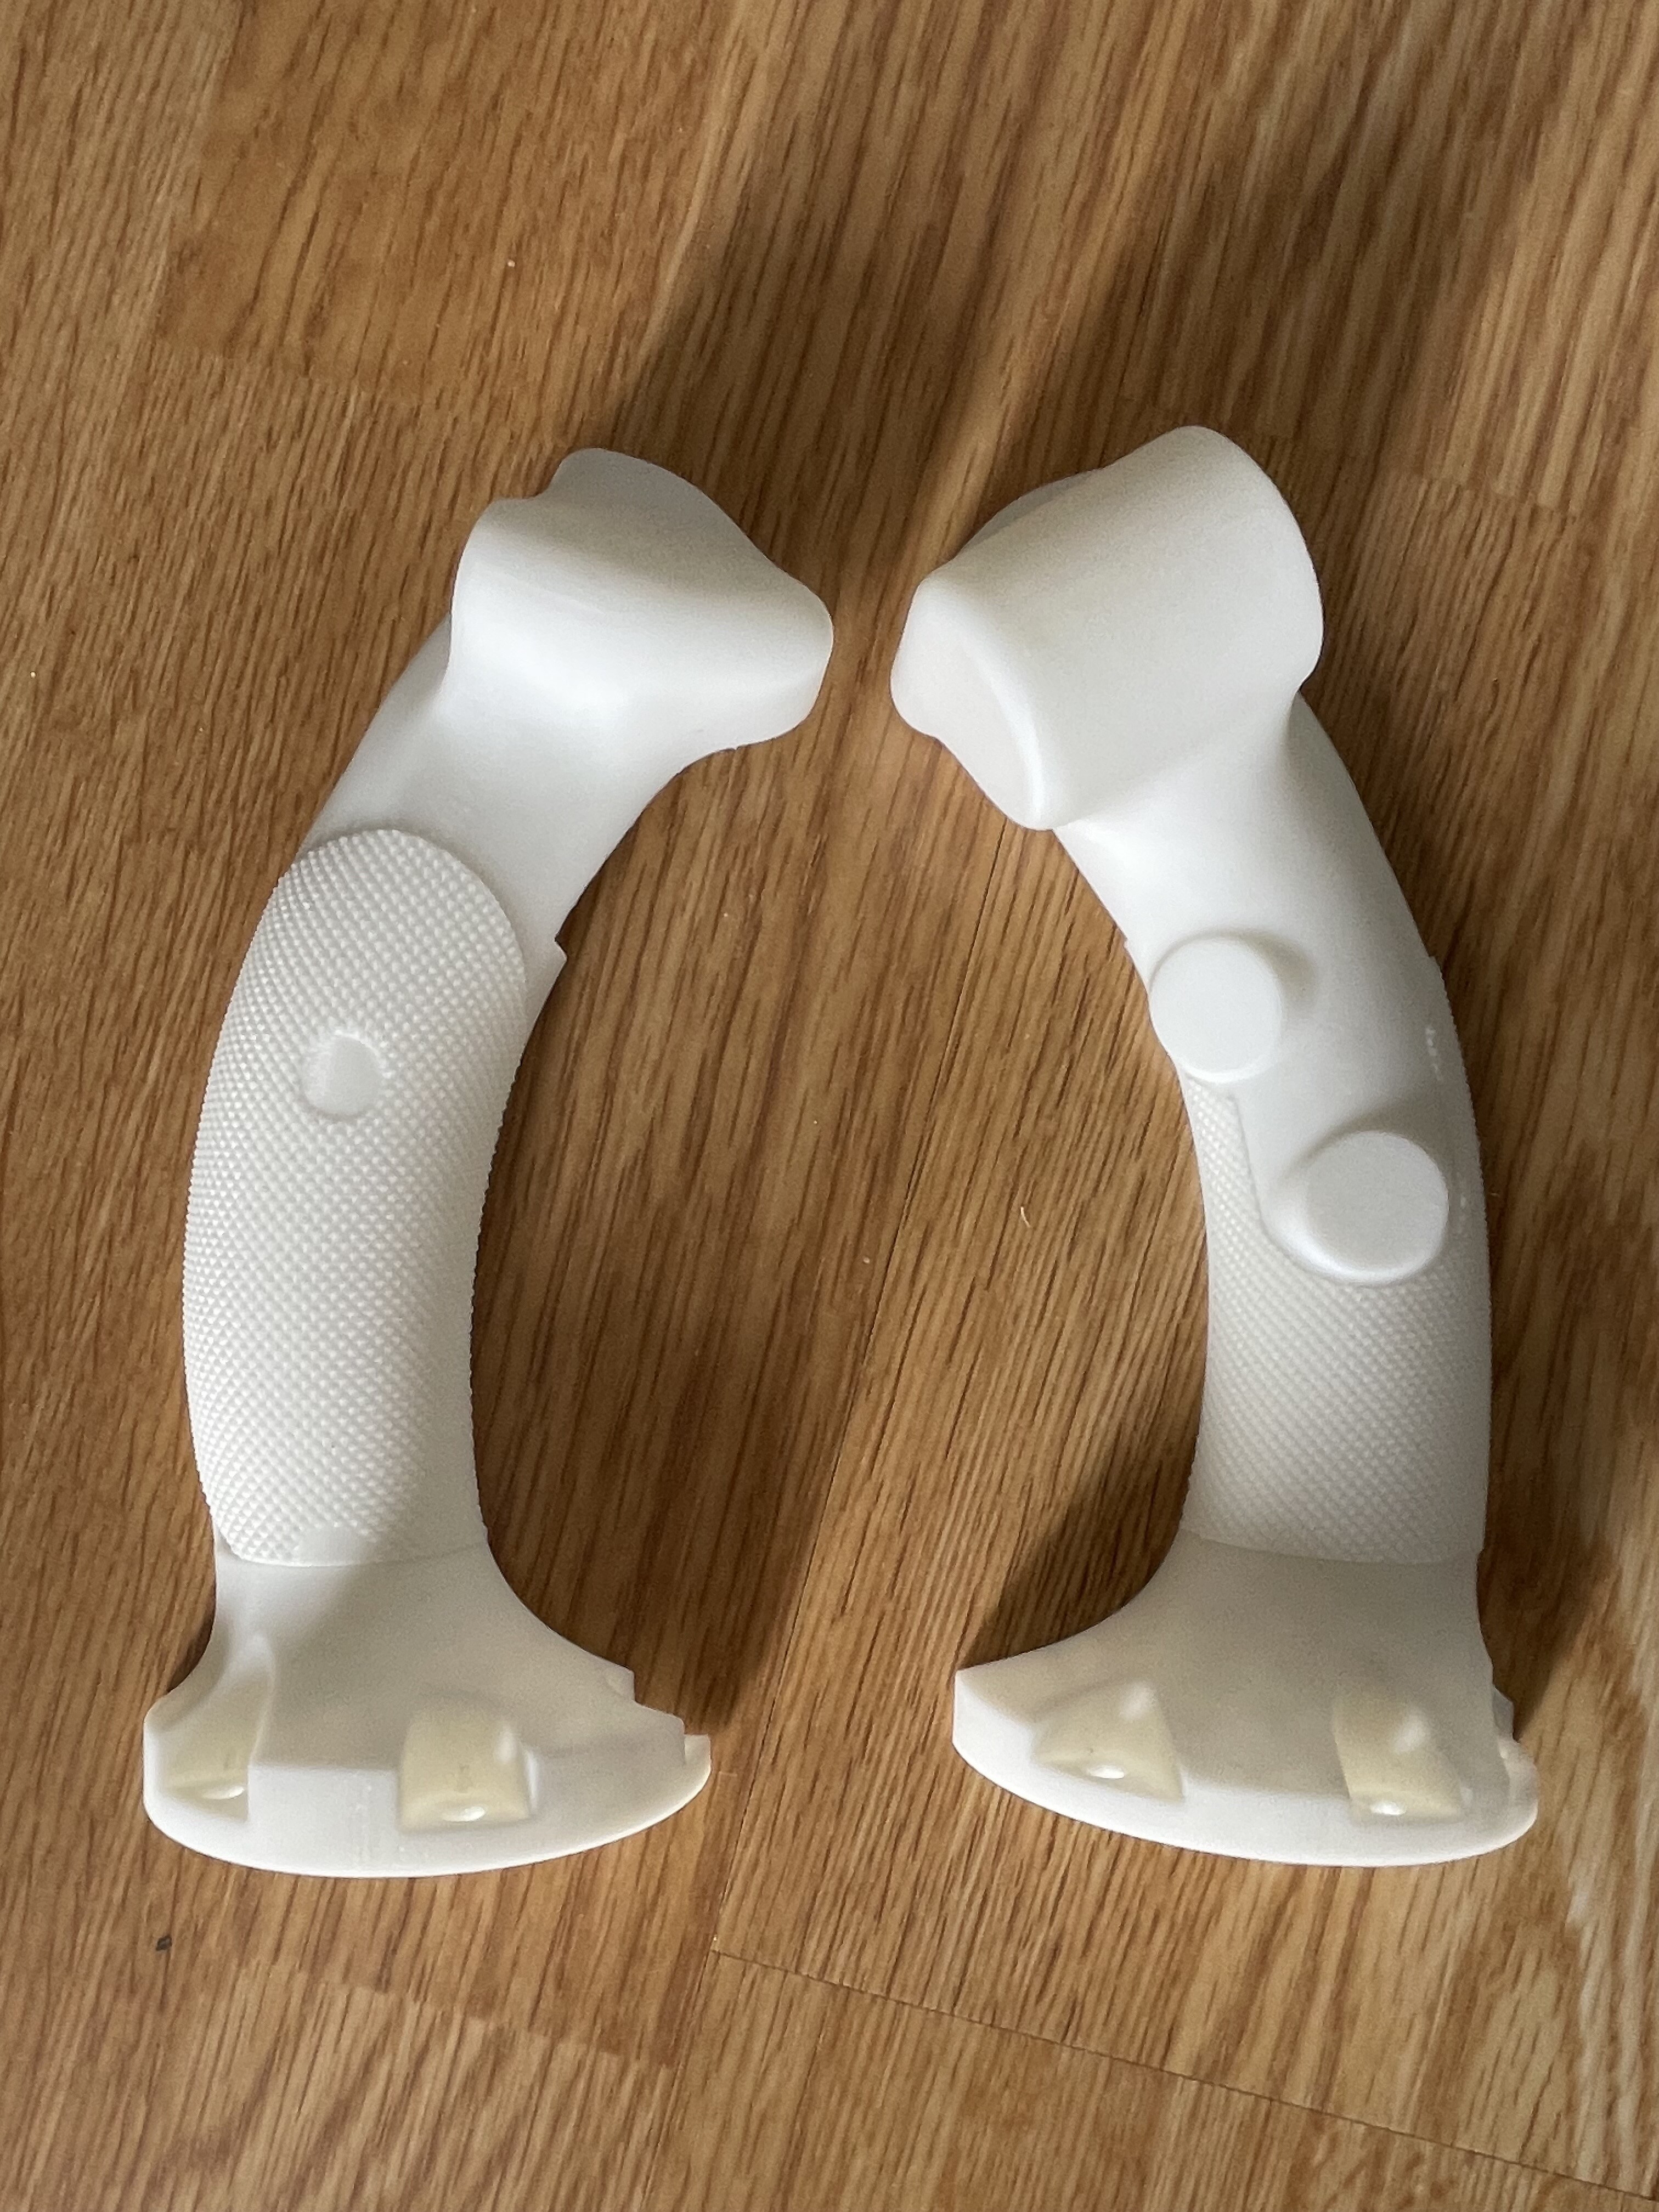
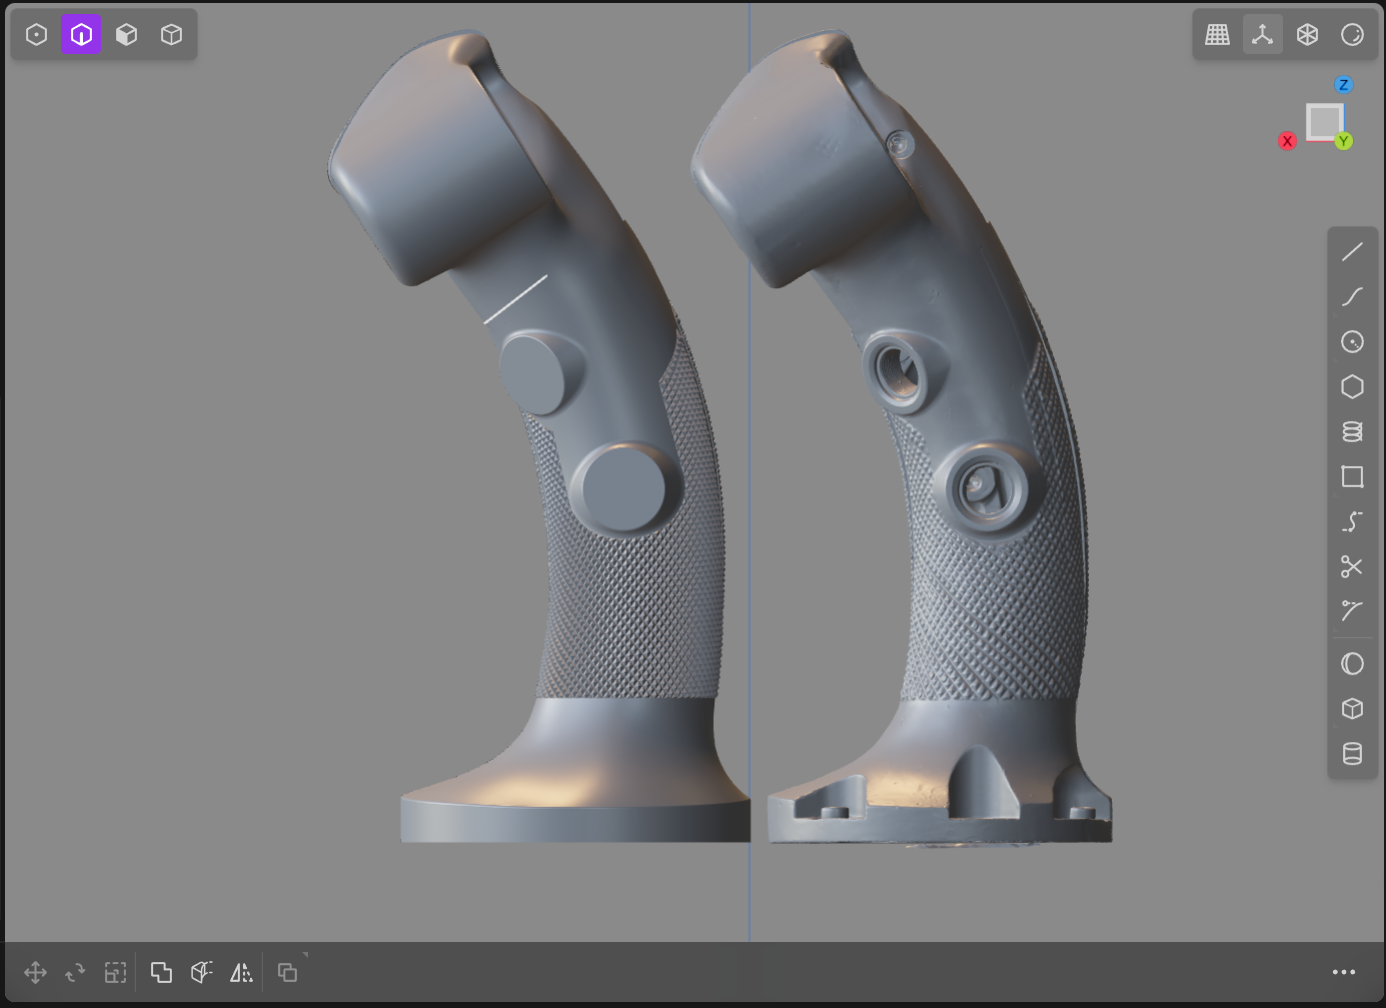
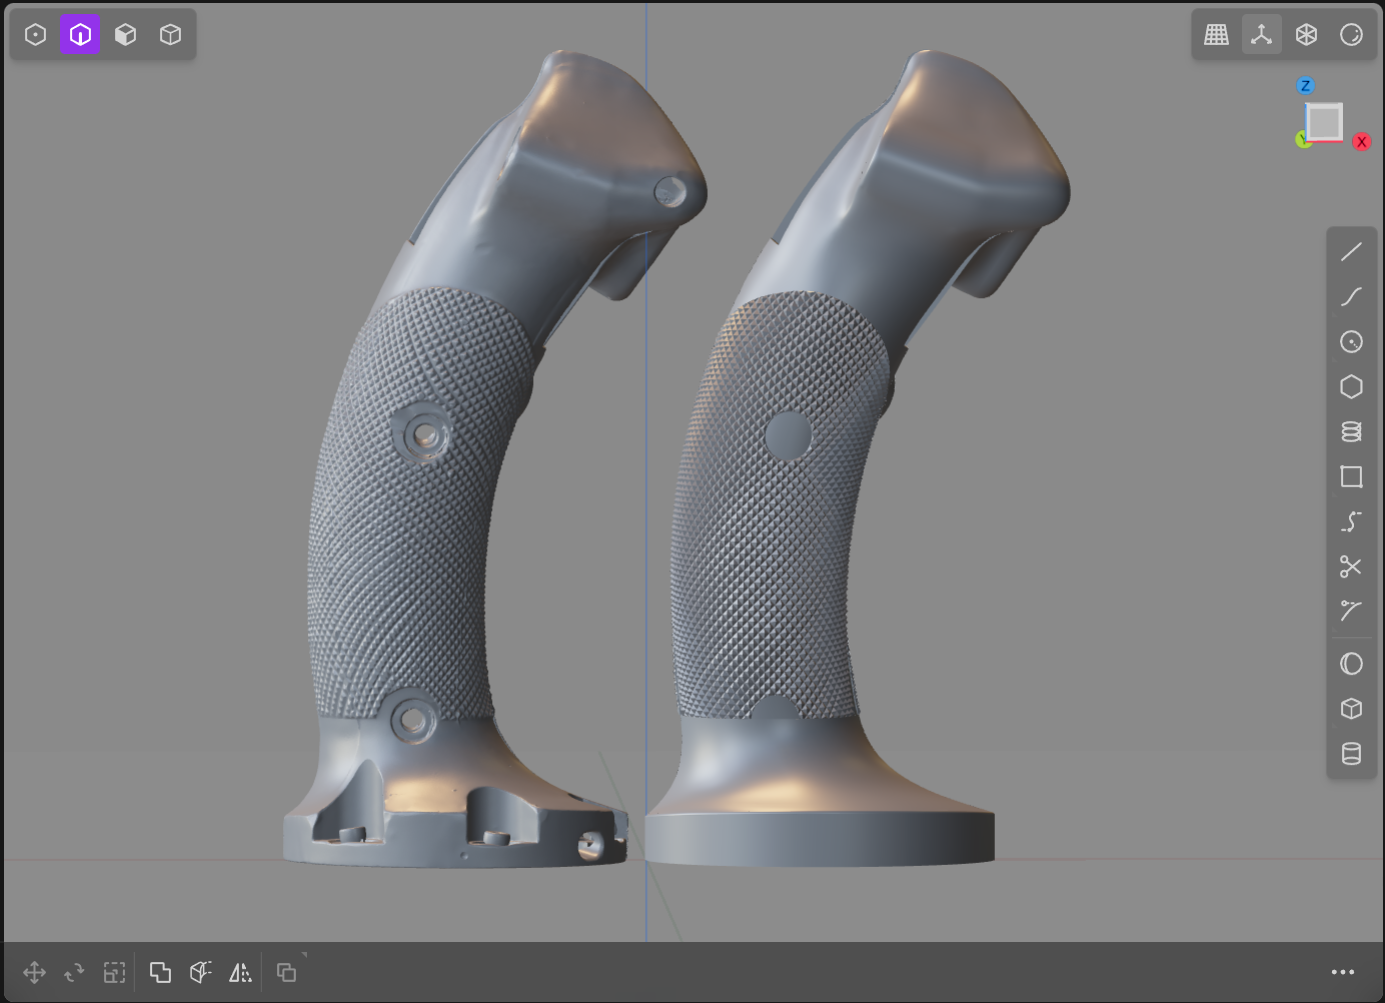
Some of you people may remember my project with making a Viggen Stick Grip, from several years back. I started out making silicon moulds of a real stick, thinking I’d make a master plug and use that to cast wax copies and cast aluminium copies. Well, that turned out to be too time consuming and expensive. Then I figured I’d cast it in a two component alu-resin called TC-814 and that looked promising, until they stopped making the resin… In the meantime it turned out I suffer from a STD with a 100% mortality rate, called Life (this is a joke ). So things have been slow… Then Authentikit emerged and sparked my interest. I made a functioning trigger and safety mechanism in CAD and I had the stick 3D scanned. But making printable copies from a scan, that would allow me to use the custom made trigger/safety mechanism turned out to be suboptimal. I tried to rebuild the stick in CAD, but the darned thing was probably hand crafted in the 60’s and has very few flat surfaces, straight lines or angles. It’s mostly 3 dimensional curves everywhere and it suffers from surface irregularities probably because it was sand casted and cleaned up manually. Then I got a tip about a relatively new 3D design software called Plasticity and OMG, this made a difference..! It’s perfect for these kind of designs. And If you have been brave enough to read all the way down here, I will treat you to a few pictures, showing you how far along the project is now… The stick with the holes in it is the 3D scan and the other one is my CAD copy. Here’s a video of how I did the knurling on the grip. A very tedious undertaking, I can assure you. And lastly a couple of pics of the foot.
- 14 replies
-
- 12
-

-
Feedback Thread AJS-37 Viggen Update 8th June 2023
Goblin replied to IronMike's topic in DCS: AJS37 Viggen
Could it be that your brake pedal axes are reversed in the DCS controller setup? -
Awesome!
-
Same here! Is there a donate button in the OXRTK app? I need to buy the guy a beer!
-
@frenzon, thanks for making fingers! It works really great! How can I get or make copies of your rings?
-
Ok! Thanks for the input. What size adjustable resistors did you use?
-
@propeler This looks like a cool project! I will try to copy your efforts, but I have some trouble understanding your wiring? I took the liberty of making a few notes on your diagram. Should green go to green, and grey to grey, like in your drawing? If so, how do you know which load cell that see the load? Or should the wires go crossed, like I have drawn? I mean, the loadcells should be able to differentiate between which one is being pressed? Note that you may very well be correct here, but I just can’t get it to work in my head Also, what’s the deal with the 5V and GND? The magenta wires shouldn’t connect, am I right? I am most grateful for any help you can provide!
-
Saab SK-60 Trainer
Goblin replied to VR Flight Guy in PJ Pants's topic in Flyable/Drivable Mods for DCS World
That didn’t matter, but well spotted. No, but it turned out I was being stupid. I was so sure I deleted the SK60 mod folder from the DCS/Mods/Aircraft folder…but it turns out I didn’t..! Now it works with the SK60 mod folder in the saved games folder routing… Thanks for the help everybody! -
Saab SK-60 Trainer
Goblin replied to VR Flight Guy in PJ Pants's topic in Flyable/Drivable Mods for DCS World
Tried that, got the same error... C:\Users\goblin\Saved Games\DCS.openbeta\Mods\Aircraft\DCS-SK60-Mod -
Saab SK-60 Trainer
Goblin replied to VR Flight Guy in PJ Pants's topic in Flyable/Drivable Mods for DCS World
I can't install this mod... Granted, it's my first unofficial mod, so I'm probably doing something stupid..? First of all, I have no mods folder in my saved games folder. C:\Users\goblin\Saved Games\DCS.openbeta If I put the DCS-SK60-Mod folder here D:\DCS World OpenBeta\Mods\aircraft I get an error message when starting DCS about unauthorized mod and the folder got deleted. Is there something I need to do to get DCS to accept this mod? -
Saab SK-60 Trainer
Goblin replied to VR Flight Guy in PJ Pants's topic in Flyable/Drivable Mods for DCS World
I have never installed a mod before… Never felt like I needed one, until now I had mine set to the DCS root. So, move the entire SK60B folder into the …/saved games/…/aircraft/ folder, or? I tried looking at the readme file, but there was just a link under ”Installation”. Followed the link, but found no infor pertaining the installation there either… -
Saab SK-60 Trainer
Goblin replied to VR Flight Guy in PJ Pants's topic in Flyable/Drivable Mods for DCS World
How do one install this mod? Tried using OVGME, and files got transferred, but still no SK60 in DCS… -
The Viggen is normally flown in SPAK mode. As mentioned it is a basic stabilization mode.
-
It’s a teaser. I think it’s good to know that they are working on something even if they don’t spill all their beans at once.
-
The SFI (pilots manual) for the AJS37 says that the airbrake can be opened partially by letting go of the airbrake switch, after it has been held backwards. The DCS version seems to be opening fully and won’t stop when the button airbrake out is released. Furthermore, according to the SFI, the airbrake should retract automatically when landinggear is selected down. With gear down, the airbrakes only opens momentarily, as the switch is held backwards, and autoretracts when the switch is released. This doesn’t seem to be the case in the module… Am I doing something wrong or is this a known bug?