sharkfin61
-
Posts
422 -
Joined
-
Last visited
Content Type
Profiles
Forums
Events
Everything posted by sharkfin61
-

resolved Resolved: Activation required for Mission 2
sharkfin61 replied to sharkfin61's topic in Bugs and Problems
Resolved. After repairing the installation, nothing had changed. I even couldn't start the first mission again. But (like in so many cases before) after renaming my profile in the "saved games folder" and starting DCS again, I was able tro download the campaign again. So, it looks like the error was on my side. Starting up mission 1 for another time (as the saying goes: "Not for a punishment, just for training....). -
resolved Resolved: Activation required for Mission 2
sharkfin61 replied to sharkfin61's topic in Bugs and Problems
Thank ou for your advice. Wilco. -
After trying to start up Mis 2 from the campaign tab, I was prompted that this requires an"activation". I completed Mis 1 already (100 pts), so I thought, I'll have the permission to move on with Mis 2. Anyone else?
-
Today it is marked. At least on the german version of the webpage.
-
DCS Super Hercules mod by Anubis
sharkfin61 replied to Eight Ball's topic in Flyable/Drivable Mods for DCS World
2 engines? Proposal: Let's start with a C-160 Transall [emoji3] Airdrops (personnel, cargo), logistic transport, SIGINT (the french GABRIEL) combat-offloads, MEDEVAC. Was flown in France, Germany, Turkey, South Africa, Indonesia. (and goes out of service in 3 months (exzeptionell the french Gabriel). Loosing one engine in a hot and high environment (Iran f.e.), you sure will have your fun..... -
DCS Super Hercules mod by Anubis
sharkfin61 replied to Eight Ball's topic in Flyable/Drivable Mods for DCS World
Just an idea: did you have any severe weather conditions enabled? Crosswind can be tricky, even on ground. -
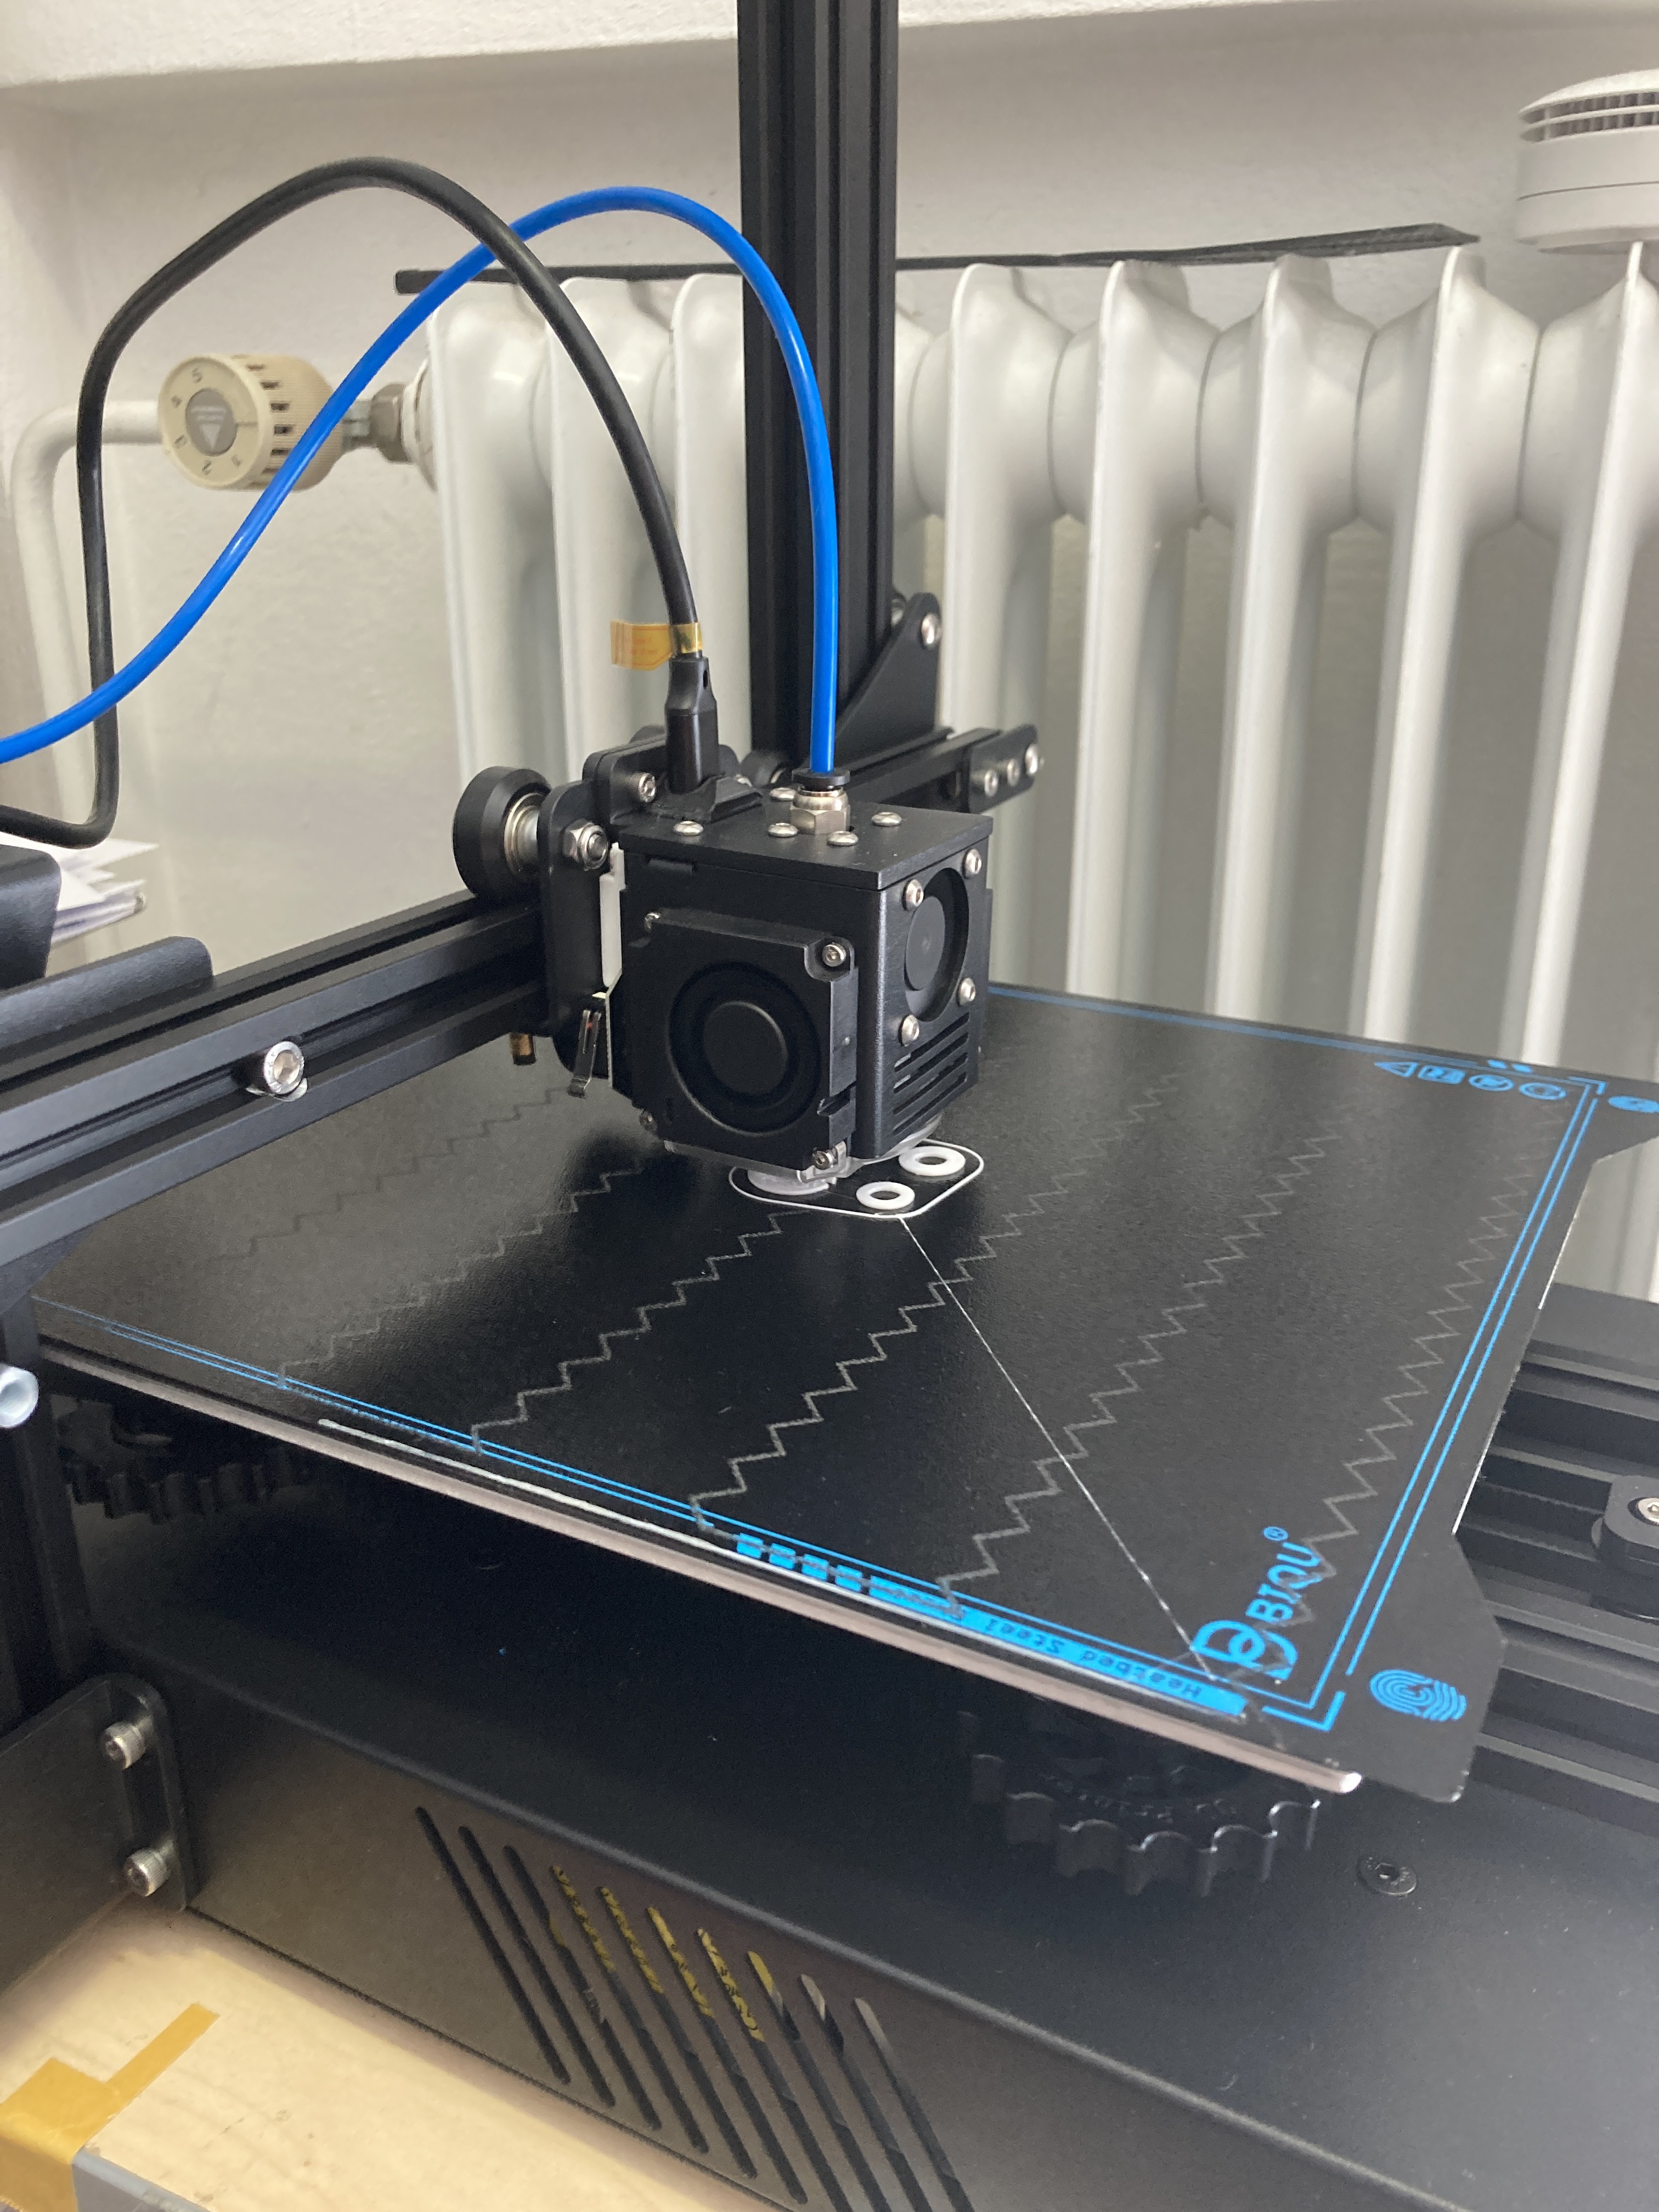
Yes, LED ligt is a nice gadget, shows me in what state is the printer when heating up (changes colours accordingly). Everything is working now with grabcd, even when I'm not logged in. Thank you for all the effort.
-
I did register, however, I was not granted access to your linked workbench. That's not laser scanner, it's my 3D printer with a self created fire pullhandle just right after finishing the 2 1/2 hrs print..

-
Wilco. Meanwhile.... trying to improve my fusion360 abilities:
-
I am asked to create/ sign up for an account.
-
Ah, resin, I think that makes the difference. For the diameter, think 42 mm (1.65 inch) would be fine, I think.
-
Great Les, all I was longing for! I'd be glad, if you share the .stl's! Would it be possible to create the big "defog" knob, also? Did you use simple PLA? Can you also share the settings (nozzle heat, flow, speed,...? They look so smooth! If I try to print, I always have stringy contours on the surface.
-
Deadman, did you stop to produce your knobs? Edit: It looks like the webpage had an update. Working again, now.
-
First steps in Fusion360 and prusa slicer:
-
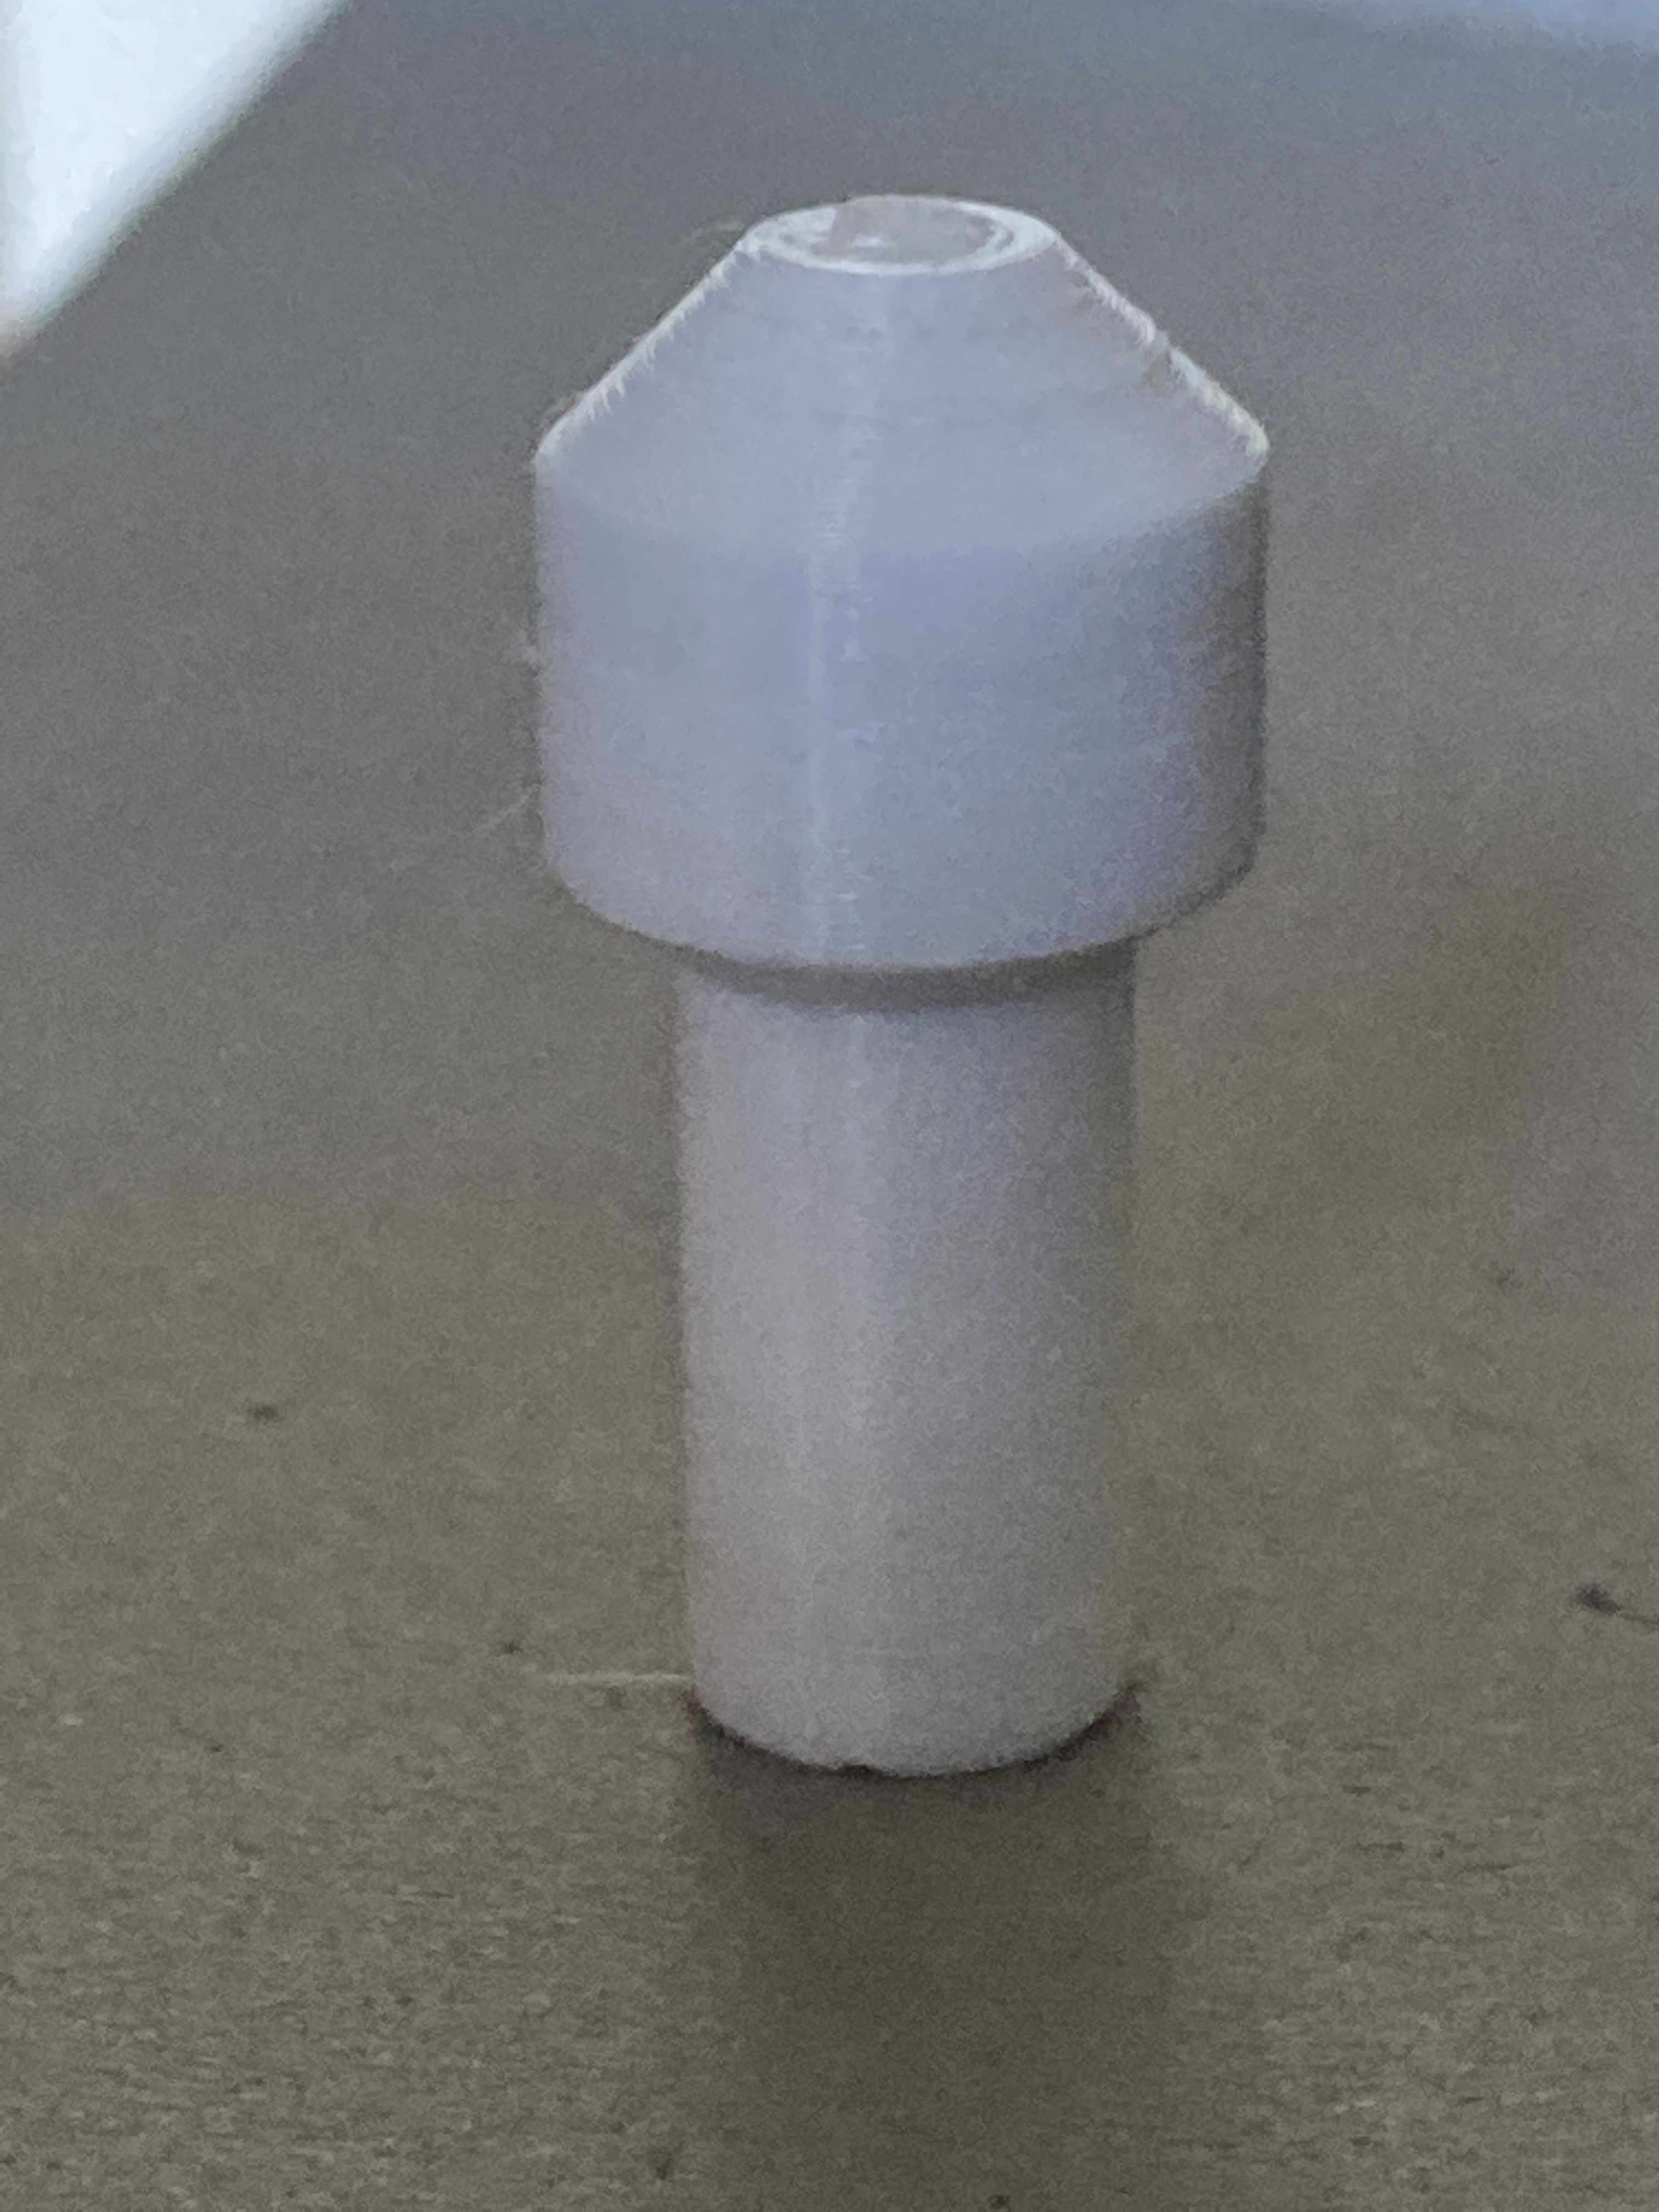
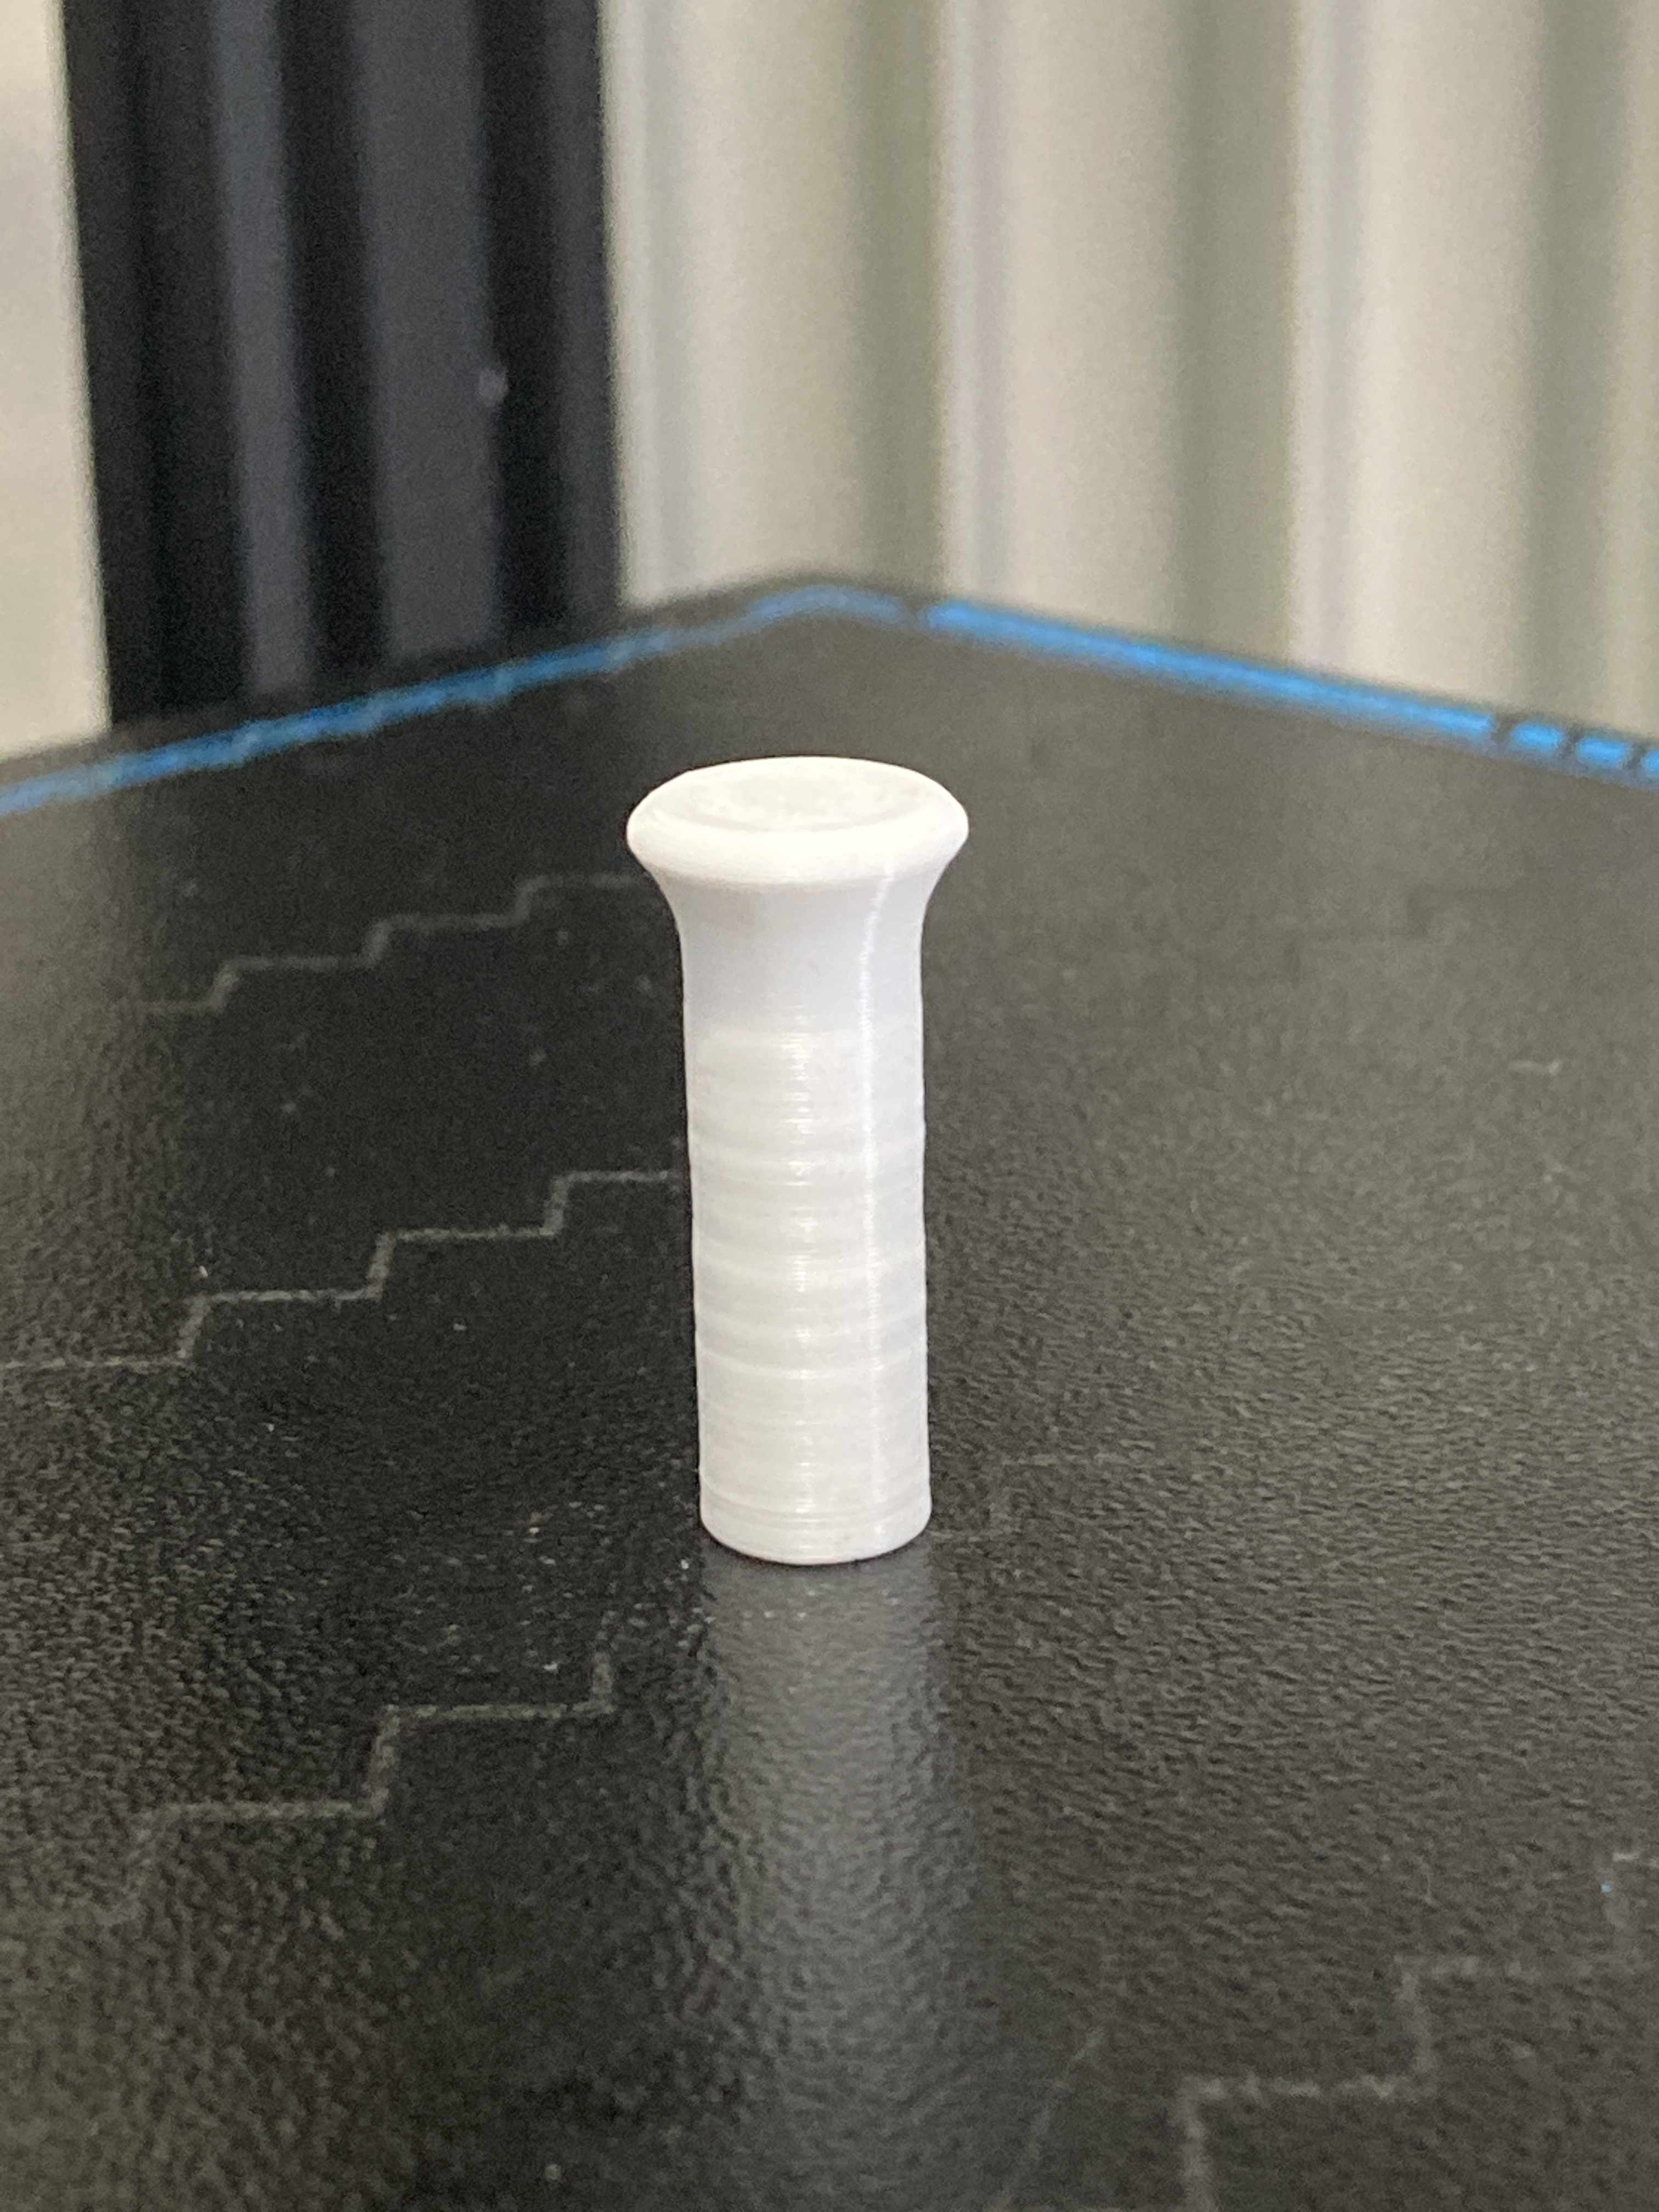
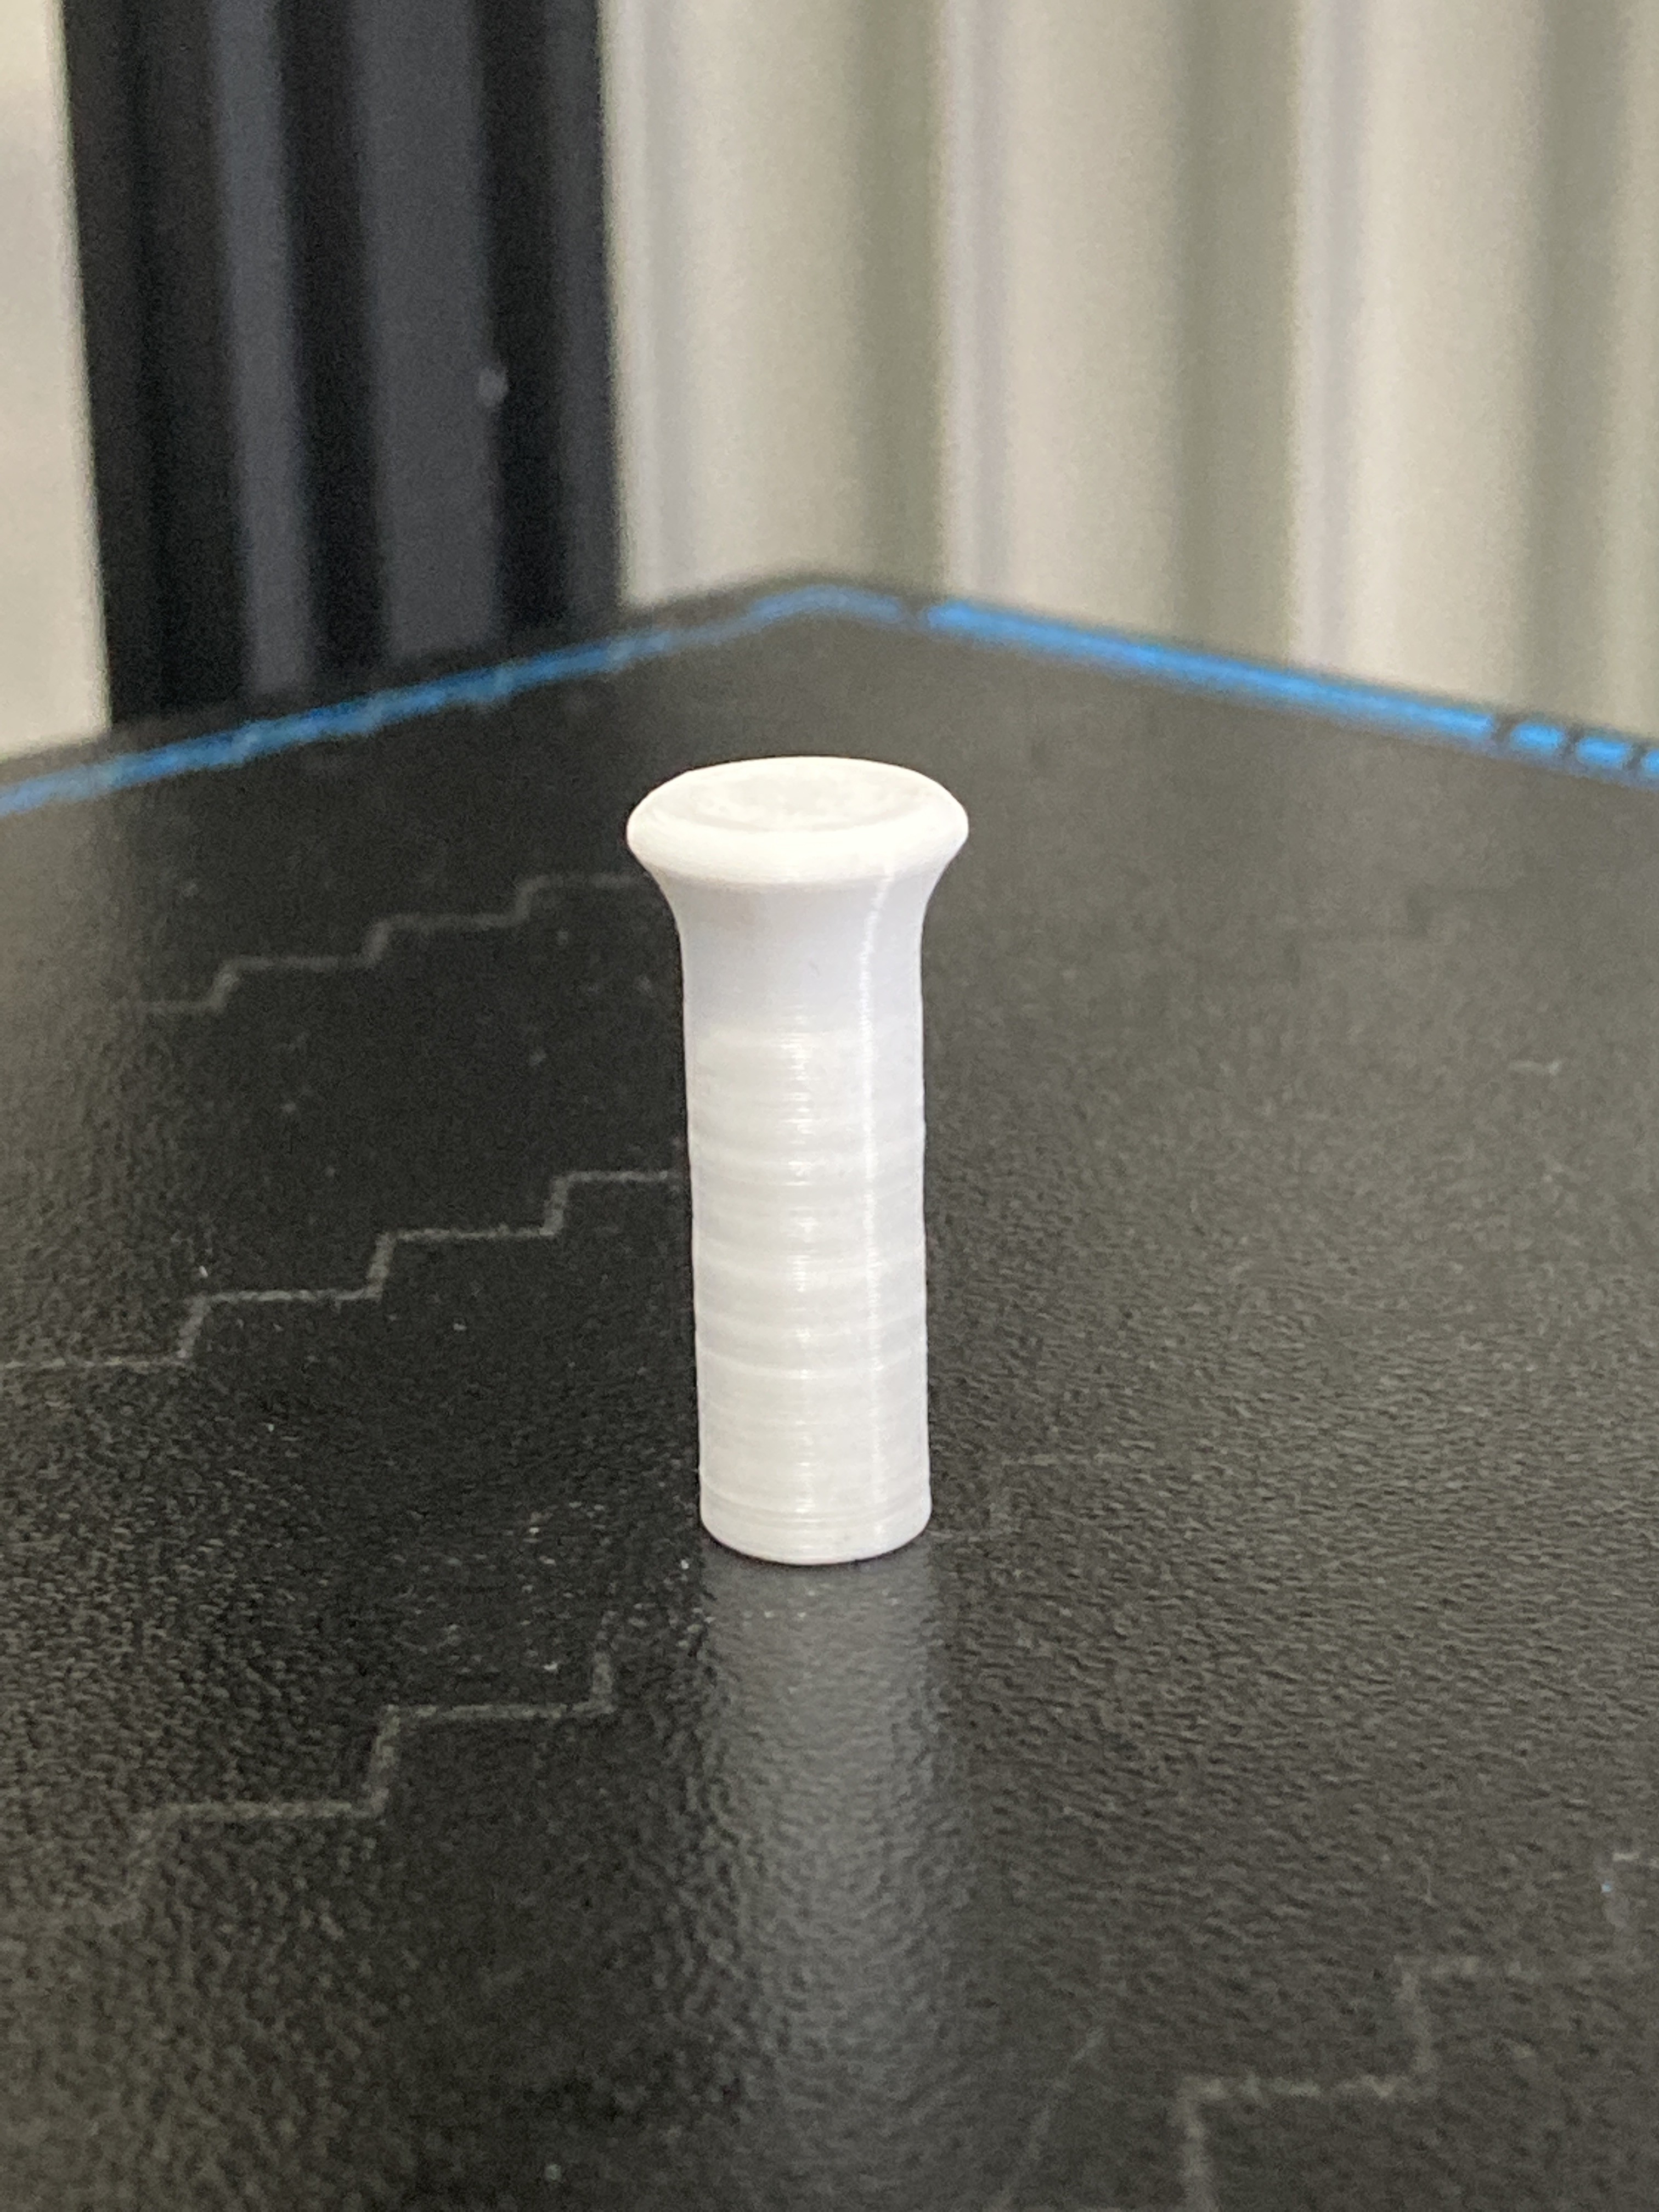
My first self-designed toggle cap for the AHCP: Data: height 28mm outer diameter top: 12mm outer diameter bottom: 8.5 mm inner diameter: 5.6 mm drill hole height: 13 mm filament: PLA (210°C noz/60°C bed) filling: 60% layer height: 0.20 mm Button Eaton v2.stl
-
New gadget, working on my first knobs.
-
I think that depends strongly on how much you are willing to invest. I also use a 3018 (from Saintsmart Genmitsu) but, as I only have it for milling panels, I should have rather sticked to a K40 Laser Cutter/Engraver. The CNC can do the work too, but I feel it would be faster, easier and cleaner to lasercut the acrylic. FYI, I upgraded the Spindle to a 20k rpm spindle, put a dragchain on it to sort the cables, installed some end-stops and a fume extractor, and finally built an enclosure for it. After all, it was a lot of fun, but also blood, sweat and tears to get it up running as a CNC and an engraving laser.
-
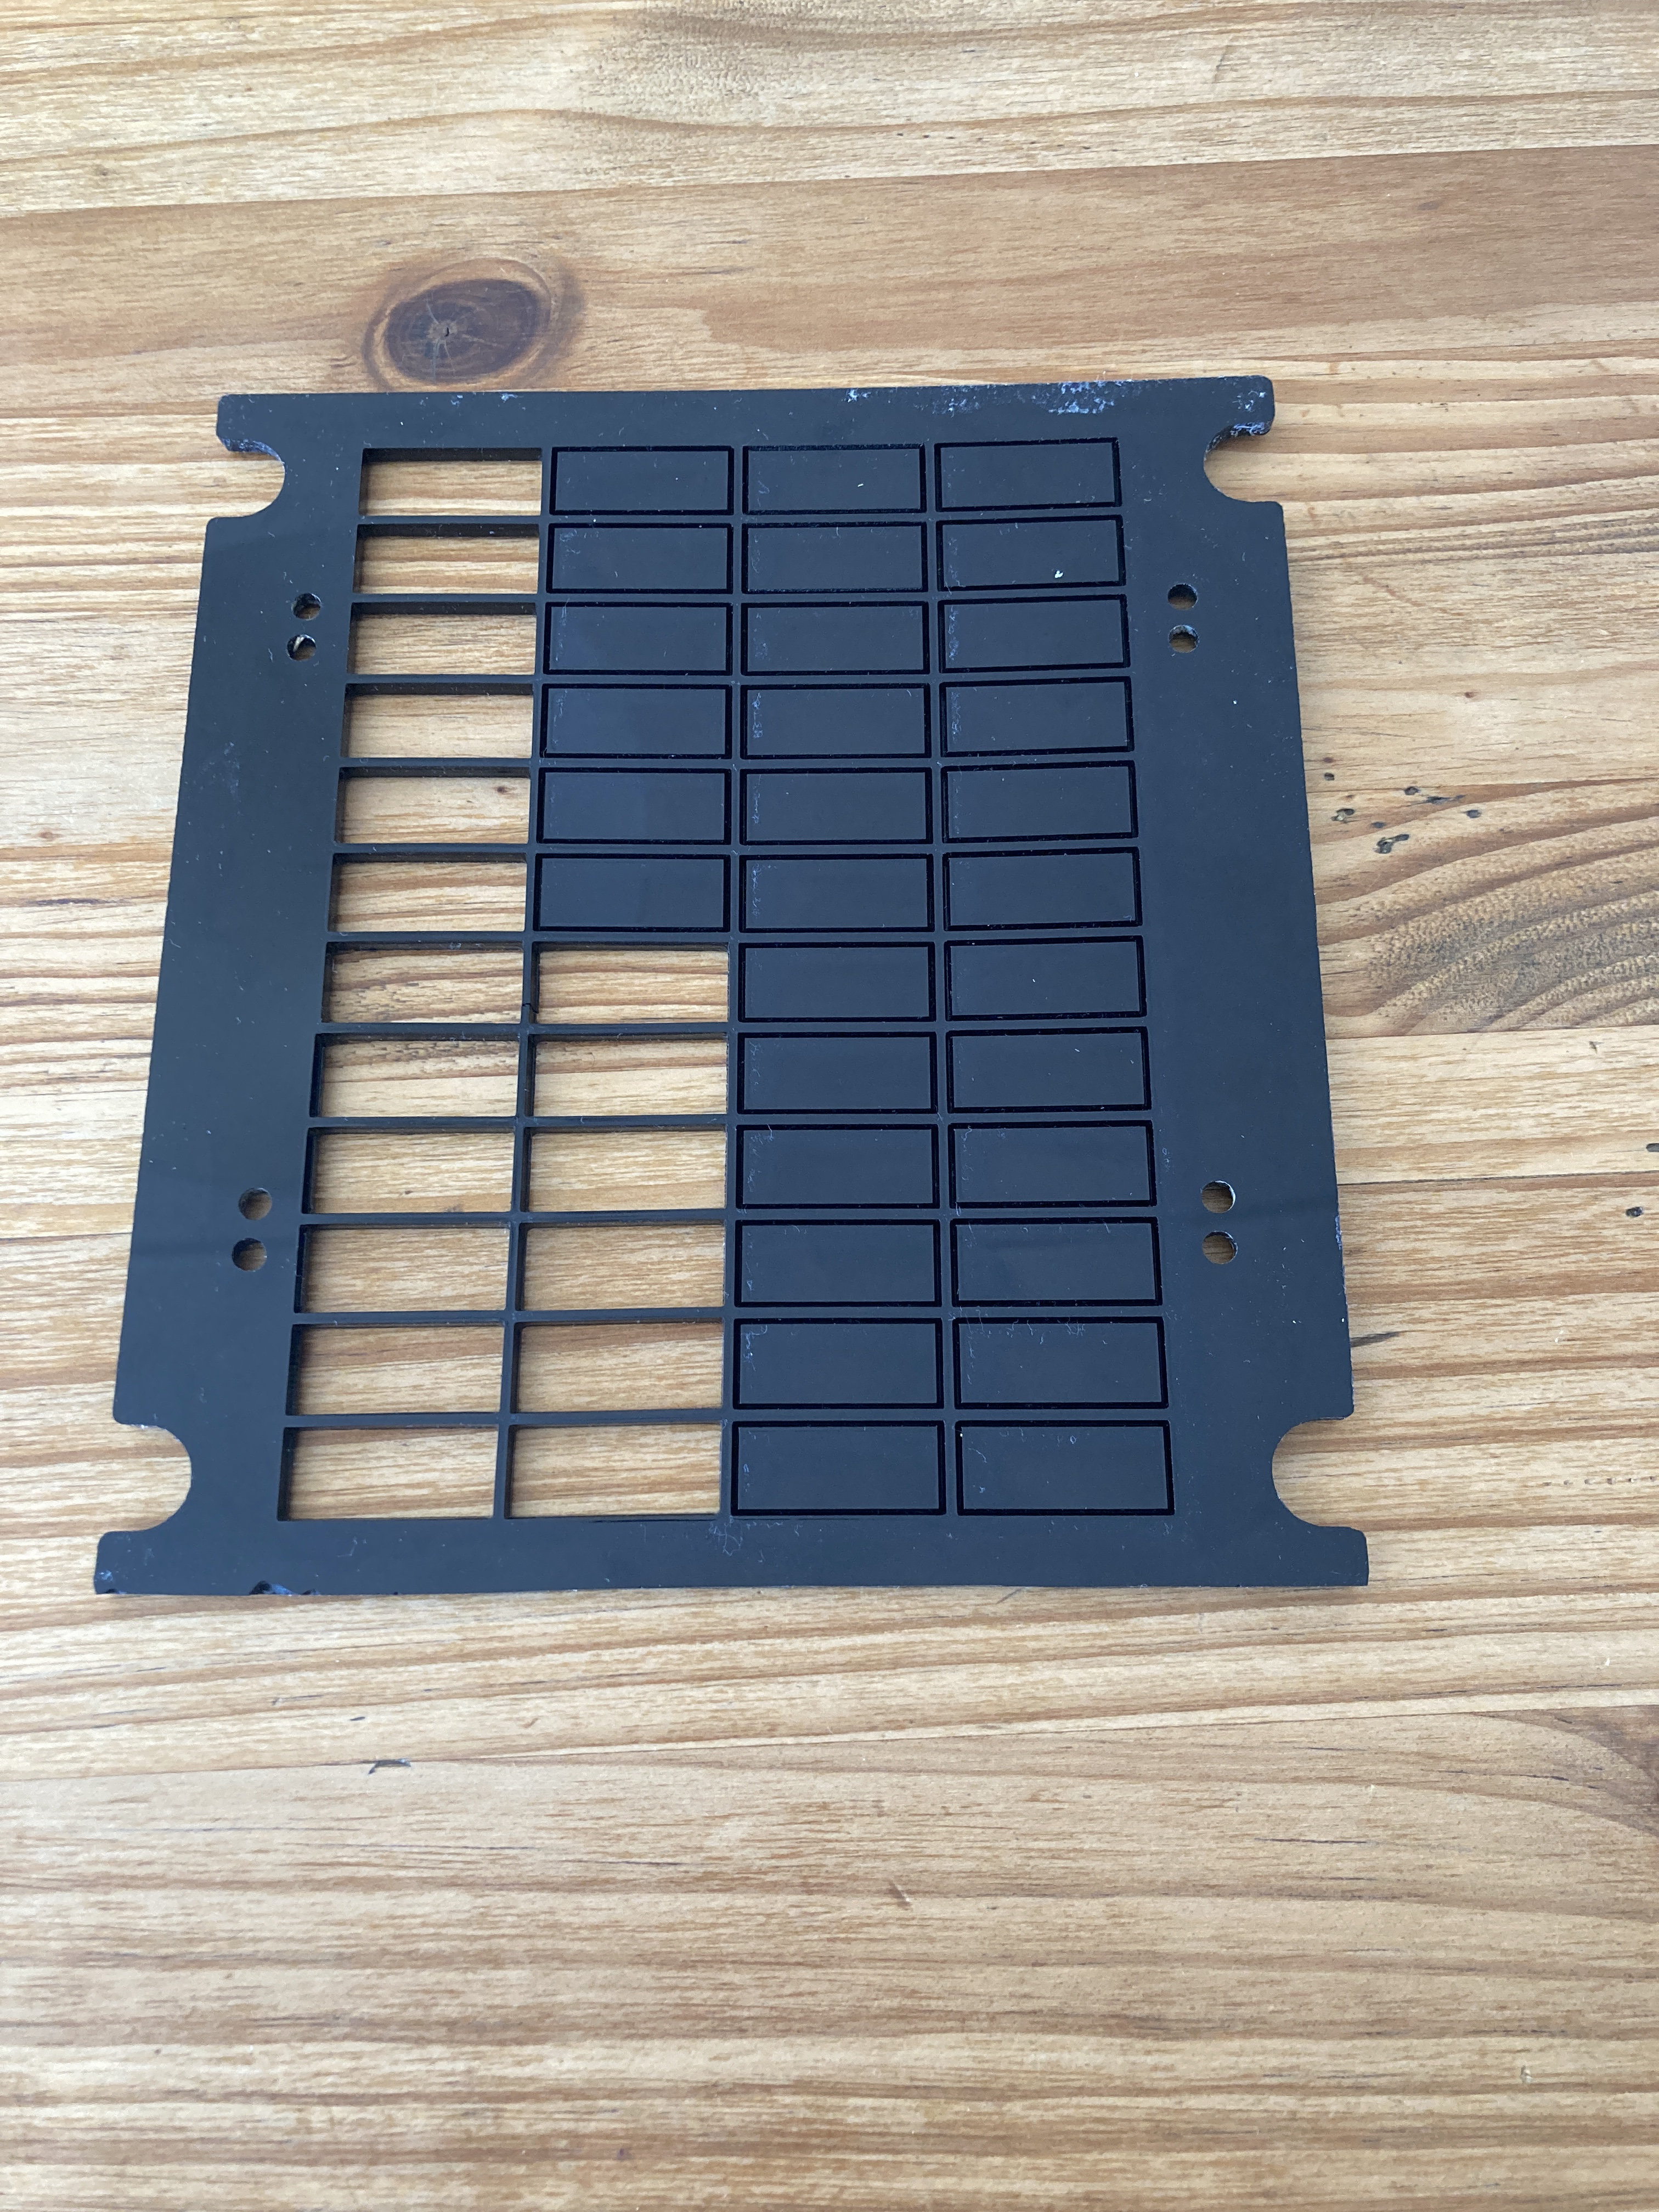
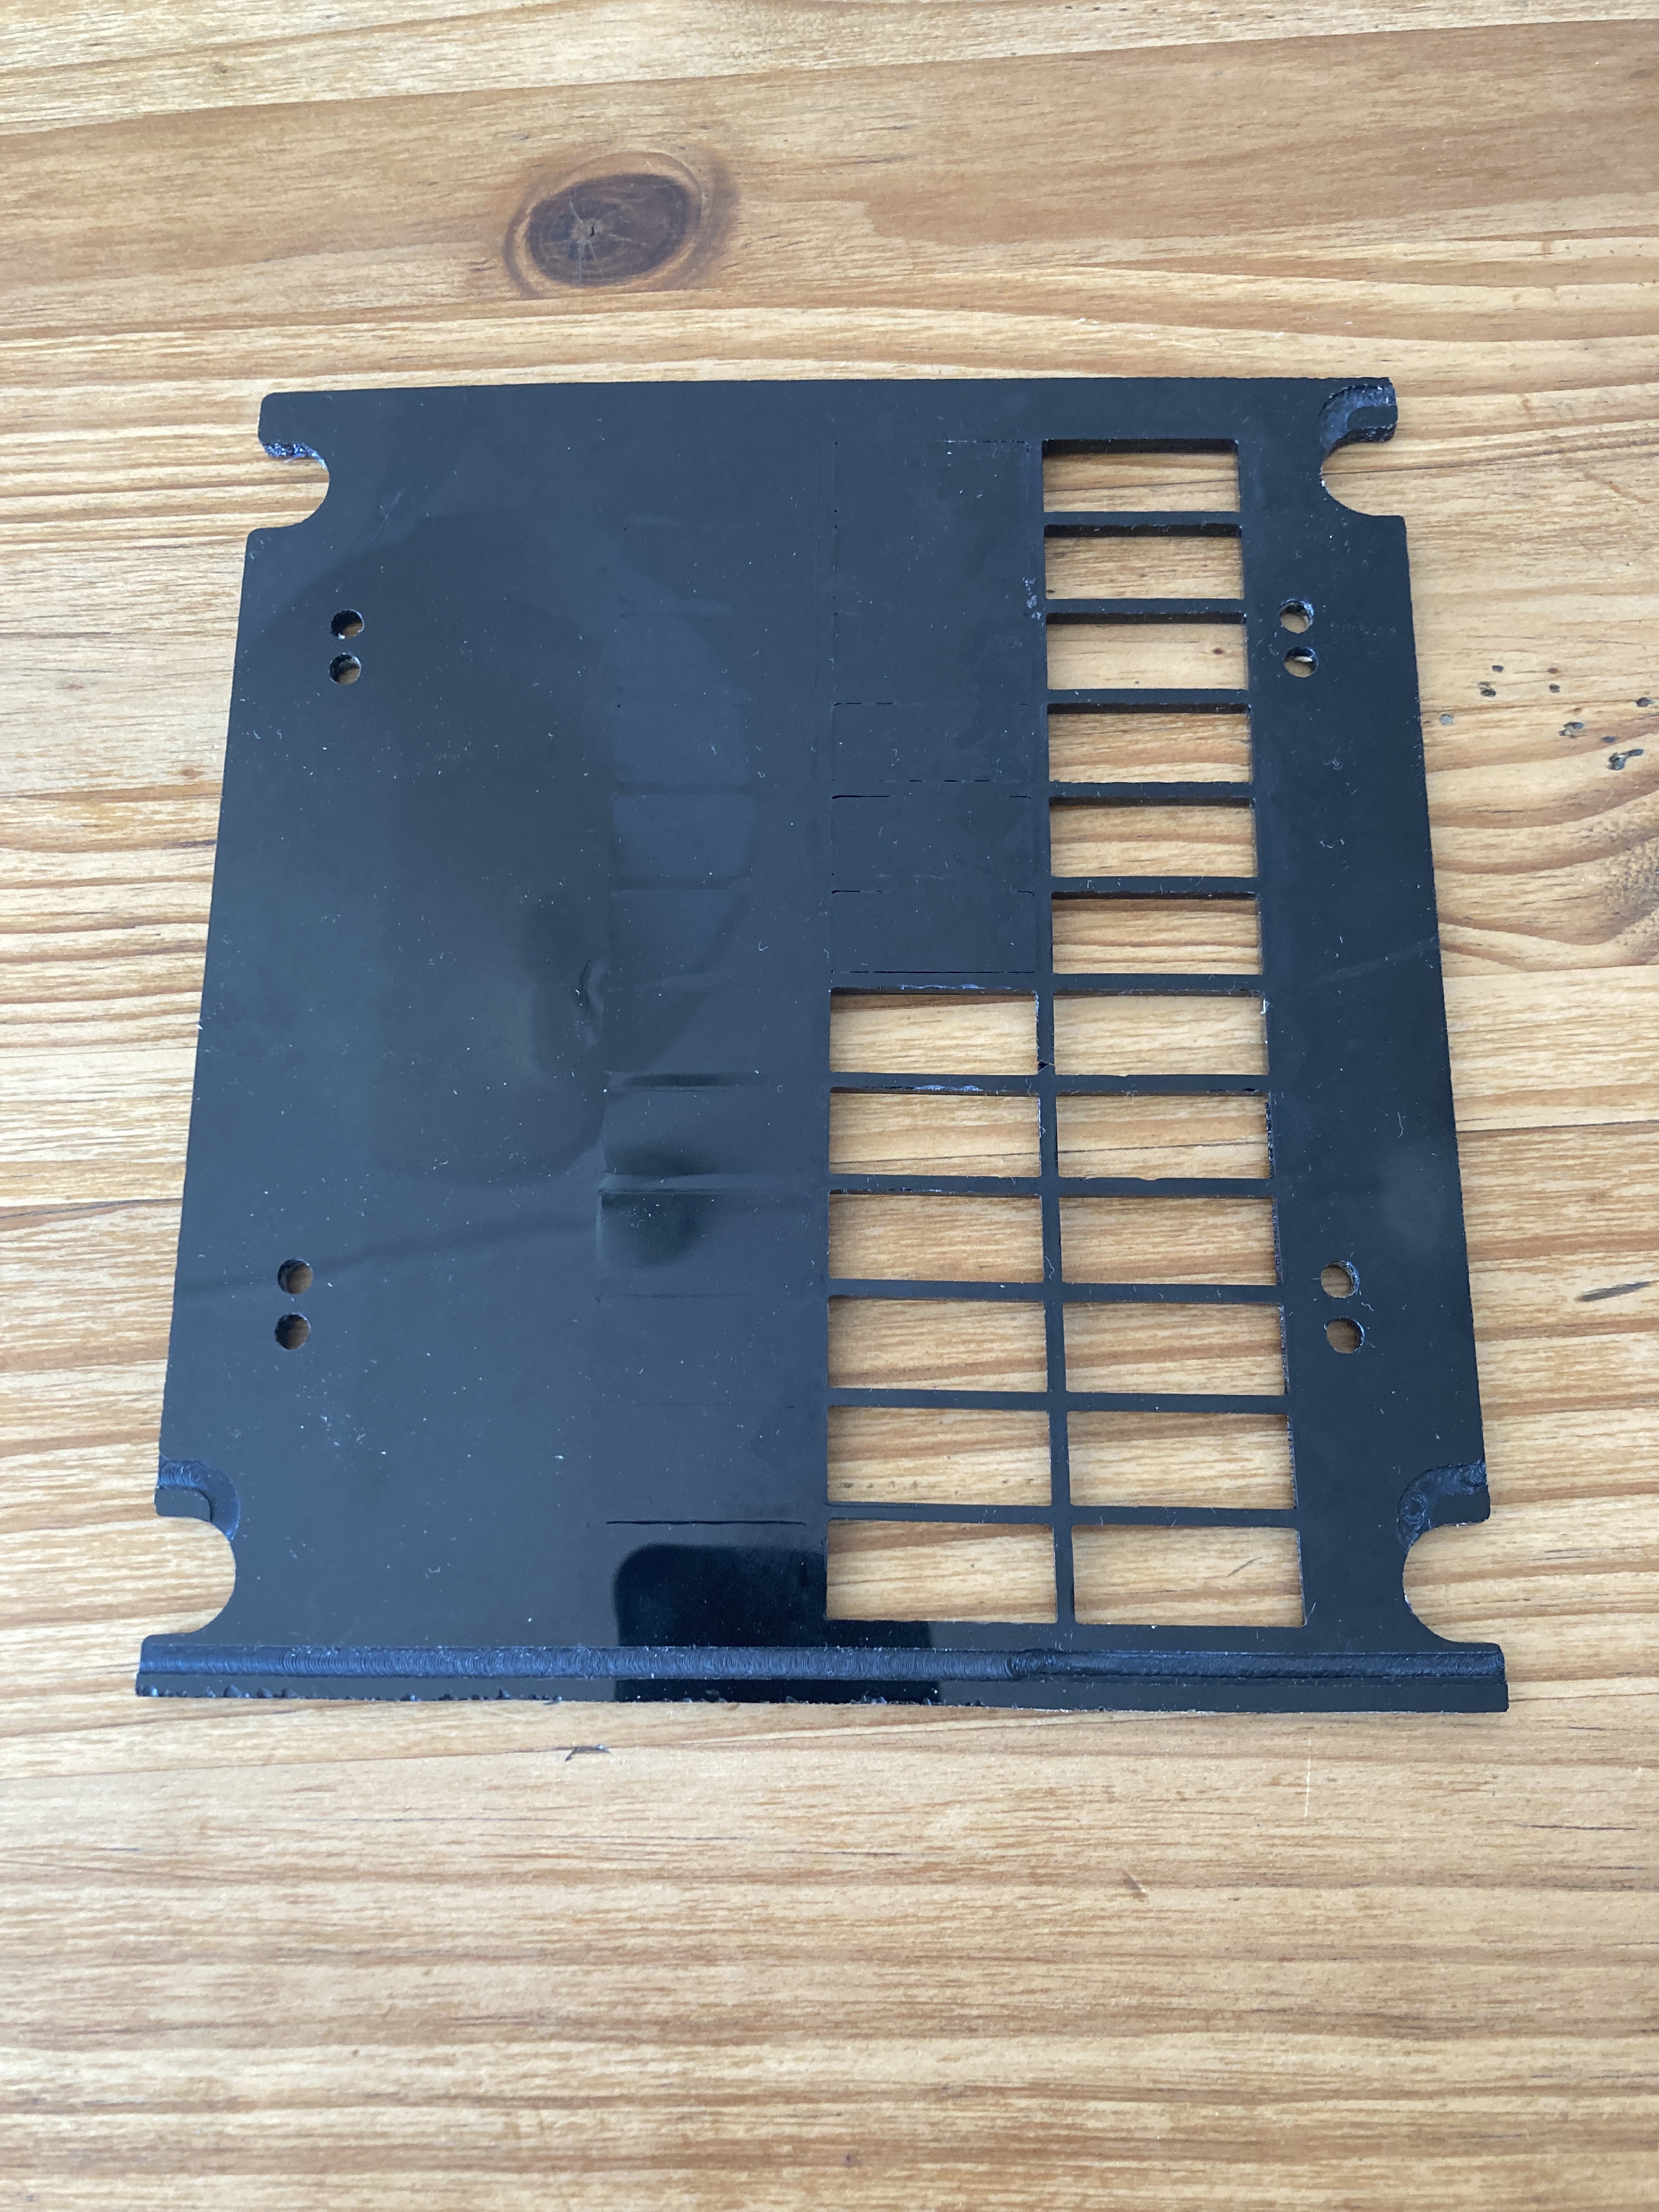
Another day, another lesson learned. I tried to laser-cut a part of the caution panel with my 5500mW laser. - Failed- (I wasn't convinced from the beginning of the operation, anyway) The first 8 rectangles literally fell off the panel after the first session (1:45 h), but the rest sticked in. As you can see on the reverse side of the acrylic, the last cut lines are simply missing. It looks like the absorbed heat was too big and the panel winded up, loosing the focus of the laser beam. So fellows, don't try this at home, having the might light burning for almost 1,5 hours, ending this morning at half past midnight (at 80%, running with a pace of 75 mm/min, 4 passes with Z-1mm/pass) can't be good for the diode and the lens. Gave it another chance today with another 1:35h. So back to milling a new panel, rounded edges instead of clean laser cuts. (:runs back into the cave to find a way to convince the secretary of treasure that an investment in a 40k laser is inevitable: ... ) Here's the milled one:
-
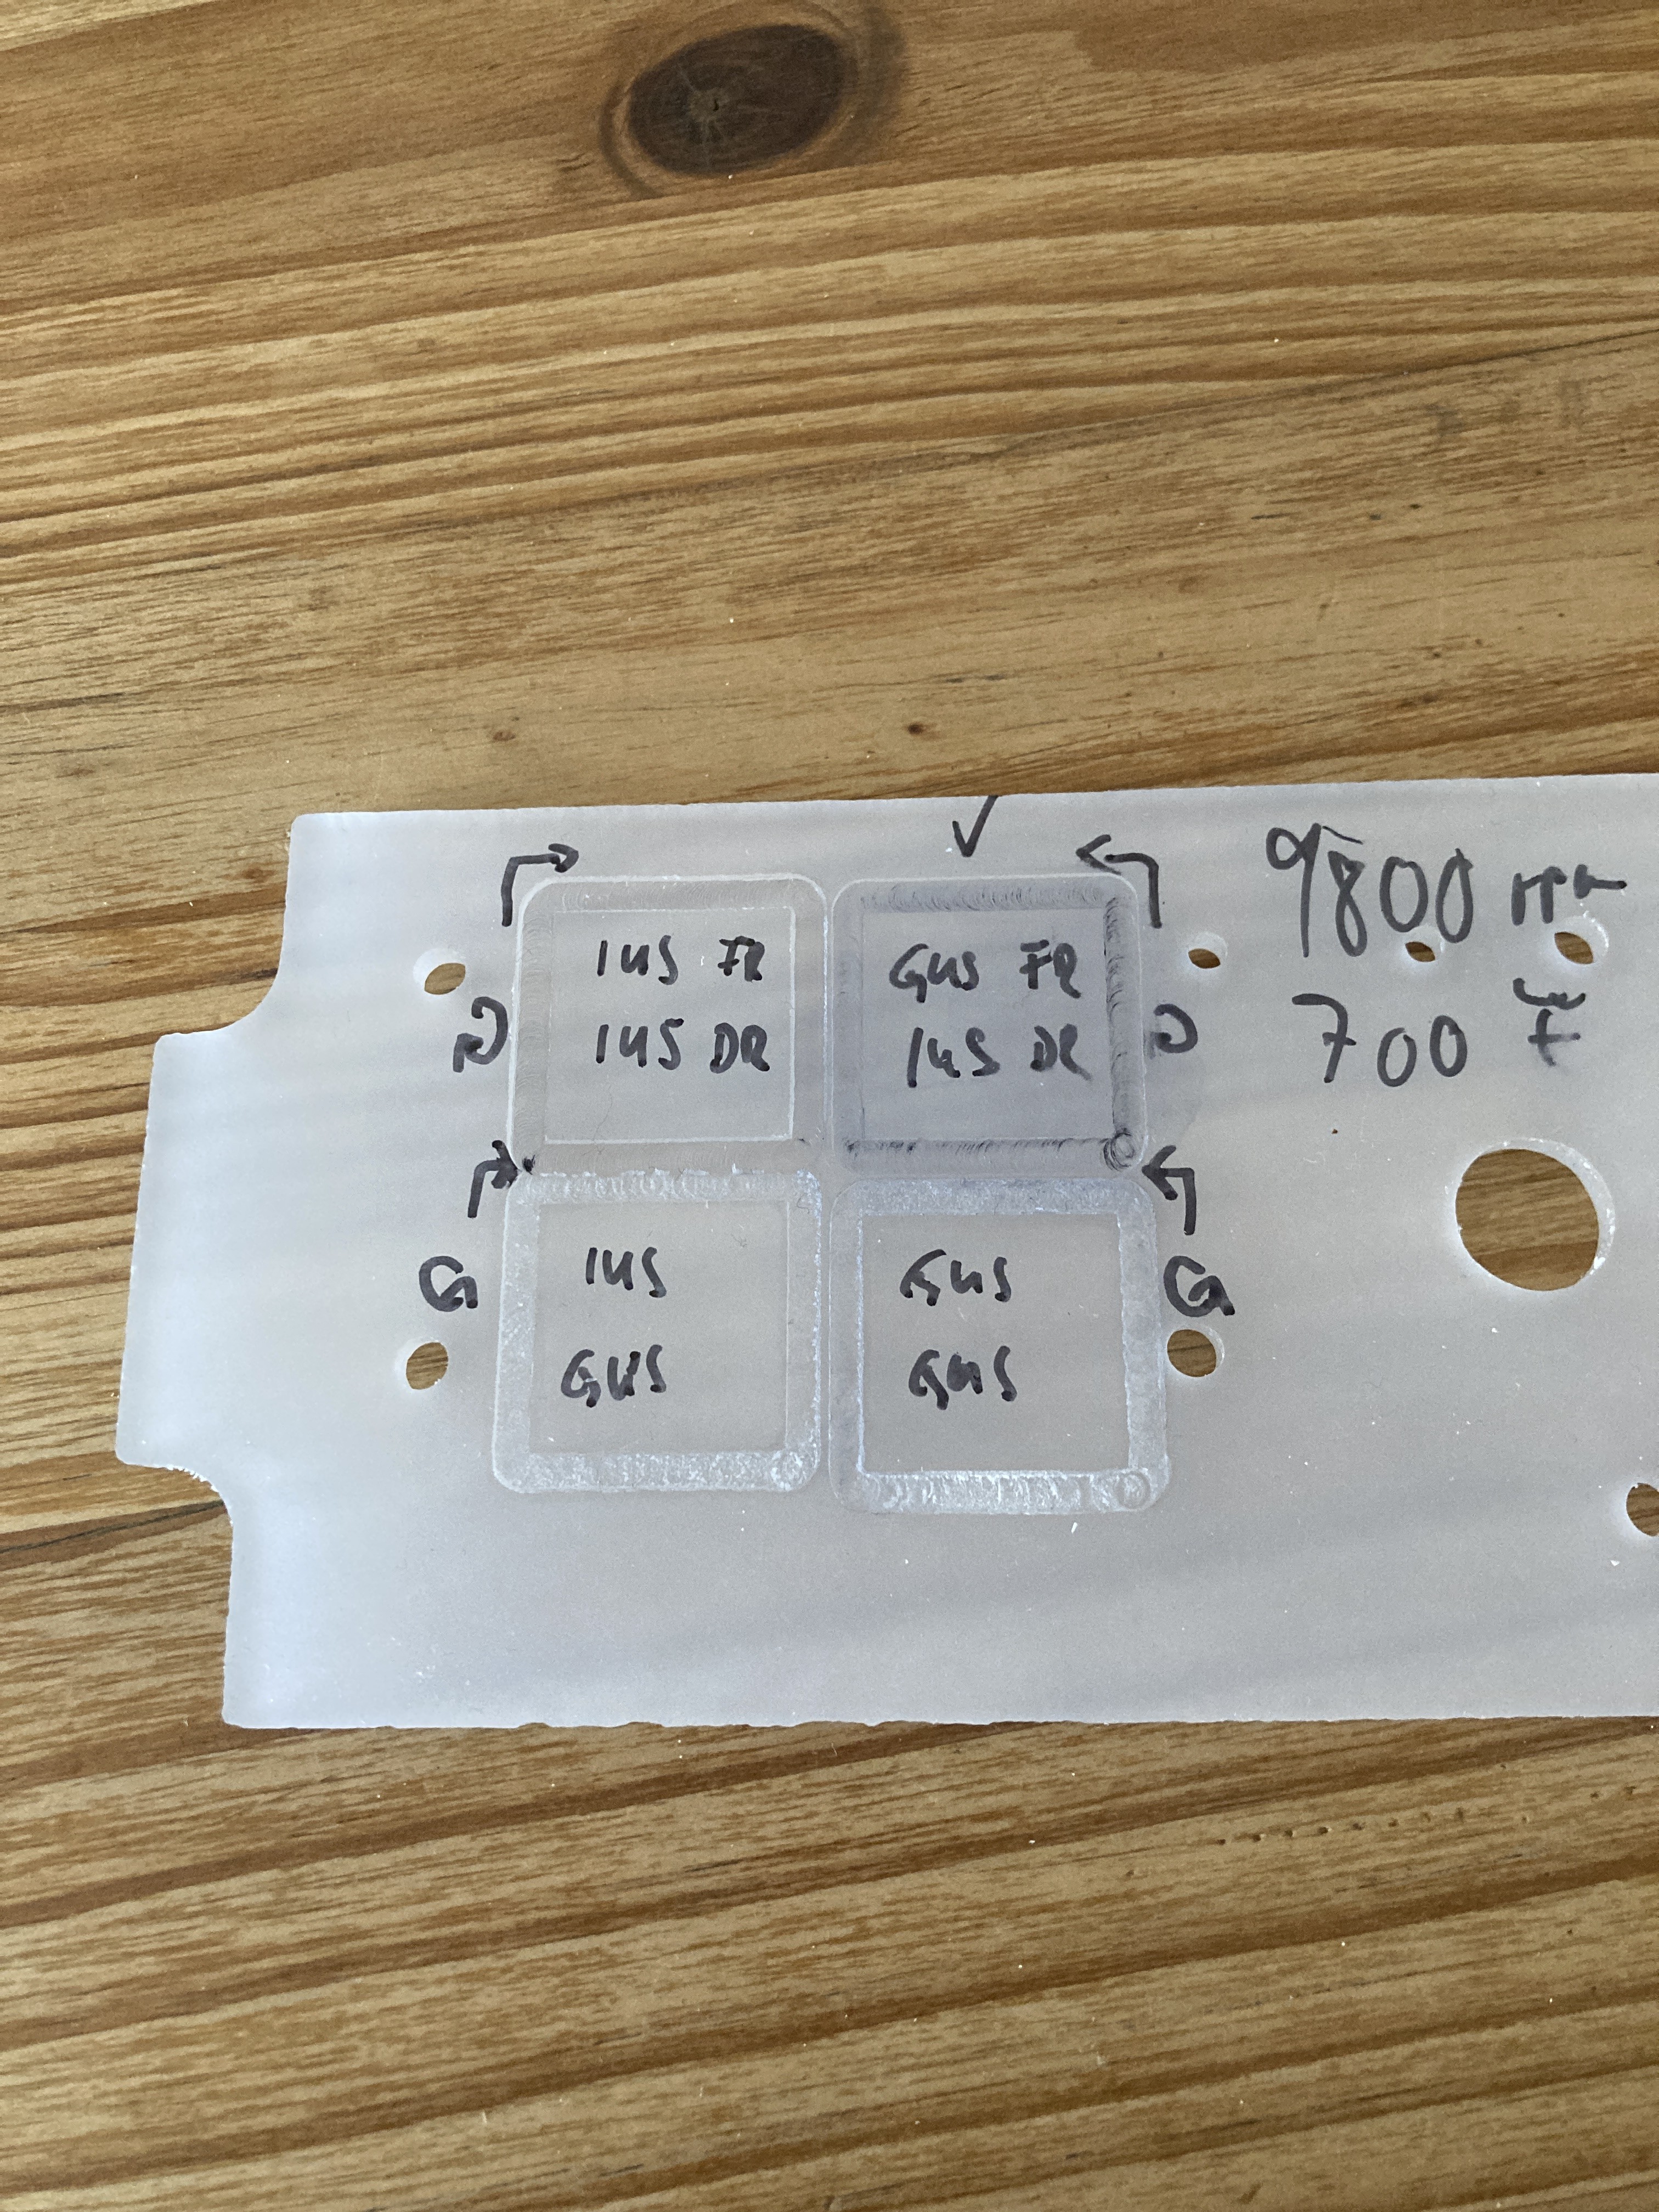
Thank you, Savvy. I think, this is a great write-up of the essentials when s.o. thinks about starting with cutting/milling and engraving. Wish I had those info a few weeks earlier, would have saved me and the environment from a lot of waste. But the road I went, was incredible educational and showed me also a lot of other things. Most important thing was, it showed me how incredible helpful people we have inside this community! So, I can only encourage everyone, who thinks about having a more immersive experience with the simulator, with having a haptic feedback when flipping a switch or turning a knob, to start building. VR might be great for visuals (as long as you can afford the hardware) but panels are a lot of steps closer to the real thing (just my opinion). Just as a small addition to your data, the direction of spindle and direction of the cutting track is also important for the clean edges of the acrylic. Keep in mind that the results may vary from one to another material (cast acrylic in my case). Test was done this morning with the 20k spindle from Genmitsu @ 9800rpm, 3.175 mm "o" flute upcut endmill (Amana Tool - 51410-K) plunge rate 150mm/min feedrate 700mm/min Depth per cut: 0.3 mm Complete Depth: 0.6 mm chips were only brushed away, no filing, no sanding of the edges Turned out that the best result is the upper right square, cut direction counterclockwise, spindle direction clockwise.
-
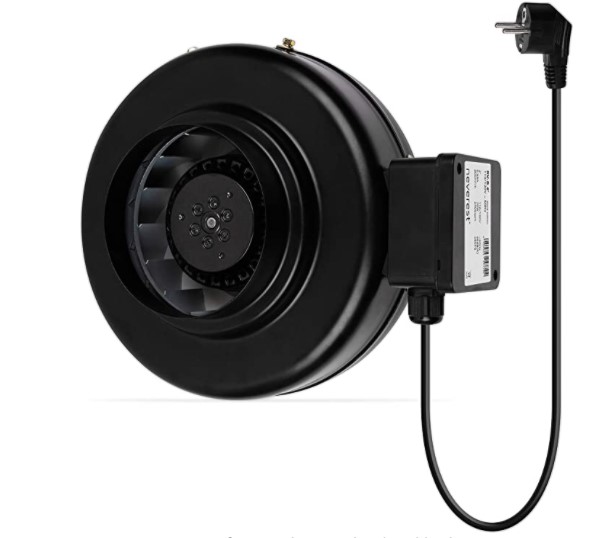
Already on the way It will also fit the planned K40 laser or even as an air-purifier (combined with a HEPA filter) in my workshop.
-
I already ordered a "ring-vent" to attach to my laserhead. Airflow will be generated by a 32 W aquarium pump (60l/min) and blown throug a 2.5 m hose. That should do the thing when it arrives tomorrow. For fumes extraction, I use my noisy shop-vac to pull the gas out through the window. (Up to now, the neighbours didn't try to lynch me or where standing at the gate with pitchforks and torches) I will try to install the powerbox for the 20k spindle today, along with a pwm poti and an on/off switch, as it seems, I fried the mosfet on the new control board once more. Rest is still up and running (laser and mill) I just cant controll the spindle rpm and on/off directly from the software. Small lapses, compared to other failures, that happened in worlds history now and then. Time to go for milling the armament panel again. Appologies to all people, getting attracted by new posts in this thread and expecting to see more progress in my 'pit. I do my very best, time and money will allow. ED's forum is such a great platform with so many helpers and motivators.
-
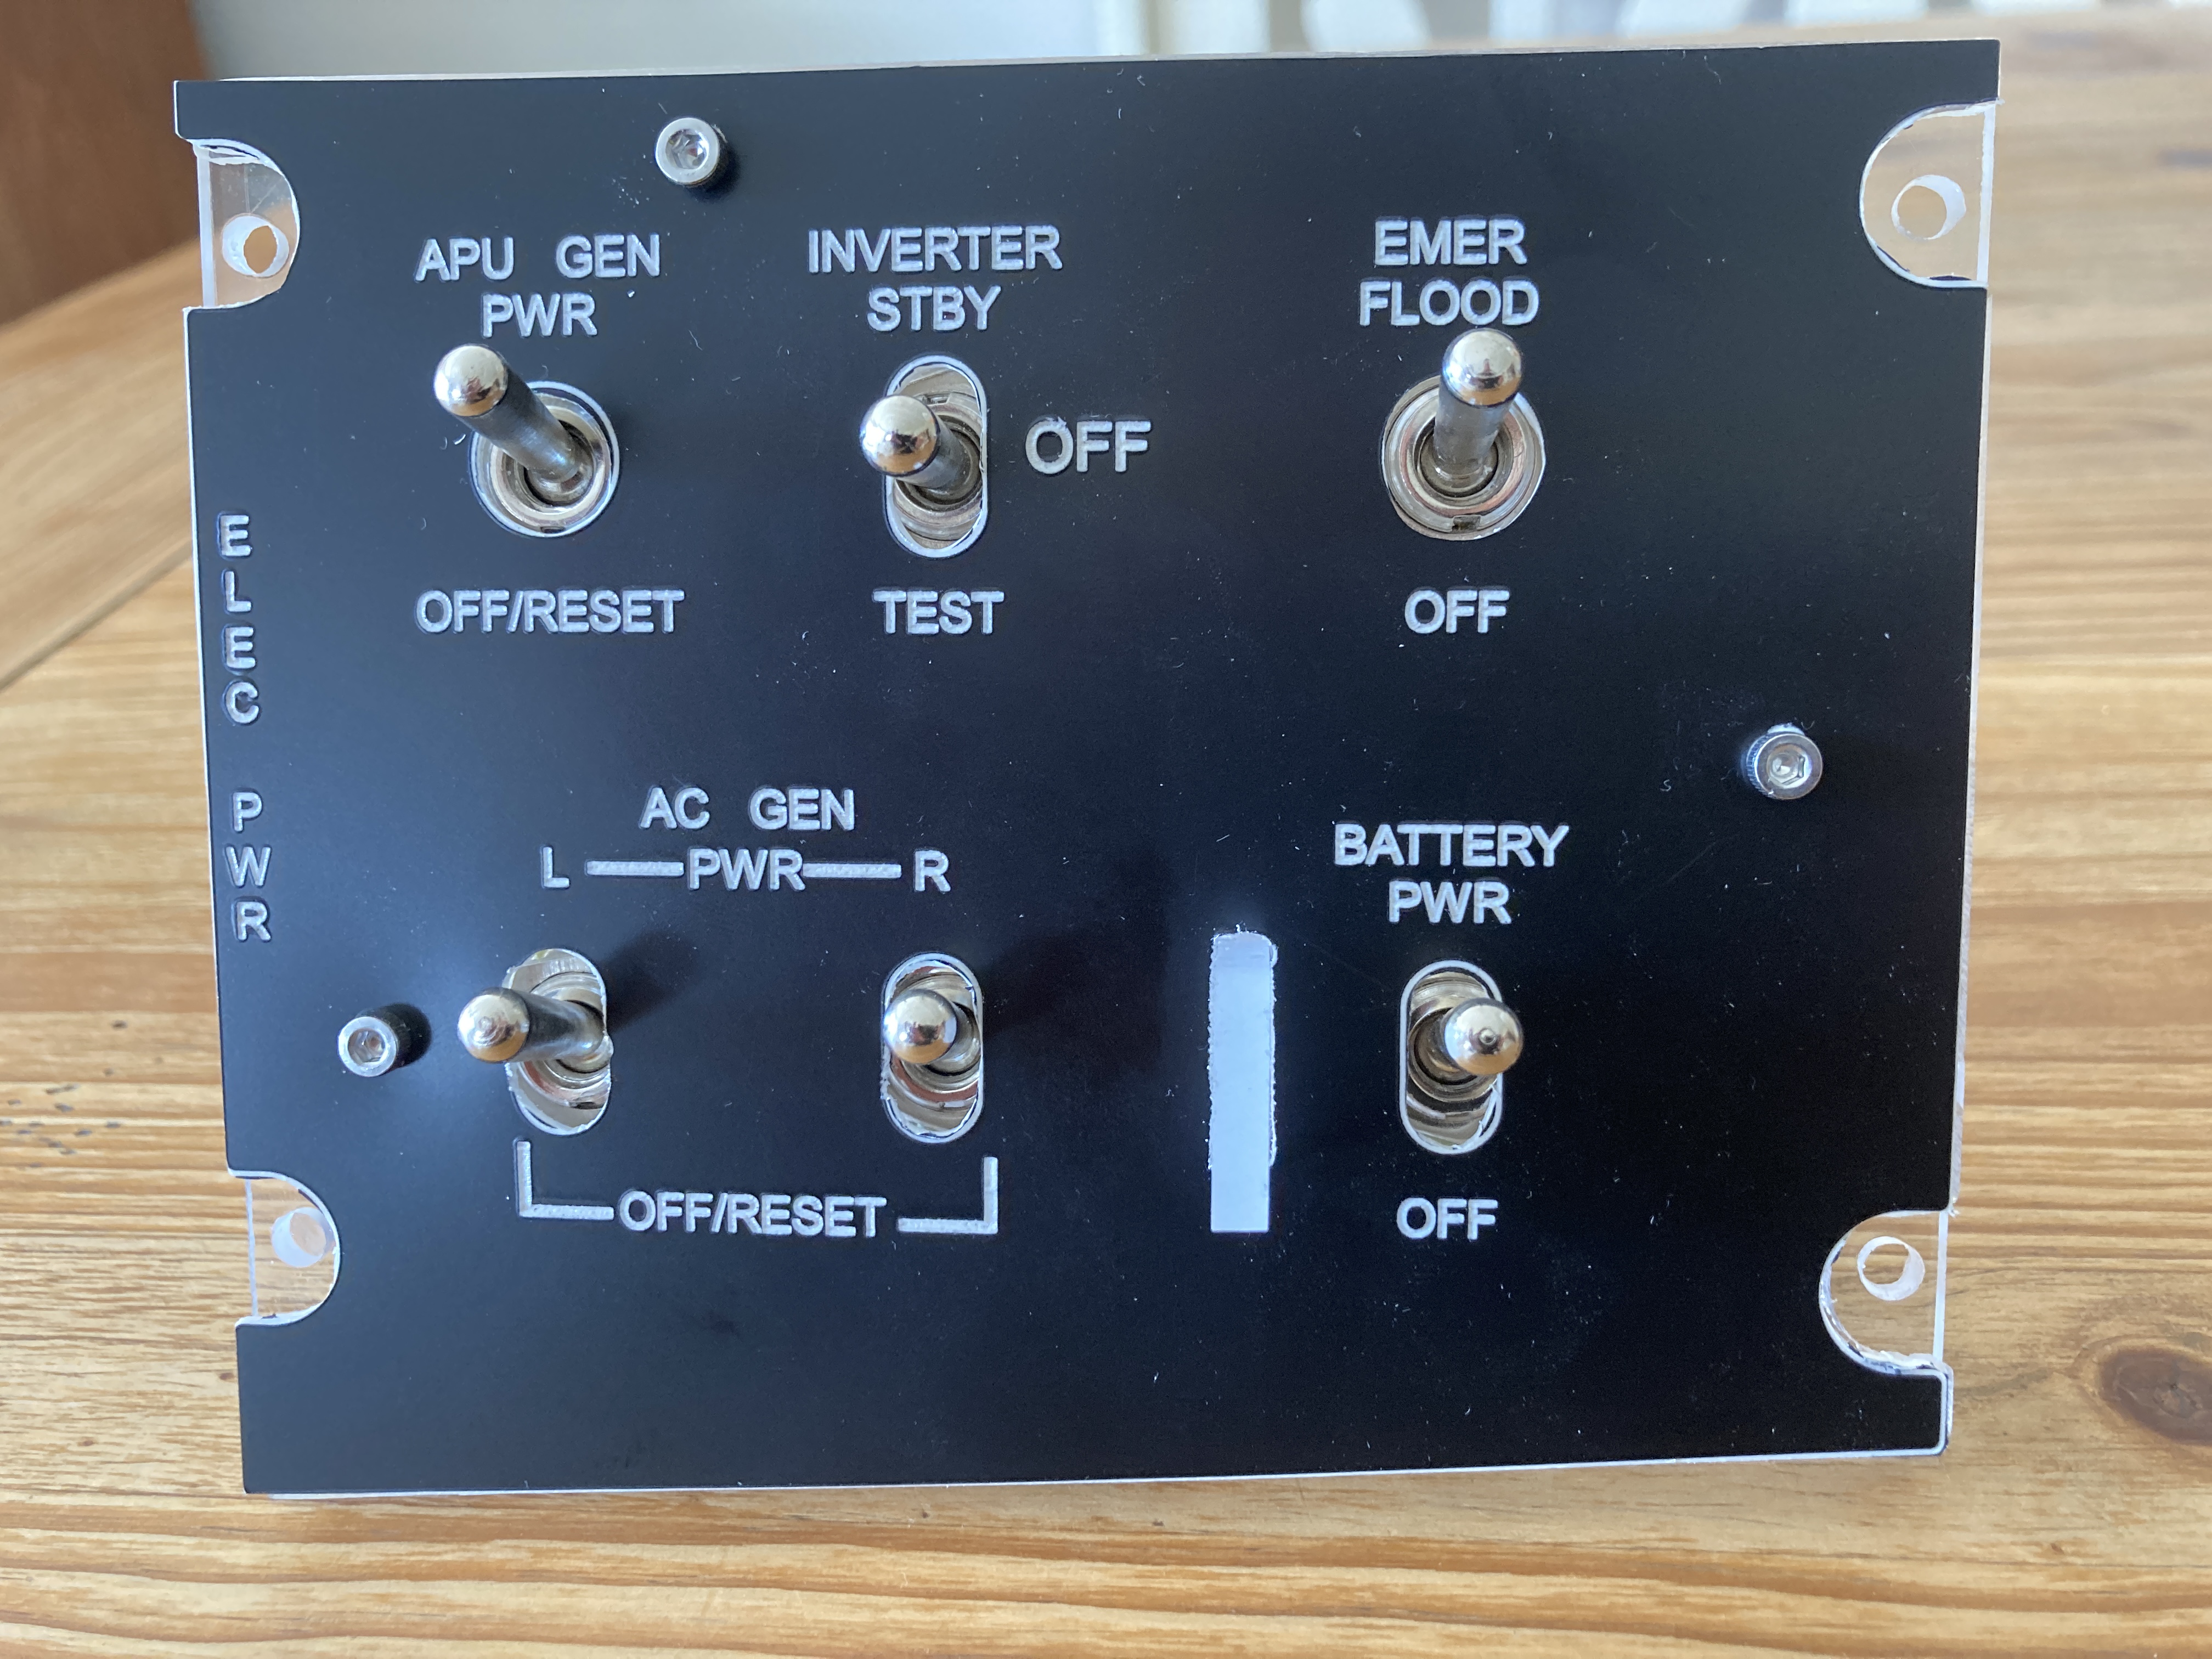
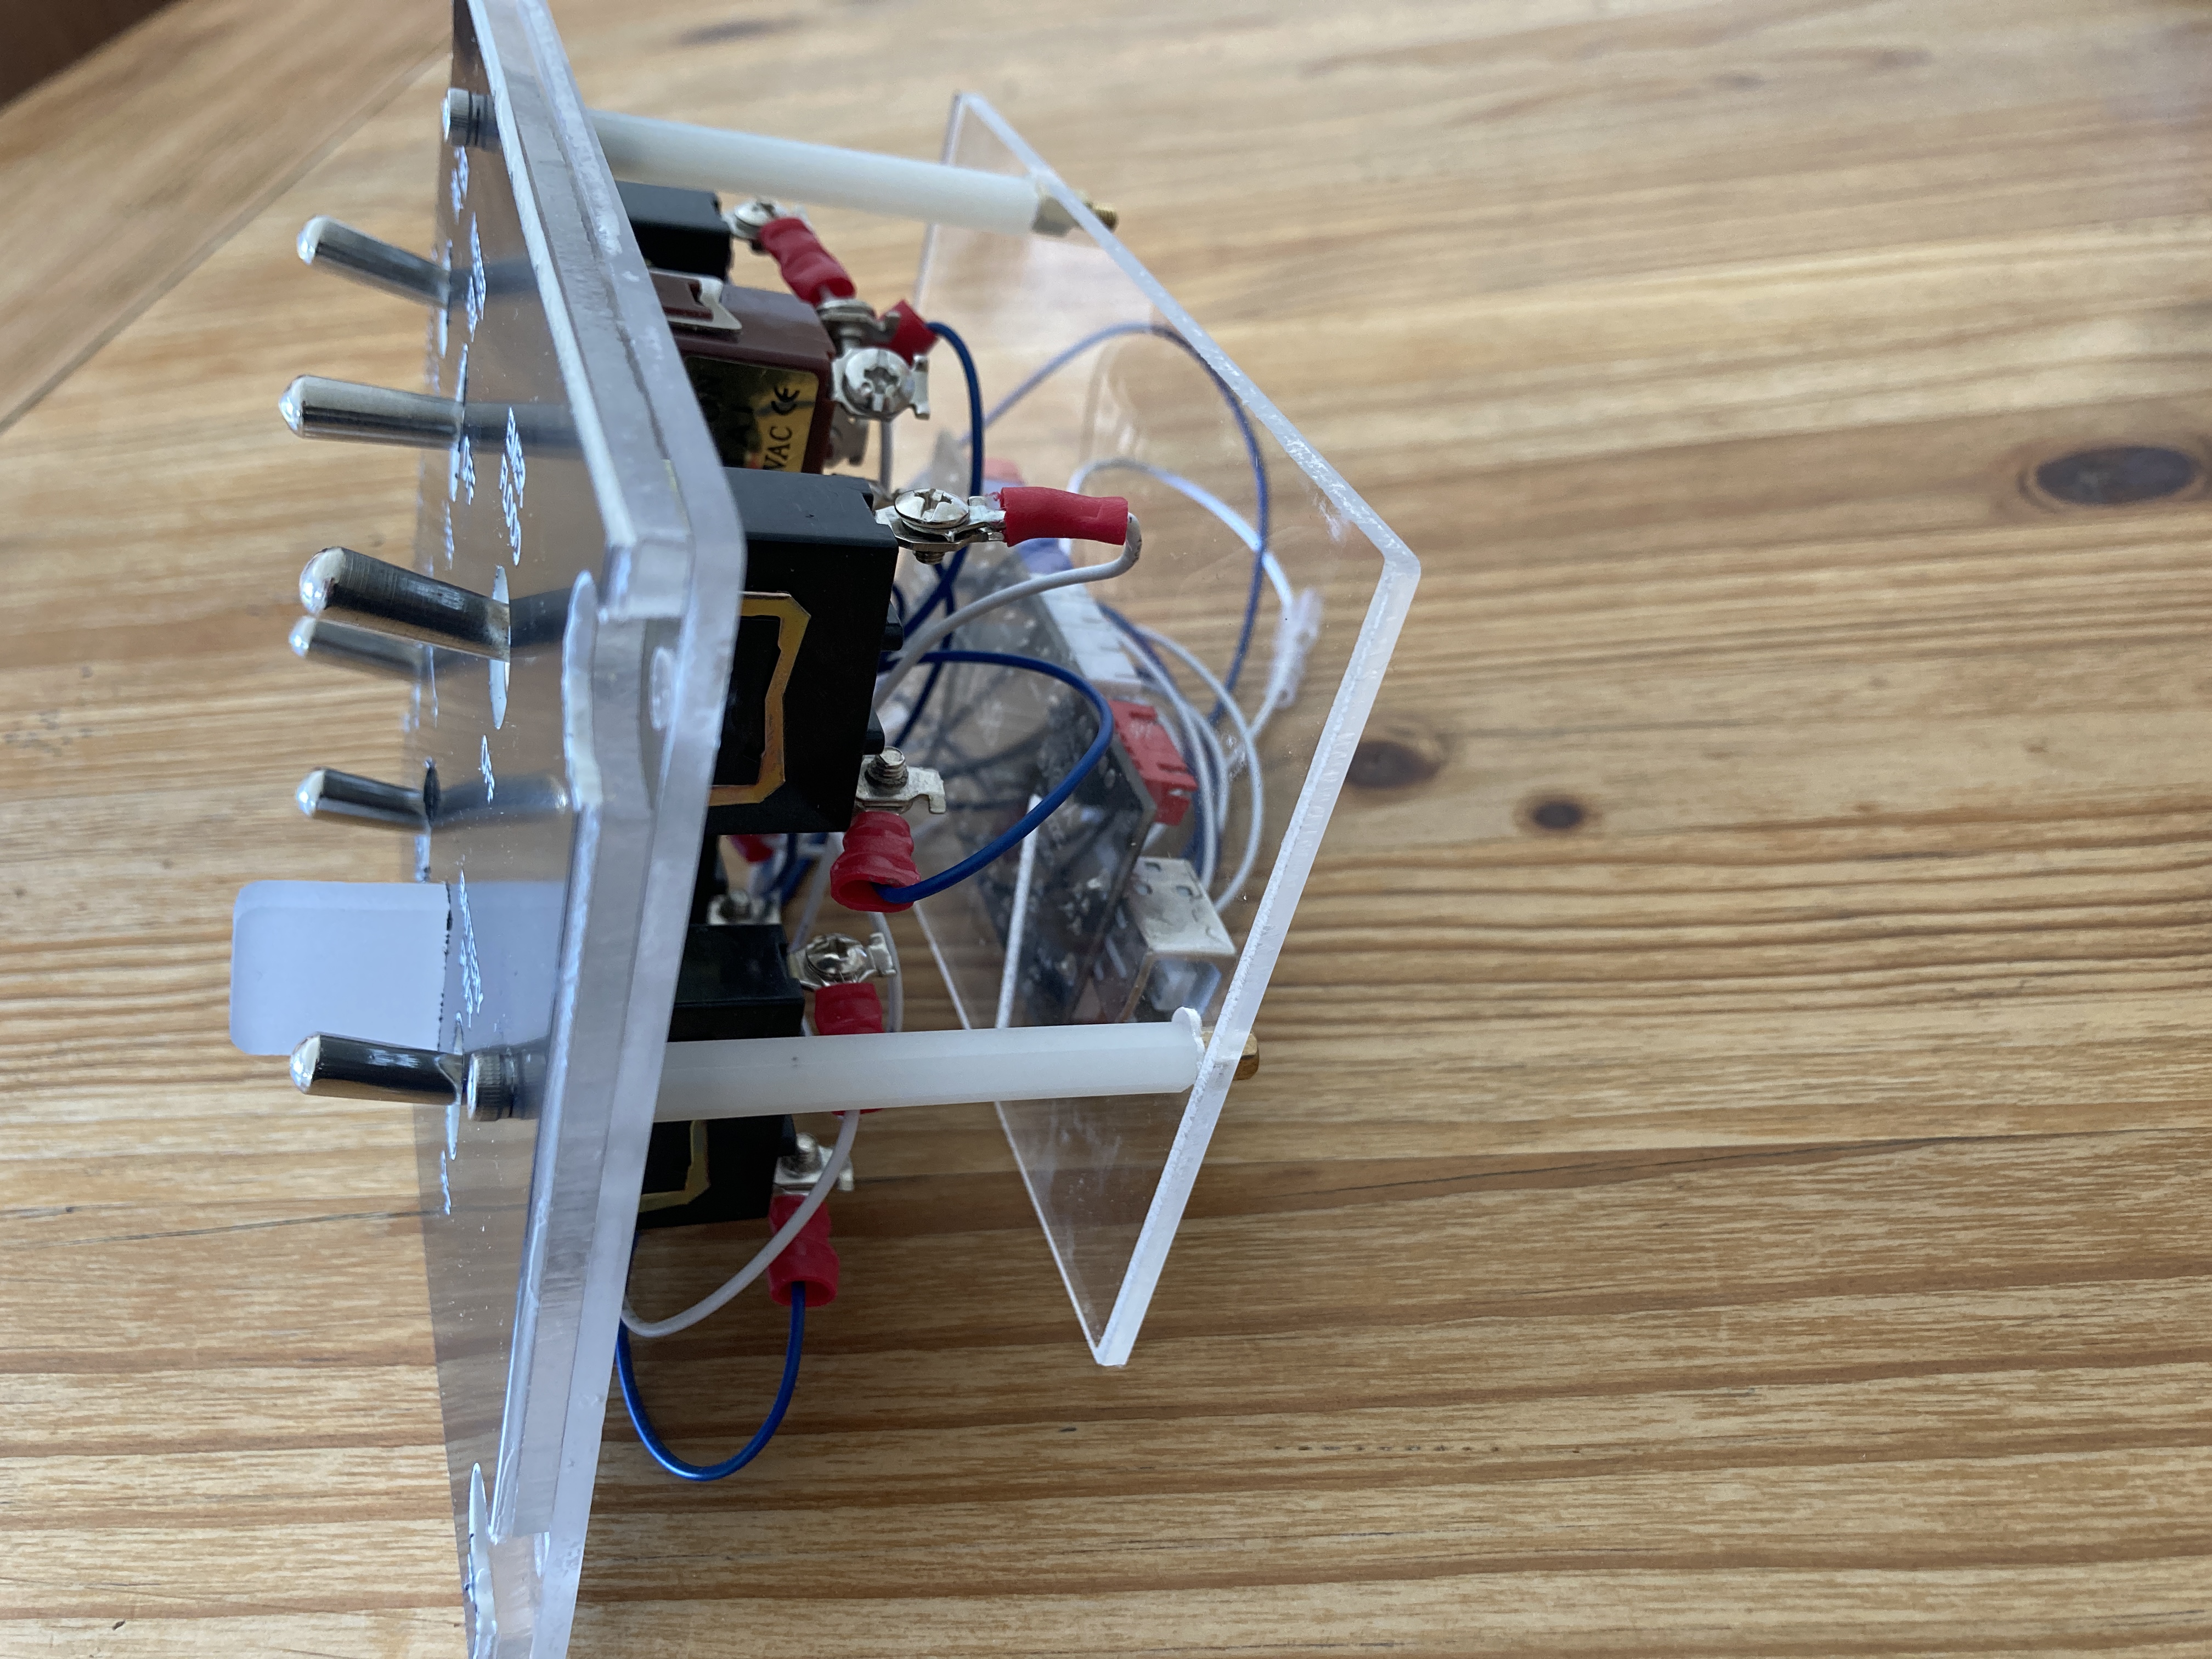
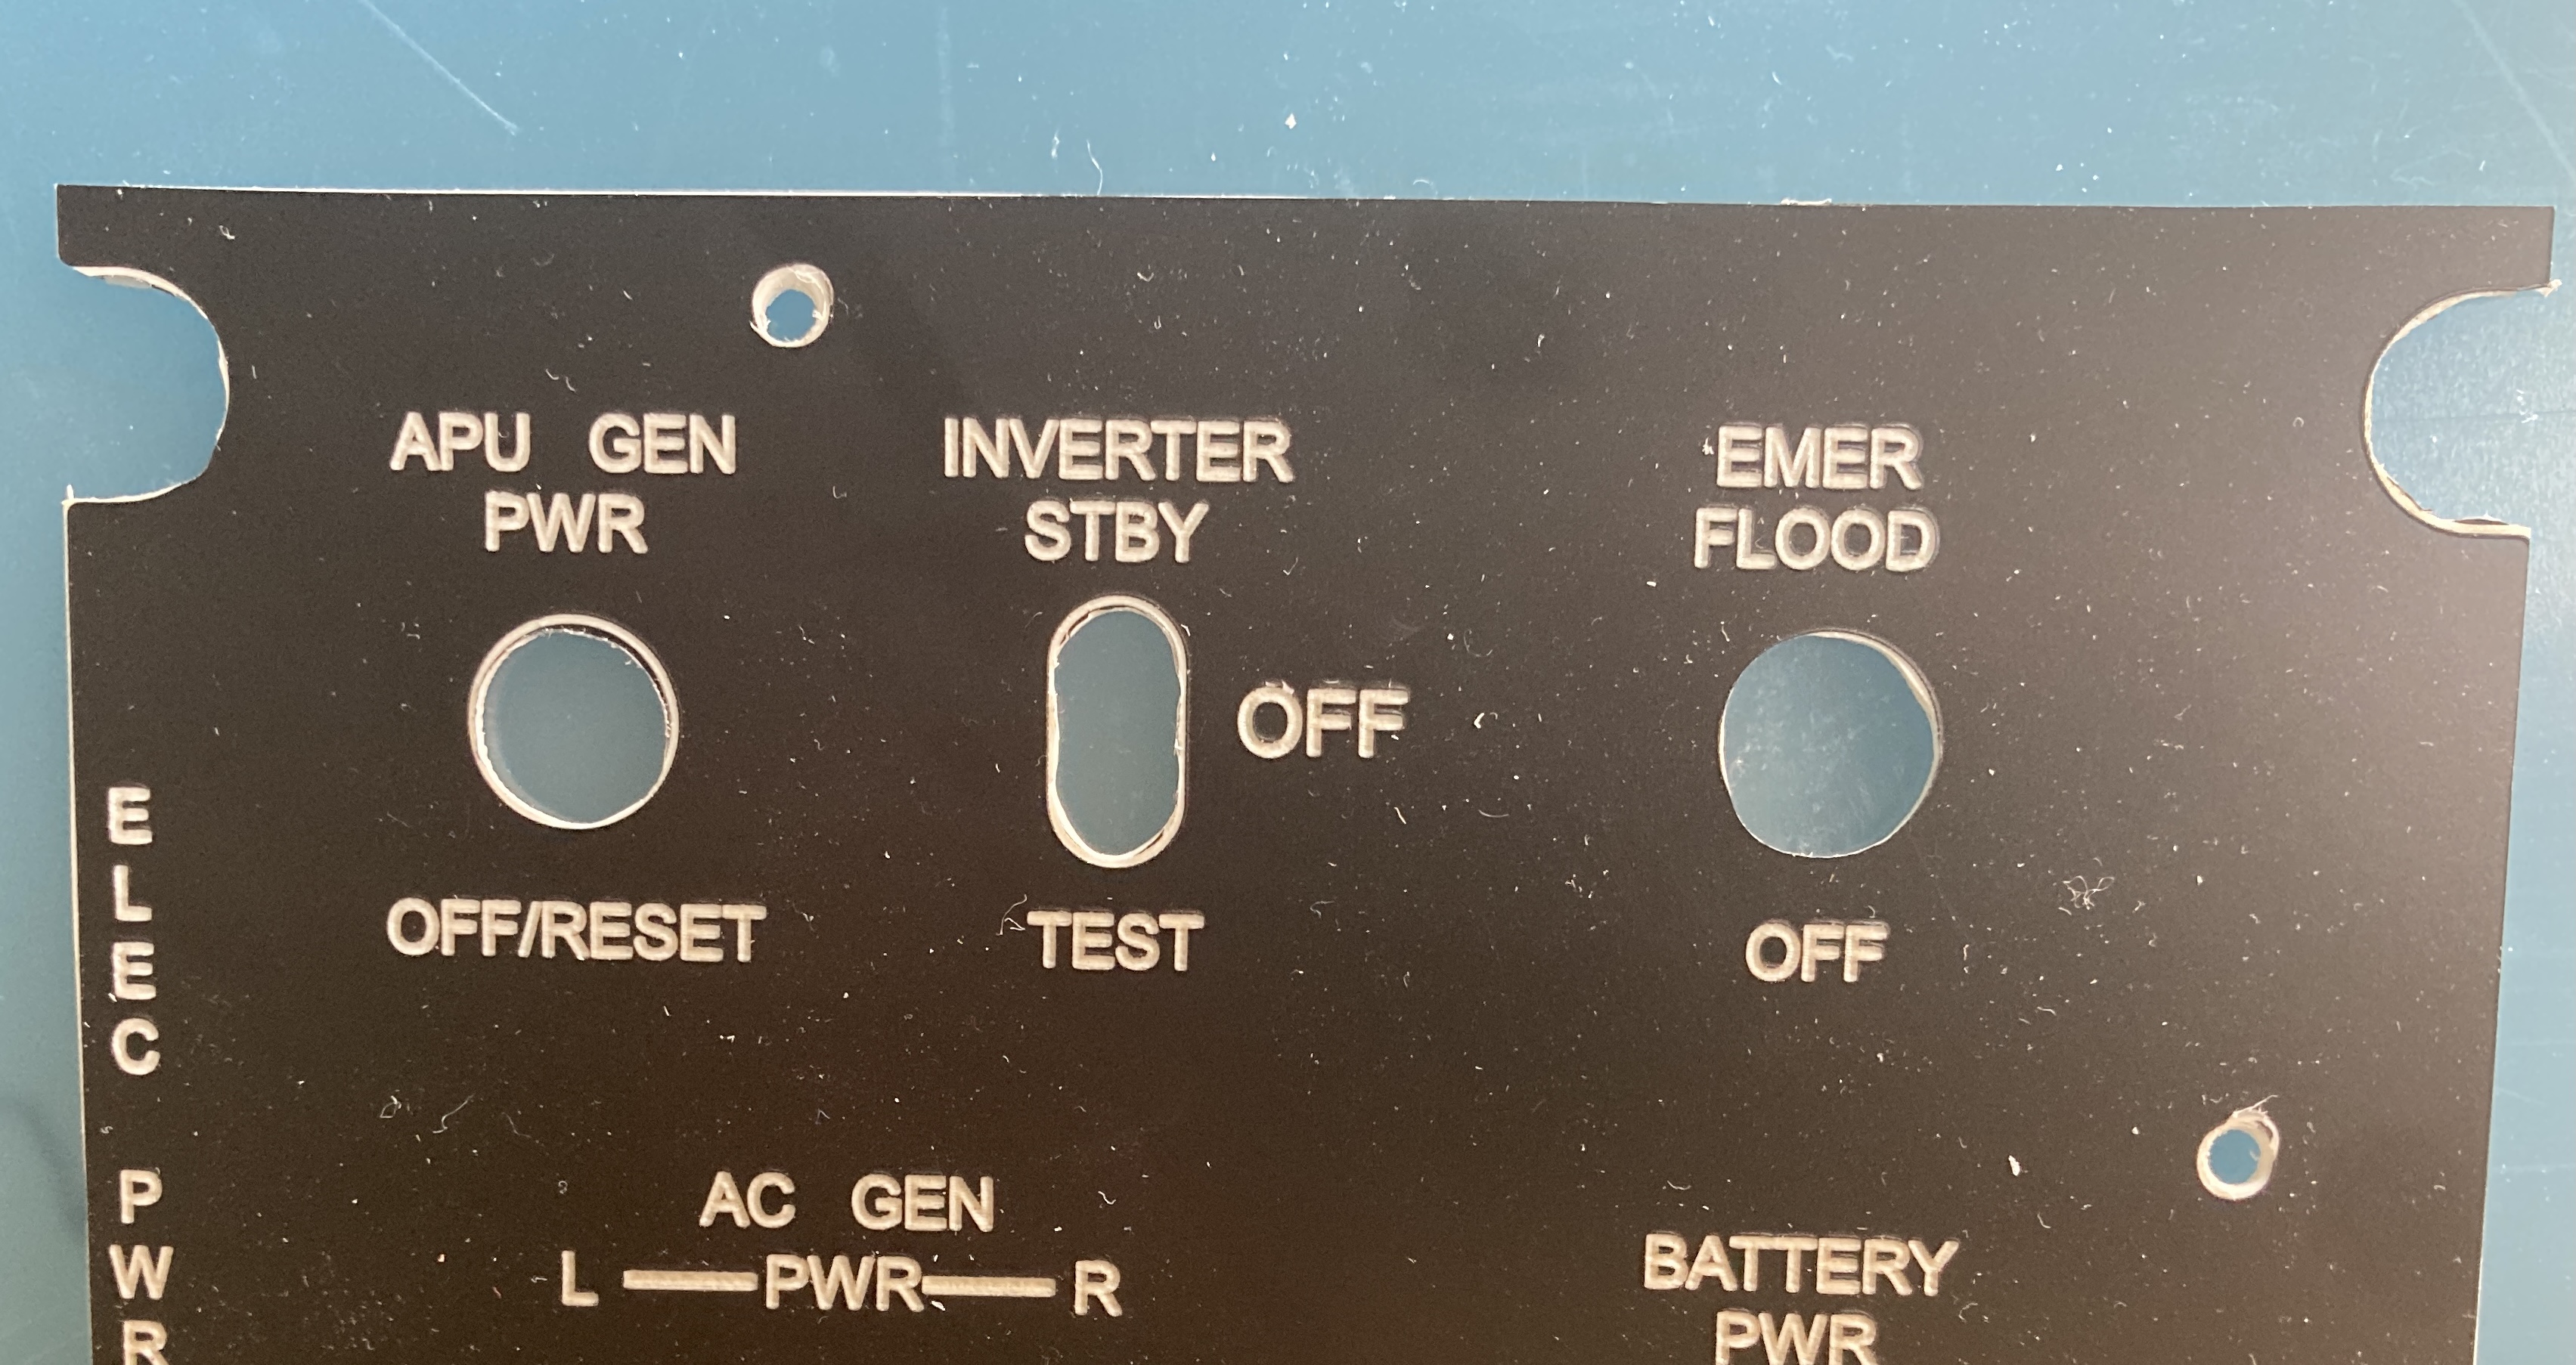
Well I tested to burn it though with a piece of scrap acrylic. It just left some very ugly molden edges and a lot of soot. Also the black coating of the acrylic started to change color. What I didn't do, was to lower the Z-axis after several passes to bring the laser focus point into the material. This might be a part of the problem. Actually, I'm in the process of gathering information about the k40 lasers now. Maybe the budgeting Secretary of the Treasury will give it a go, later this month [emoji846], still have to find a decent birthday present for her.... But I'll give it another try today. Meanwhile the first version of the electrical panel has been put together: Next will be to disassemble it again and paint the middle layer and the battery protection piece black. I
-
amido, for engraving, I can definitely recommend the laser module. I used bi-colored acrylic to act as a cover plate. Took some approaches to find the right settings for speed and power, but the outcome was worth the hassle. Cut out the contour, pockets and holes with a Dremel by hand; I think in the next version, I will try to mill them with a tool change in-between. (Sorry for the dust)
-
Yes, Whisky, what you said, A, B, D, R were the candidates. (4.5mm height). But I might mix my thoughts up between my CNC end bit engraving experiences and the ones from laser engraving.
-
Can you fill the letters appropriately ?


.jpg.e981cbc08729f1d836c3eaaa1916871c.jpg)