Hansolo
-
Posts
1775 -
Joined
-
Last visited
-
Days Won
1
Content Type
Profiles
Forums
Events
Everything posted by Hansolo
-
Excellent script Ciribob :thumbup: Silly question. Is it possible to alter the script so that it calculates the distance from the center of the object instead of center of the circles. I am having a little difficulties aligning the circles with the targets. Old man shaking hands :-D Cheers Hans
-
You are more than welcome hansangb :-) If you need further just let me know. Oh and look what I got for a Christmas present :thumbup: Cheers Hans

-
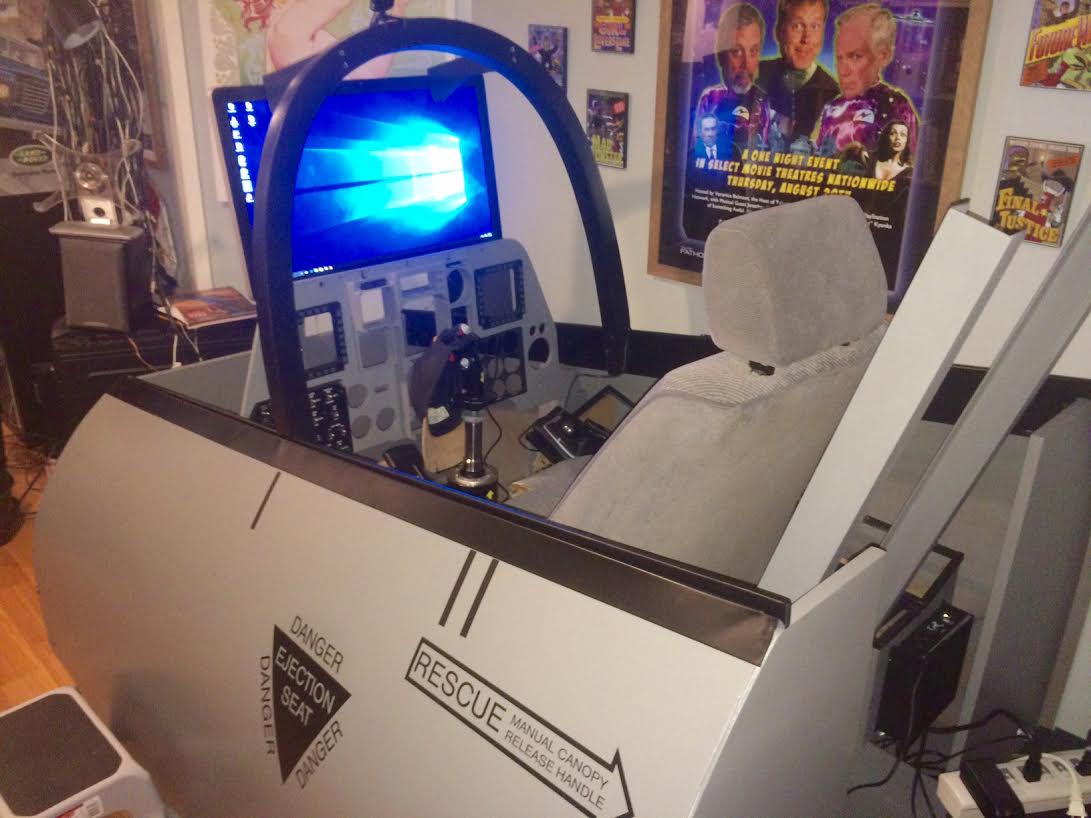
Your pit completly slipped my radar Sir. Awesome looking :thumbsup: I am spetchless. Looking forward for more great pictures Cheers Hans
-
Hi Cripple A) Well the 23,24 &28 are made of 12mm plywood whereas 17&20 is made out of 18mm. I think you mean 20 instead of 10 as 10 are made out of 45x195mm. The 12mm for 23&24 was chosen for flexibility as they will eventually needs to be bended into shape. True, you could make the canopy bow out 4x12mm. You could also make only the front and back part of the canopy bow solid whereas the middle could be in two parts. There are several ways to skin a cat :-) B) Might be that it can be made of less thickness. I haven't done any structural engineering calculation if that is what you are looking for. The current pit I have in my basement can support my weight (80kg) on one side canopy support beams made by 12mm plywood. Whether it would still do so with front and back cockpit wall made out of 12mm plywood I simply don't know. C) As far as I understood the curve is made out of several different curves thus we though this was the easiest way to do it. D) I am sorry English is not my native language but are you referring to the cutout in the beams? If so yes it could probably have been done in another way but then you would have ended up with the line dropping down at e.g. the foot wells. Also the consoles extend further aft than just the floor plate. E) In my humble opinion if you want a pit with skin and canopy bow then I doubt it will ever fit through a door. Probably only the ejection seat would fit through a door. As soon as you put side console connected next to the ejection seat then it would be too wide. If you are looking for a set of plans that are done in sections to get I out of a normal door then Dimebug's plan are probably the way to go :-) The assembly instruction was made as a guide to the less experienced builder. Hence just a guide any hardcore builder can make his/her own judgement on the best way to approach the project. Cheers Hans
- 51 replies
-
- 1
-

-
- cockpit plans
- a-10c pit
- (and 1 more)
-
---- Reserved -----
-
Fellow home cockpit builders, it is with great pleasure that we can present drawings based upon the dimensions of Deadman's A-10A trainer cockpit and assembly instructions same. The design of the cockpit layout as done so that CNC is not necessary. All you need are some hand/electric tools which can be obtained at almost any tool shop; electric jigsaw, a circular saw, electric drilling machine as well as normal hand tool like hammer, screwdriver etc. As already stated the drawings are based upon Deadman’s A-10A trainer cockpit. It’s build on a base of rigid beams on a plywood floor and that easily be modified to add a frame a unto which wheels can be attached for ease re-location of the pit. One of the design features is that the skins can easily be removed which will give full side access to the internals of the pit from front to rear. This will be beneficial during re-wring or adding new components. Inside the pit are foot well as in the real A-10A/C and vertical pillars onto which your MIP can be attached. The design is done so the outboard sections of right and left side console are hanging in free air, which should assist access to the wiring. The canopy bow is held in place by the beams which are attached to the front and rear walls as well as the vertical pillars. The assembly instructions are by no means an exhausting step-by-step but is meant as a guide for the less experienced builder. There are currently two pits done, one US based (MacFevre) and one EU based (mine) to check the availability of wood dimensions. The design is done so the modifications to material thickness will have small if no impact on the process as long as the drawings and instructions are followed. The drawings and instructions are released under Common Creative - Attribution-NonCommercial 4.0 International. Below show MacFevre's pit as his progress at this point is further than the one show in the assembly instructions. Thanks Mac for letting us use your pictures. Looking very good indeed sir ! Hope you find the release beneficial to your hobby and we hope to see a lot of A-10C pit buildings in the future. Best wishes for a great pit building year 2016 Deadman & HMA Deadman's cockpit assembly instructions & drawings v. 2.0.pdf
- 51 replies
-
- 3
-
-
- cockpit plans
- a-10c pit
- (and 1 more)
-
Agree. I plan to use several smaller circuit breakers as they are not that pricy. Also rememeber to use addequate wiring. Think my setup will have 6mm2 from the power supply to the circuit breakers, and then after that I will dimension the wires after the individual circuit breakers. Cheers Hans
-
AstroEma it's a waiting game. Sometimes you are lucky and a lot of times your are not. You can also check out flighthelmet.com They also have export restrictions but perhaps it doesn't apply on the oxygen bottle. Cheers Hans
-
O2 bottle. Looks alright and so far the price is not bad; http://www.ebay.com/itm/Aircraft-High-Altitude-Green-Oxygen-Bail-Out-Bottle-w-Regulator-and-Carry-Bag-/262234398817?hash=item3d0e636061:g:ycQAAOSwUdlWgCf2
-
Looking very good BravoYankee4. A breakout board sounds like a really good idea to avoid too much kabelsalat :-) Cheers Hans
-
TM WH $200 http://www.ebay.com/itm/401053313615?_trksid=p2060353.m1438.l2649&ssPageName=STRK%3AMEBIDX%3AIT *Edit* just realized it only for the stick.
-
 Thank you very much for this opportunity. Highly appreciated and educational :thumbup: cheers Hans
 -
I am by no means an expert but this is how I interpret the way of doing it. Please have a look at the ’unguided ordnance delivery geometry’ by PhoenixBio; http://forums.eagle.ru/showpost.php?p=1692387&postcount=36 That should give you an idea of how to do it. If you take a look at the 476th vFG Battle Book (http://www.476vfightergroup.com/downloads.php?do=file&id=211 ) e.g. 82 30DB2 (MK82 30 degree dive bomb ripple 2) you should setup your aircraft at a base altitude of 5100ft (5.1) above target at 280knots. Fly offset to the target and align it with the cockpit reference (http://forums.eagle.ru/showpost.php?p=1942511&postcount=52) for a 30 degree dive angle. You will probably need to do it a lot of time in order to get the correct visual setup. When target is in correct position (where 30º and tip-in reference meet) you should be at app. 1.2nm base distance. Now bank to 80º plus dive angle, in this case 110º and pull on the stick app. 3G. Look up the the top of the canopy to get visual on the target and pull the target into the HUD. When target comes into HUD unload and bank to level. If done correctly then you should now be at track altitude 3600ft (3.6) above target, your flight path marker should be a 30º pitch ladder (dive angle), the target and desired release cue should be at 36º (30º dive angle plus 6º Initial Aim of Angle), the pipper should be at 43º (36º plus 7º Initial Pipper Placement). Continue on 30º dive angle and let the pipper race up unto target and pickle. That should be at 2800ft (2.8) above target. After you pickle conduct your safe escape maneuver (SEM) climb (CLM), by getting into at 4G climb within 2 seconds, at 25º nose up loosen your pull and at 30º you are out of the SEM. Note. The desired release cue will start to move right after you have set it at track altitude (5100ft) but do not race to keep it on target. To use Noodles words “set it and forget it”. In the beginning don’t worry too much about IAA and IPP, just focus on the correct roll in and perform safe escape maneuver. A small word of caution don’t yank the stick back when doing SEM. You risk over-G’ing and ripping of your wings. Been there done that :-D Again this may not be entirely how the pros do it ;-) Cheers Hans
-
Analog AN/ARC-164 It's pretty beaten up but with some cleaning it could be an ok buy; http://www.ebay.com/itm/221988492084?_trksid=p2060353.m1438.l2649&ssPageName=STRK%3AMEBIDX%3AIT
-
Hi hansangb, Try and look at this. Should give you an idea of how it's done. That being said the default.lua file of mine contains a lot of them, but of cause not all. http://forums.eagle.ru/showpost.php?p=2017801&postcount=52 Cheers Hans
-
Ian's axplanation sound very reasonable. If you want it to work you can try and load my default.lua file with JSGME. You can find it here; http://forums.eagle.ru/showpost.php?p=2157898&postcount=9 I think I am running an additional 6 joystick controller boards beside the joystick/throttle/pedals Cheers Hans
-
Looks quite good ClayM :thumbup: Cheers Hans
-
How to: unpressed buttons do action?? Help
Hansolo replied to LNR212's topic in PC Hardware and Related Software
Hi LNR2112, Did you exchange the default.lua file with your modified or did you place it alongside? I strongly suggest you exchange the files using JSGME. My lines looks the same; {down = 3005, up = 3005, cockpit_device_id = 22, value_down = 1, value_up = 0, name = "AAP CDU Power Switch", category = "AAP"}, {down = 3006, up = 3006, cockpit_device_id = 22, value_down = 1, value_up = 0, name = "AAP EGI Power Switch", category = "AAP"}, And I am running 1.5.2 fine. Cheers Hans -
Very nice Ian. Thanks a lot. Should make my life a hell of a lot easier. "Need to spread reputation around" Cheers Hans
-
Beautiful work Sir. Looking really great :thumbup: Cheers Hans
-
I cannot get it to work in DCS 1.5 using MIST 4.0.57 even though it was working in 1.2.16. Does anyone have a "ah yes you have to remember to change..."? :smilewink: Cheers Hans
-
Very nice Sir. Thanks a lot for this :thumbup: Cheers Hans
-
Haven't gotten to the point yet, but yes. The codes wheels have binary setup and unless I am mistaken then e.g. Aries can handle the codes even though DCS cannot. Cheers Hans
-
Agree. Next time you have the problem Crunchy please check lower left corner of your HUD. Your current SPI is indicated there. cheers Hans
-
Very nice. Does this also apply for when nearing the tanker? Cheers Hans