Viper1970
-
Posts
2290 -
Joined
-
Last visited
Content Type
Profiles
Forums
Events
Everything posted by Viper1970
-
Wow, what a perfect pit! Far away from my skills. I love your ideas and especially the screen diplay! Fits all so perfect into the room.
-
Universal military aircraft homecockpit project
Viper1970 replied to Viper1970's topic in Home Cockpits
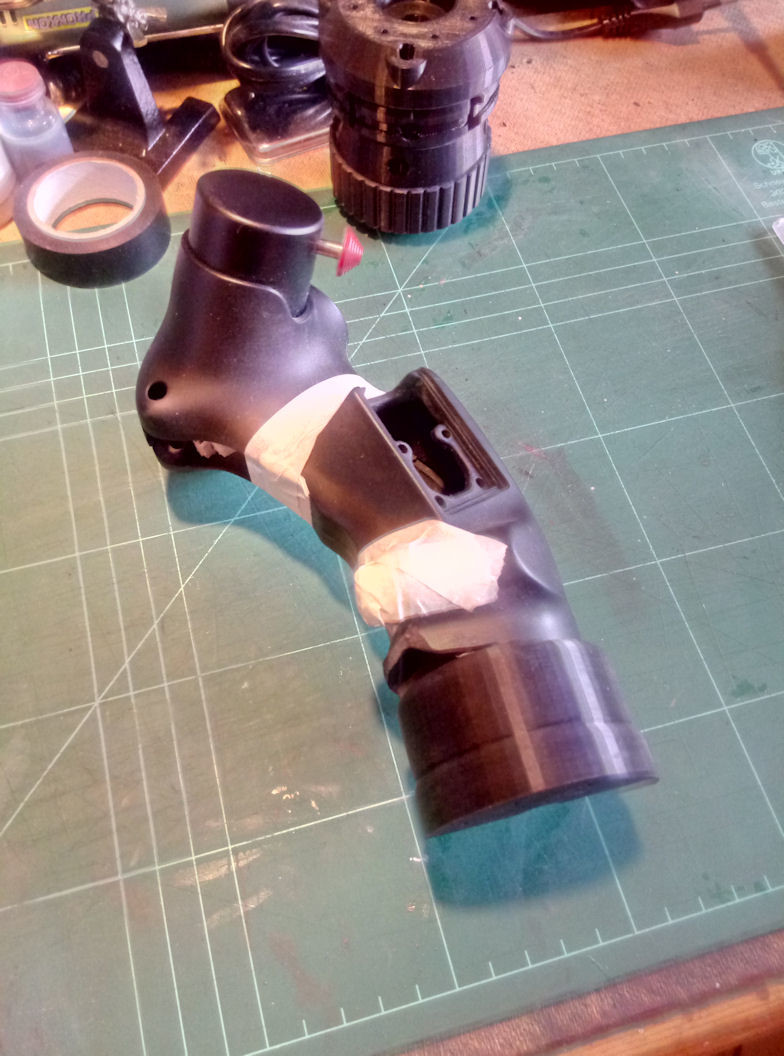
Removed the shape part of the grip for the paddle and aligned it for the socket. Only first half is done, second half of the socket is still printing . At the front (the rest of the shape where the paddle was placed) I will use epoxy and do some sanding to have a nice transition to the socket. One half of the socket and one half of the grip will be one joint part at the end. and how all should look like if connected together
-
Universal military aircraft homecockpit project
Viper1970 replied to Viper1970's topic in Home Cockpits
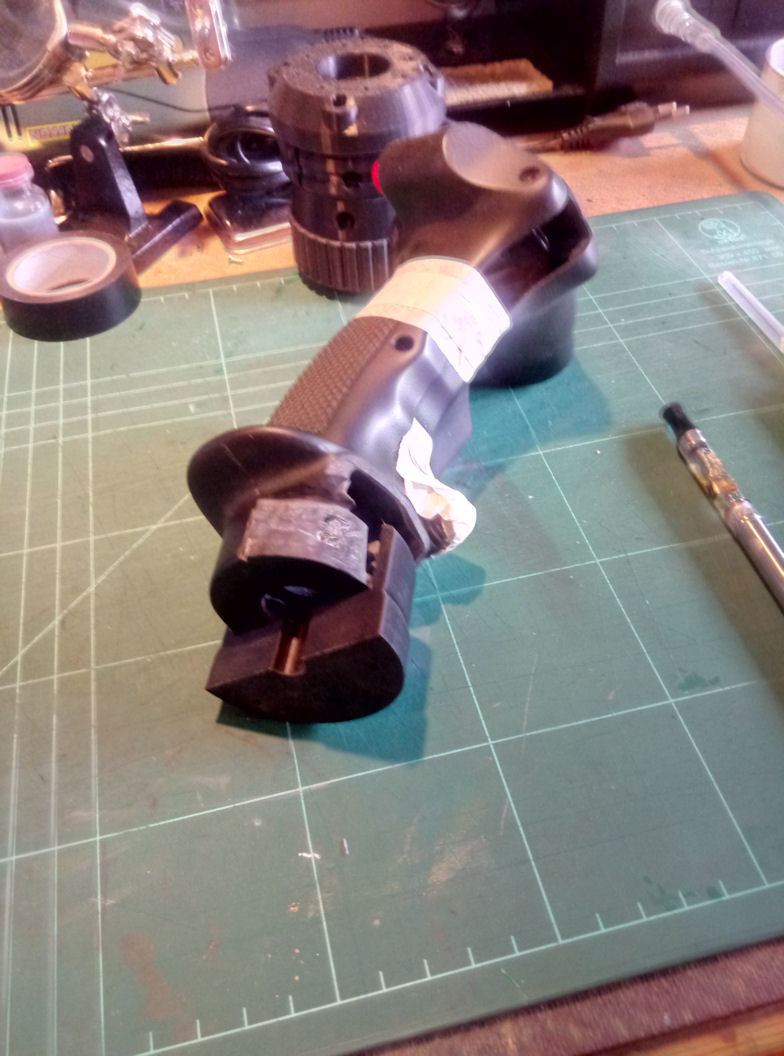
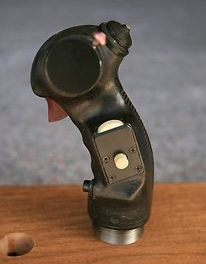
Just doing the prints for the center stick housing on top of my Cougar base and the socket for the "no paddle switch" convertion of the Virpil VFX F-14 grip. There are also a few additional other printed parts needed to convert the VFX for my system without grip pcb or better said shift register inside. All the electronics inside the grip will be removed and only the electrical parts like the buttons, hats, the weapon selcet etc. will stay inside the grip. The shift register for all grips are part of my bases. I will do this also at the Viper and Hornet grips, which can then also be mounted at the jet extension. The extensions are inclined 10° forward. This is the case cause my center base is also 10° inclined toward the seat, so at the end the grips have a compensated 0° vertical alignment. The center grips will be rotated 15° to the left (seen from top down) for better ergonomics. This is done by the mounting holes alignment in the helo and the jet extension. Grips mounted in the side stick base won't have this rotation to the left. At the end the VFX should look a bit more like this original one
-
Der OH-58D Kiowa den wir bekommen passt auch nicht zu Vietnam
-
Universal military aircraft homecockpit project
Viper1970 replied to Viper1970's topic in Home Cockpits
... and ready now. Next parts also printed
-
Universal military aircraft homecockpit project
Viper1970 replied to Viper1970's topic in Home Cockpits
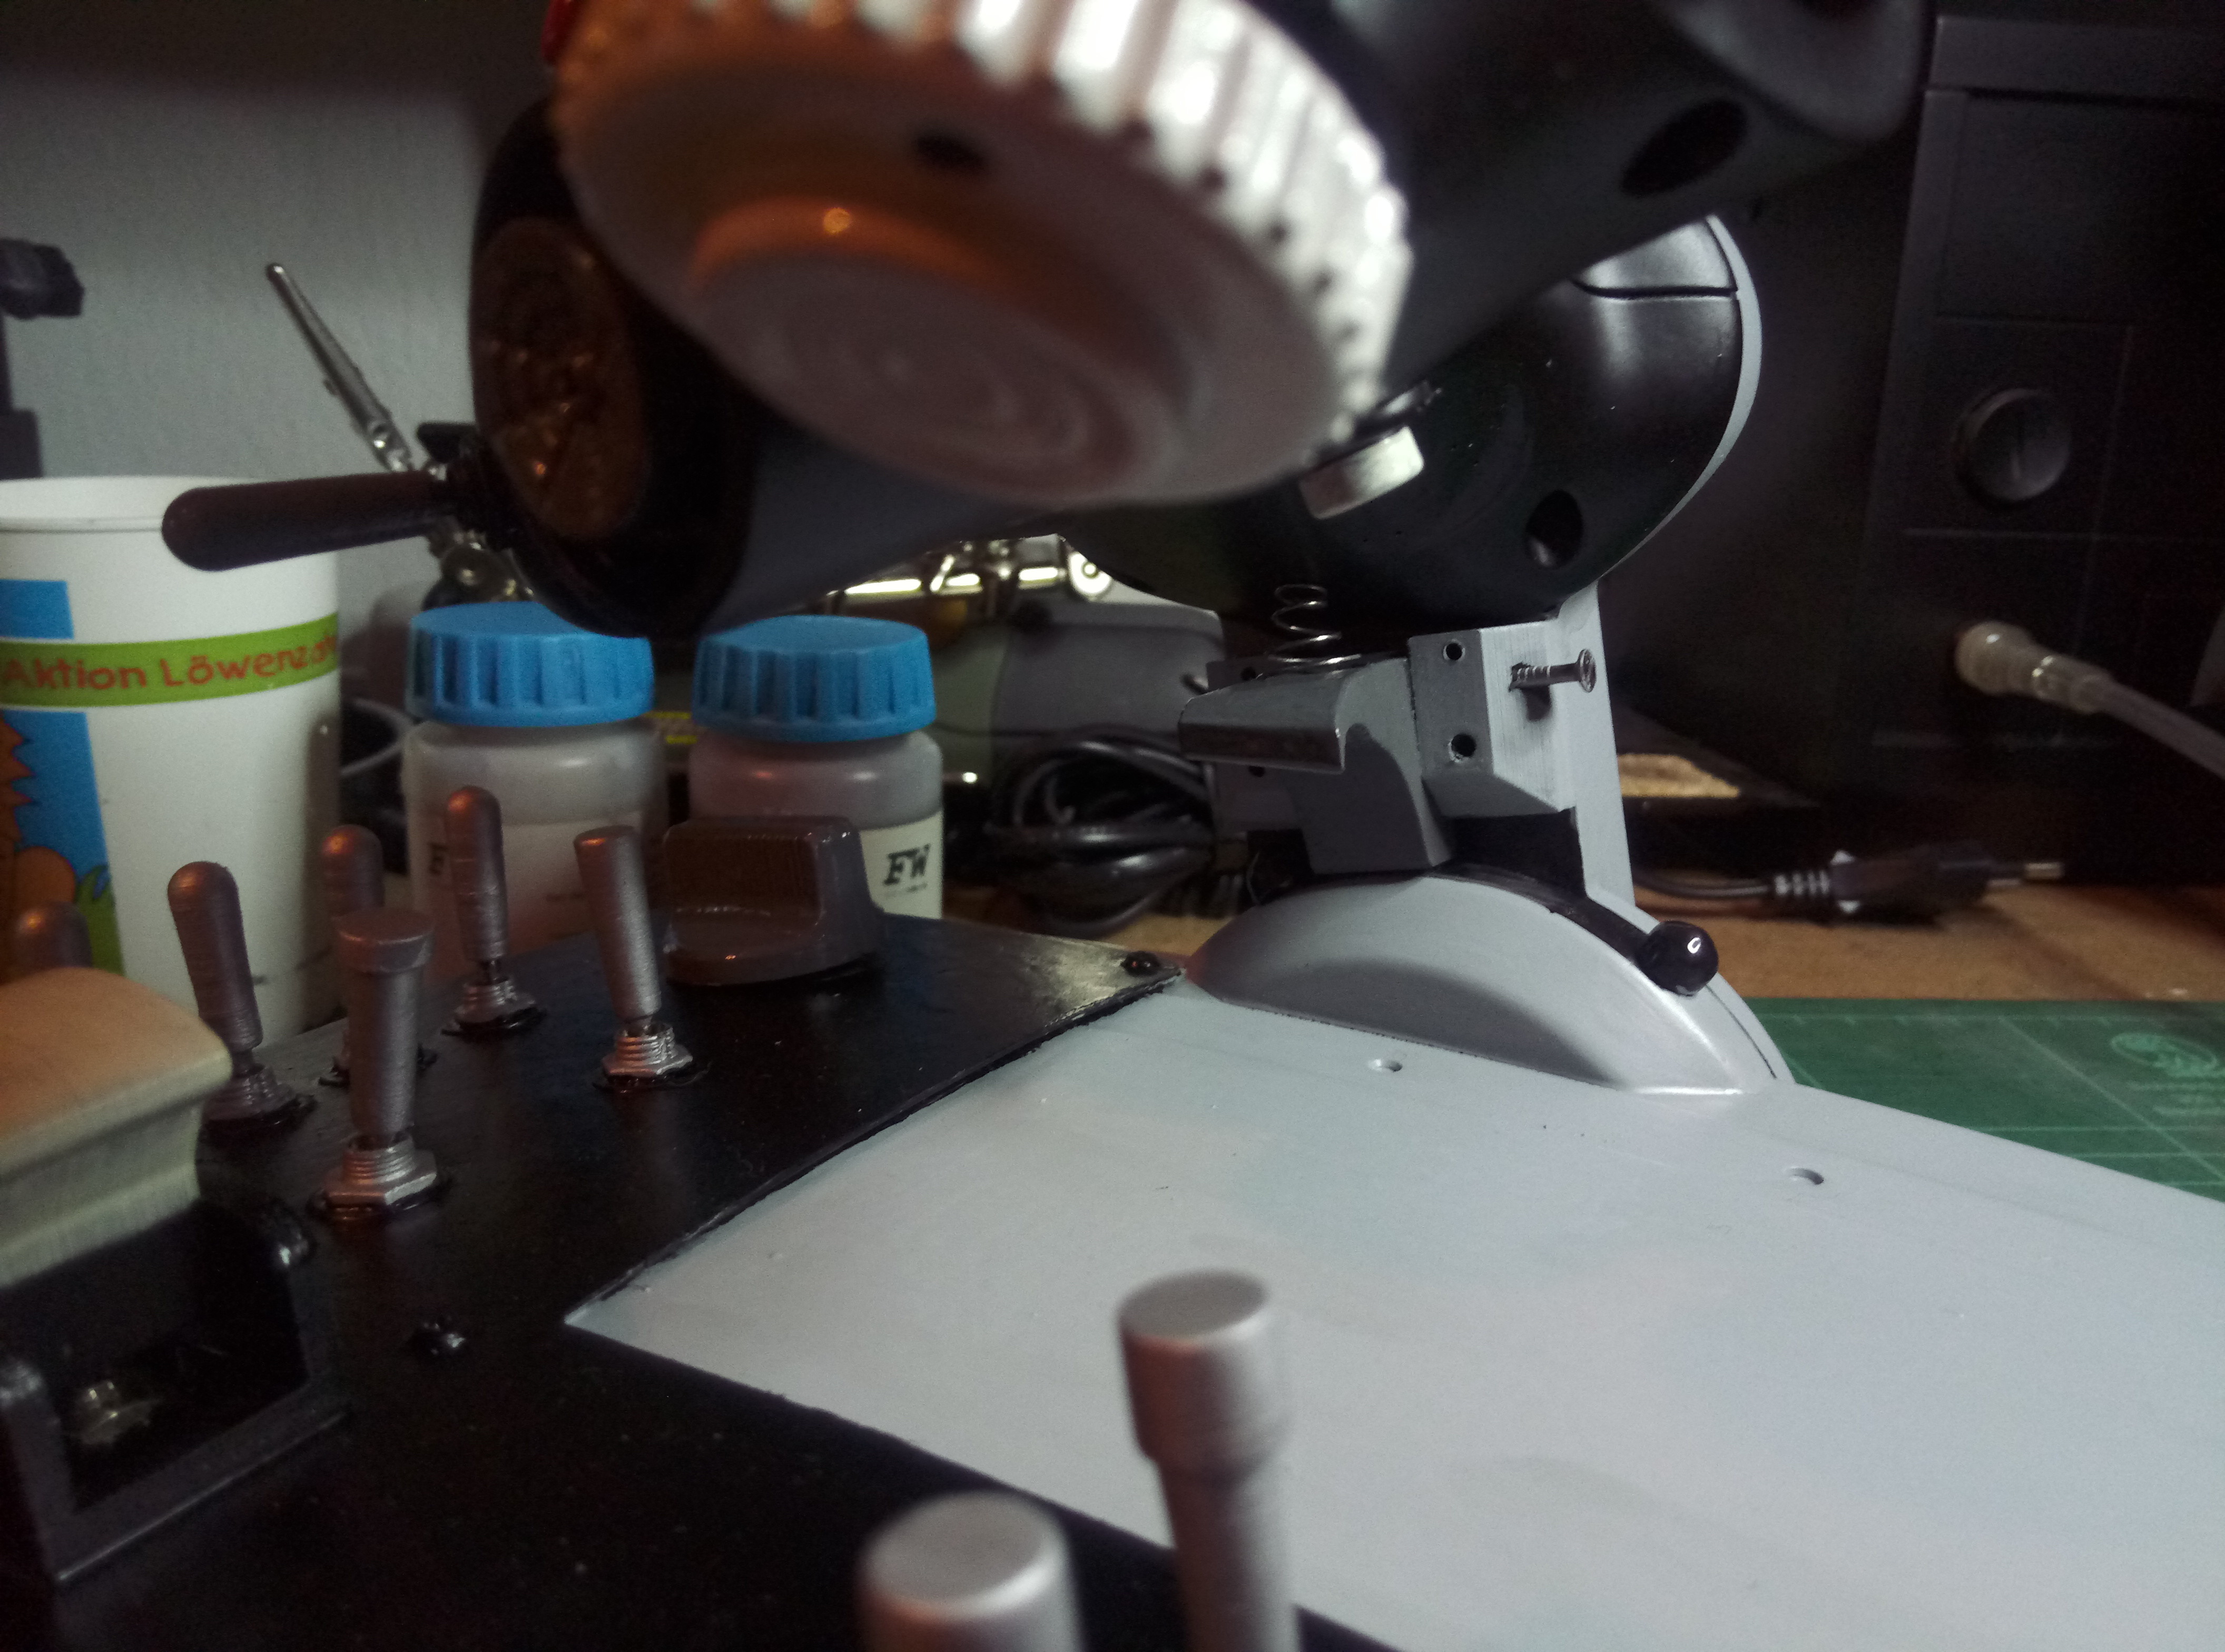
Extensions painted with primer. Now they have to be sanded again and painted with grey (RAL 7001), I use for the consoles, panels and all grey parts. The paddle switch is dark grey and the structured front part I will maybe paint in black matt. Will test the look tomorrow. Meanwhile I print the rest of my center stick base parts. After this the first HOTAS parts will follow. In parallel I am finishing the consoles of the command unit.
-
Universal military aircraft homecockpit project
Viper1970 replied to Viper1970's topic in Home Cockpits
The control stick of my command unit Now the electronics have to be integrated in all parts.
-
and the best girl band ever
-
and a nother one. I always hear a lot music if I'm working at my cockpit parts . Meanwhile my playlist is endless
-
Universal military aircraft homecockpit project
Viper1970 replied to Viper1970's topic in Home Cockpits
Jet extension ready printed. Both extensions here, jet with paddle switch and helo. The gap is for the cable coming from my grips and going to the base. Sadly I missed the holes for my grip connection. Now I have to exactly drill them. Already made a pattern for it, to prevent printing the two big half shells again .
-
Universal military aircraft homecockpit project
Viper1970 replied to Viper1970's topic in Home Cockpits
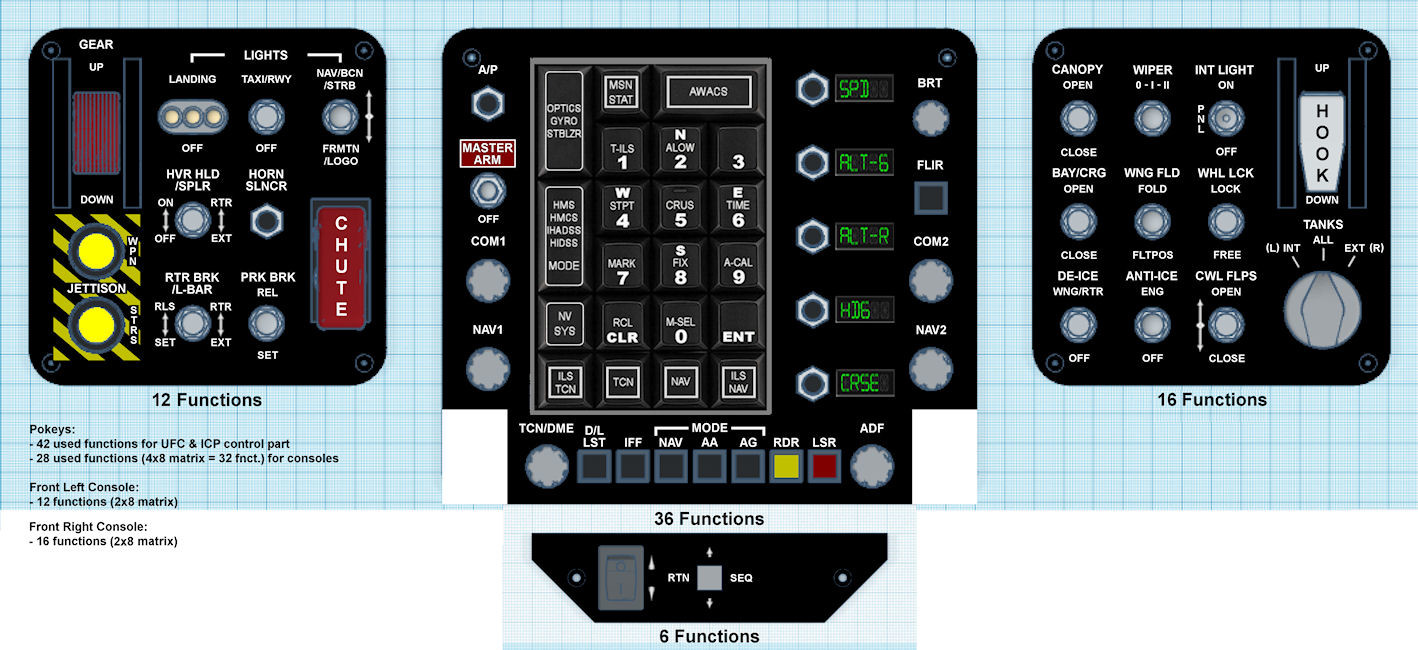
The lettering for the UFC and the consoles, how it should be later. Segment displays aren't functional only printed, and only for different AP modes . All very simple cause it's mainly used for retro sims.
-
Universal military aircraft homecockpit project
Viper1970 replied to Viper1970's topic in Home Cockpits
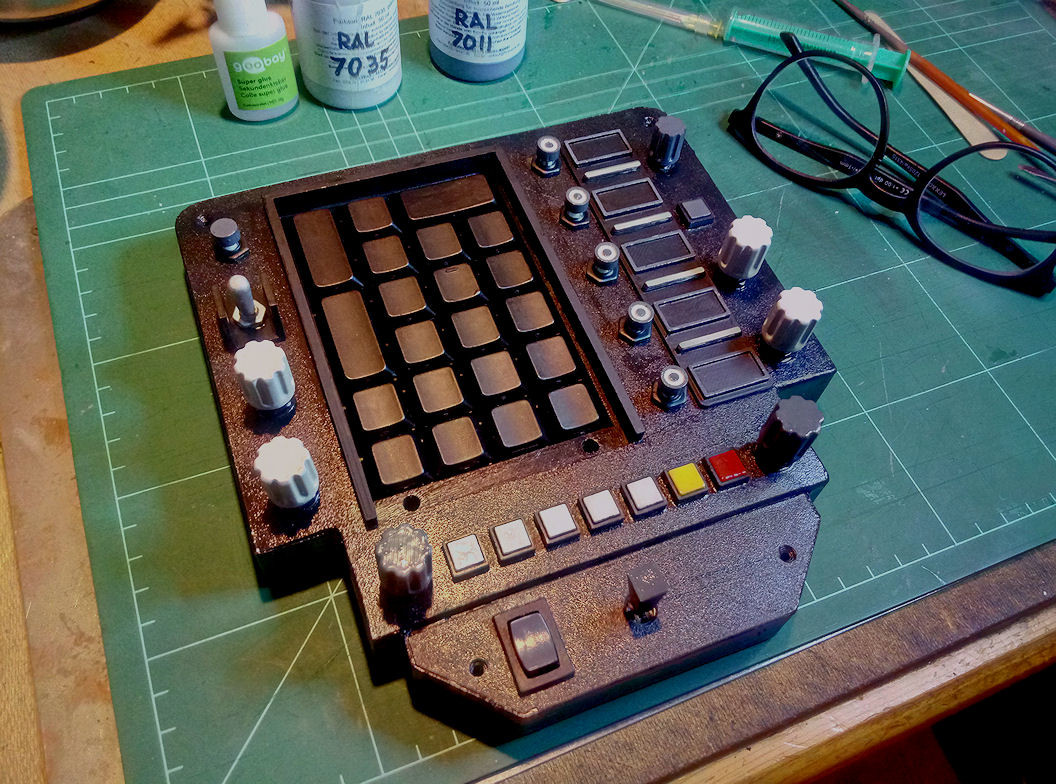
The UFC's paint work is complete. I also added some small caps at the buttons. All parts from the HOTAS and also the UFC were FDM printed, even those small caps and the all the switch-lever-caps etc. I reworked them a bit with my lathe and sanding paper. I have an Anicubic Photon SLA printer but rarely use it, cause the cleaning after printing is a work I didn't like very much. I'm a lazy guy and ift things could anyway printed with FDM, I do so . The surface of the UFC looks better in reality as on this photo, cause of the reflections on the photo. The roughness on it is regular and comes structered surface of the magnetic mat that i use on my printbed.
-
Universal military aircraft homecockpit project
Viper1970 replied to Viper1970's topic in Home Cockpits
The whole construction in TC. UFC is already done, consoles still missing parts and have to be build together.
-
Universal military aircraft homecockpit project
Viper1970 replied to Viper1970's topic in Home Cockpits
Meanwhile printed the "jet-extension" for my Cougar center base, for the sim rig and just have seen that I missed the holes for mounting the stick in my construction. WHAT A FOOL I AM! Now I have to look if its possible to drill those holes exactly, or I have to do this 16 hour print once again -
Universal military aircraft homecockpit project
Viper1970 replied to Viper1970's topic in Home Cockpits
The "command unit" how it should look like. Only a small test, with the parts loosly "connected" The stick is still missing, and also only one console cover is loosely in fron of the throttle. In this consoles I will integrate some additional switches for the "pit" and also a very small gear lever in the left and a hook lever in the right console. The front panel with the UFC and the MFD's can be folded down and pushed under the desk for using the unit with naval fleet or tank simulations. There is an additional fully programmable keyboard on top of the desk, which has caps for labels, to program it with special shortcut macros for those simulations. Behind the old Quickshot Masterpilots (which still functional even in Windows 10, once they are programmed) will come some small FPV-monitors I have lying arround from my RC hobby. They have a HDMI connector and have a resolution of 1366x768. They could be used for "test- flying" DCS stuff in the command unit or if a second guy wants to play WSO/RIO etc. But the best computer at this place is only a Ryzen 2700X with a RTX 2060, so DCS will be very limited here, considering a triple view and two additional MFD's, I think . The flight-stick can also be moved from the right to center in front of the UFC if wanted. Sill a lot of work and painting to do.
-
Universal military aircraft homecockpit project
Viper1970 replied to Viper1970's topic in Home Cockpits
The little UFC for my command unit, for its upfoldable panel. Some minor paint work and the lettering is still missing. Very simple. The keypad is a programable cherry numpad and the rest including the following small consoles will also be driven by a Pokeys 57U. As said this place is mainly used for "retro flying" or without the panel (folded down) for tank and naval sims, so nothing very complex here. -
Universal military aircraft homecockpit project
Viper1970 replied to Viper1970's topic in Home Cockpits
I have thought about this. Problem with those airbrush systems and a paintcabinet is, they use special colors, mostly aqua based, which aren't handproof or wipeproof. Not a big problem for models which you don't touch anymore after they are done and only placed in a showcase, but for HOTAS systems this is no solution. And normal car color aerosol cans make to much spray dust for such airbrush cabinets. You can for sure also paint car colors with an model-airbrush, but you have to dissamble and perfectly clean the airbrush gun after each paint work and even between different colors. This must be done with nitro or something compareable and smells really bad in the flat and is also a big work each time. I made an acount in a model maker forum and have asked for aqua based colors which are handproof to eventually use such an airbrush system with aqua based colors for my parts, but they did not know any colors which are strong enough to withstand the use of a HOTAS system or knobs and switches. All those colors are only meant for display models, not for parts which you frequently touch. I also use model colors, but only email colors and only for very small parts, and before using the parts I seal them with a car color clear coat to prevent the colors from rubbing. I also tried this with aqua color but aqua color doesn't like the car clear paint and it comes to a reaction with bubbles, even if you dry the parts for a week or so. Aqua based clear coat is also not really handproof. The best solution is still to use normal car color spray for all the big parts and email color with a brush for small things like buttons, switches, hats and knobs and seal all after finishing with a thin layer of satin car spray paint. No problem if you can use aerosol cans which you don't have to clean after use, but this is only possible at the balcony and if the weather is warm enough. For other cockpit parts like consoles or the panels I use aqua color and a roller. The results are very good. Only the HOTAS parts are the problem, cause you constantly touch them. -
Universal military aircraft homecockpit project
Viper1970 replied to Viper1970's topic in Home Cockpits
Not the perfect looking parts, but ok for me at the moment. I have to paint most of it with a brush and model colors. Cause of the cold, wet weather at the moment spray painting is very limited. I spray painted the grips only and even that was a nightmare, because it's simply to wet outside. You have to bring the parts directly after spraying in the warm flat, or they will show some kind of condensation and get something which looks like an oil film on water. For the large surfaces of the base cases I used a paint roller. Although it's looking great while painting it get's some small bubbles while drying. At the areas this happened I had to sand after drying and paint again a little bit. After the lettering I will coat the whole devices with a thin layer of satin clear paint, but this have to wait until it's warm enough outside. I HOPE FOR WARM WEATHER CONDITIONS SOON! It's sooo much easier to spray paint parts. -
Universal military aircraft homecockpit project
Viper1970 replied to Viper1970's topic in Home Cockpits
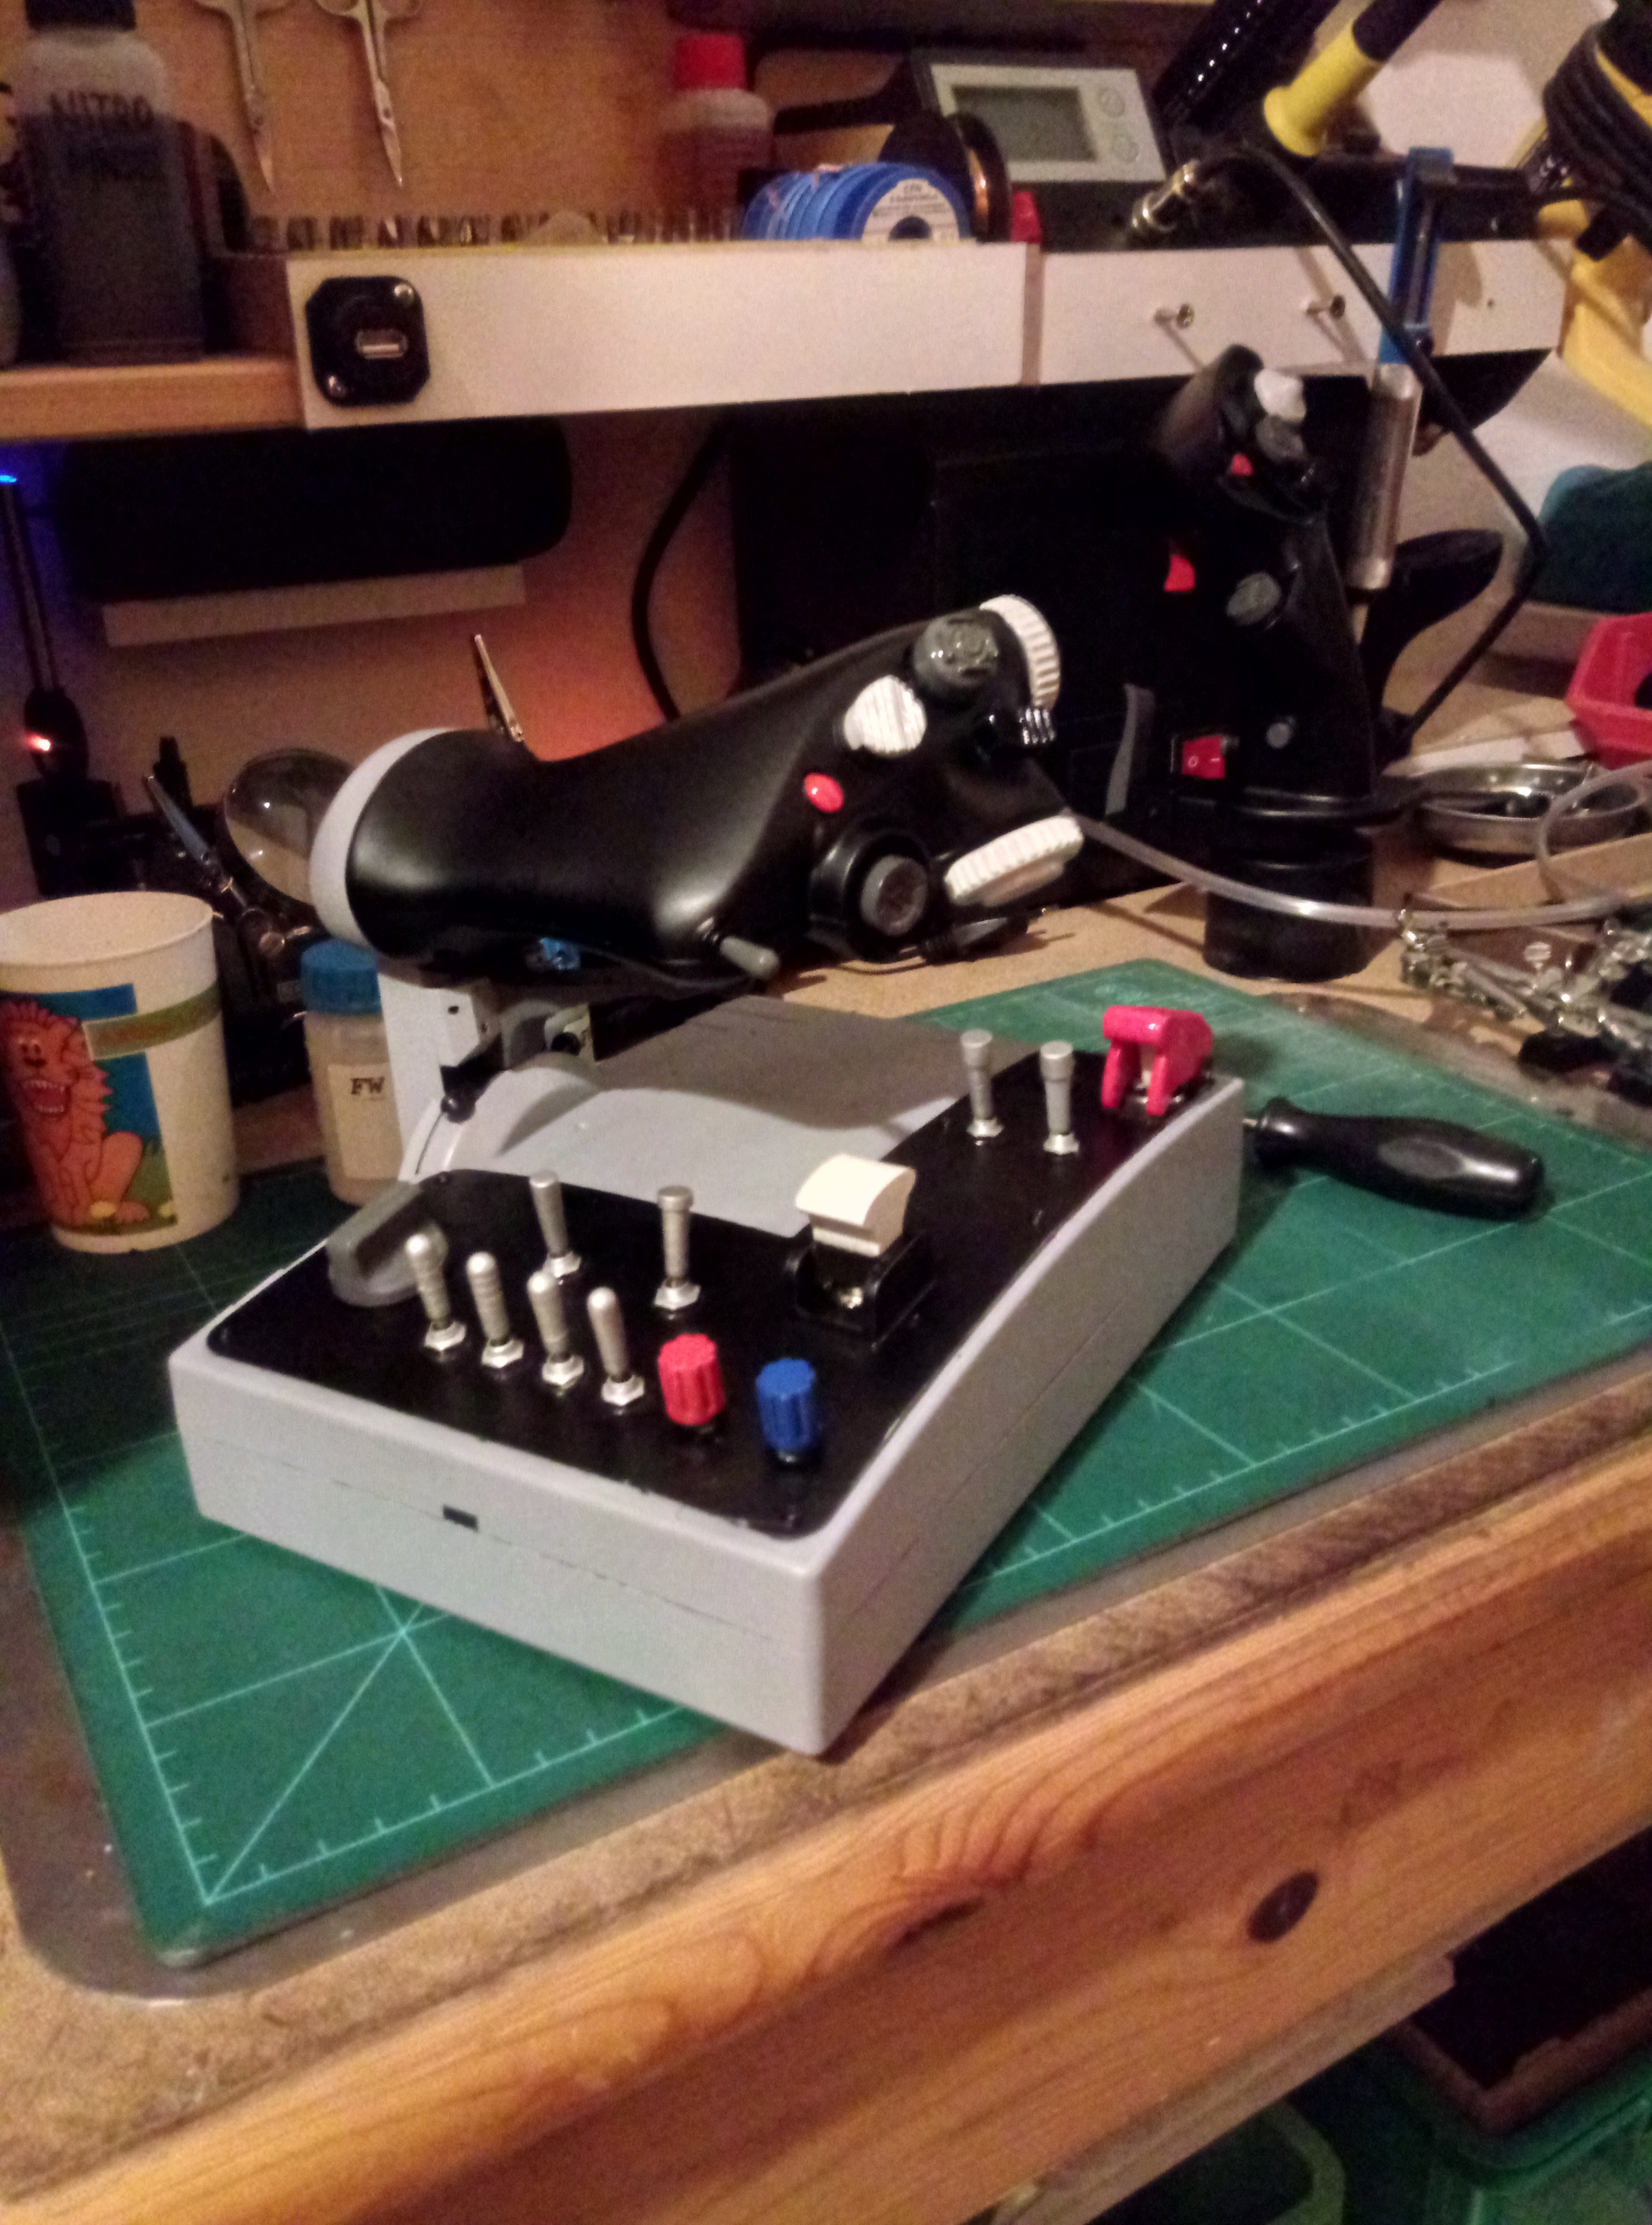
With simple idle and AB lock mechanism all not finished yet! The throttle has two 4way hats, one (I)-0-I speedbrake, one (I)-0-(I) mode switch, one I-0-I toggle, two buttons, two encoder dials with push function and a thumbstick (slew) with push function which can be used as a joystick or a mouse. This ministick will be connected to a Codemercs mouse warrior card. The base has one 5way rotary, three I-0 switches, one I-0-I switch, four I-0-(I) switches, two enoders with push function, one (I)-0-(I) flaps switch and one kill switch. All will be fully programable with DirectX or macros using one Pokeys 57U for the throttle and matrix functions (24 functions) for the stick. The HOTAS should work from Windows 98 up to Windows 10/11. Especially for retro gaming like the old Janes Longbow, F-15, F-18 etc. this should be enough HOTAS functions. Modified TM TFRP rudders will directly connected to the Pokeys, so that all three devices (stick, throttle, rudder with toes) are only one electronical device with an additional mouse-stick. This is needed to be retro compatible.
-
Universal military aircraft homecockpit project
Viper1970 replied to Viper1970's topic in Home Cockpits
-
Universal military aircraft homecockpit project
Viper1970 replied to Viper1970's topic in Home Cockpits
The paintwork of the HOTAS grips for the command unit come closer to finish
-
Universal military aircraft homecockpit project
Viper1970 replied to Viper1970's topic in Home Cockpits
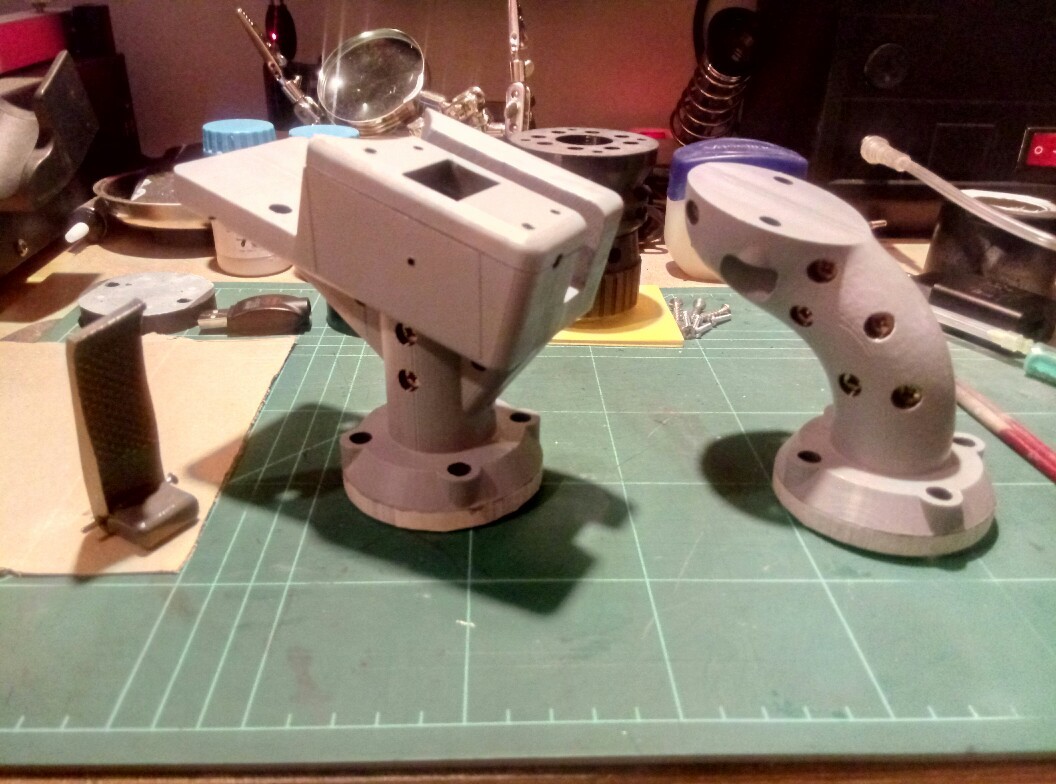
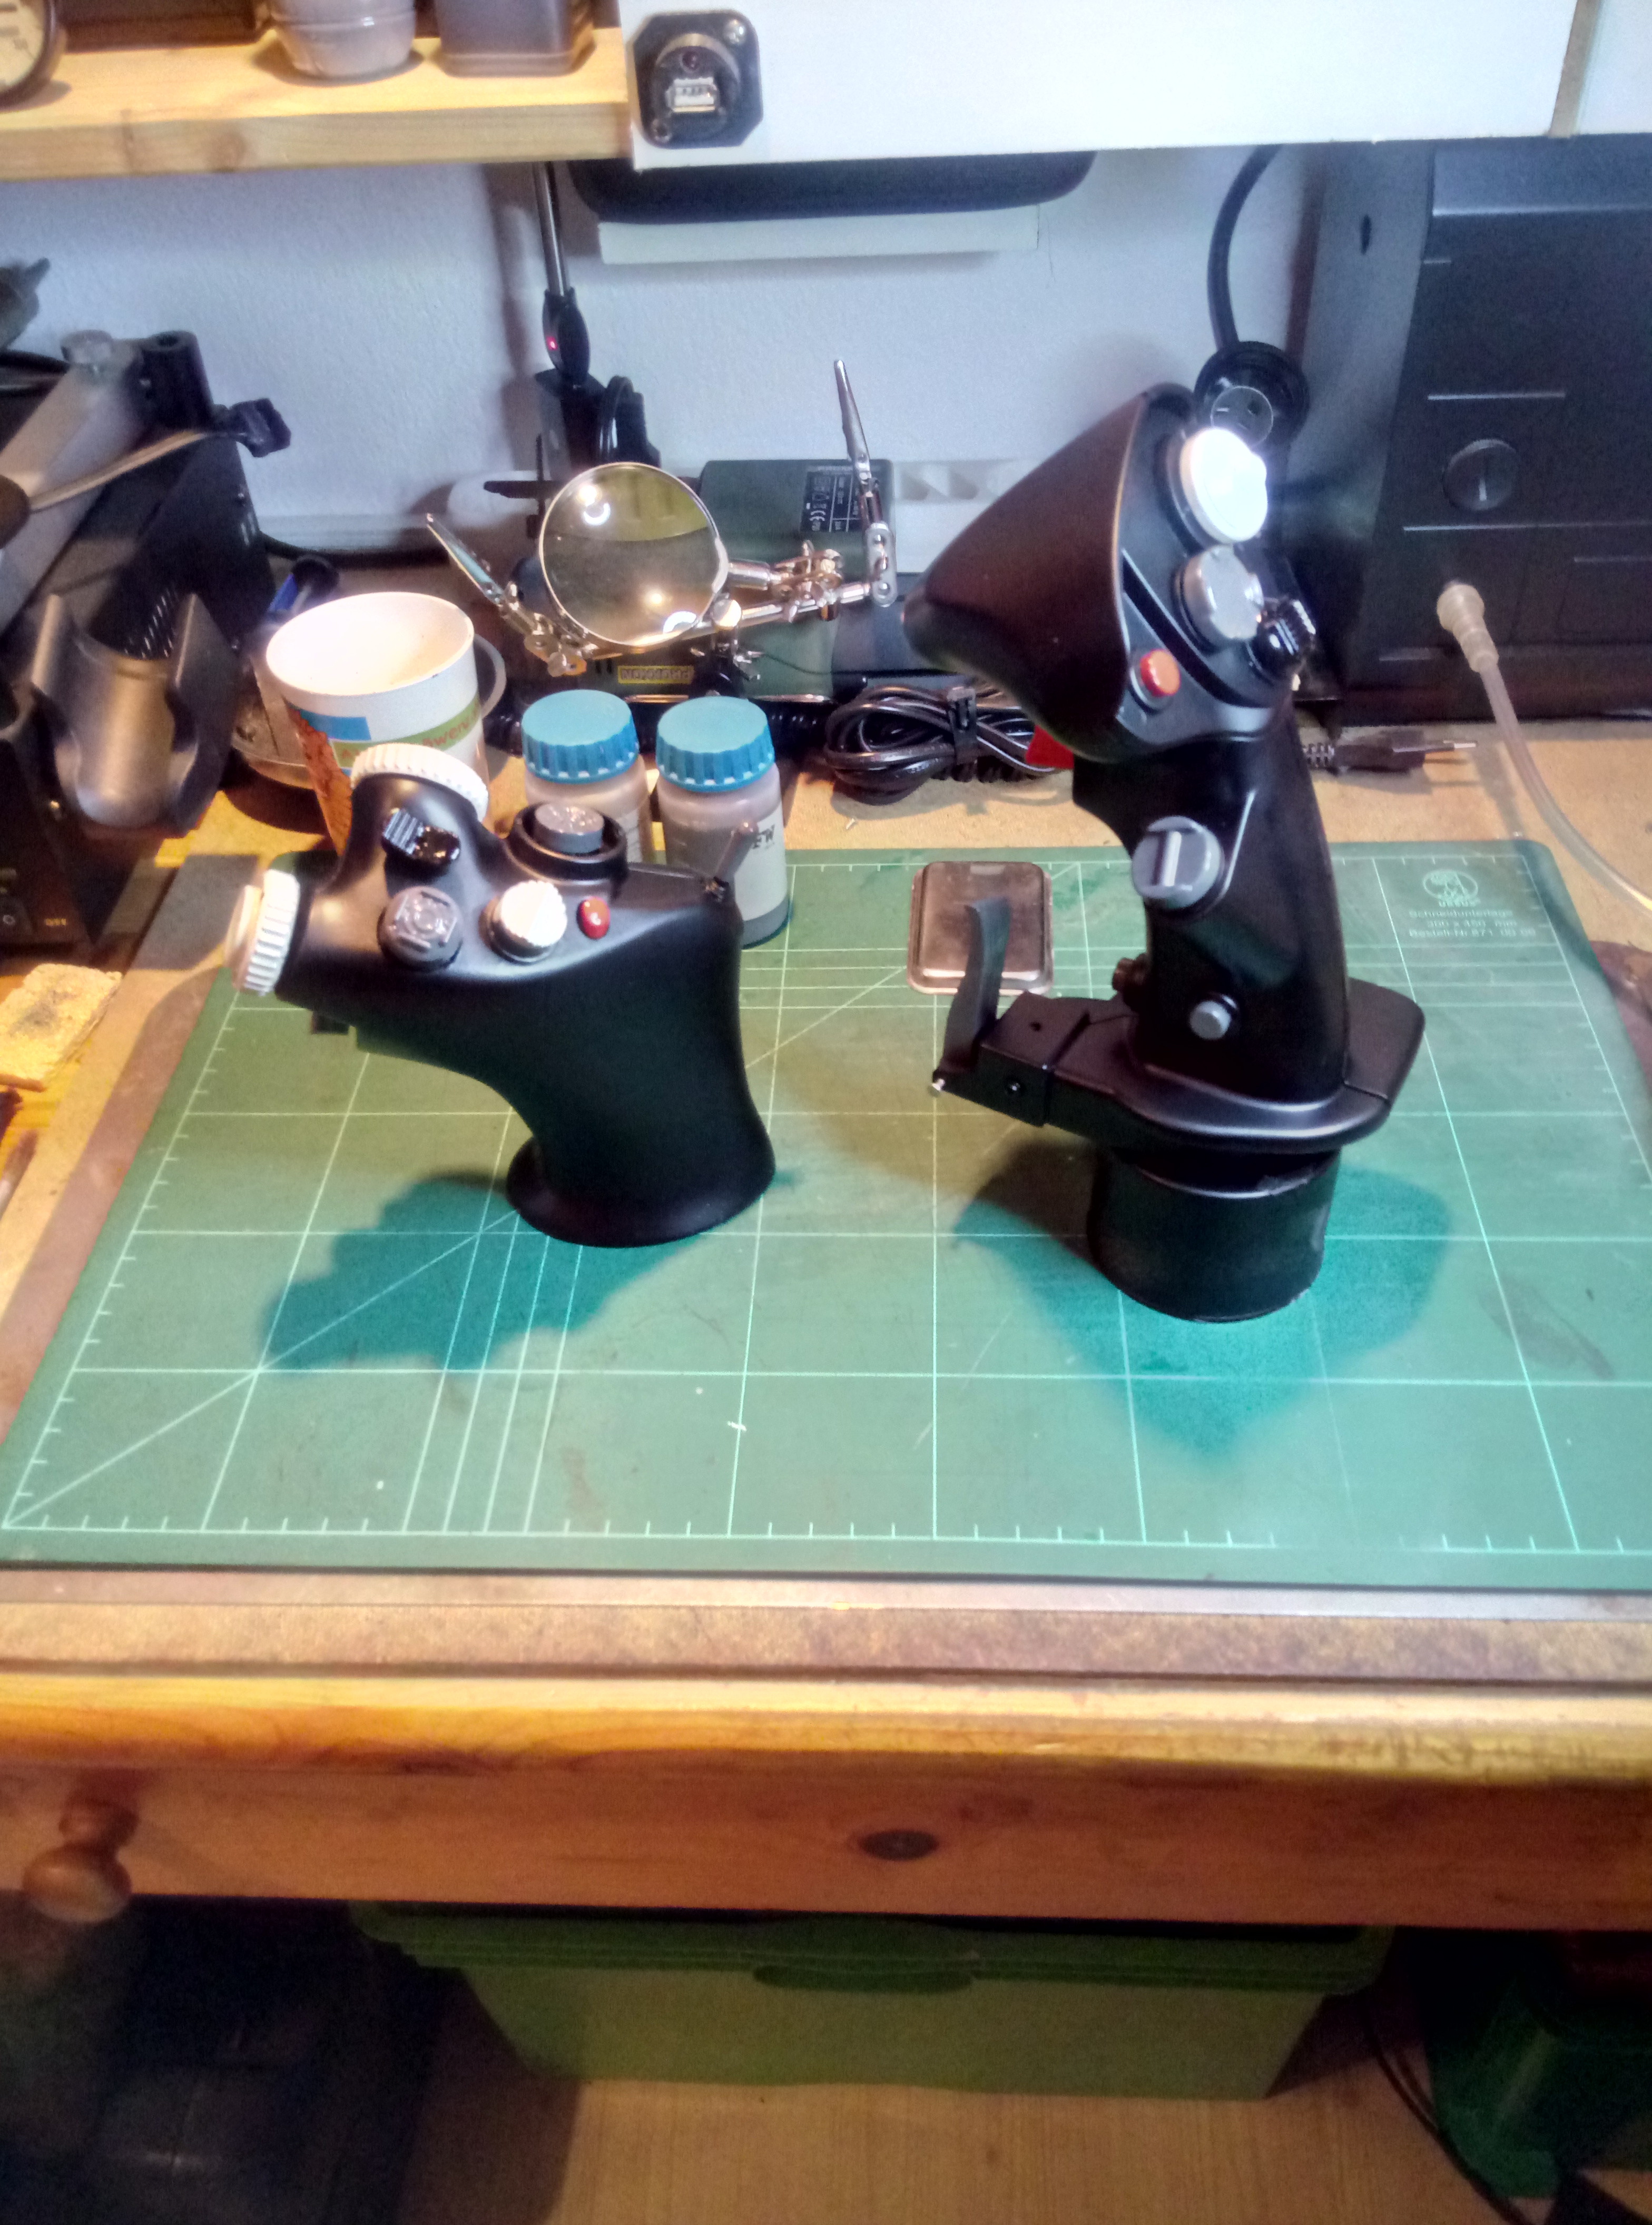
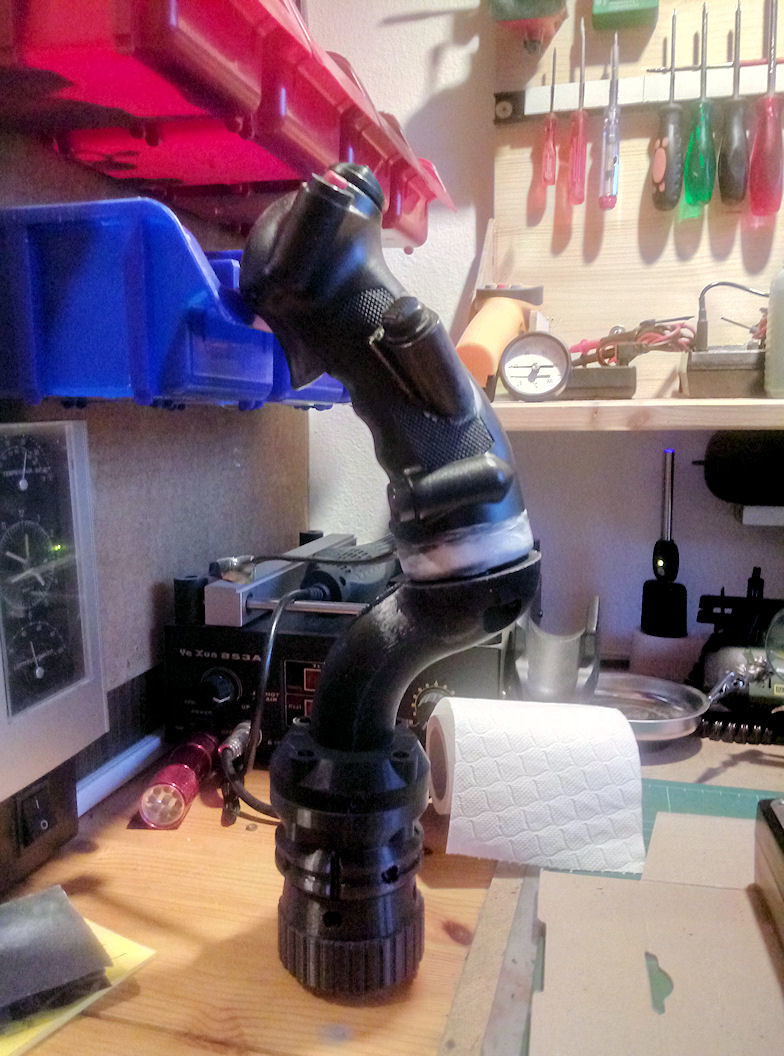
So here is what the things should look like somewhere in future All is only lose stacked, but it makes an idea how it should be. This is the spring mechanic (for four diagonal springs which will be covered by a housing) which comes on top of the Cougar and the little curved helo extension with the Blackhawk grip on top. The extension part will be interchangeable with the one for the jets and also with the yoke. For the yoke the roll axis will be blocked. At the moment I'm printing the jet extension which has a seperate paddle switch. My grips will not have a paddle switch directly connected. I will also remove them at the Virpil VFX and the TM grips.
-
Universal military aircraft homecockpit project
Viper1970 replied to Viper1970's topic in Home Cockpits
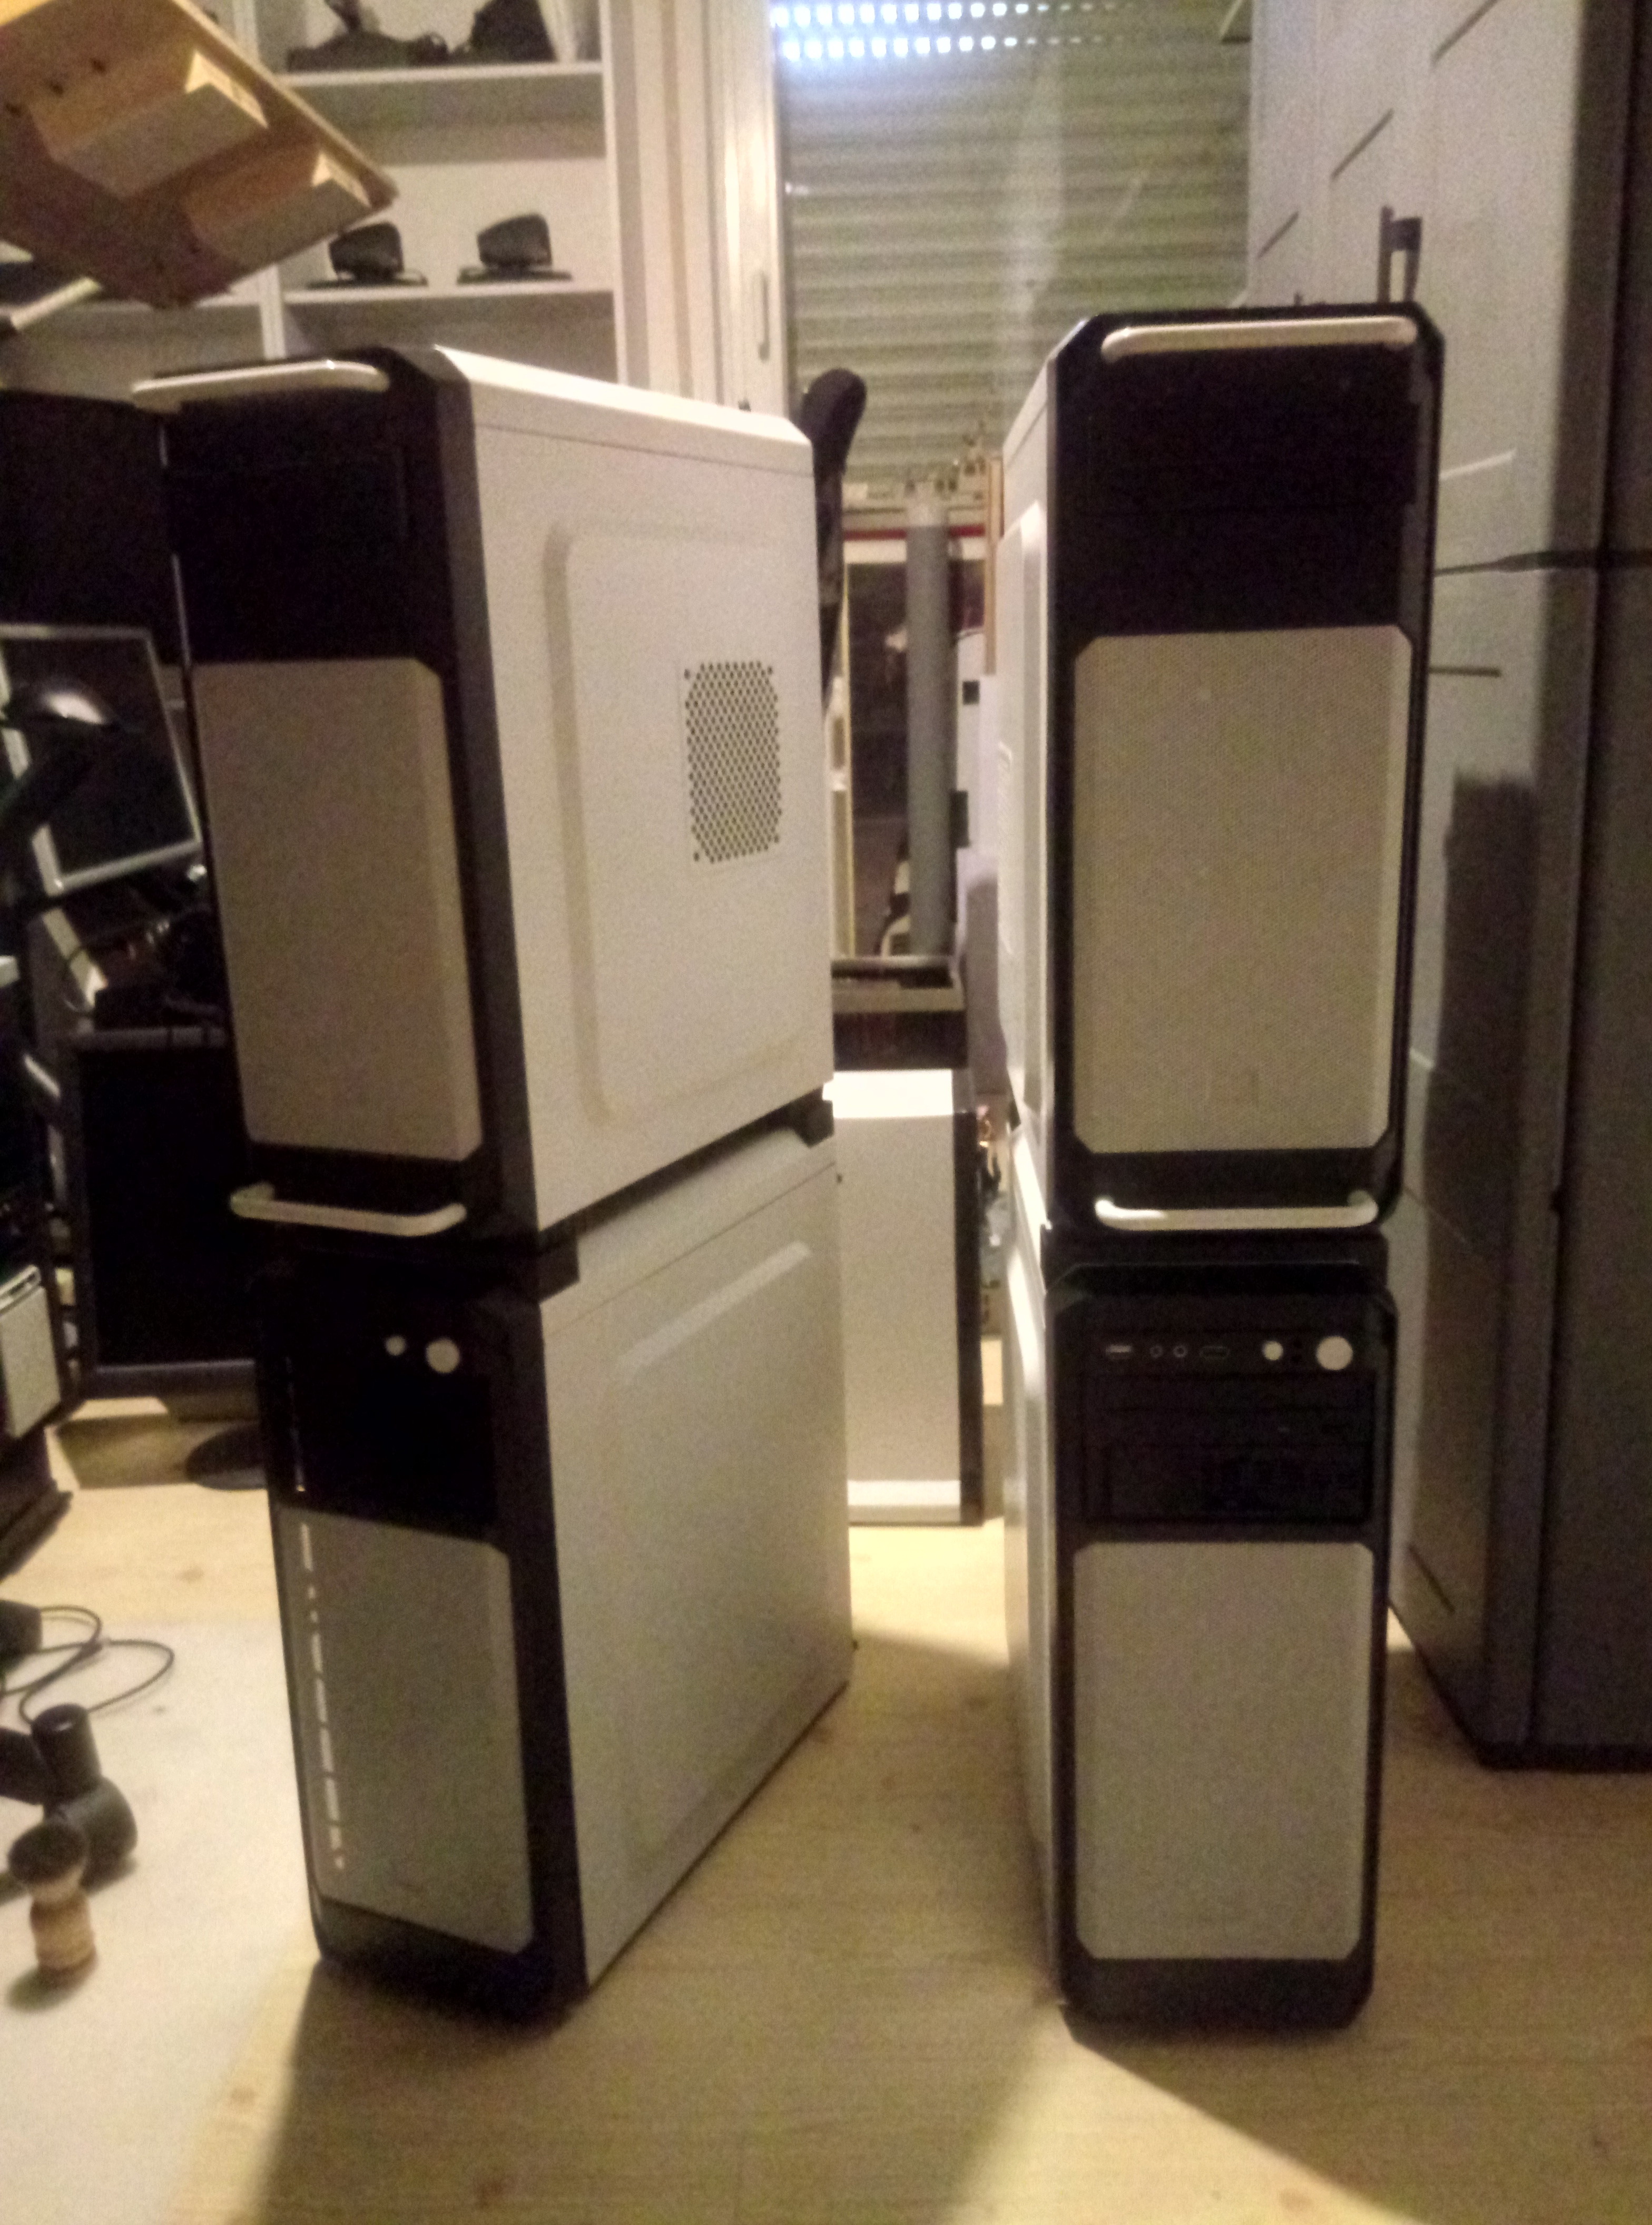
The two mega towers for the command unit. Bottom two are for retro hardware, upper two are modern systems.