jocko417
-
Posts
1113 -
Joined
-
Last visited
-
Days Won
2
Content Type
Profiles
Forums
Events
Everything posted by jocko417
-
Yes. I should check mine when I get home. Haven’t looked at the Spit for a while.
-
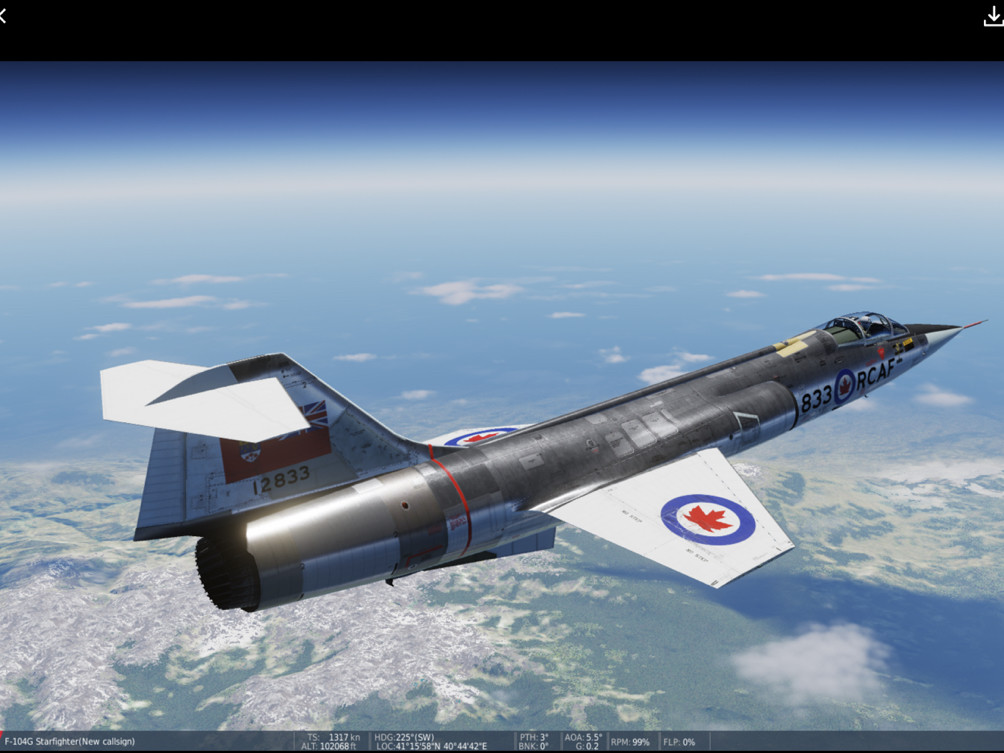
Haha! Yeah, because it tried to go to space! You just gave me a major flashback to 1984… which was about the time the Hornet was taking over for the Starfighter. Last Starfighter indeed.
-
Don’t forget she can be an altitude beast too….

-
Thanks for these!
-
I did that one for a private request a LONG time ago, before the textures were upgraded to use PBR. I can certainly resurrect that livery but only after about two weeks’ time, as I’m currently updating all my F-104 templates/liveries for the re-release of the mod on/around October 15th. If you can wait a little longer I can get it done after mid-October.
-
Pleeeeeease give us shrouds/flame dampers…
-
We could start with exhaust shrouds so we can at least make proper intruder missions without flying around blinded by our own flames
-
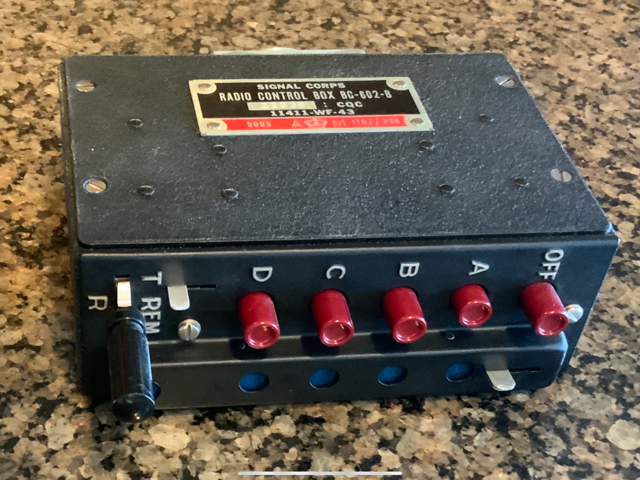
In real life the radio works this way: select any channel by pushing a button from A-D. To deselect you have to either select a different channel, or the OFF button. You can not deselect a channel by pushing the same button again. Ask me how I know
-
Yes, but then we’d need more comm menu choices, like “Get your bloody fingers out!!!”
-
Waiting for a template......
-
Agreed, I'm new to VR and depending on the age of the module, the cockpits can look a little out of scale. Not so with the Mossie, first impression after hitting FLY was "Oh, HELL YES!!!"
-
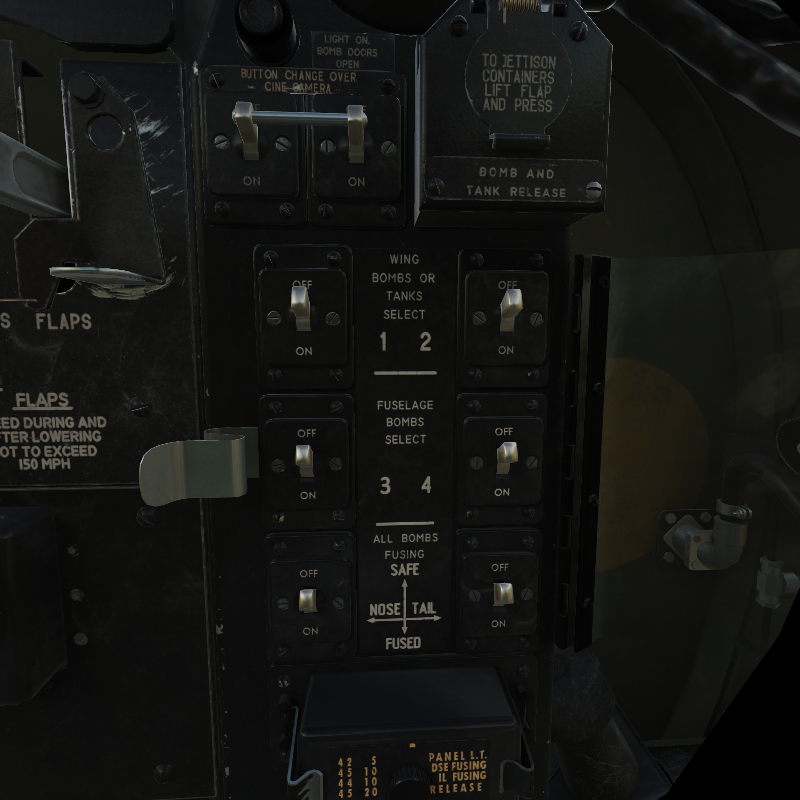
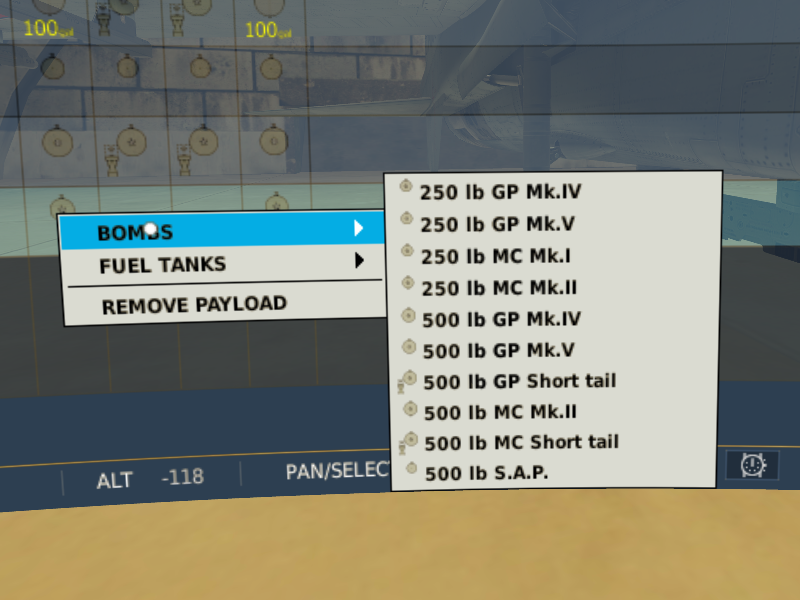
Ok, don't know anything about the bombs, but here are the load out choices and fusing selections. If the delayed fuzing is set in the mission editor I haven't found it yet...
-
Haven't even got to that yet, just exploring the Channel Map right now. Let me take a closer look
-
Great cockpit in VR, very immersive. Love the snap, crackle, pop of the Merlins when I chop the throttles in the flare for landing. Still getting my bindings set up, what a blast this airplane is to fly, great work! Edit: Nine 4K texture files, this thing will be a beast to skin... <cough> Template? <cough>
-
Lovely!
-
Yeah, one of these days I’ll get to Wetaskiwin too. They have the only Sabre Mk.3 there, a test bed for the Orenda engines Canada used to build for our fighters back in the day. That particular airplane is also famous for being lent to Jacqueline Cochran, who flew a closed course at Edwards AFB, breaking the womens’ speed record and also becoming the first woman to fly faster than the speed of sound. I went to Nanton a few years back, to see the national Bomber Command memorial, and of course the Lancaster. They had a great idea for displaying cockpits at that museum, the instrument panels were displayed separately, fully restored, behind glass, to stop people from pressing their fingers and faces against canopies The Lancaster that went over to the UK is based at Hamilton, Ontario. What an amazing trip that would have been!
-
Yep! Also got to Calgary to see 846. Cockpits differ. 703 has been restored to how the airframe would have appeared while serving in the RCAF in 1966, in the strike/recon role. 703 is the most accurate restoration of a CF-104 I’ve ever seen. A lot of work had to be done “undoing” the various changes the airframe had received after being sold to Denmark and converted to the F-104G standard. Only a couple more things need to be done for it to truly be a CF-104 again. 846’s cockpit was also changed to the F-104G configuration after being sold to Denmark. I’m assuming it has remained unchanged since the museum acquired the airframe but I haven’t had a chance to check my CF-104 references yet.
-
Thanks Avantar, can’t wait for axis mapping!
-
Finally made it to Manitoba!!! Woohoo!
-
-
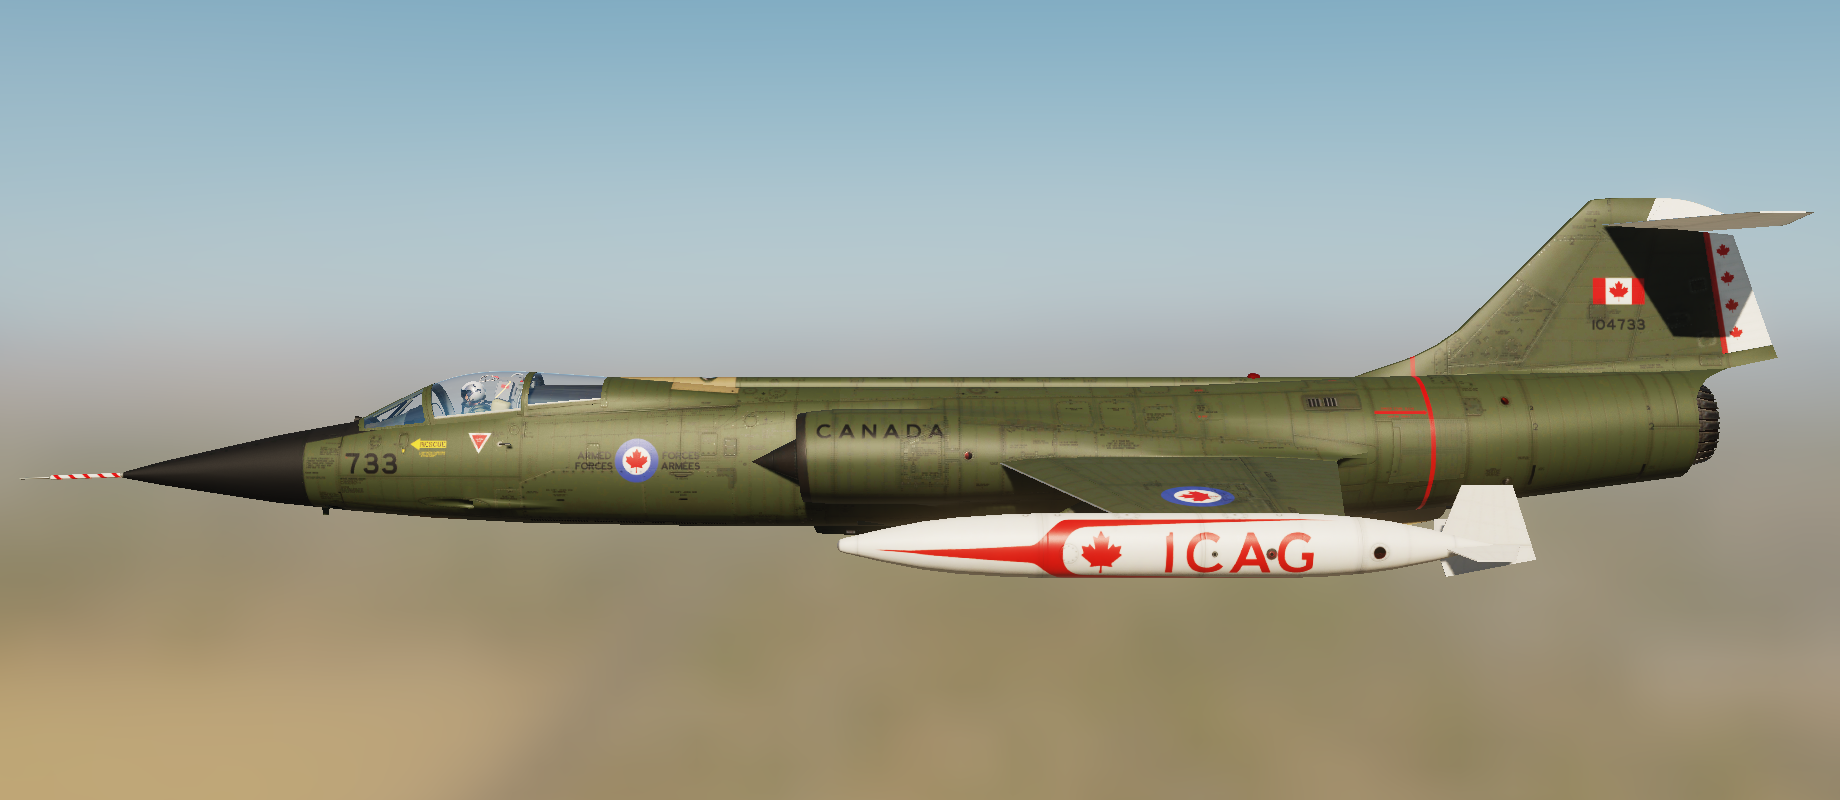
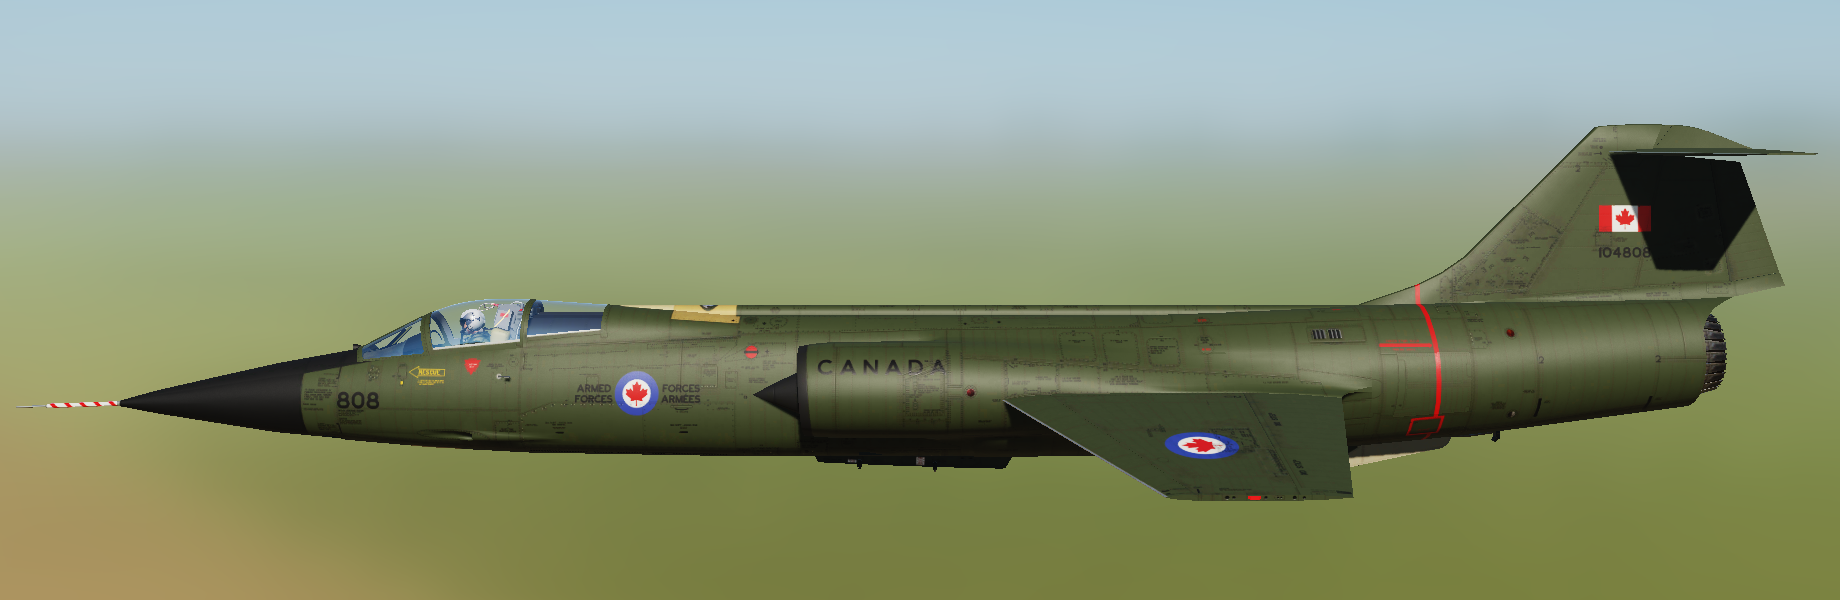
Camo skins on the way later this month. Just tweaking some stuff right now.
-
Fine work, Megalax. You’ve reminded me it’s high time I updated my F-5 template…
-
[Official] SimShaker for Aviators
jocko417 replied to f4l0's topic in PC Hardware and Related Software
Ok, I tried right clicking the installer and selecting "Troubleshoot Compatibility" and then it installed correctly. -
[Official] SimShaker for Aviators
jocko417 replied to f4l0's topic in PC Hardware and Related Software
Hmm, well the Jet Seat and SSA programs installed without problems, so I’m not sure why the SSM software won’t install.